Once the main structural repairs were completed and the body shell was stable, there were a few areas of corrosion that required plating.
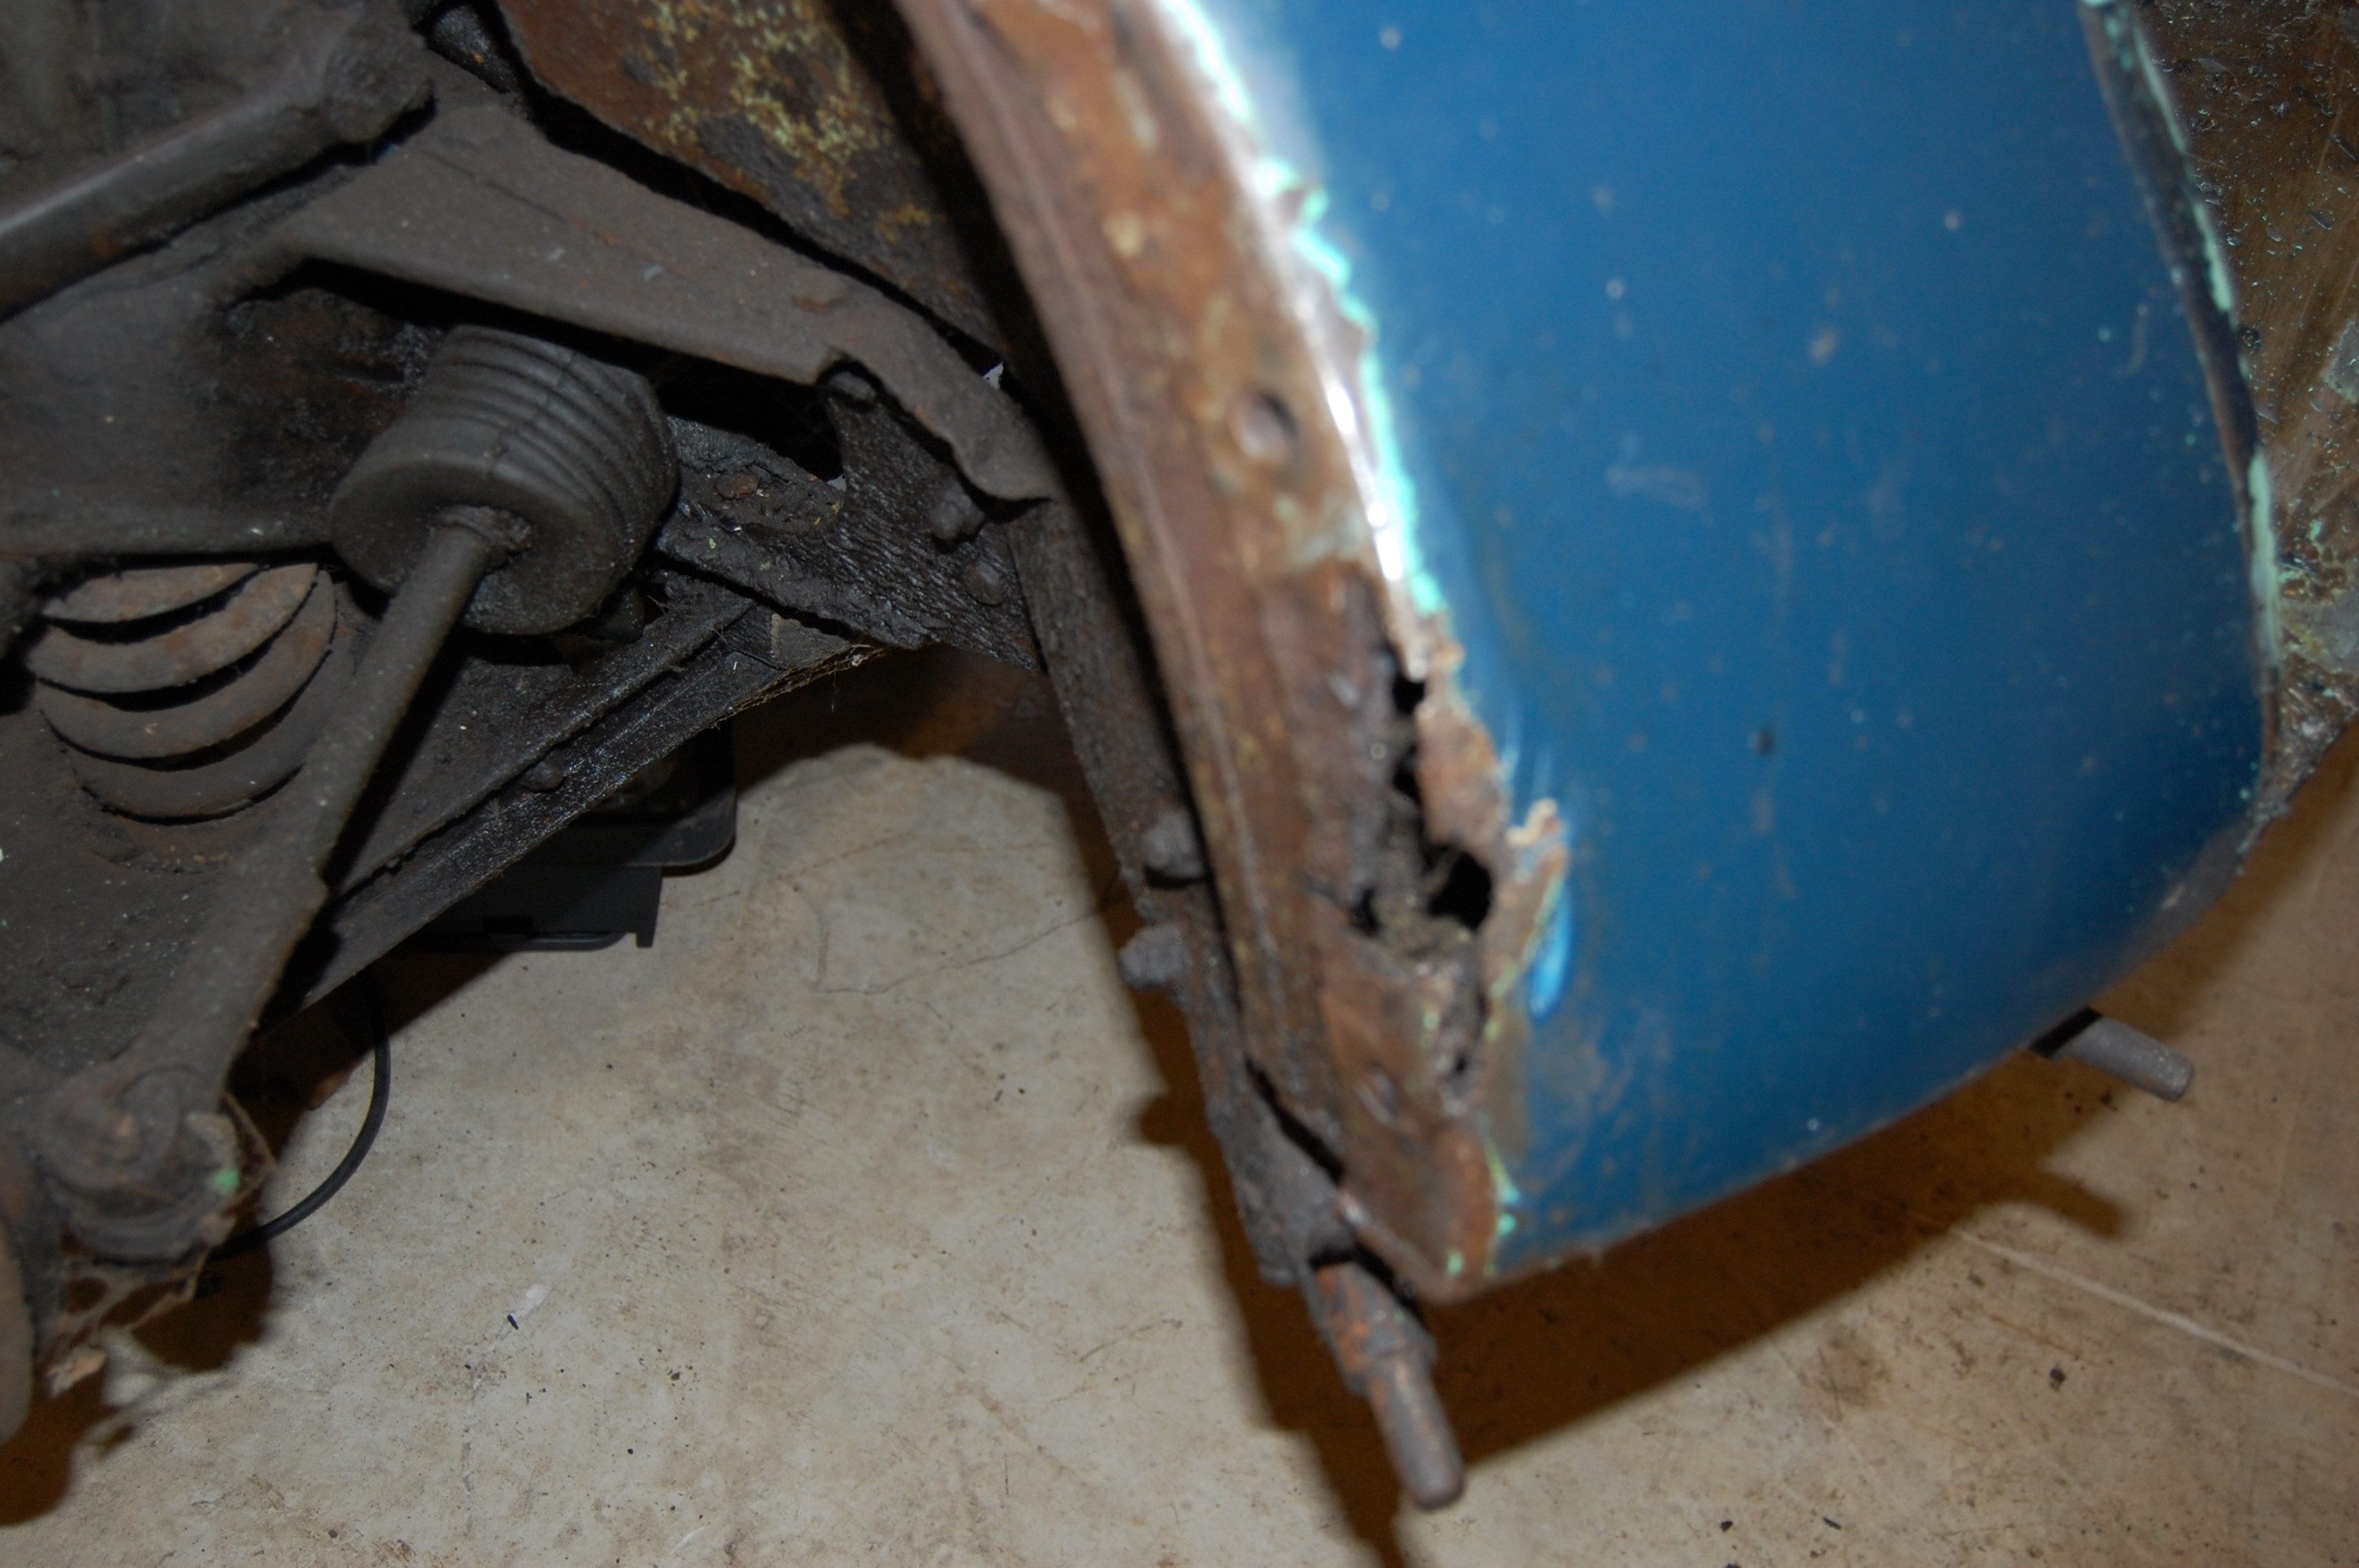
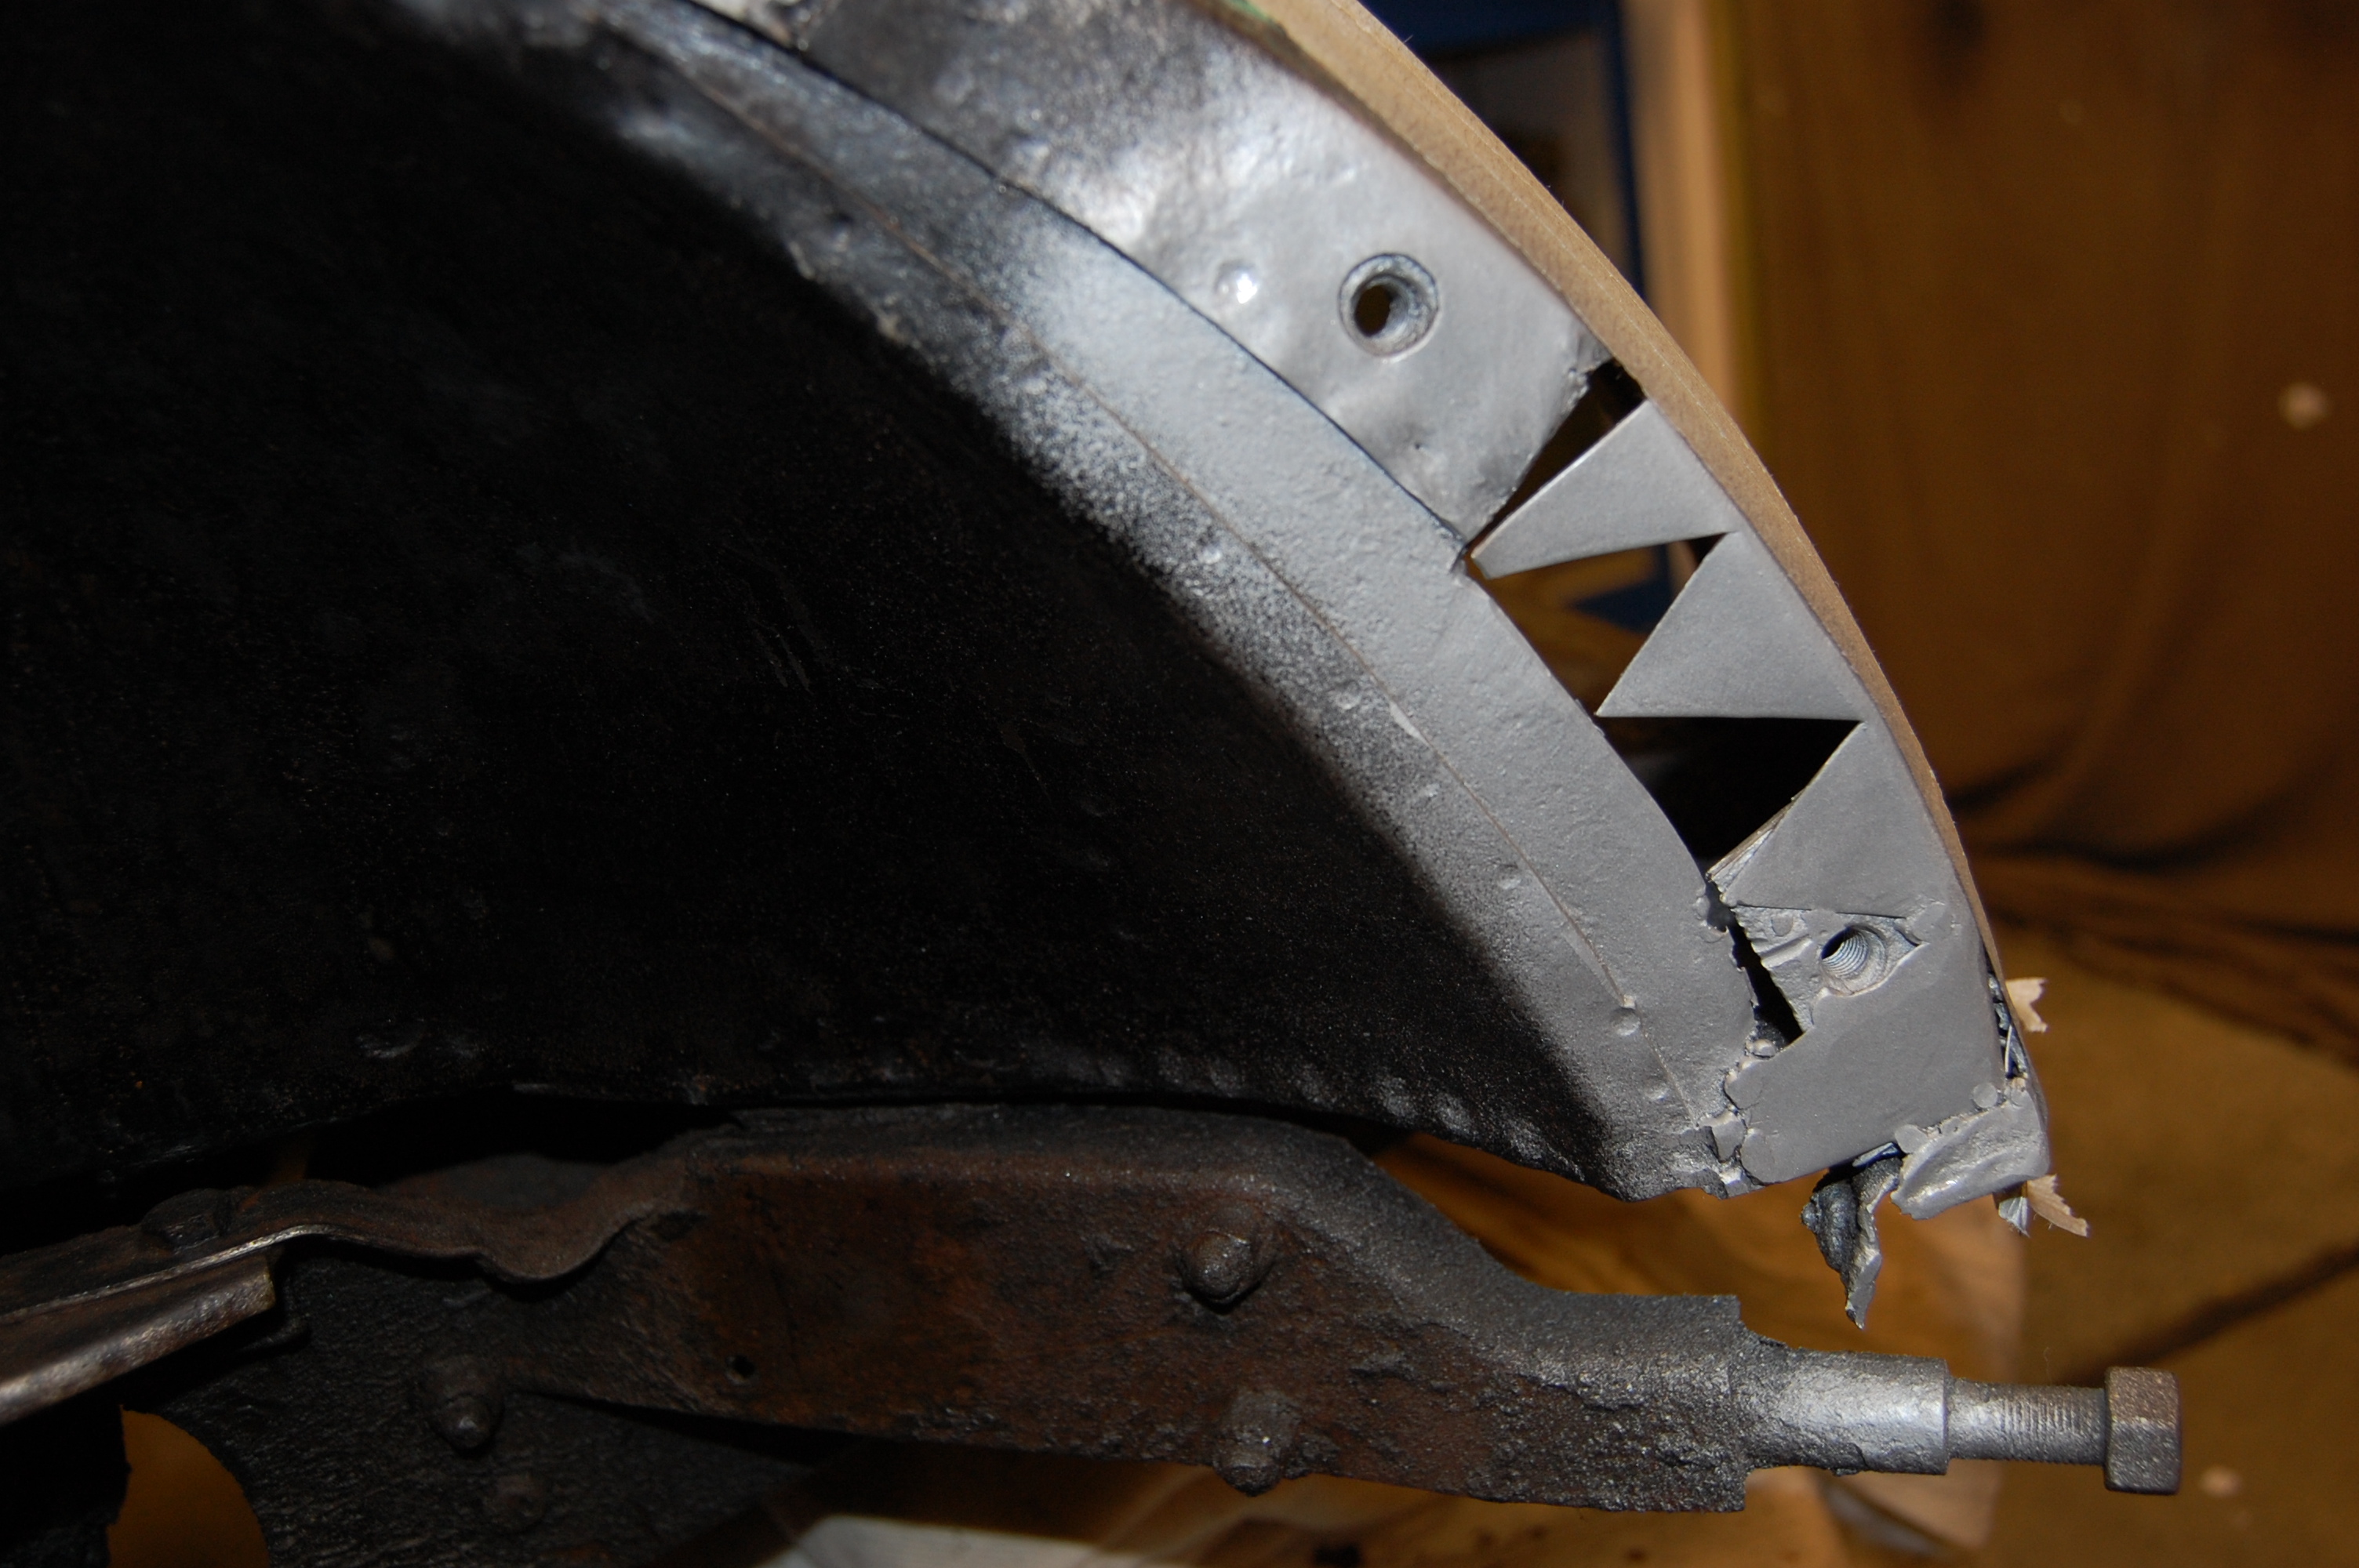
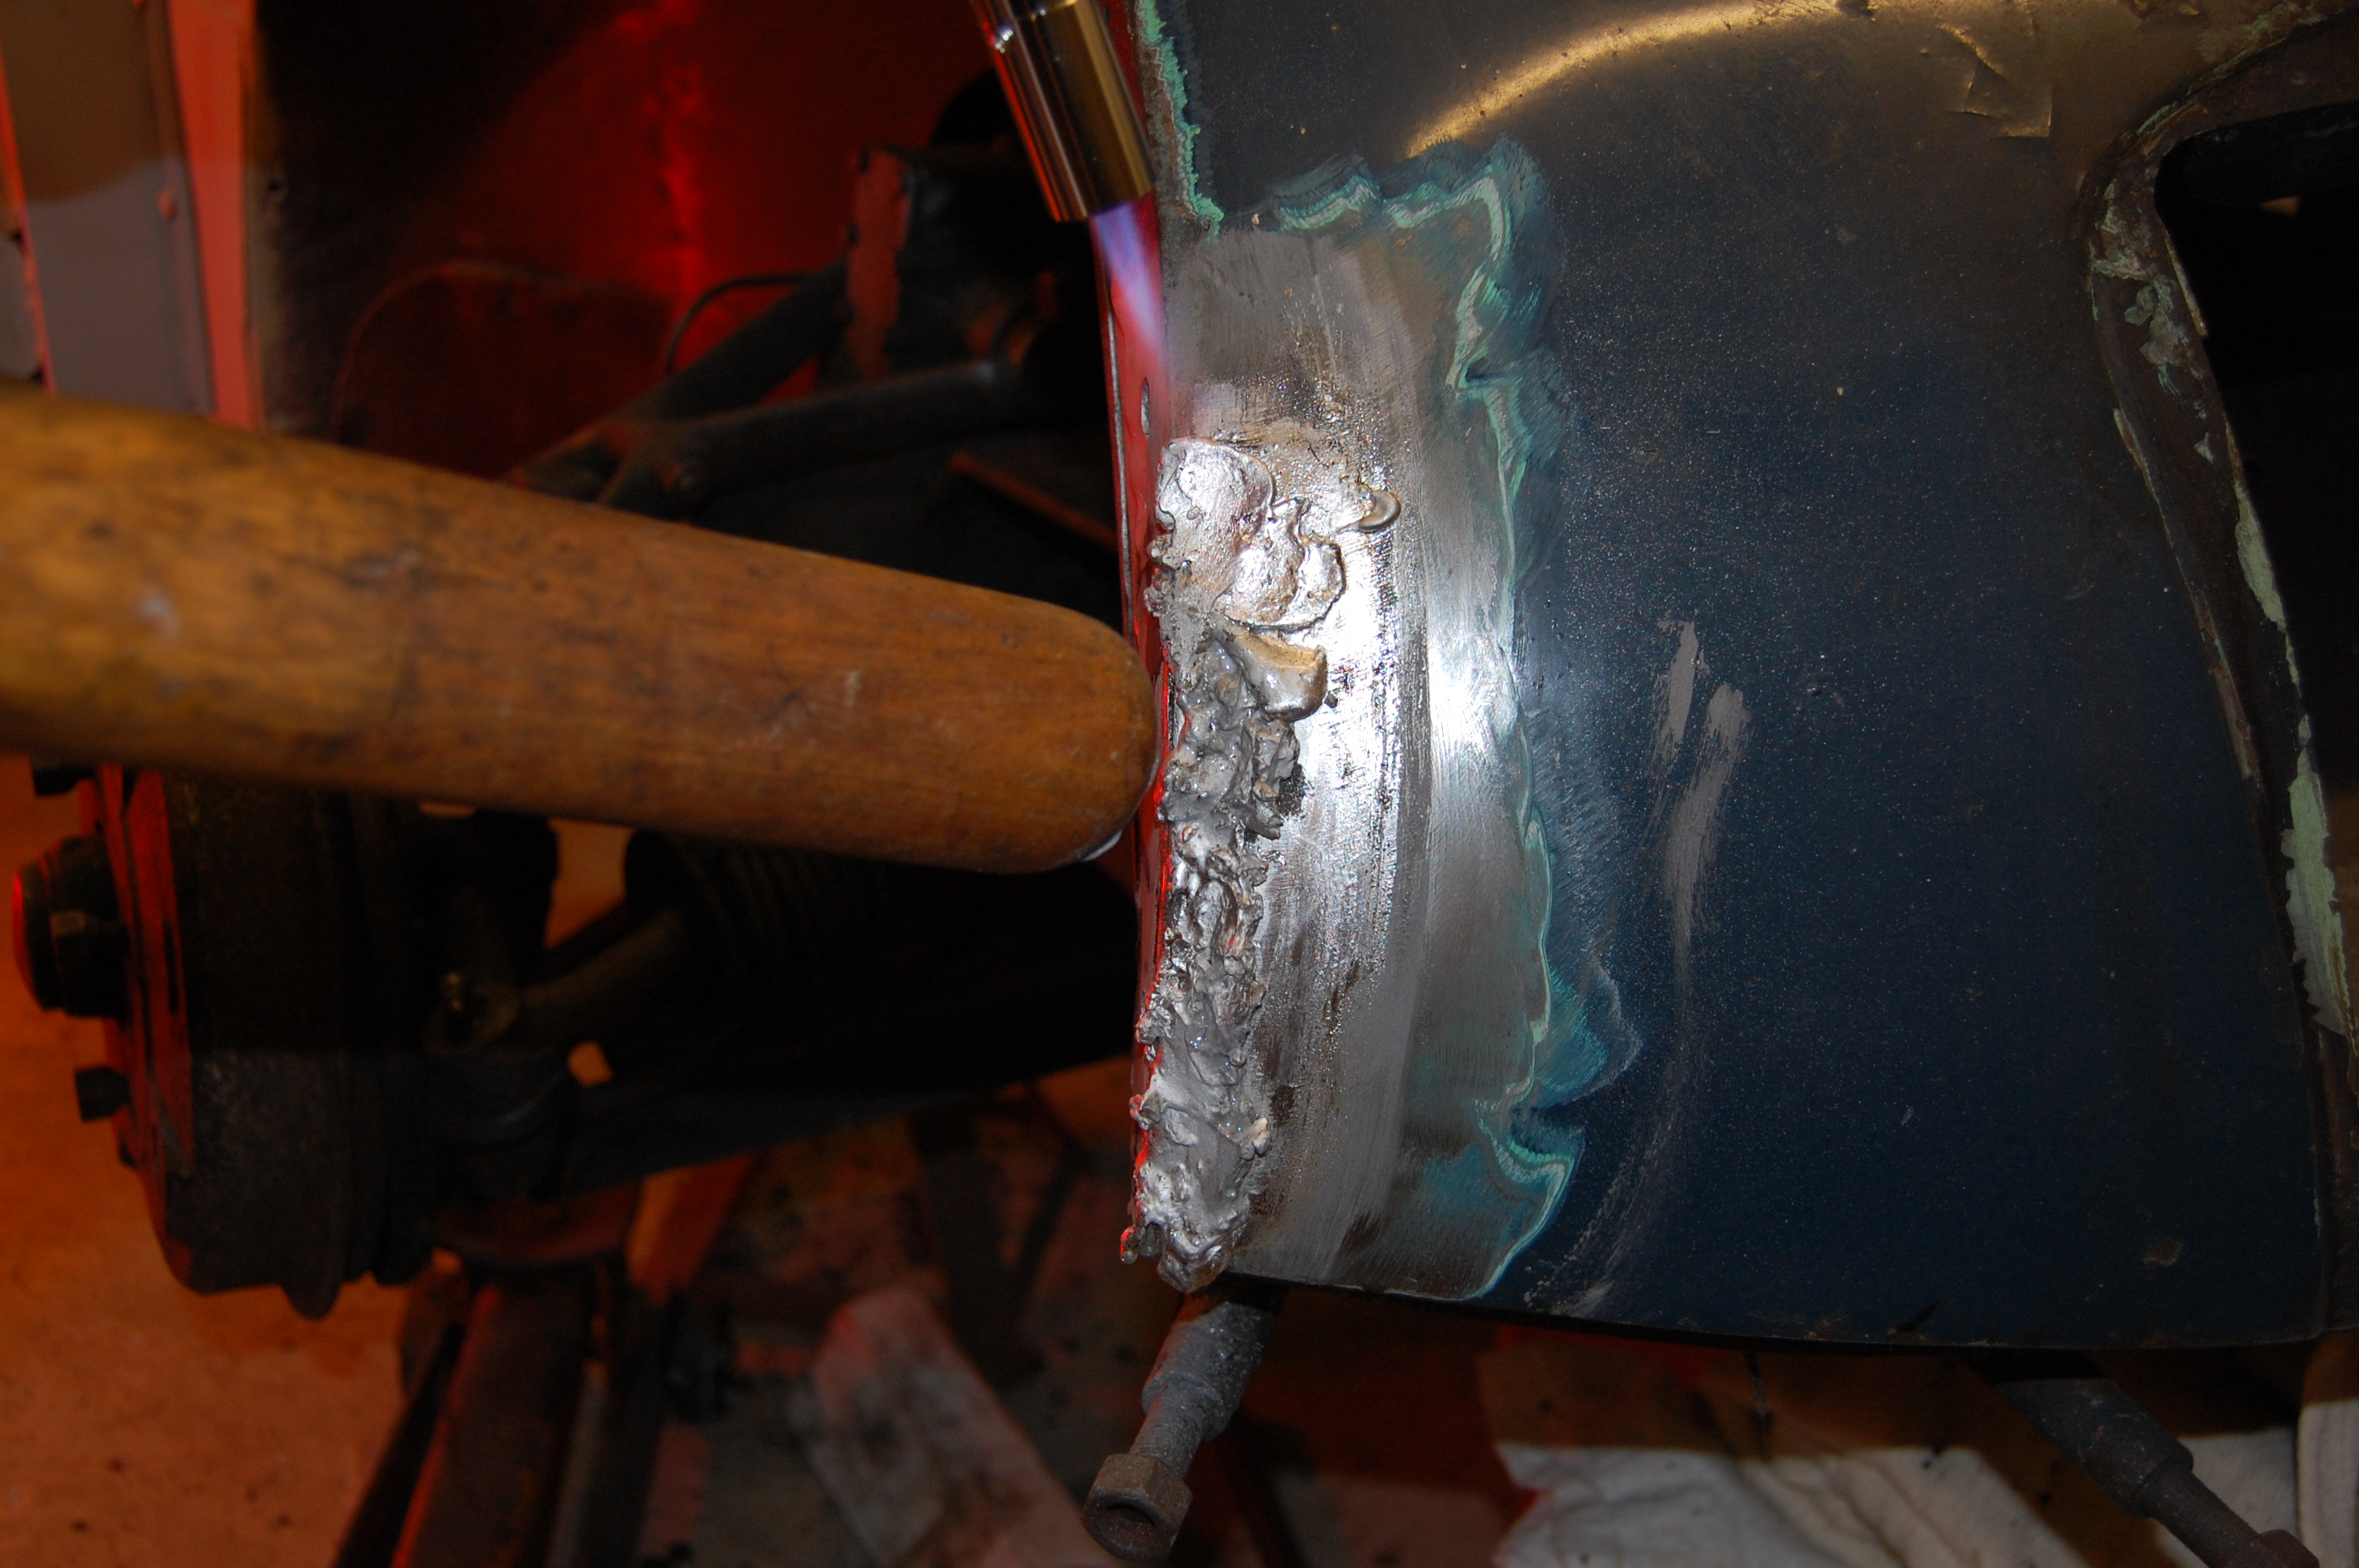
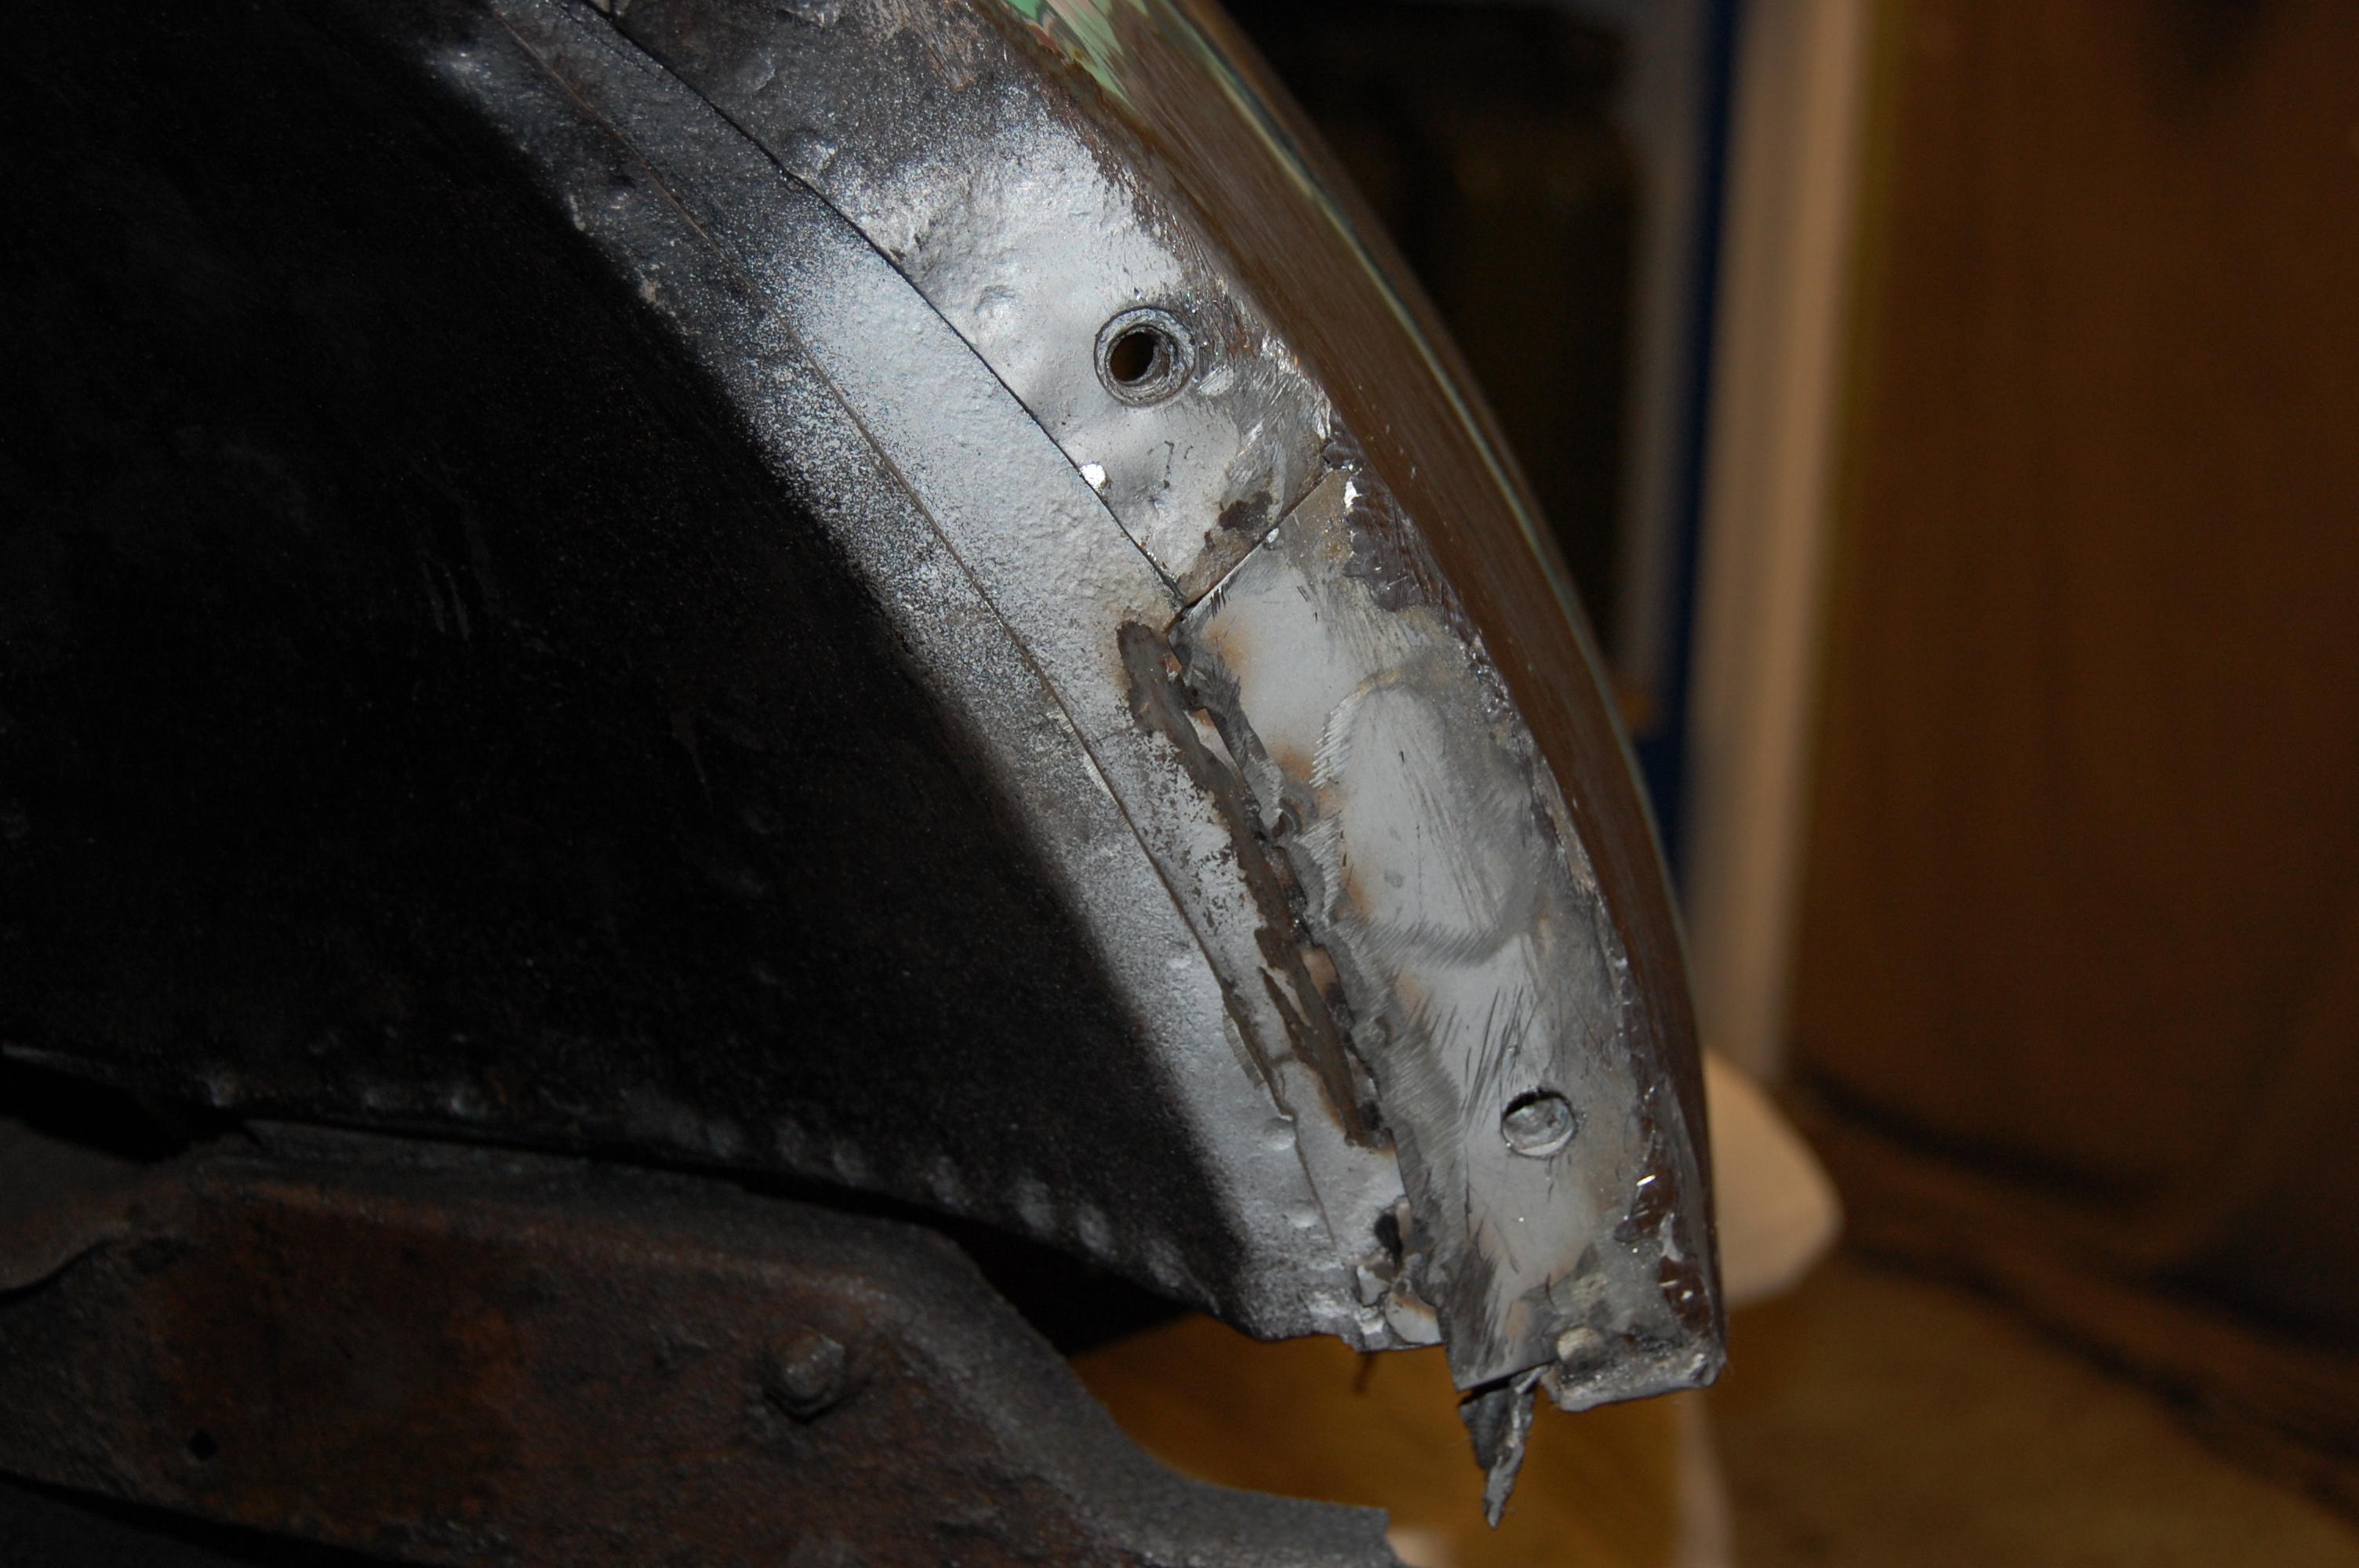
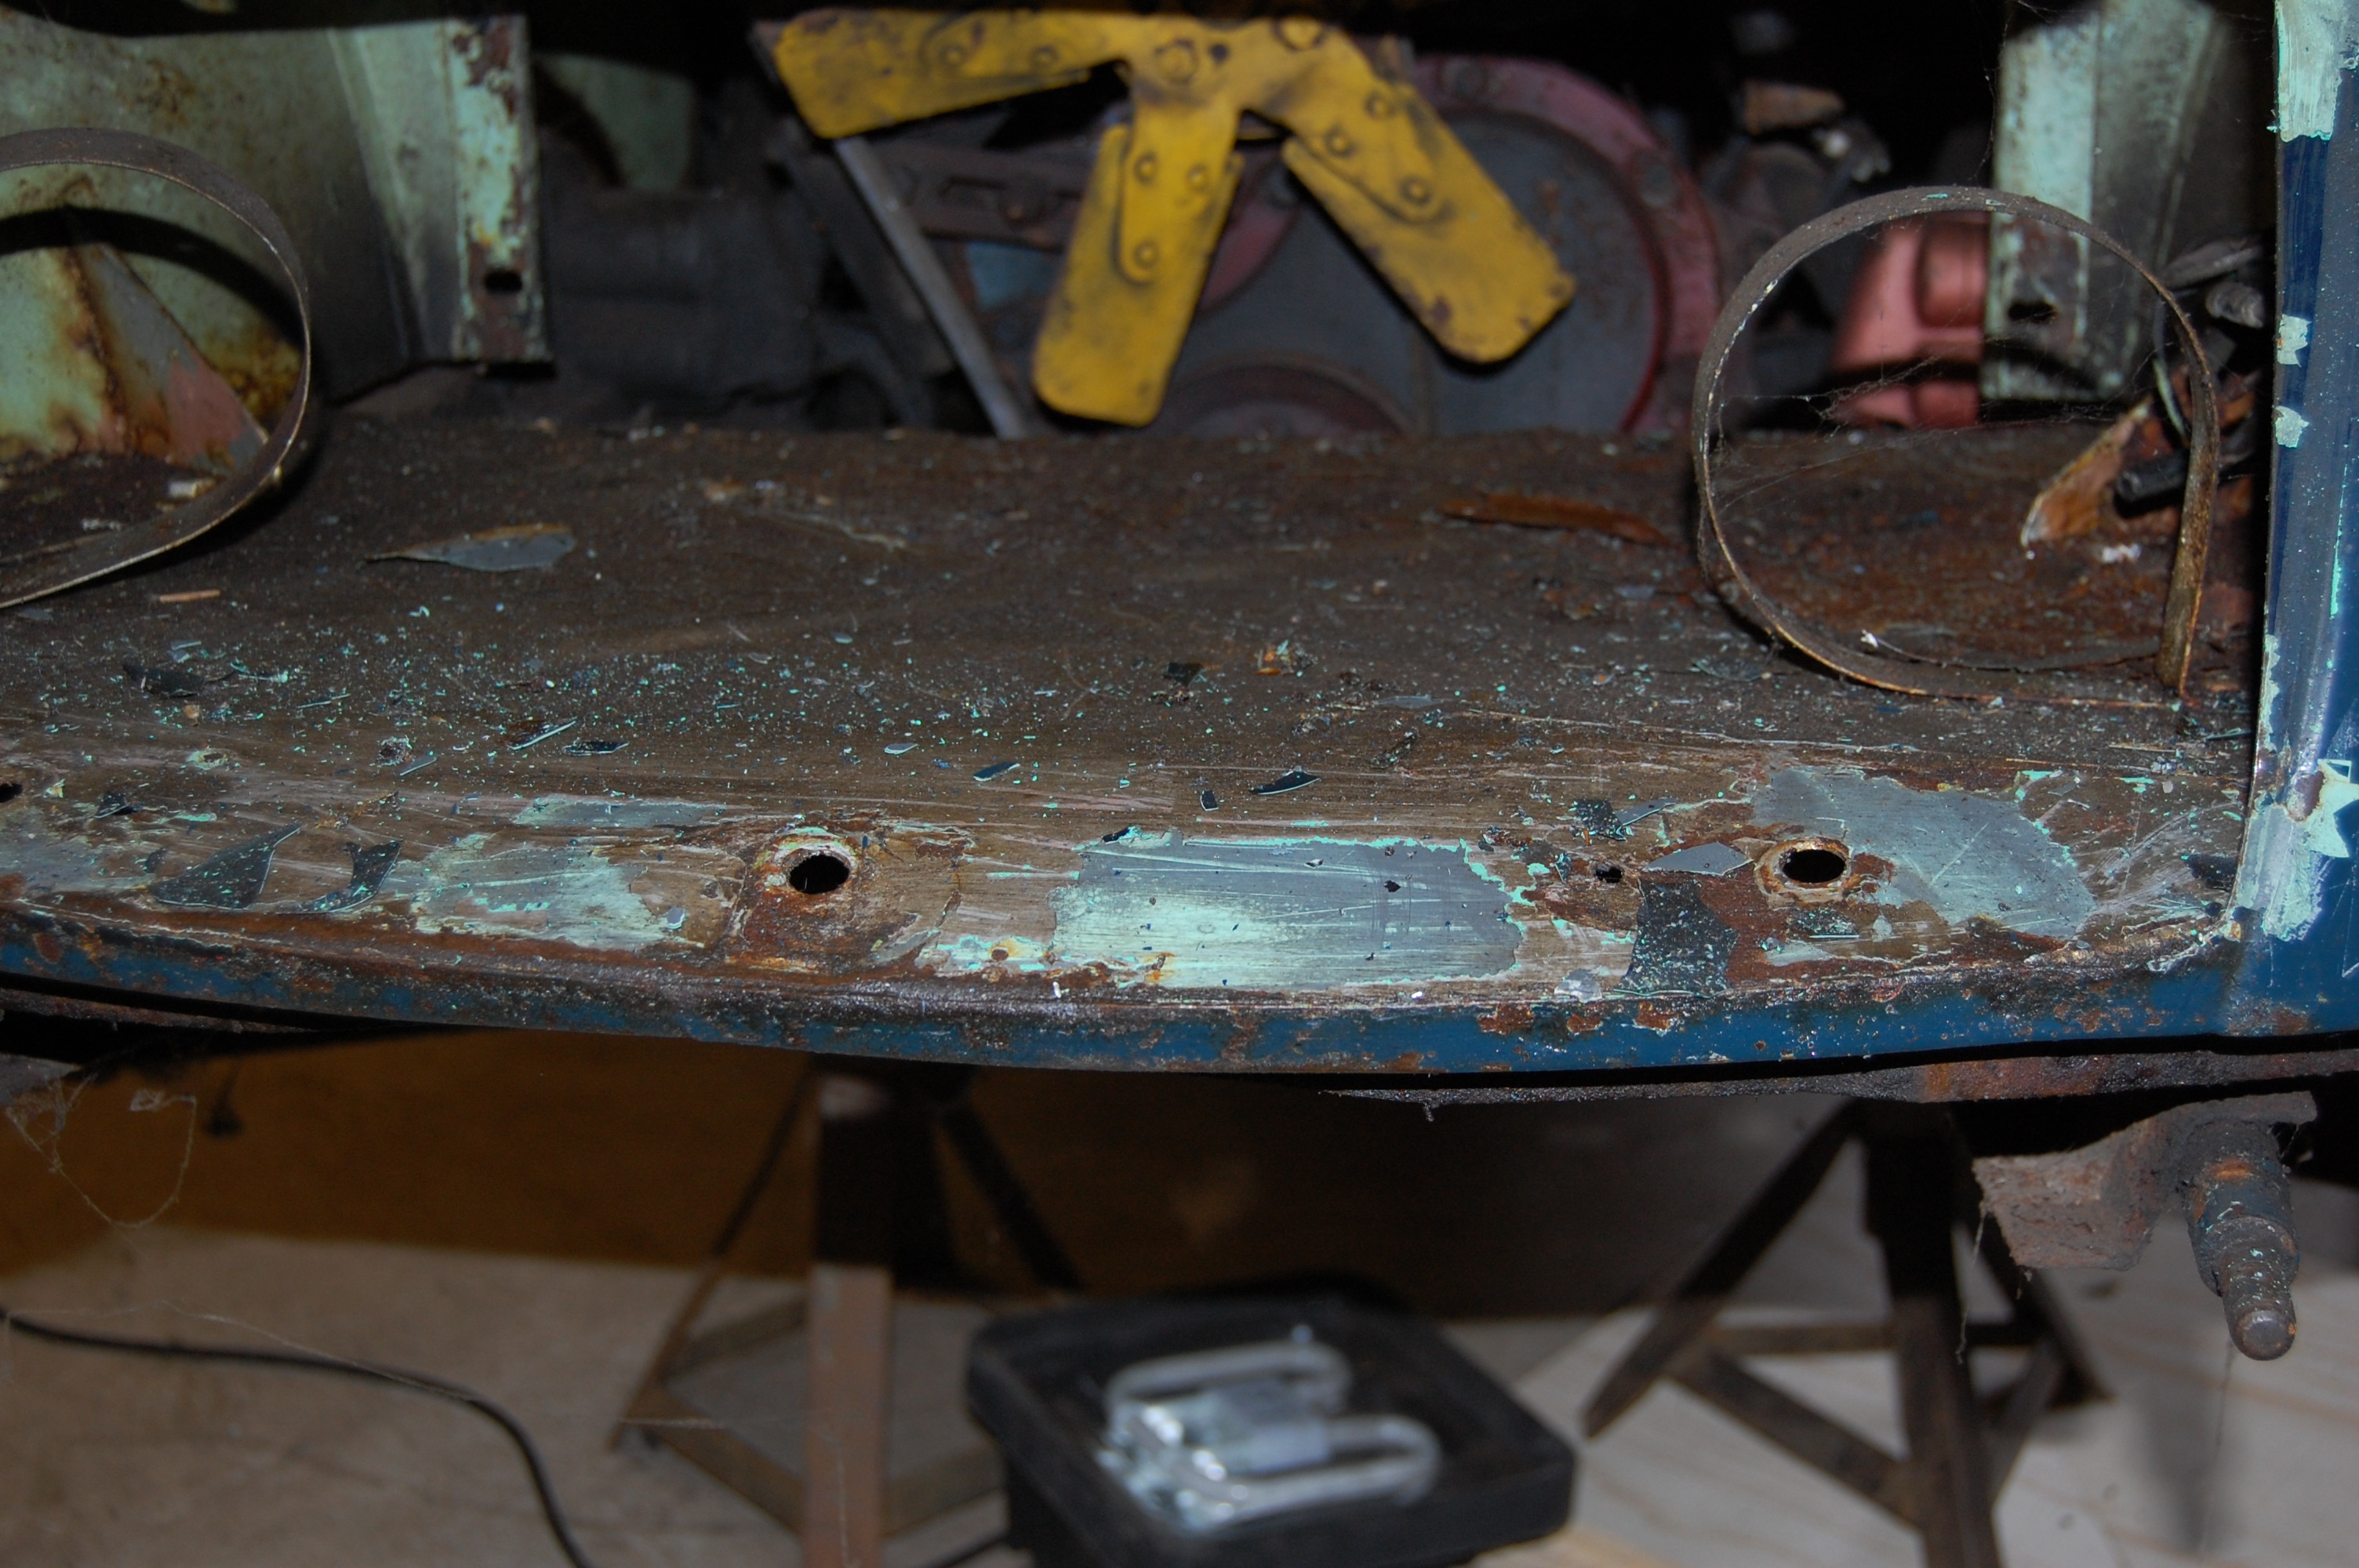
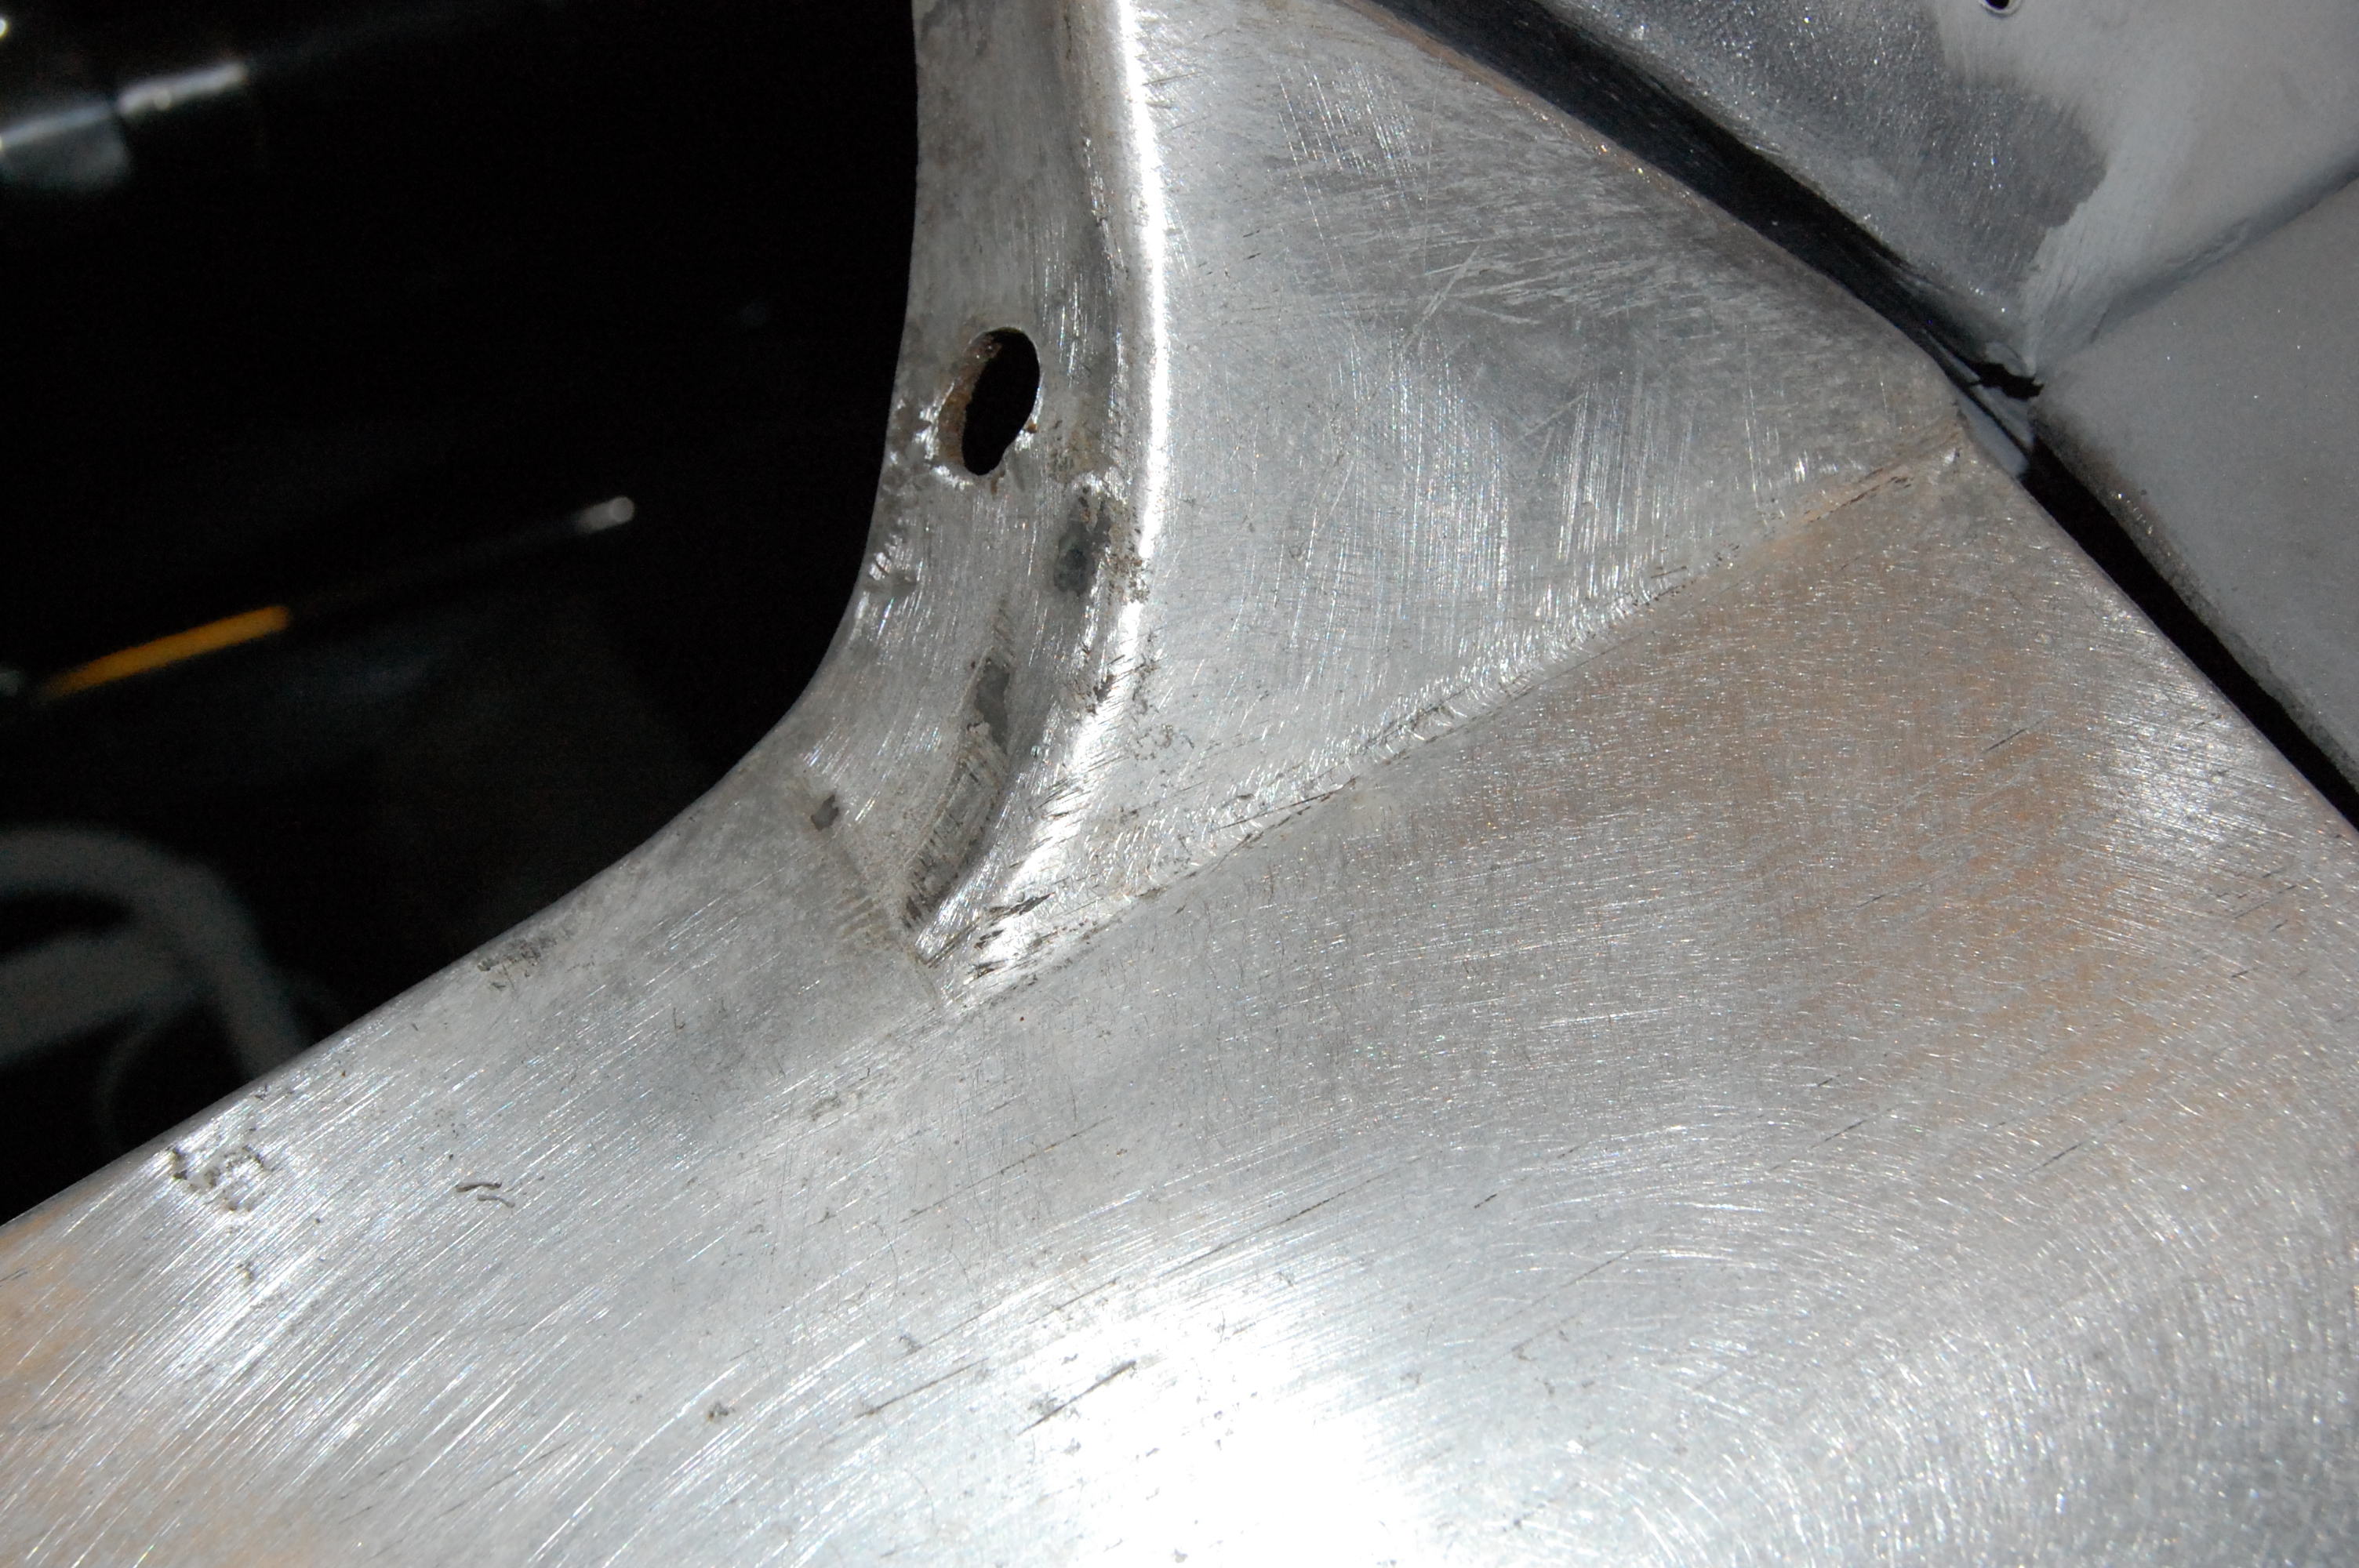
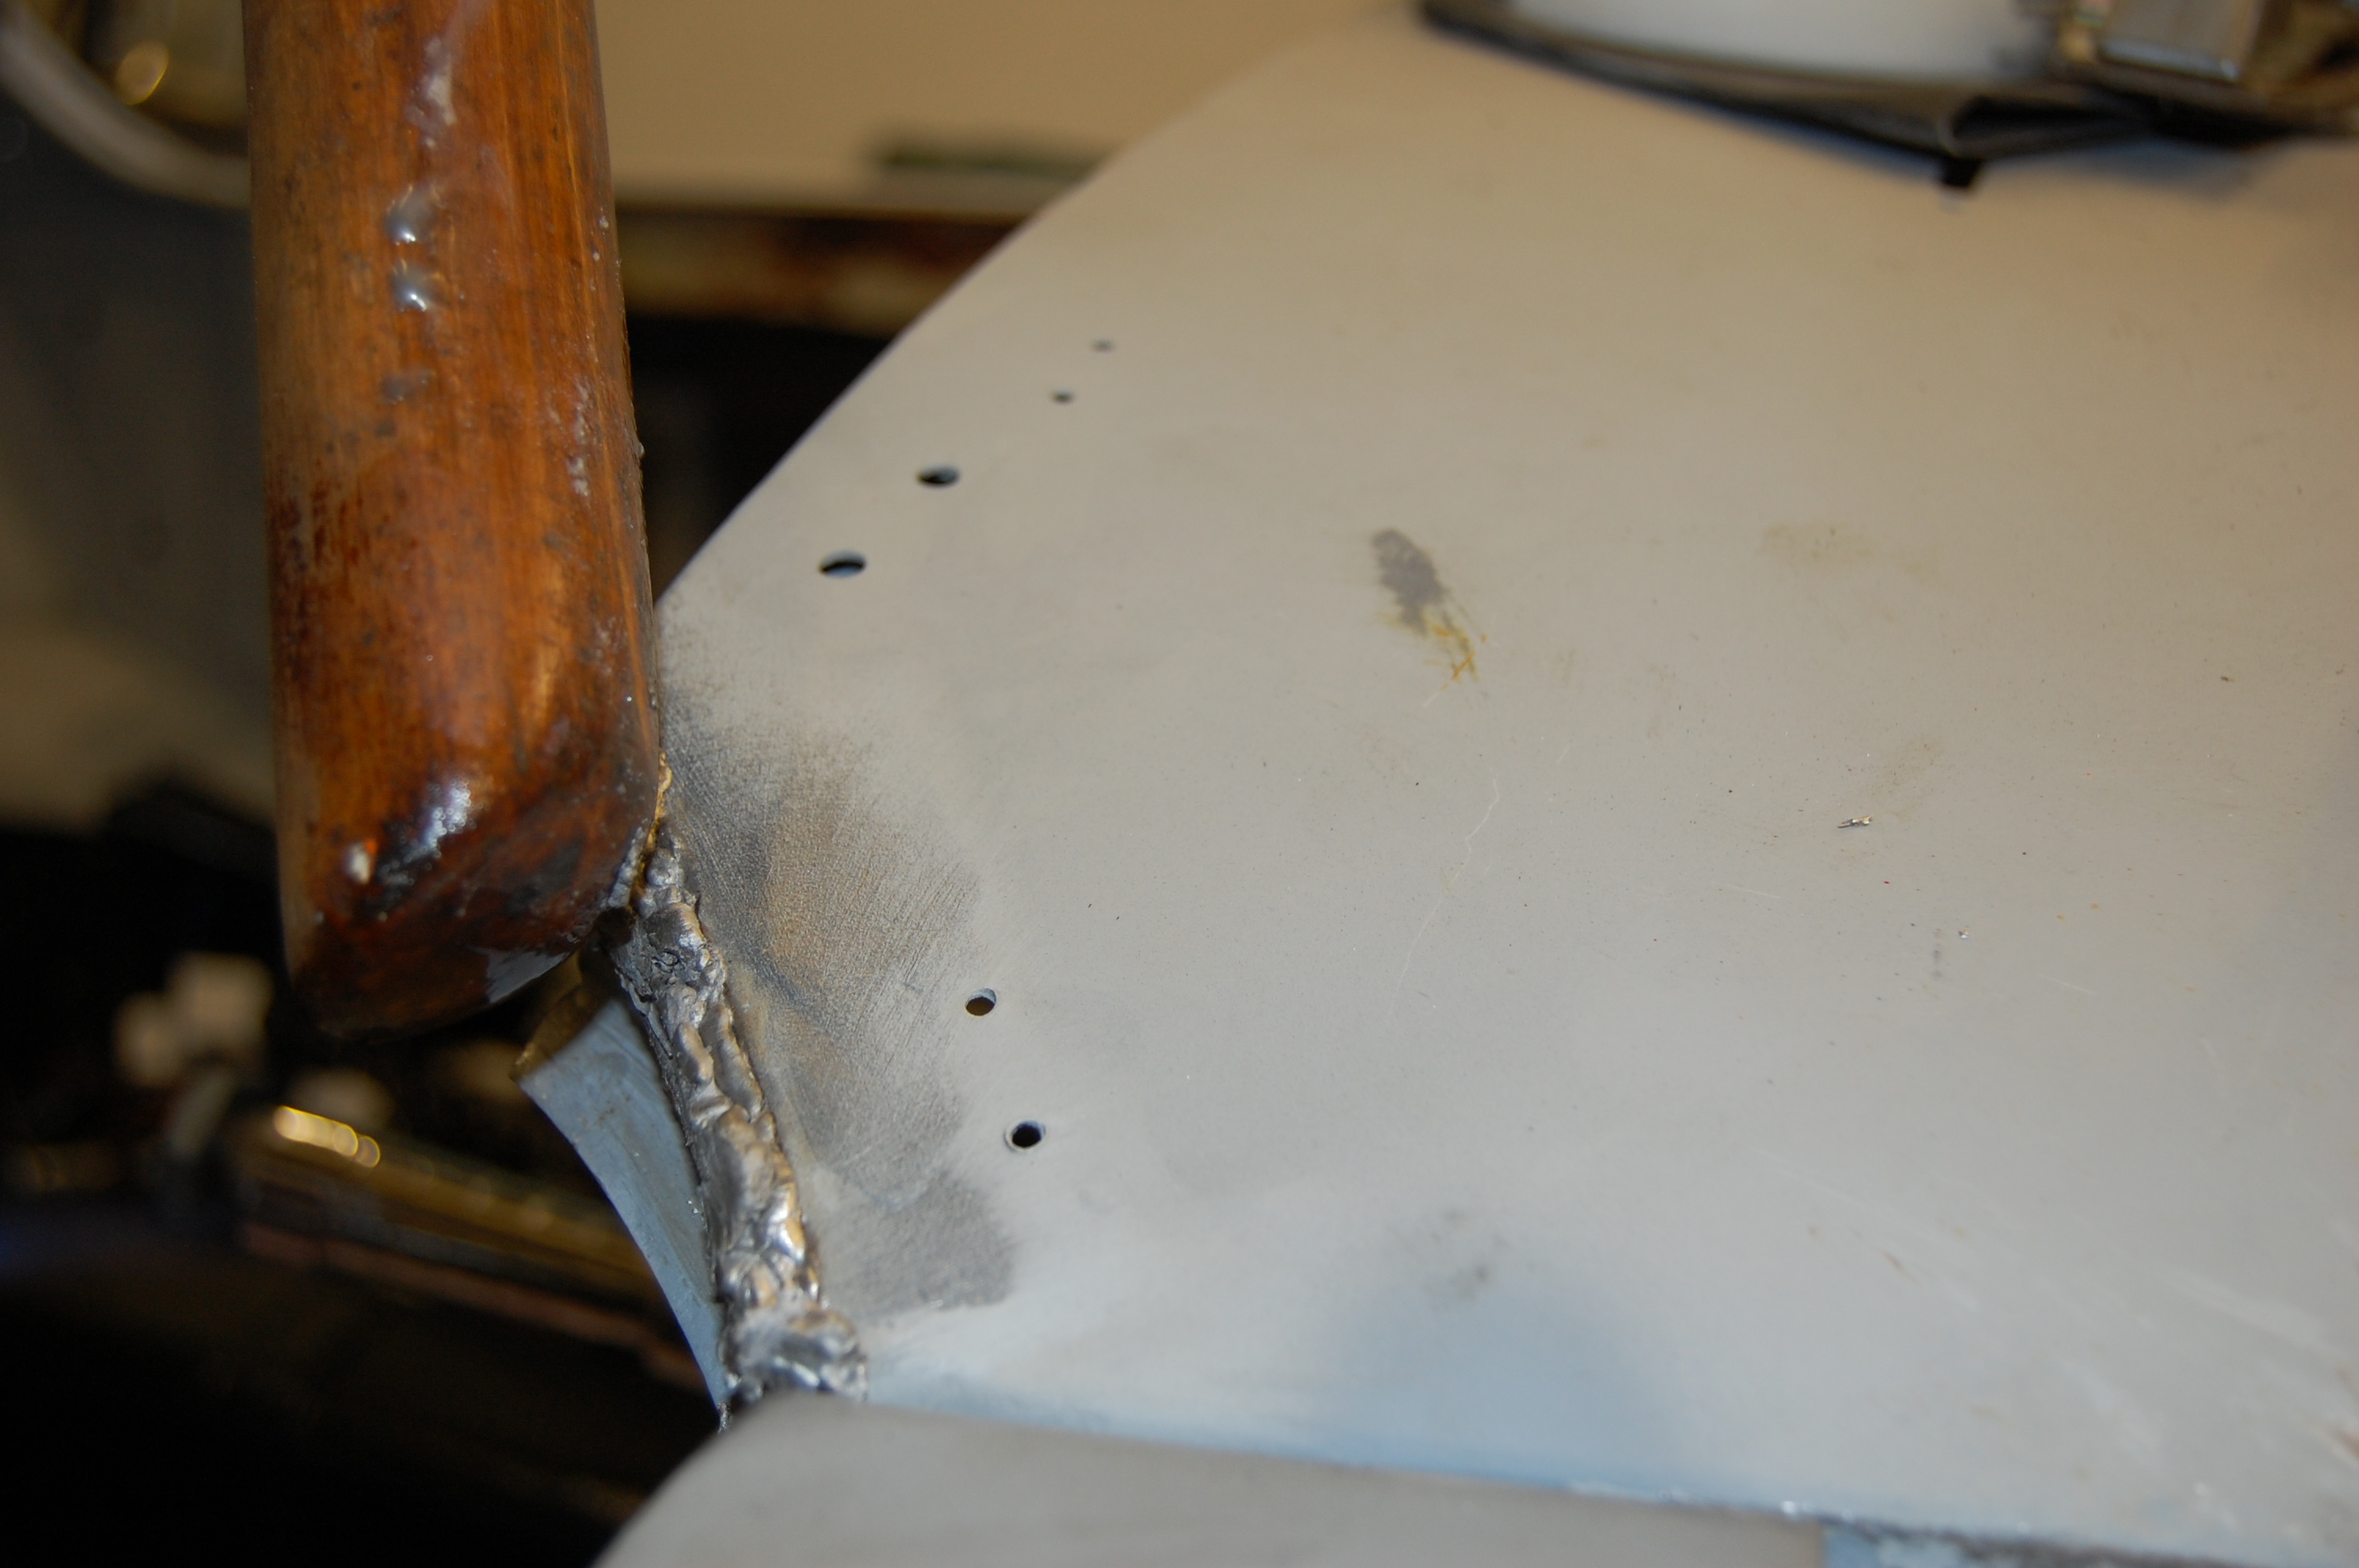
A typical area that most unrestored ‘A’s suffer often serious rust, is the flange that joins the front wings to the shroud. On my car the worst area was confined to the lower front section on both sides. I decided to cut out the rust and let in new metal, finishing the surface area on the shroud with lead loading. The following pictures describe this process.
This area was cut out with the captive nut retained for use on the future repair section.
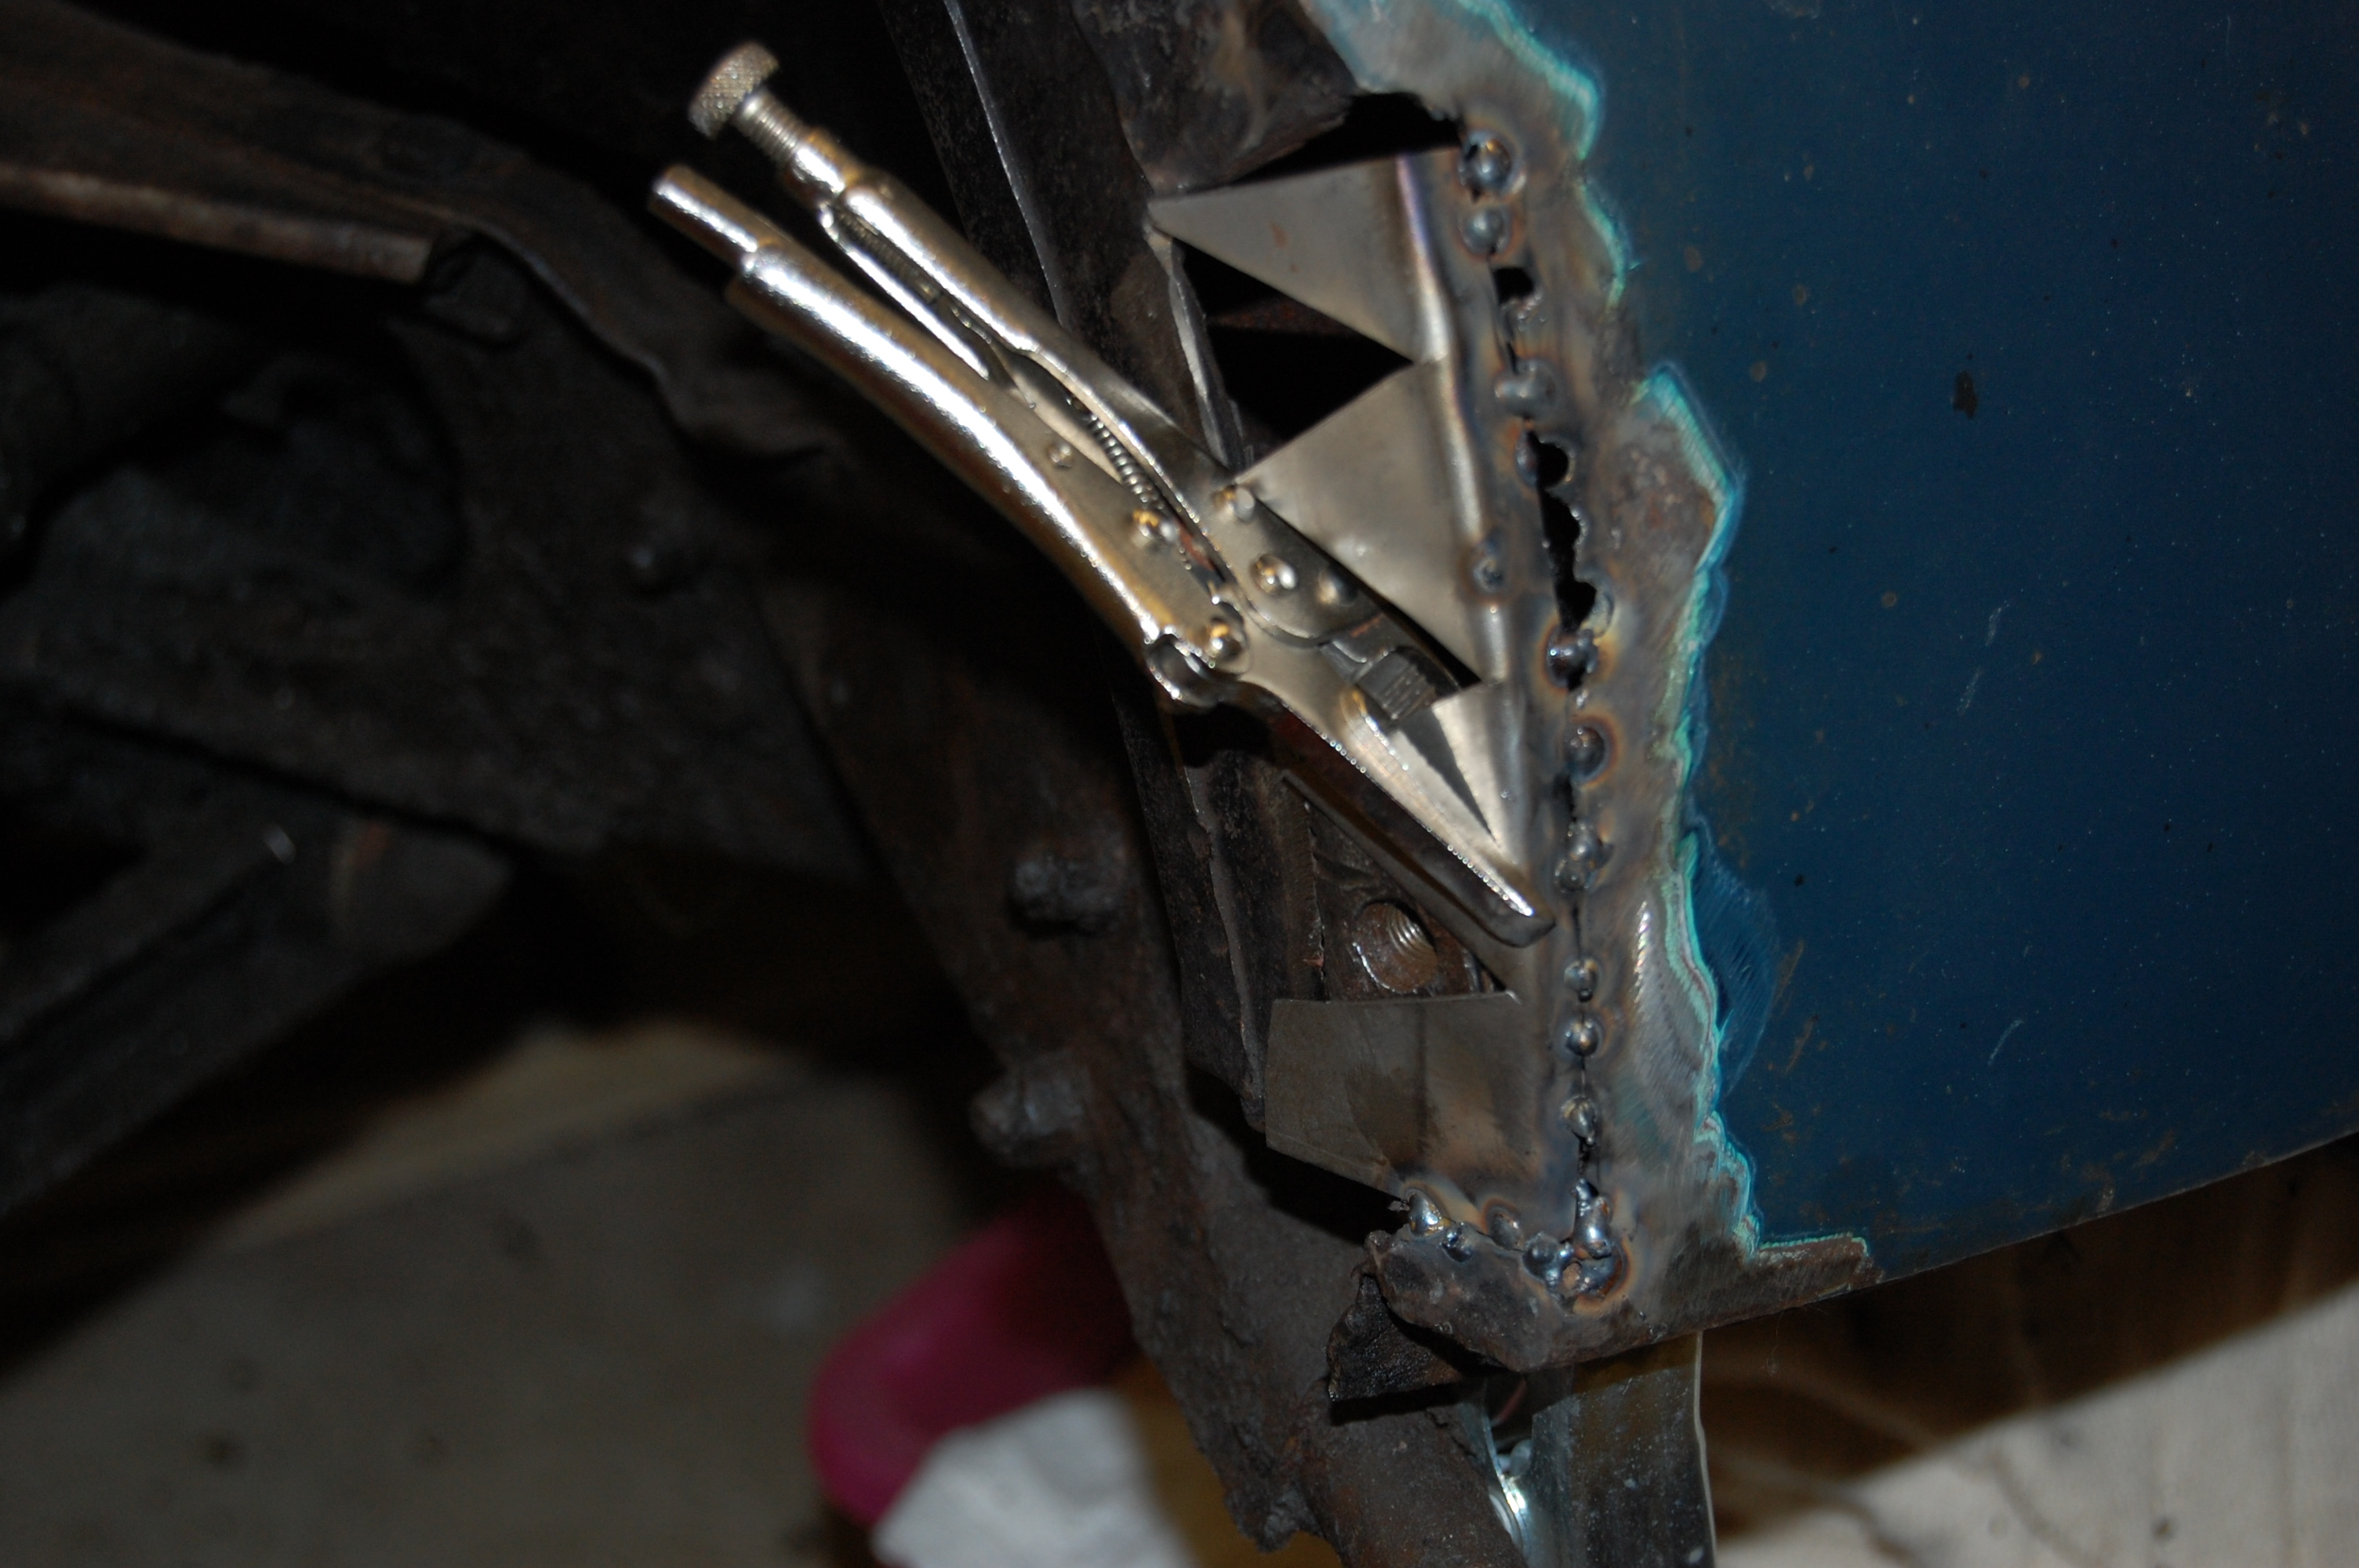
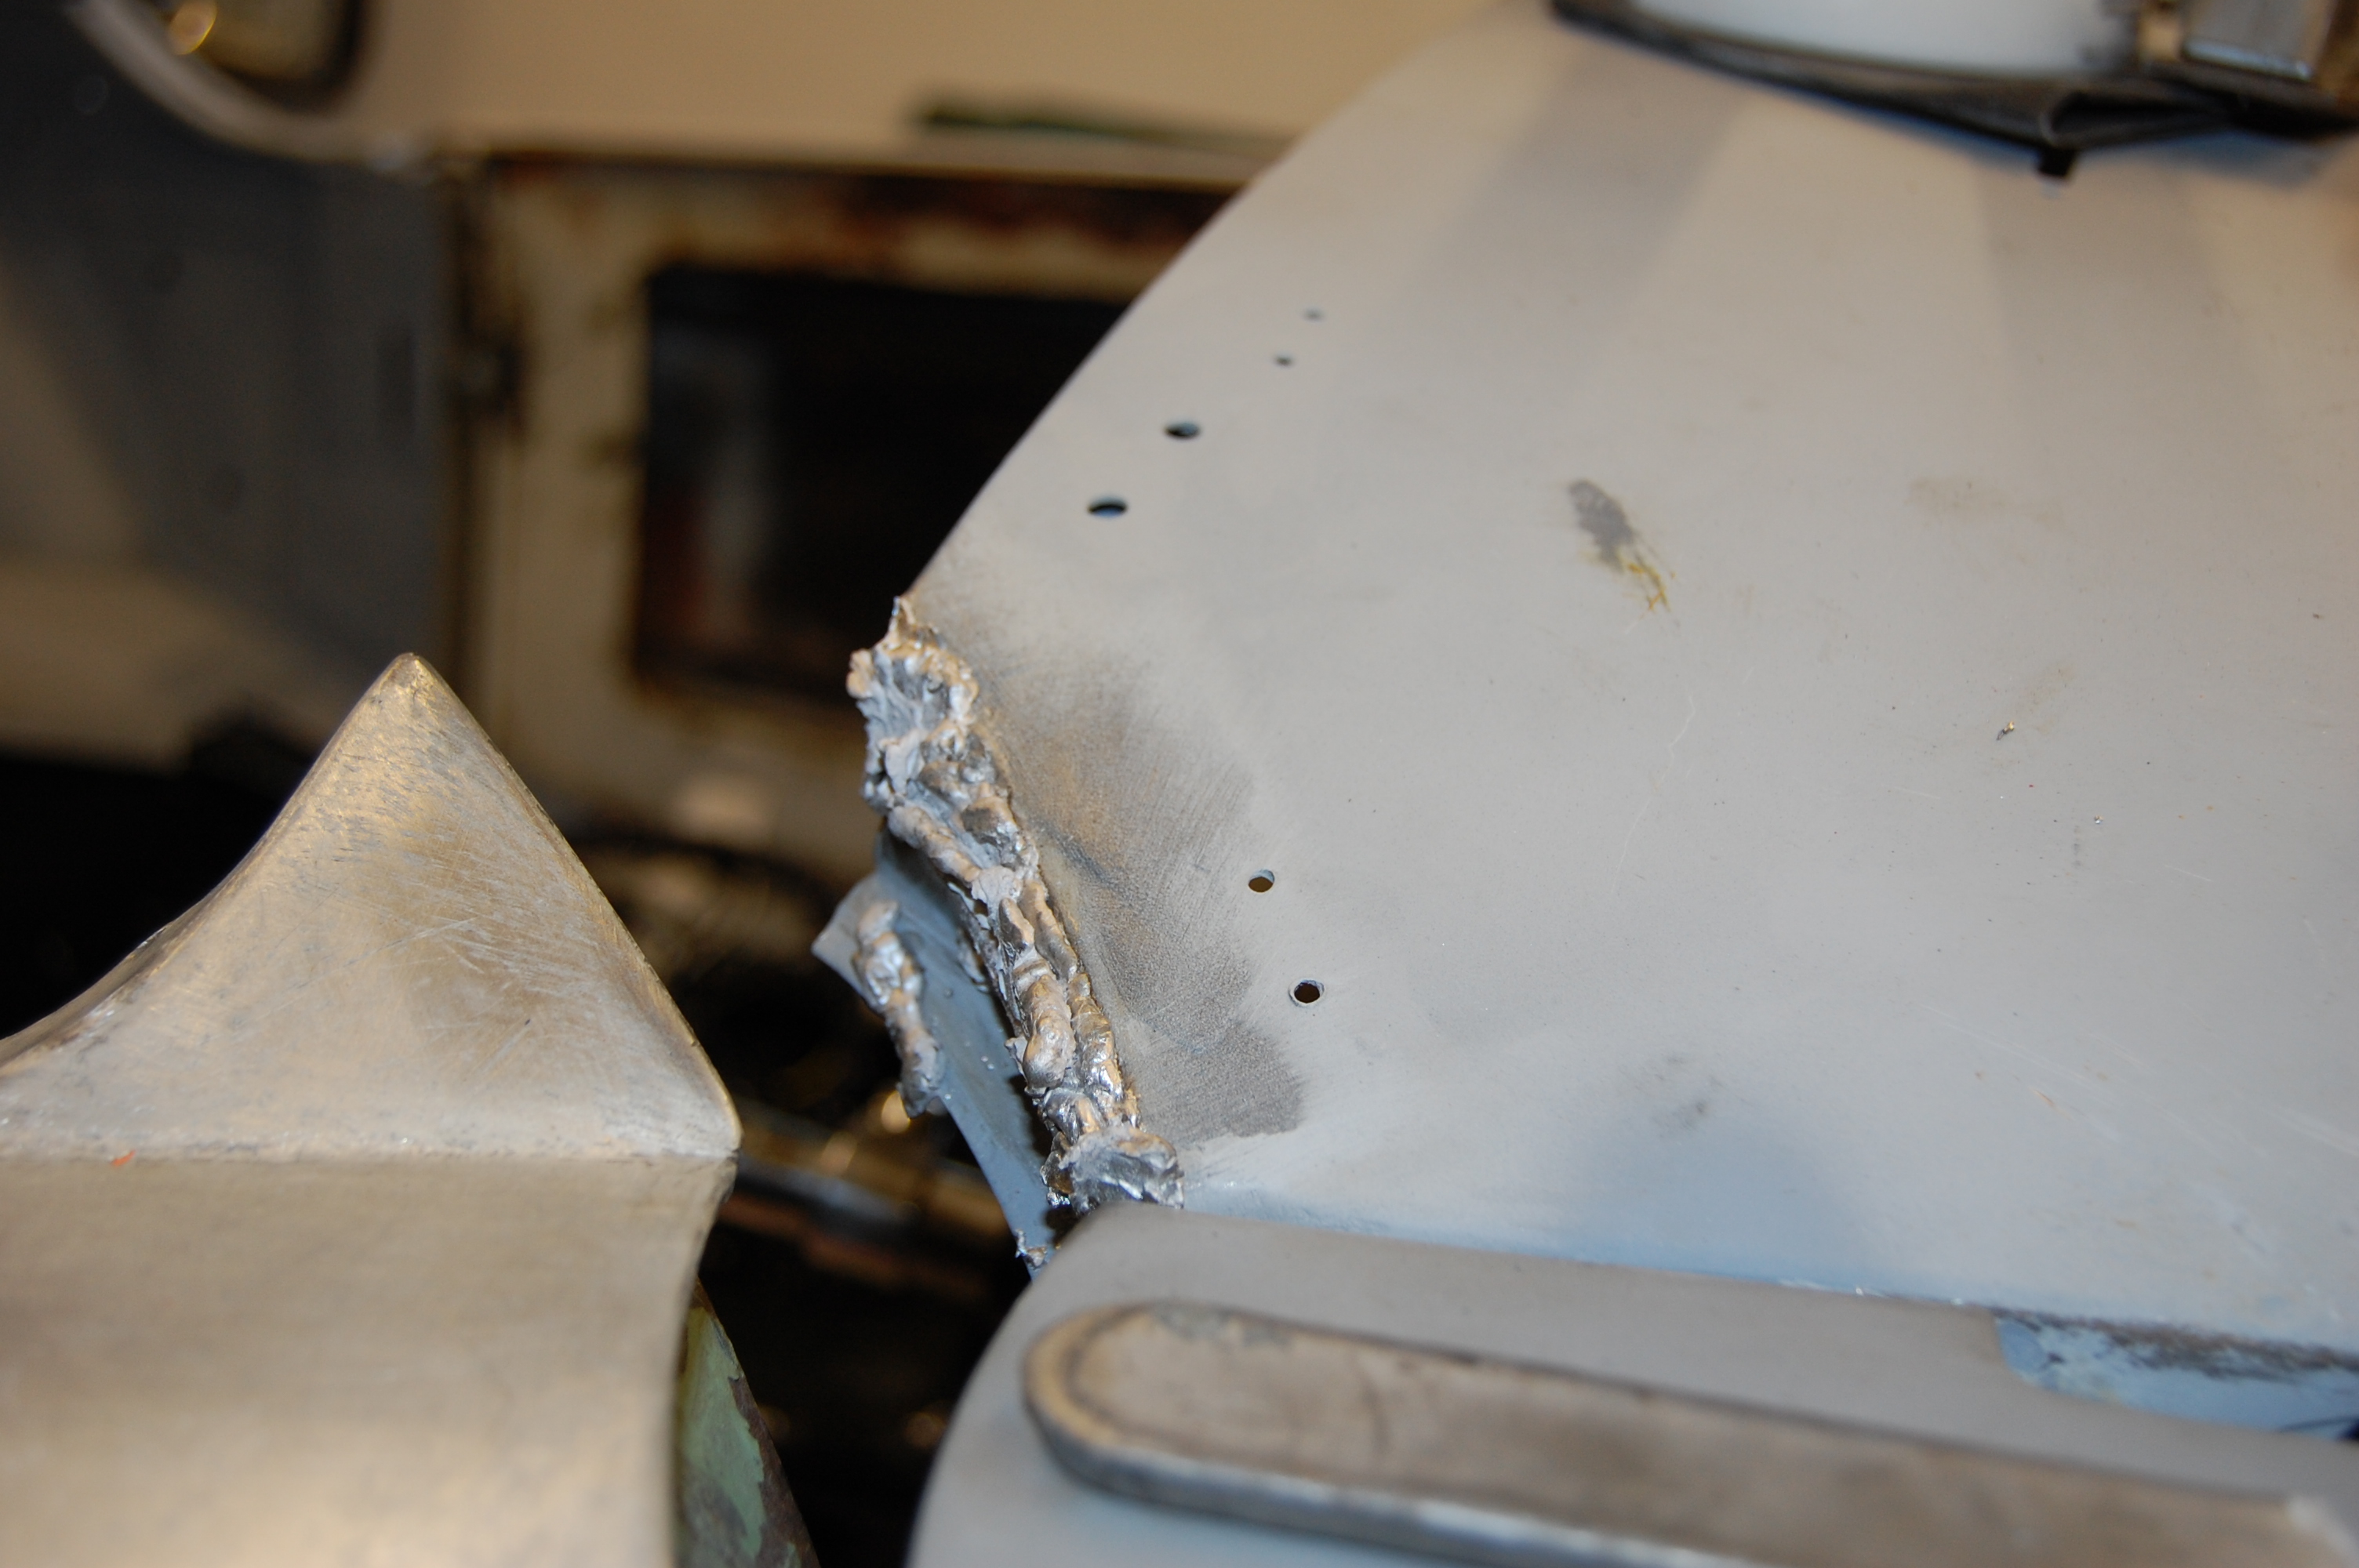
Not being an expert, the curved shape of the shroud caused me anxiety and the repair solution will not be that taken by a professional. I fabricated a backing fillet with a flange and cut-outs enabling a curve and tack welded this to the shroud face and flange, to give a solid backing for lead loading. The captive nut was welded in place ensuring it was in exactly the right position to match up to the locating hole in the wing flange. The wing was trial fitted at this stage to ensure fit.
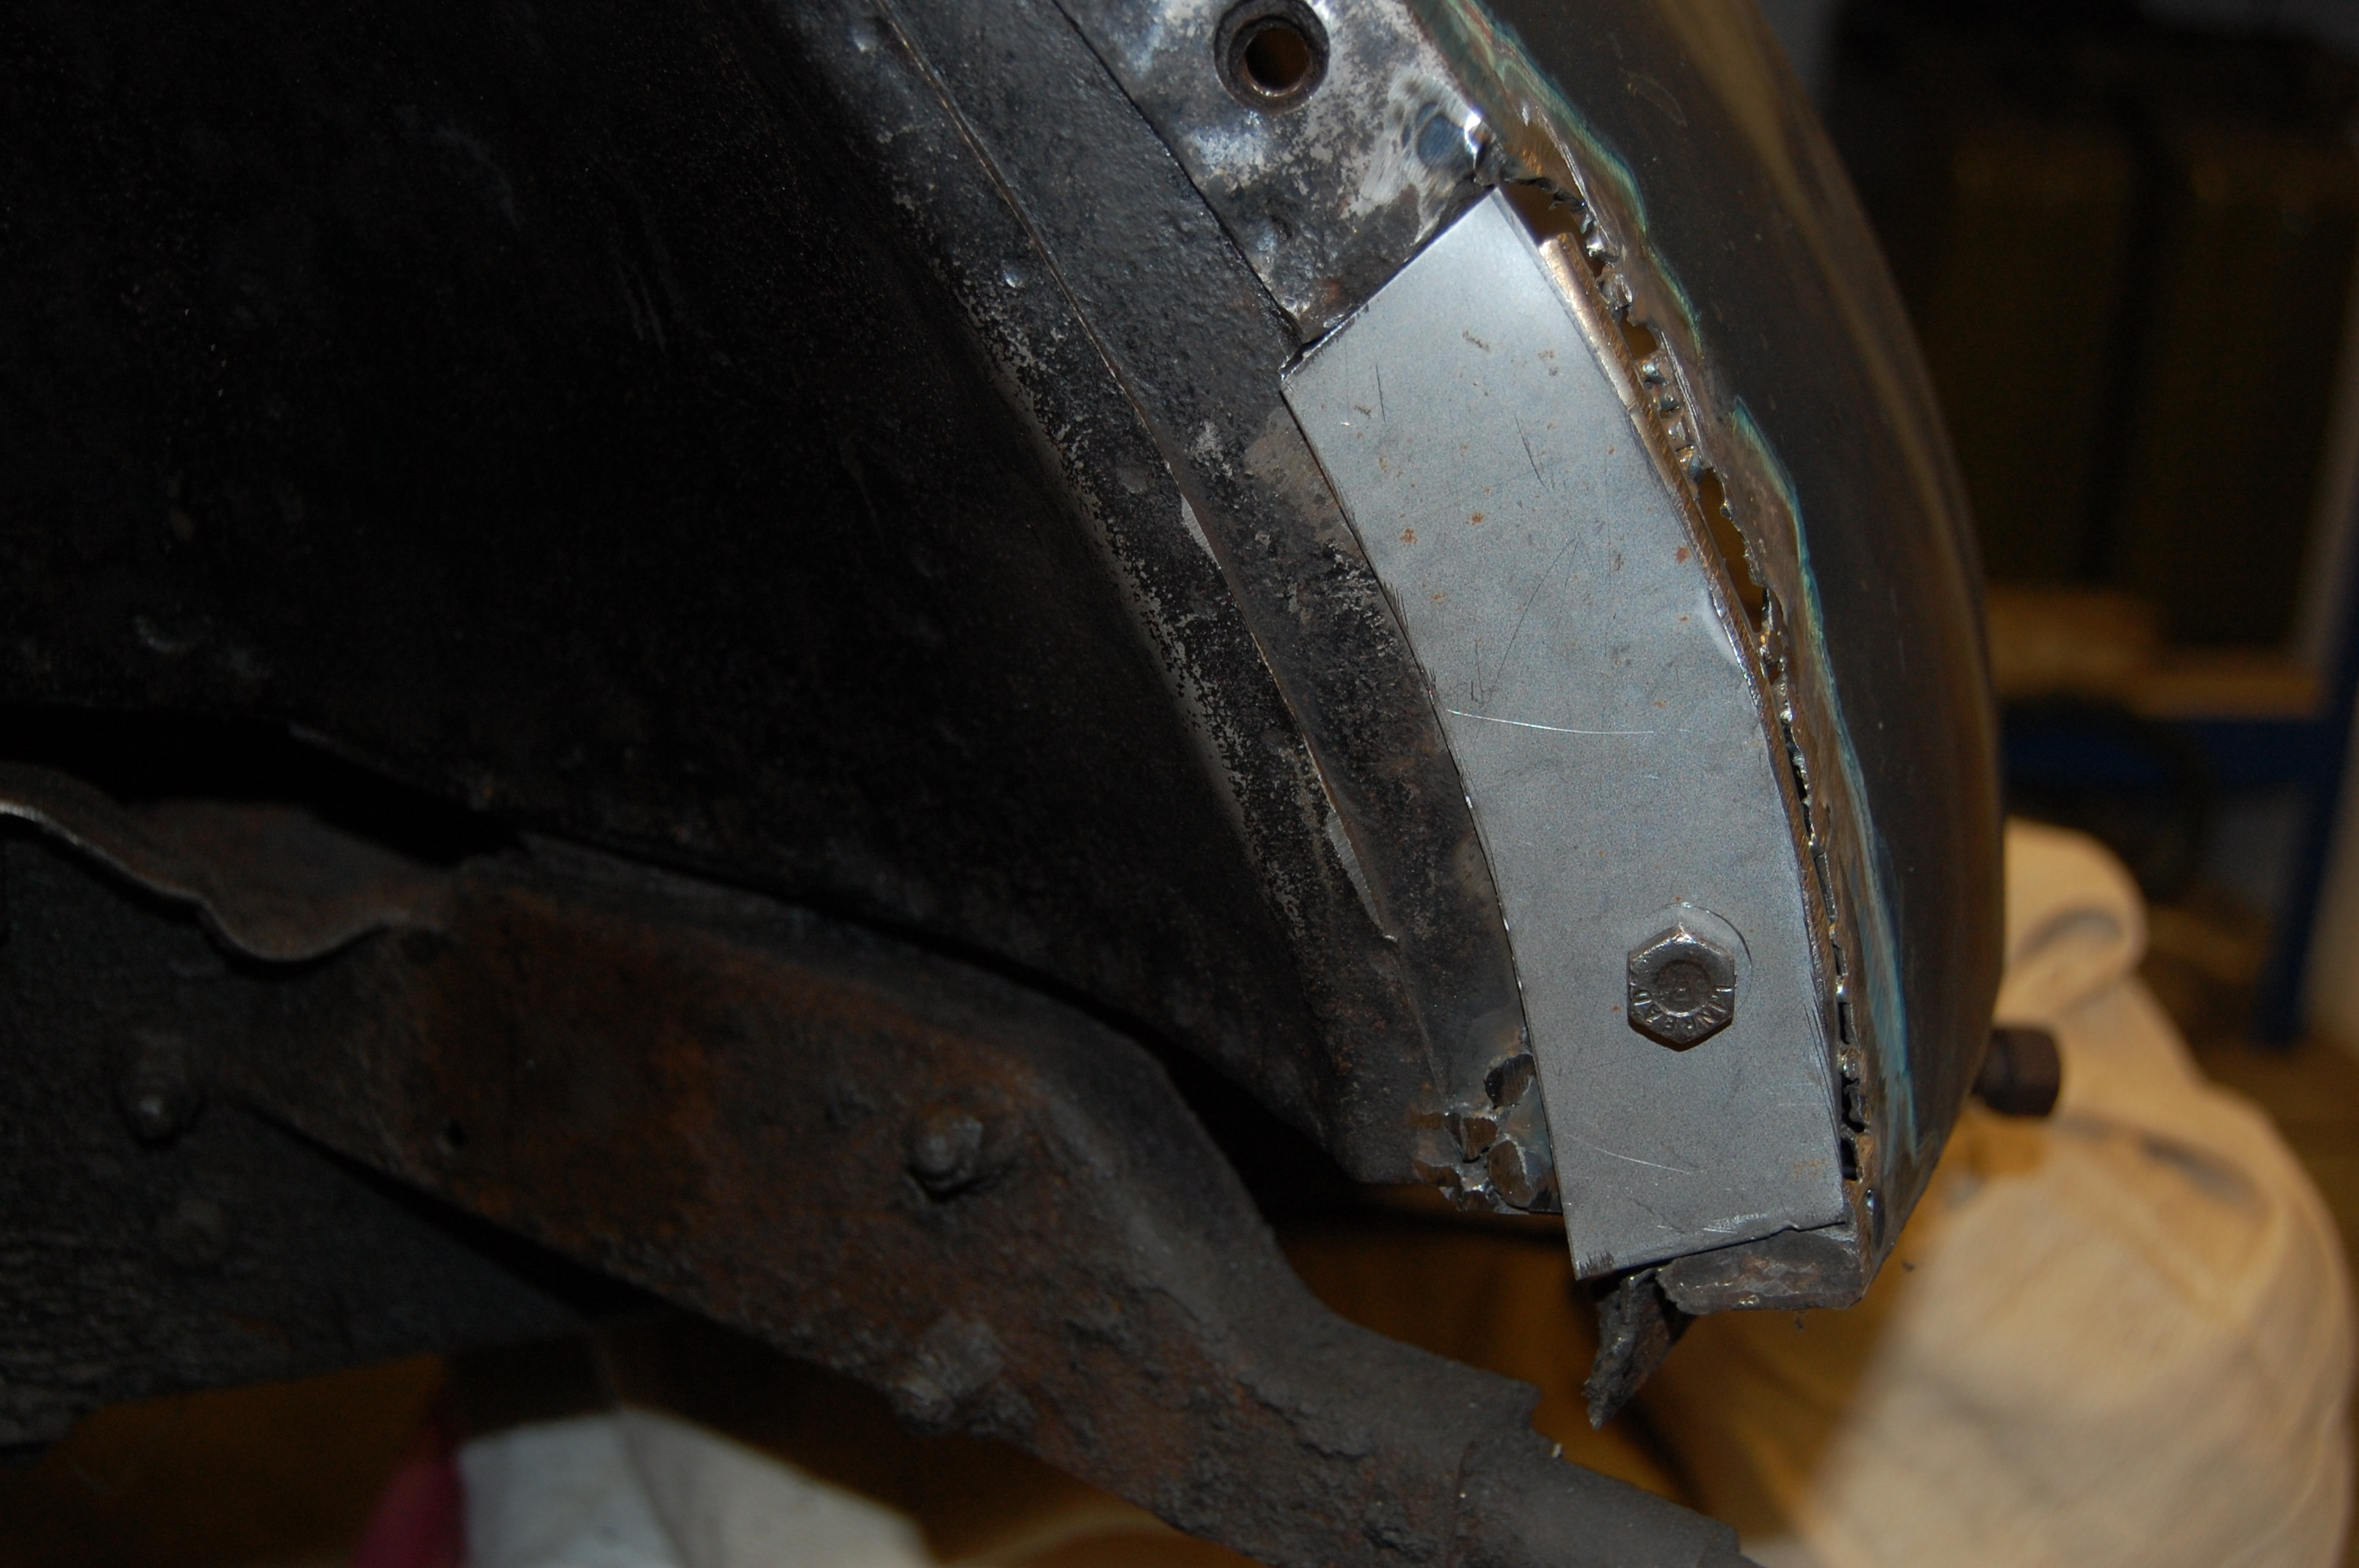
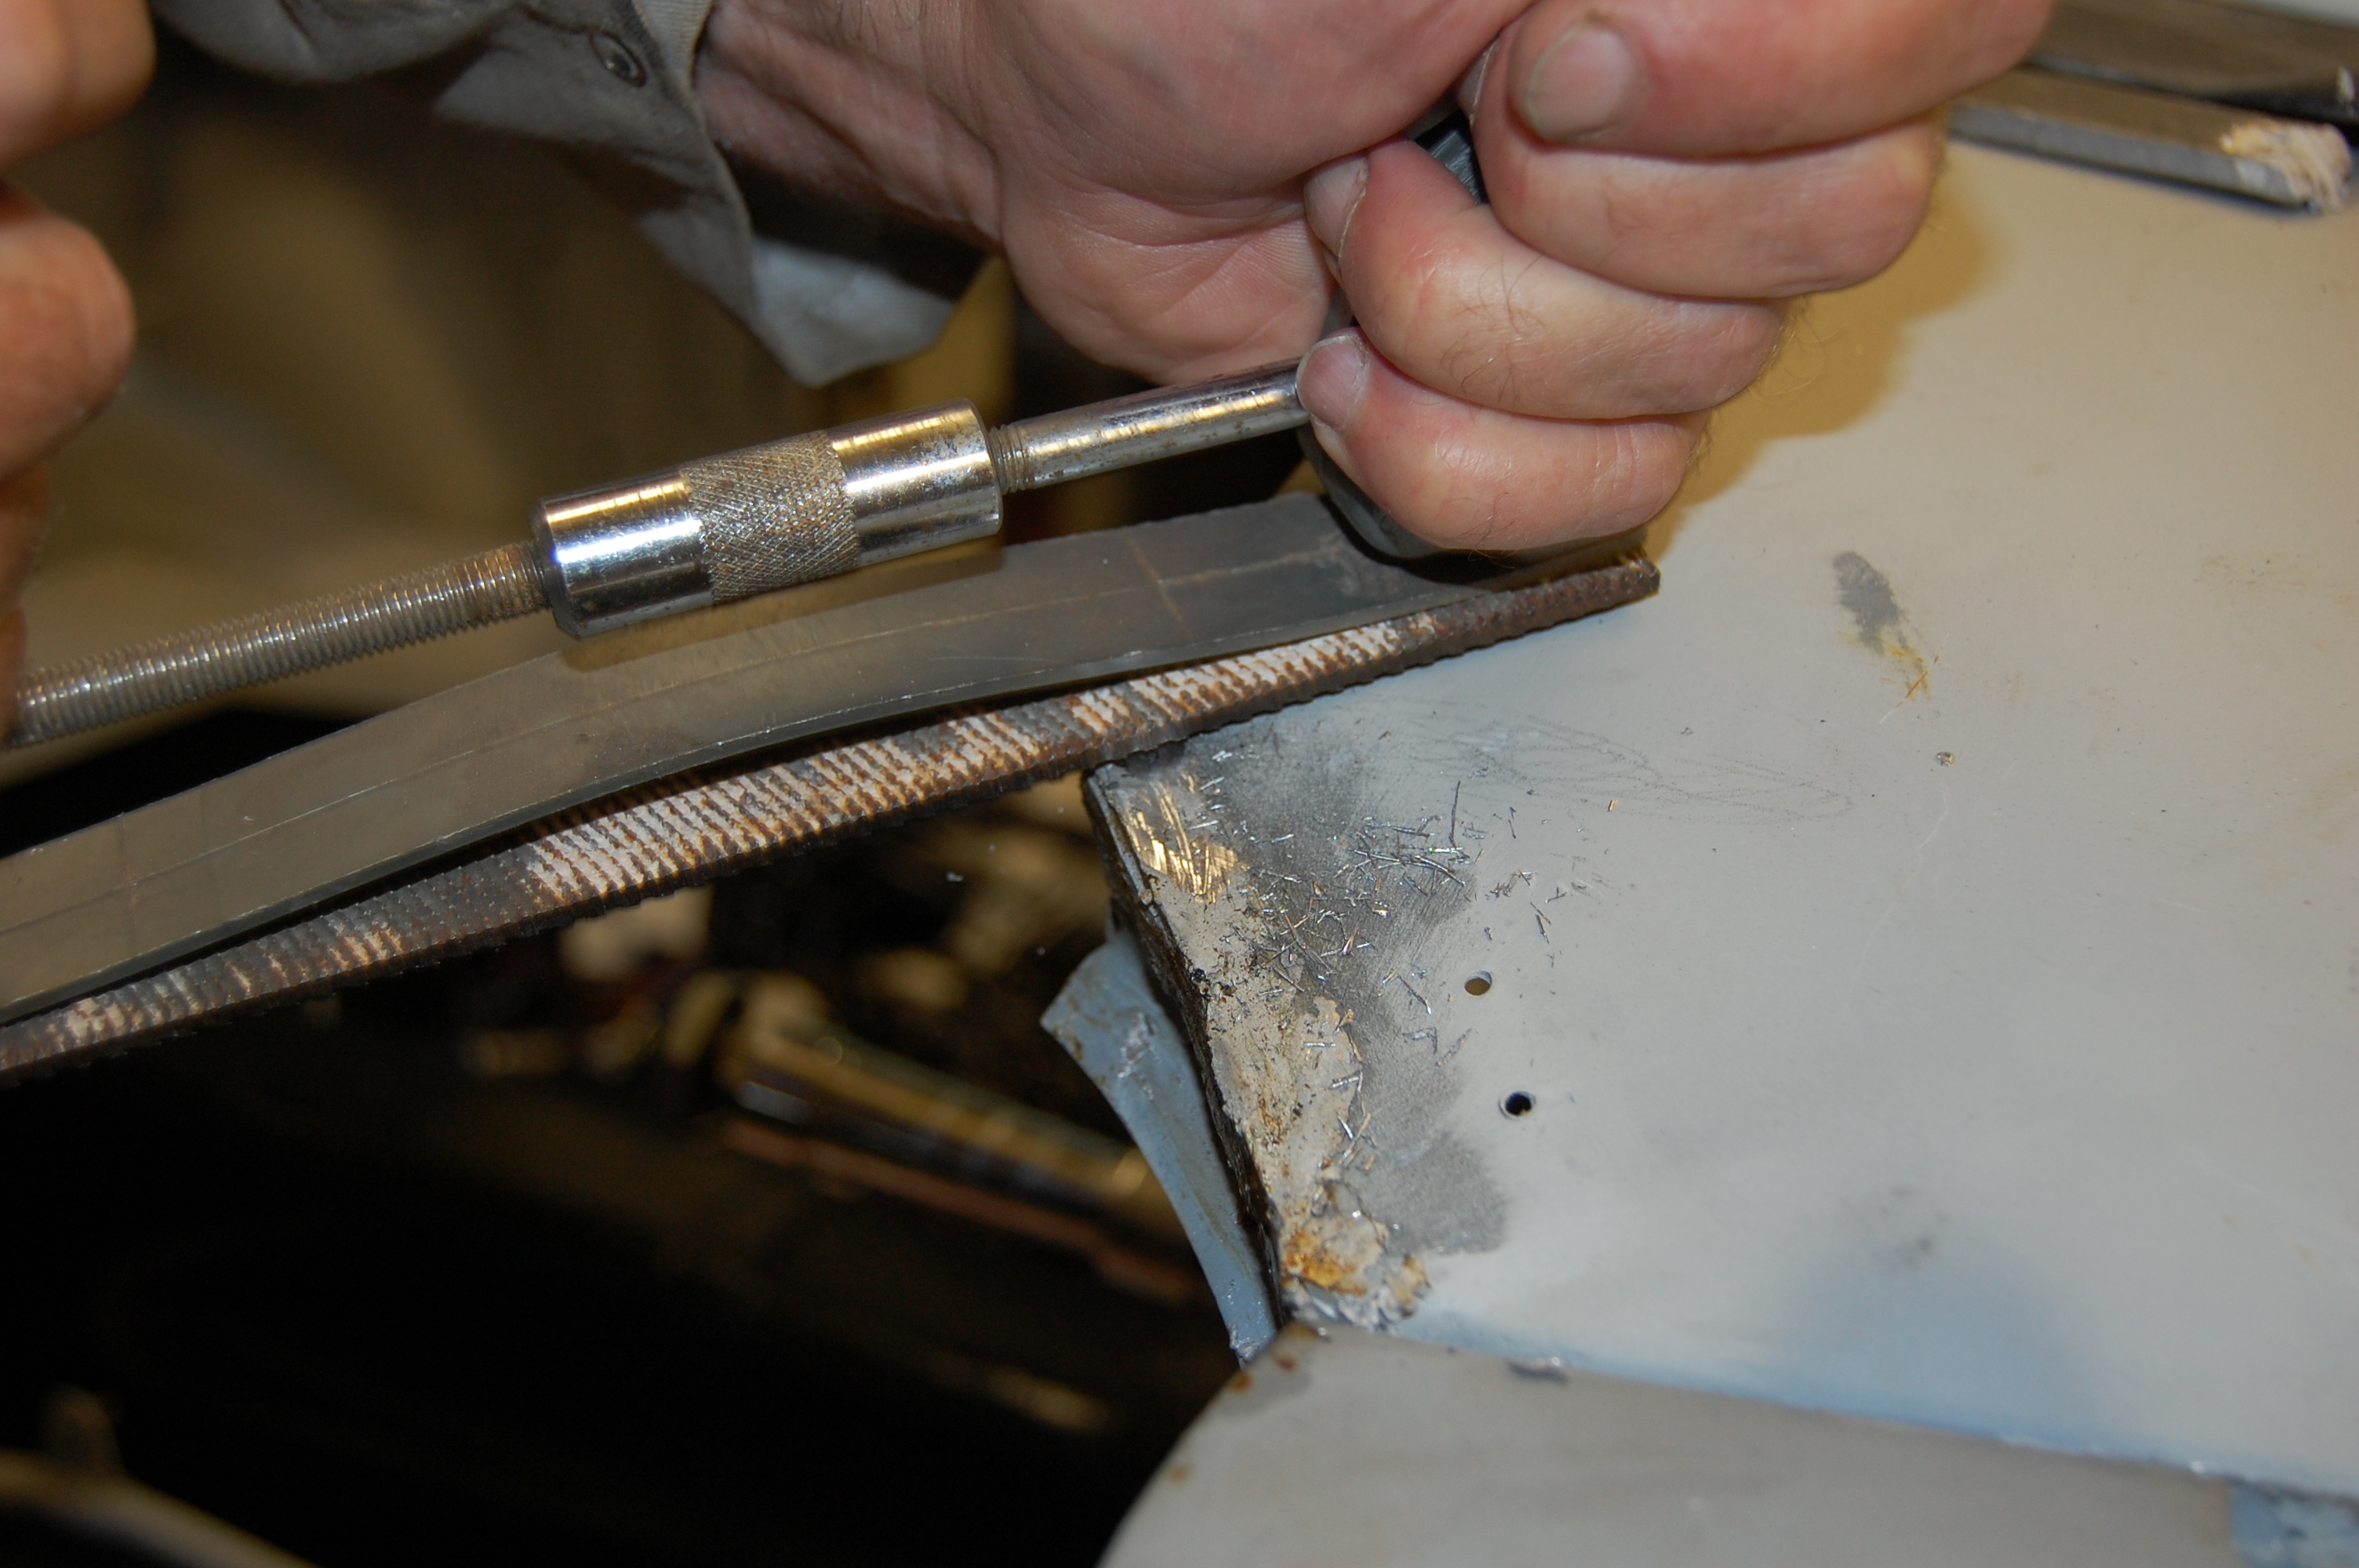
A simple plate was cut out, drilled and fitted using the wing fixing bolt.
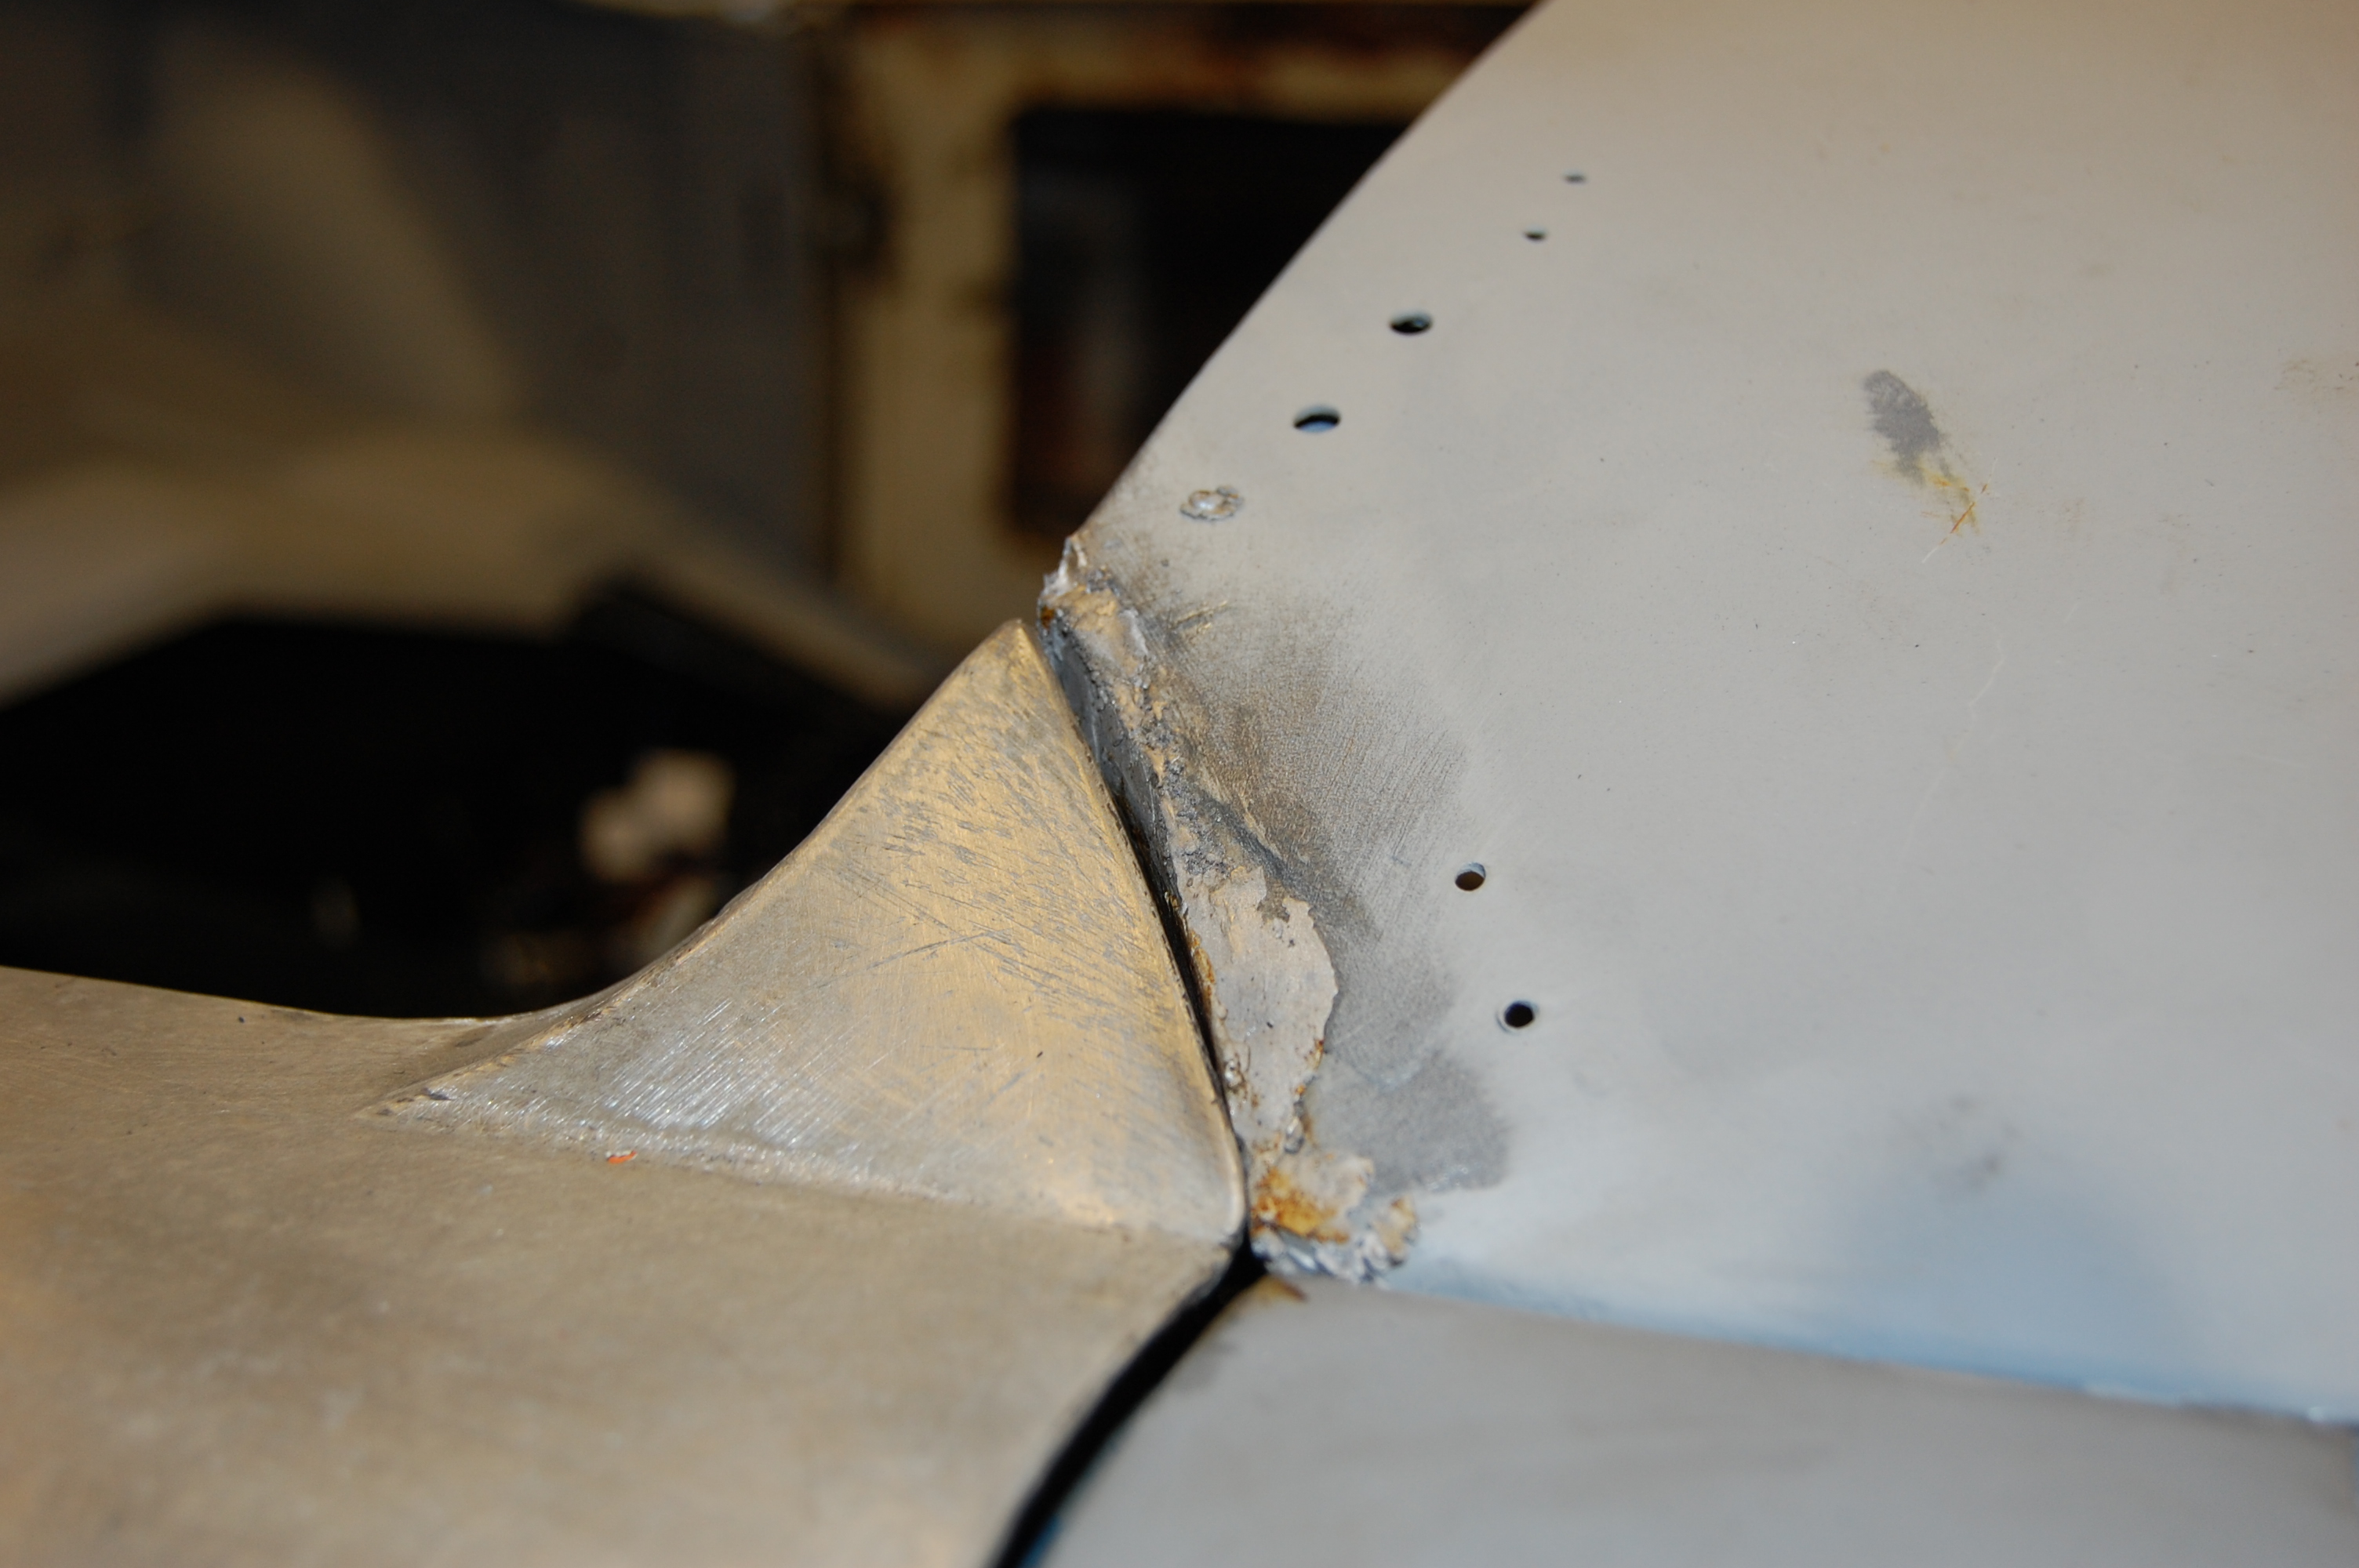
Area was primed with weld-thru primer before tacking plate in position.

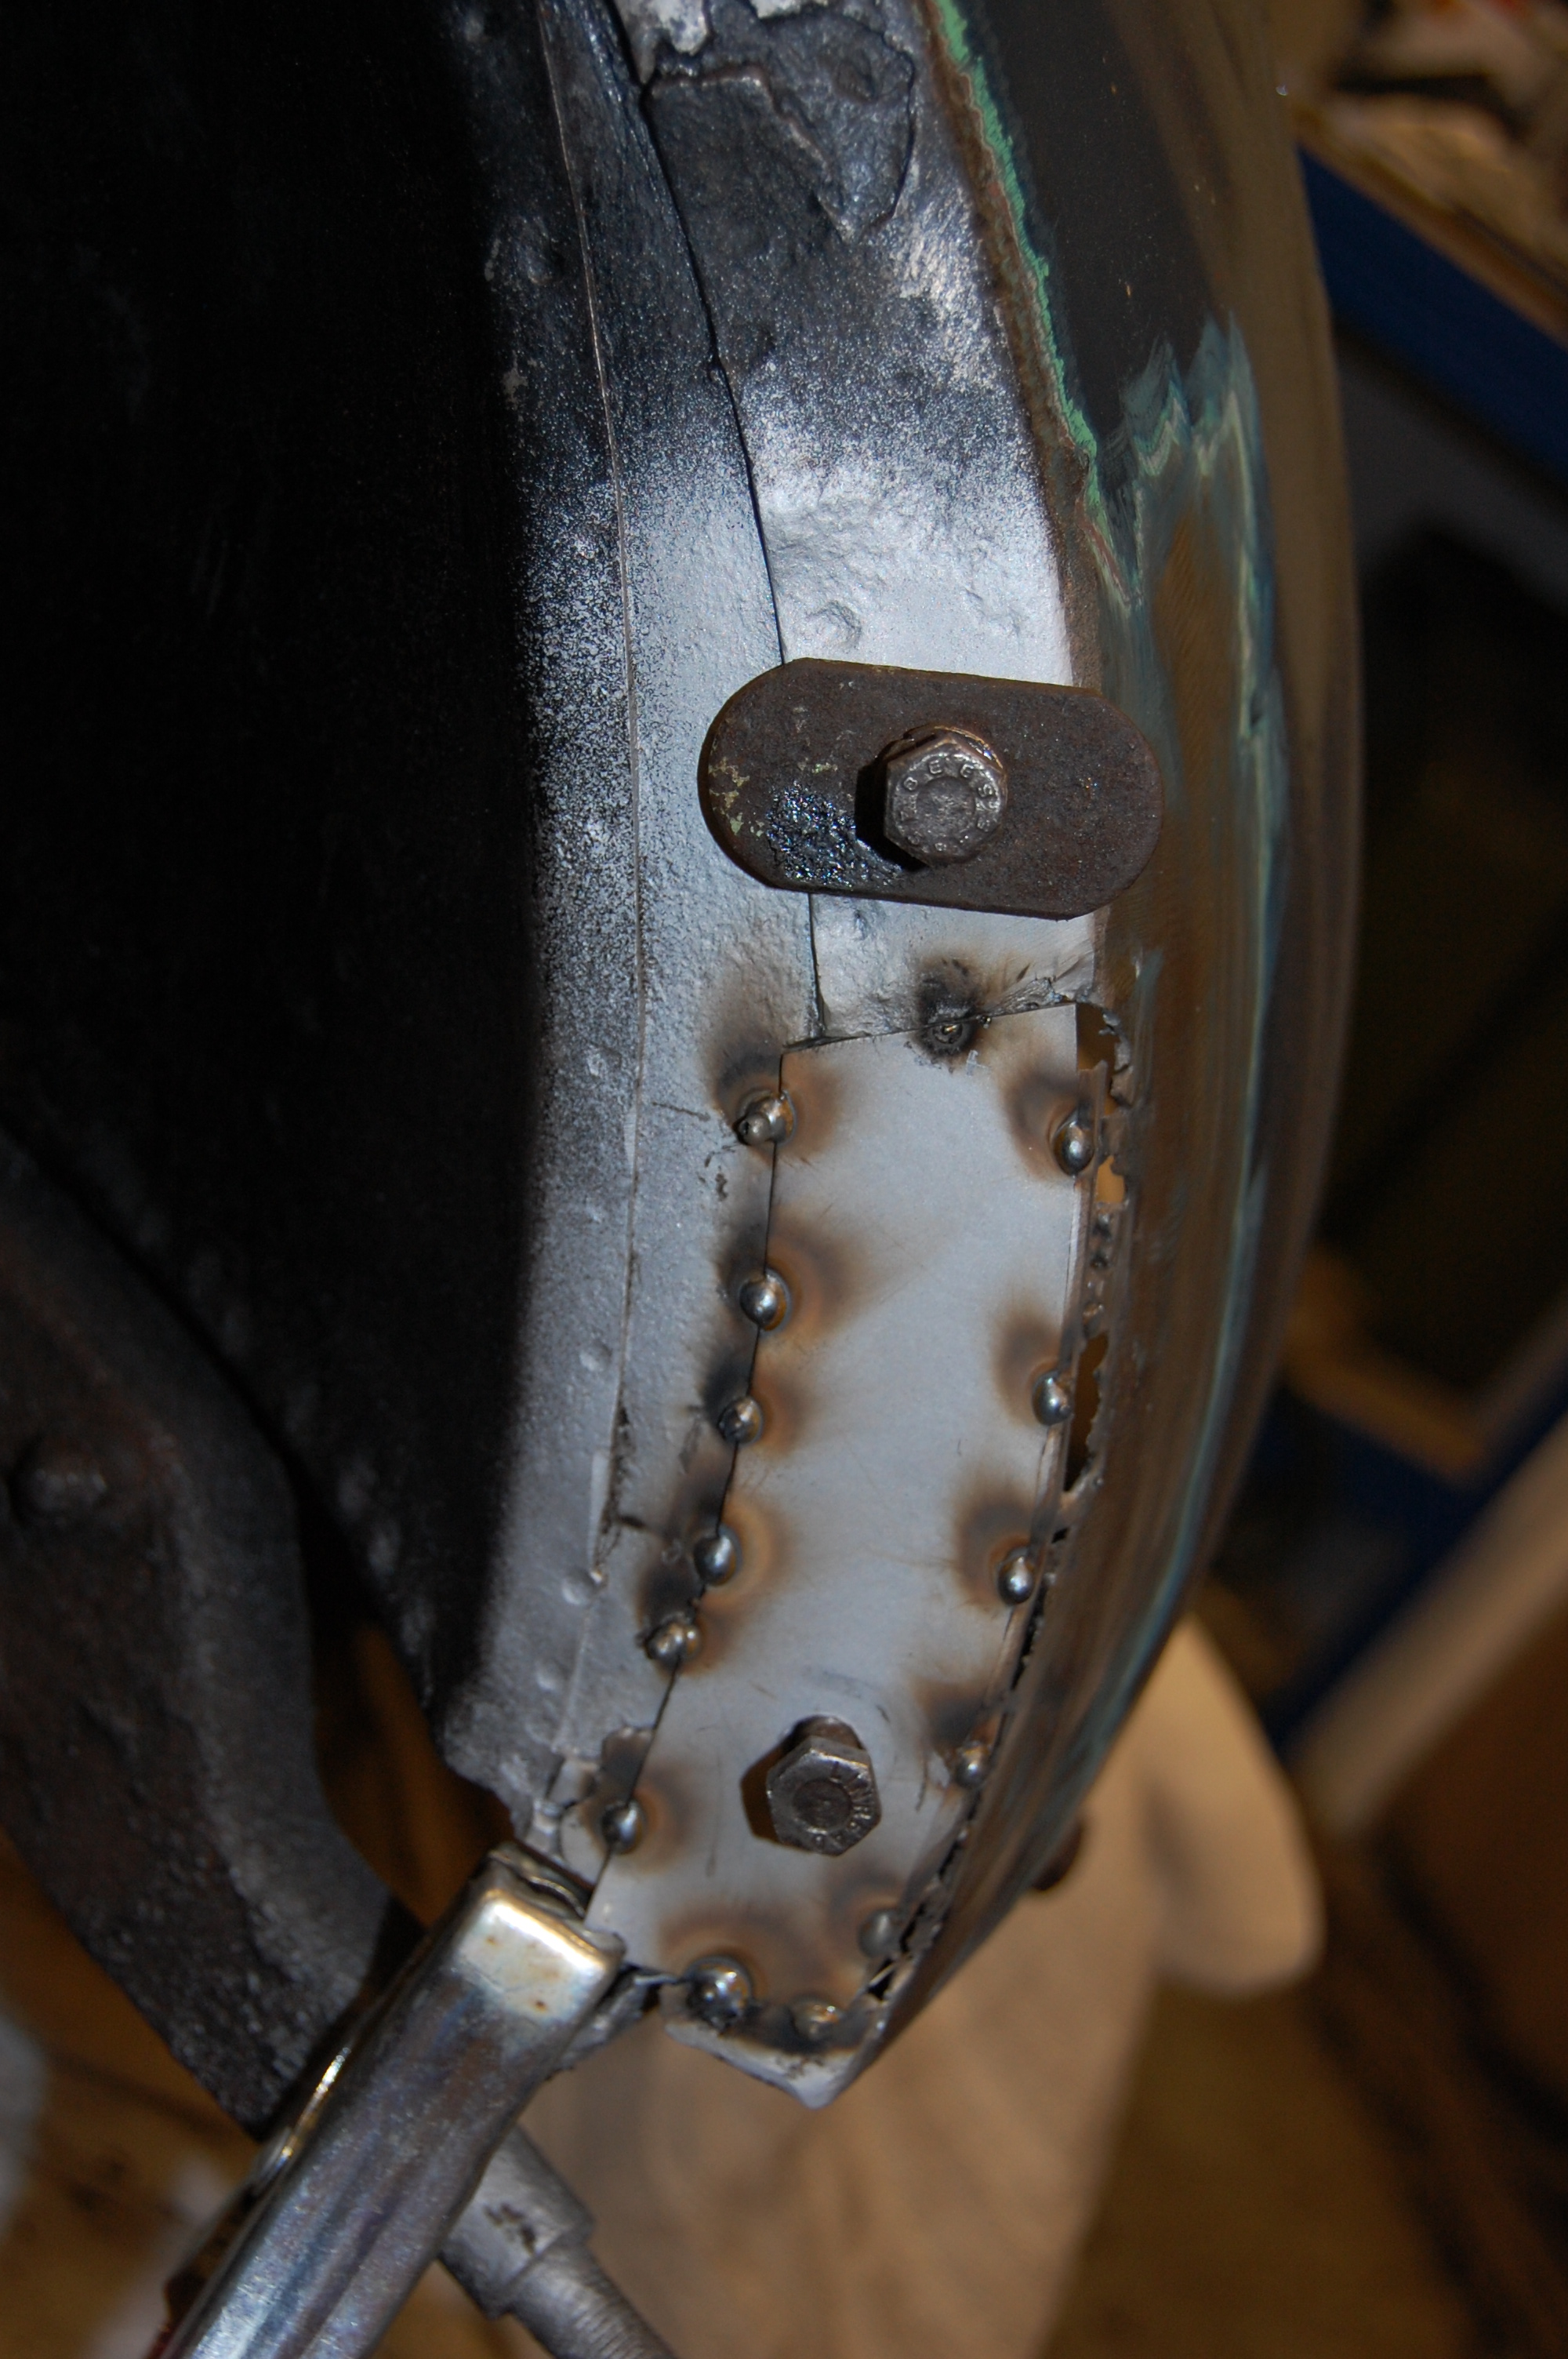
Tack welds.
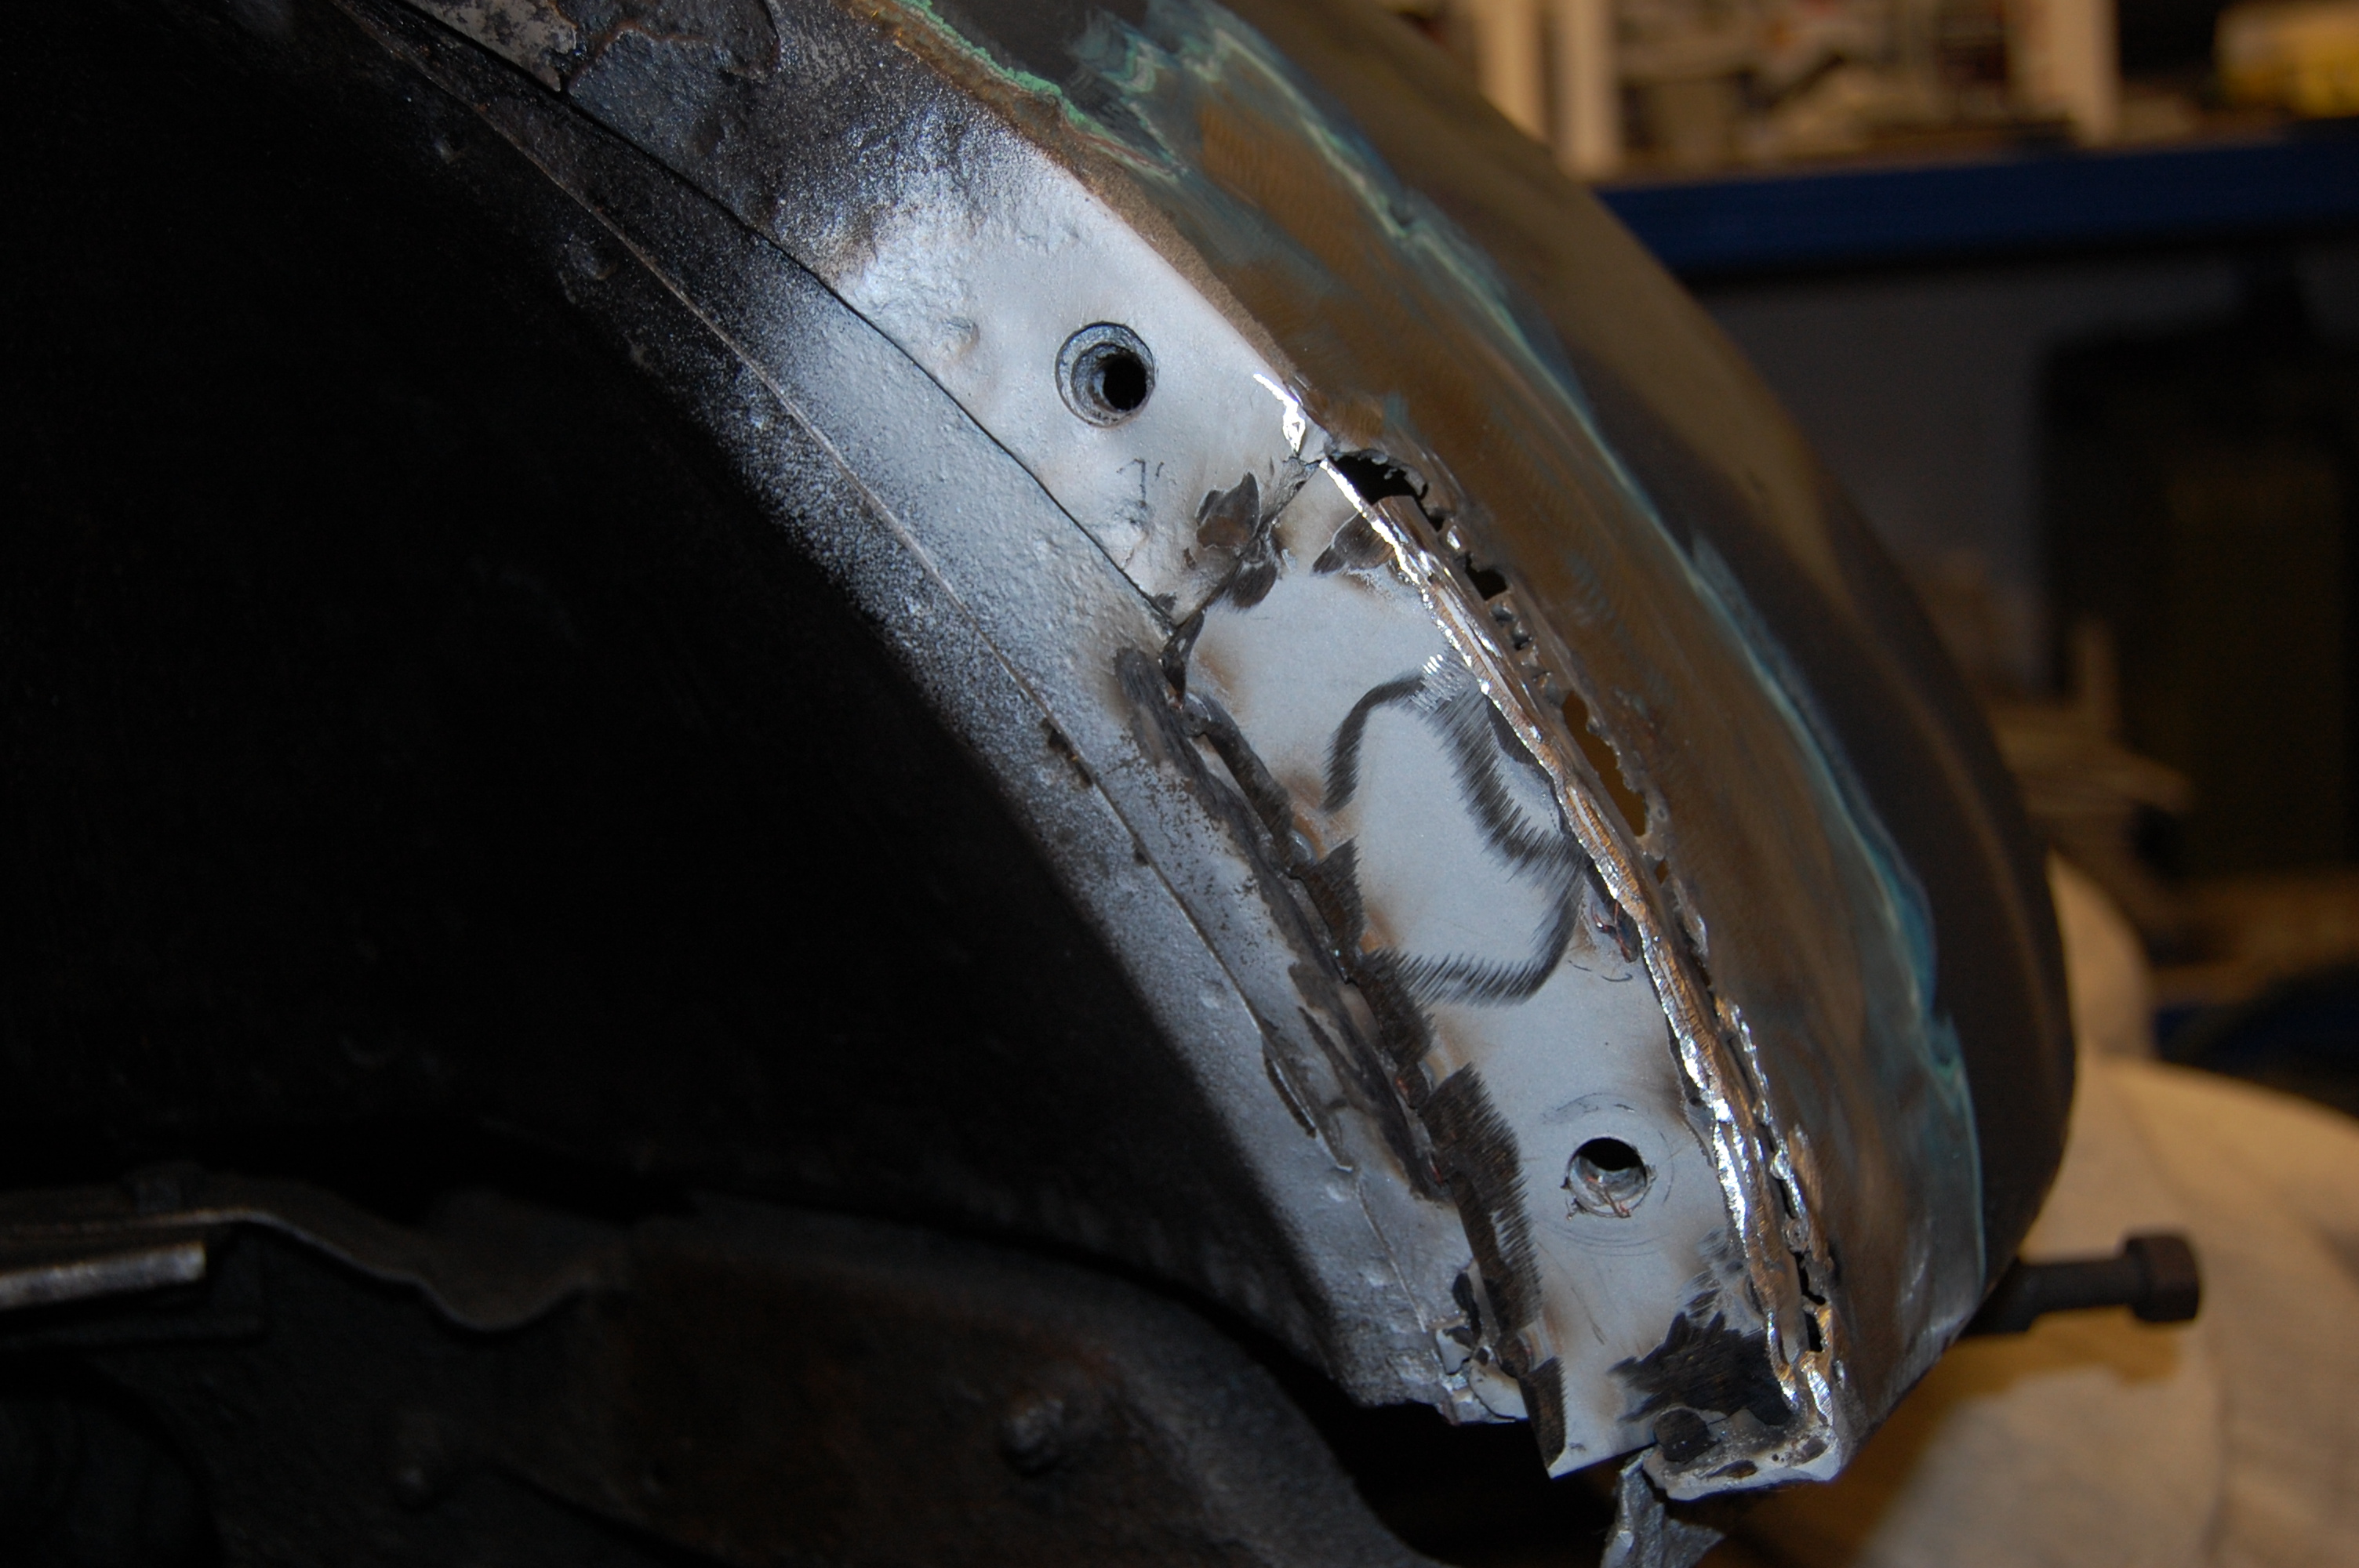
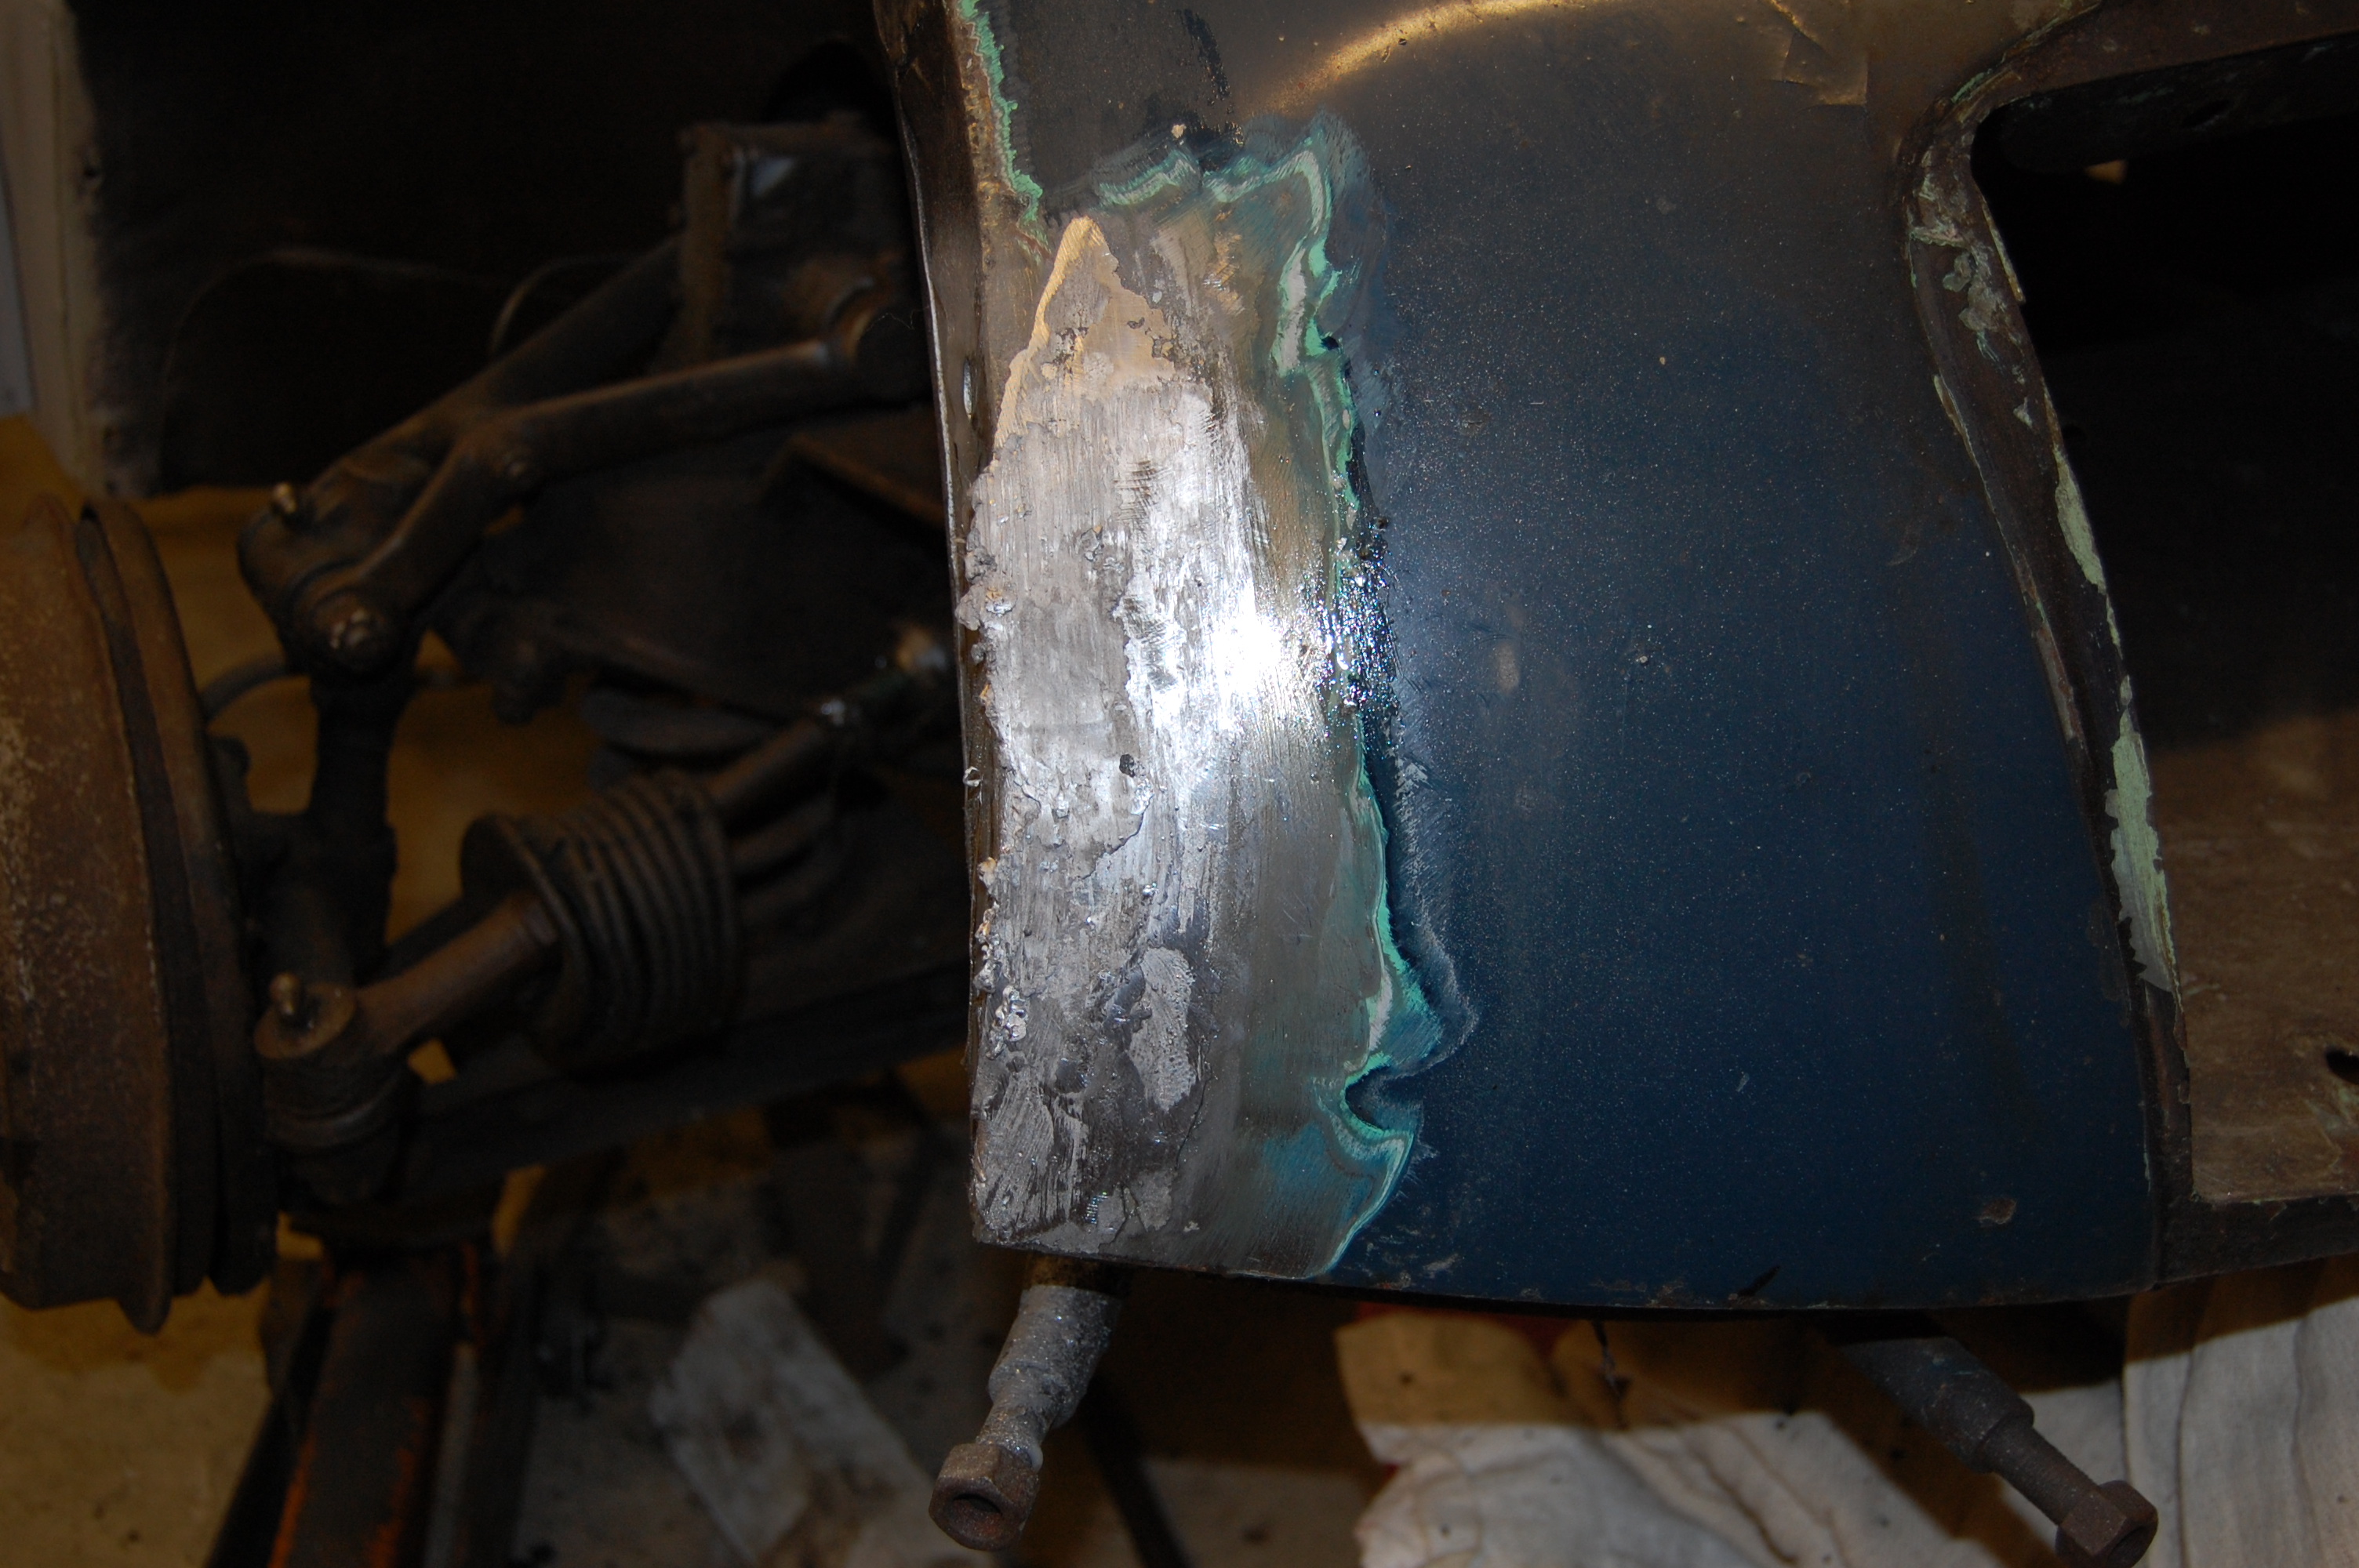
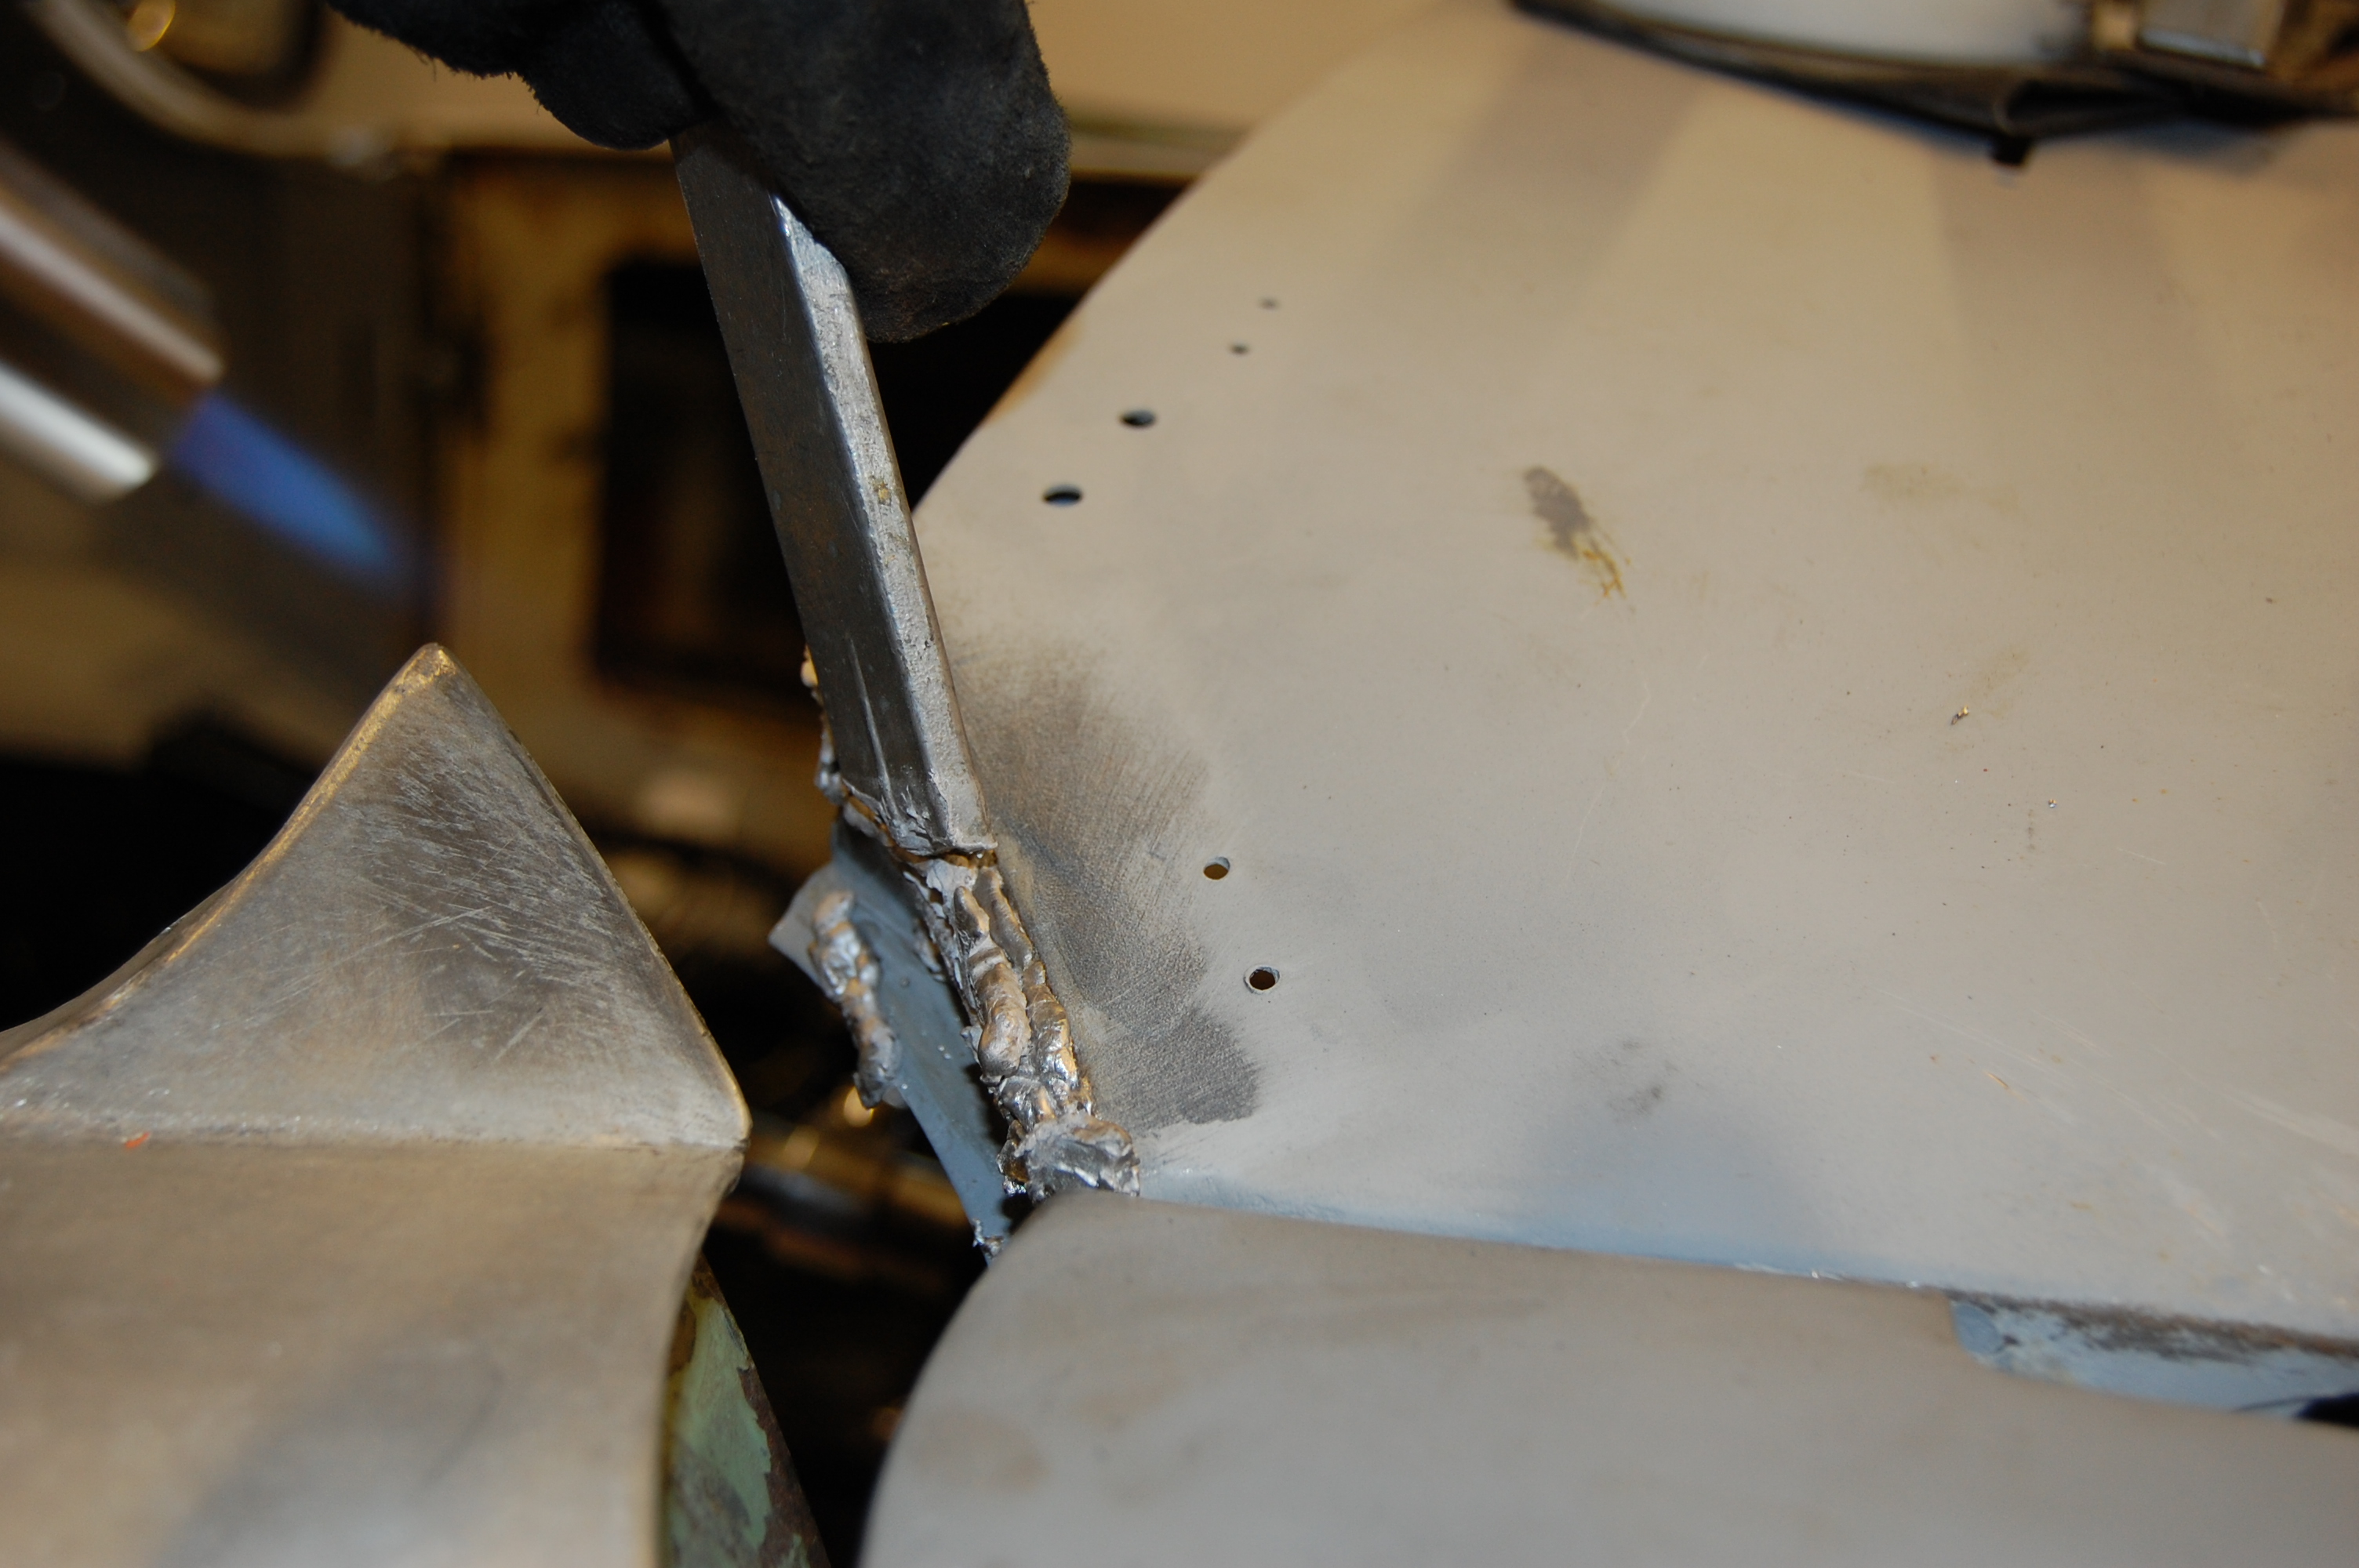
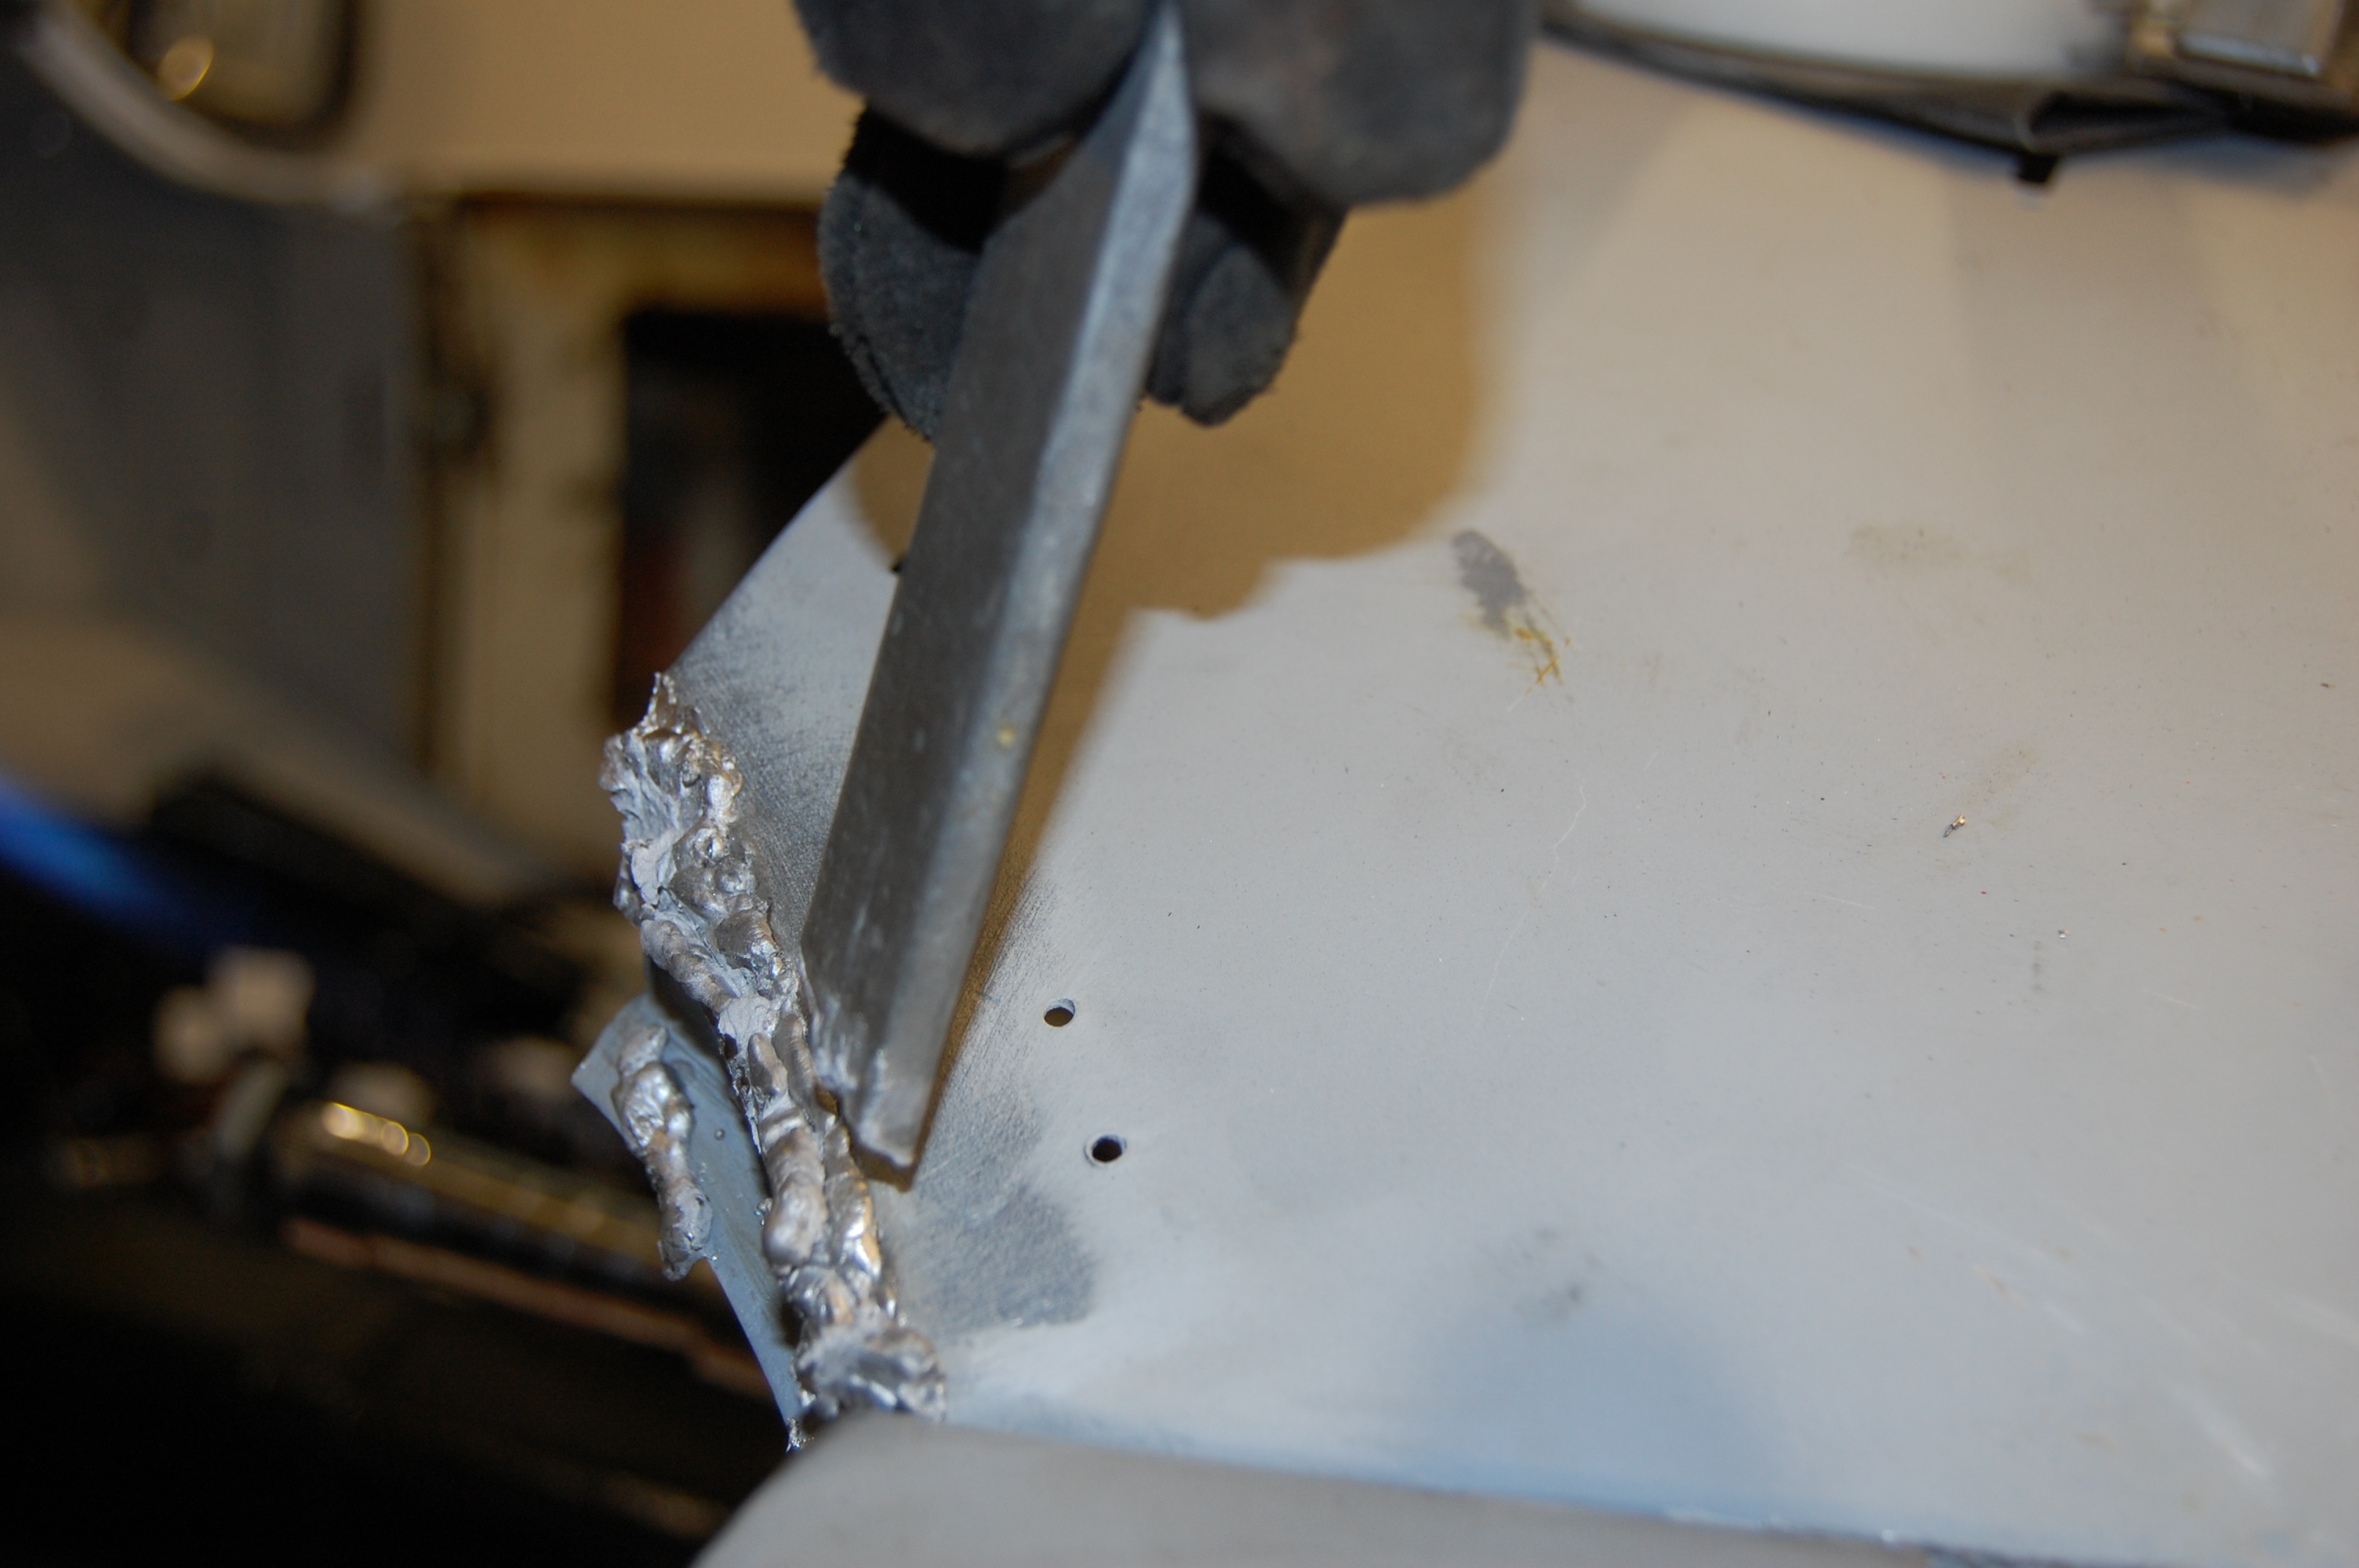
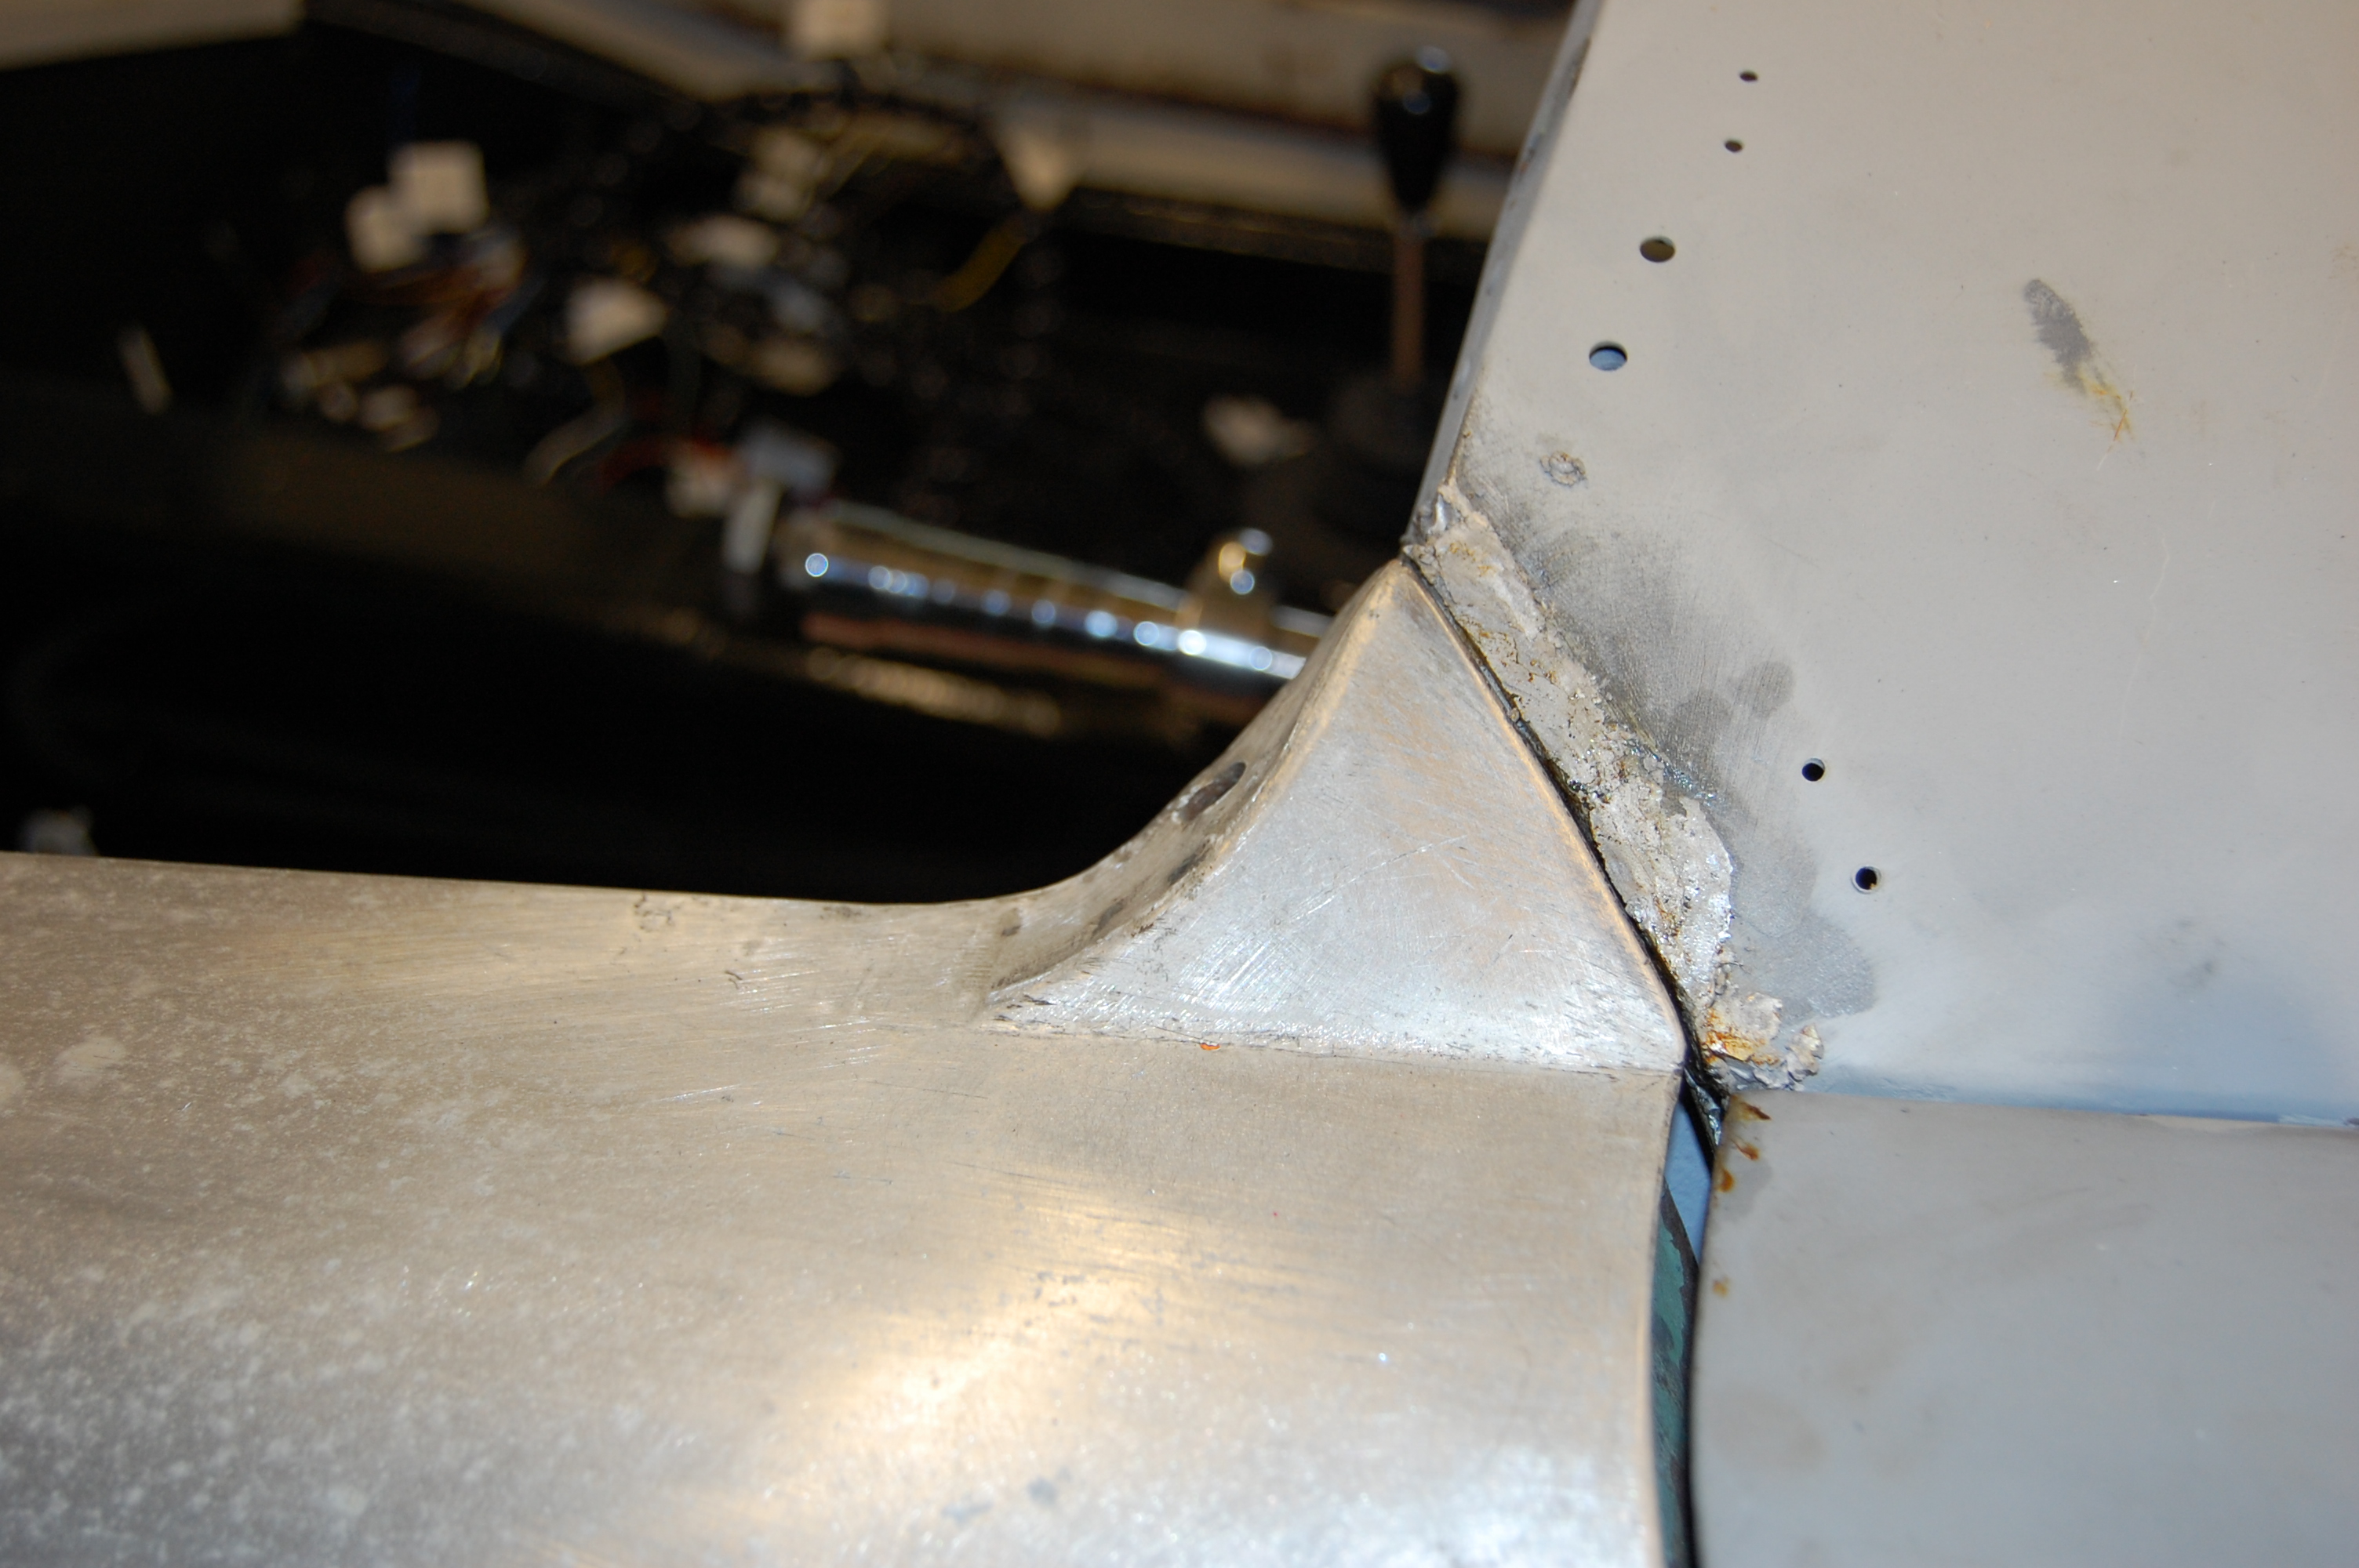
Welds ground back and flange beaten into a lower profile to allow build up of lead load.
This was my first attempt at the dark art of lead loading, but I’ve accumulated bits of the required kit over the past few years at shows and jumbles and now’s the time to give it a go. The automotive lead came from ex Citroën UK colleague Mike Walters, who had a few dozen bars in his garage, that once belonged to his father, that I believe used them in his days at Vauxhall many years ago.
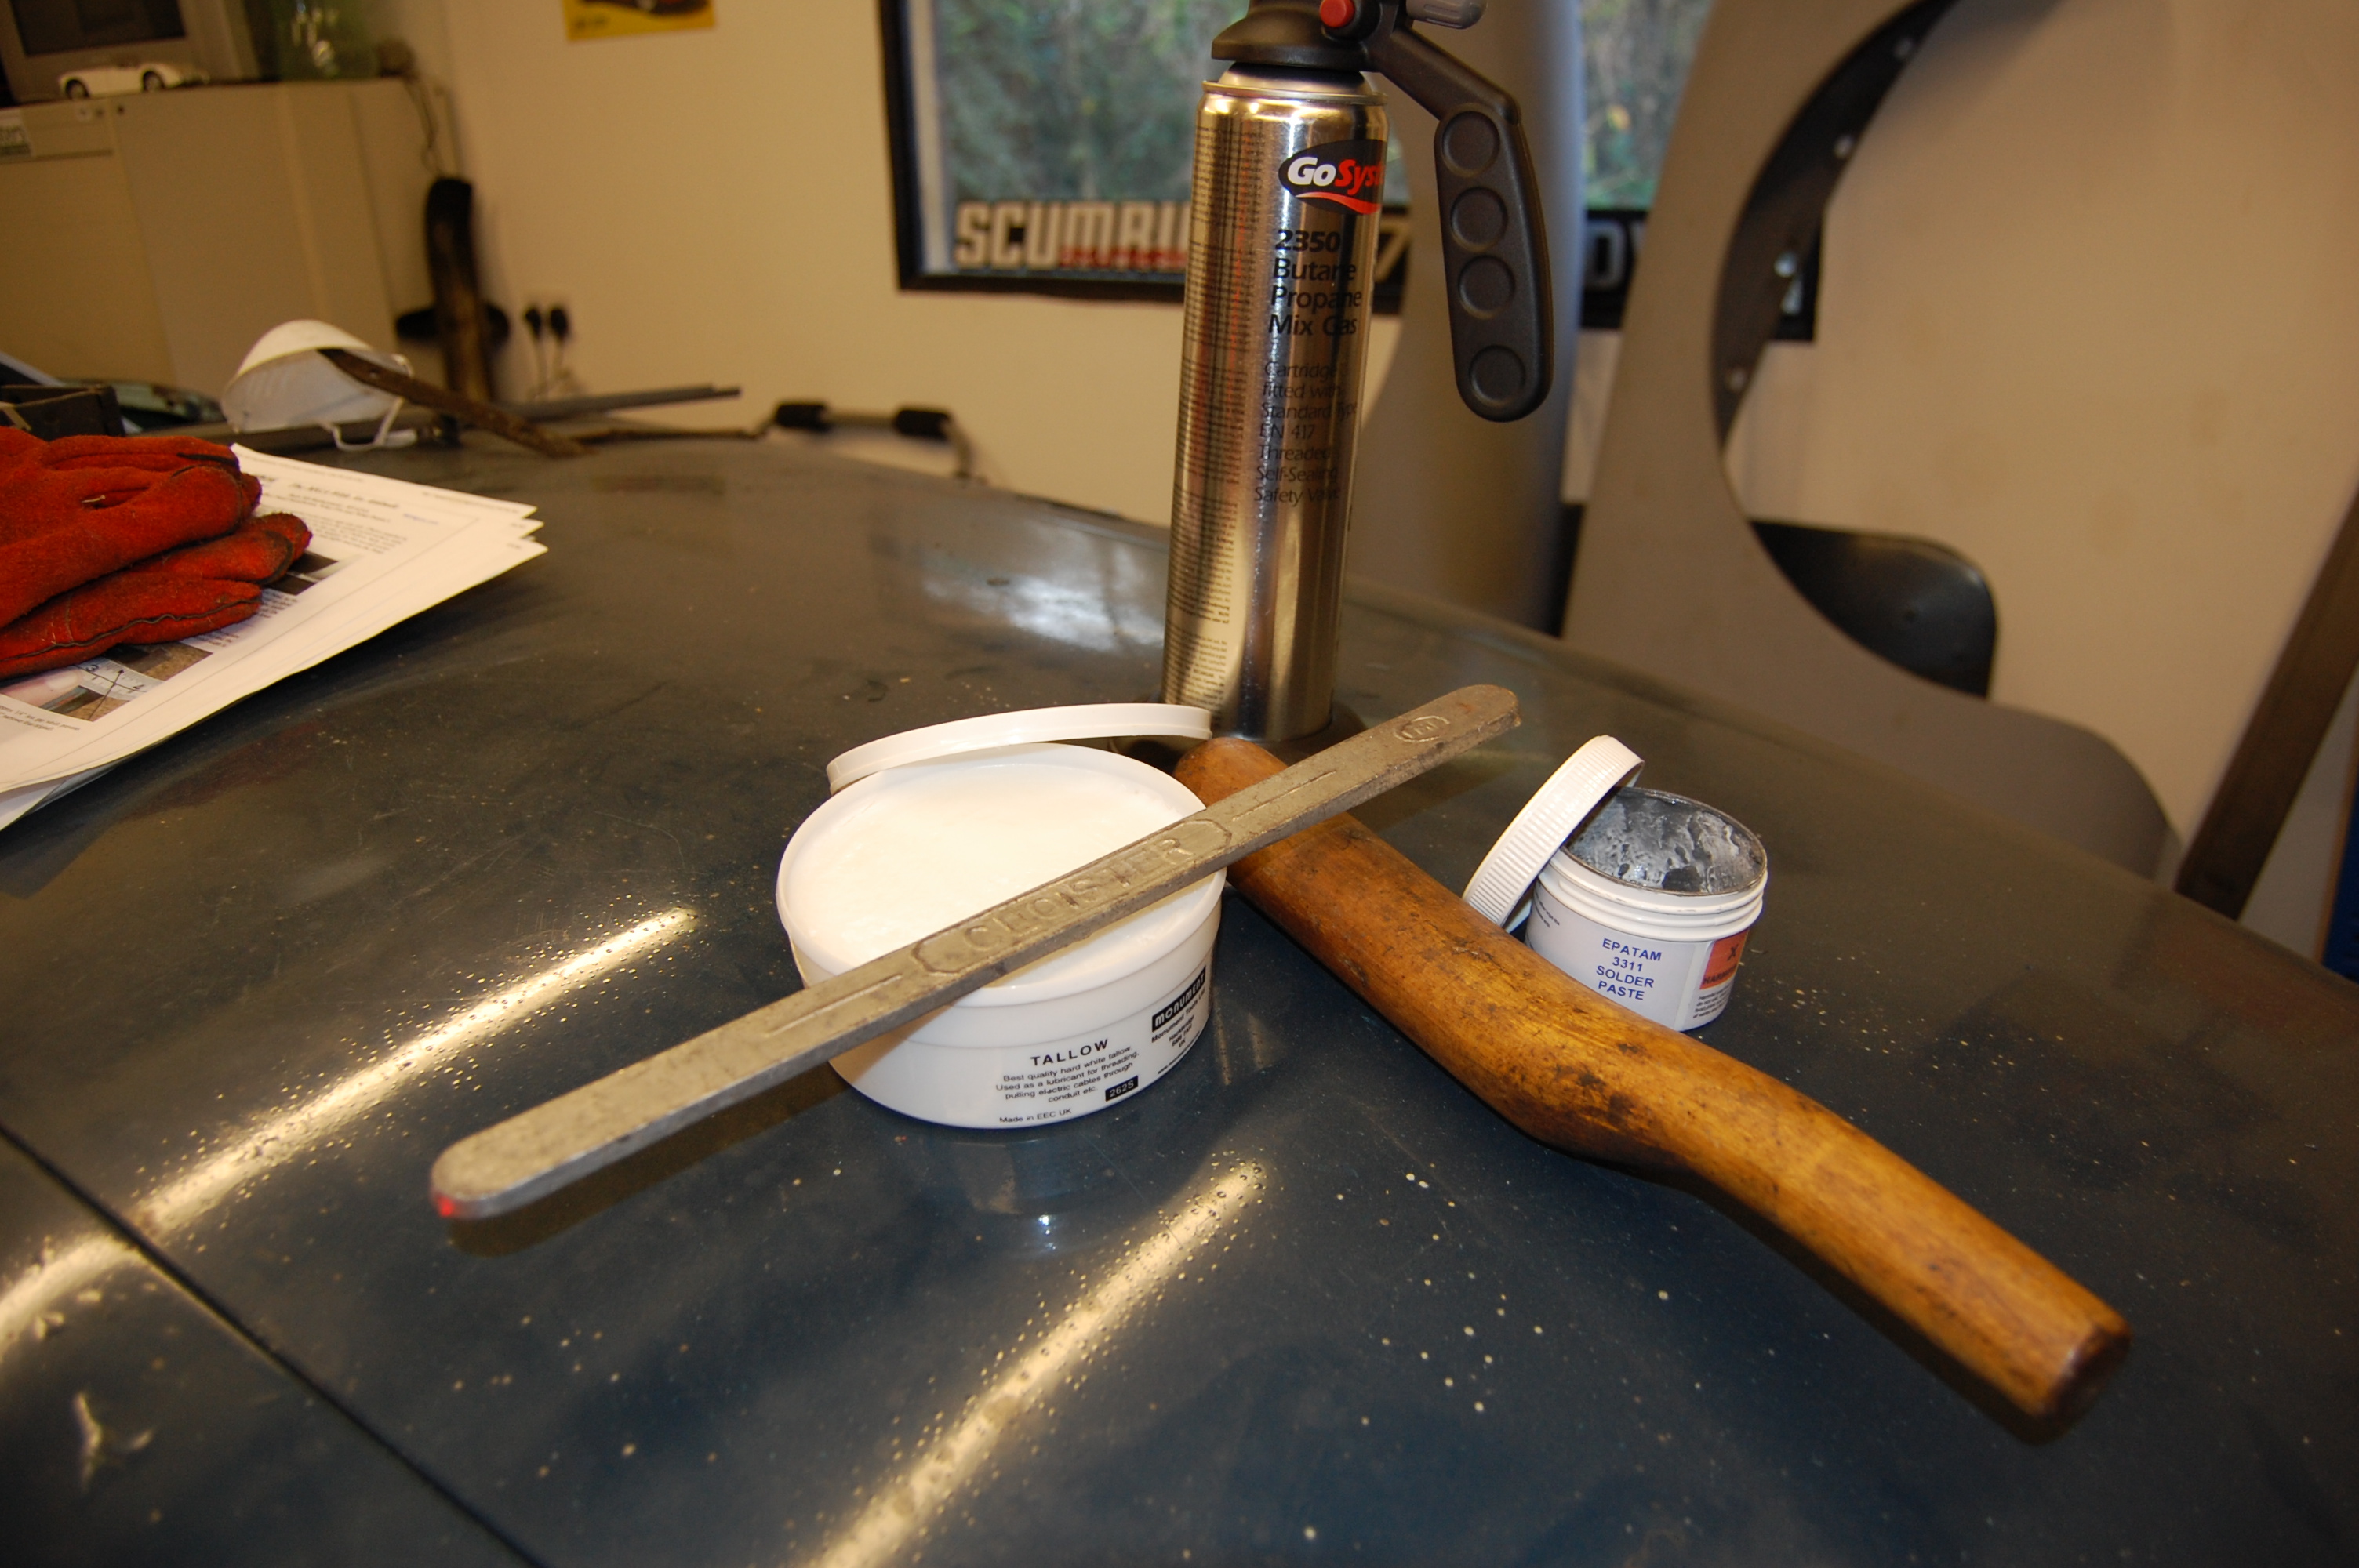
Having cleaned the area back to bare metal, solder paste is brushed on to the bit to be leaded.
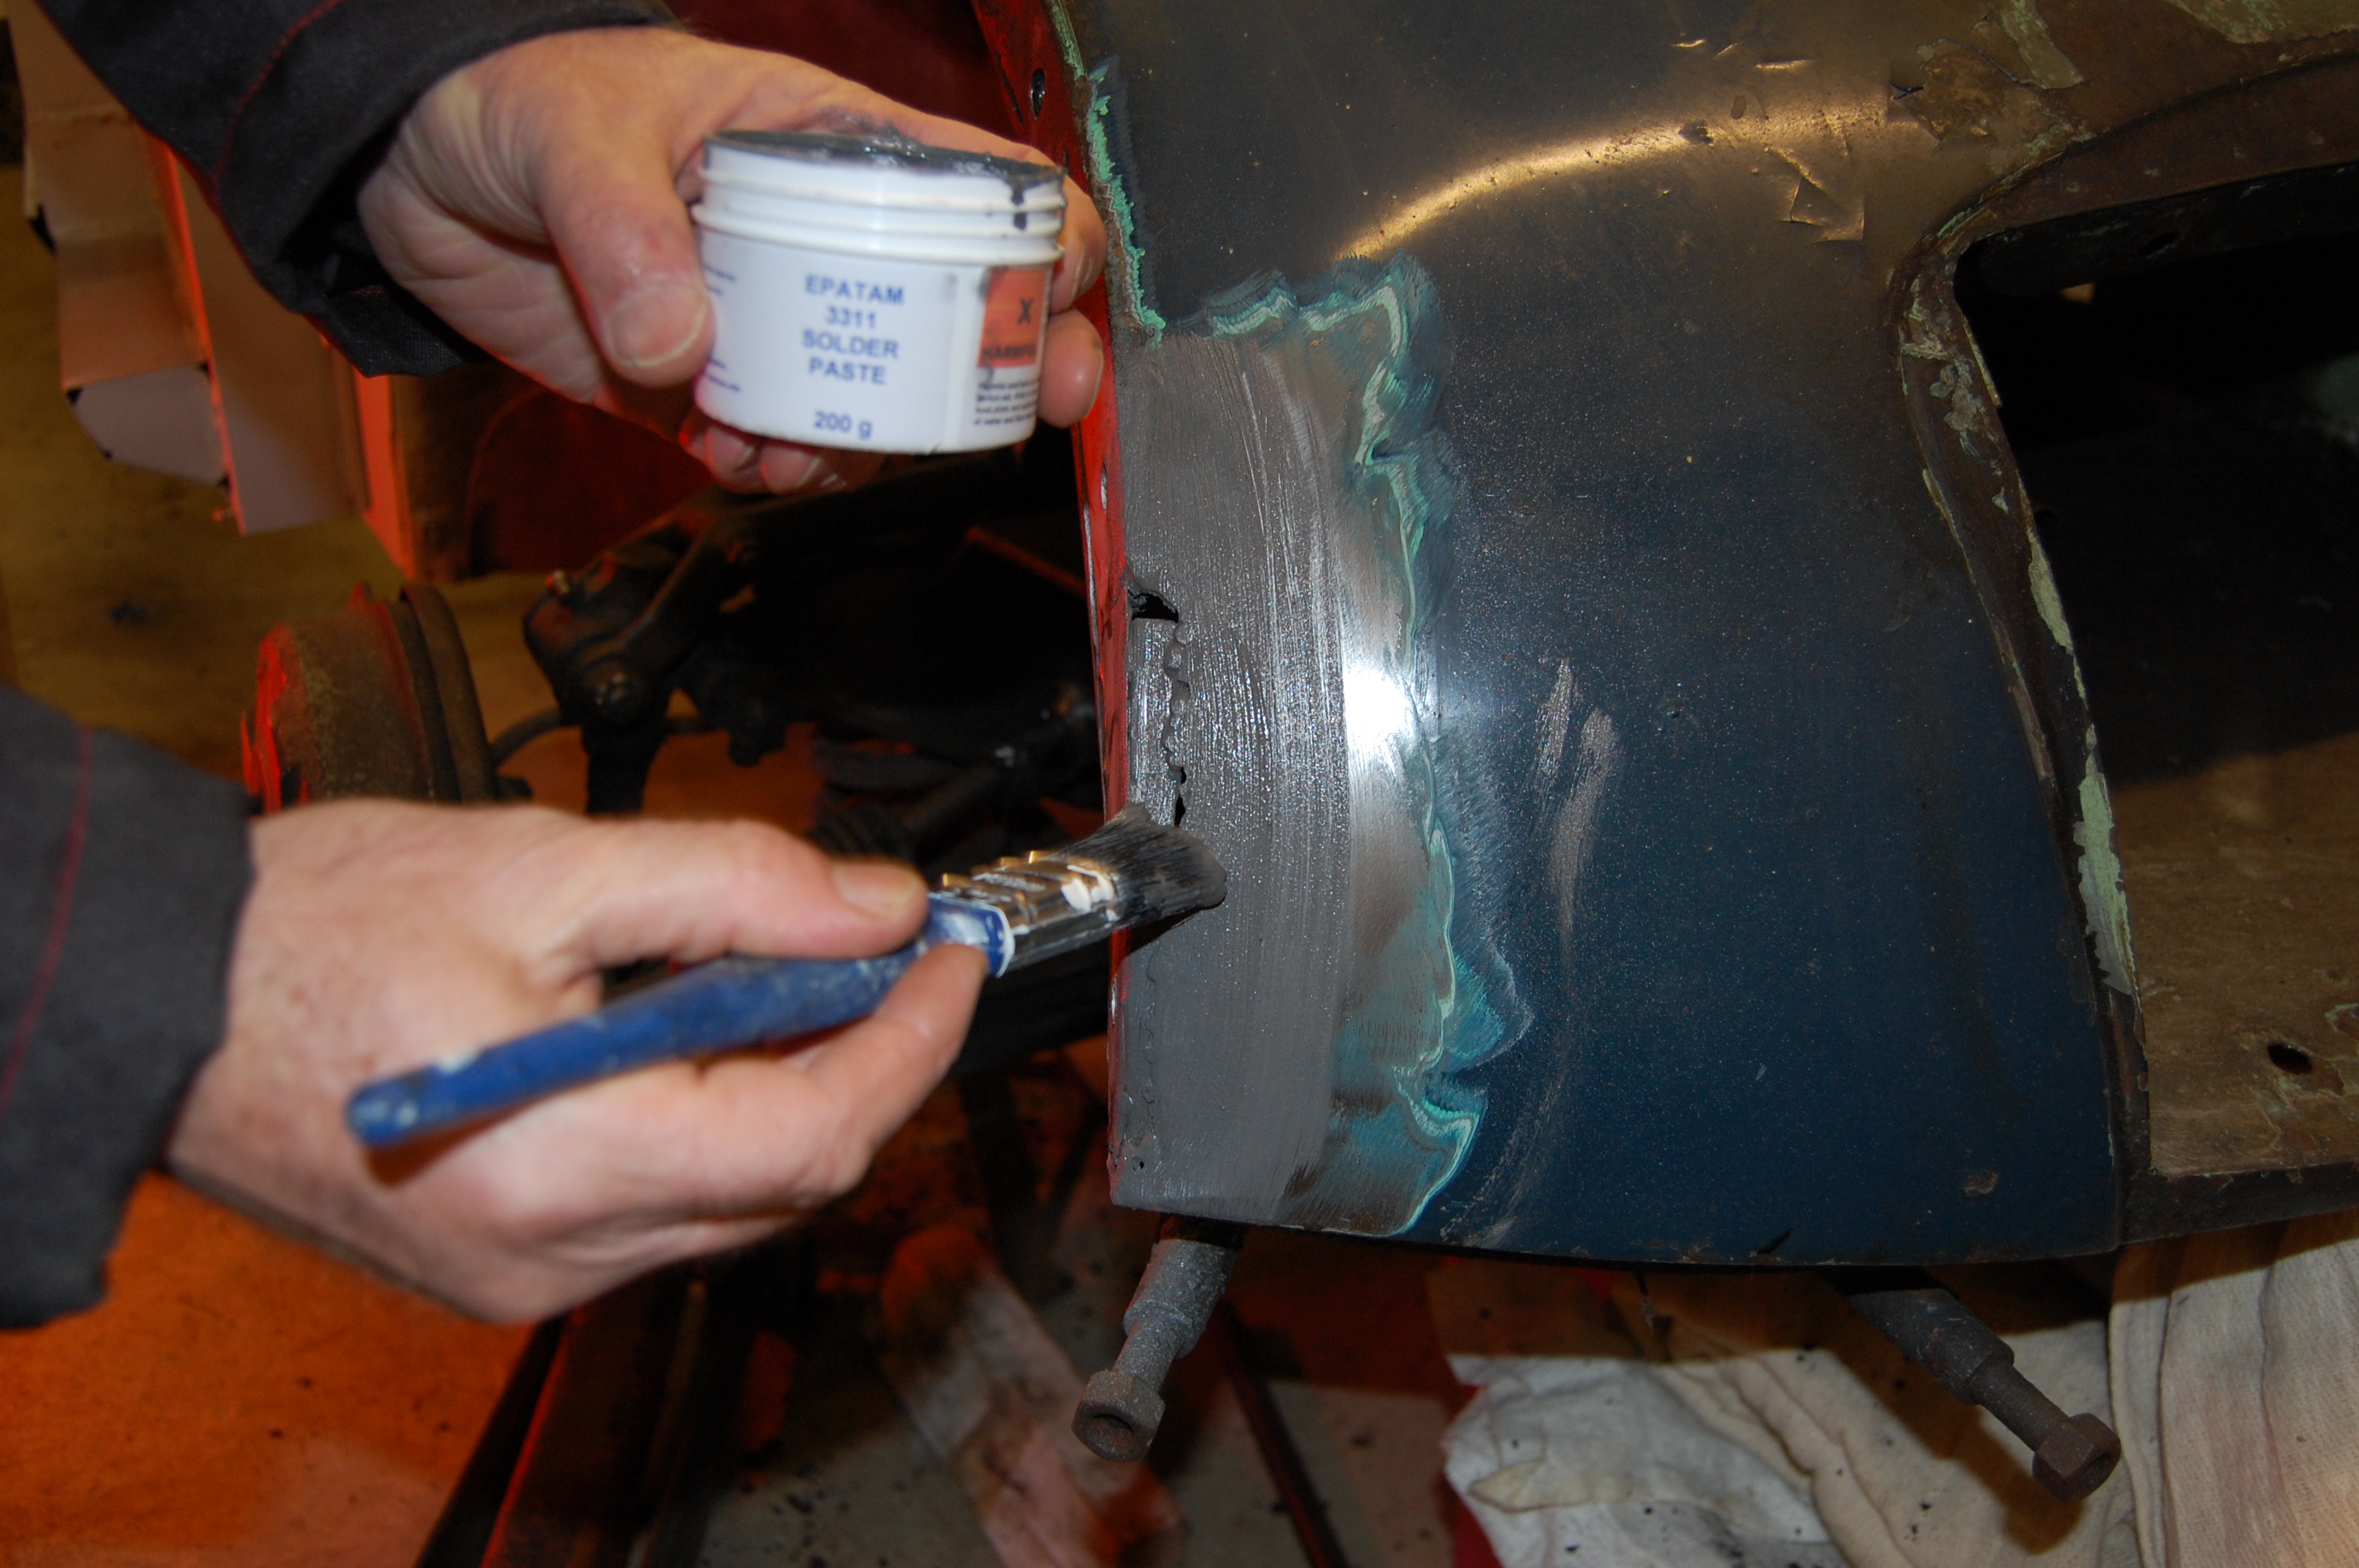
The solder paste is then heated until it starts to bubble and run, this is then wiped off with a damp rag until it all appears bright silver.
Repair area is now tinned and ready for lead solder.
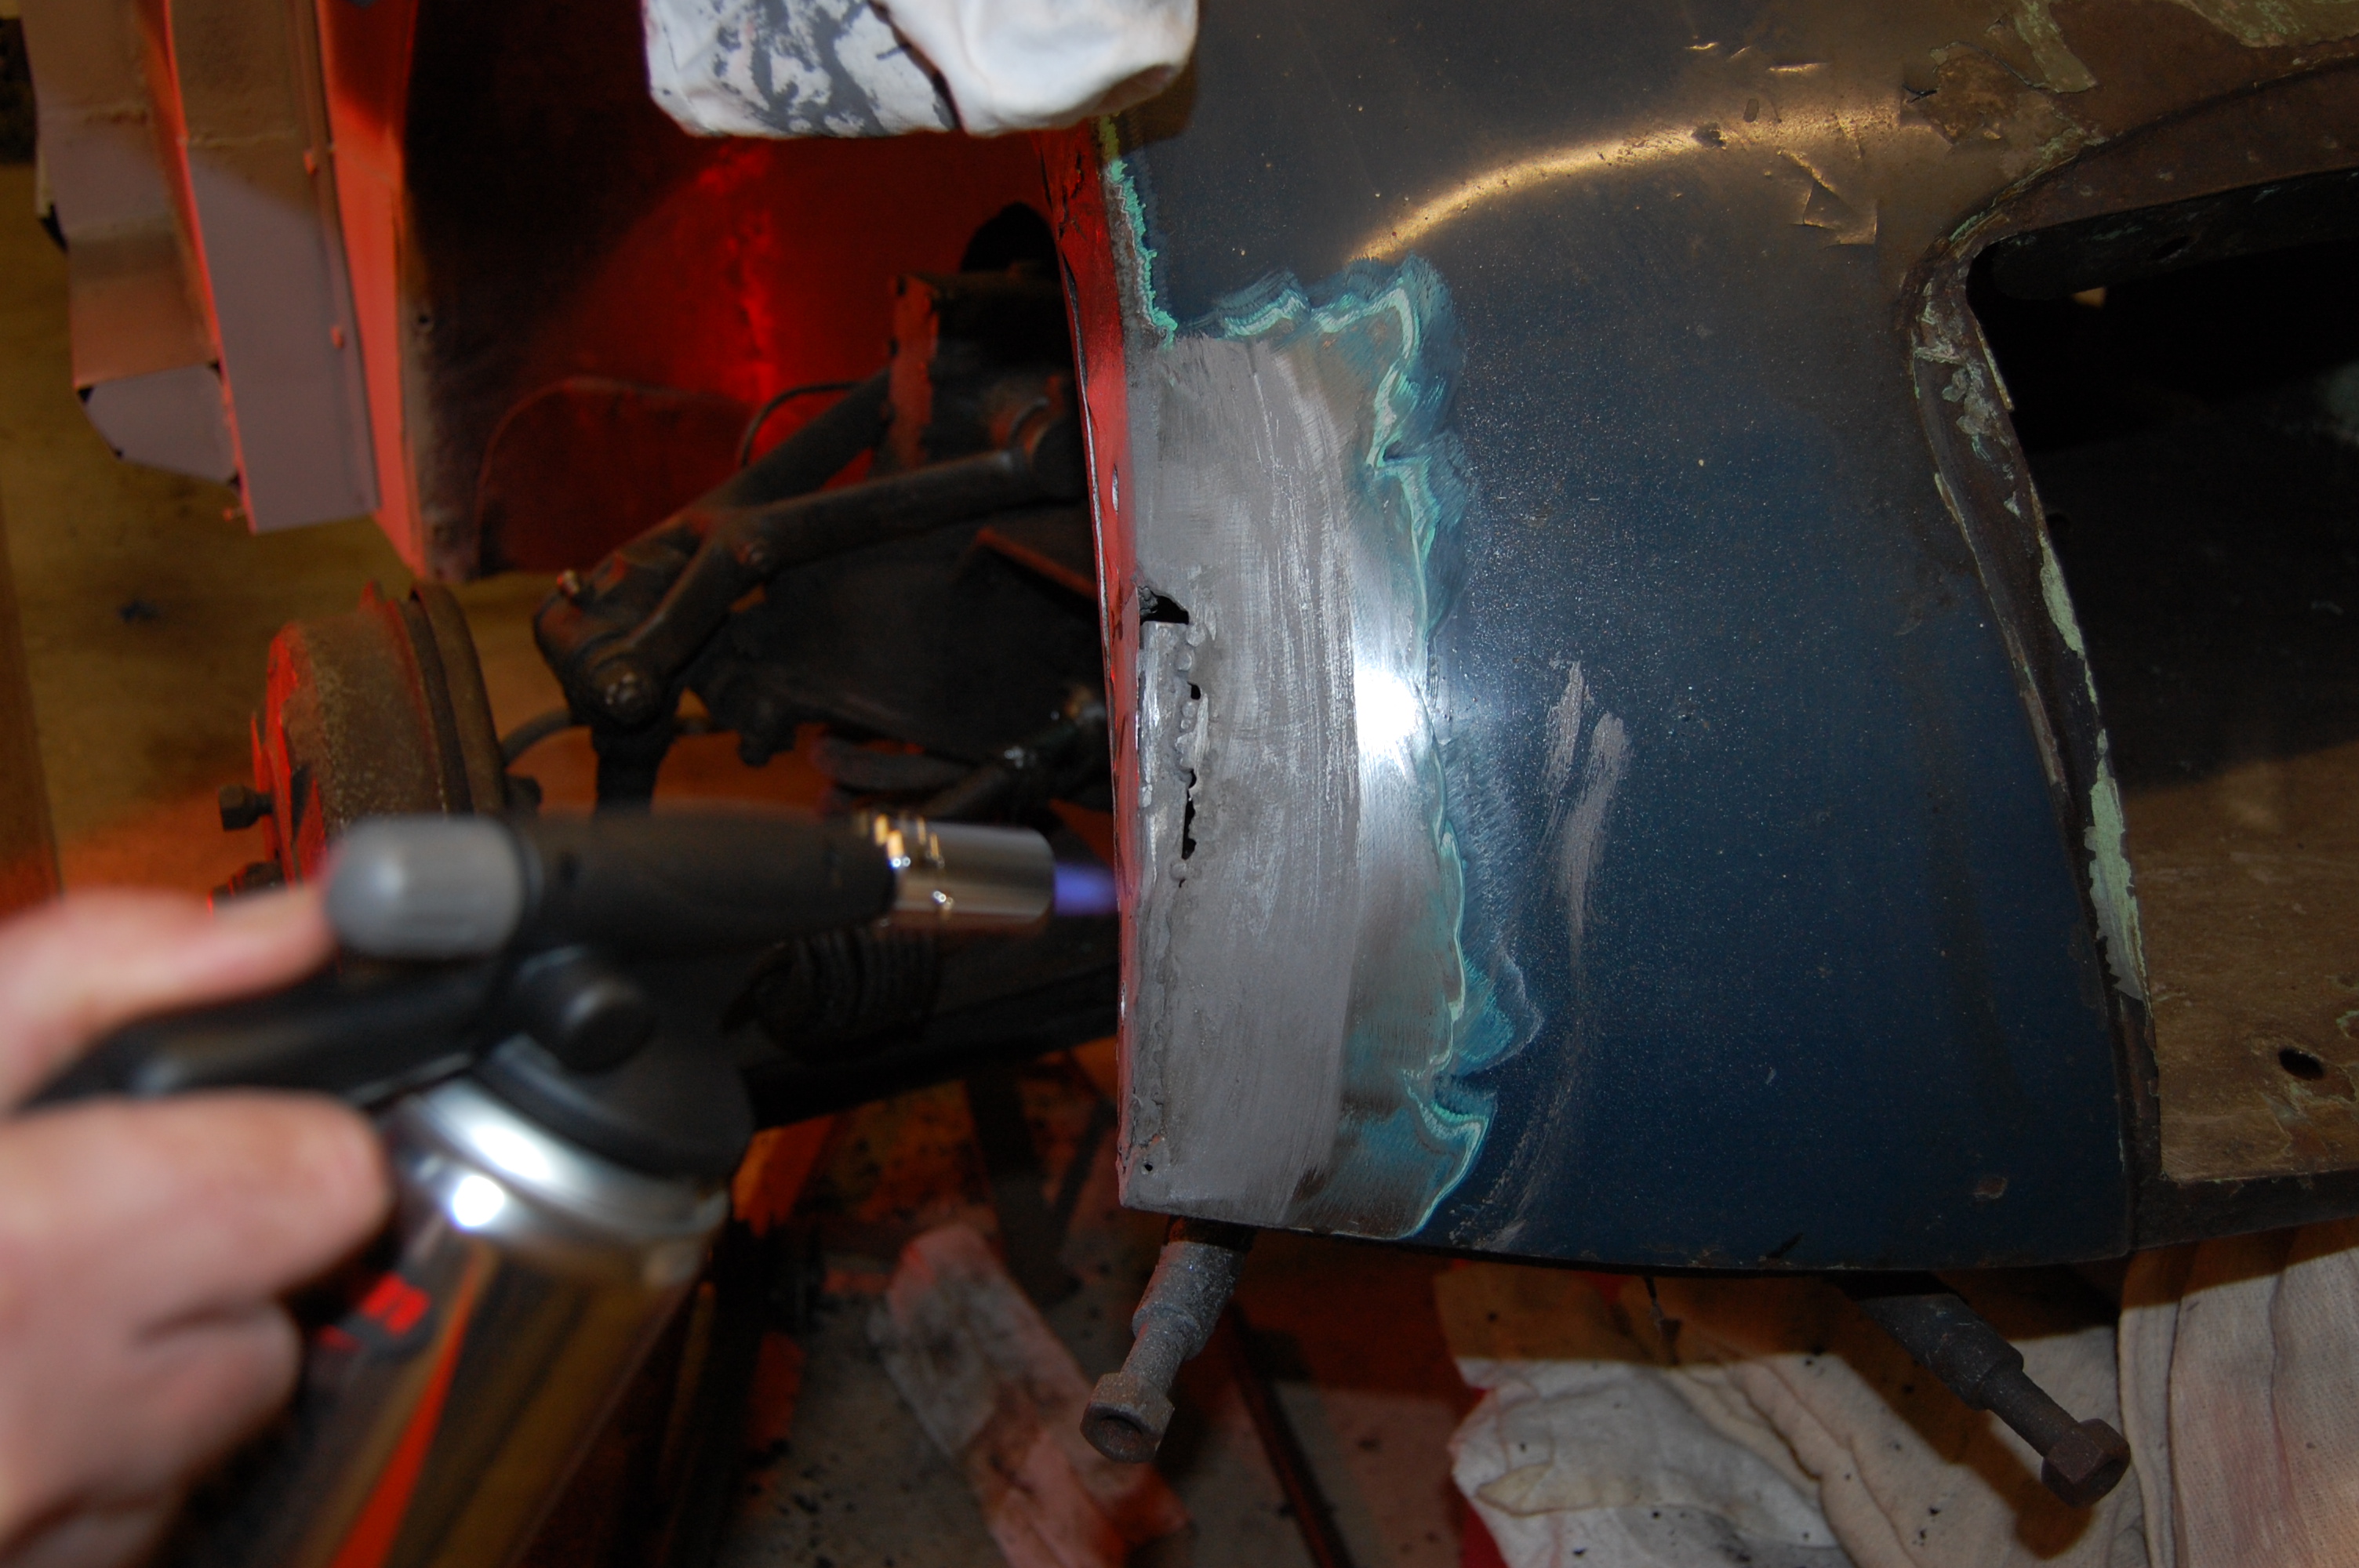
The lead bar is then heated and blobs of pasty solder dropped roughly across the repair zone.
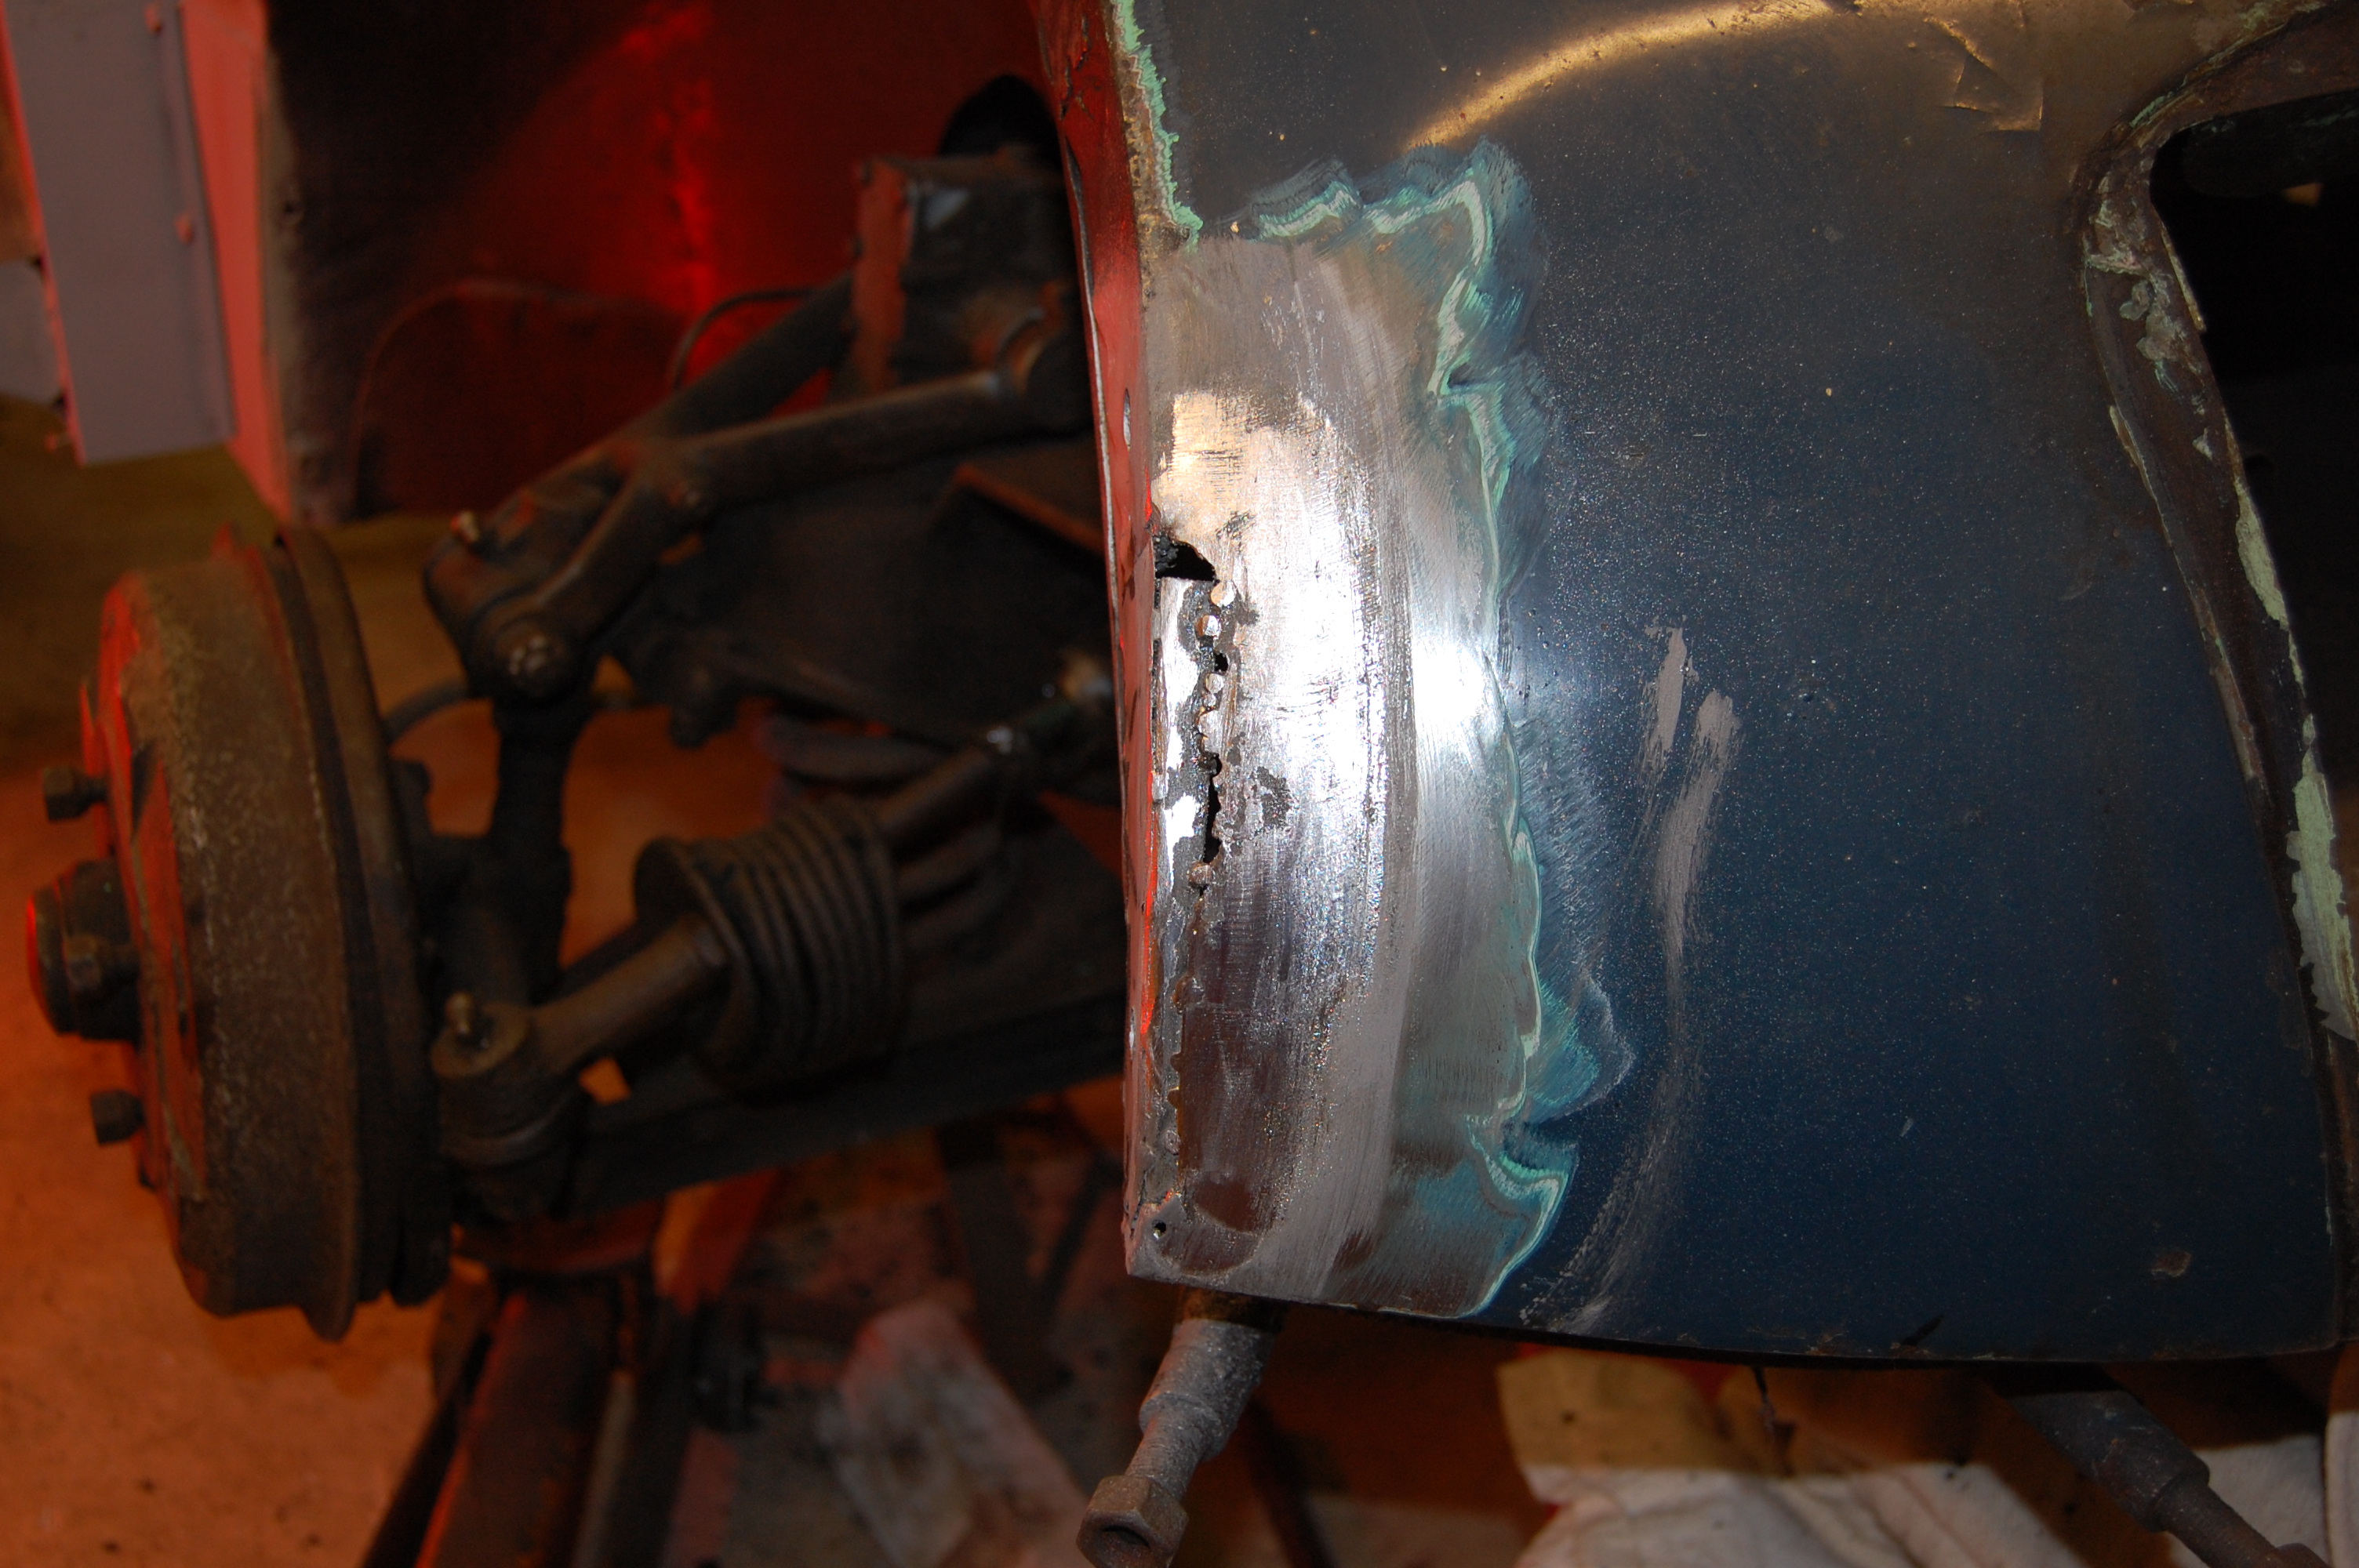
Now for the next stage of working the lead down to a smooth surface using the hardwood paddle, that has been well lubricated with tallow to stop it sticking to the hot lead.
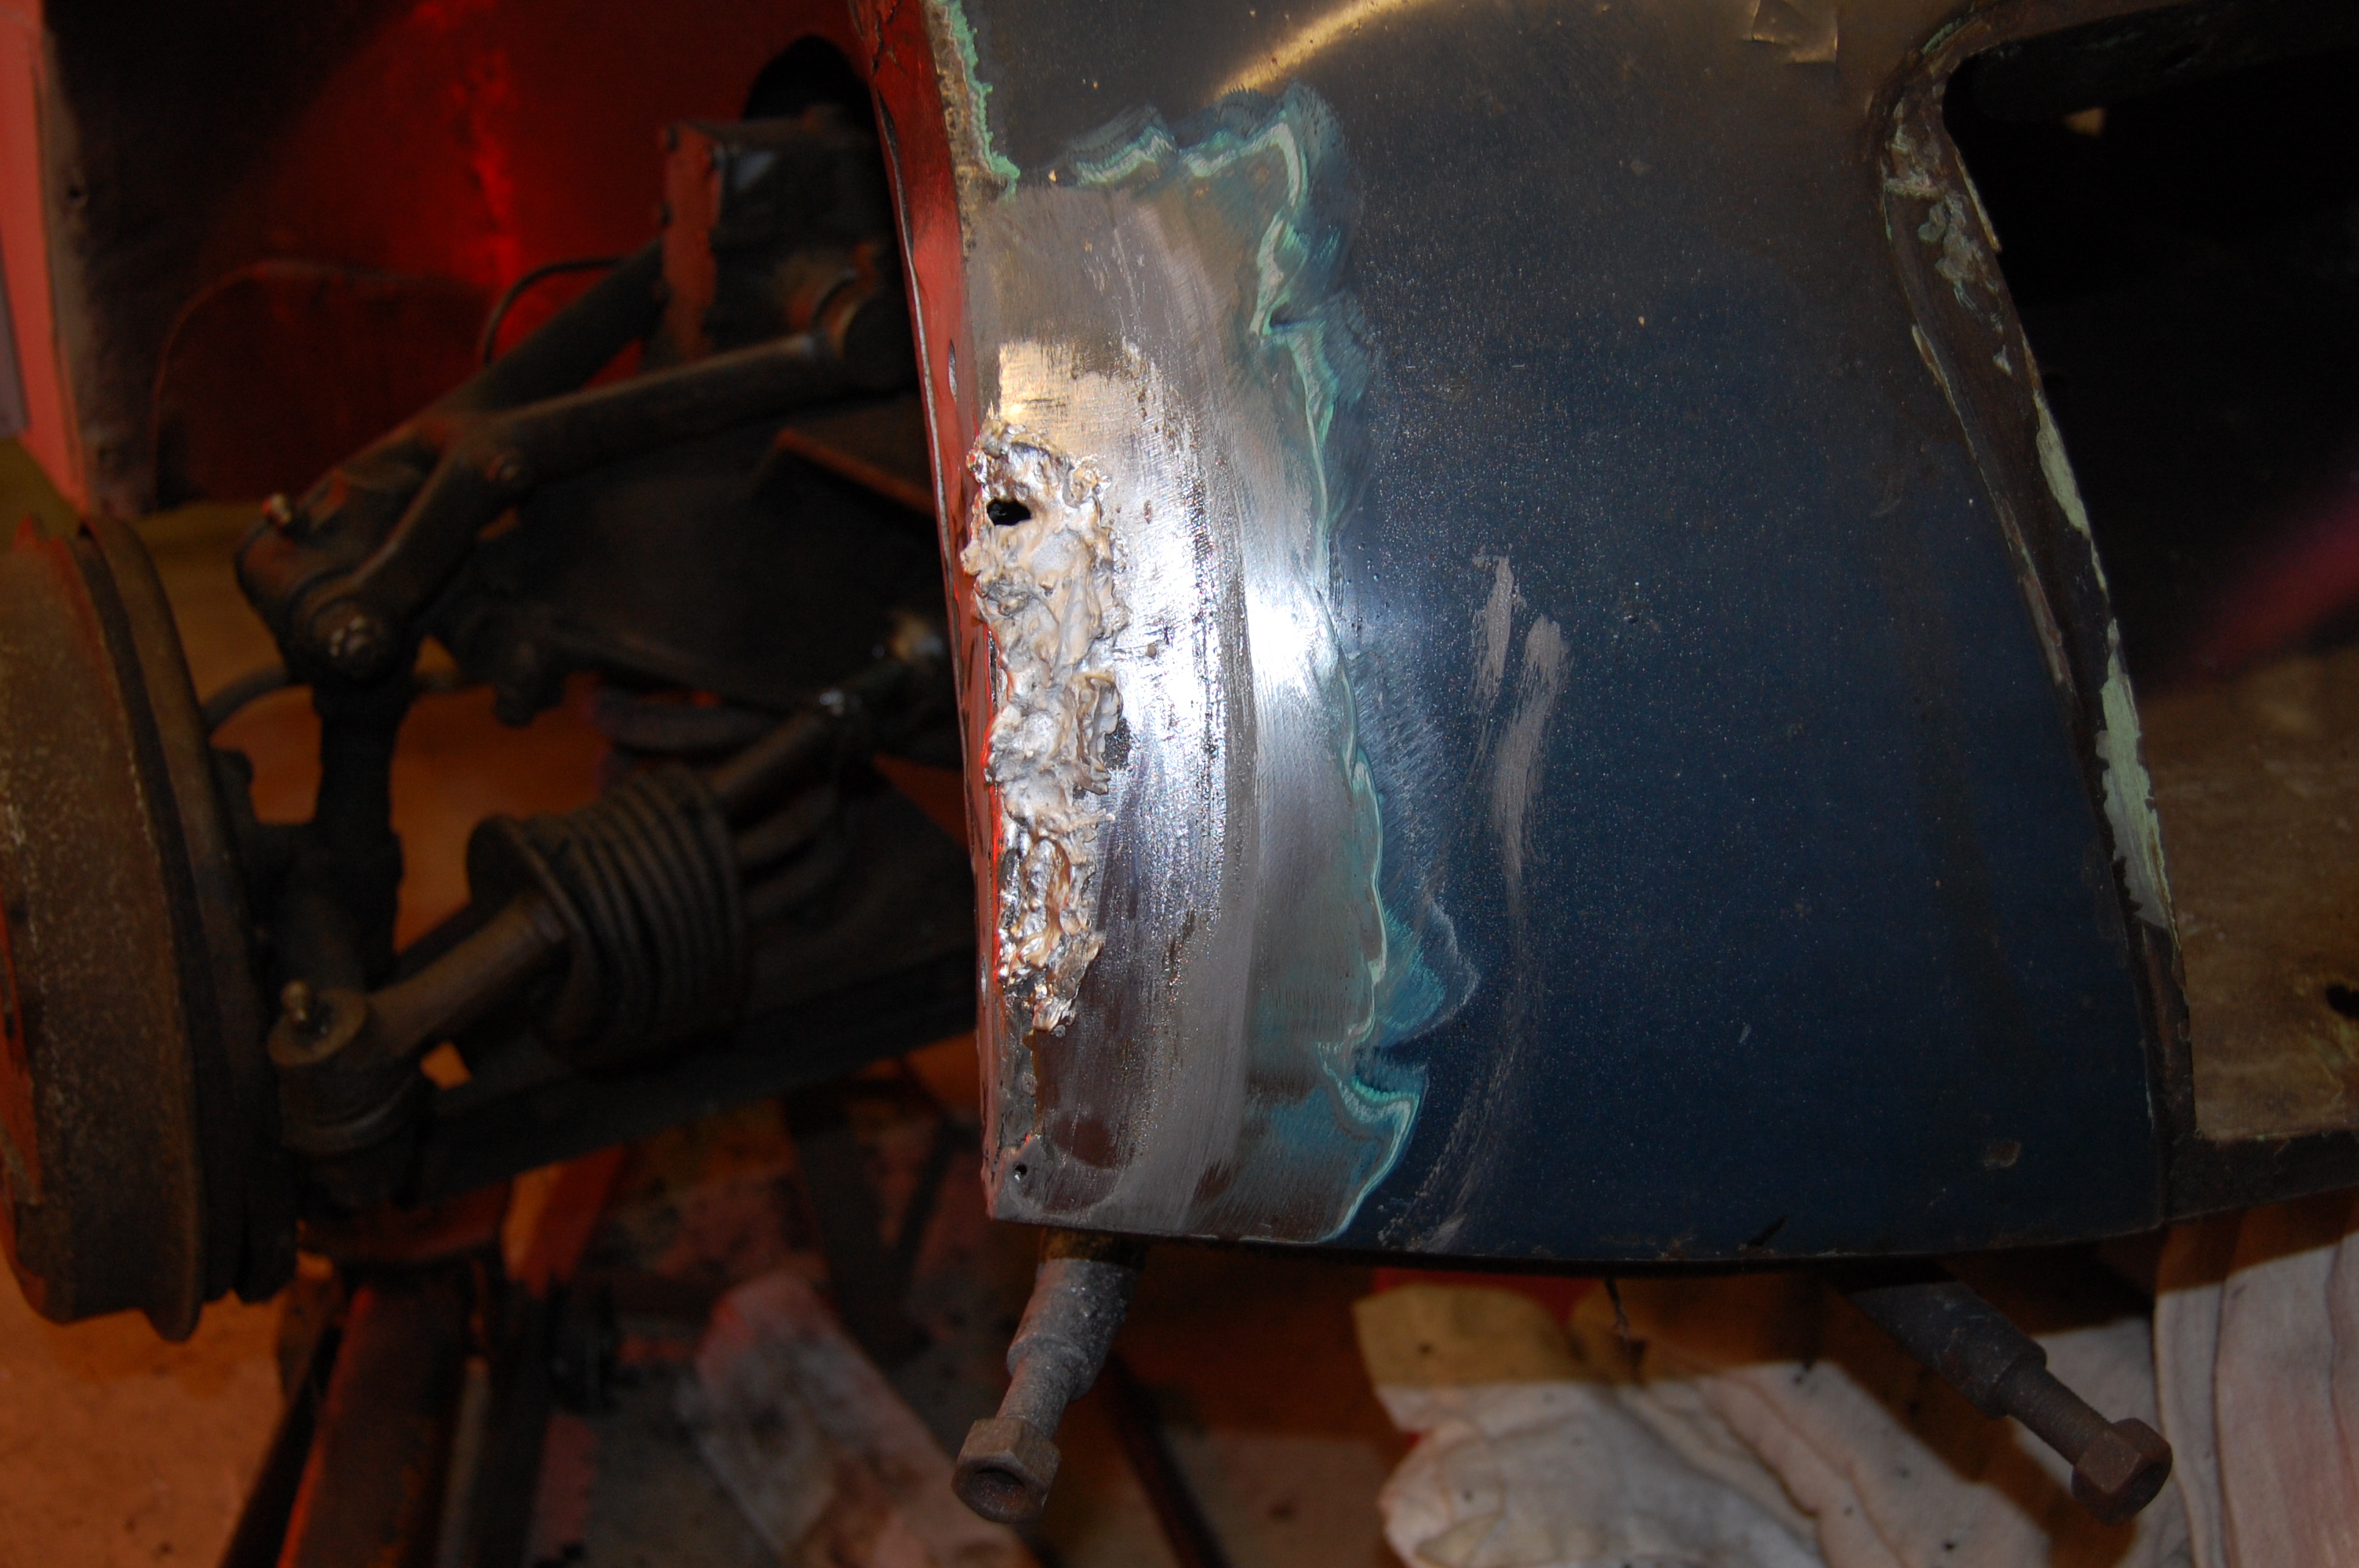
Now using a coarse body file (bought this one at my local second-hand tool shop for £3.00) filing down to a smooth finish. Any obvious low areas were filled again.
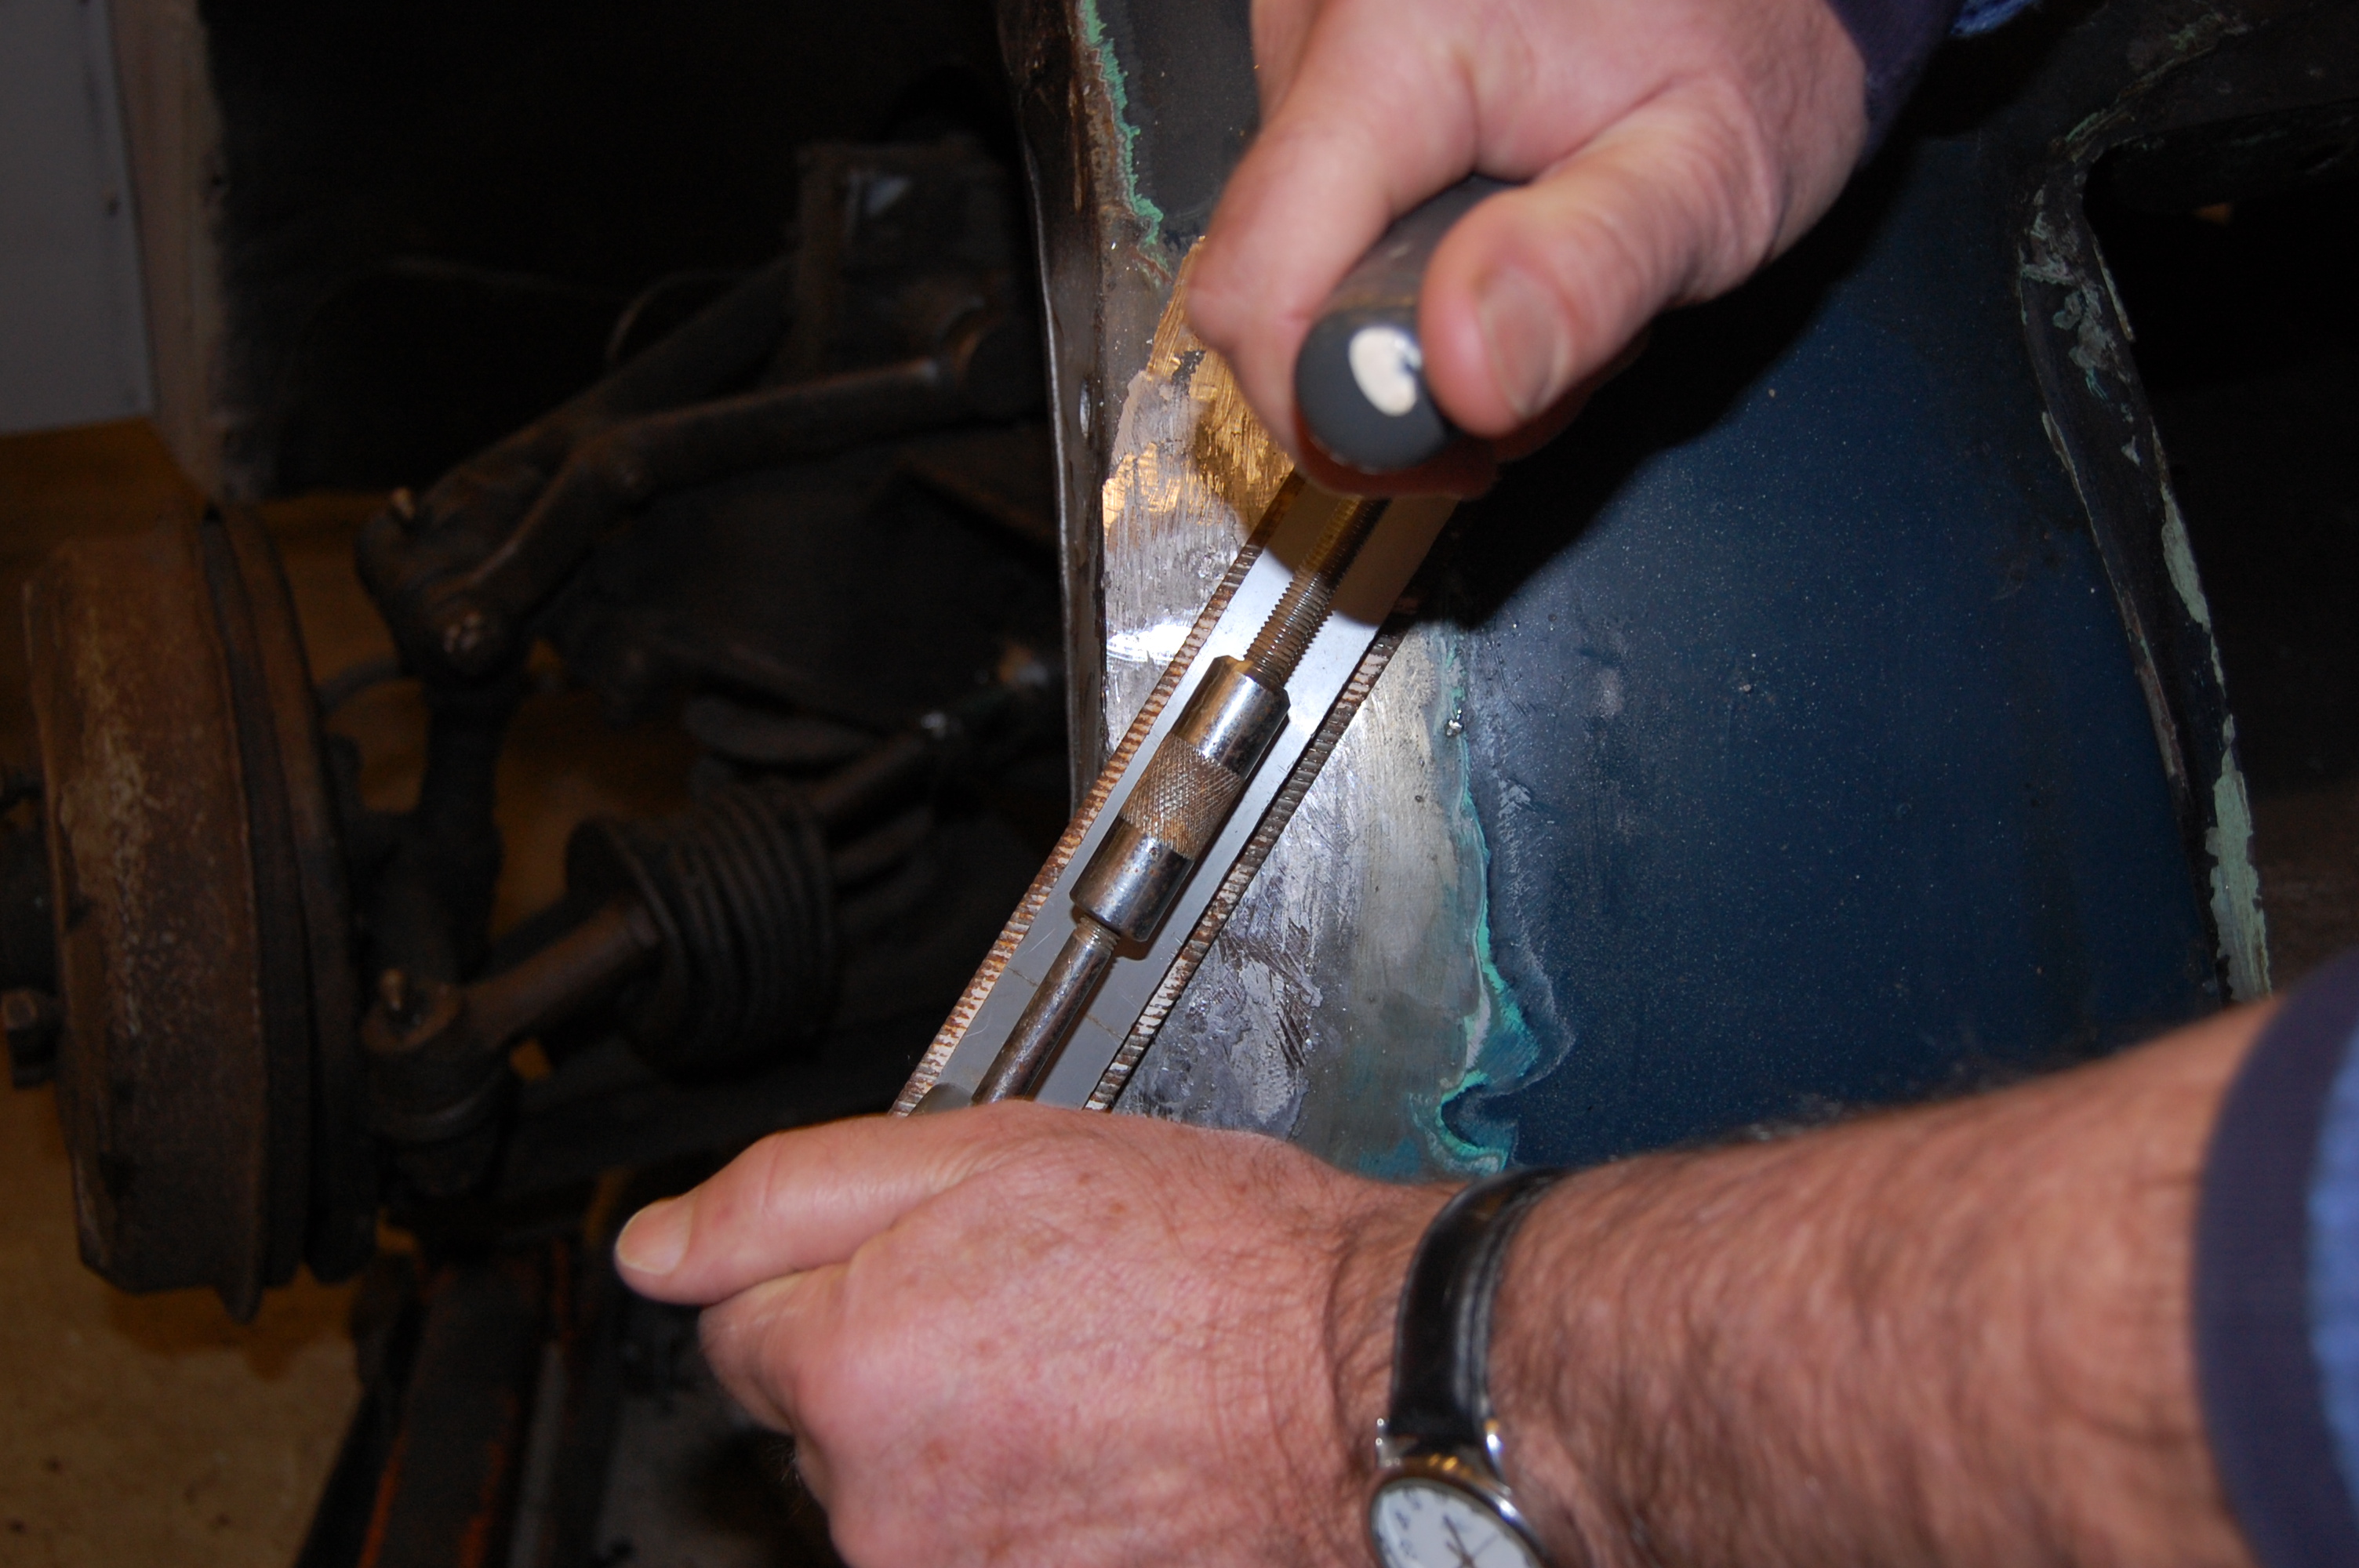
Not too bad for a first attempt. Futher filing and then hand sanding will follow until final finish. Any imperfections left will be covered by using a high-build primer before painting.
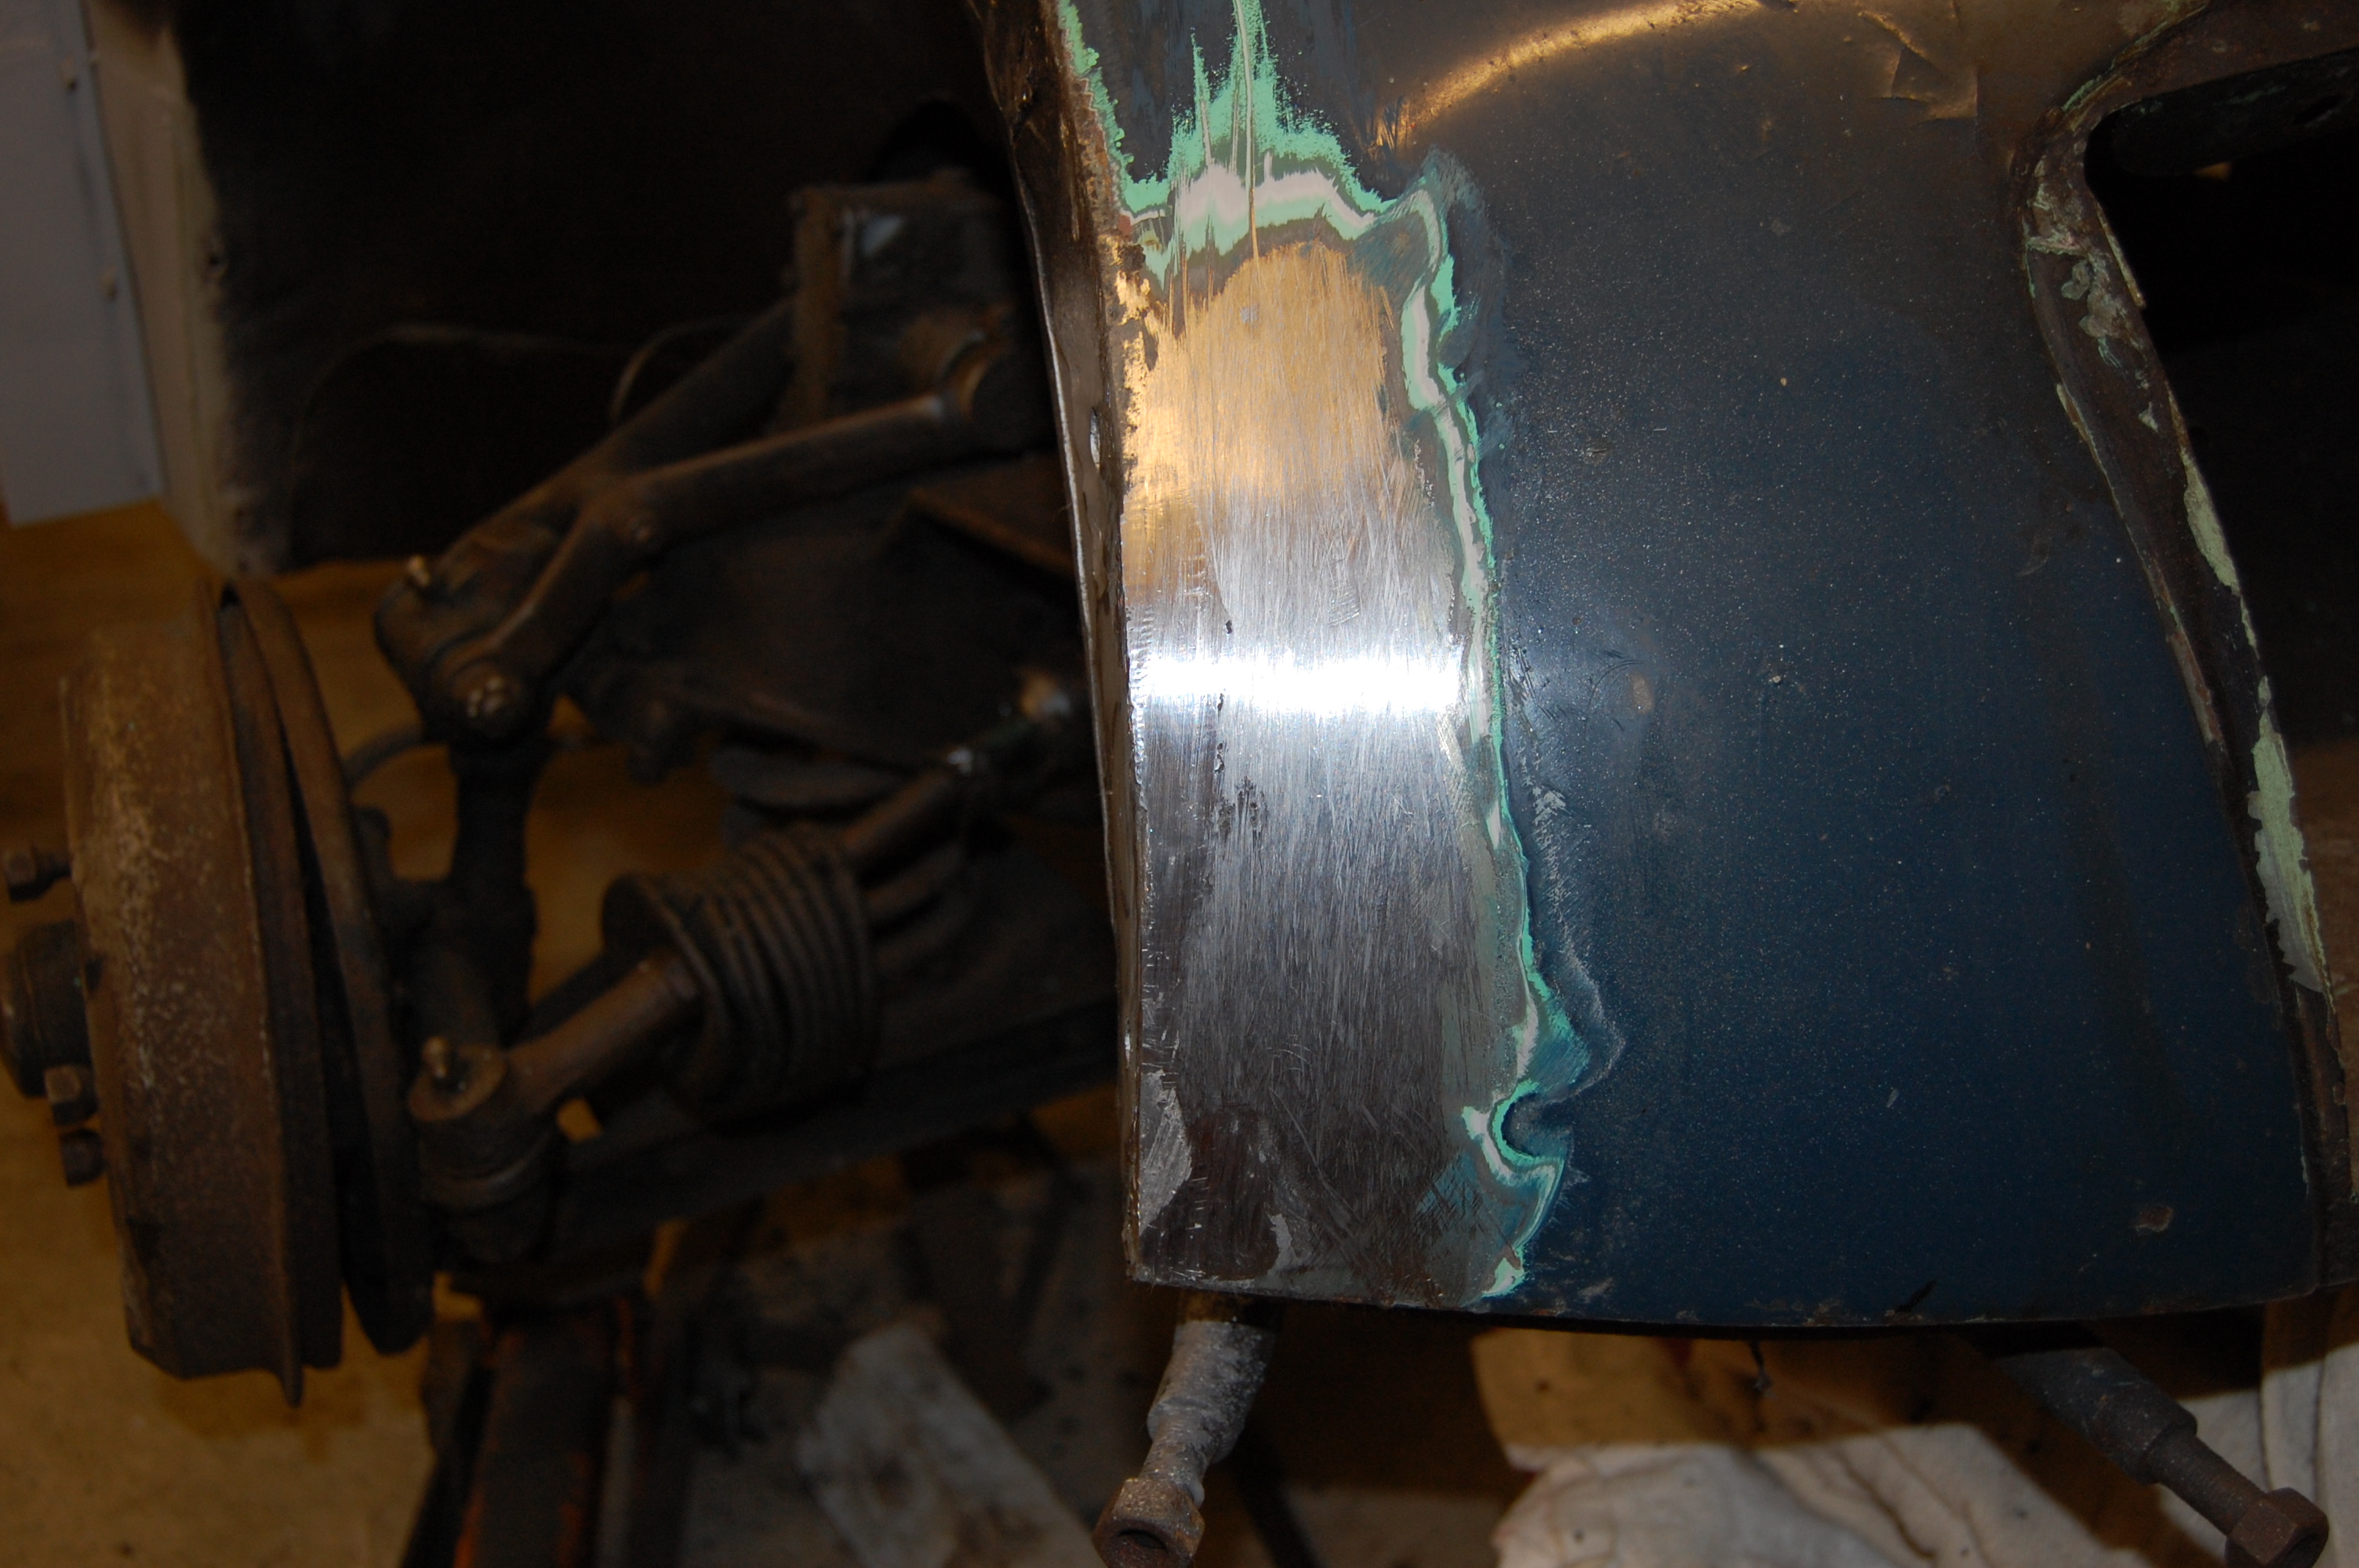
A tricky repair for me, but pleasing to have tackled it. Once cleaned up and finished, the wing fitted fine. This will eventually be covered by the wing and gasket trim.
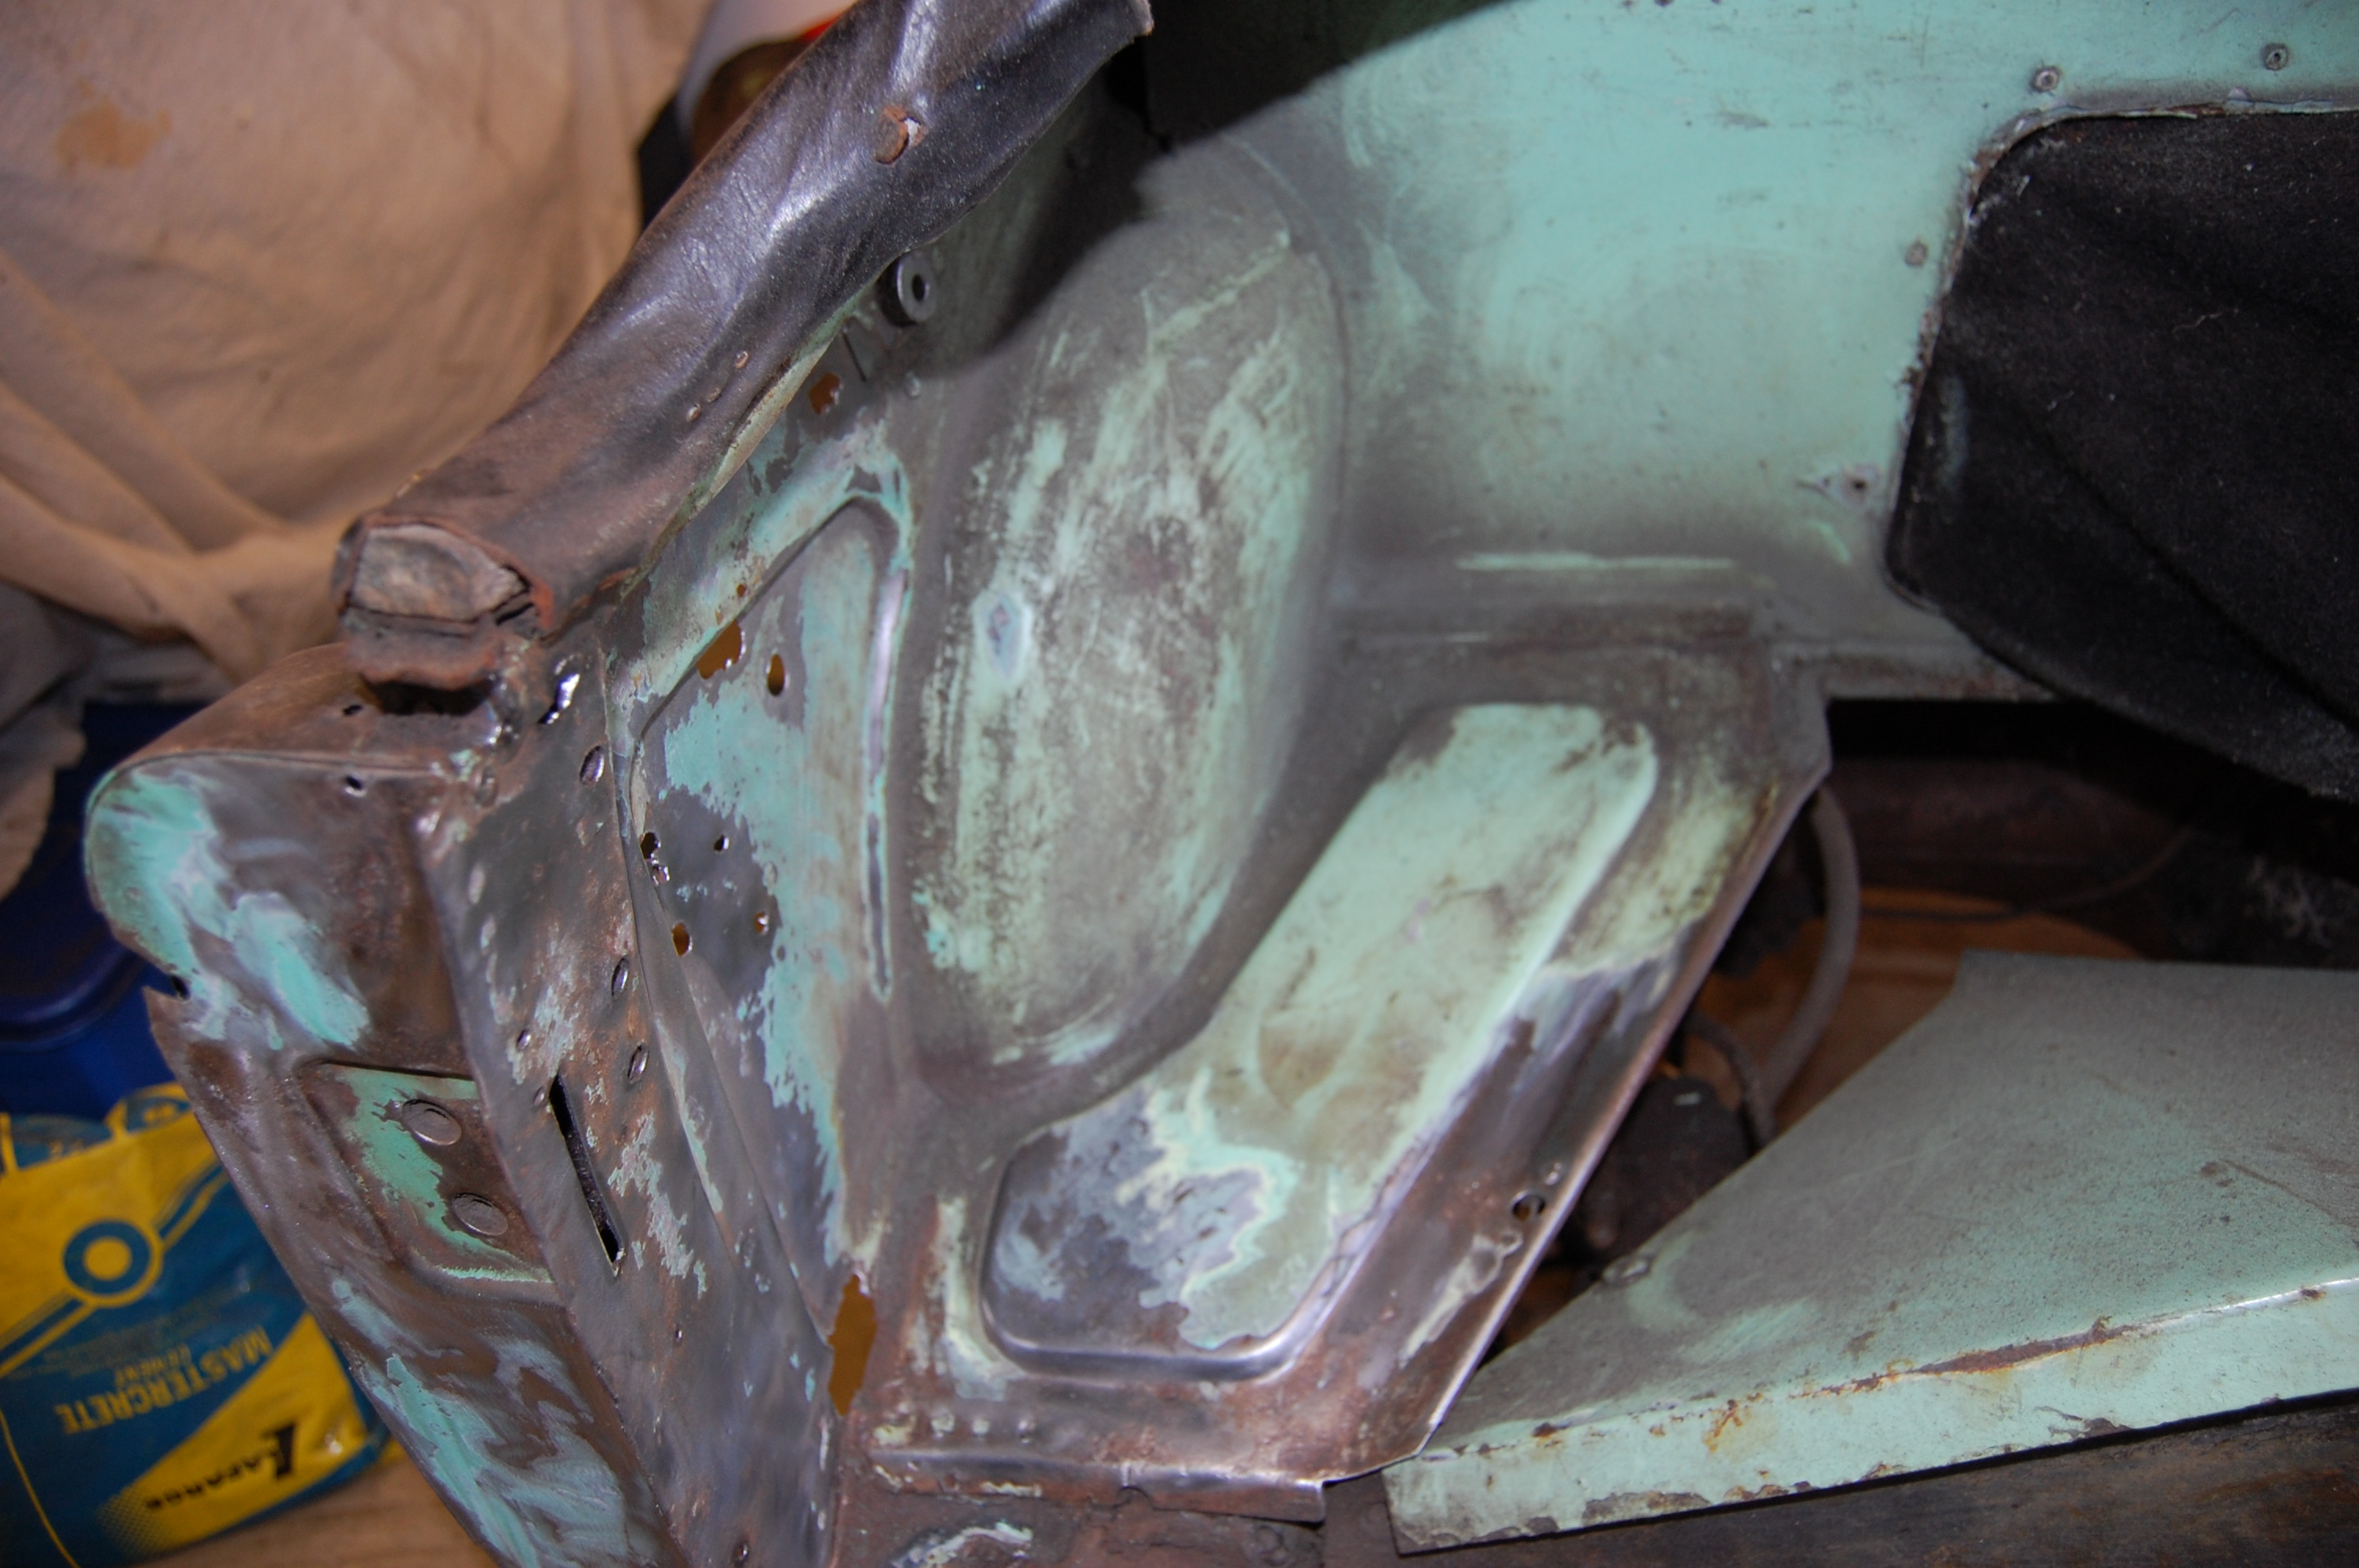
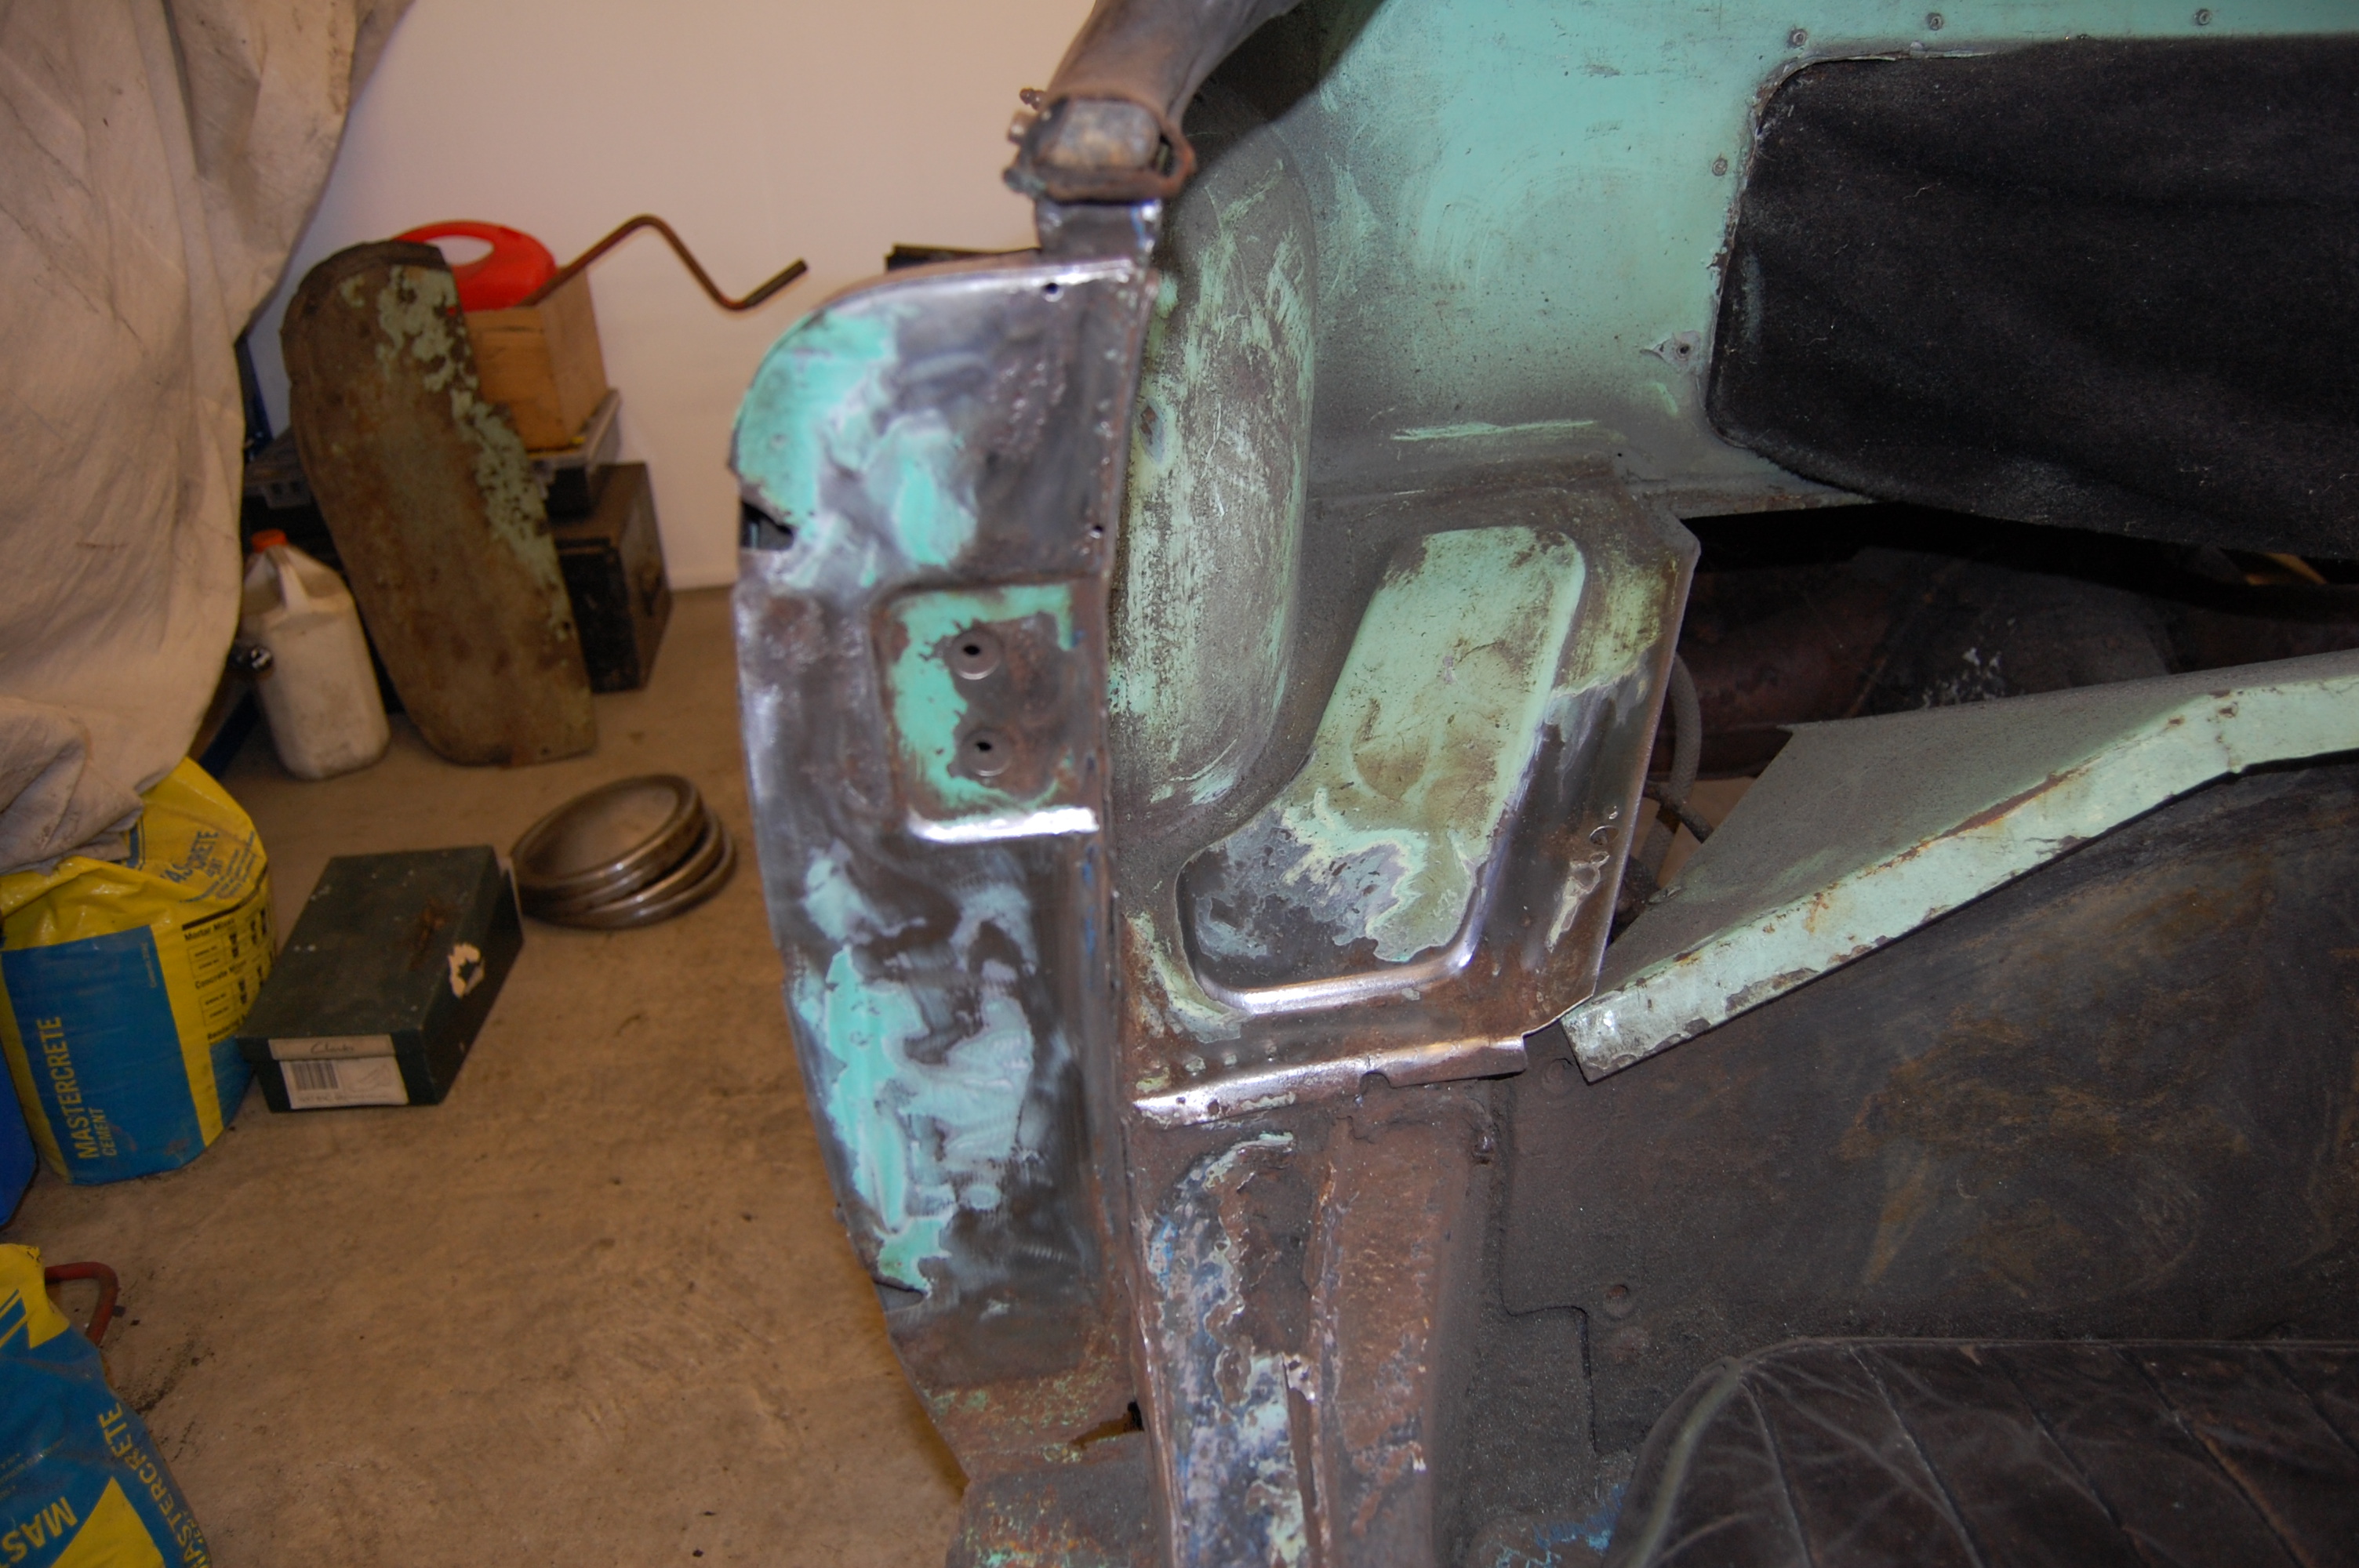
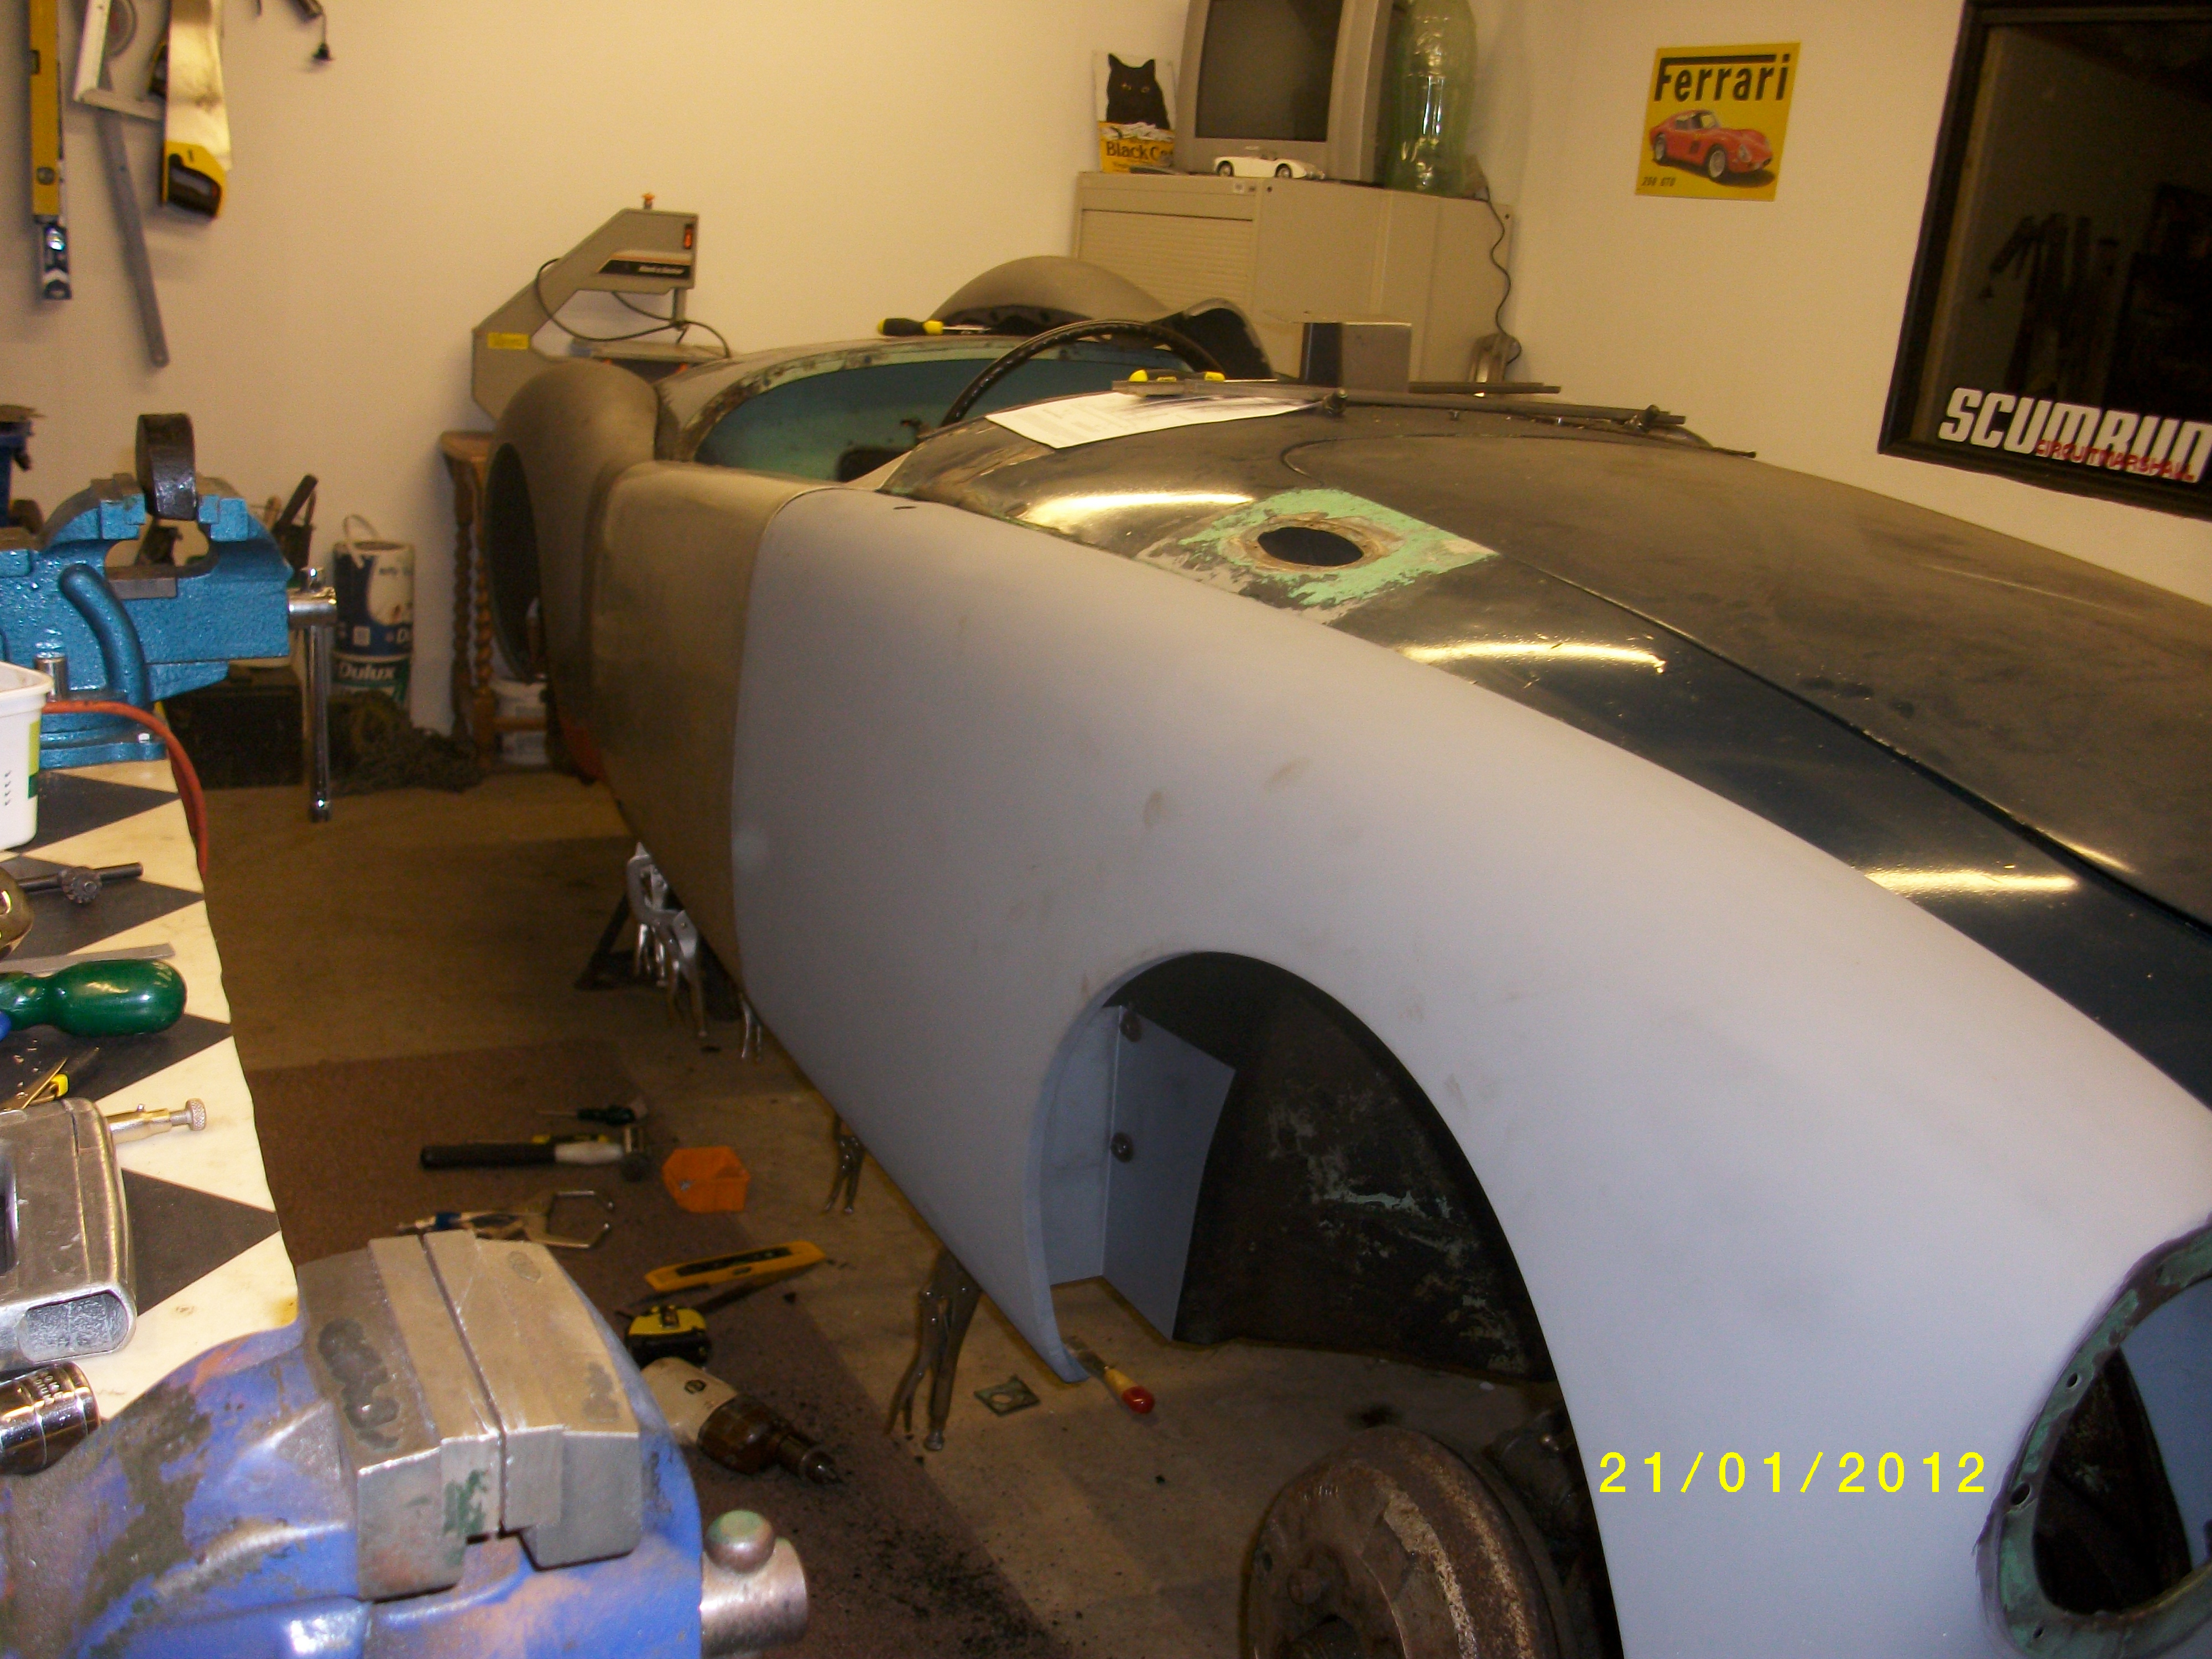
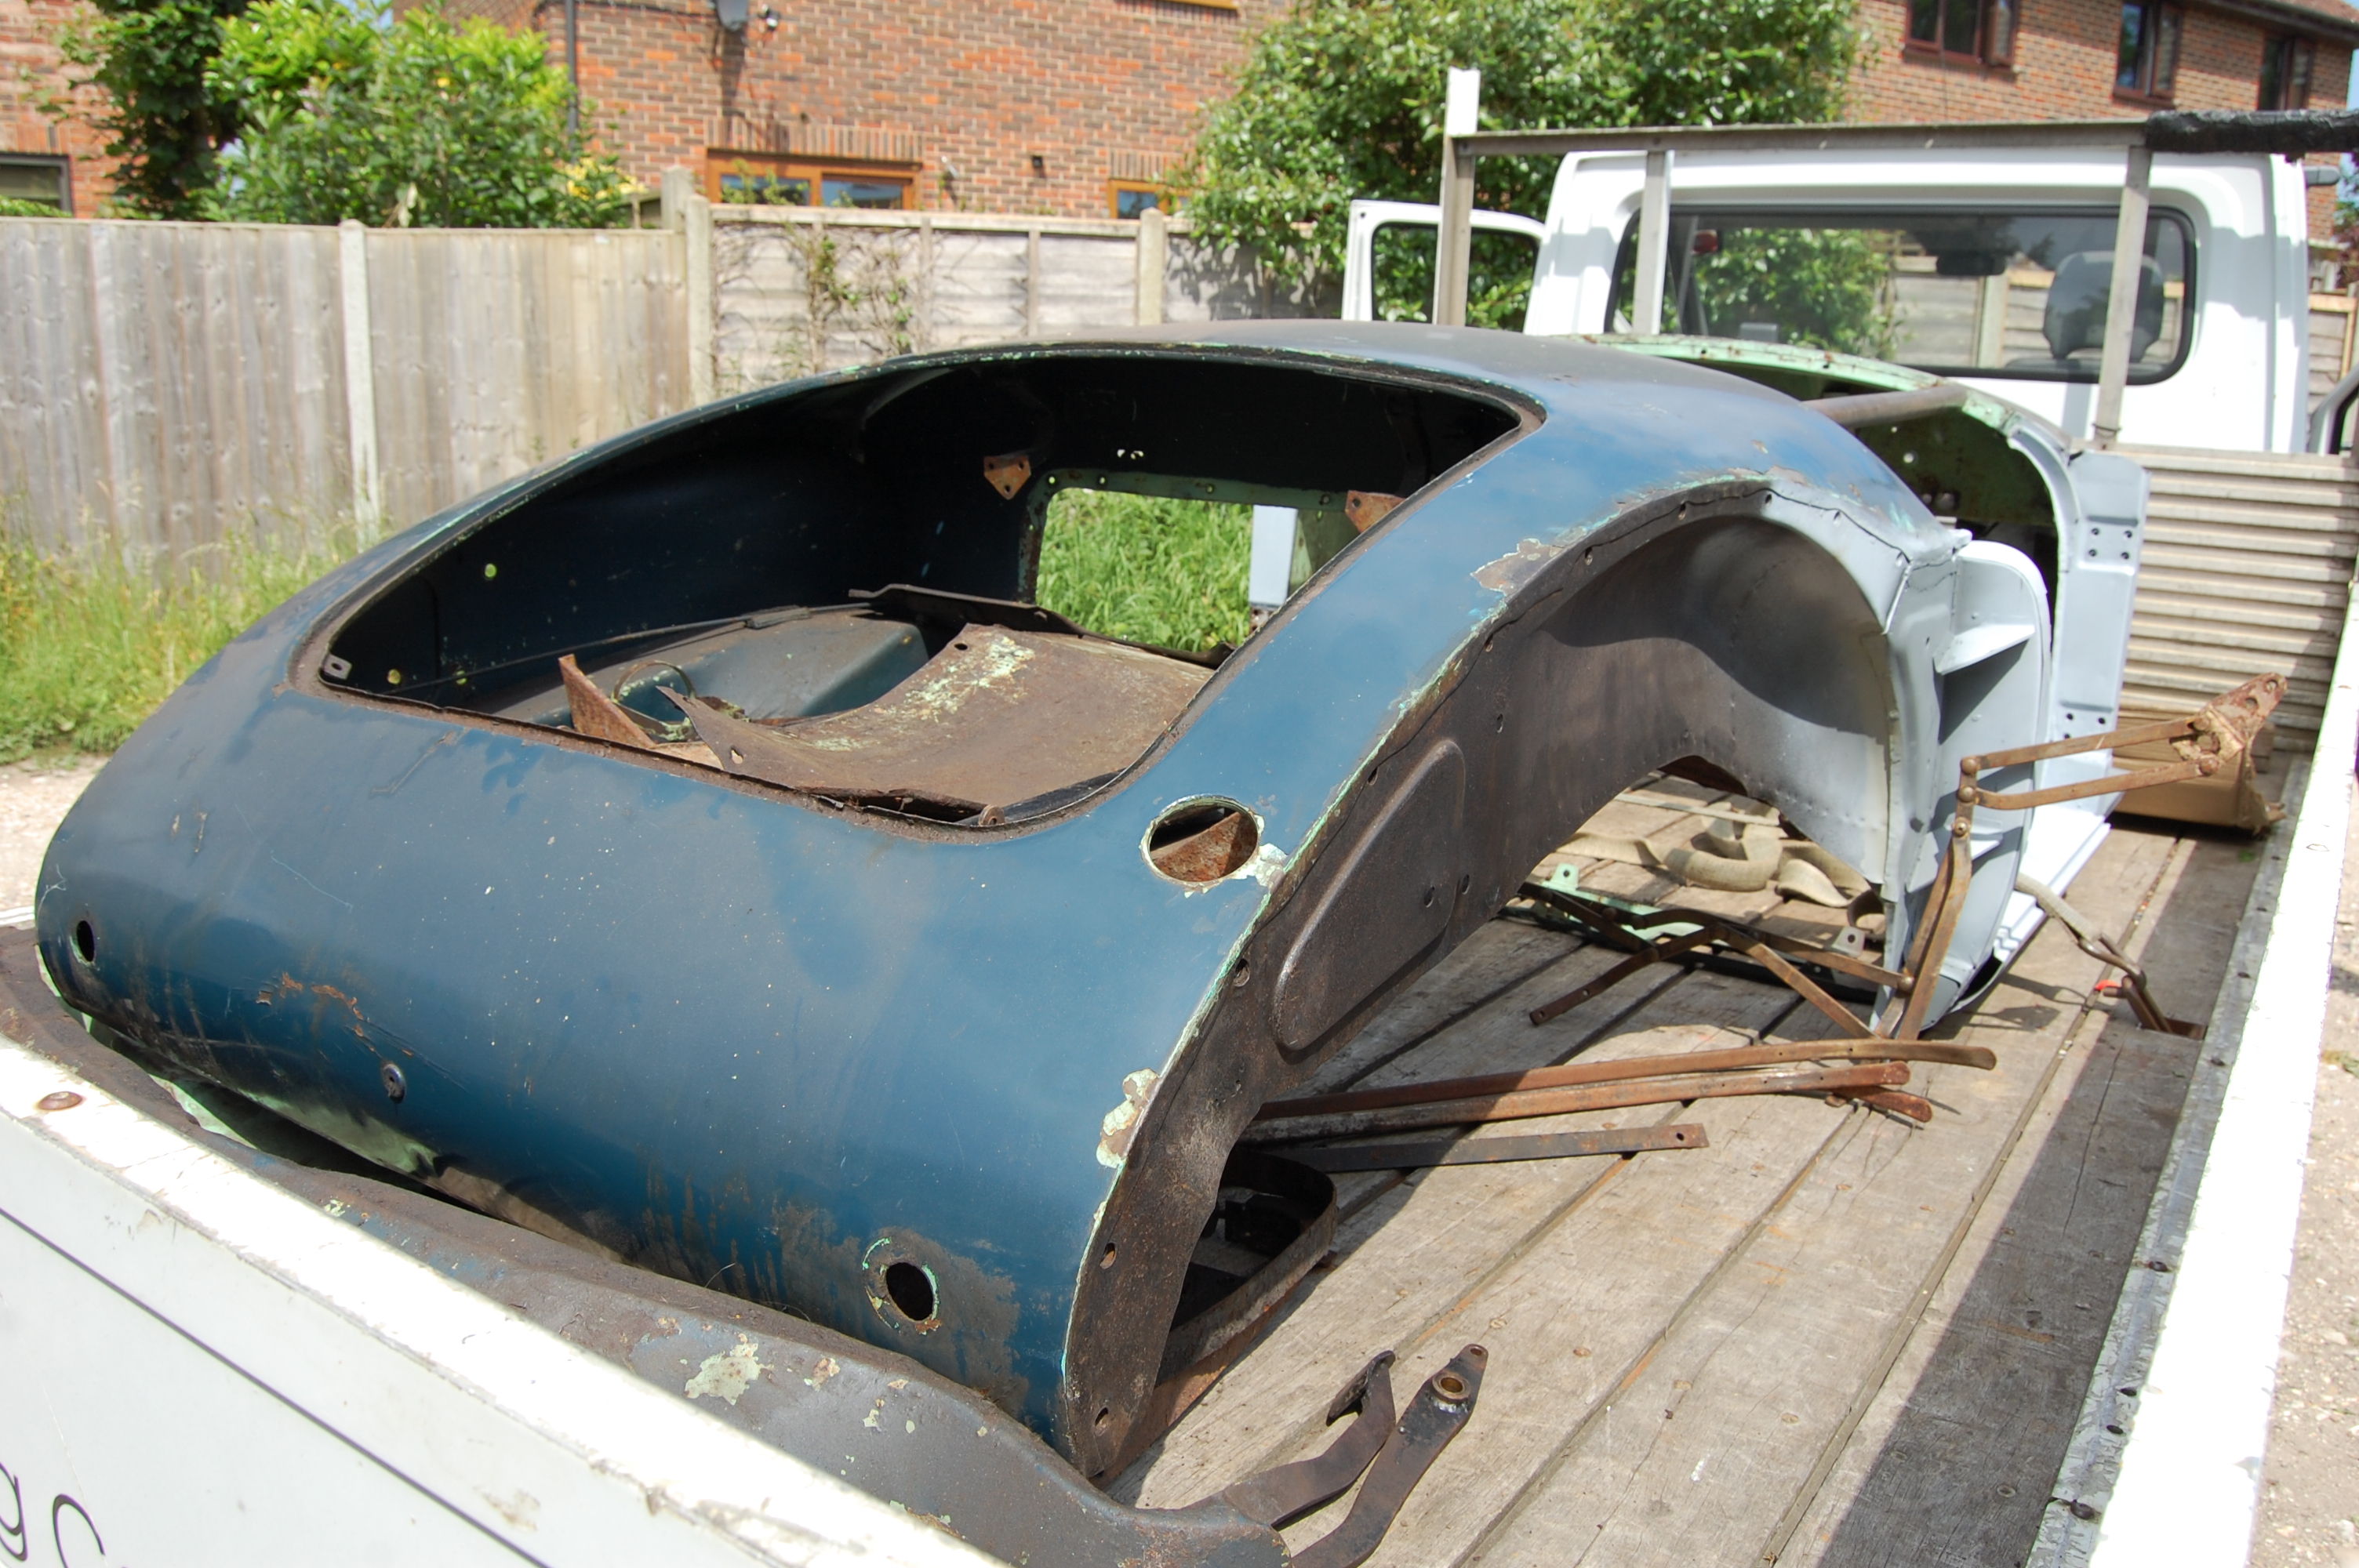
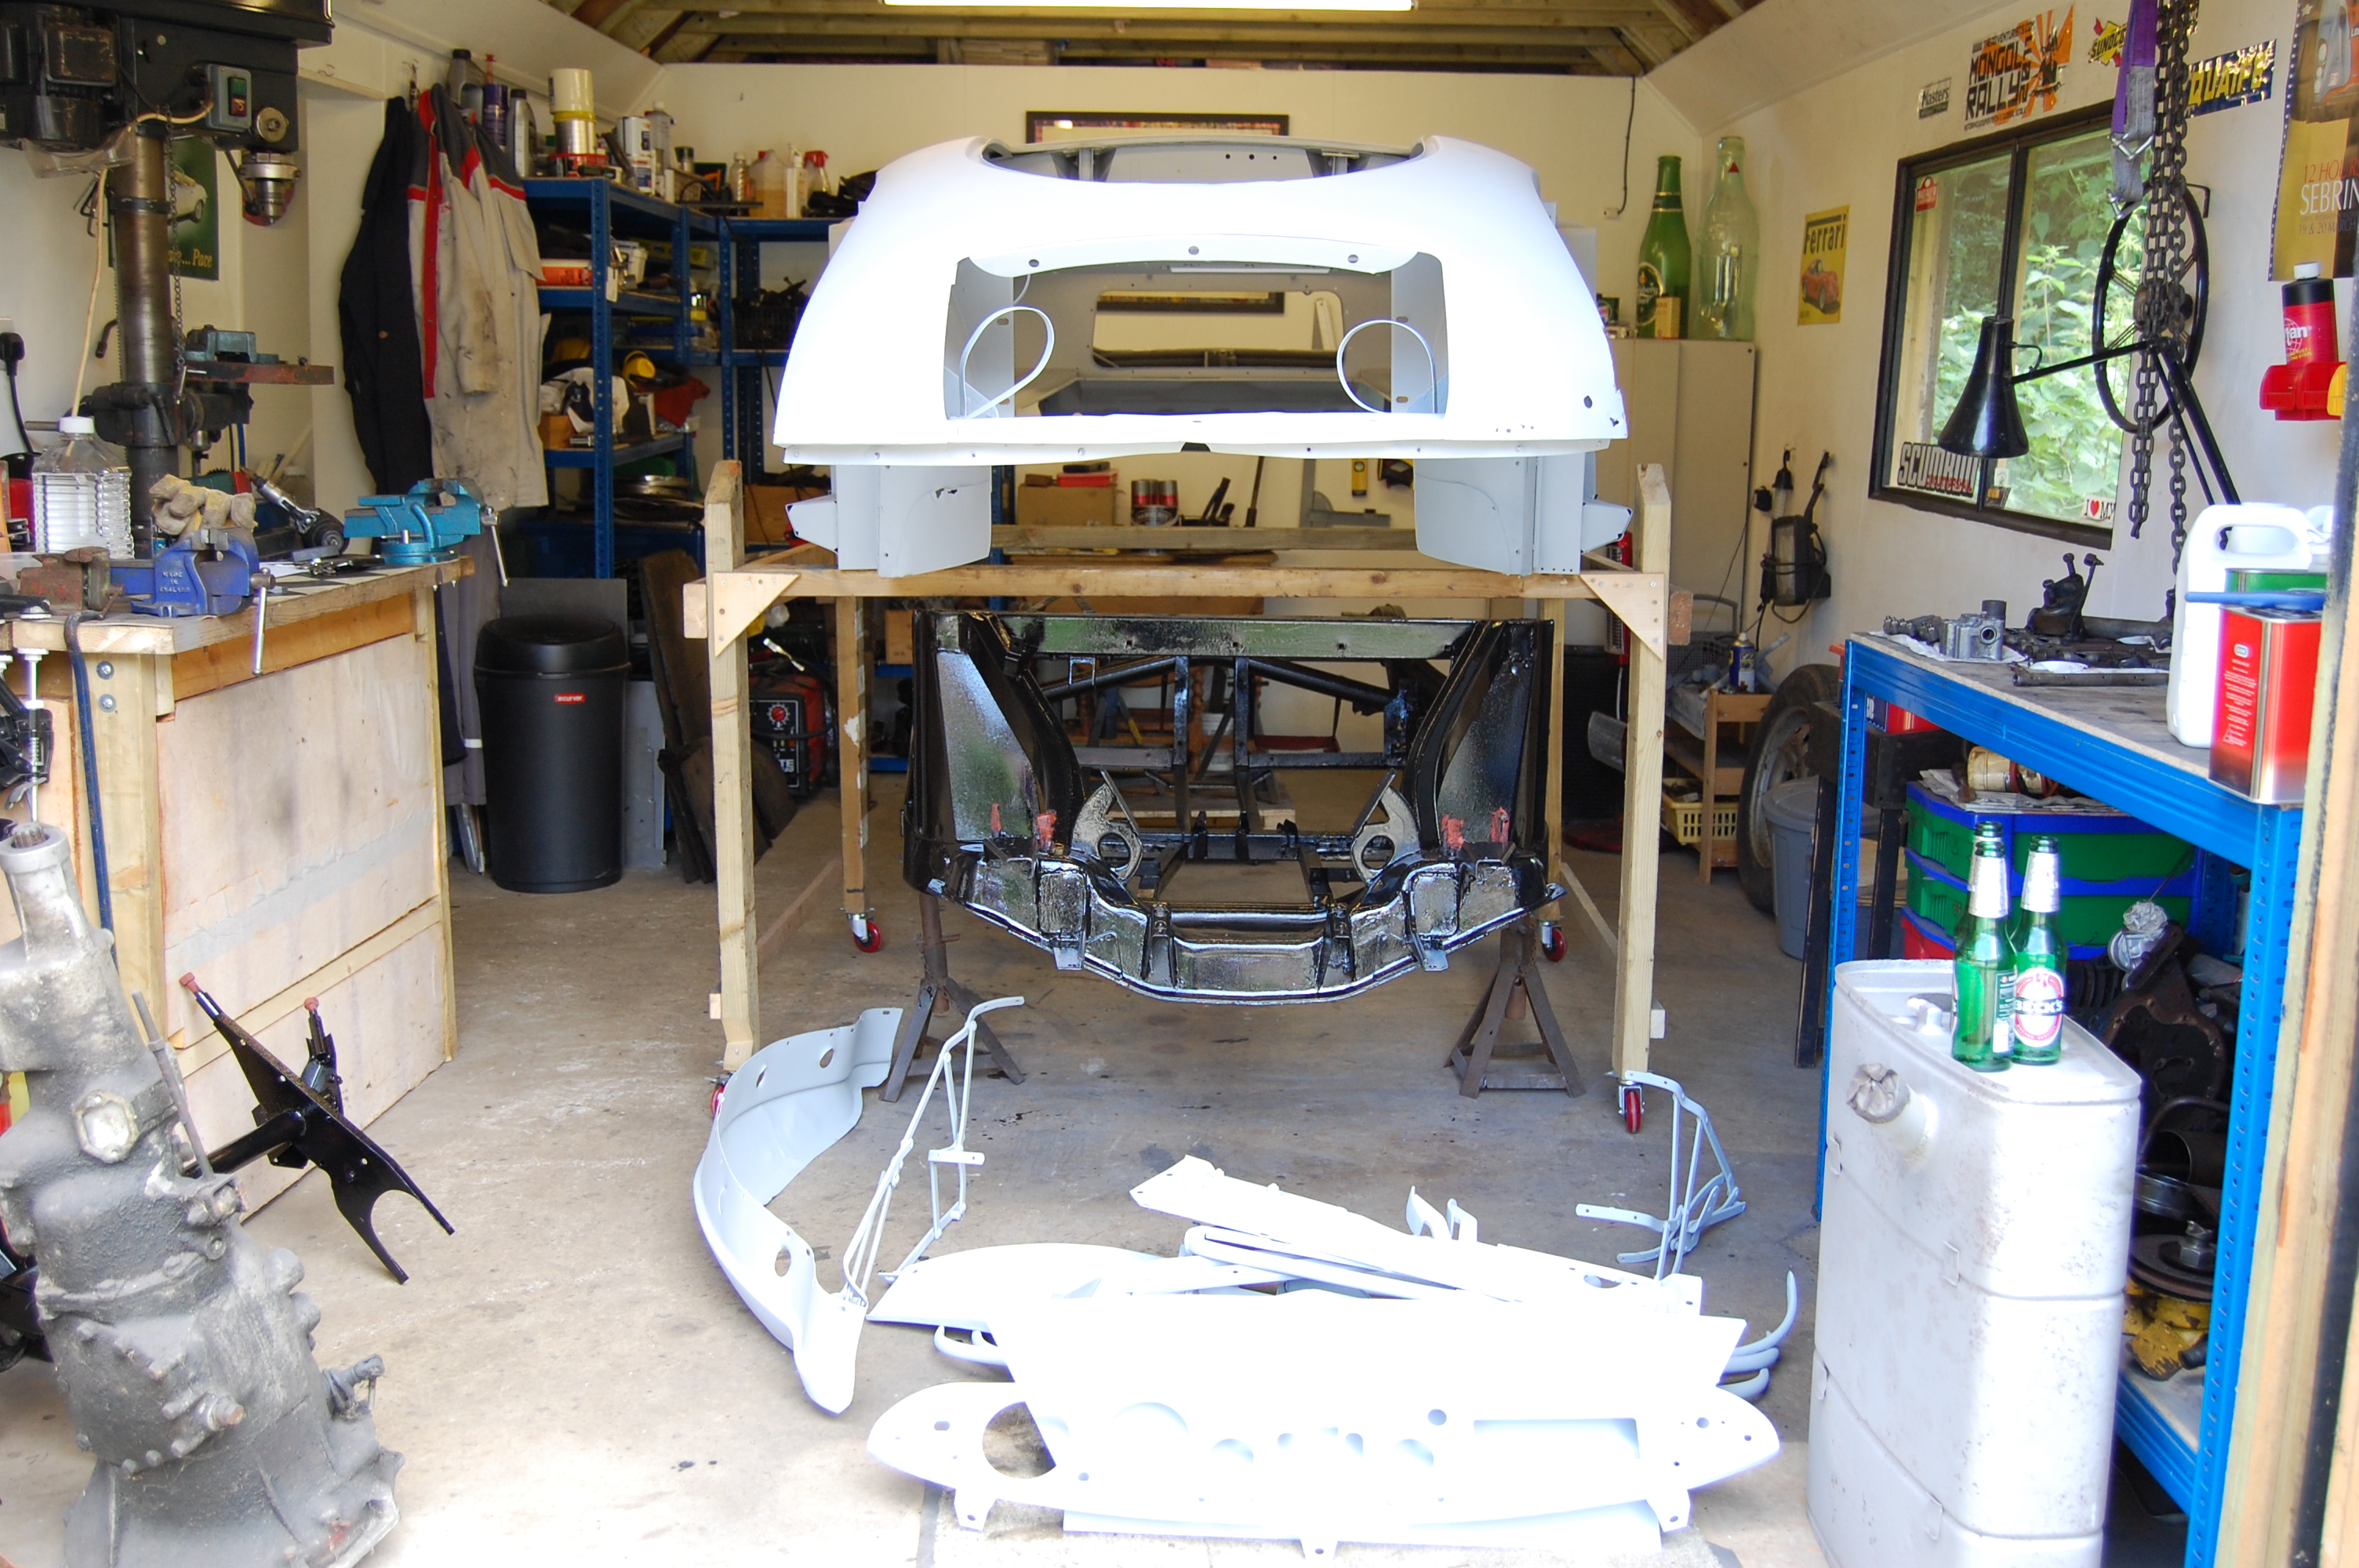
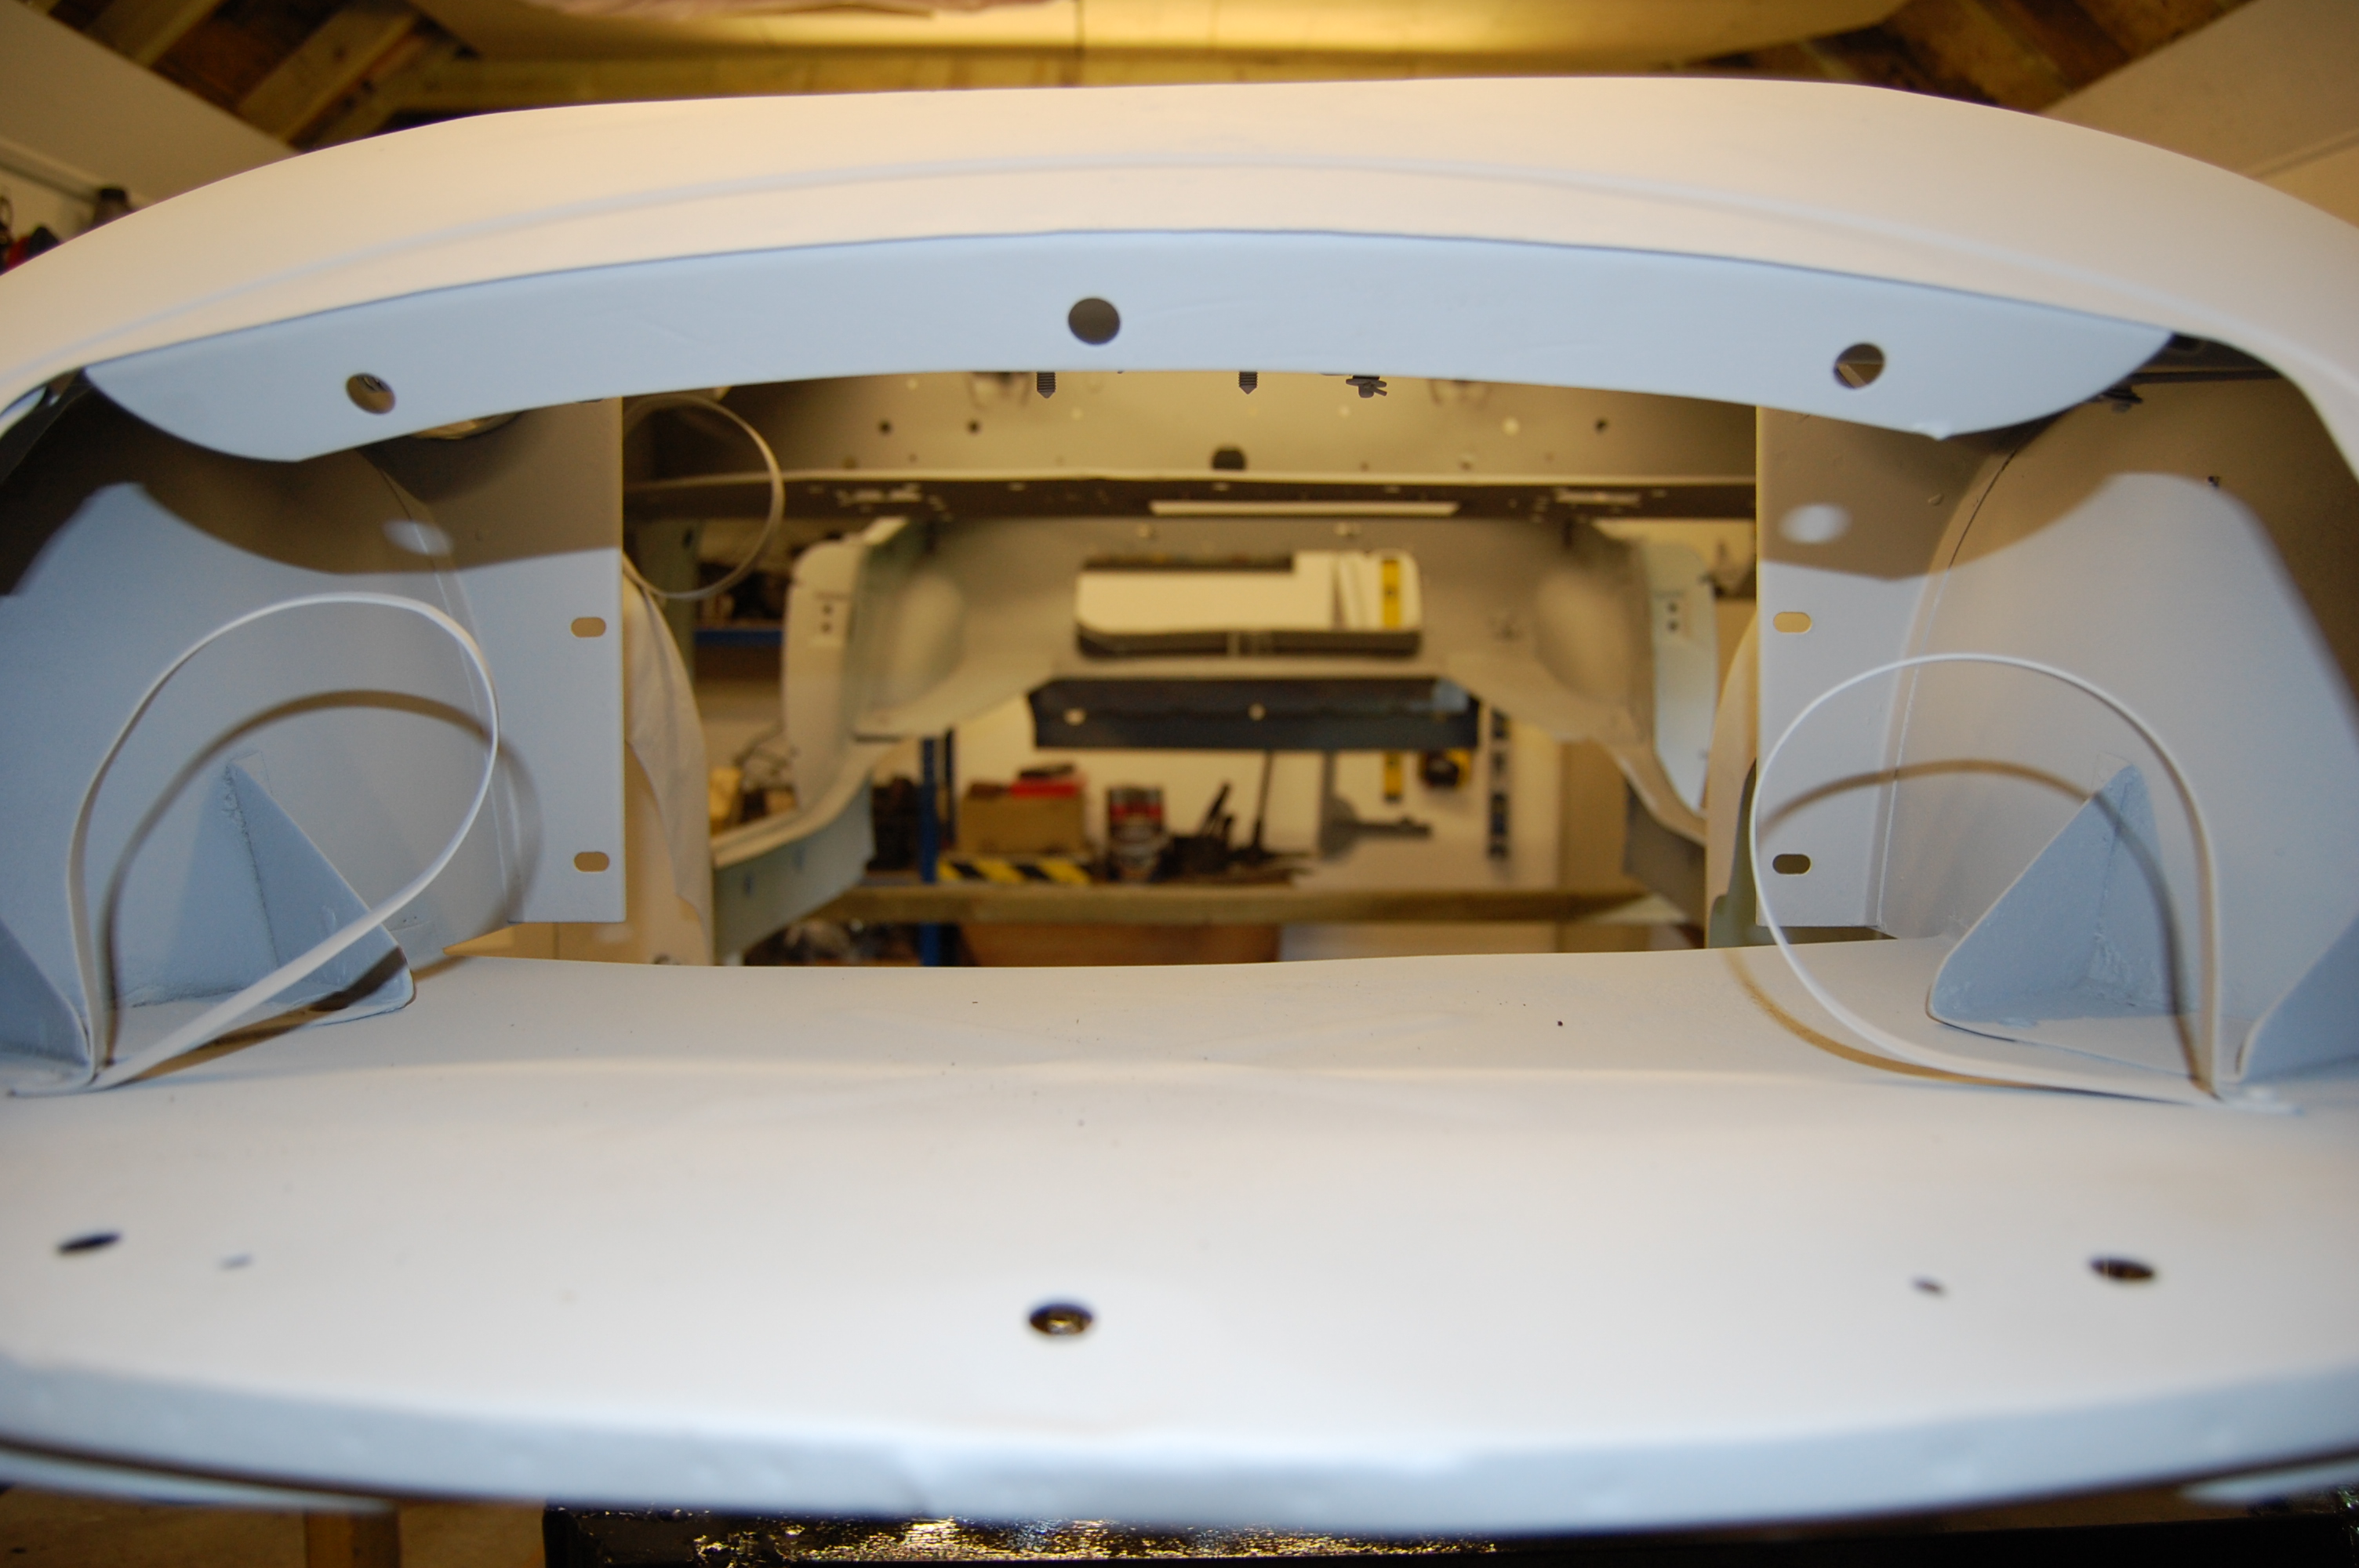
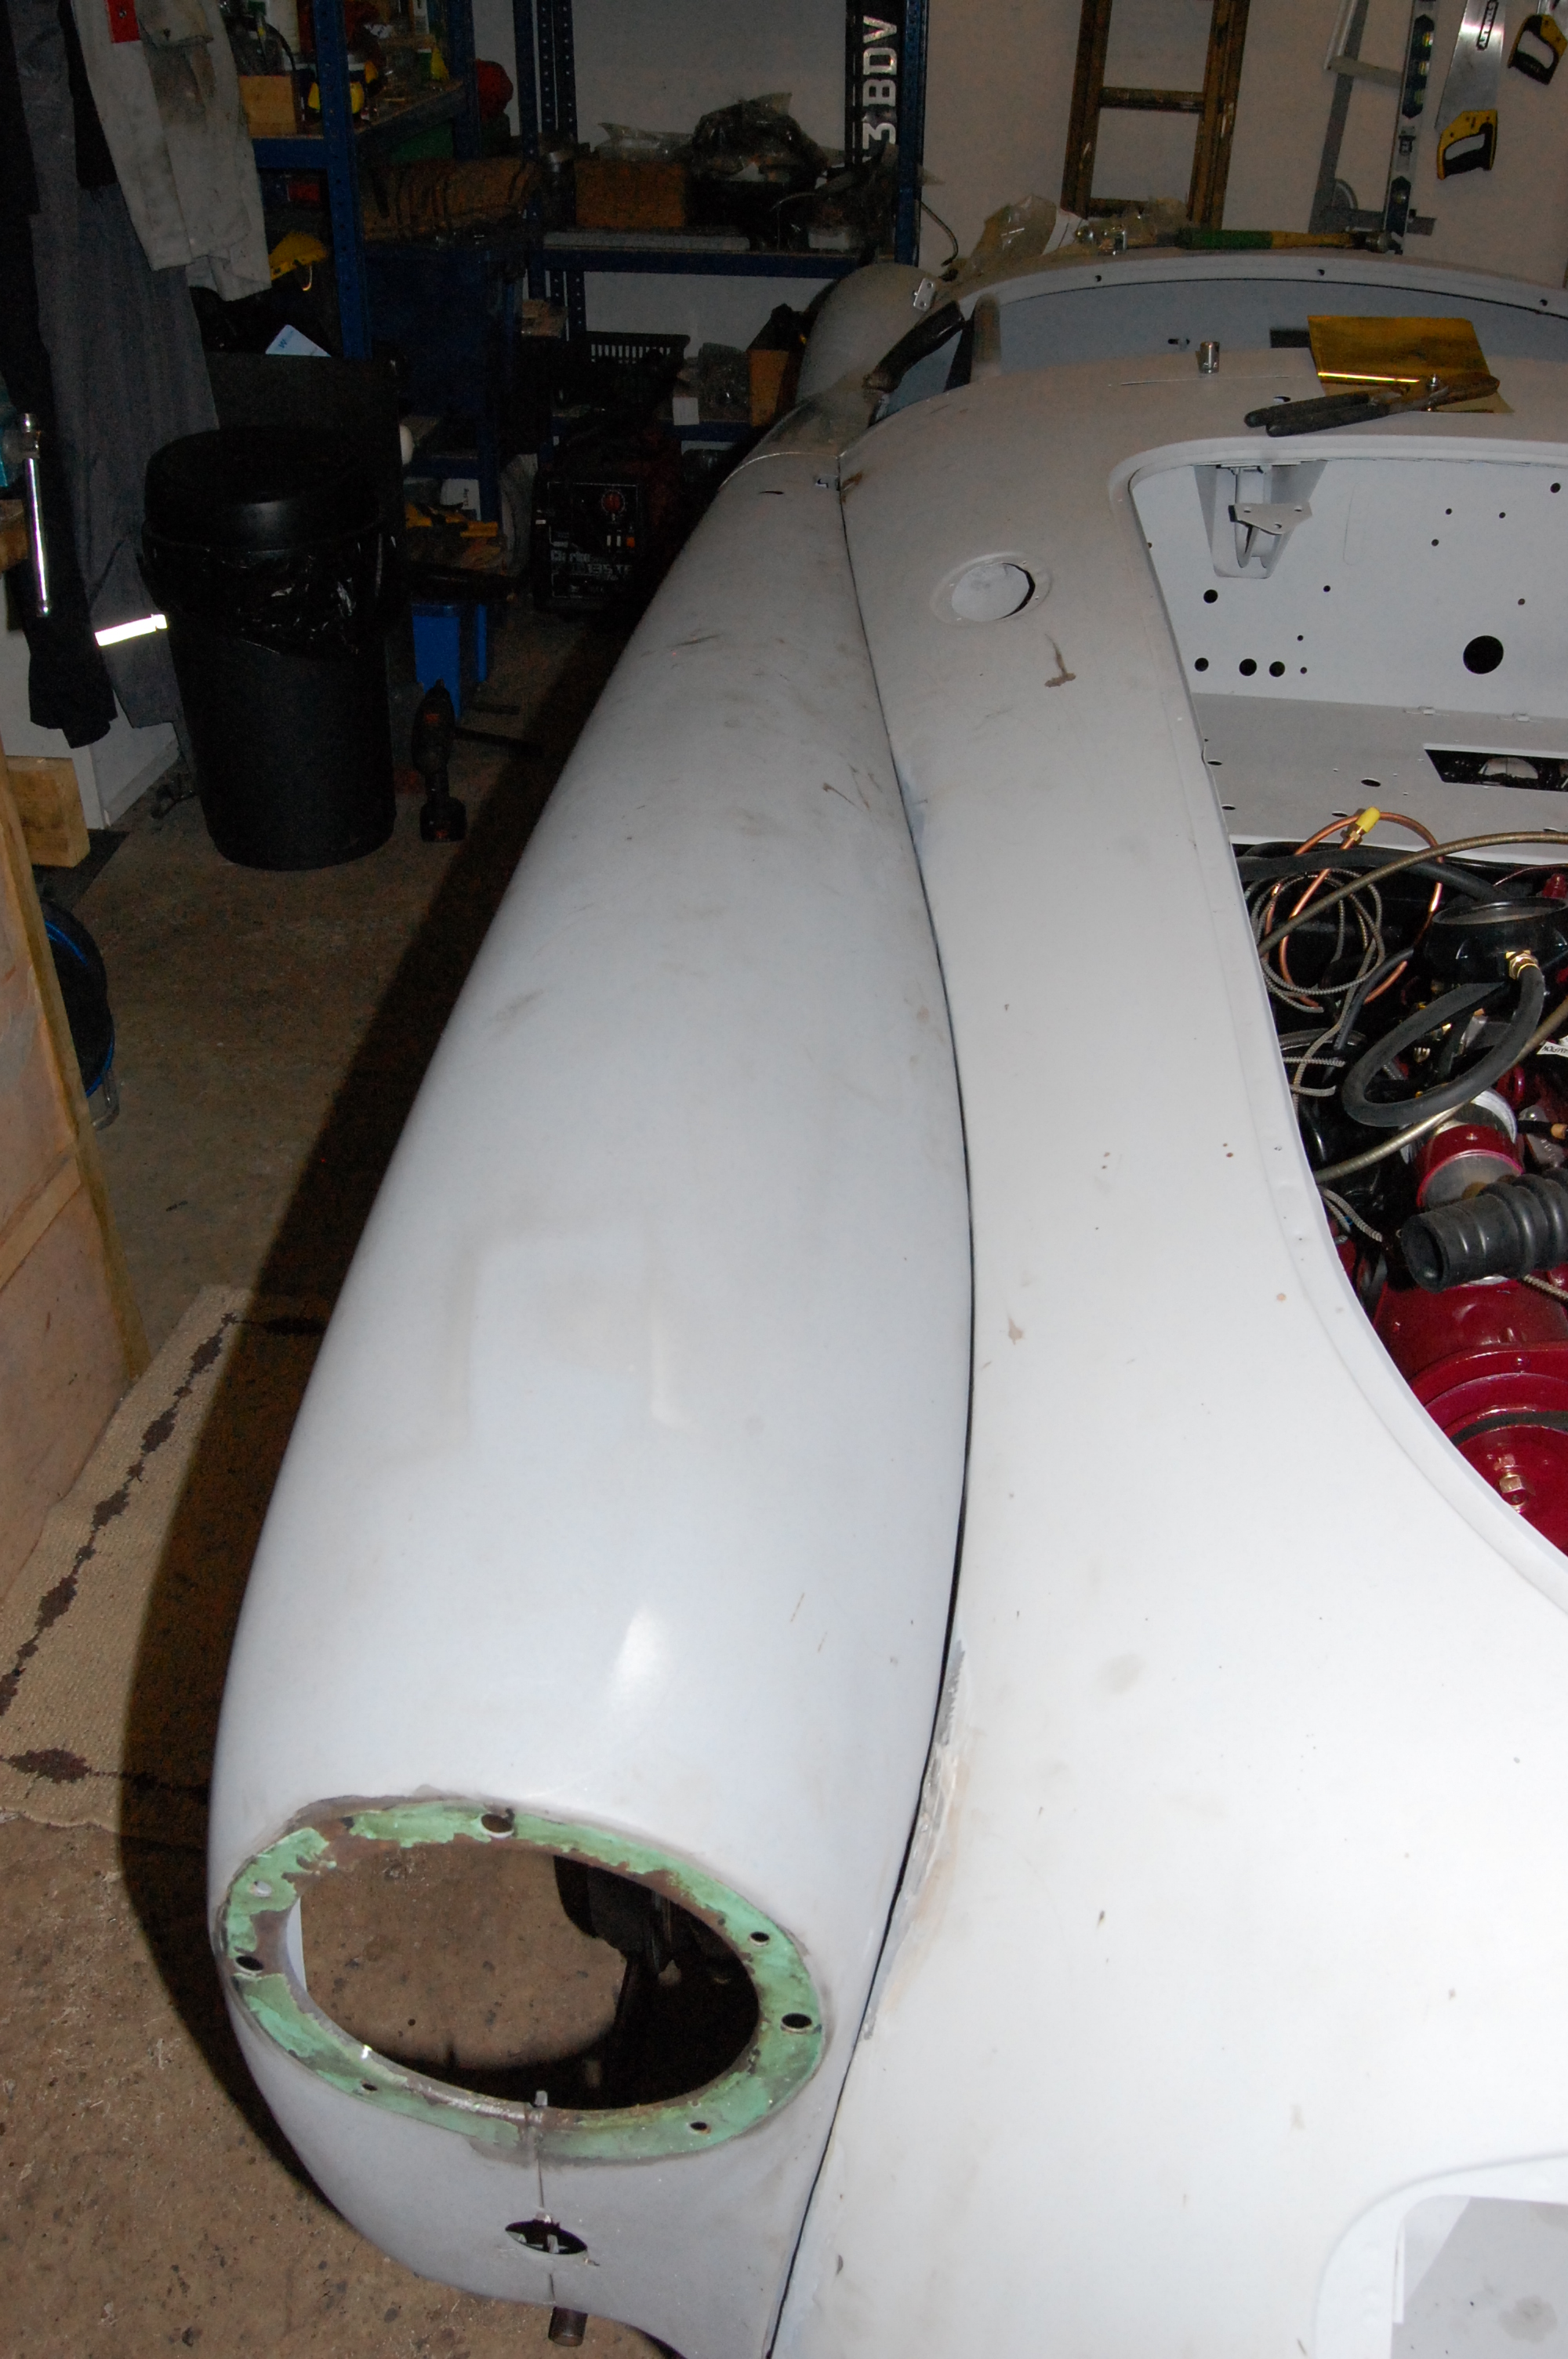
Front end and shroud in generally good shape – no previous significant accident damage.
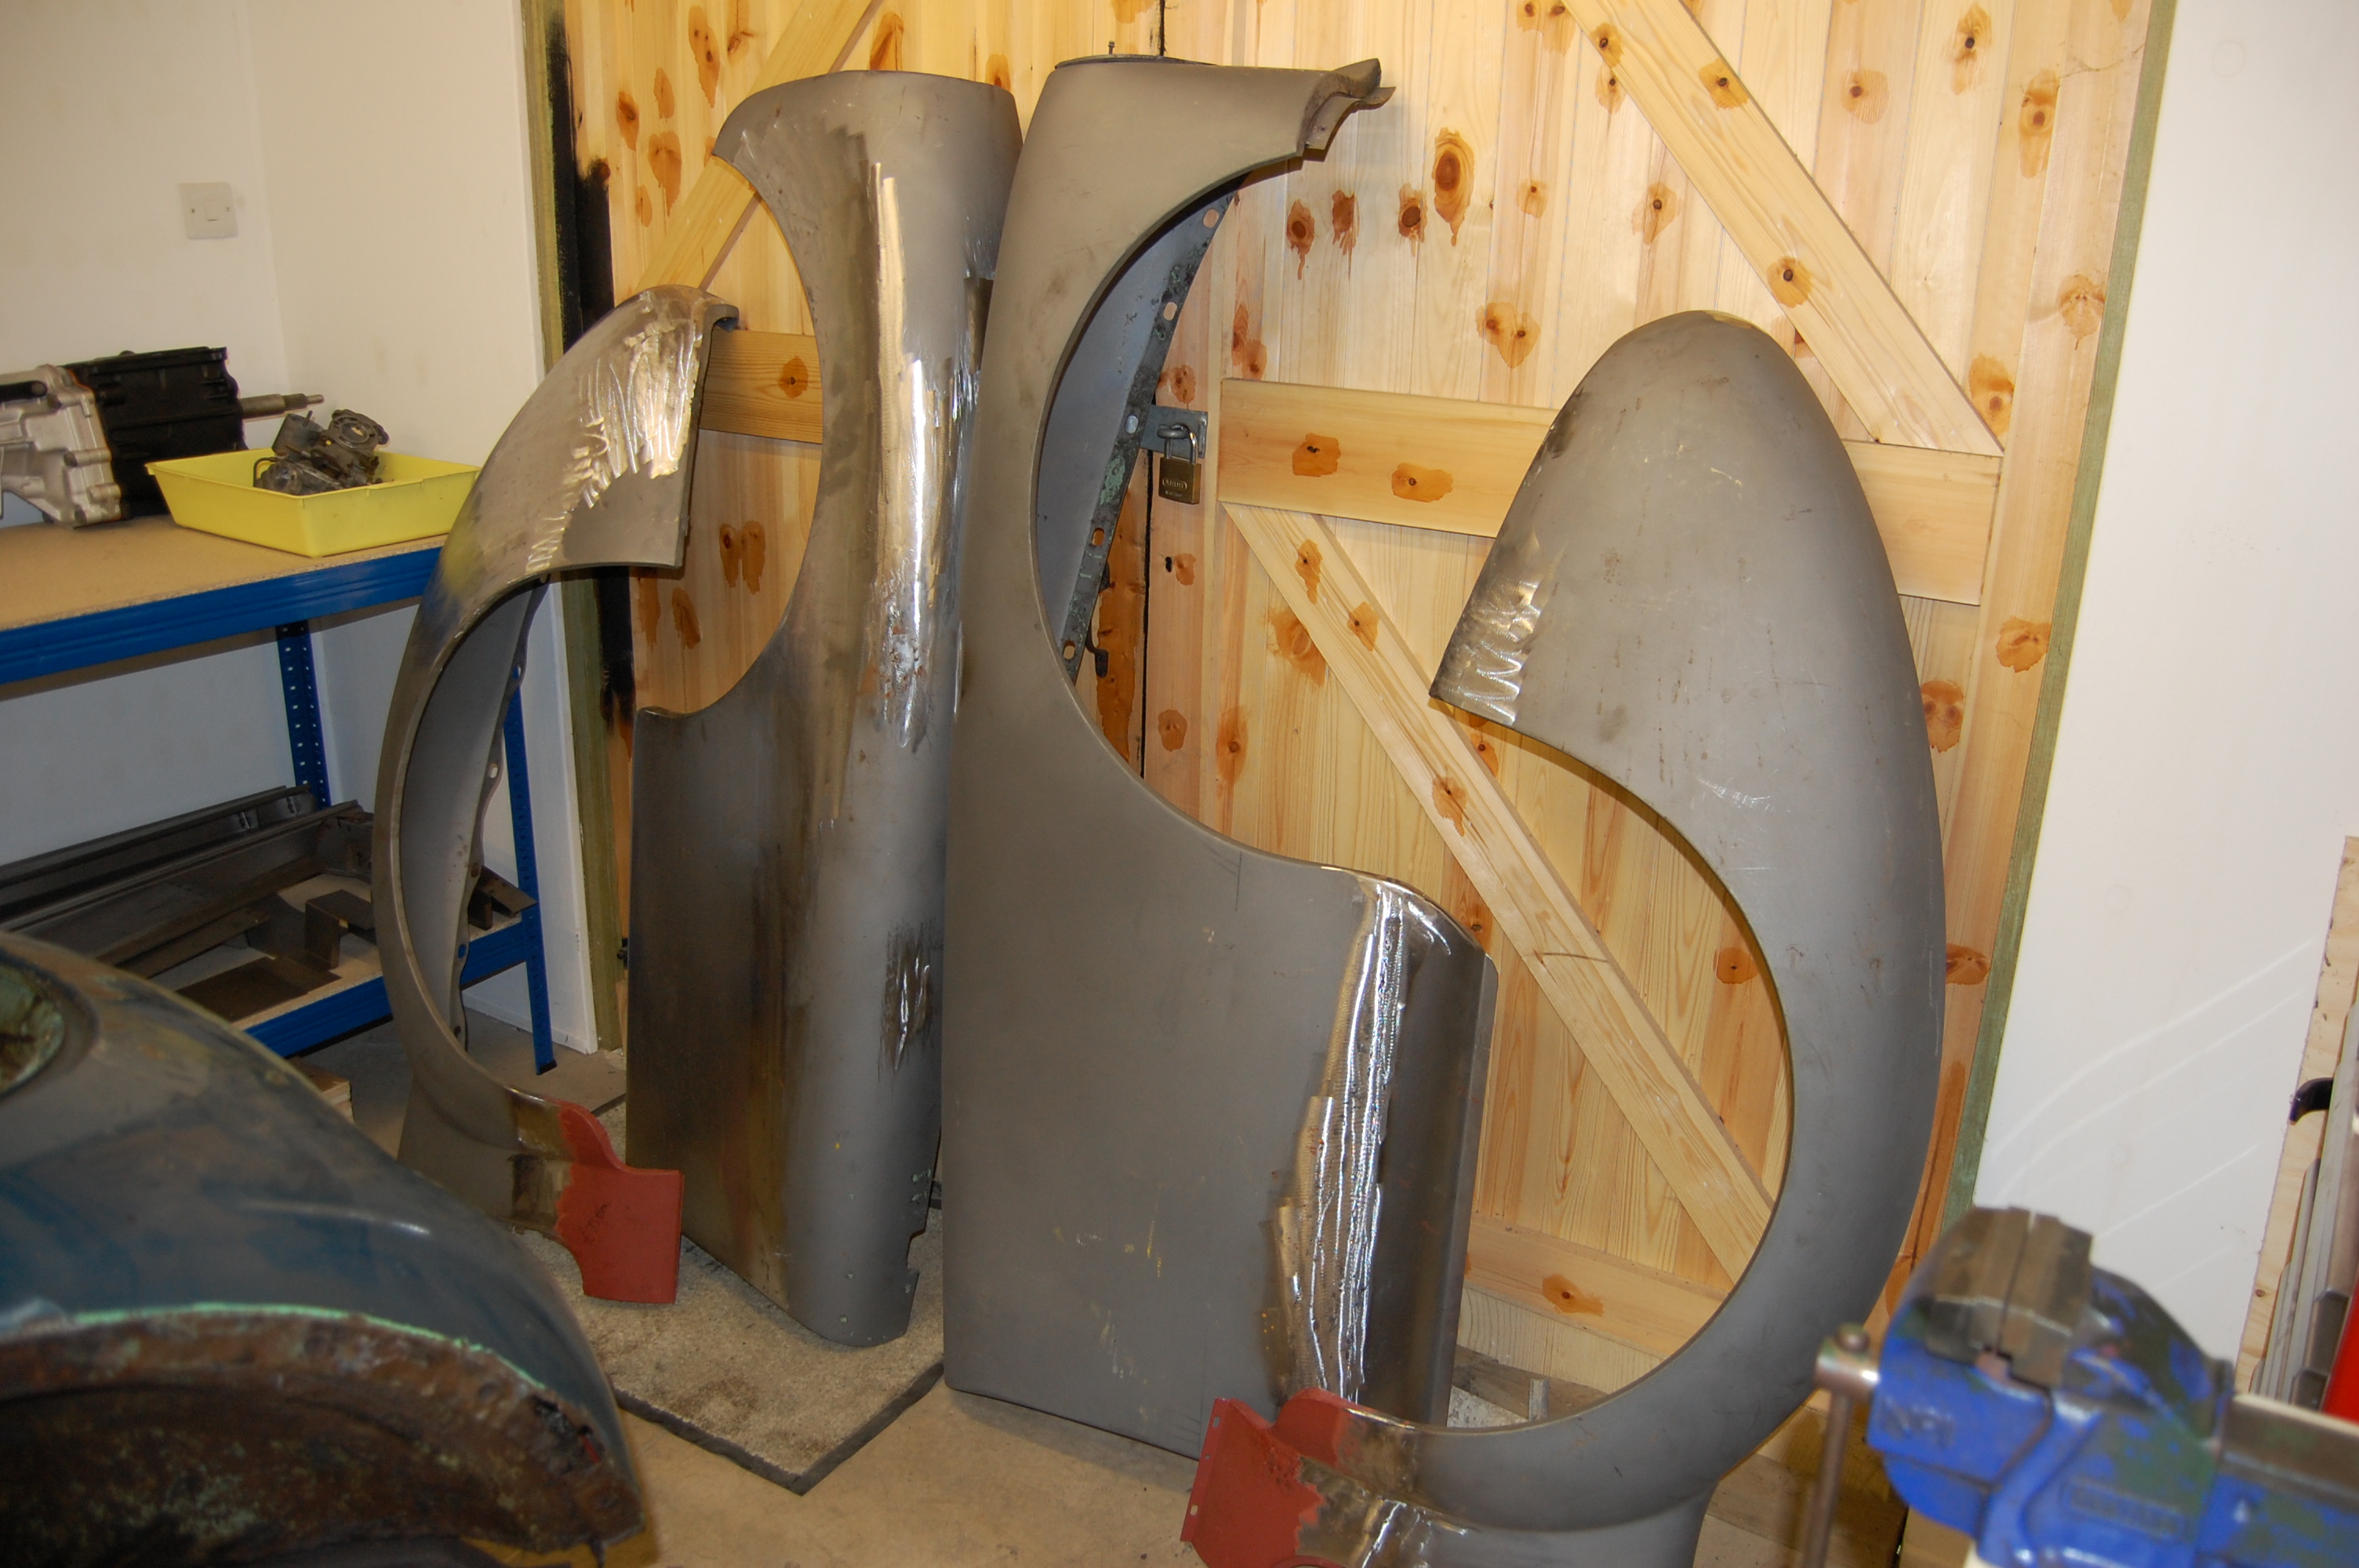
All the original wings were repaired with new repair sections and lead loading on dented areas.
Body departing for sand blasting – work carried out by Penfold Metallising of Barnham West Sussex.
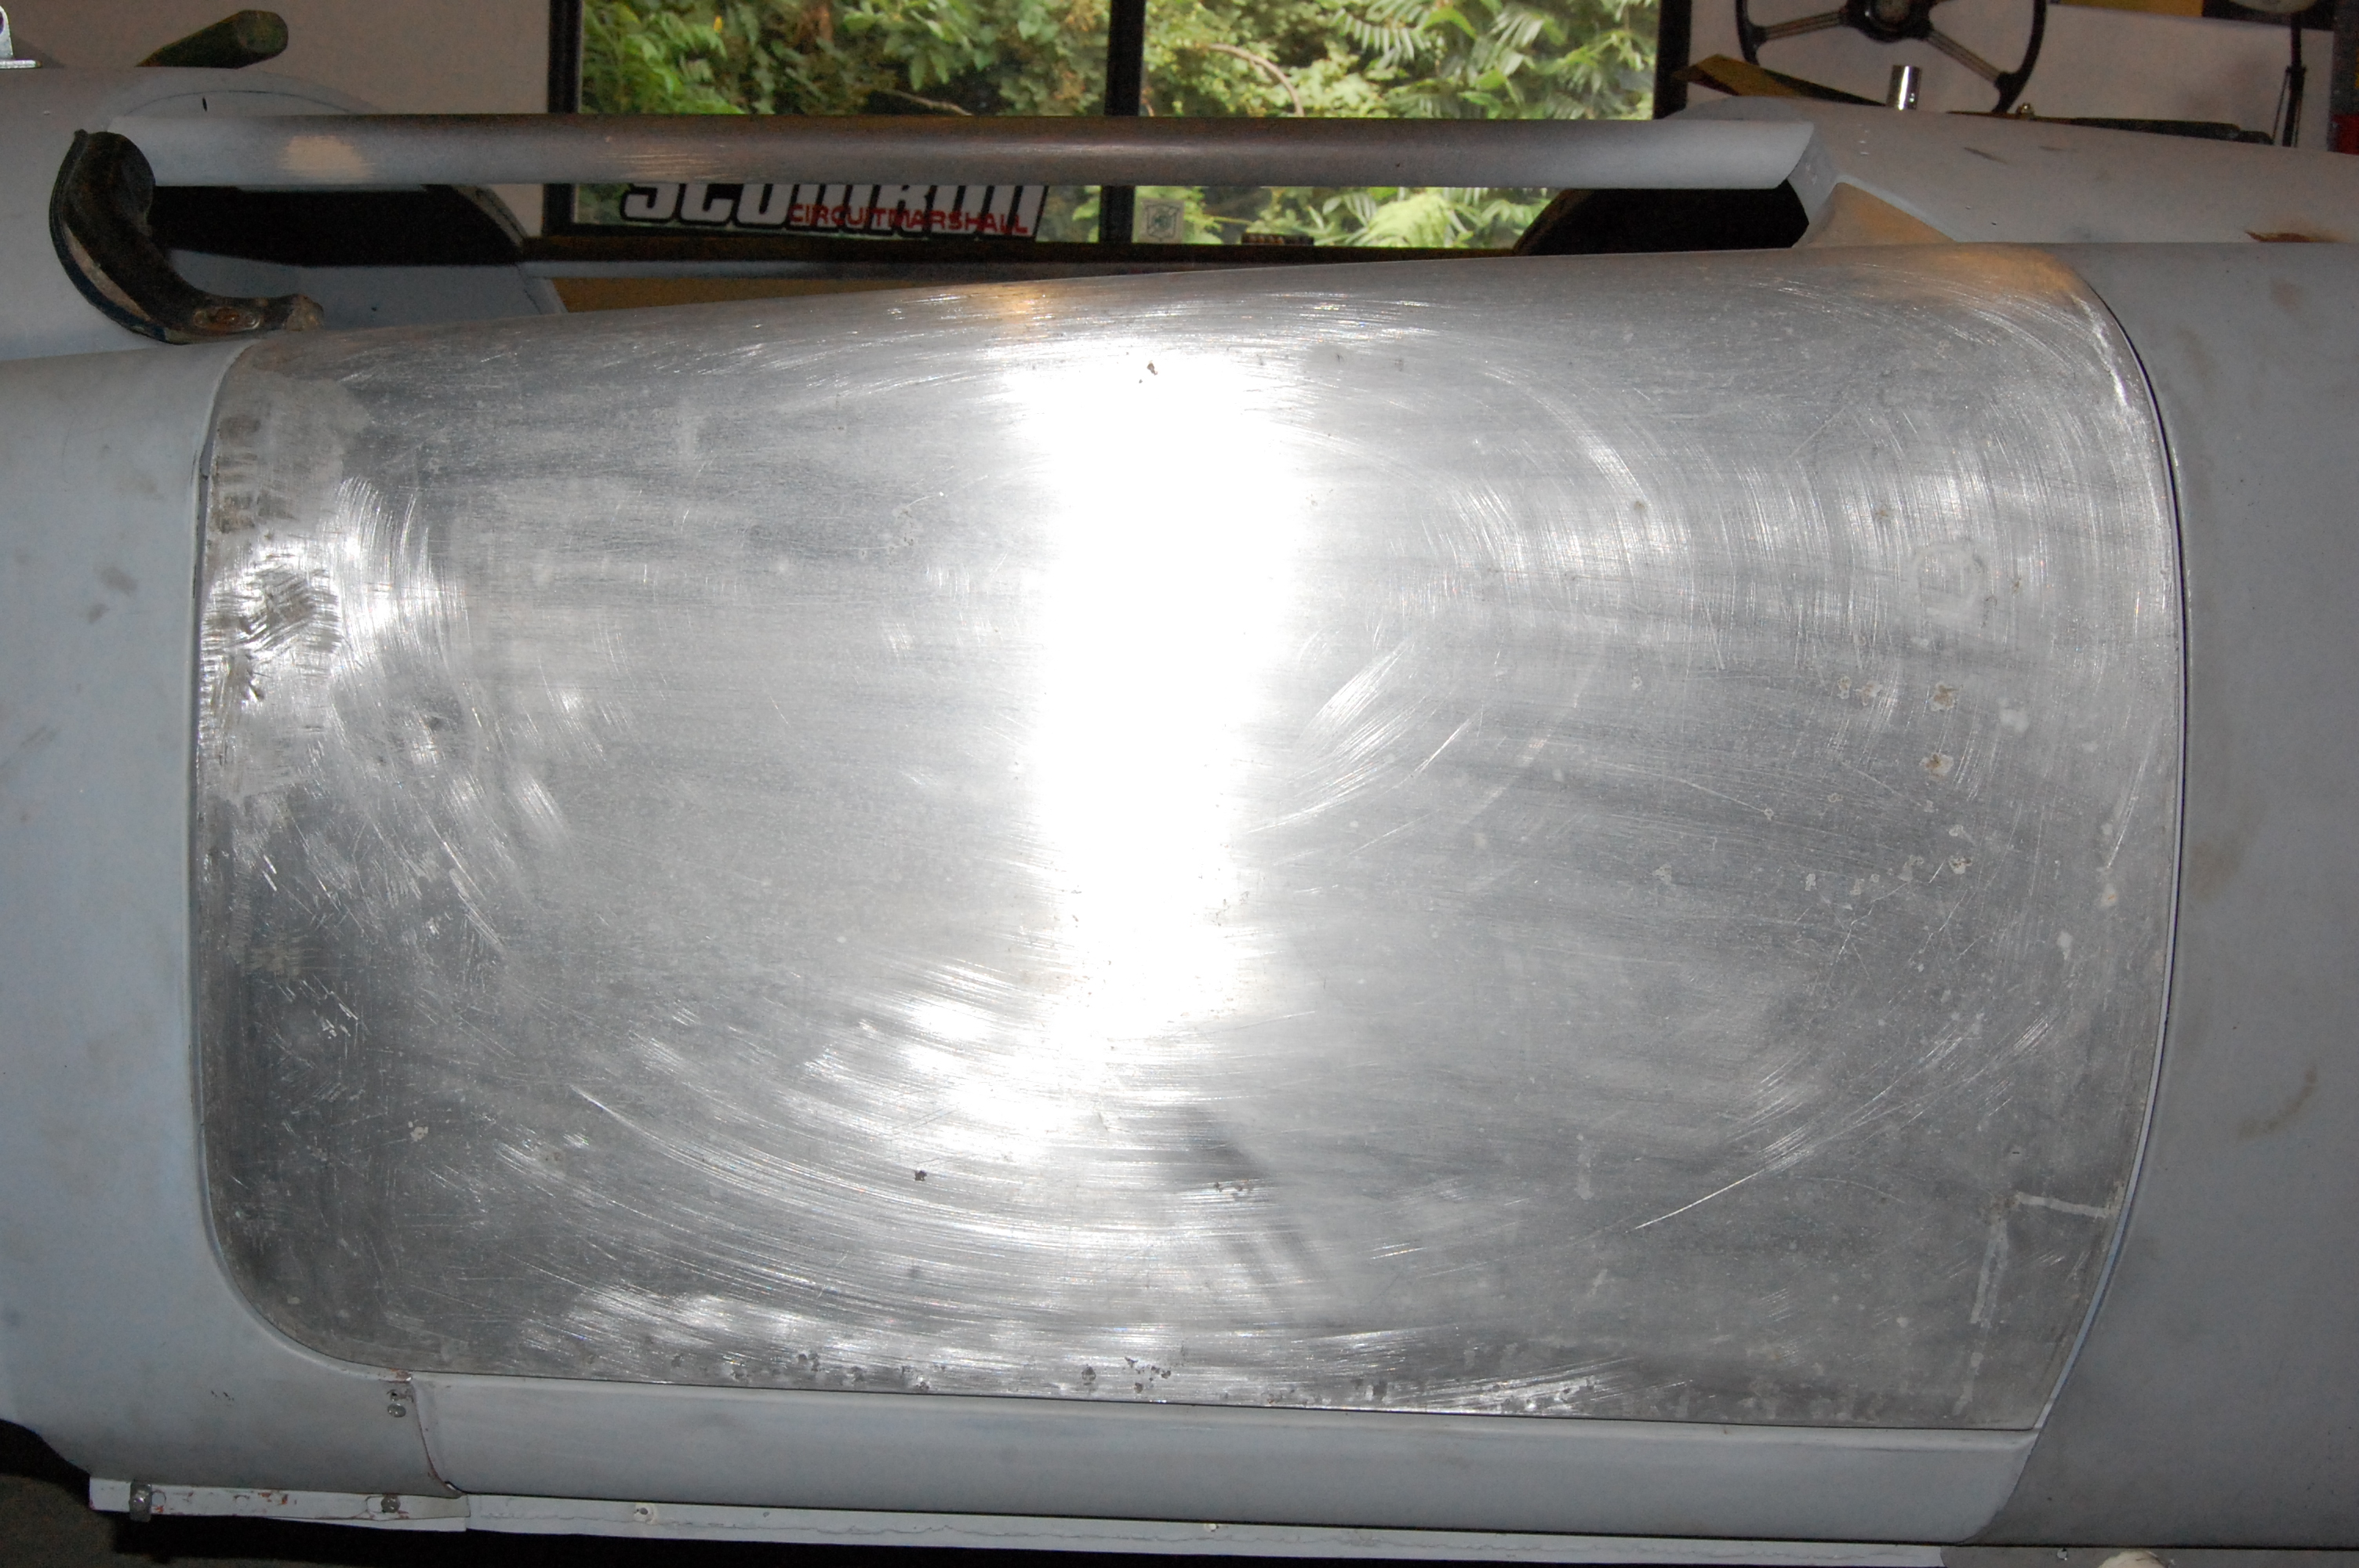
Body and all other metal body parts including hood frame, off for shot blasting. Aluminium parts – bonnet, doors and boot lid were hand stripped.
A week later and pocket £350 lighter, the body and all other cleaned and primed parts return. This has to be the best money spent, as to do this all by hand would have been a massive task. Brilliant job by Penfold Metallising.

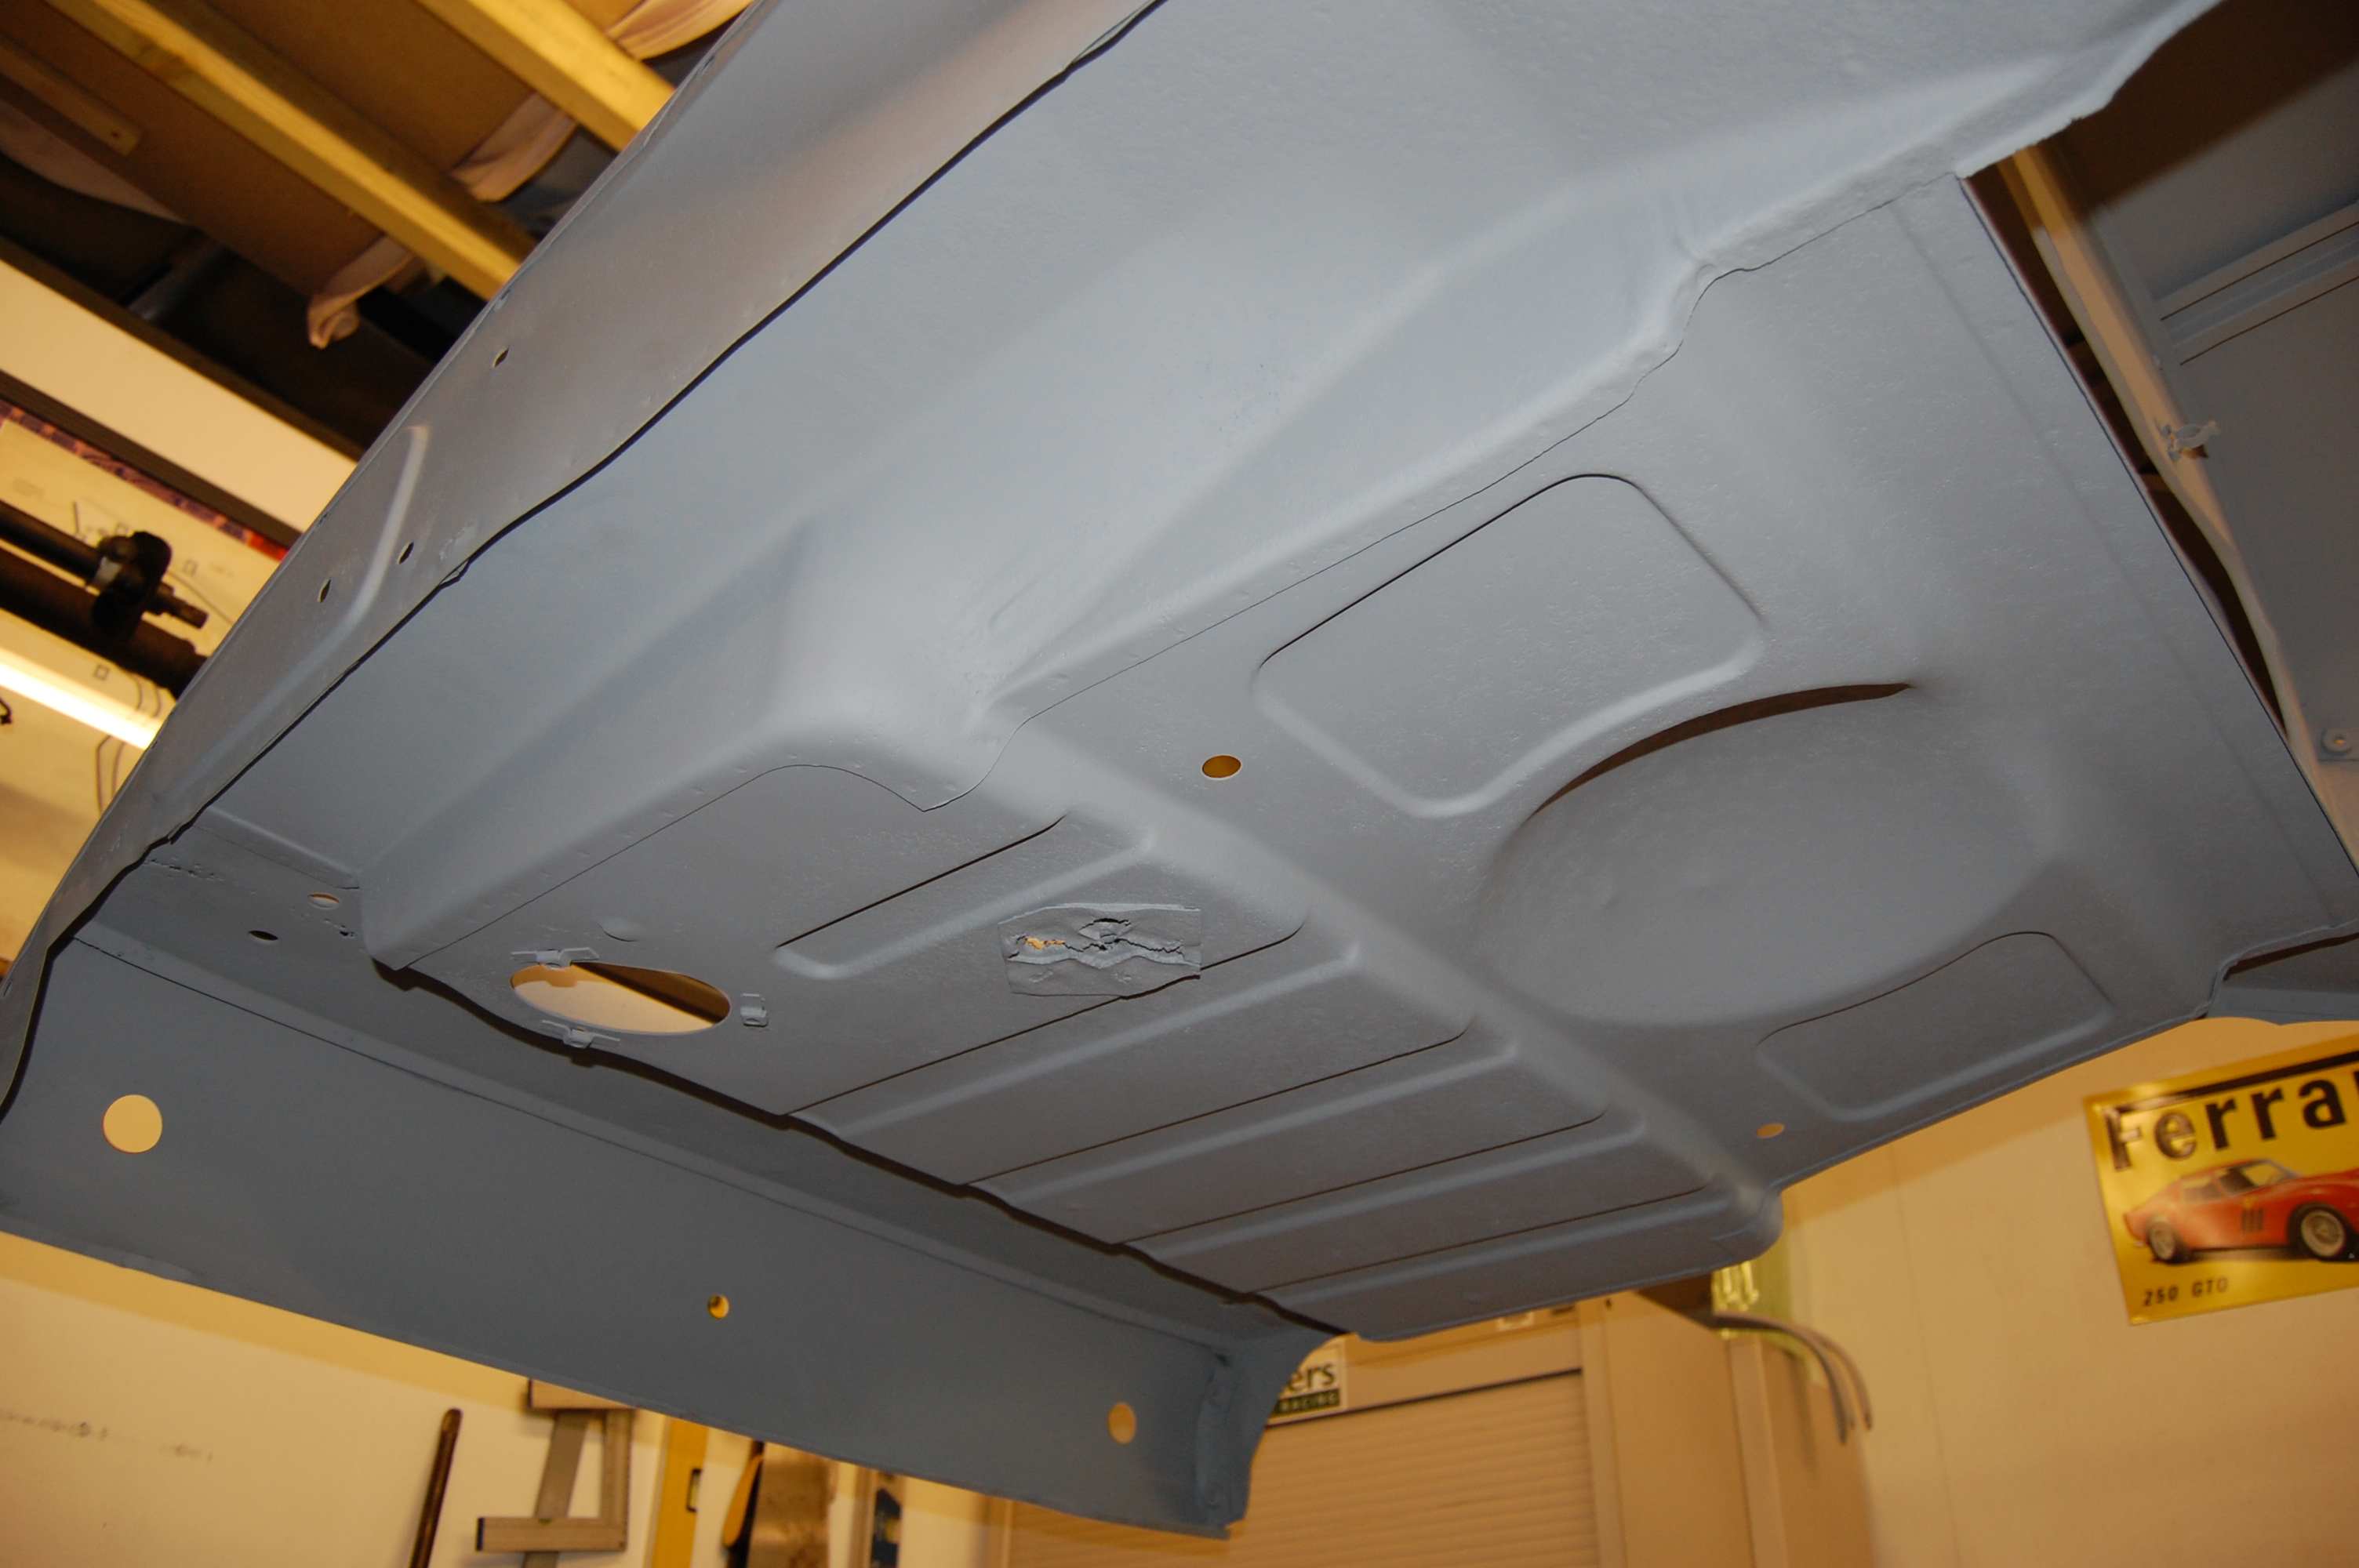
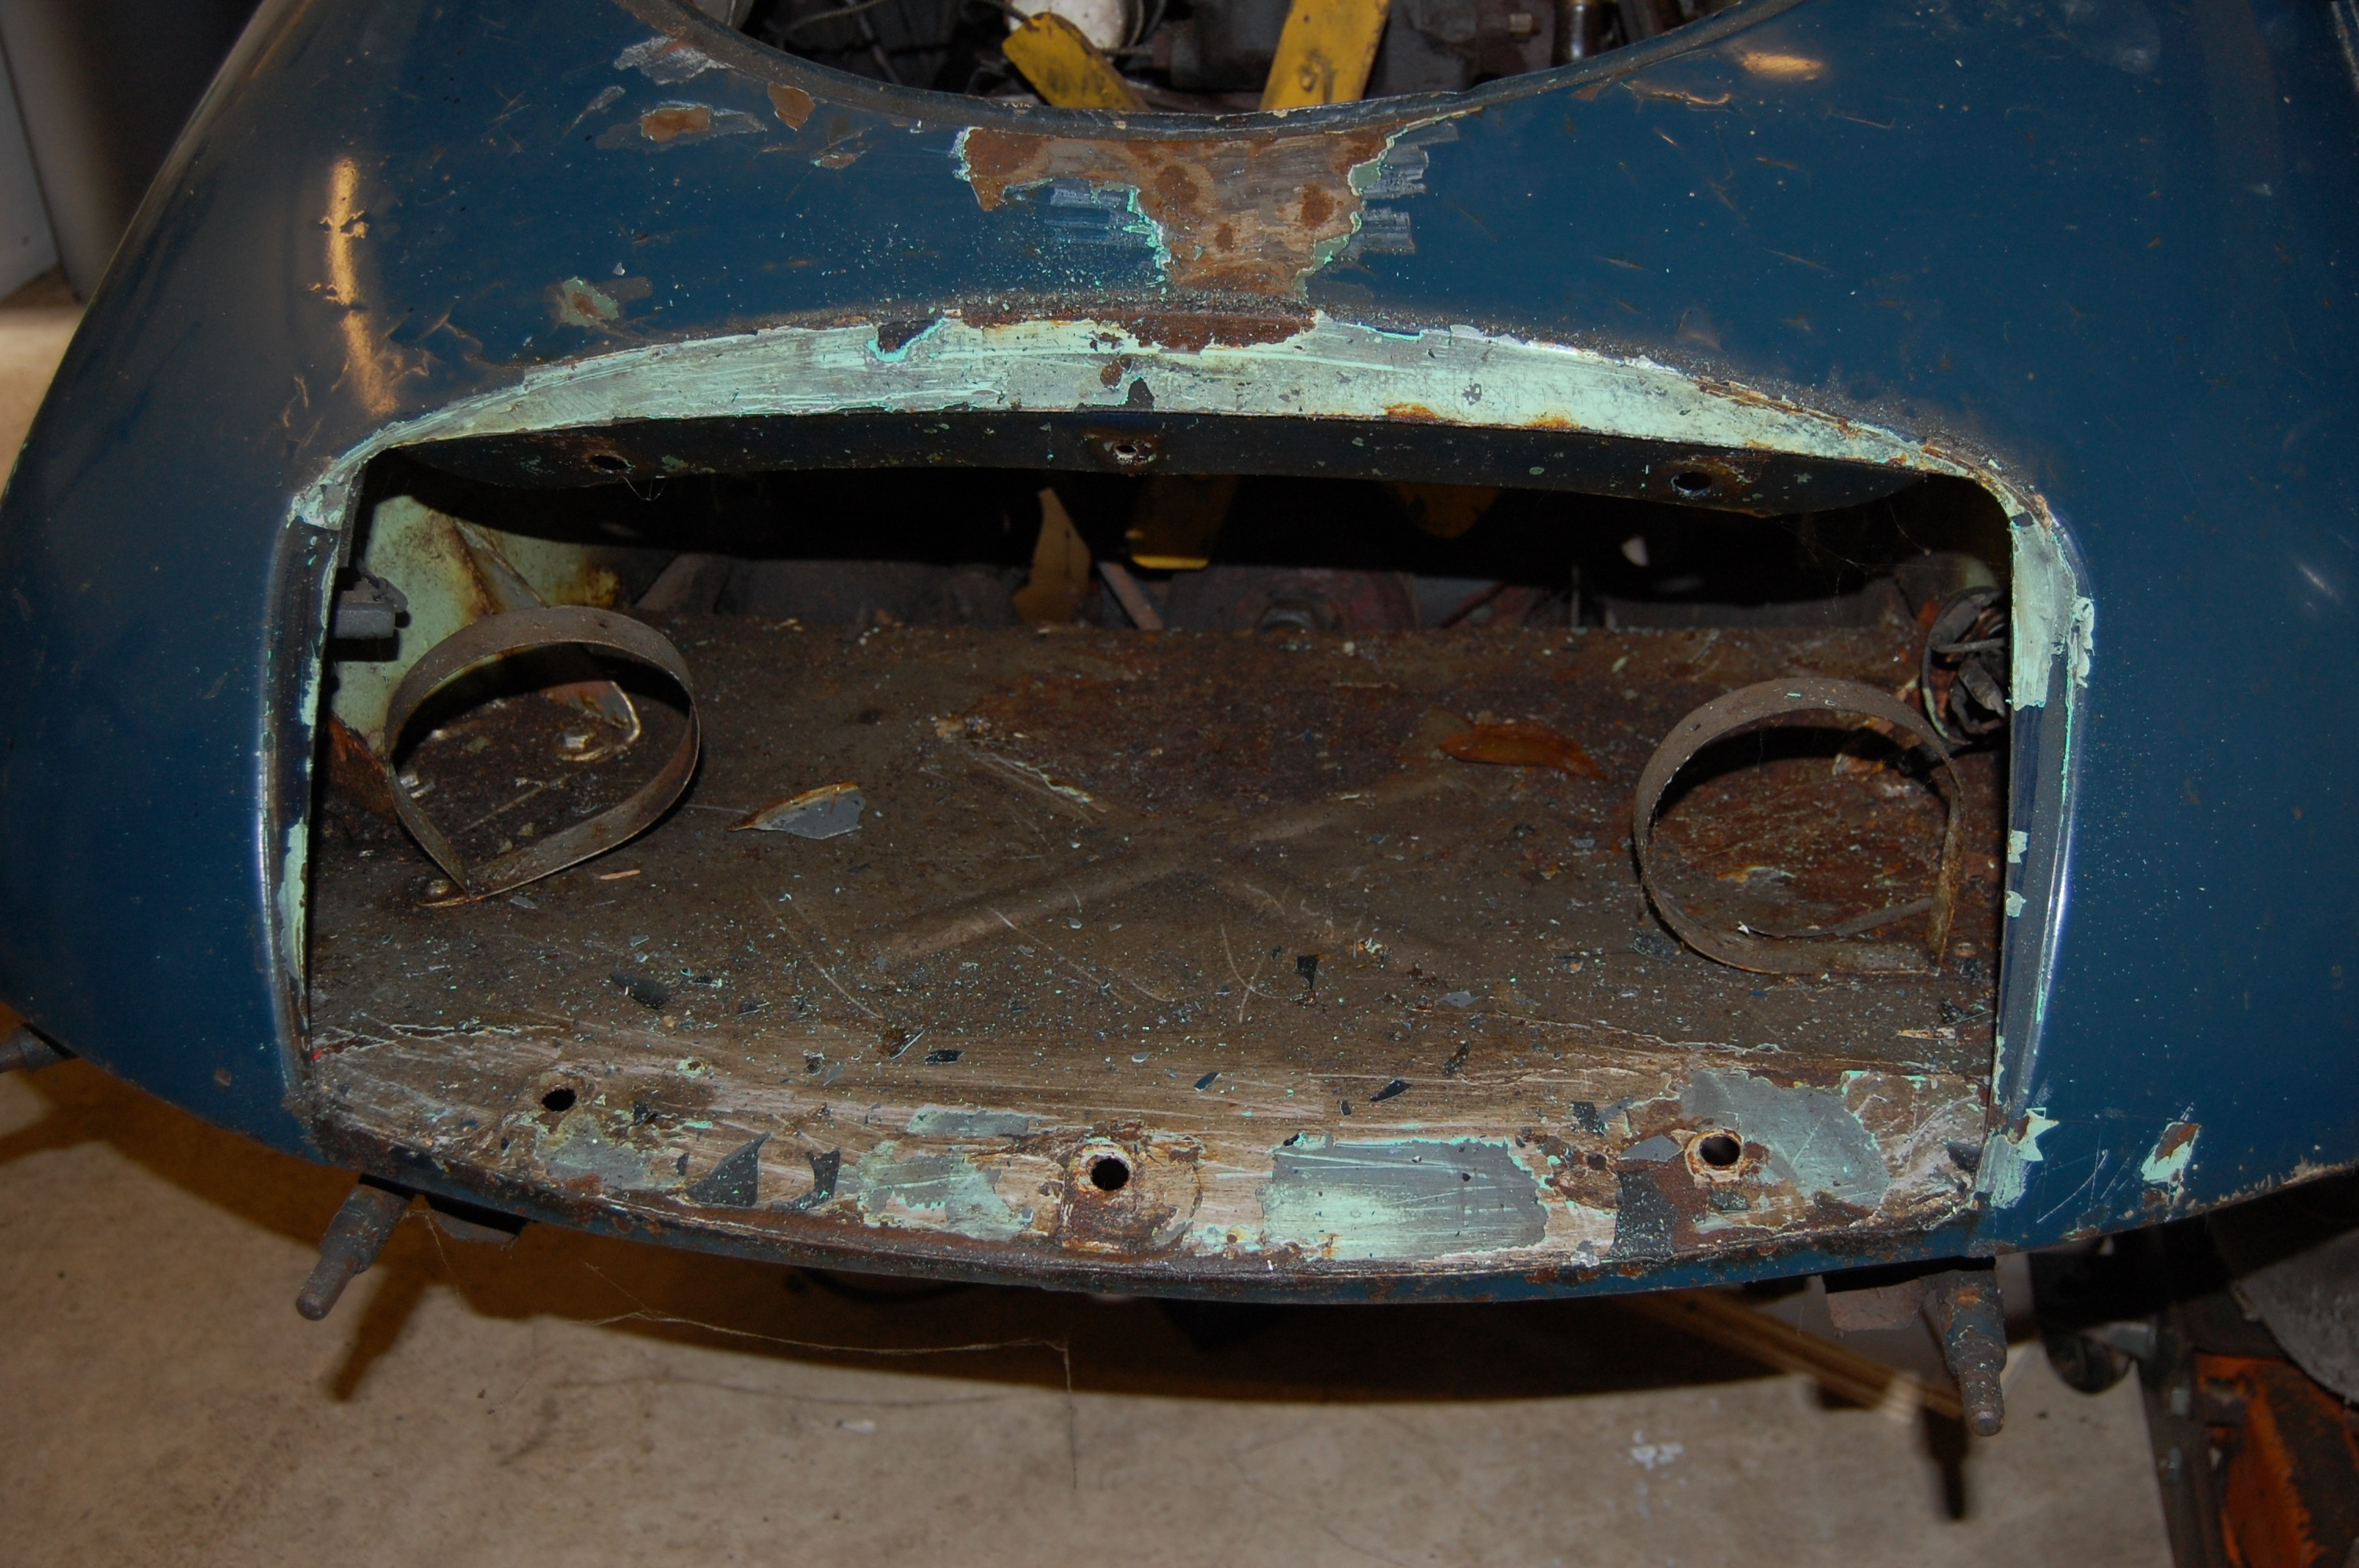
Some small holes inevitably appeared during blasting, but nothing more than expected – the fuel tank was a write-off.
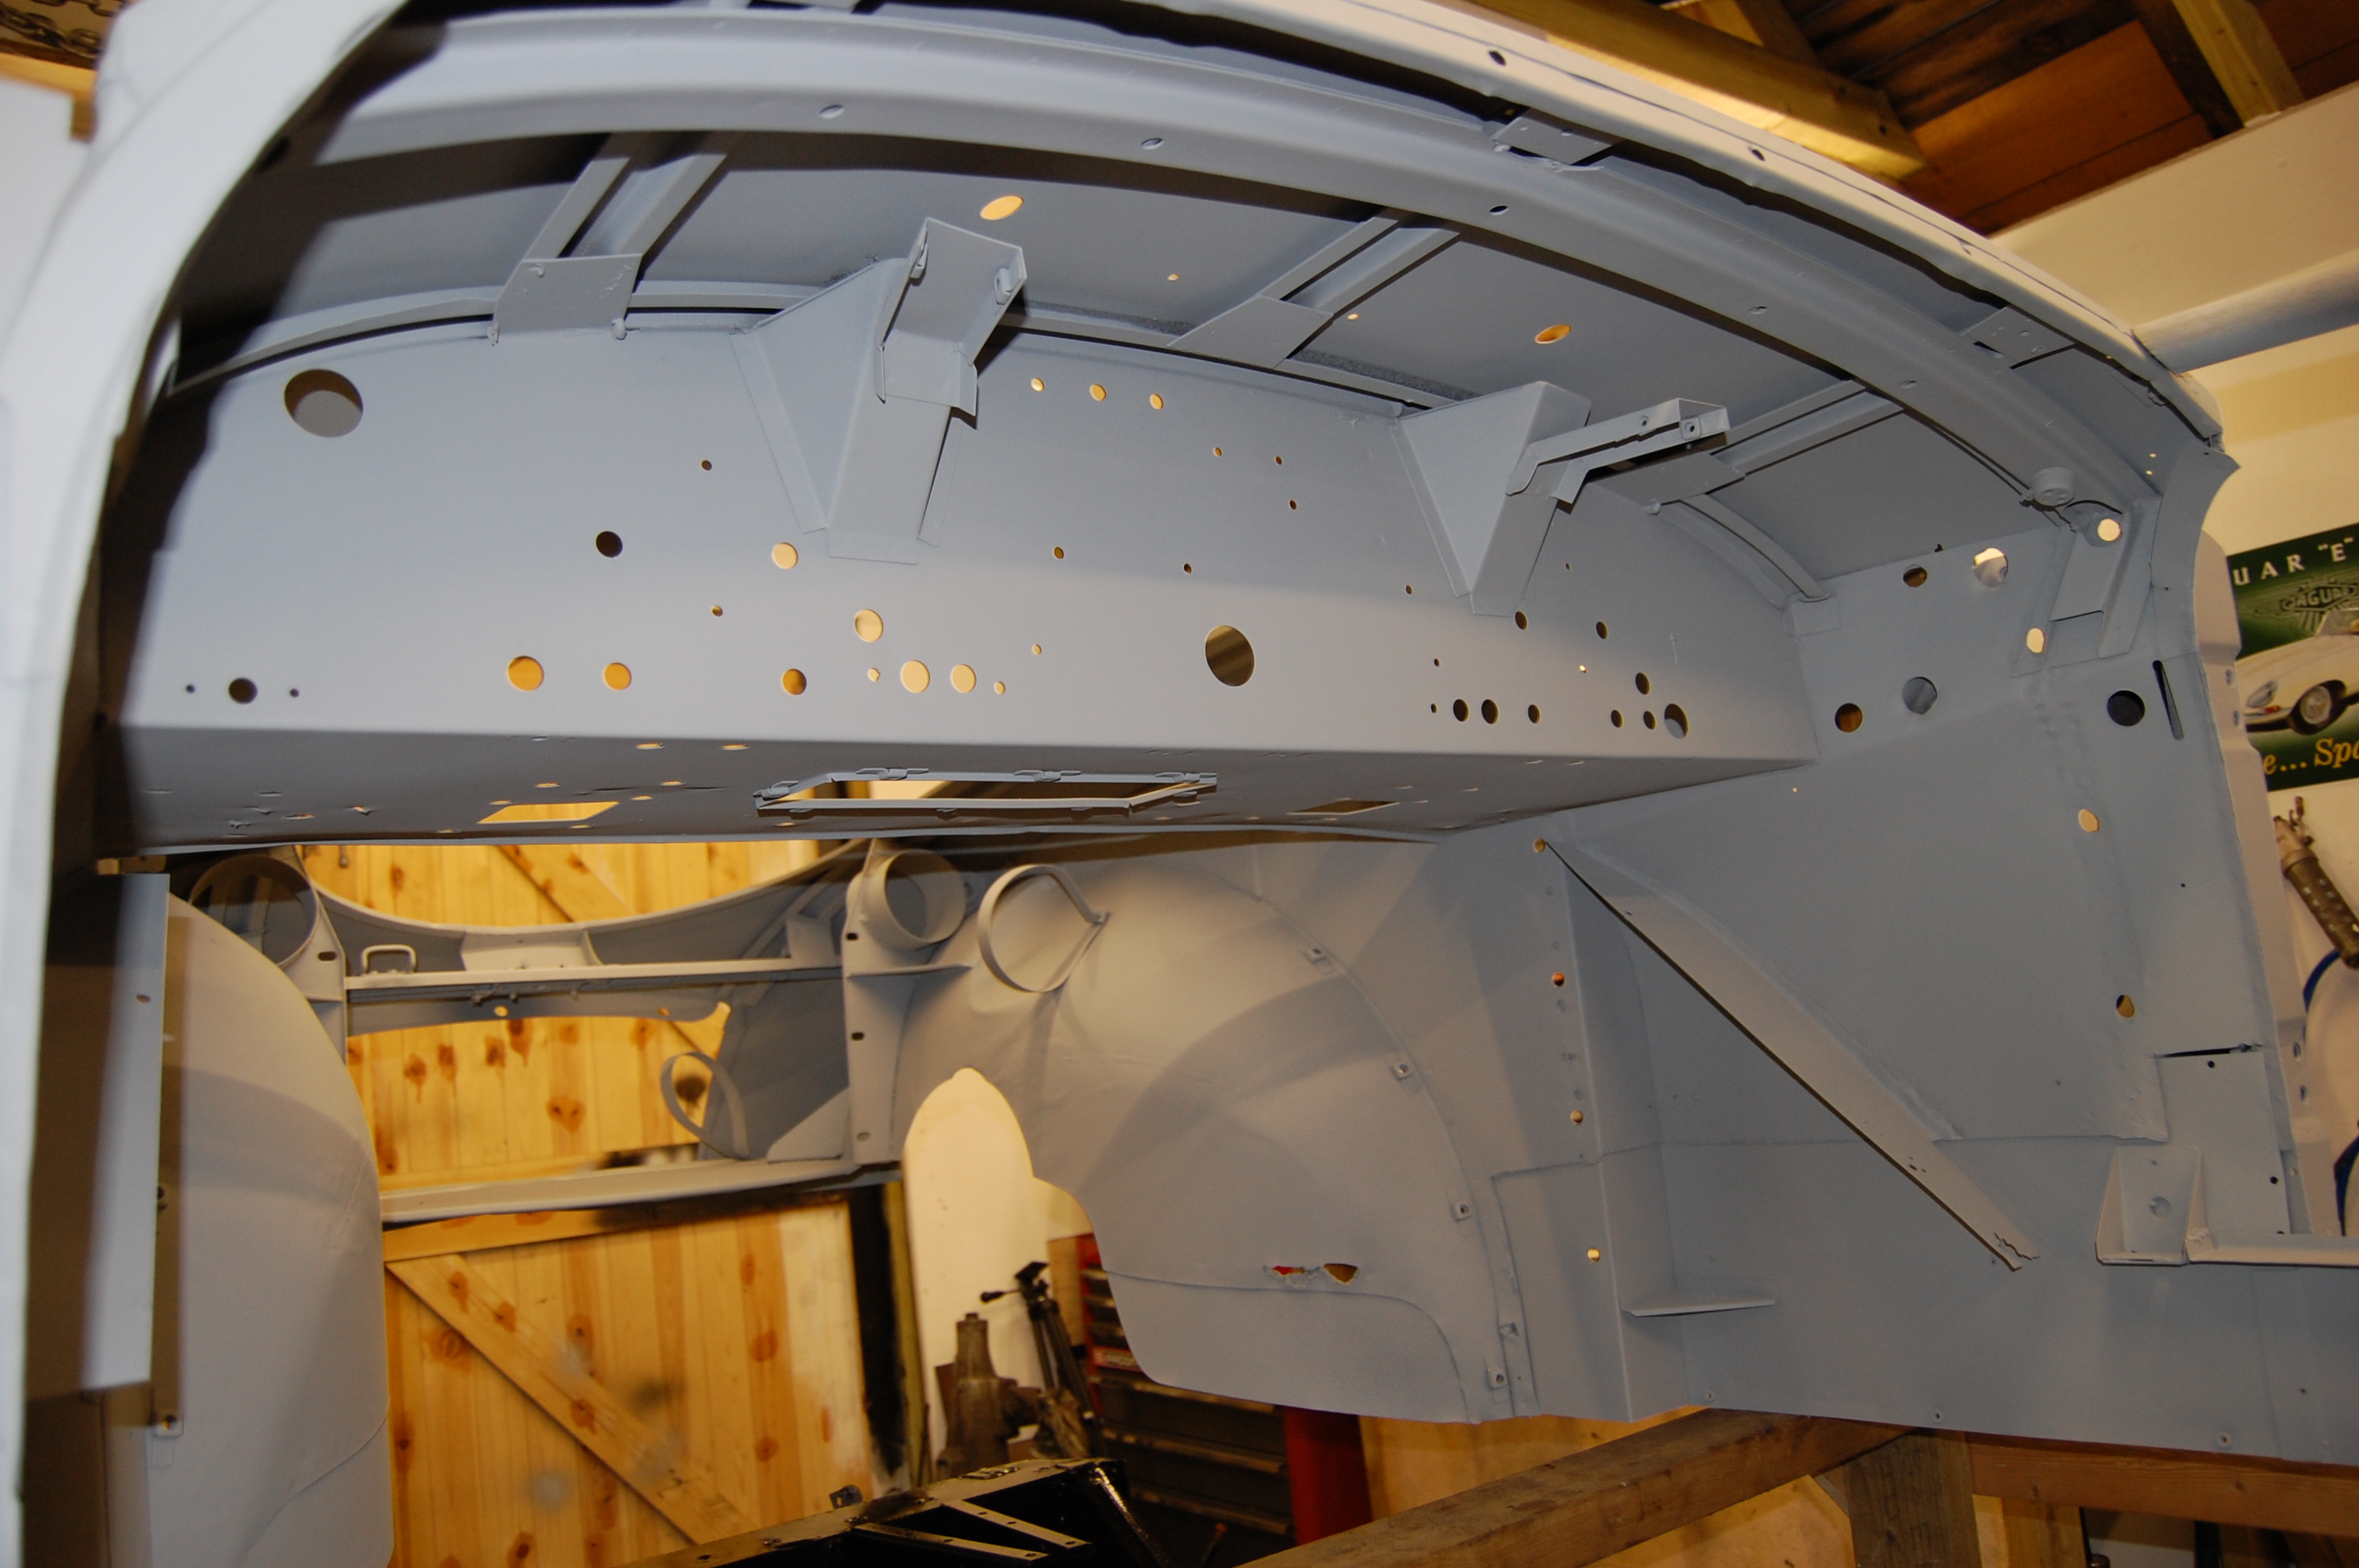
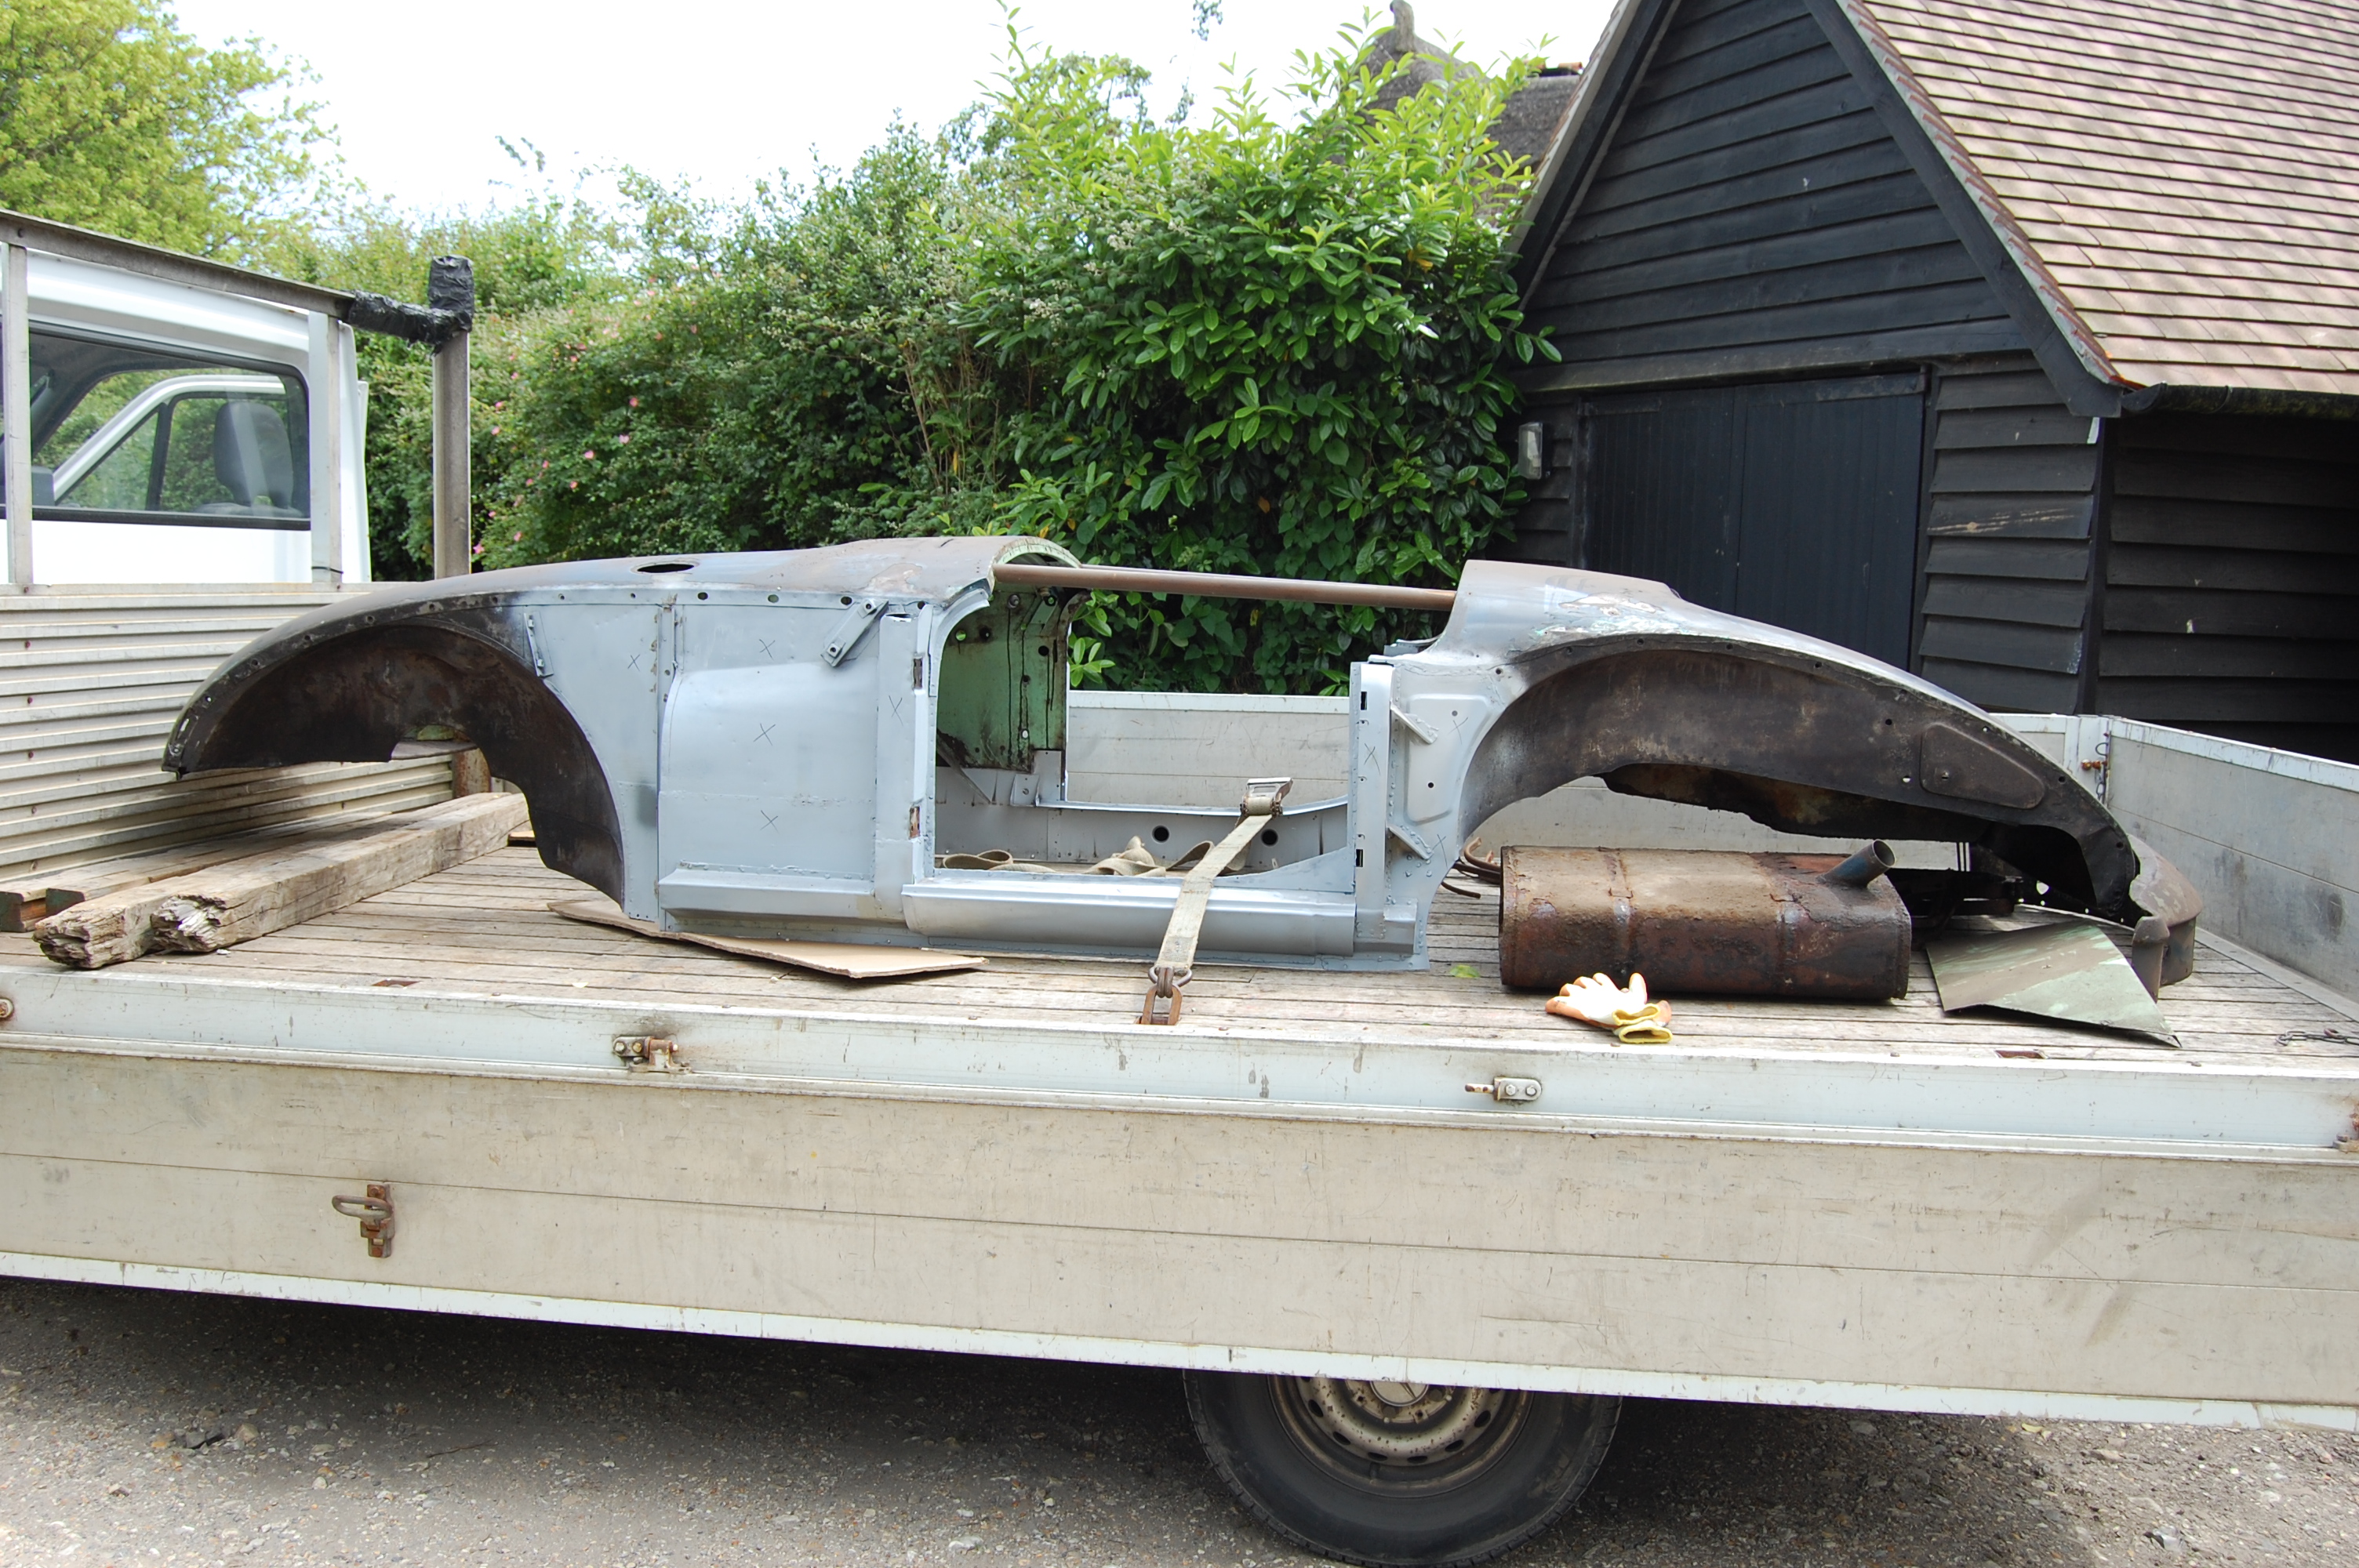
Areas of repair and final welding still required to complete bodyshell.
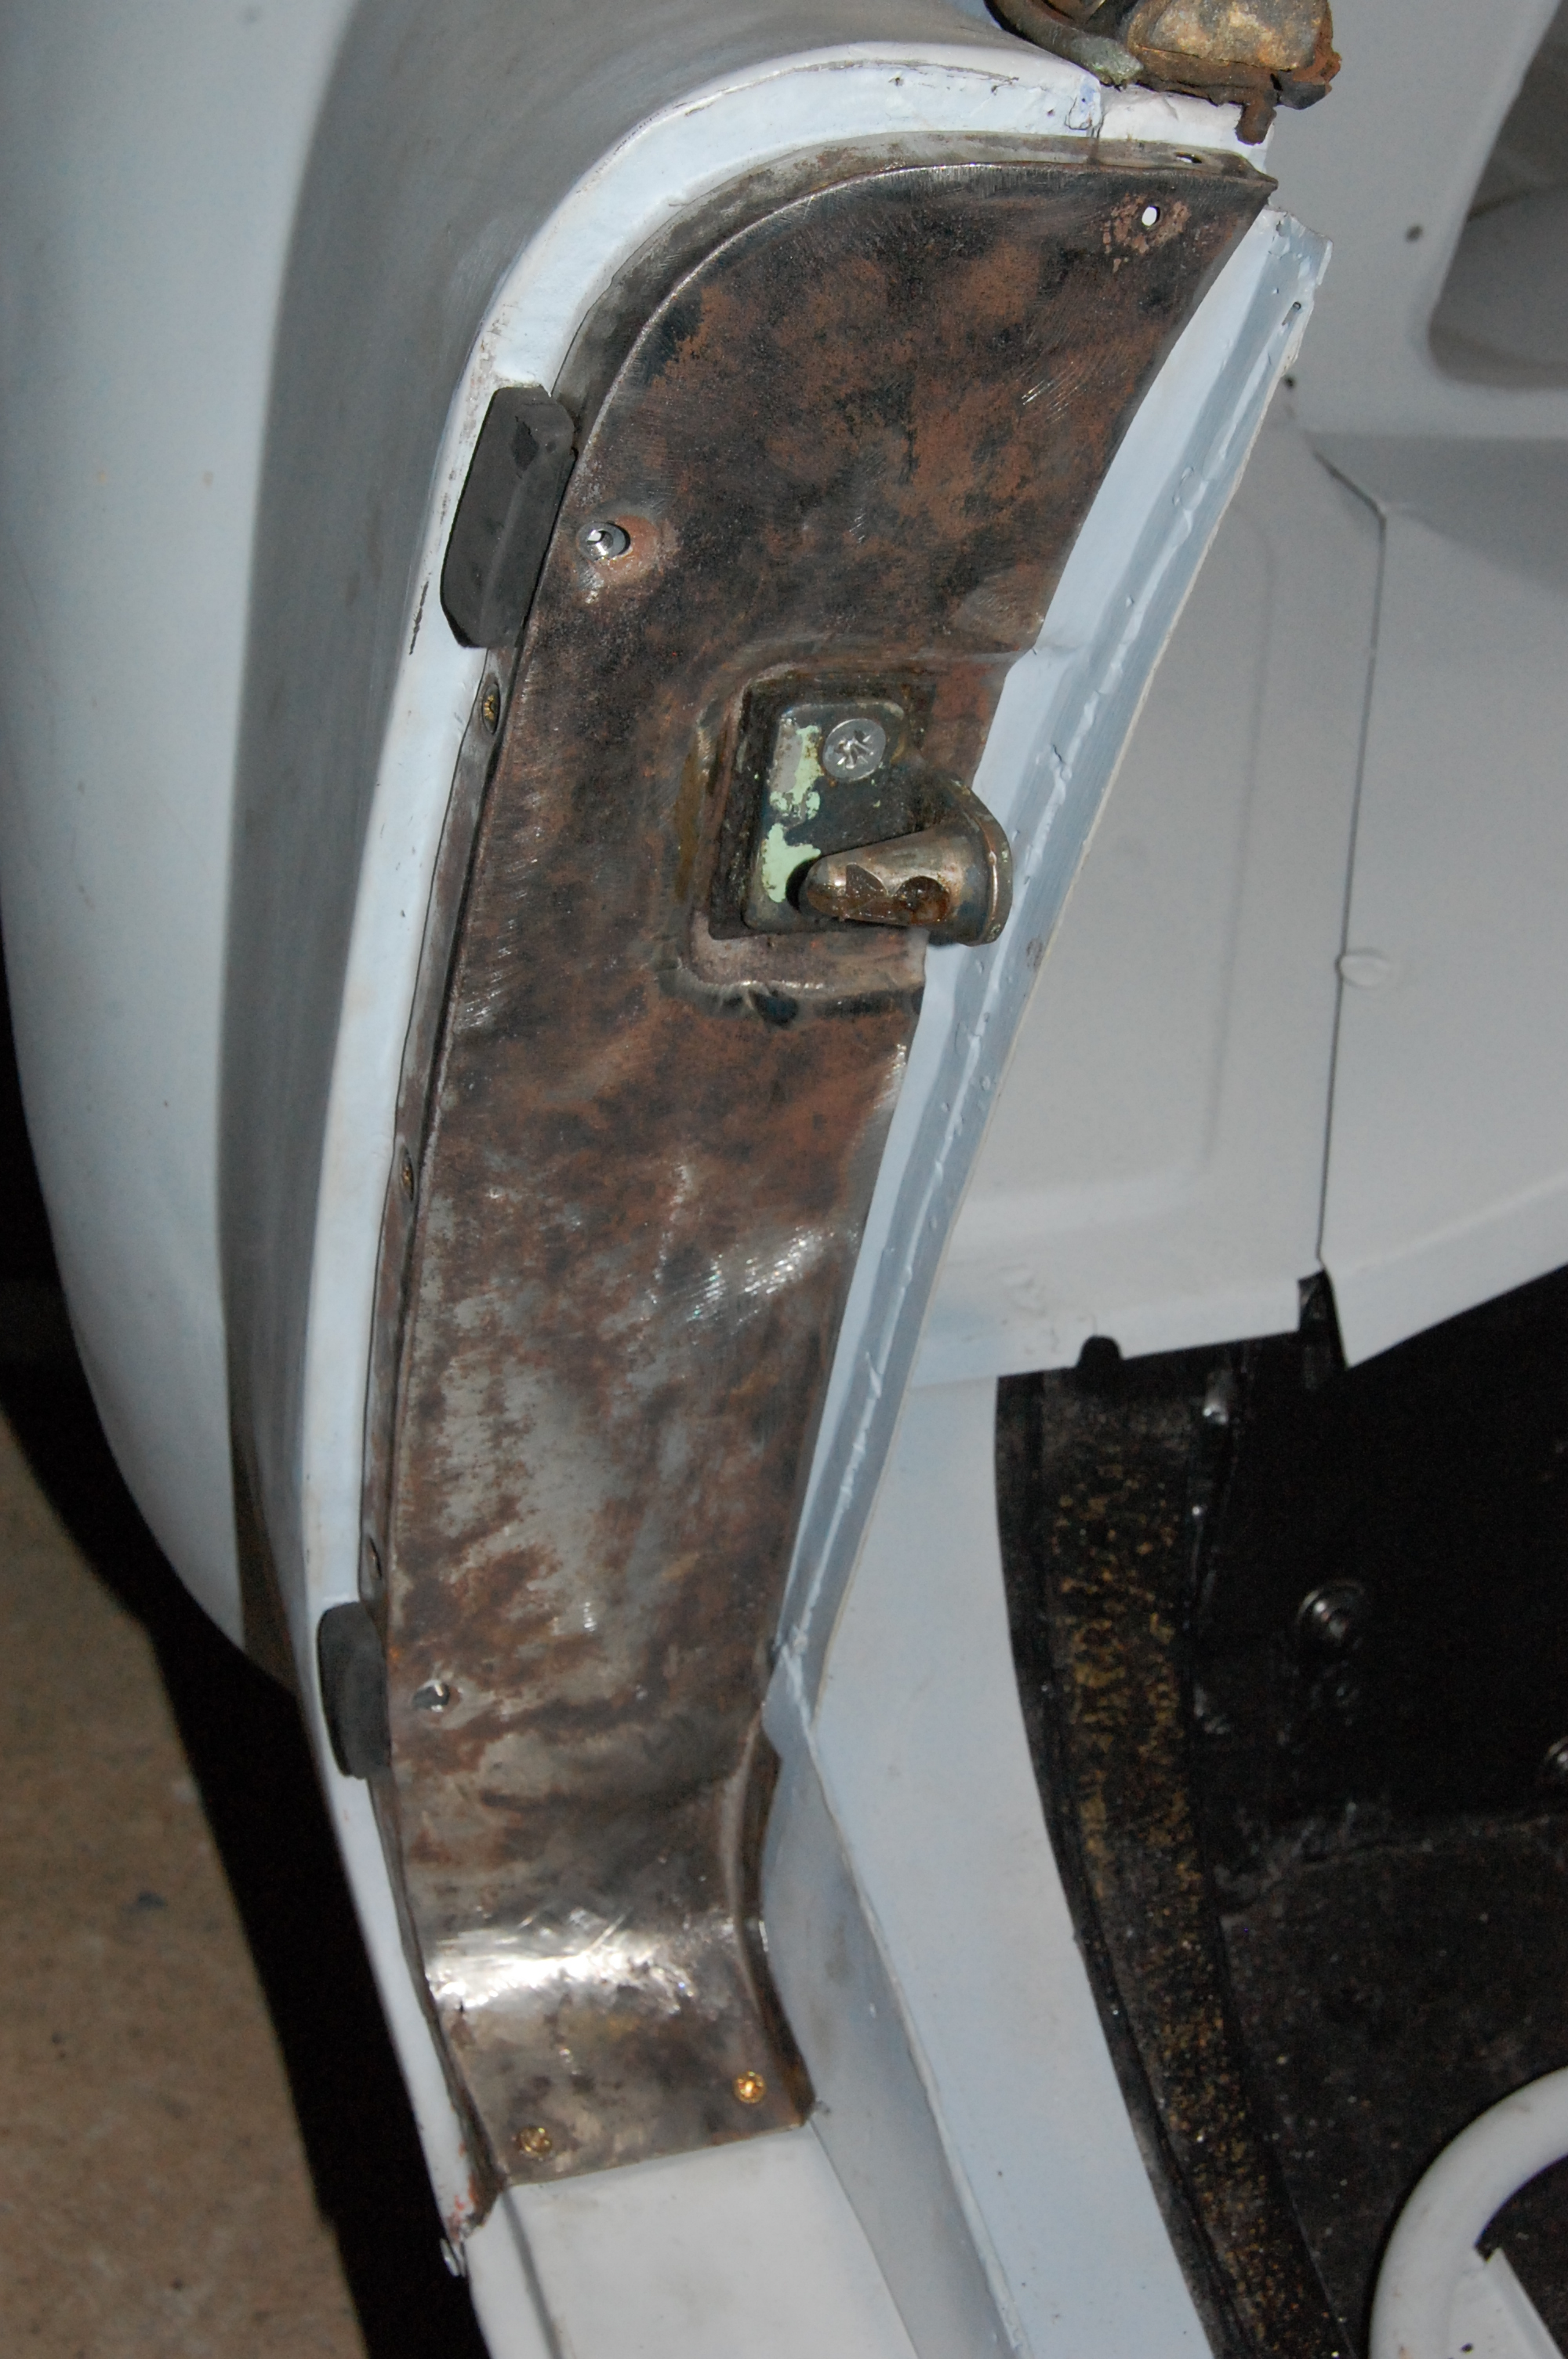
At this stage it’s essential to fit the door up with the catch mechanism, the striker and buffer rubbers.The new rubbers were far too big and required cutting and sanding back to fit.
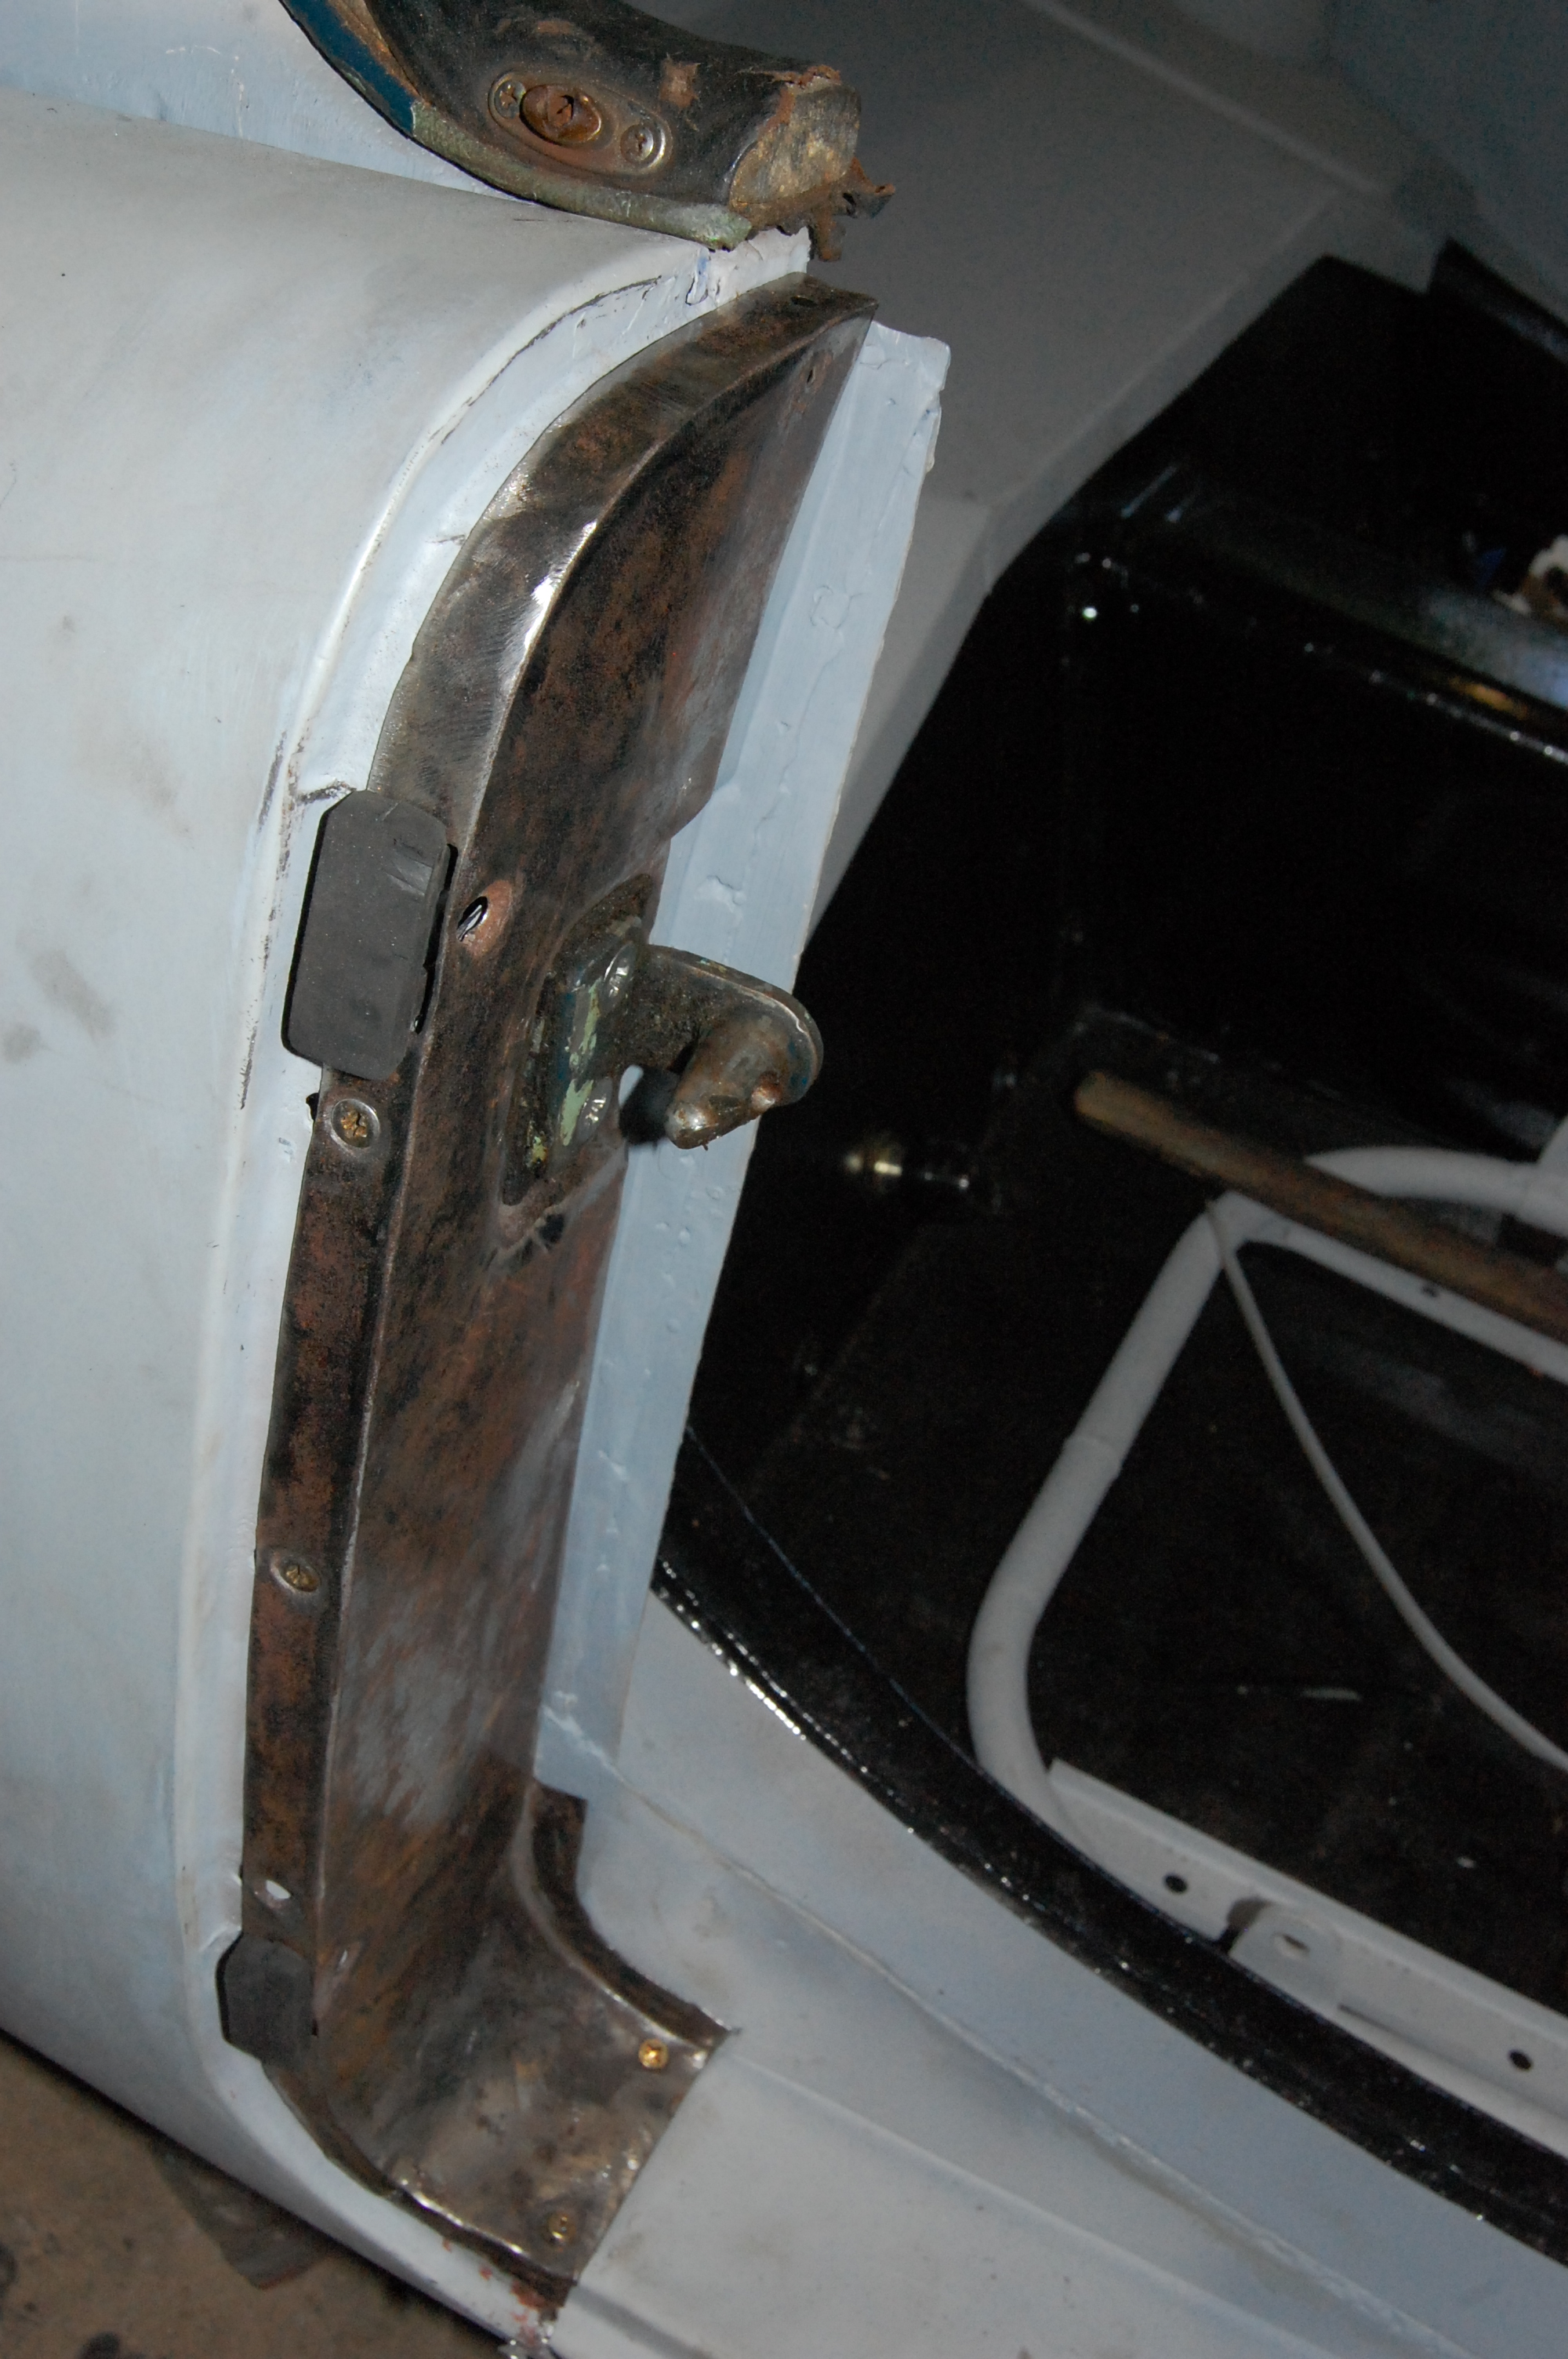
Ideally, the furflex door seal should also be fitted at this point, to check that the doors closes with it in place.
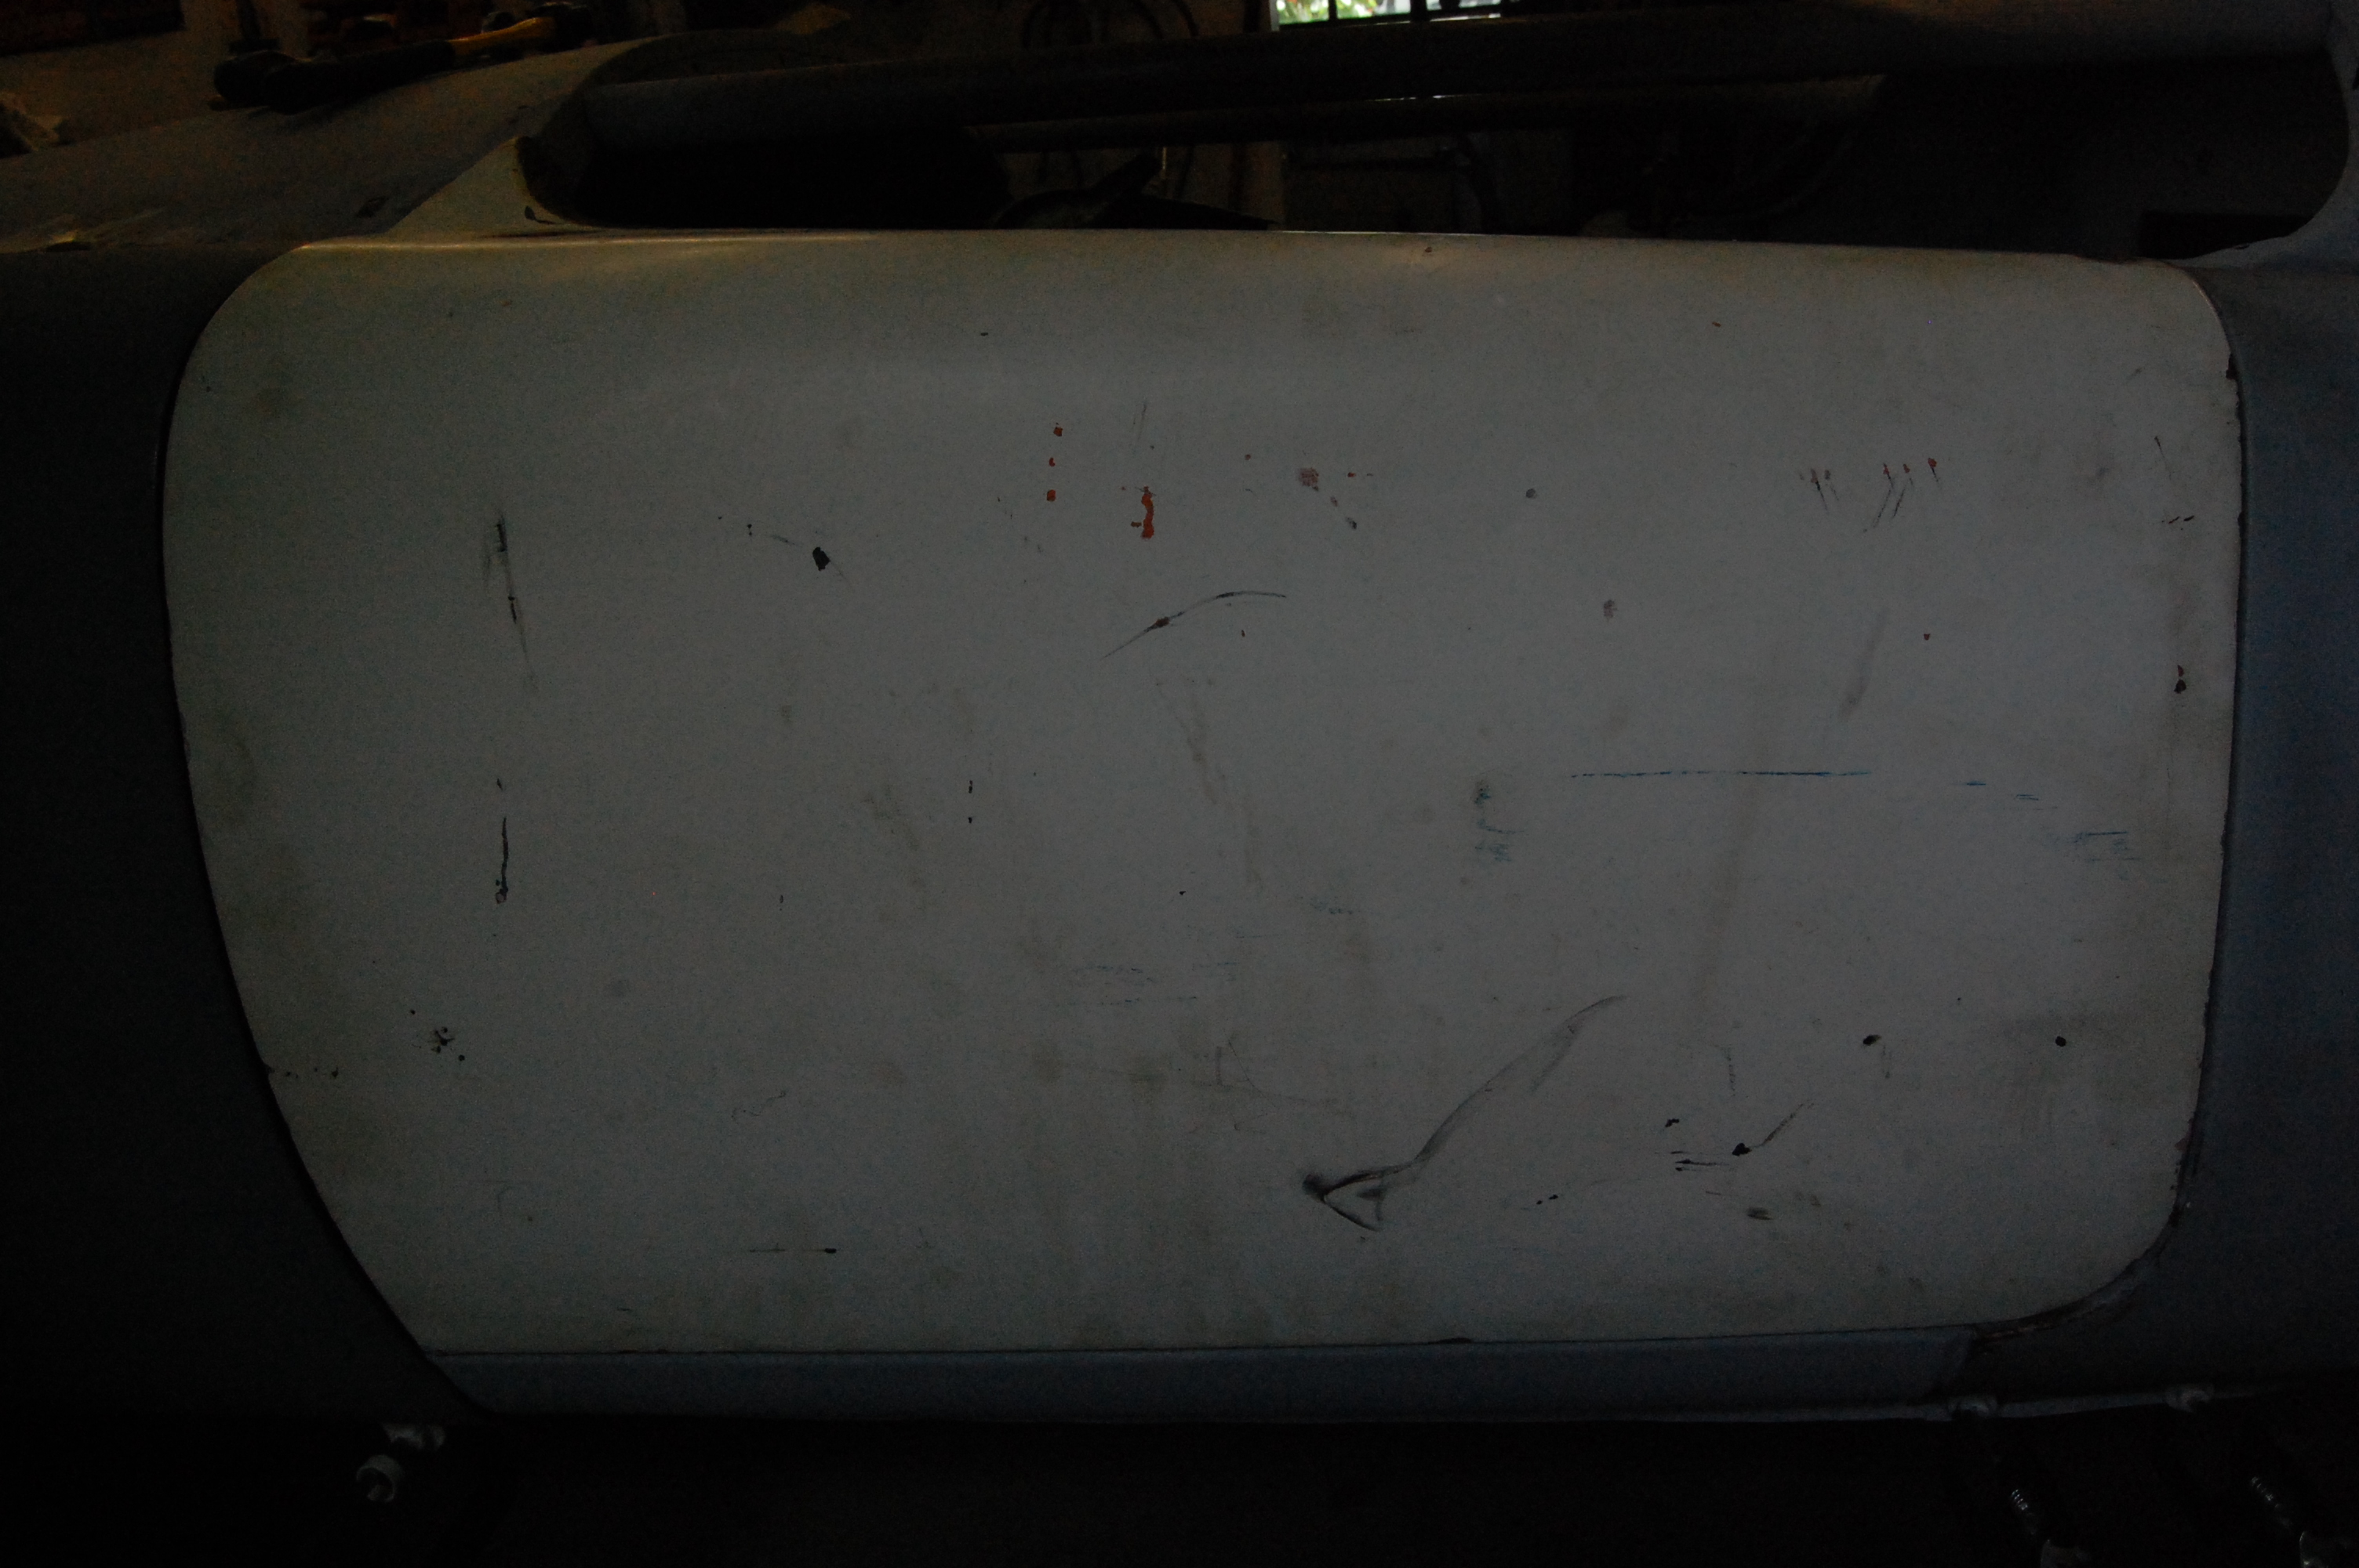
The original passenger door required a new skin, which is an expensive business. This door came from a dry state car and in remarkable condition – £95 on Ebay. Amazingly and to my relief, the door and all nearside panels fitted well and at the first attempt, unlike the off-side!
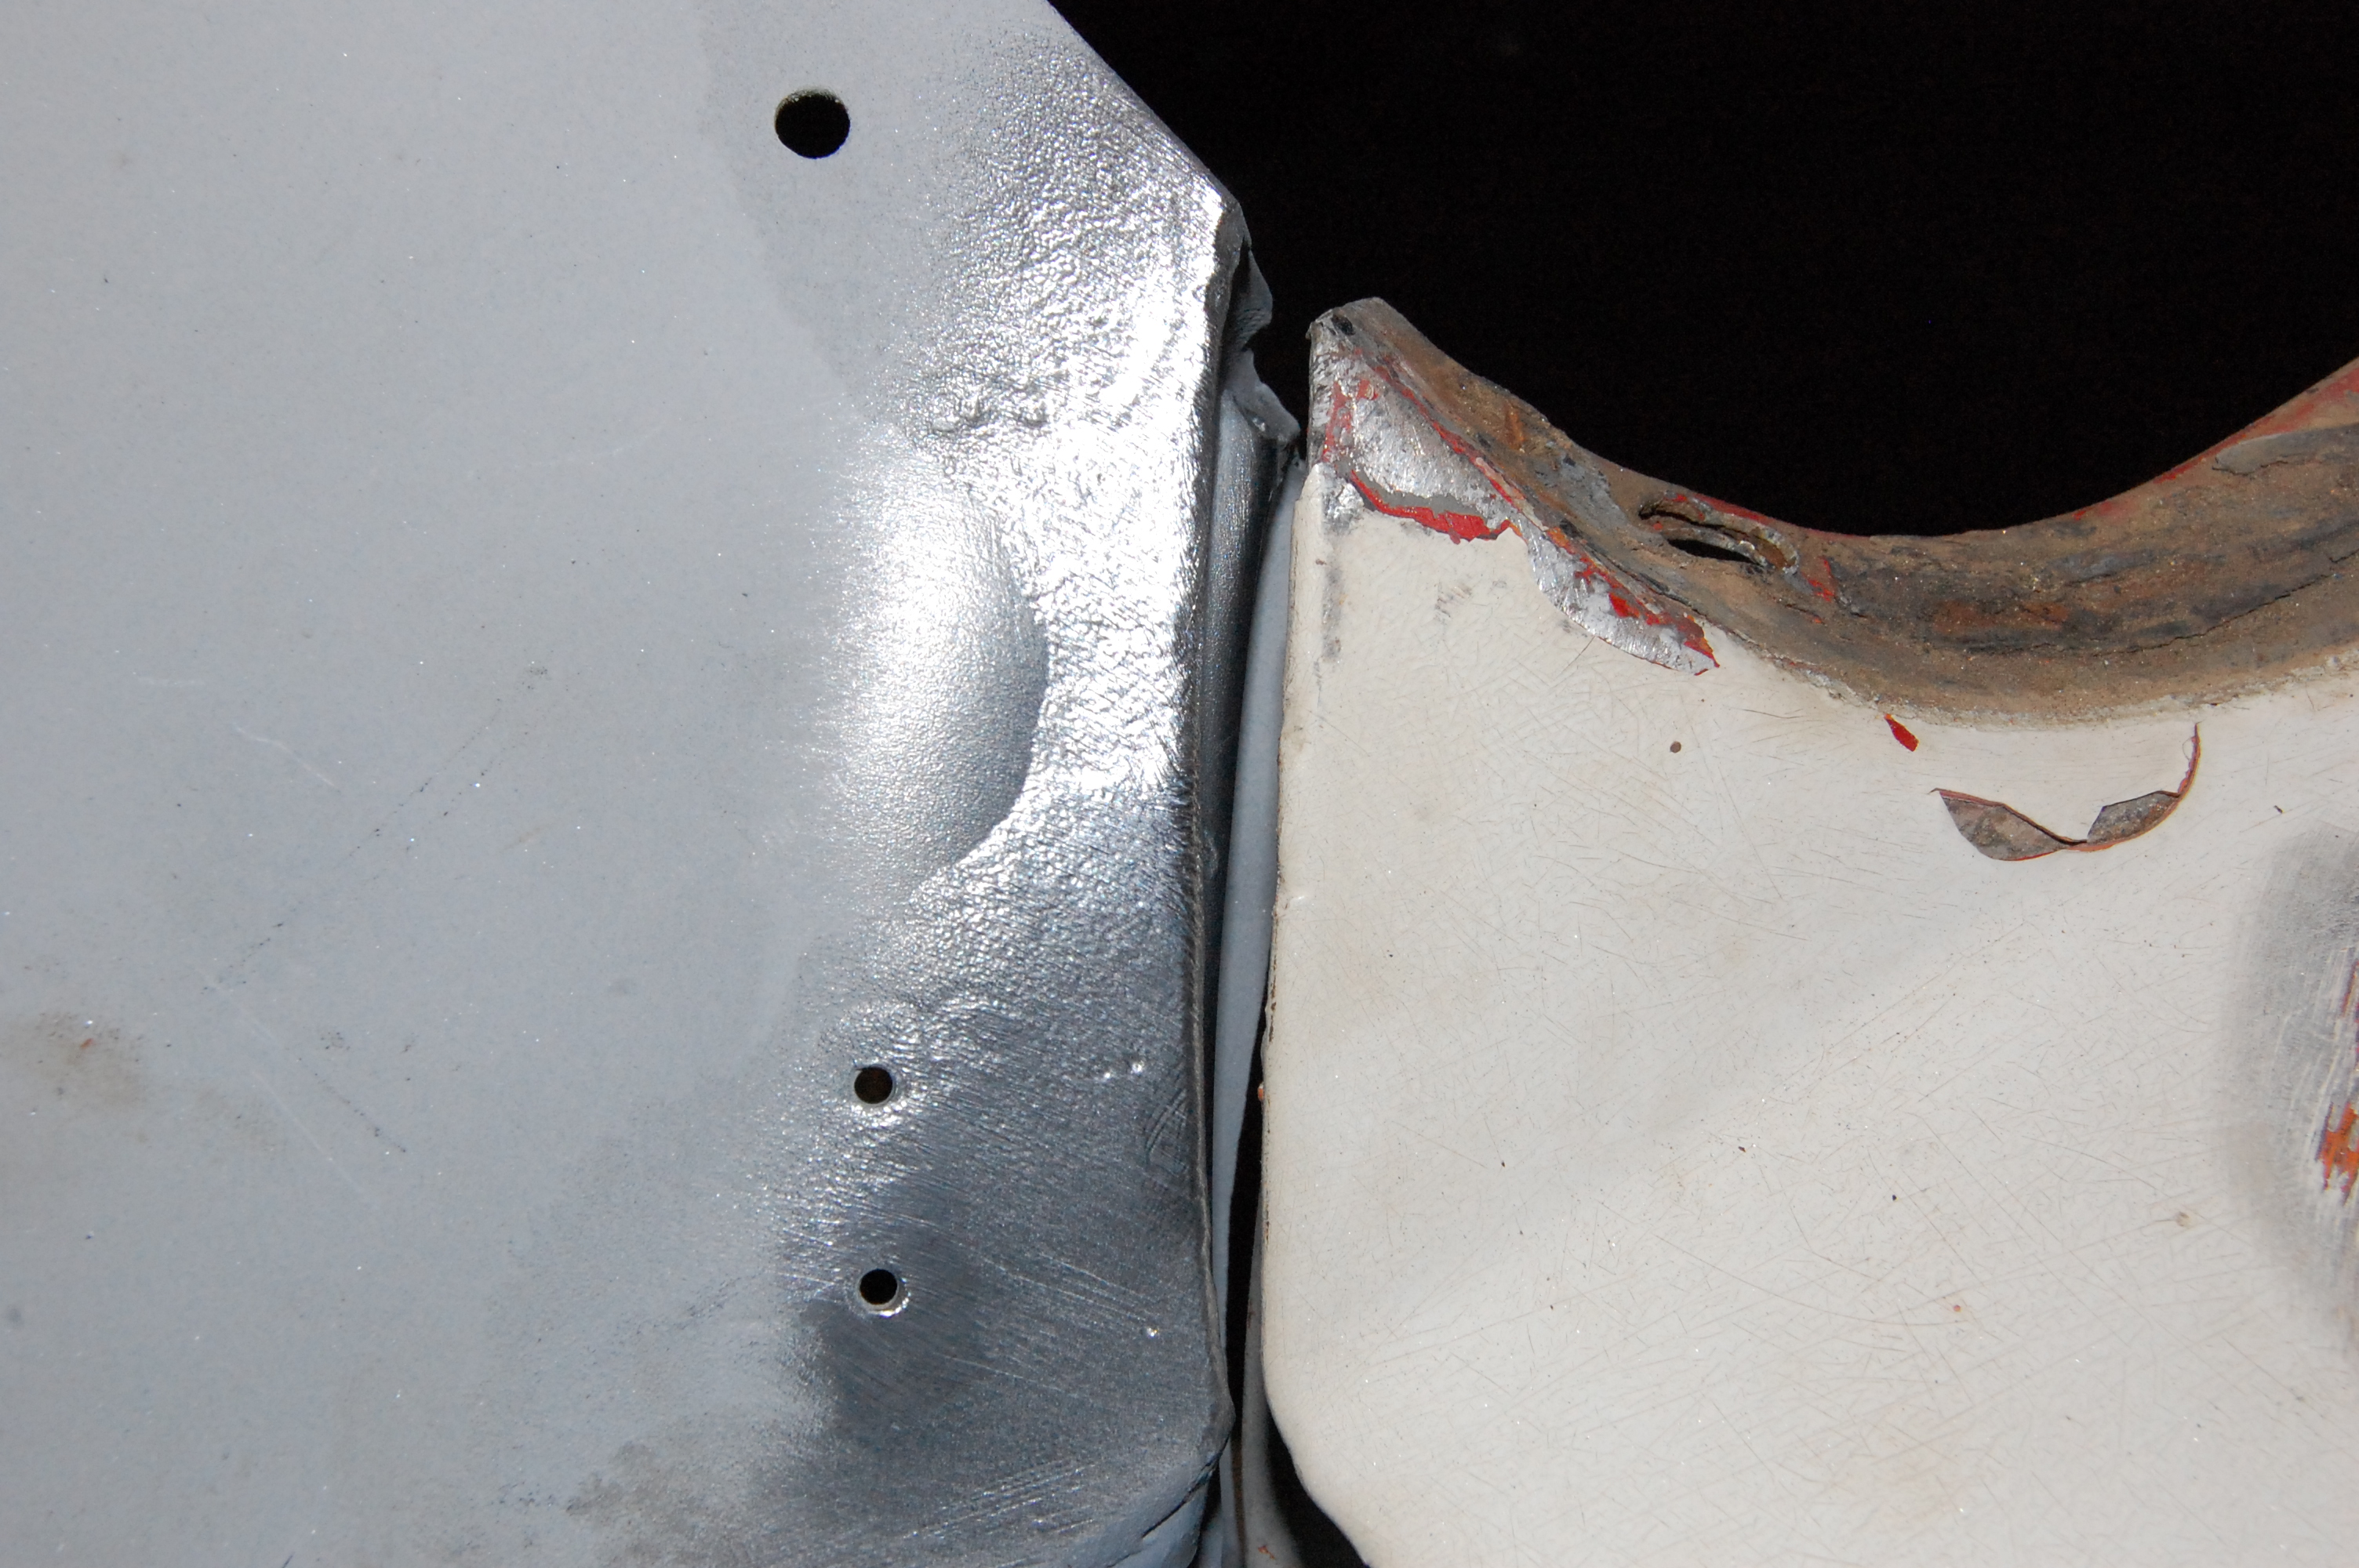
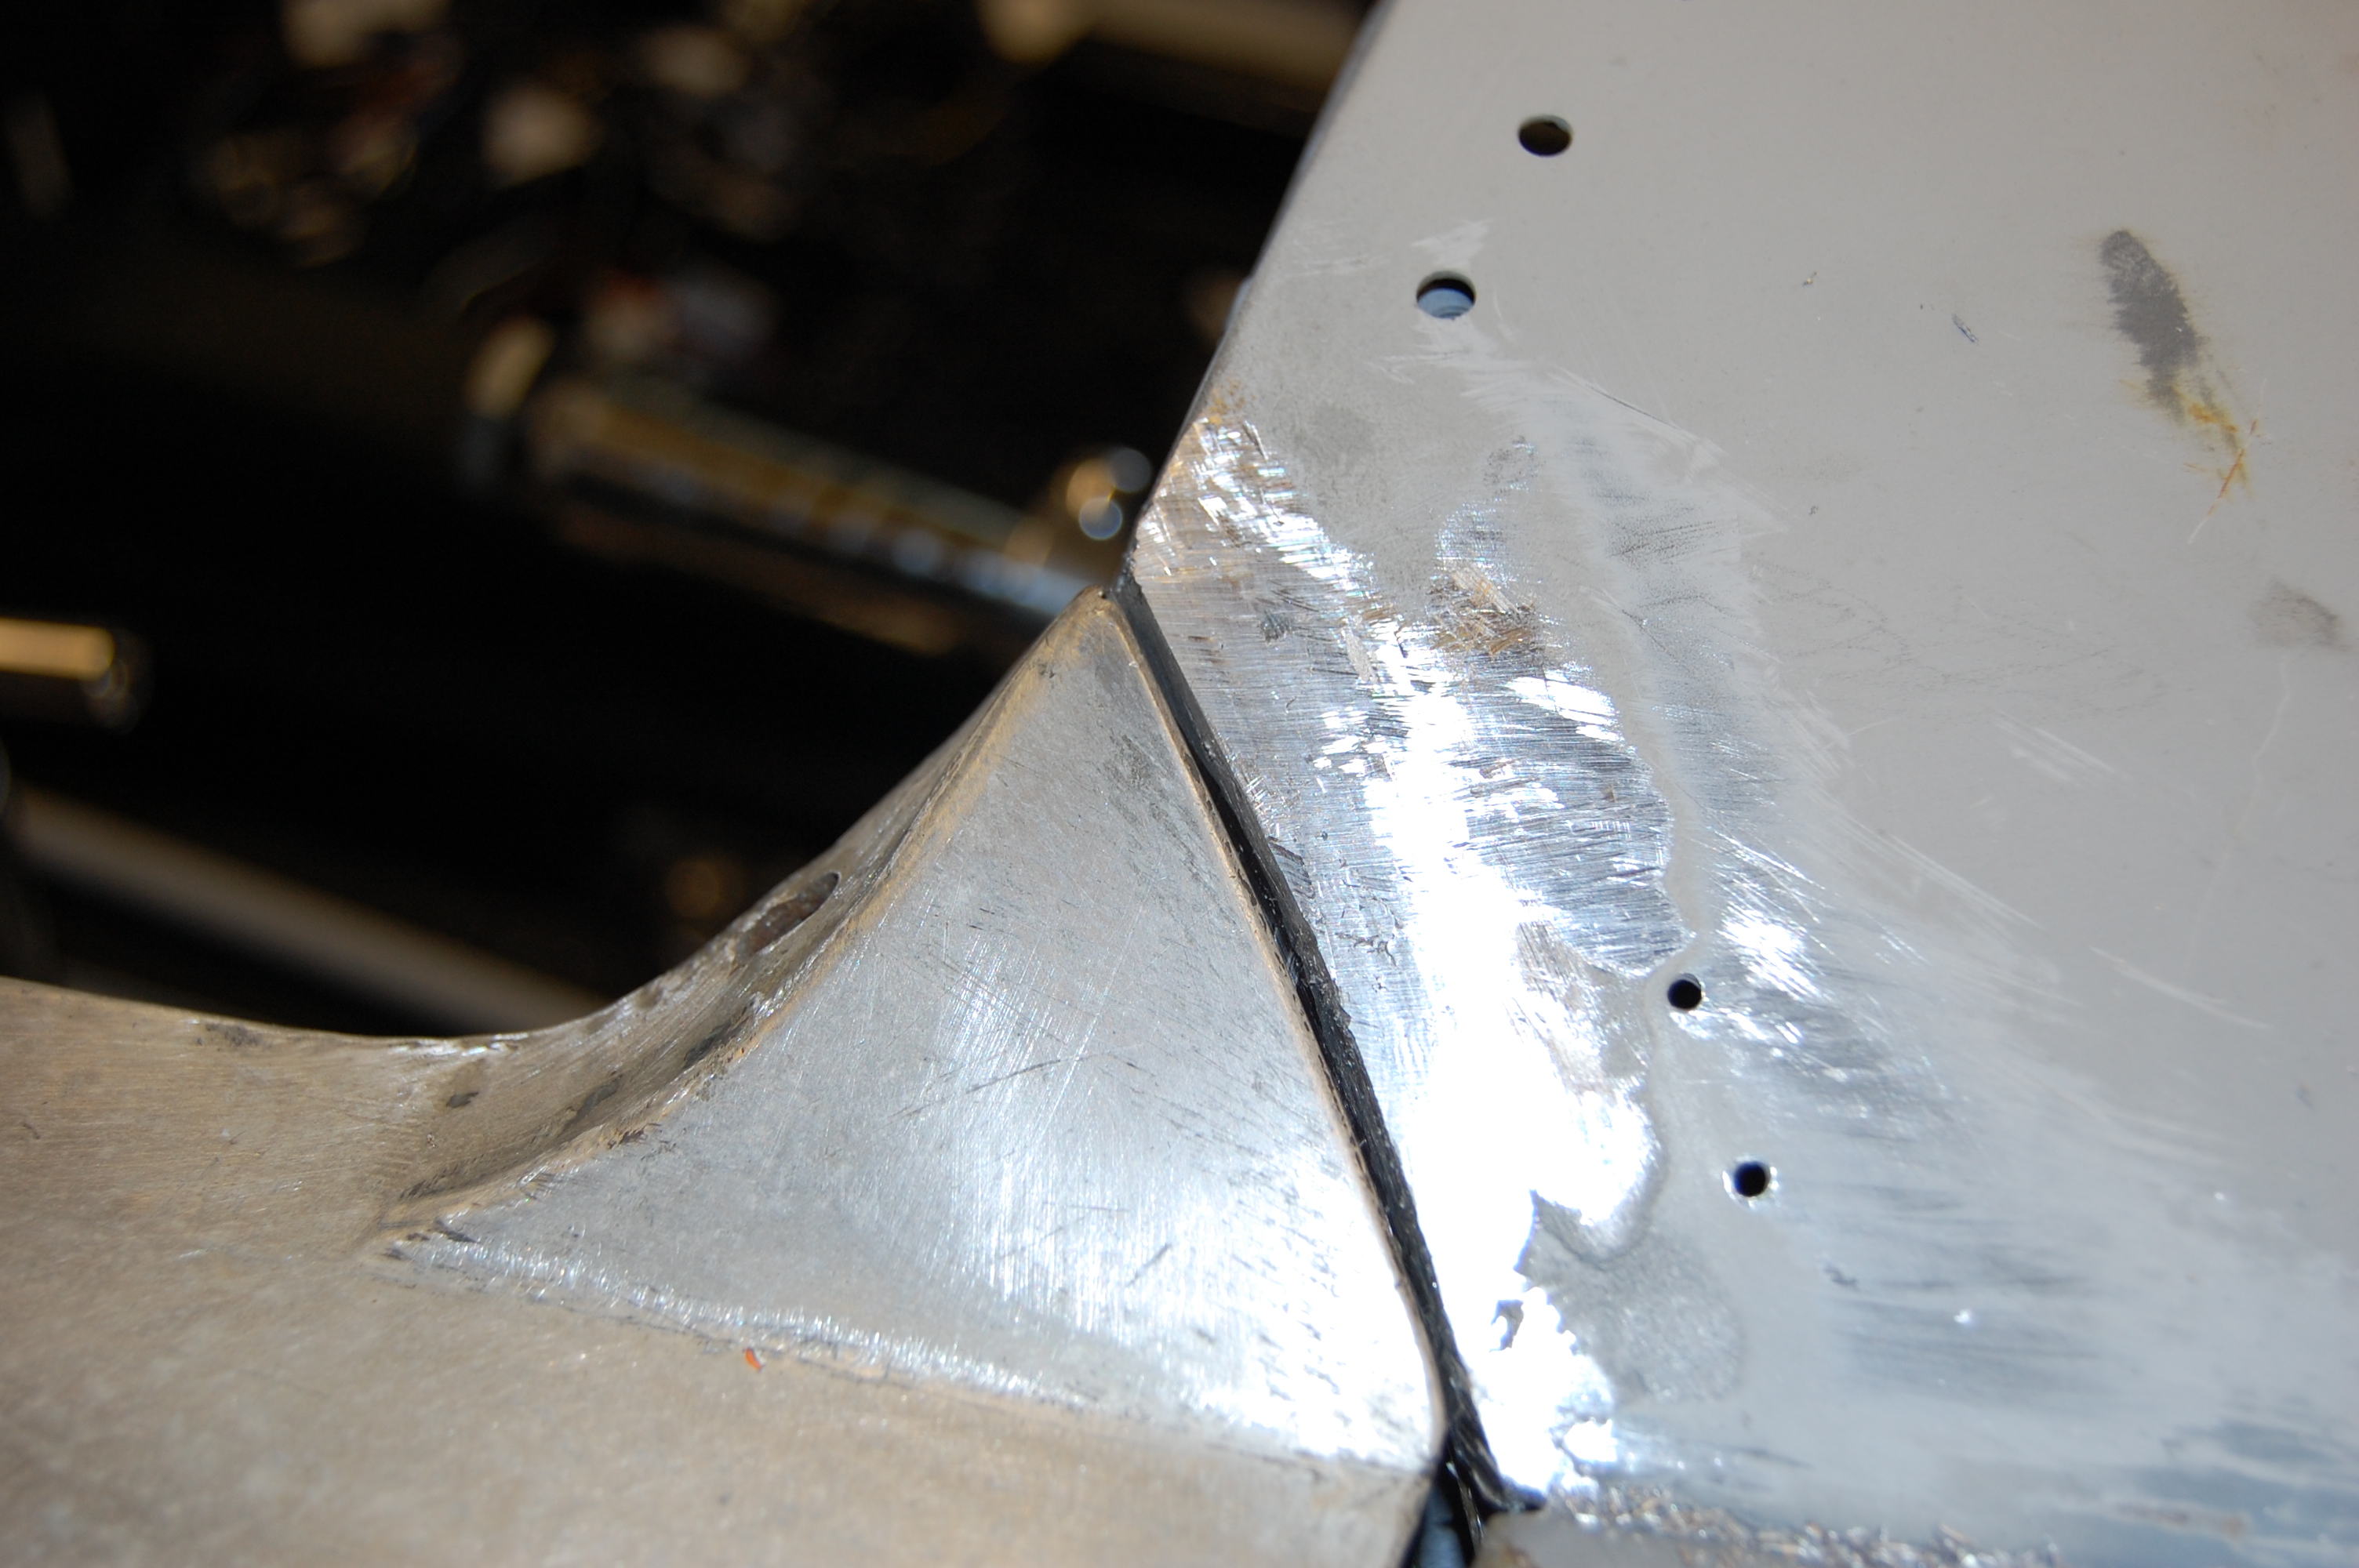
On both sides the door to scuttle gap was too wide and needed closing. The only credible way is to do as the factory did and lead load it. This shot shows the original factory leadwork.
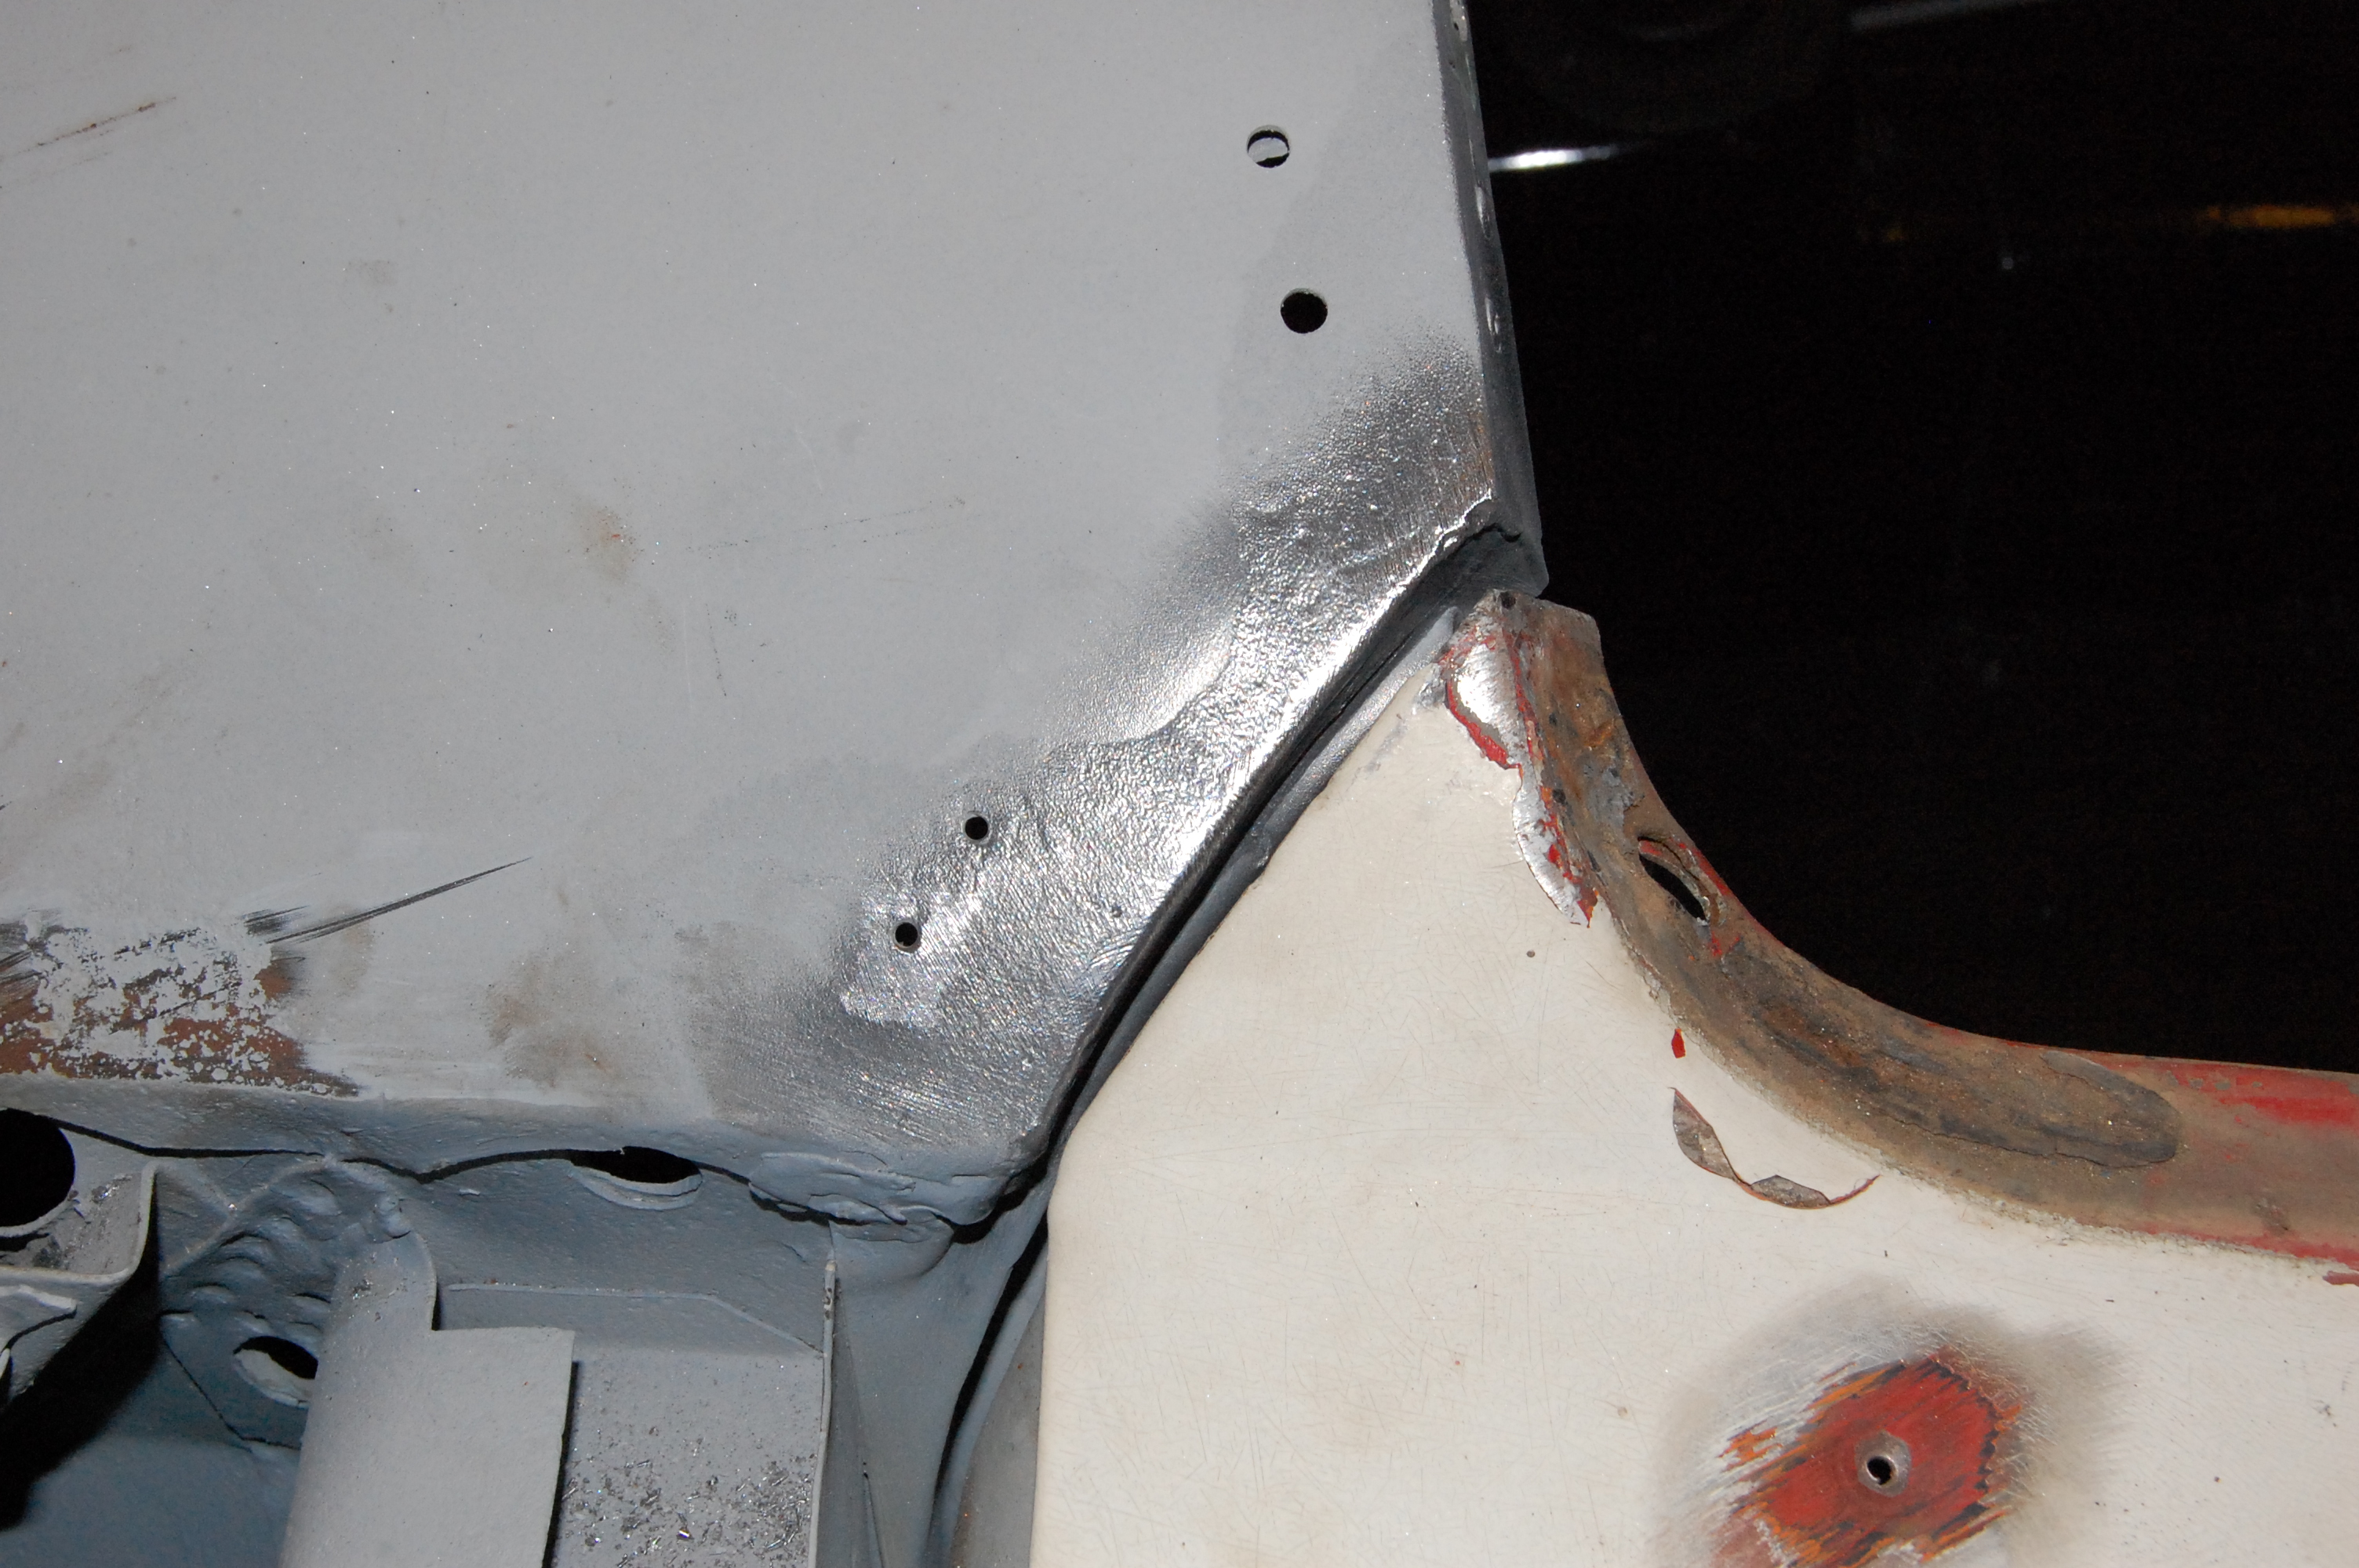
Same on drivers side.
The scary thing is that the heat starts to soften the original surface lead, when its only the vertical edge that needs filling.
It looks bad at this stage, but as long as the lead blobs on and holds, its ok.
Getting the lead to the right level of pastiness is the trick and then work it with the padel lubricated with tallow.
Starts to look ok.
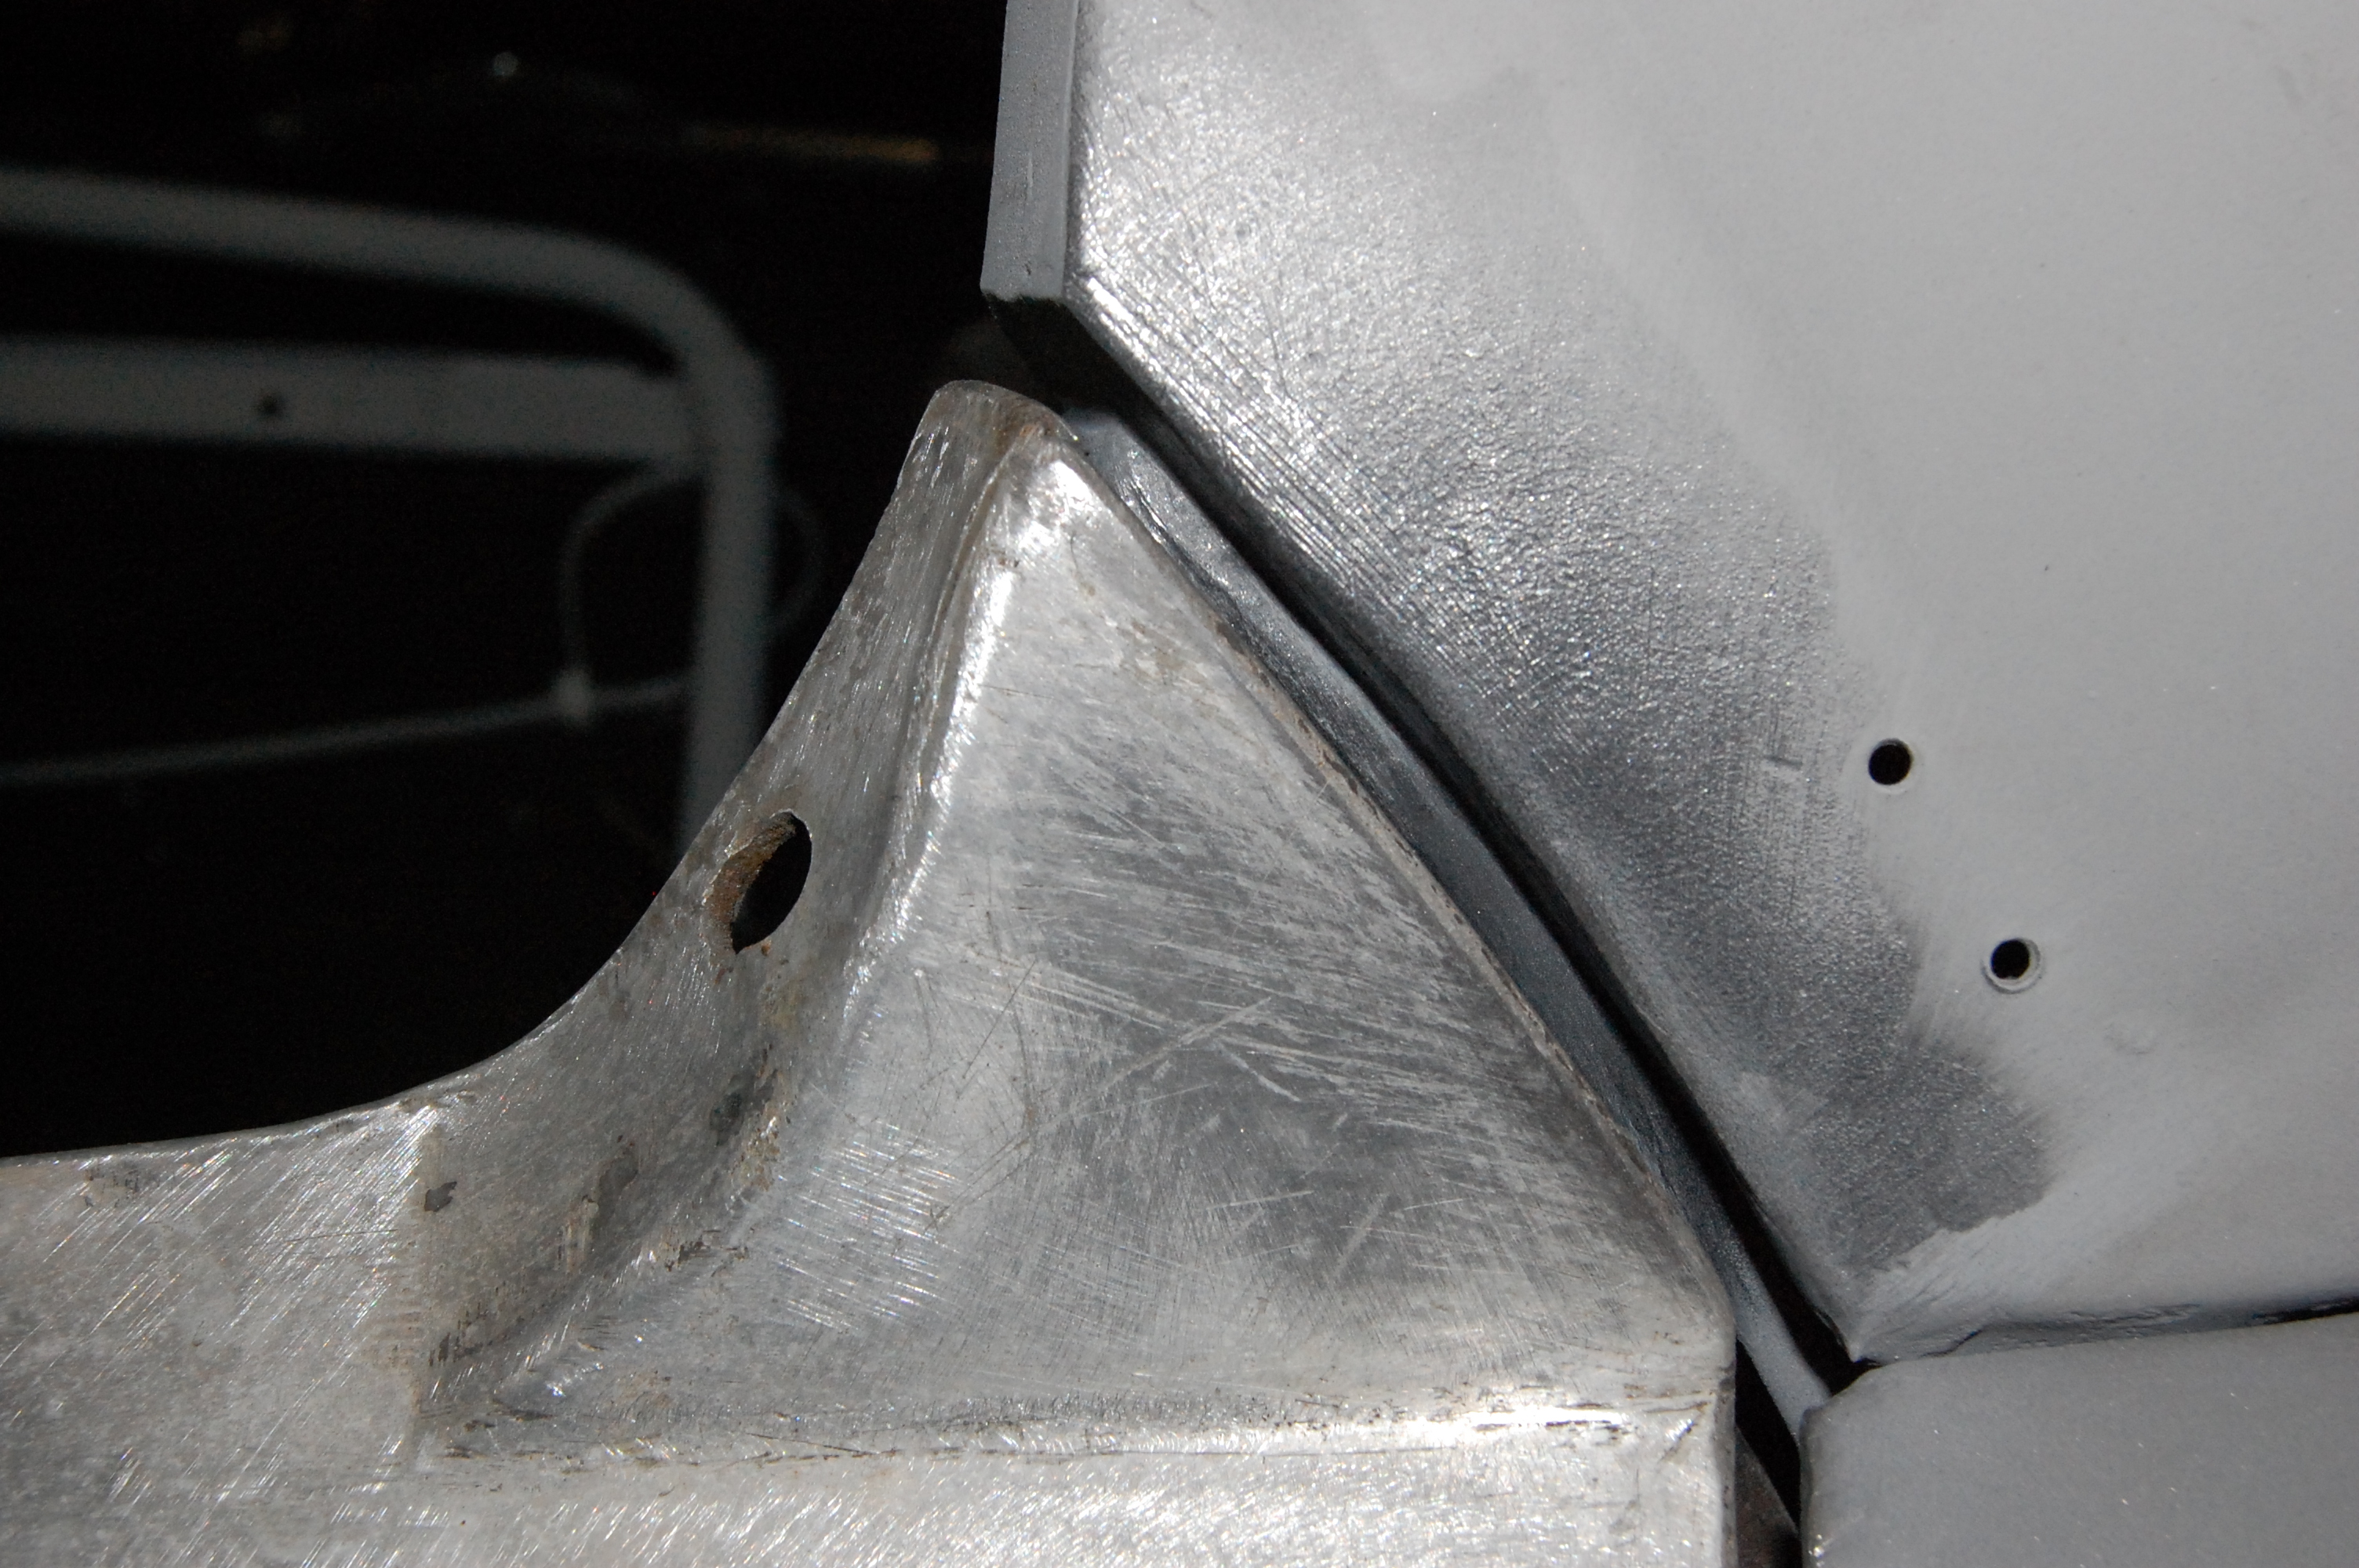
The right shape, but too tight.
Working with the body file is very satisfying and quickly achieves the required shape.
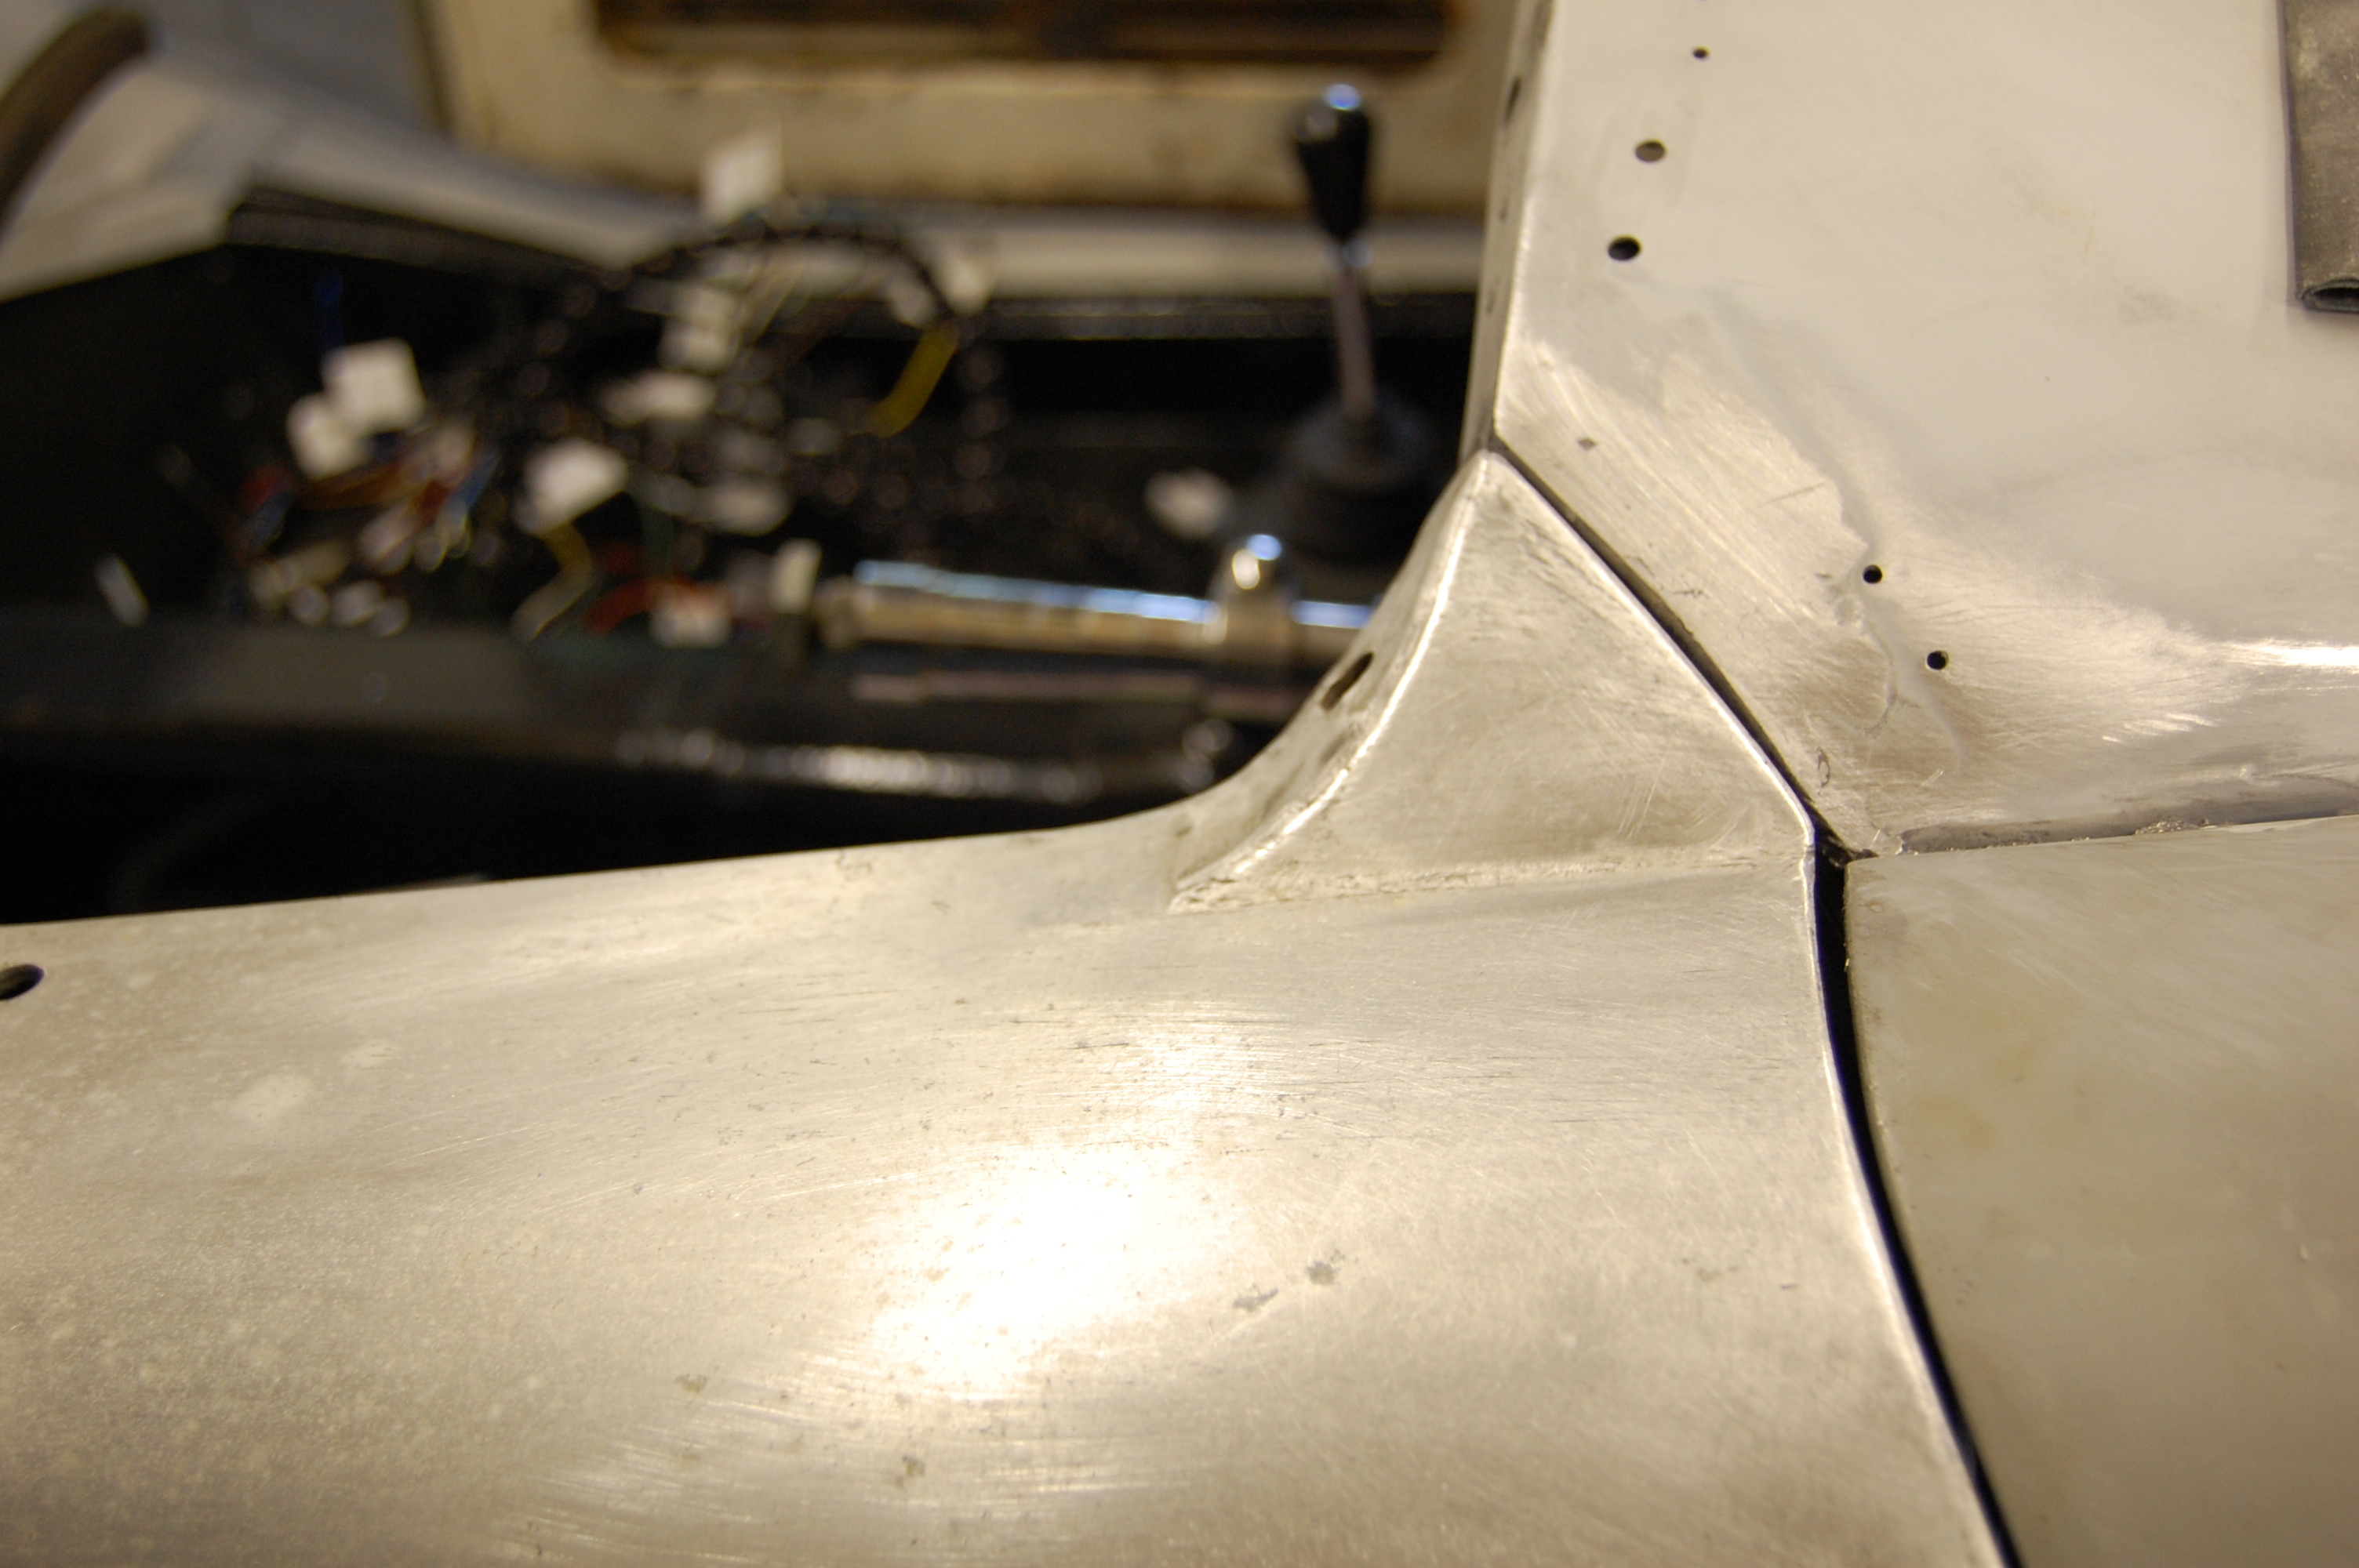
Still a bit of work required with the wing removed to shape the lower edge, before finally finishing with abrasive paper.
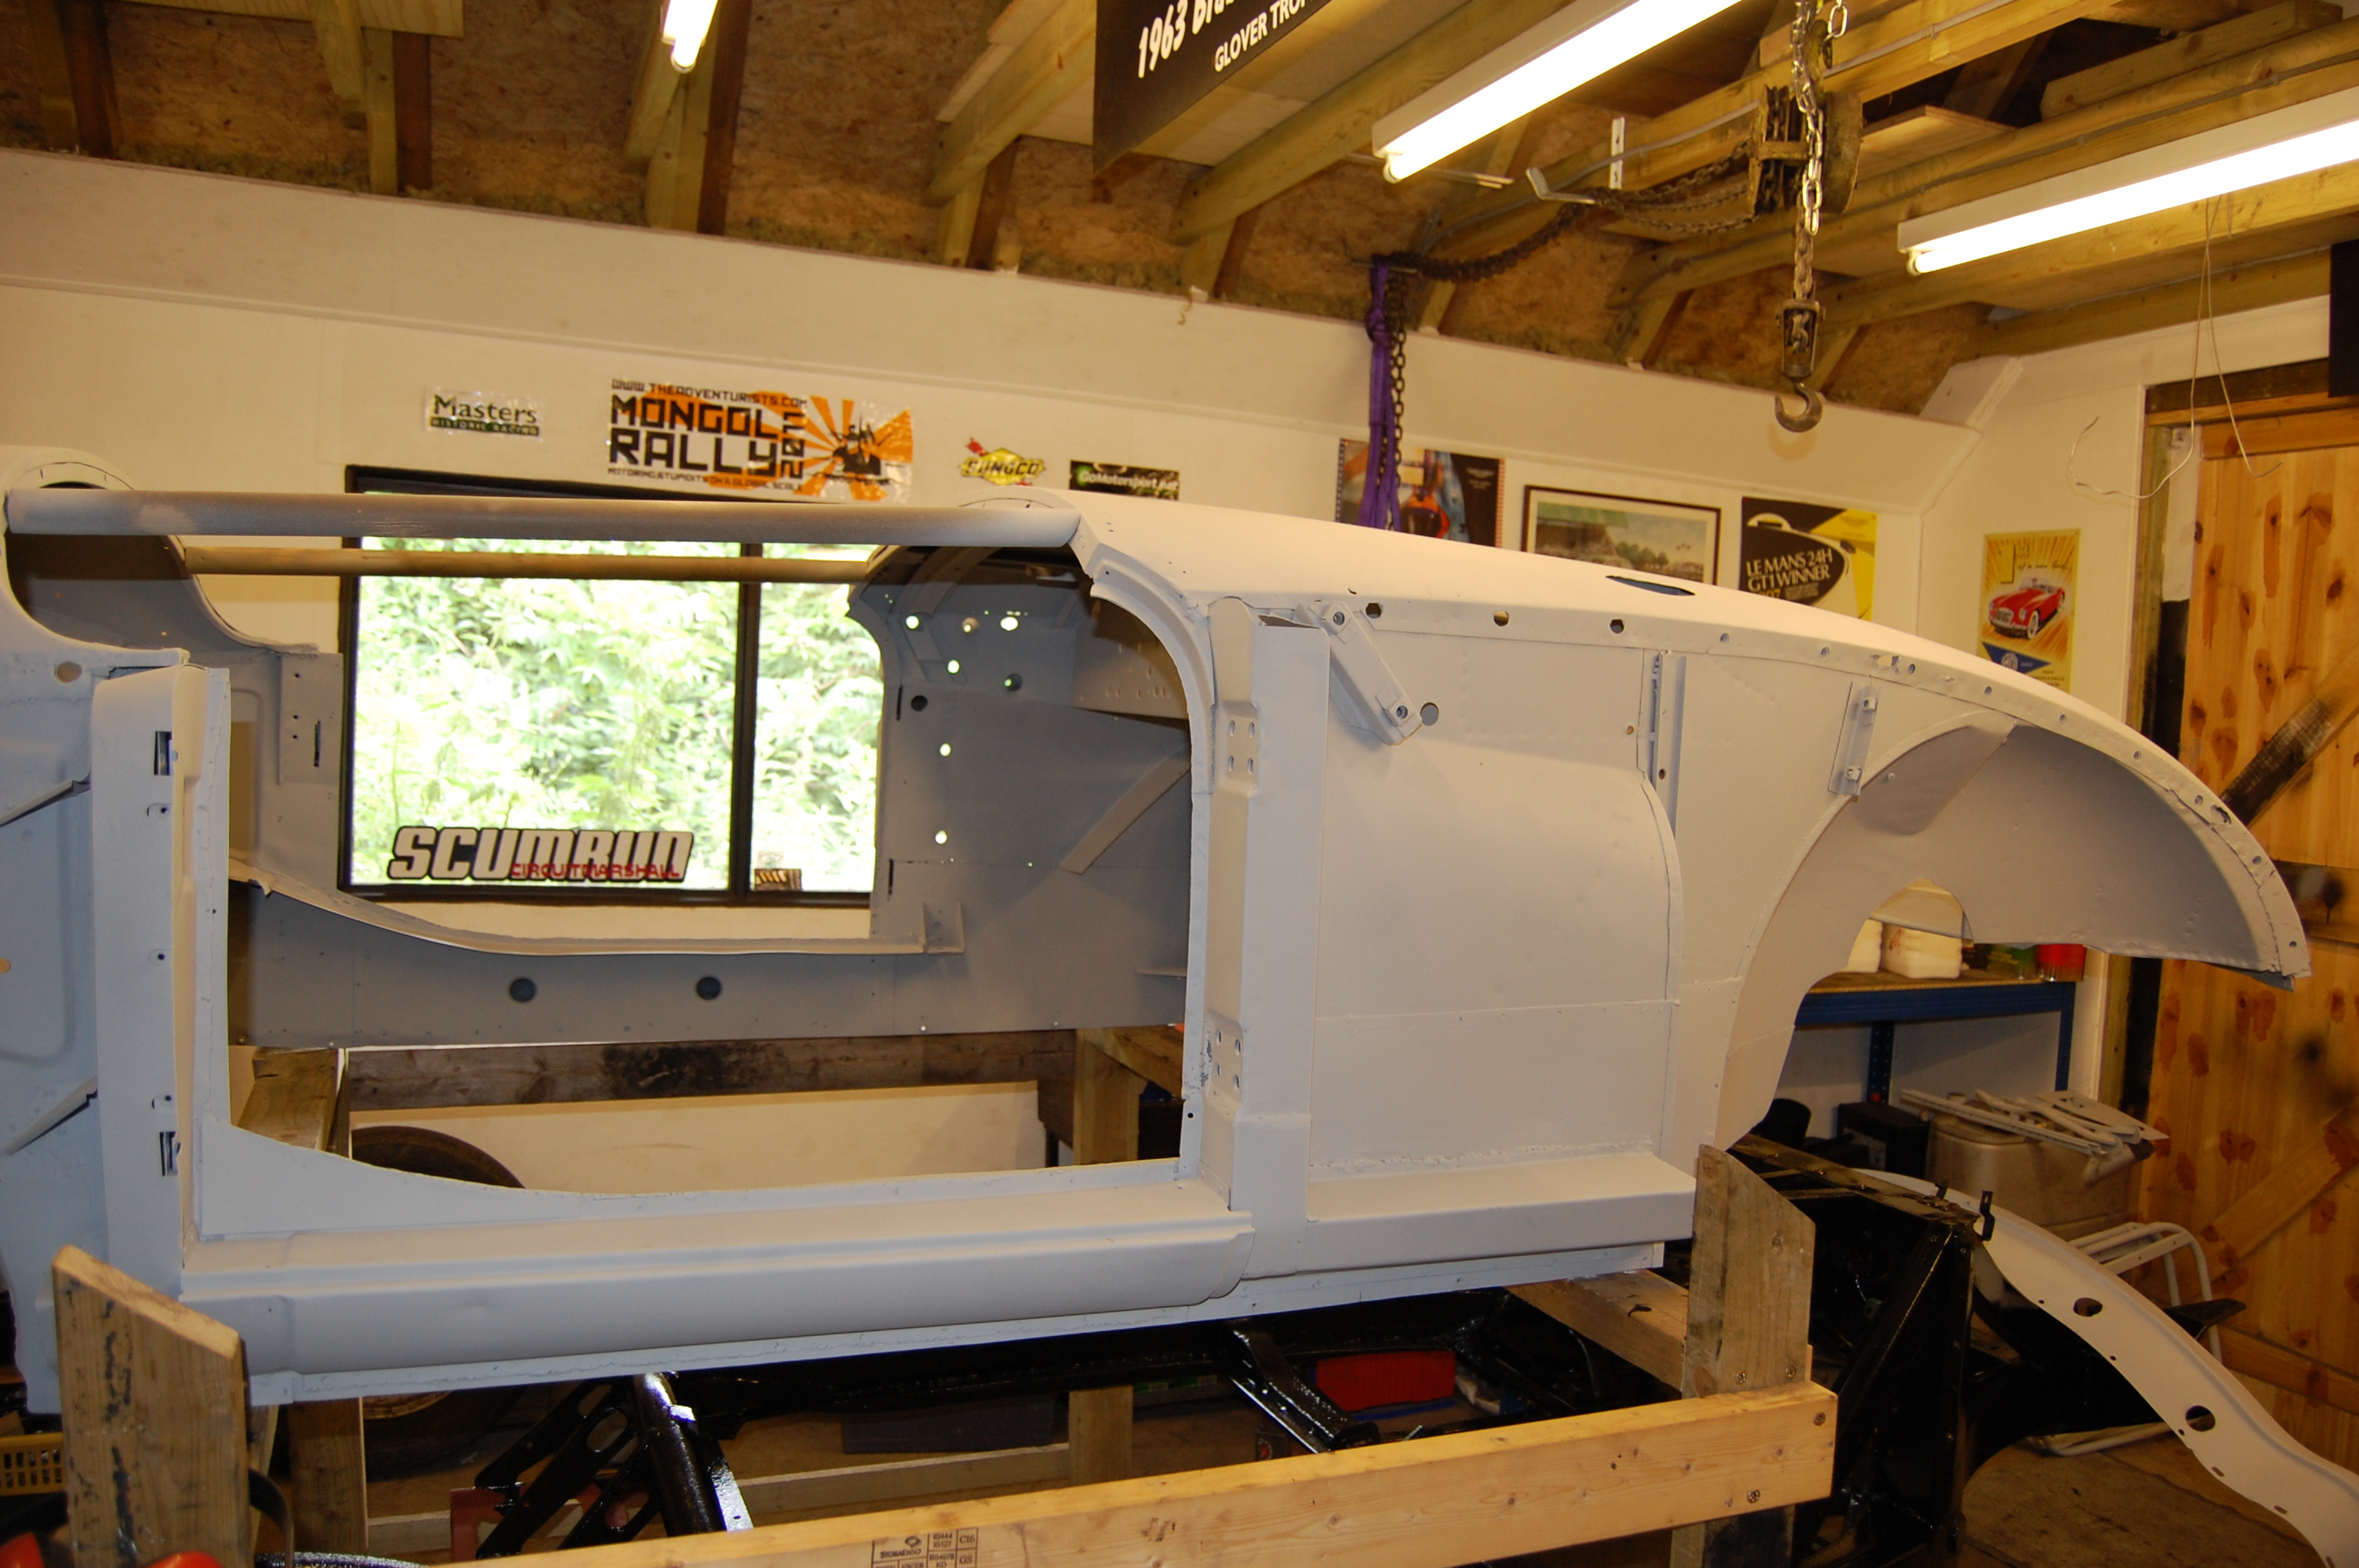
Body mainly finished, a few small jobs before paint – now for the chassis.
