Includes: Stripping the chassis – Repairing/plating the chassis – Replacing the floorboard support rails – Replacing the floorboards.
Stripping the chassis.
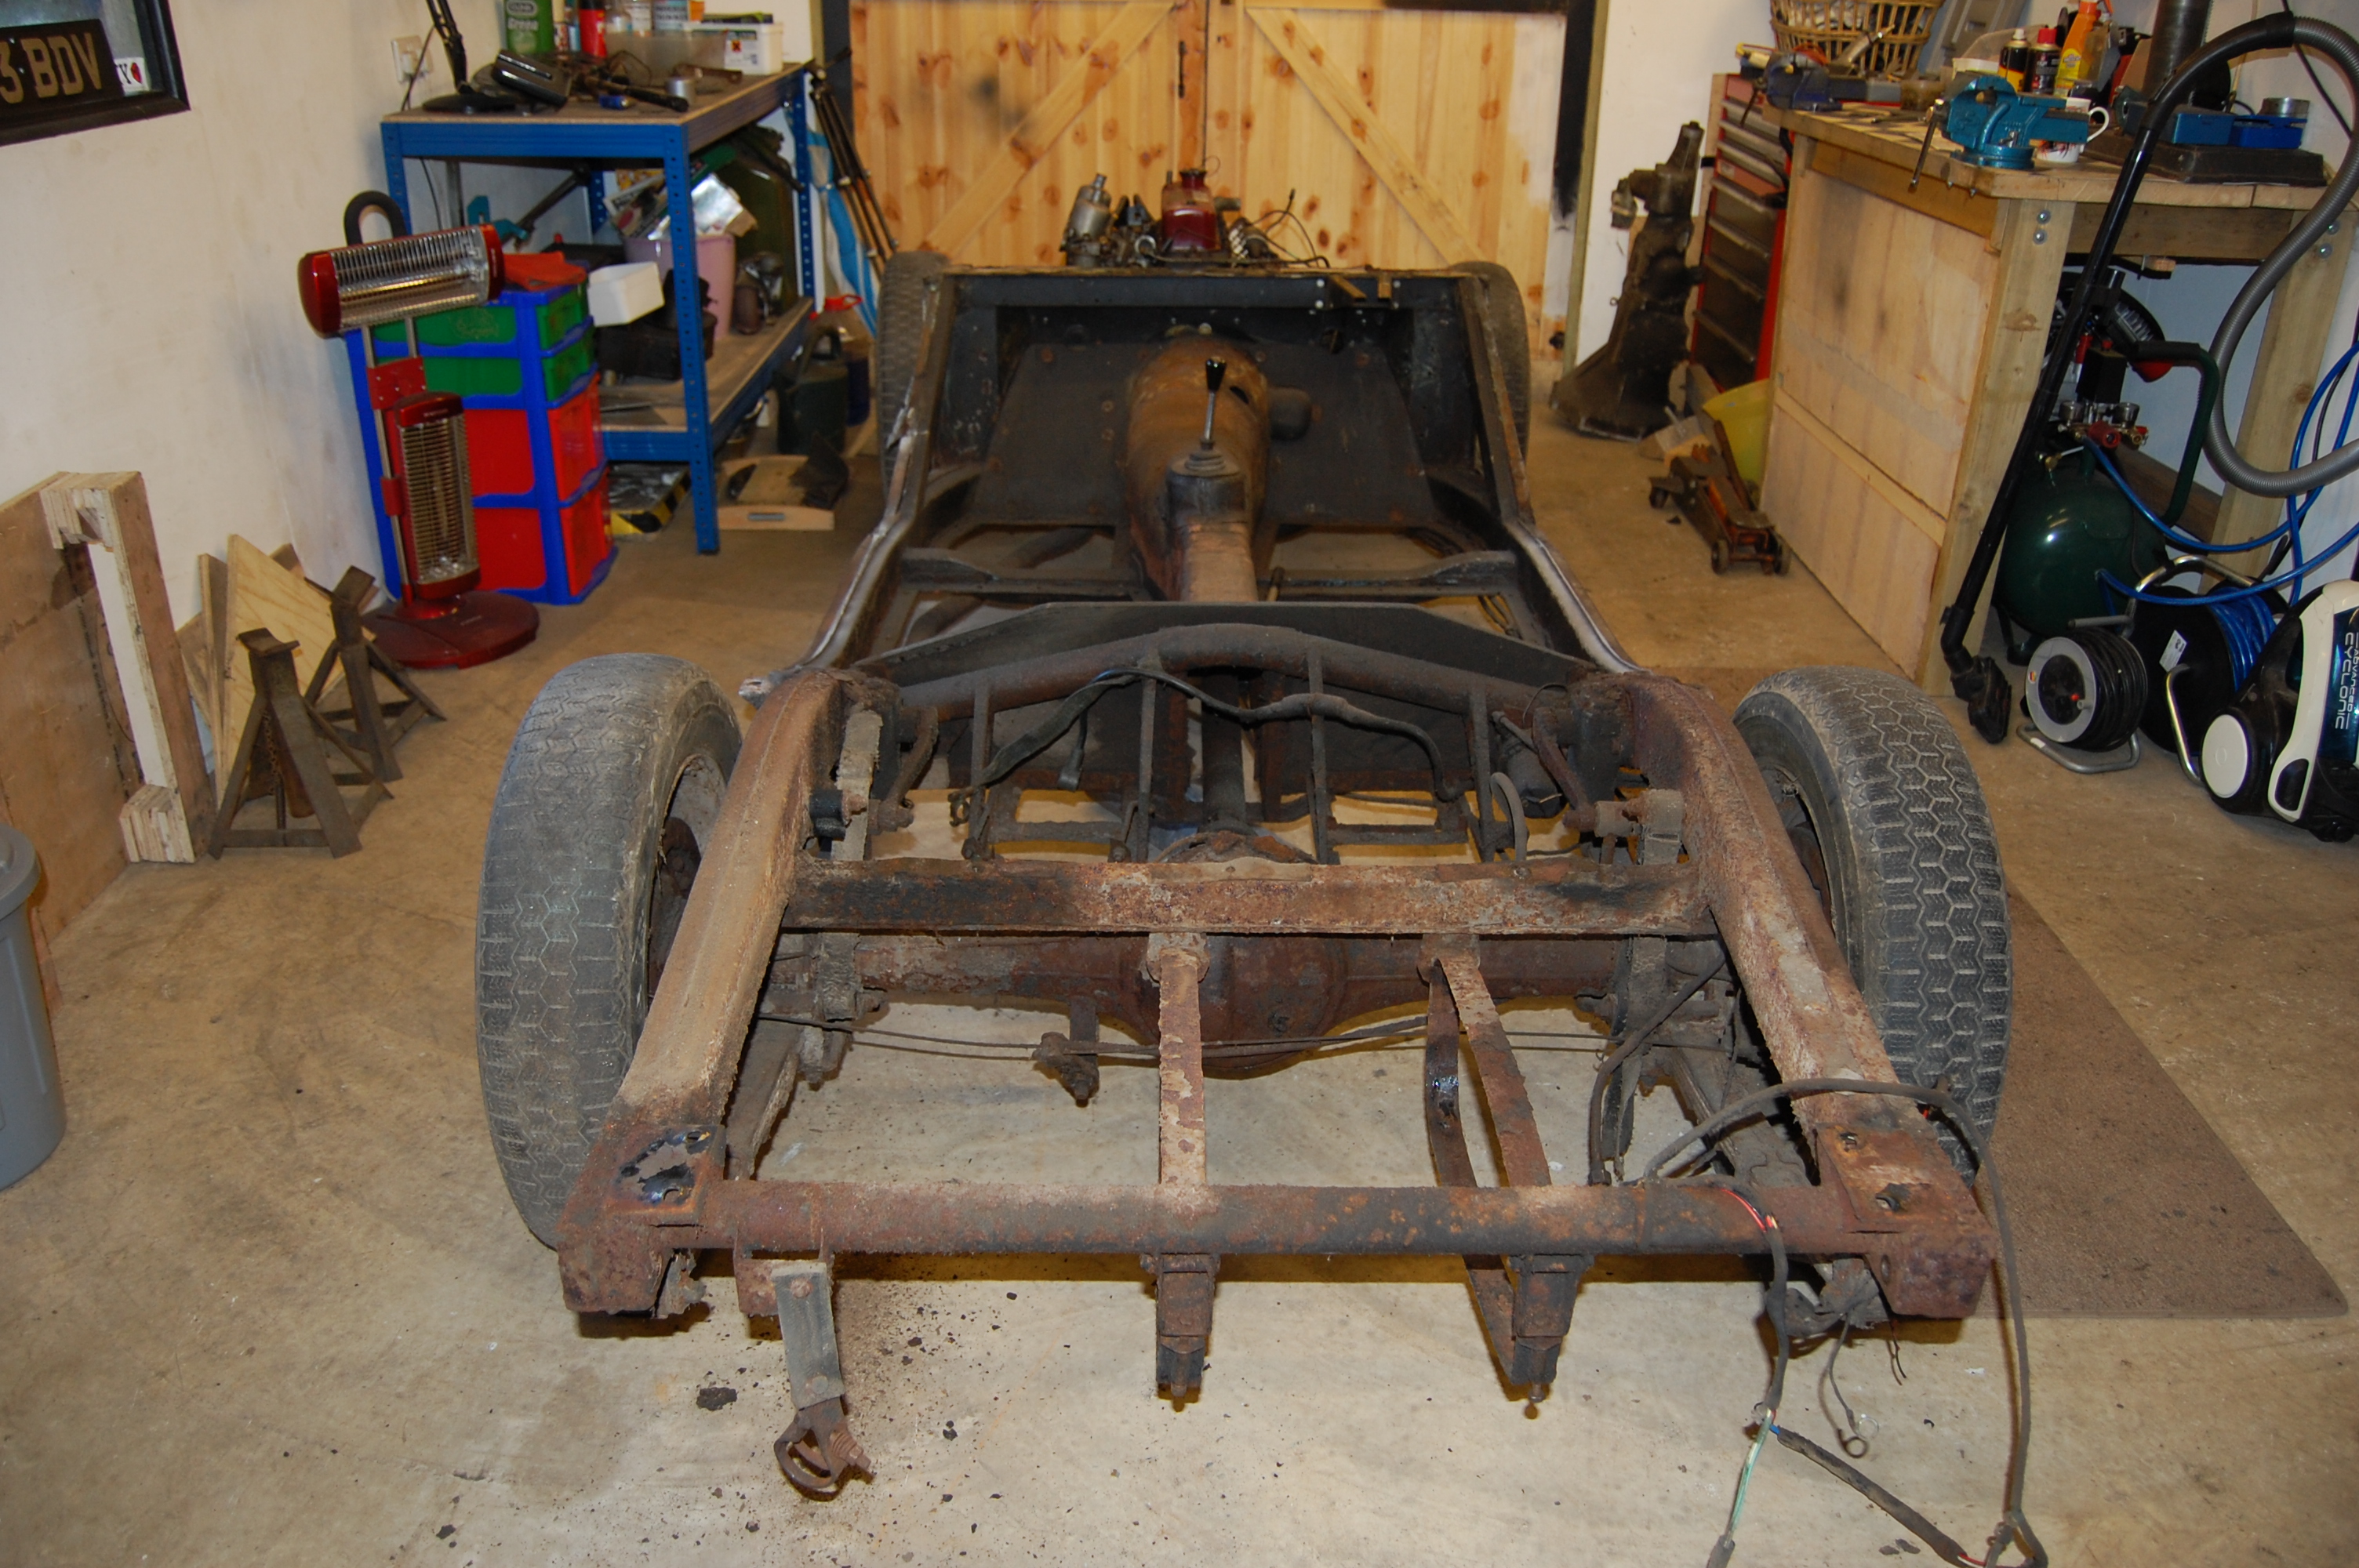
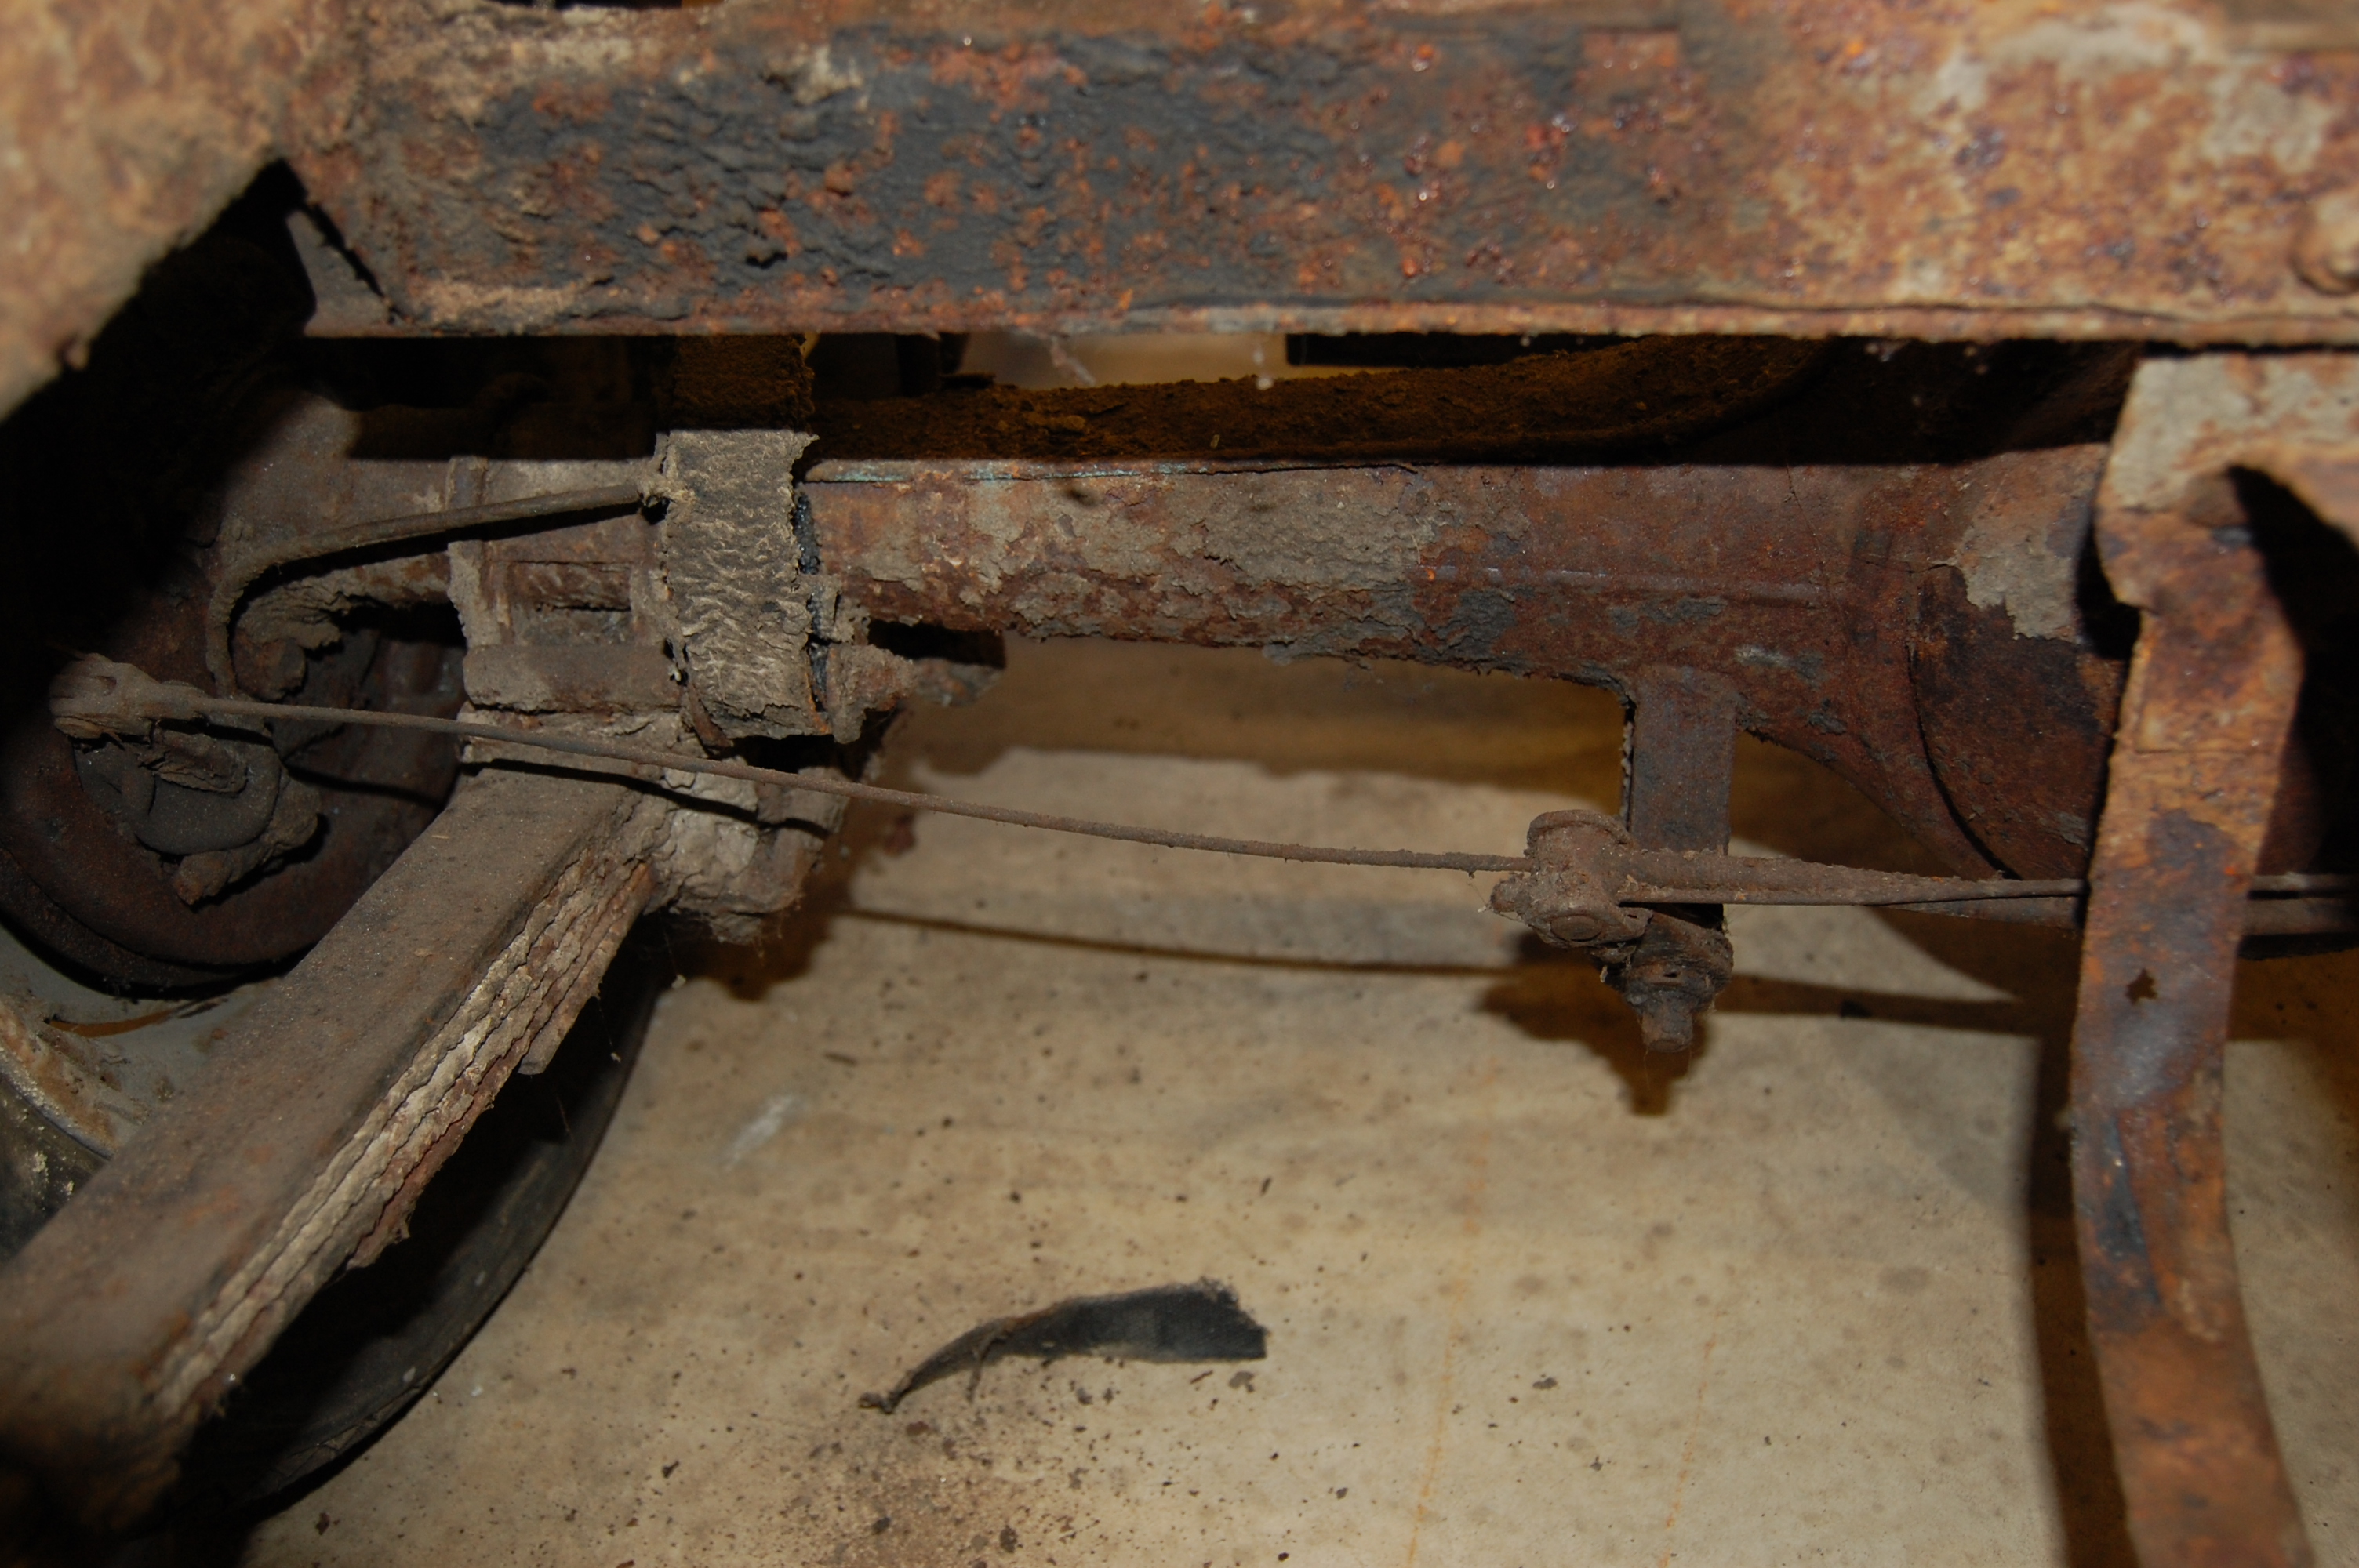
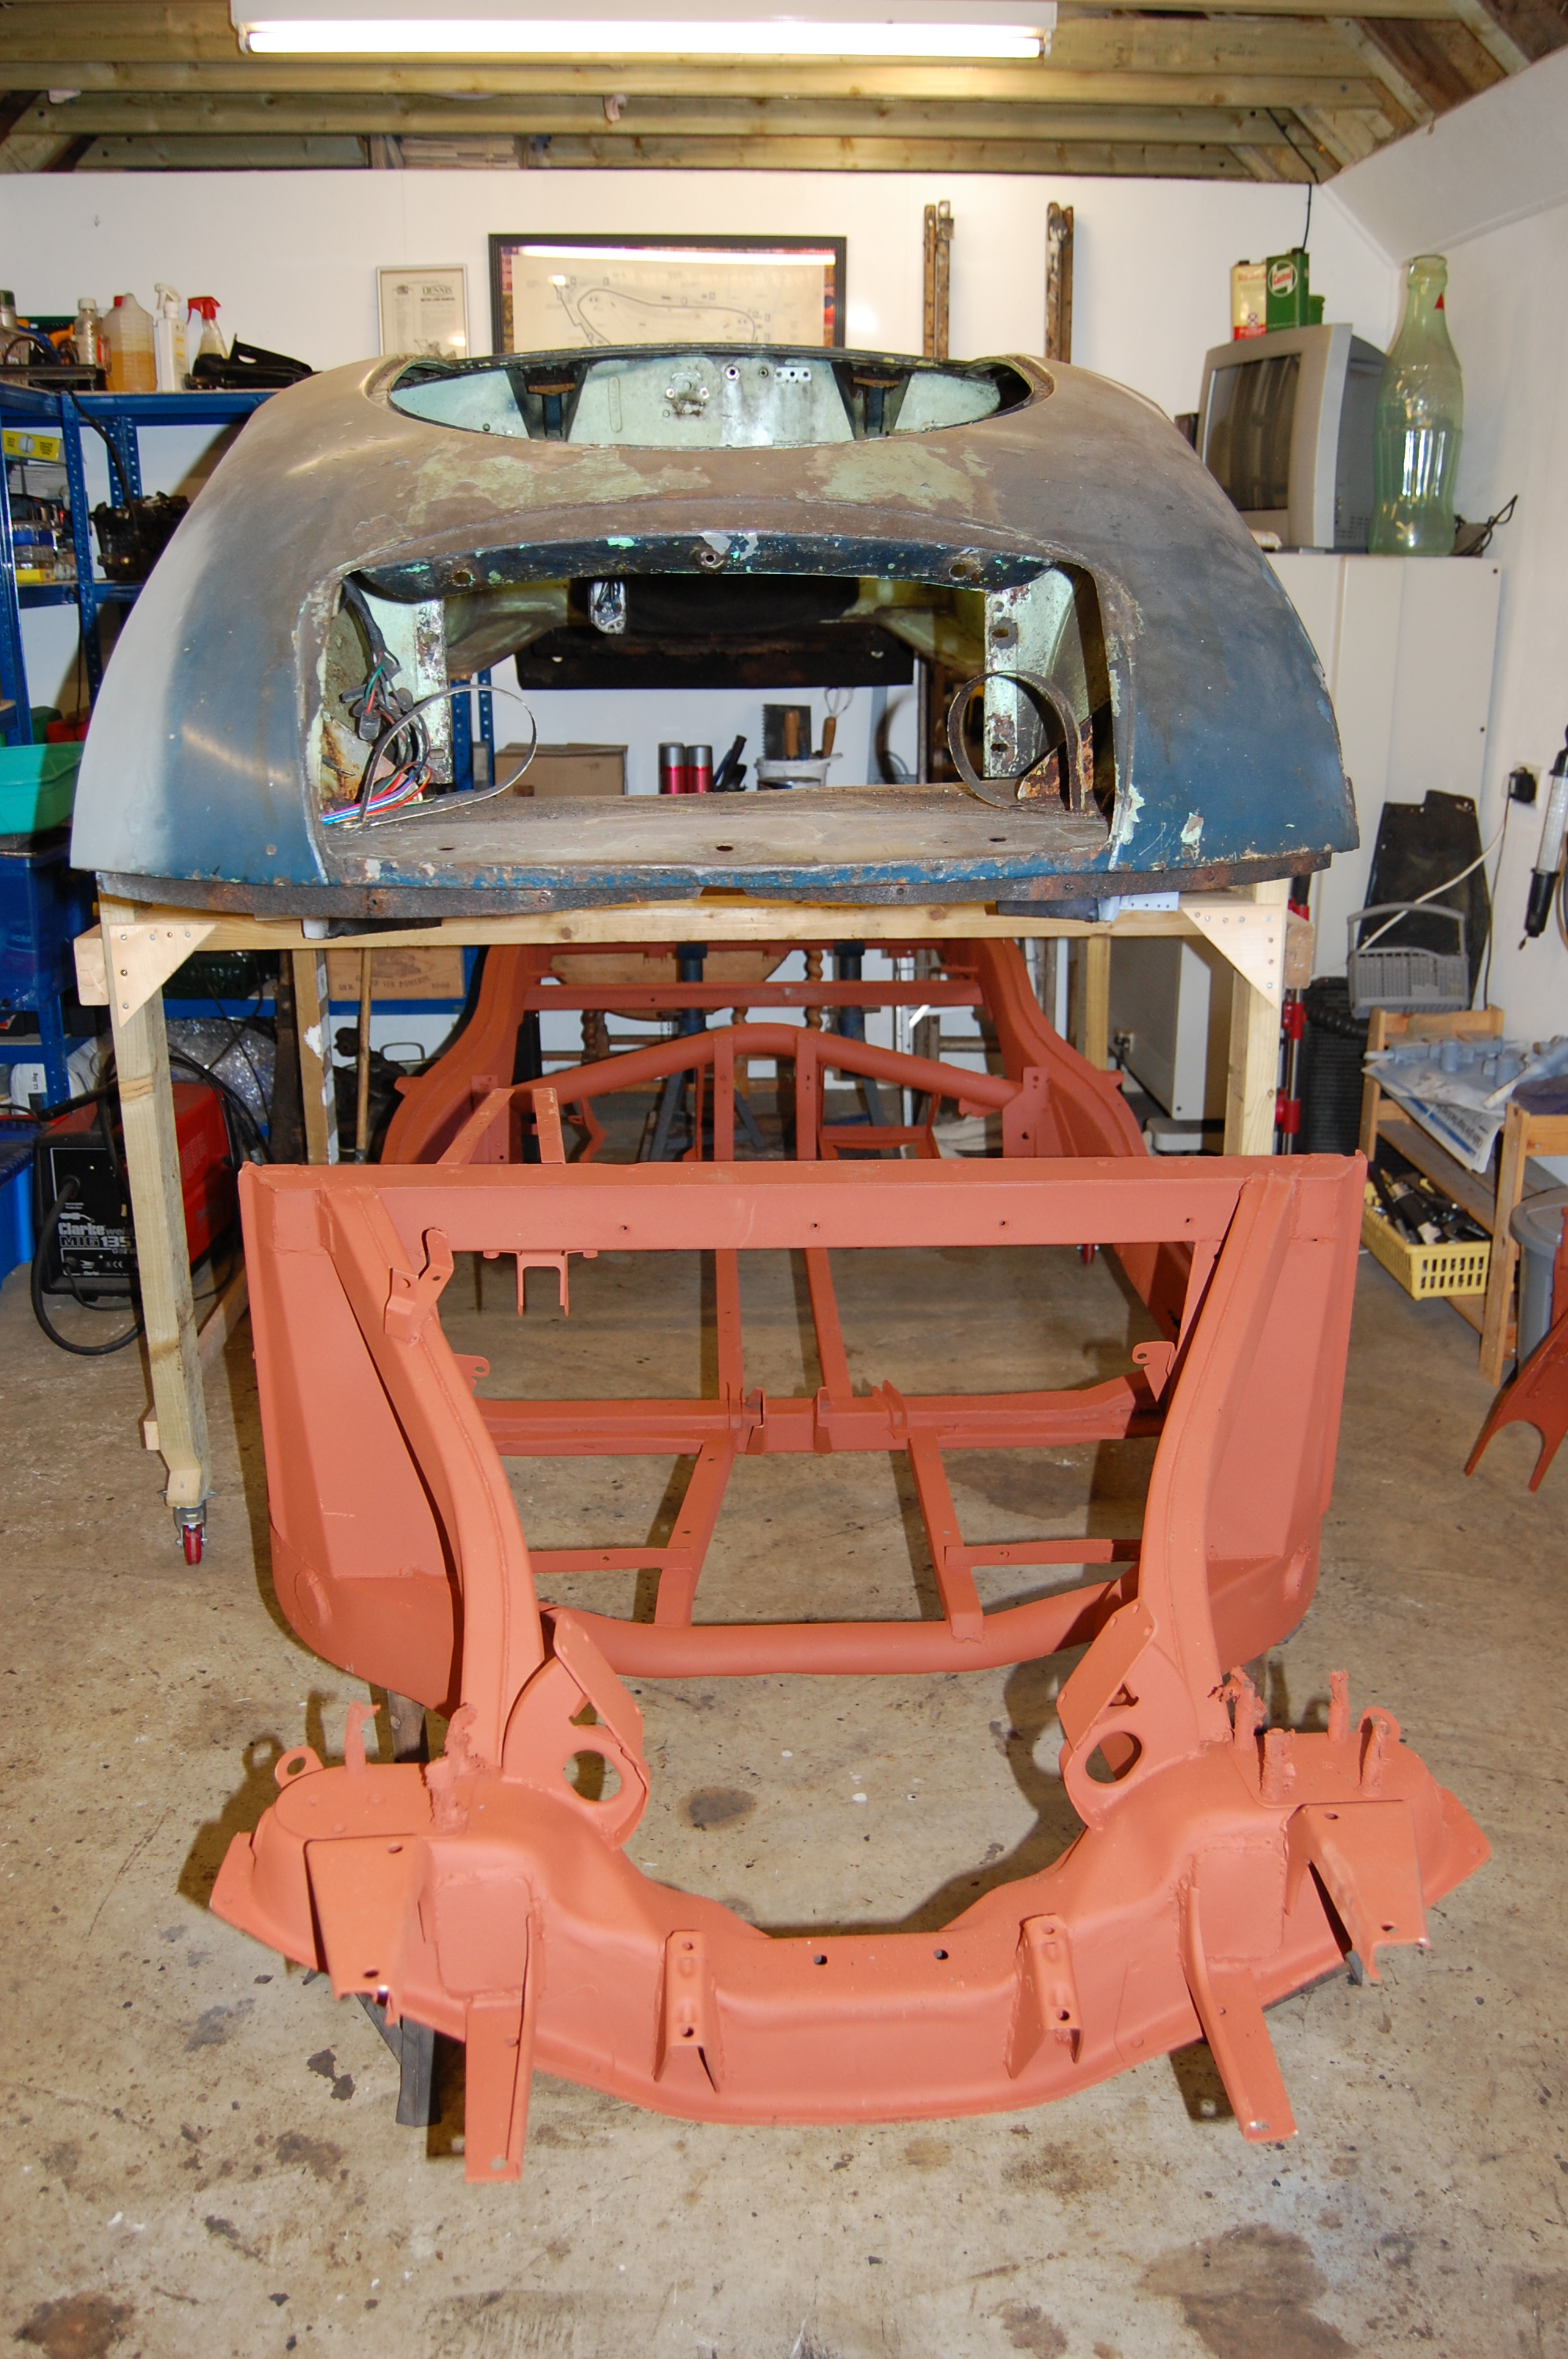
It’s a great moment when the body comes off and all is revealed for better or worse. The initial work on stripping down the chassis is filthy and a few more kilos of 55 year old greasy muck and rust are produced.
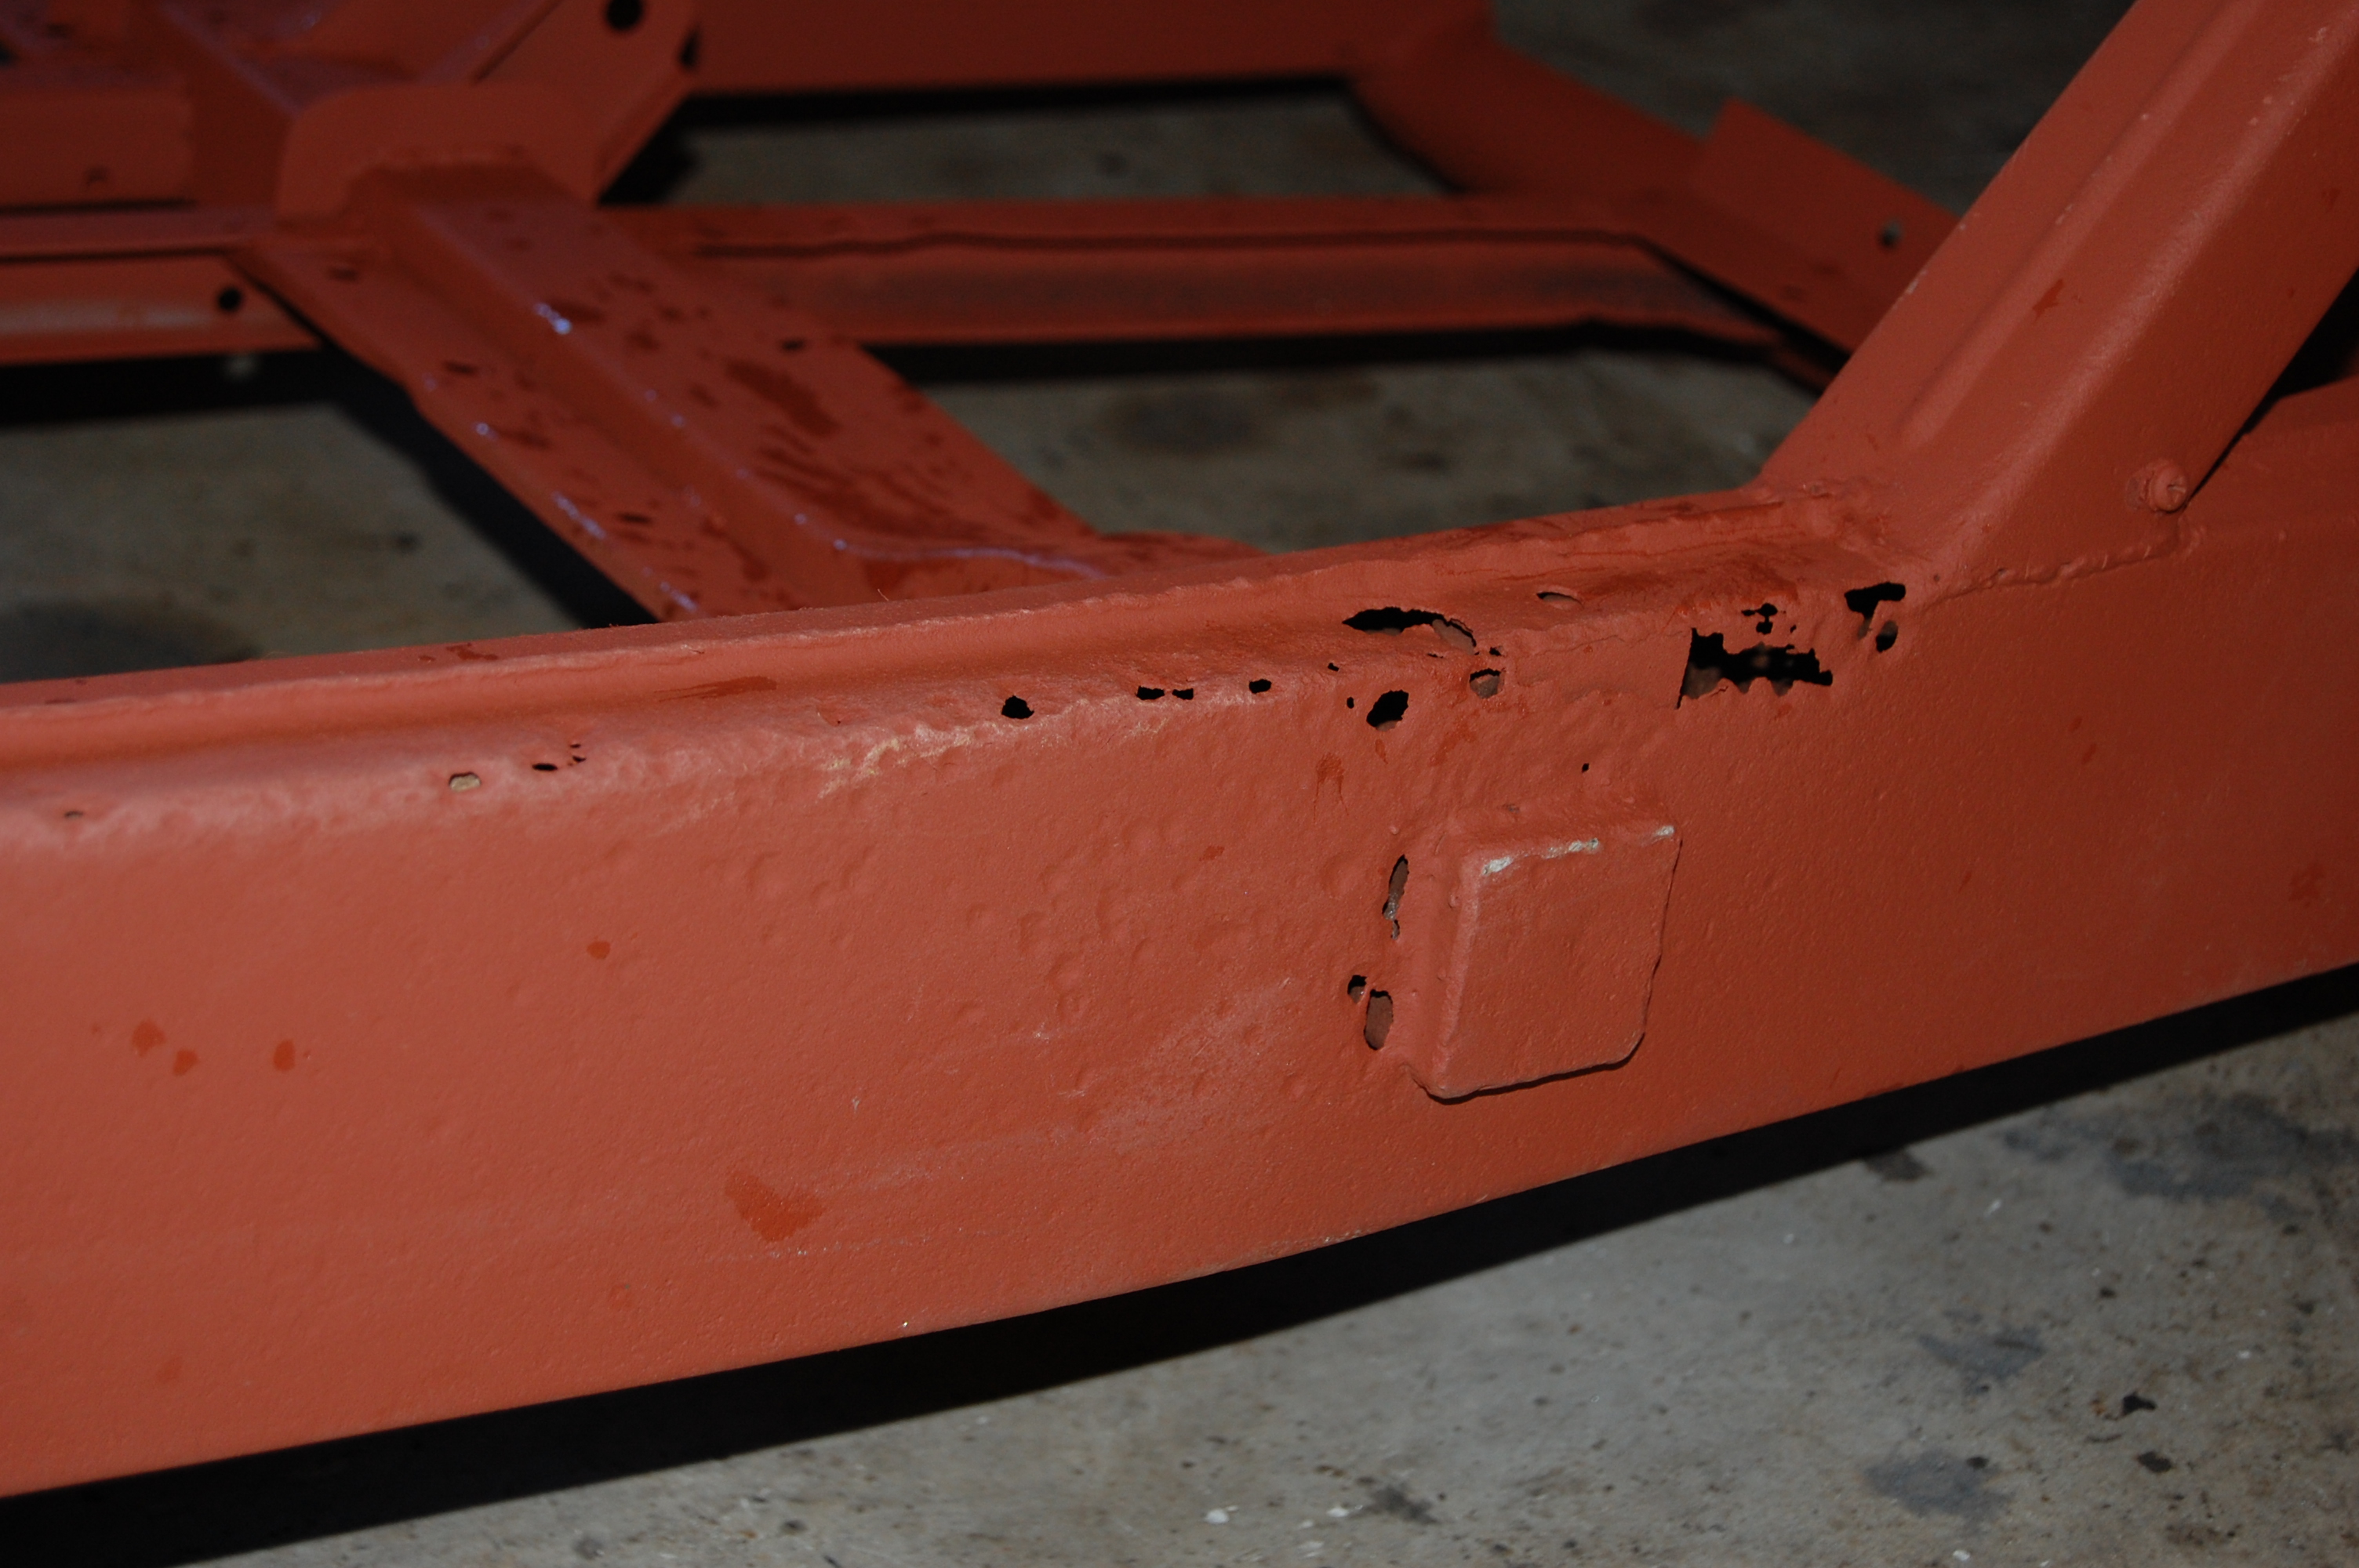
Fortunately, bad as it looks, the chassis was in good shape with mainly surface rust and a few holes to be dealt with.
Right-hand side battery carrier required replacement – a previous owner made a crude conversion to run on a single twelve volt battery, which I lived with. This will be improved upon.
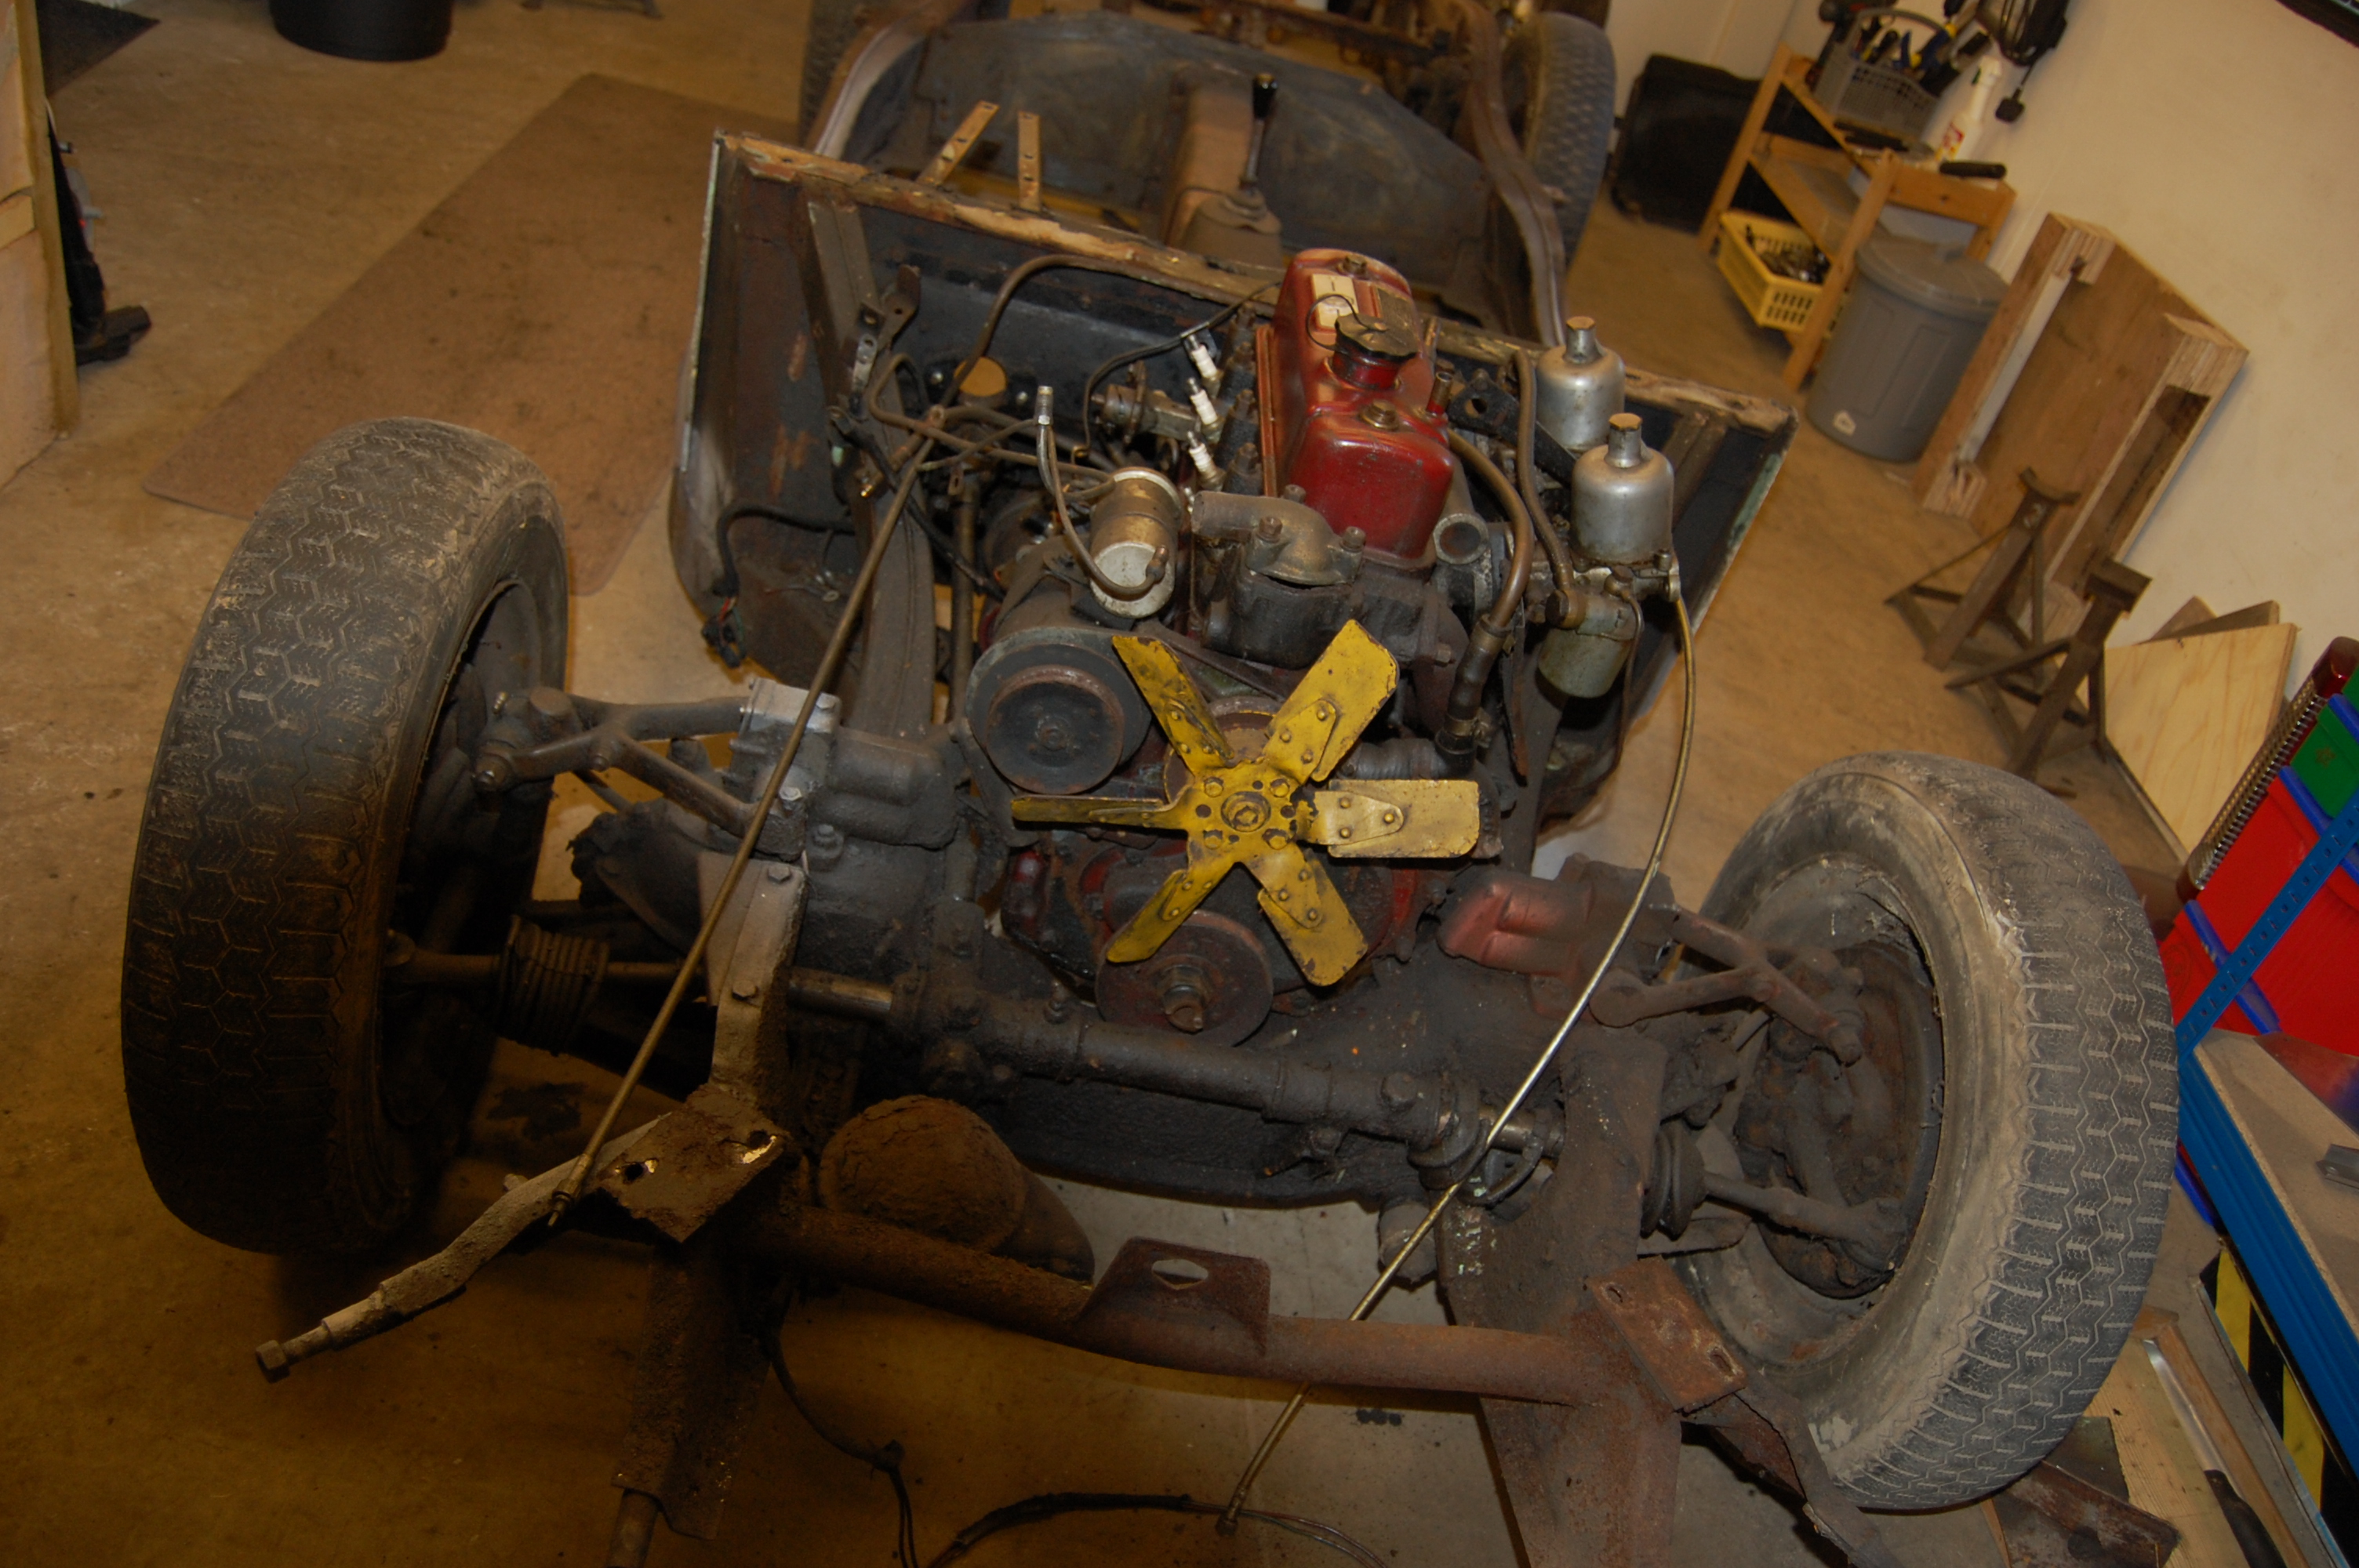
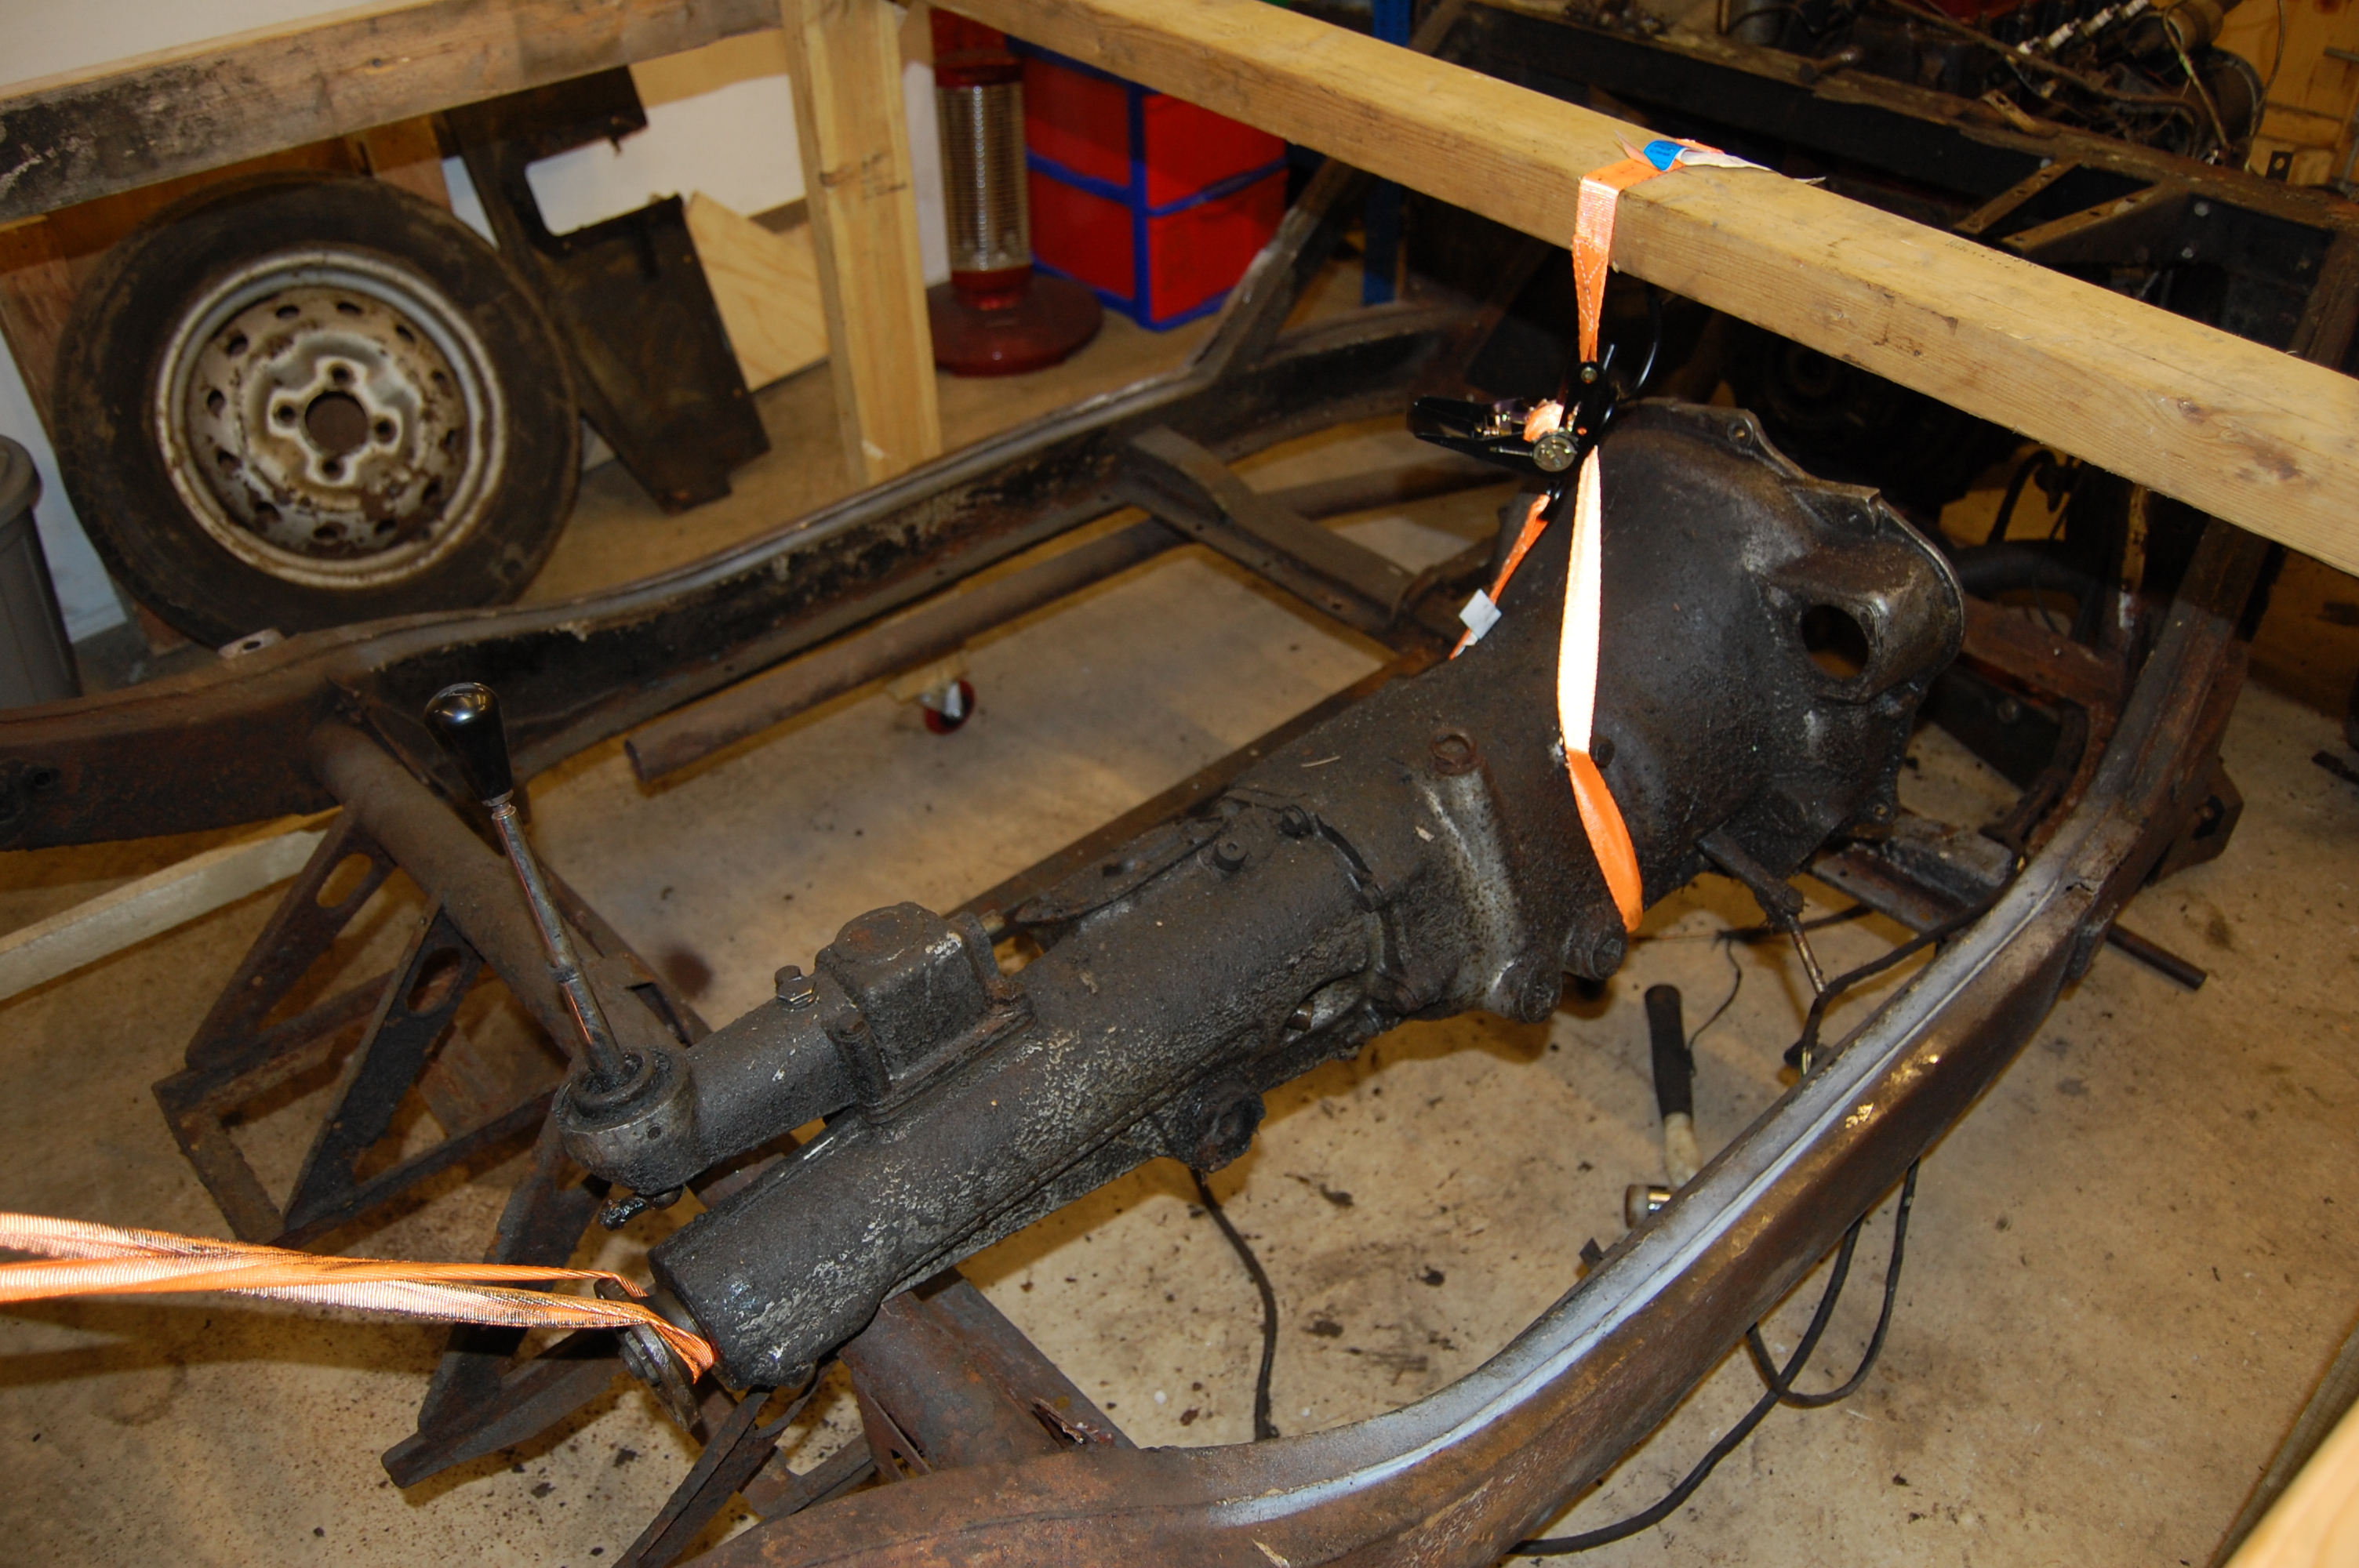
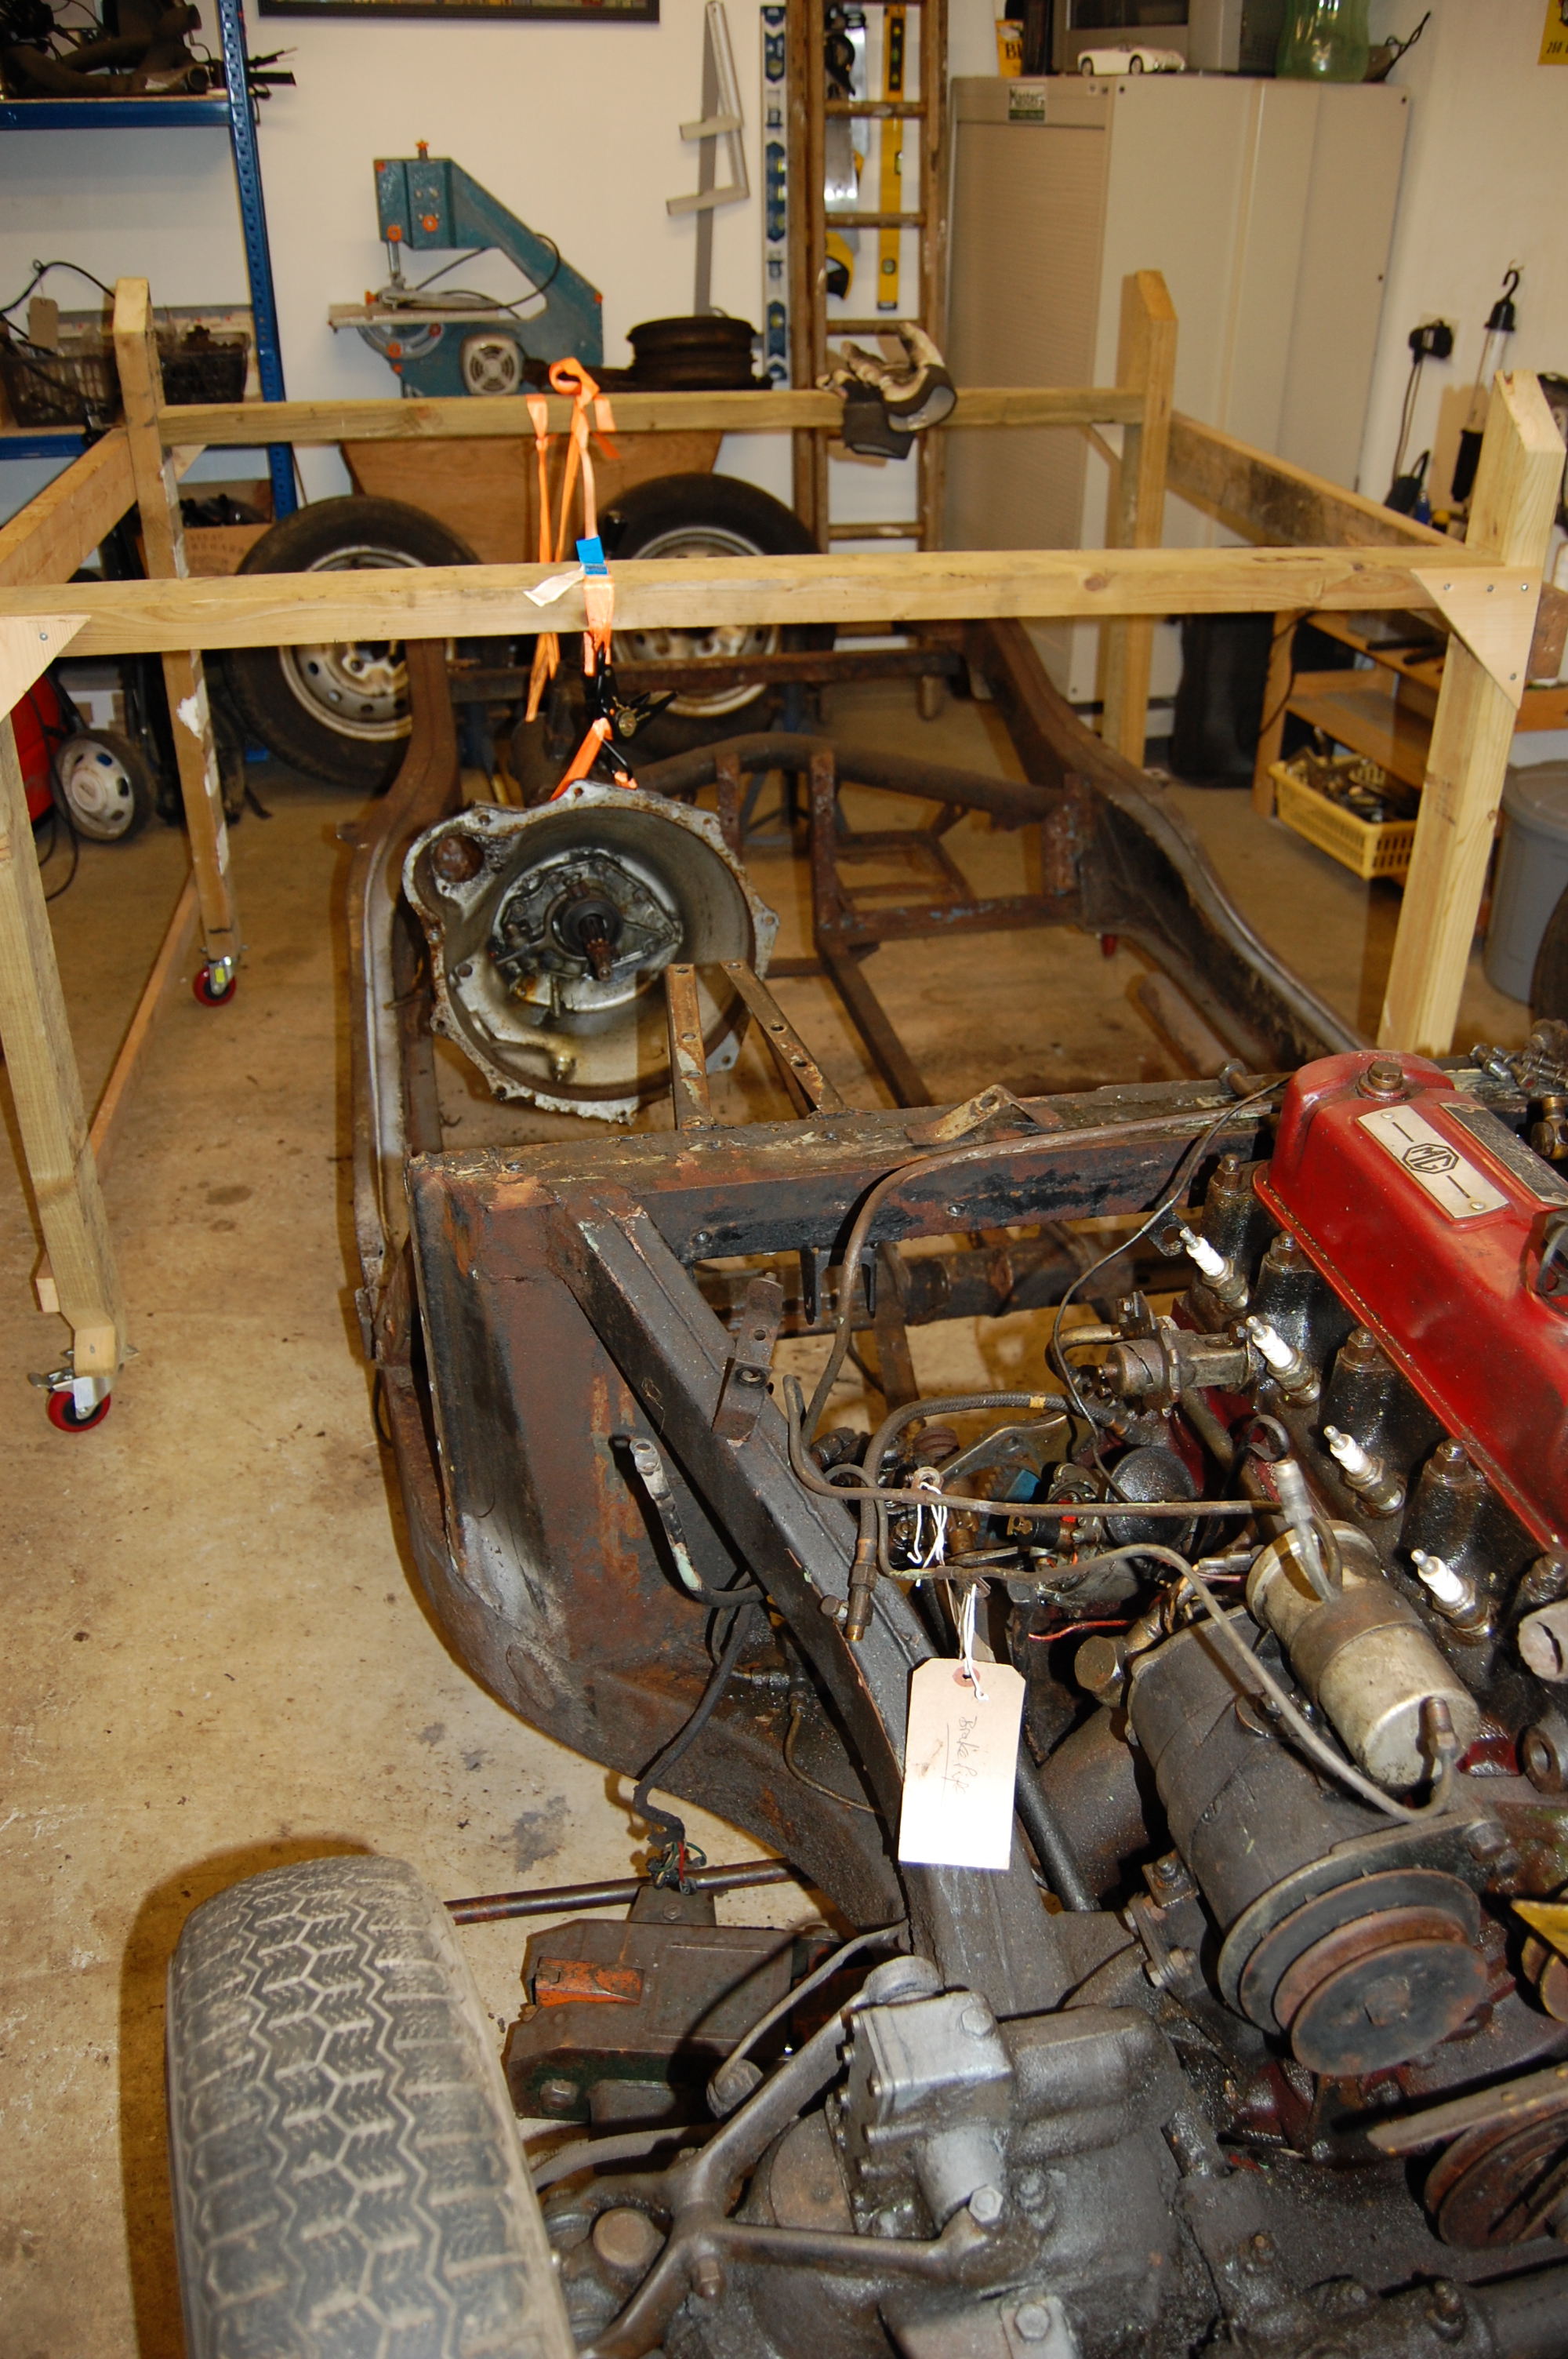
Engine/Gearbox removal
Removing the engine and gearbox with the body removed is straightforward and a much easier job than with the body in place.
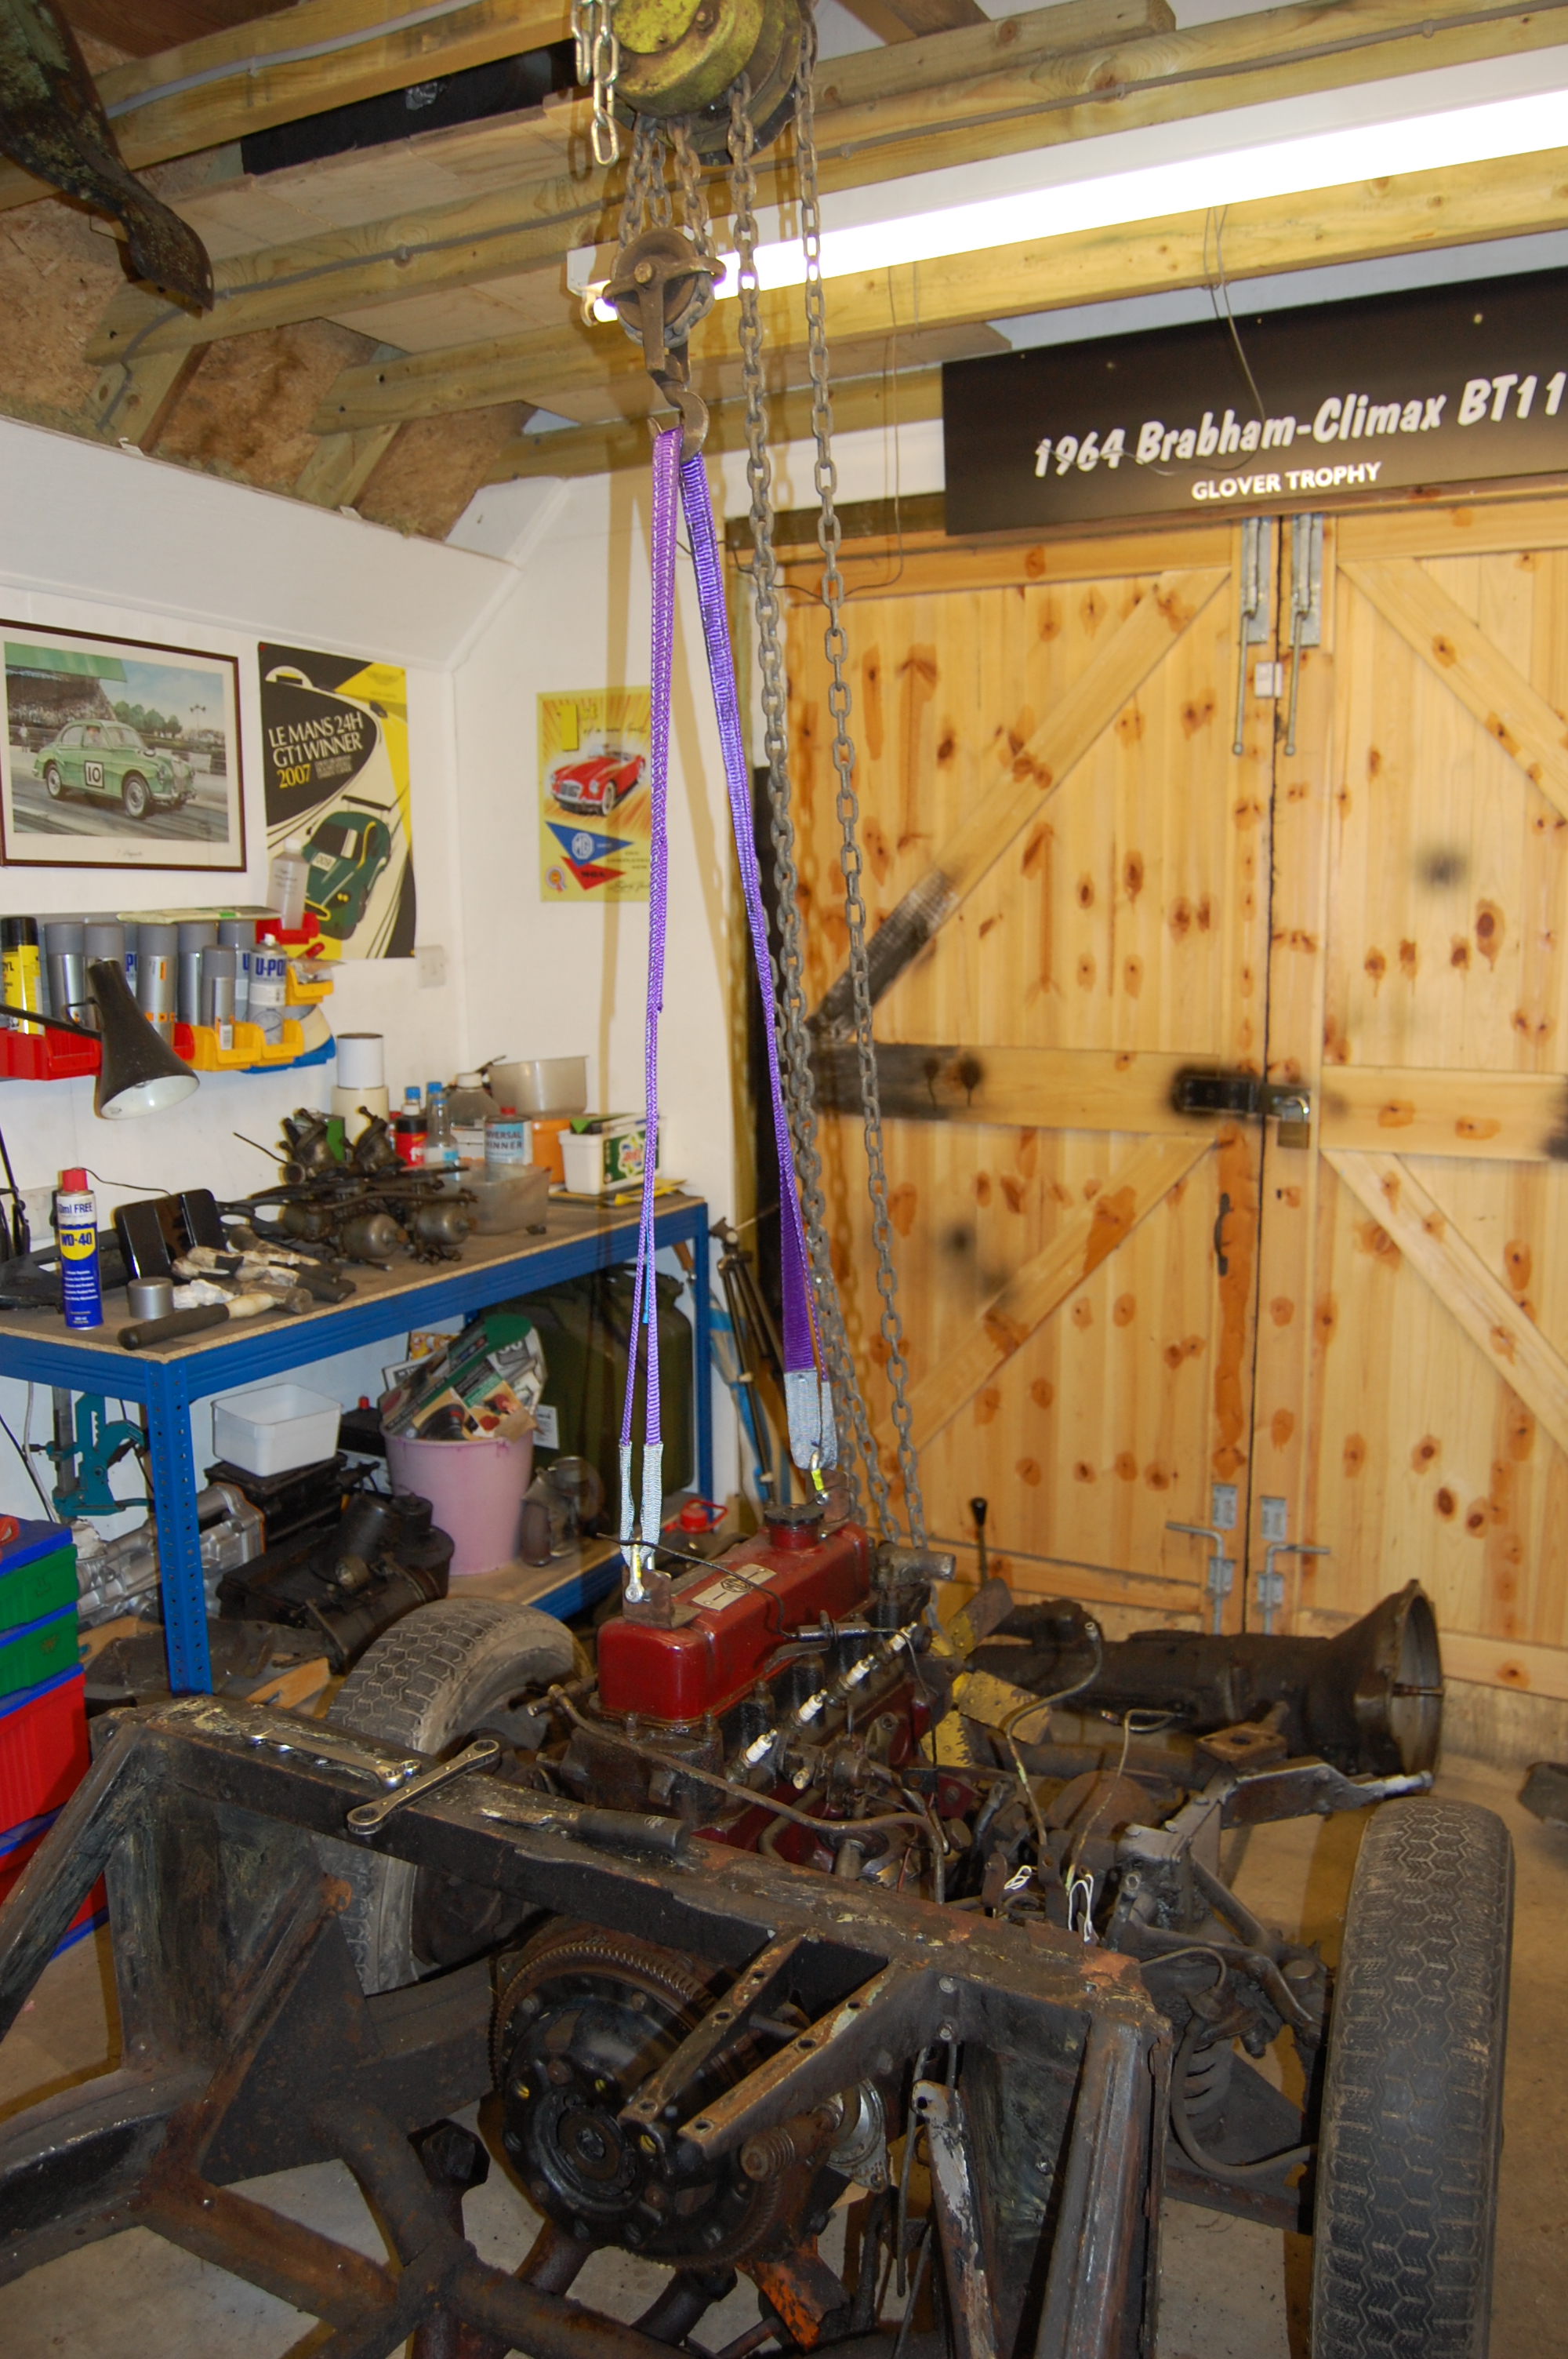
The winch lifting tackle was thrown in for £20, with all the parts purchased from Metal Mick at Sportscar Metalworks in 2010……knew it would come in handy.
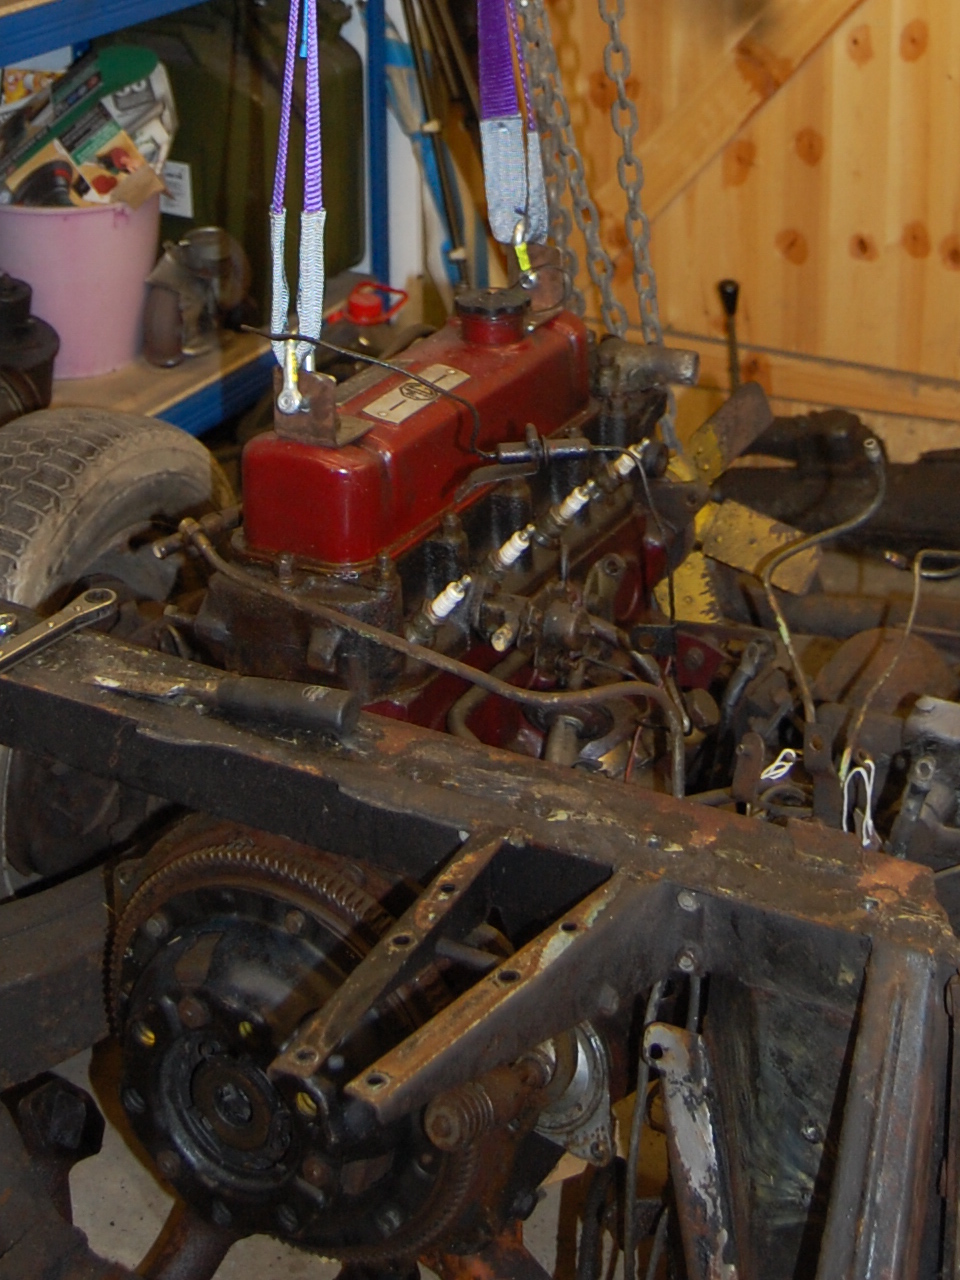
Engine ready to lift out.
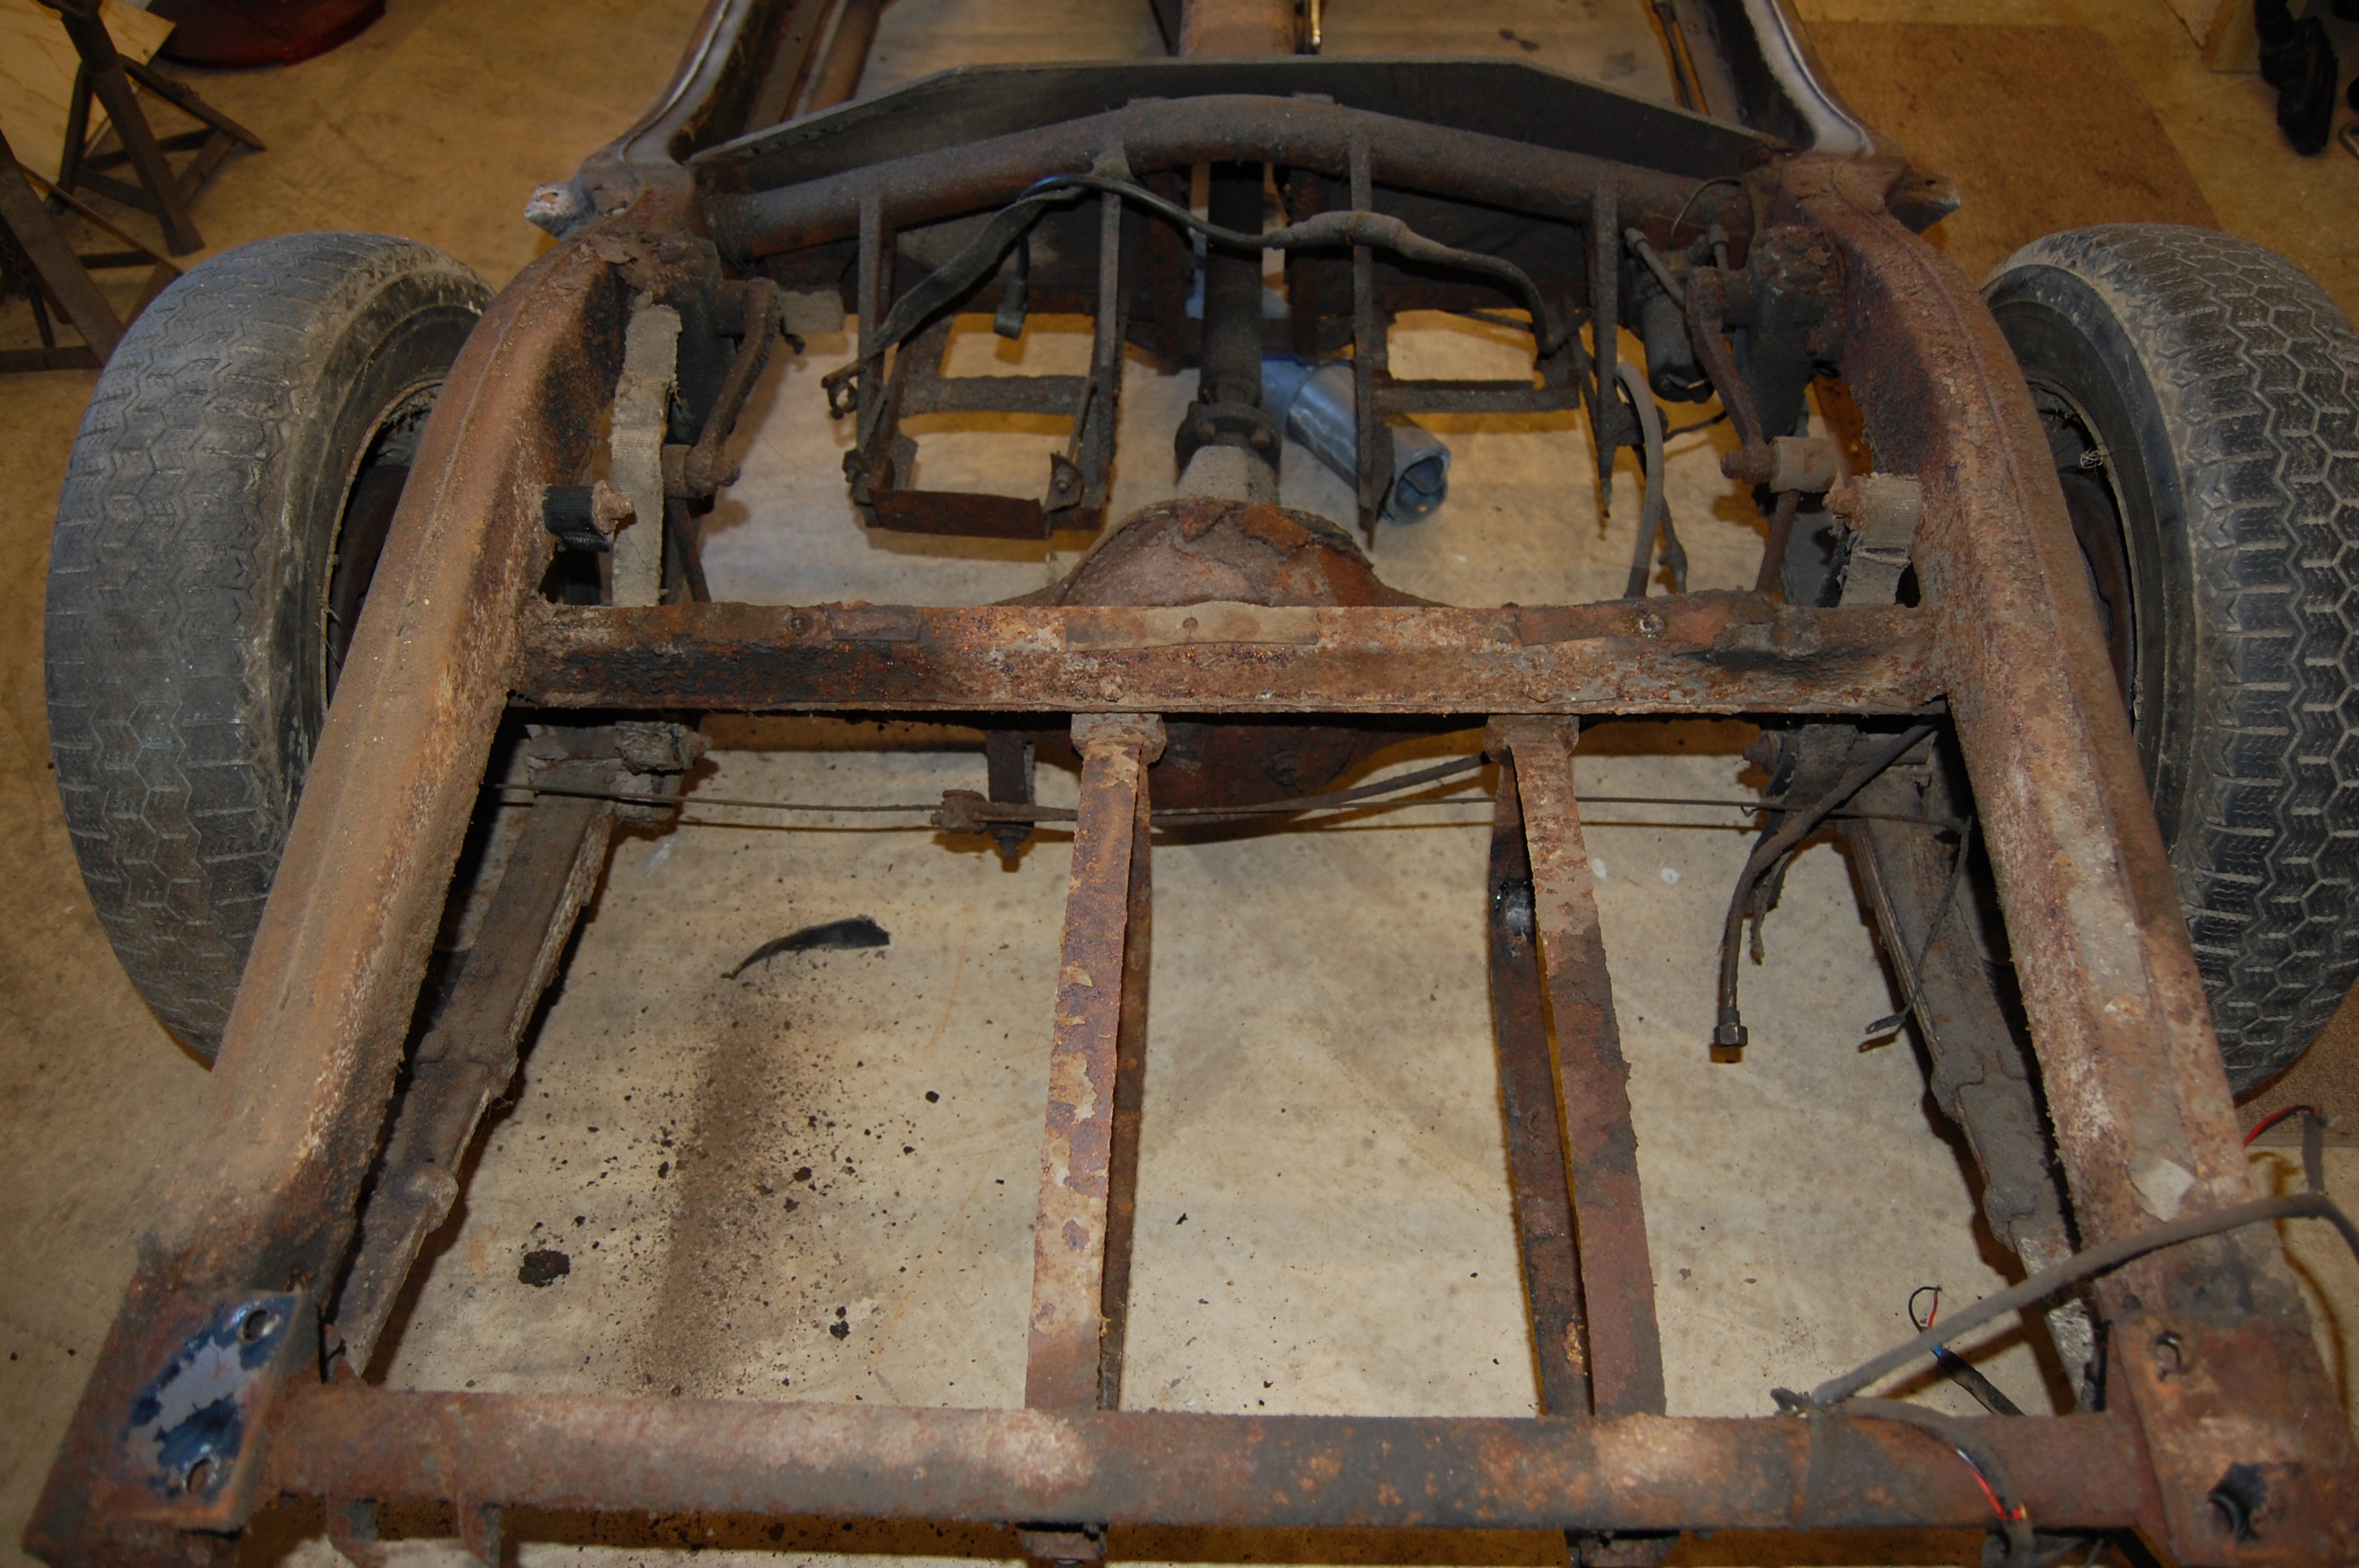
A few shots during chassis strip down, to help with building up again.

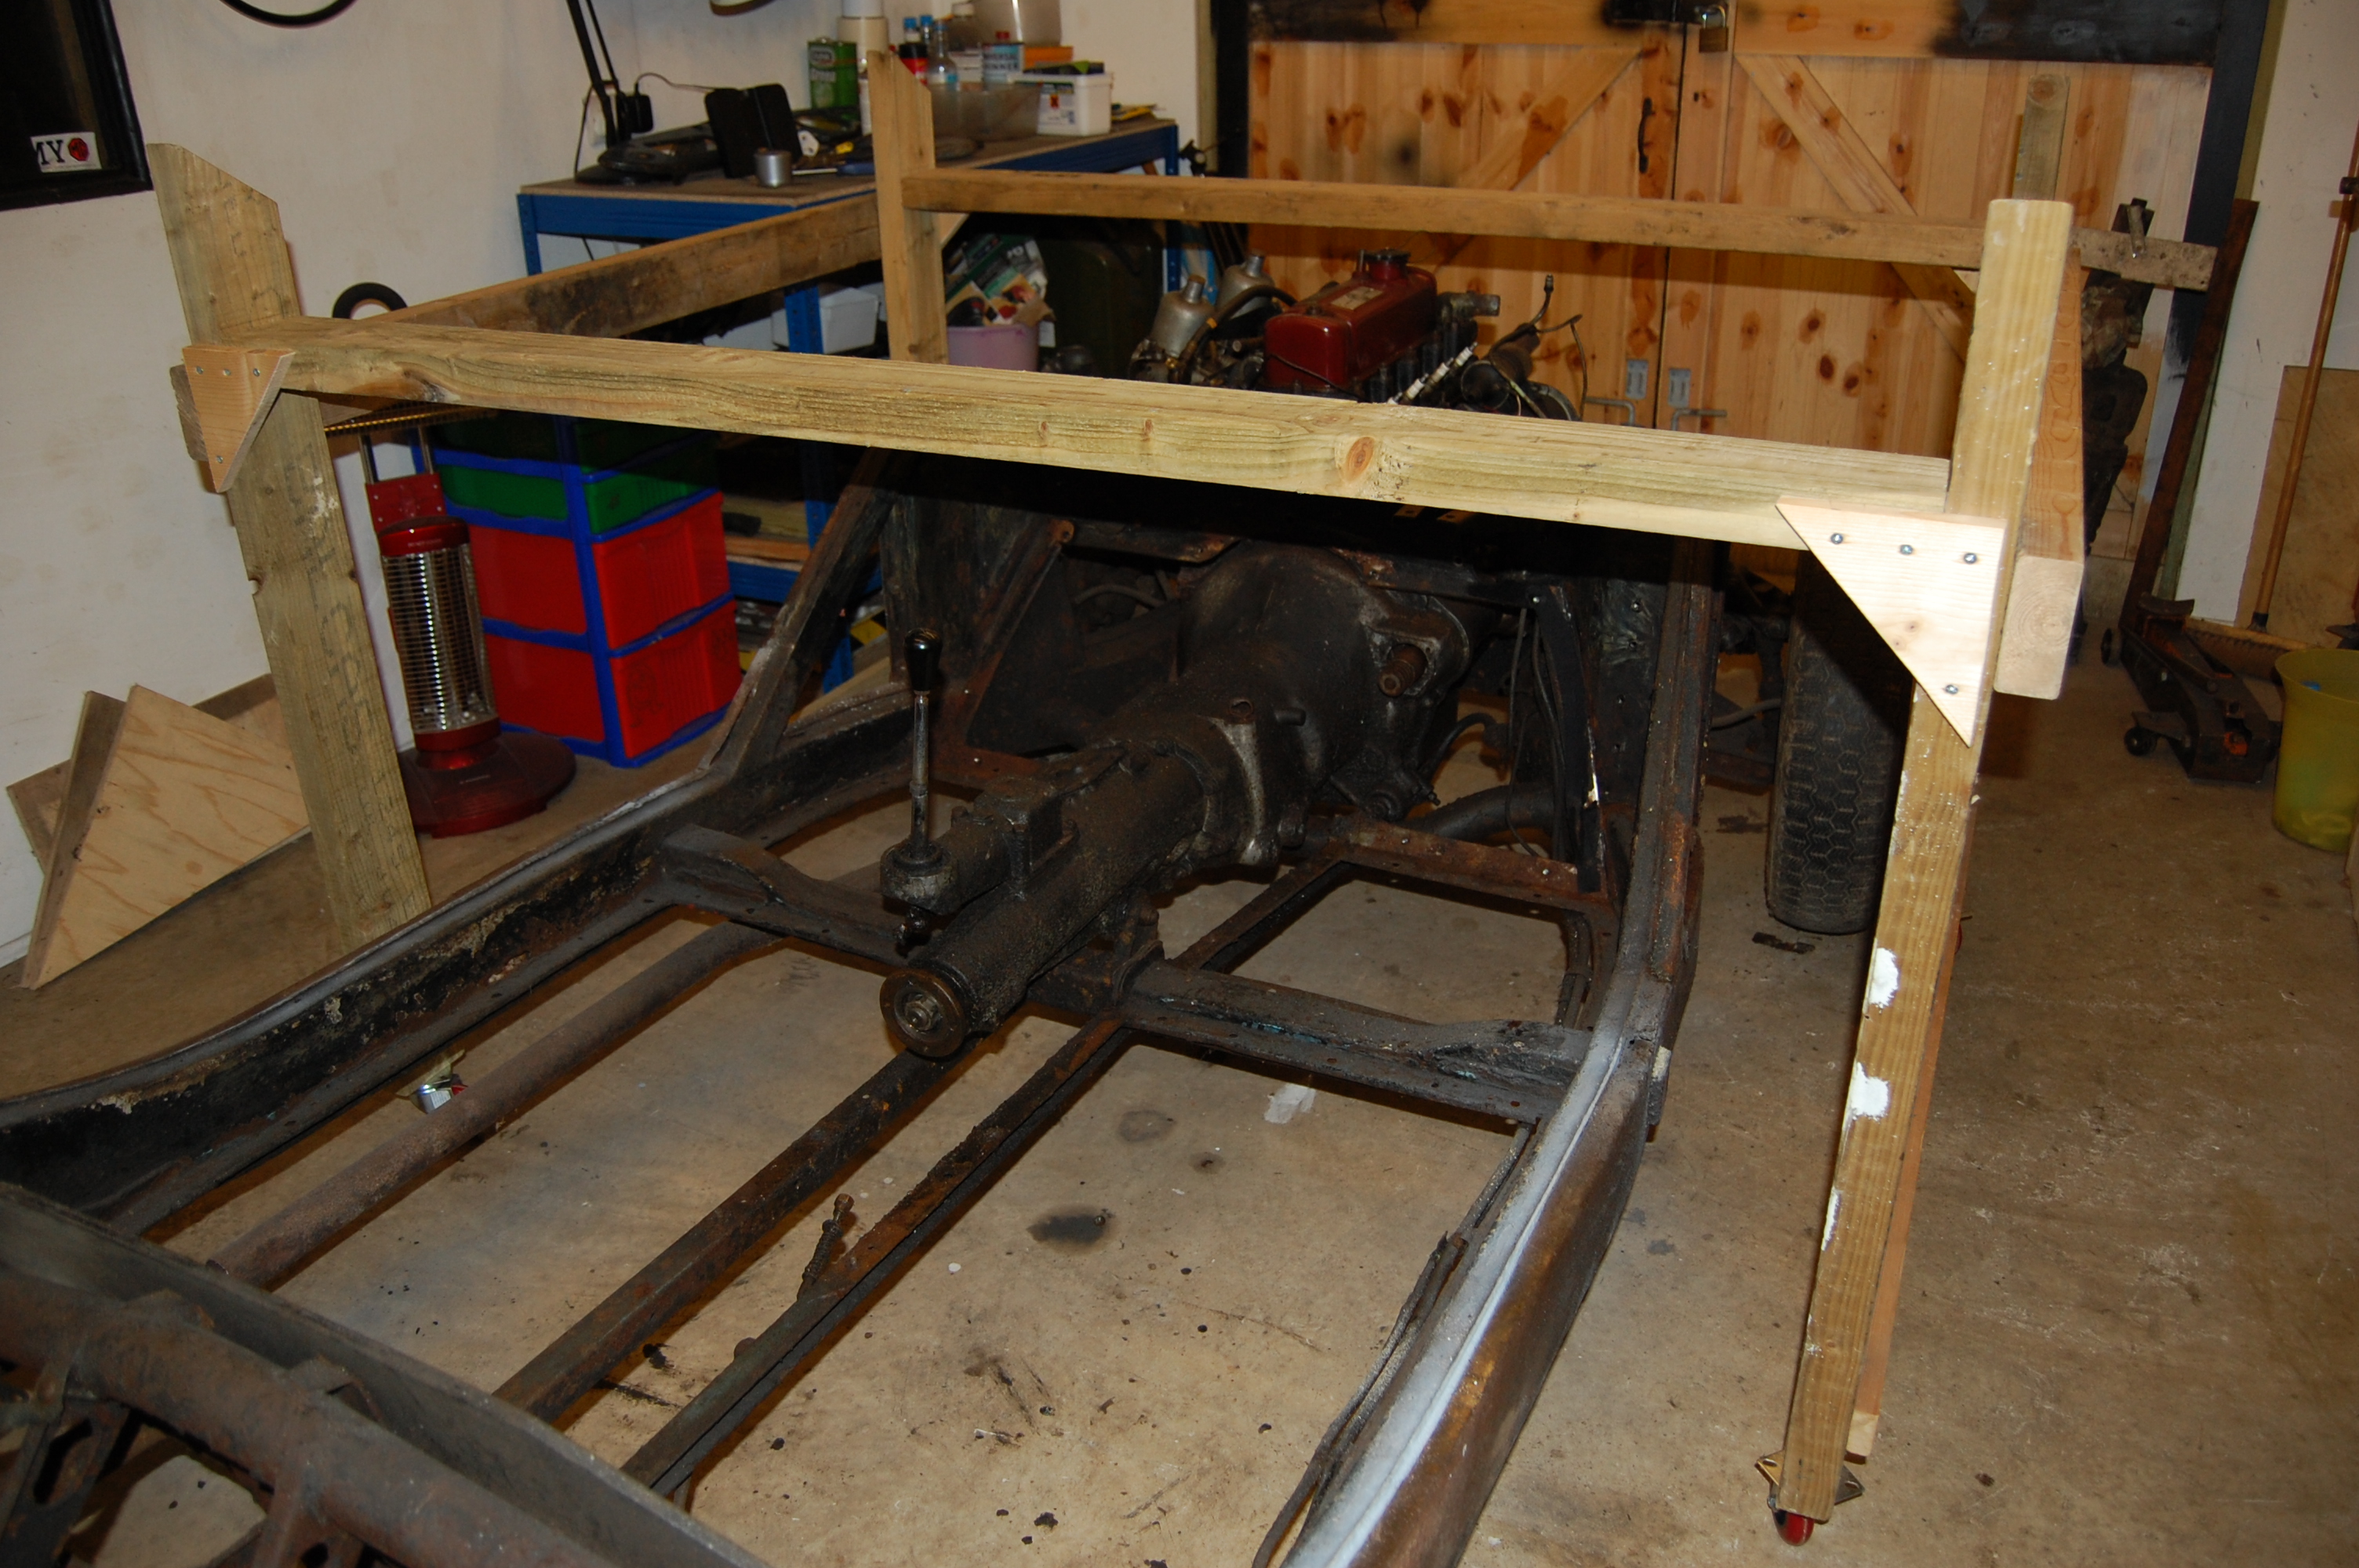
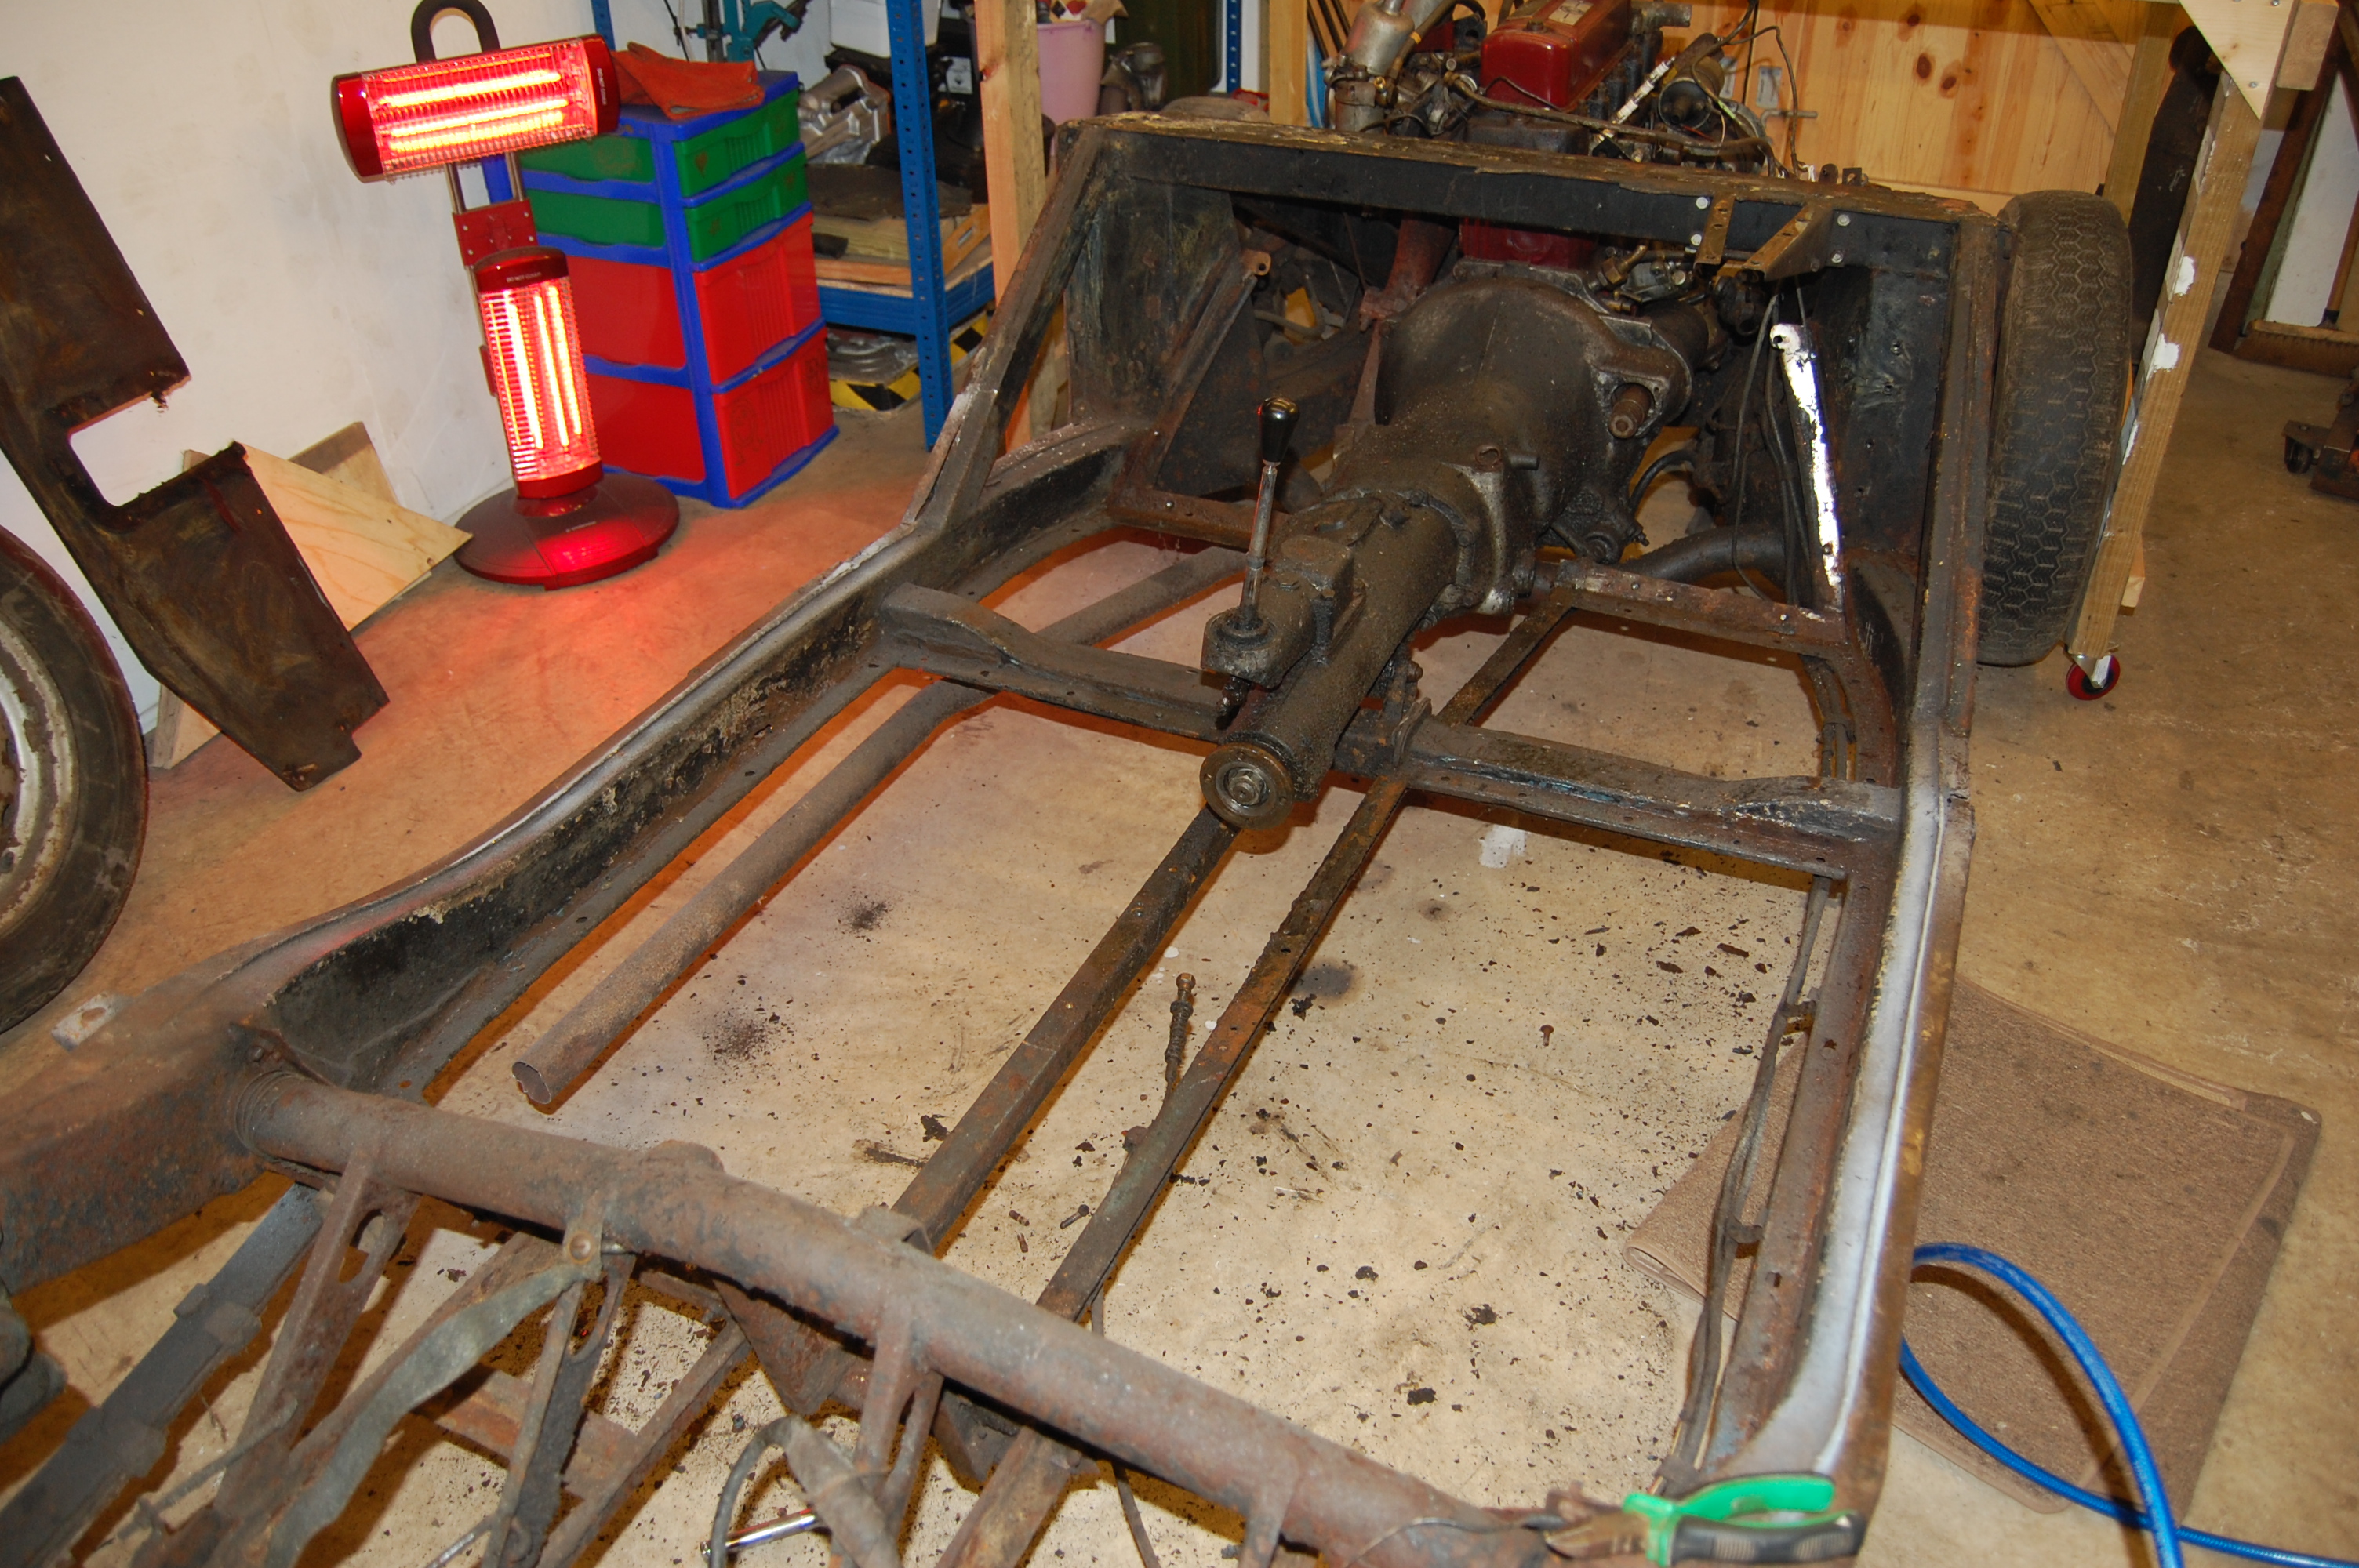
The body at this point was away being shot blasted, so the dolly was there and seemed a good prop to aid single-handed gearbox removal.
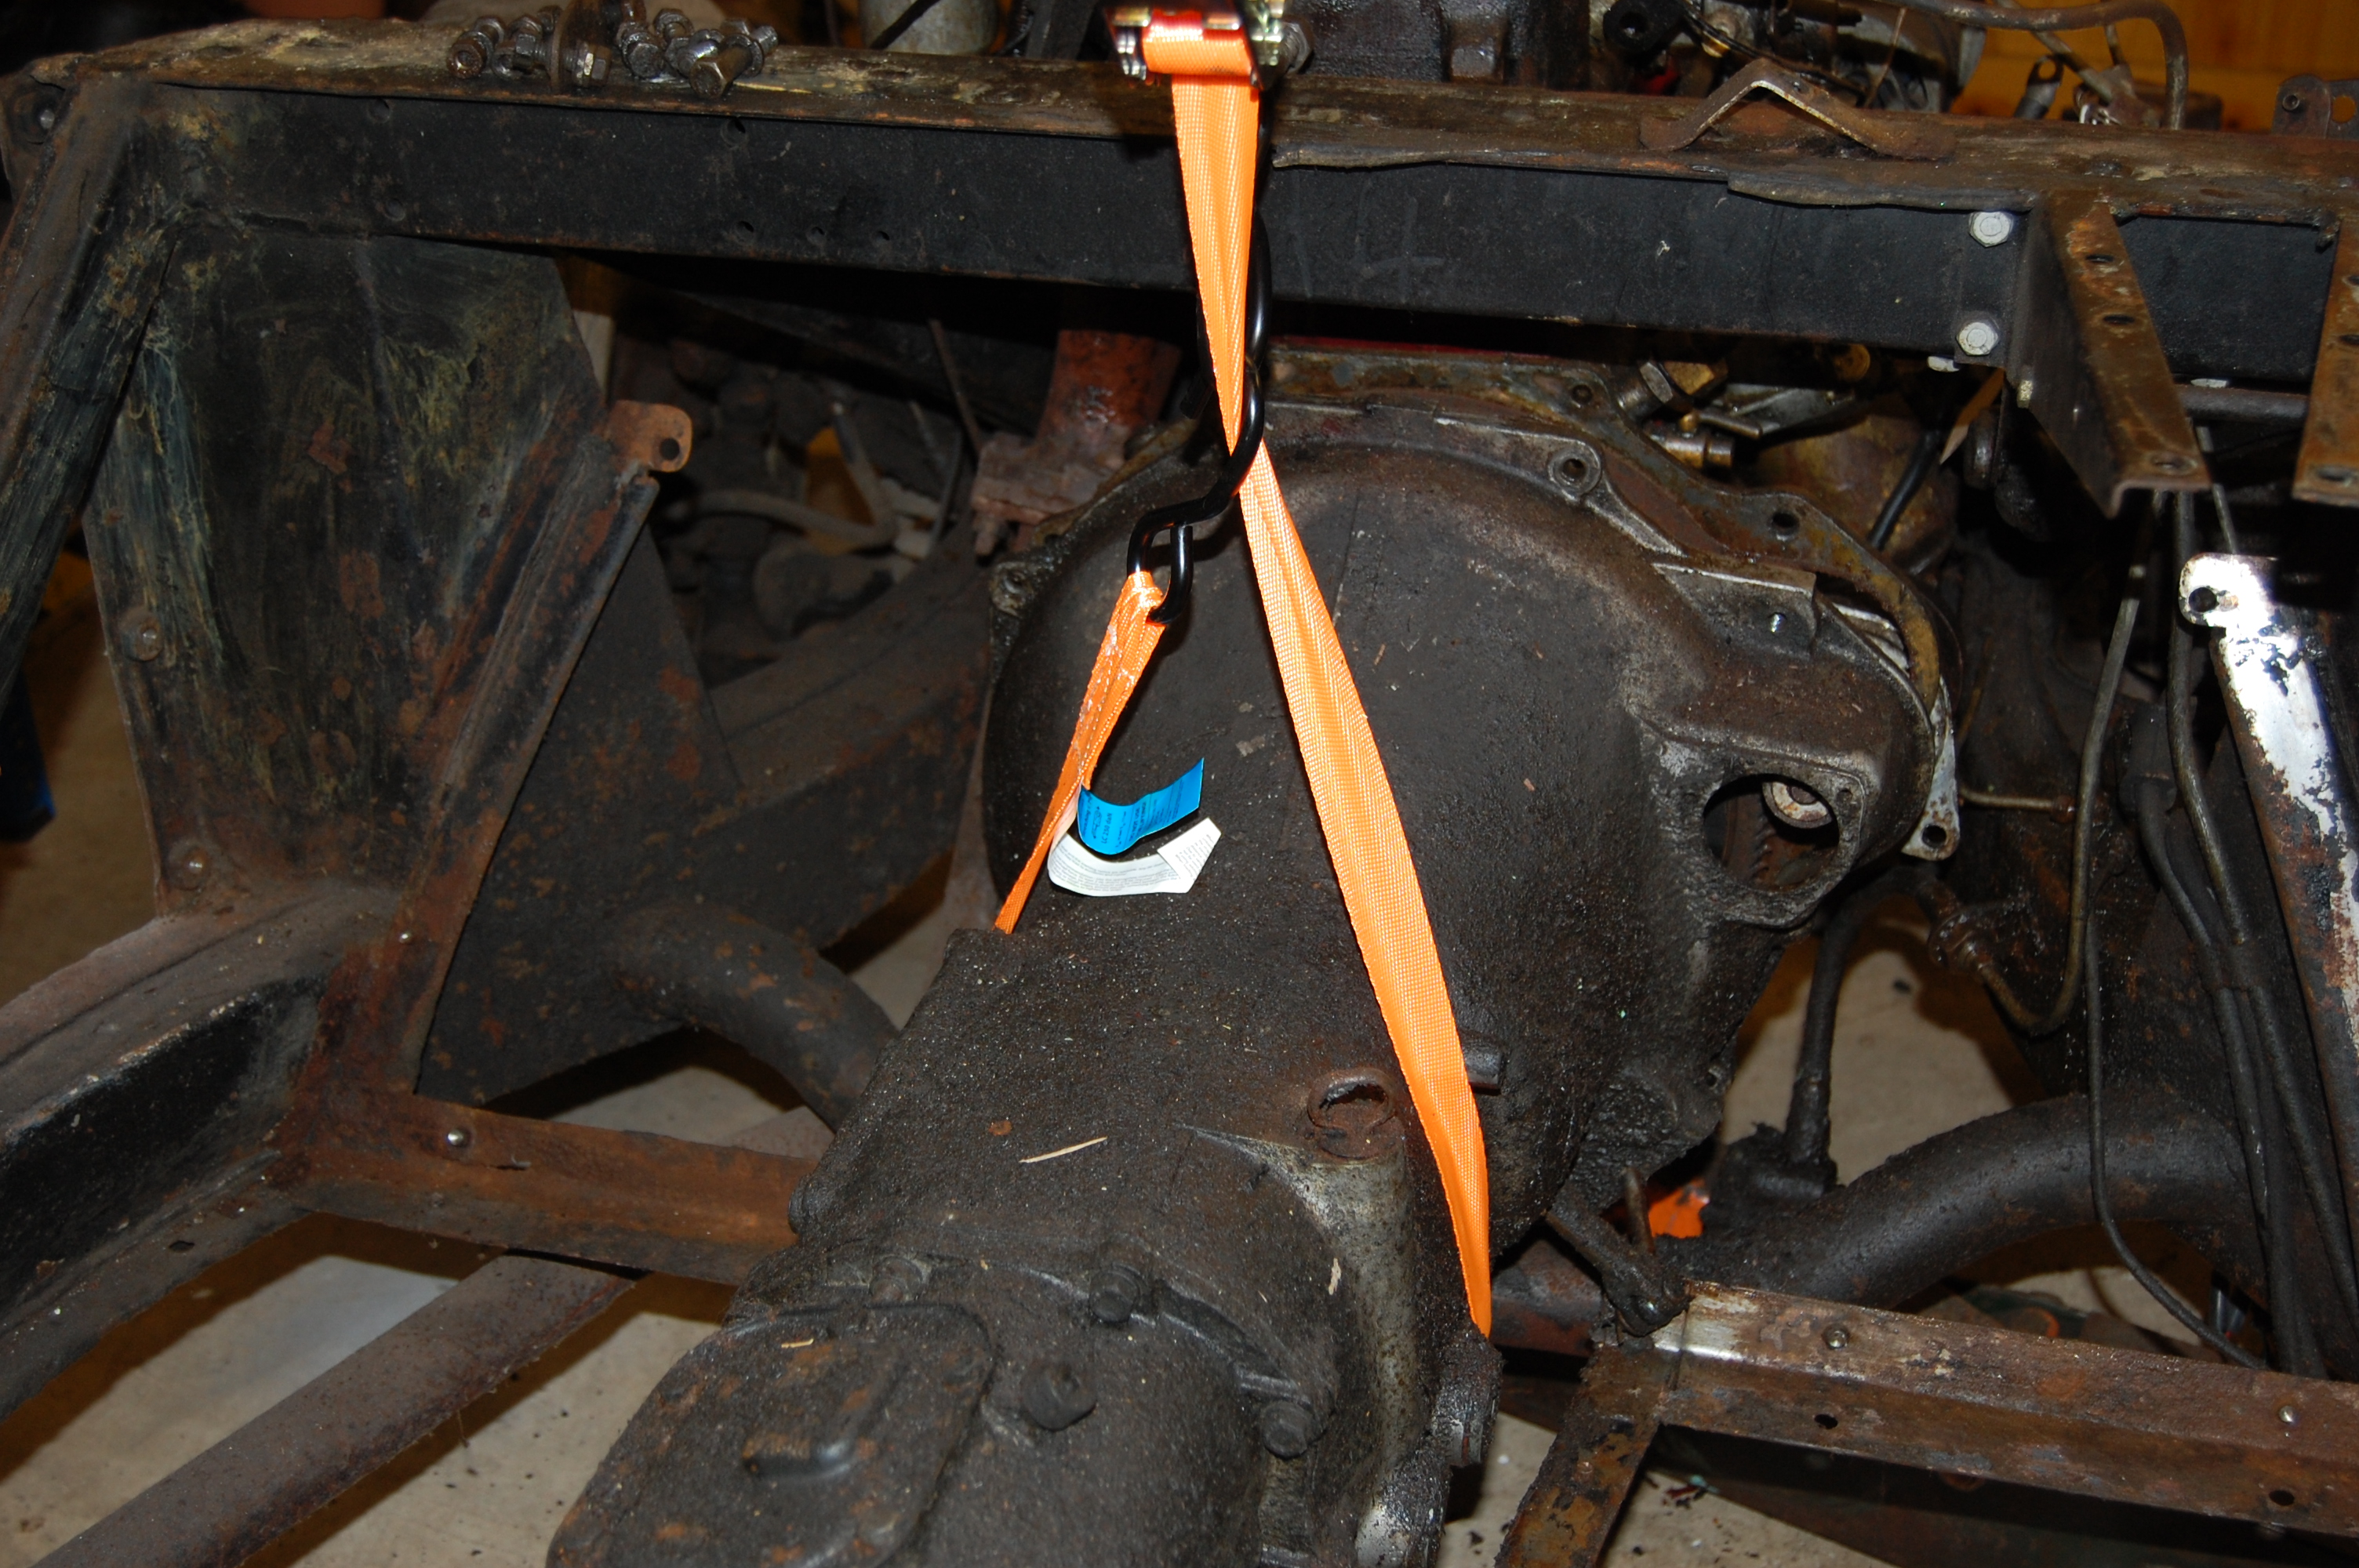
The good thing about this end of the car is that years of oil leaks ensure that most of the bolts are easier to remove. It’s essential to maintain lateral support to the gearbox as its released from the bellhousing, otherwise damage can be done to the first motion shaft if allowed to drop or hang from it. The rear gearbox mounting also acted as the rear engine mount. The frame enabled a one-man job, otherwise it definitely requires two.
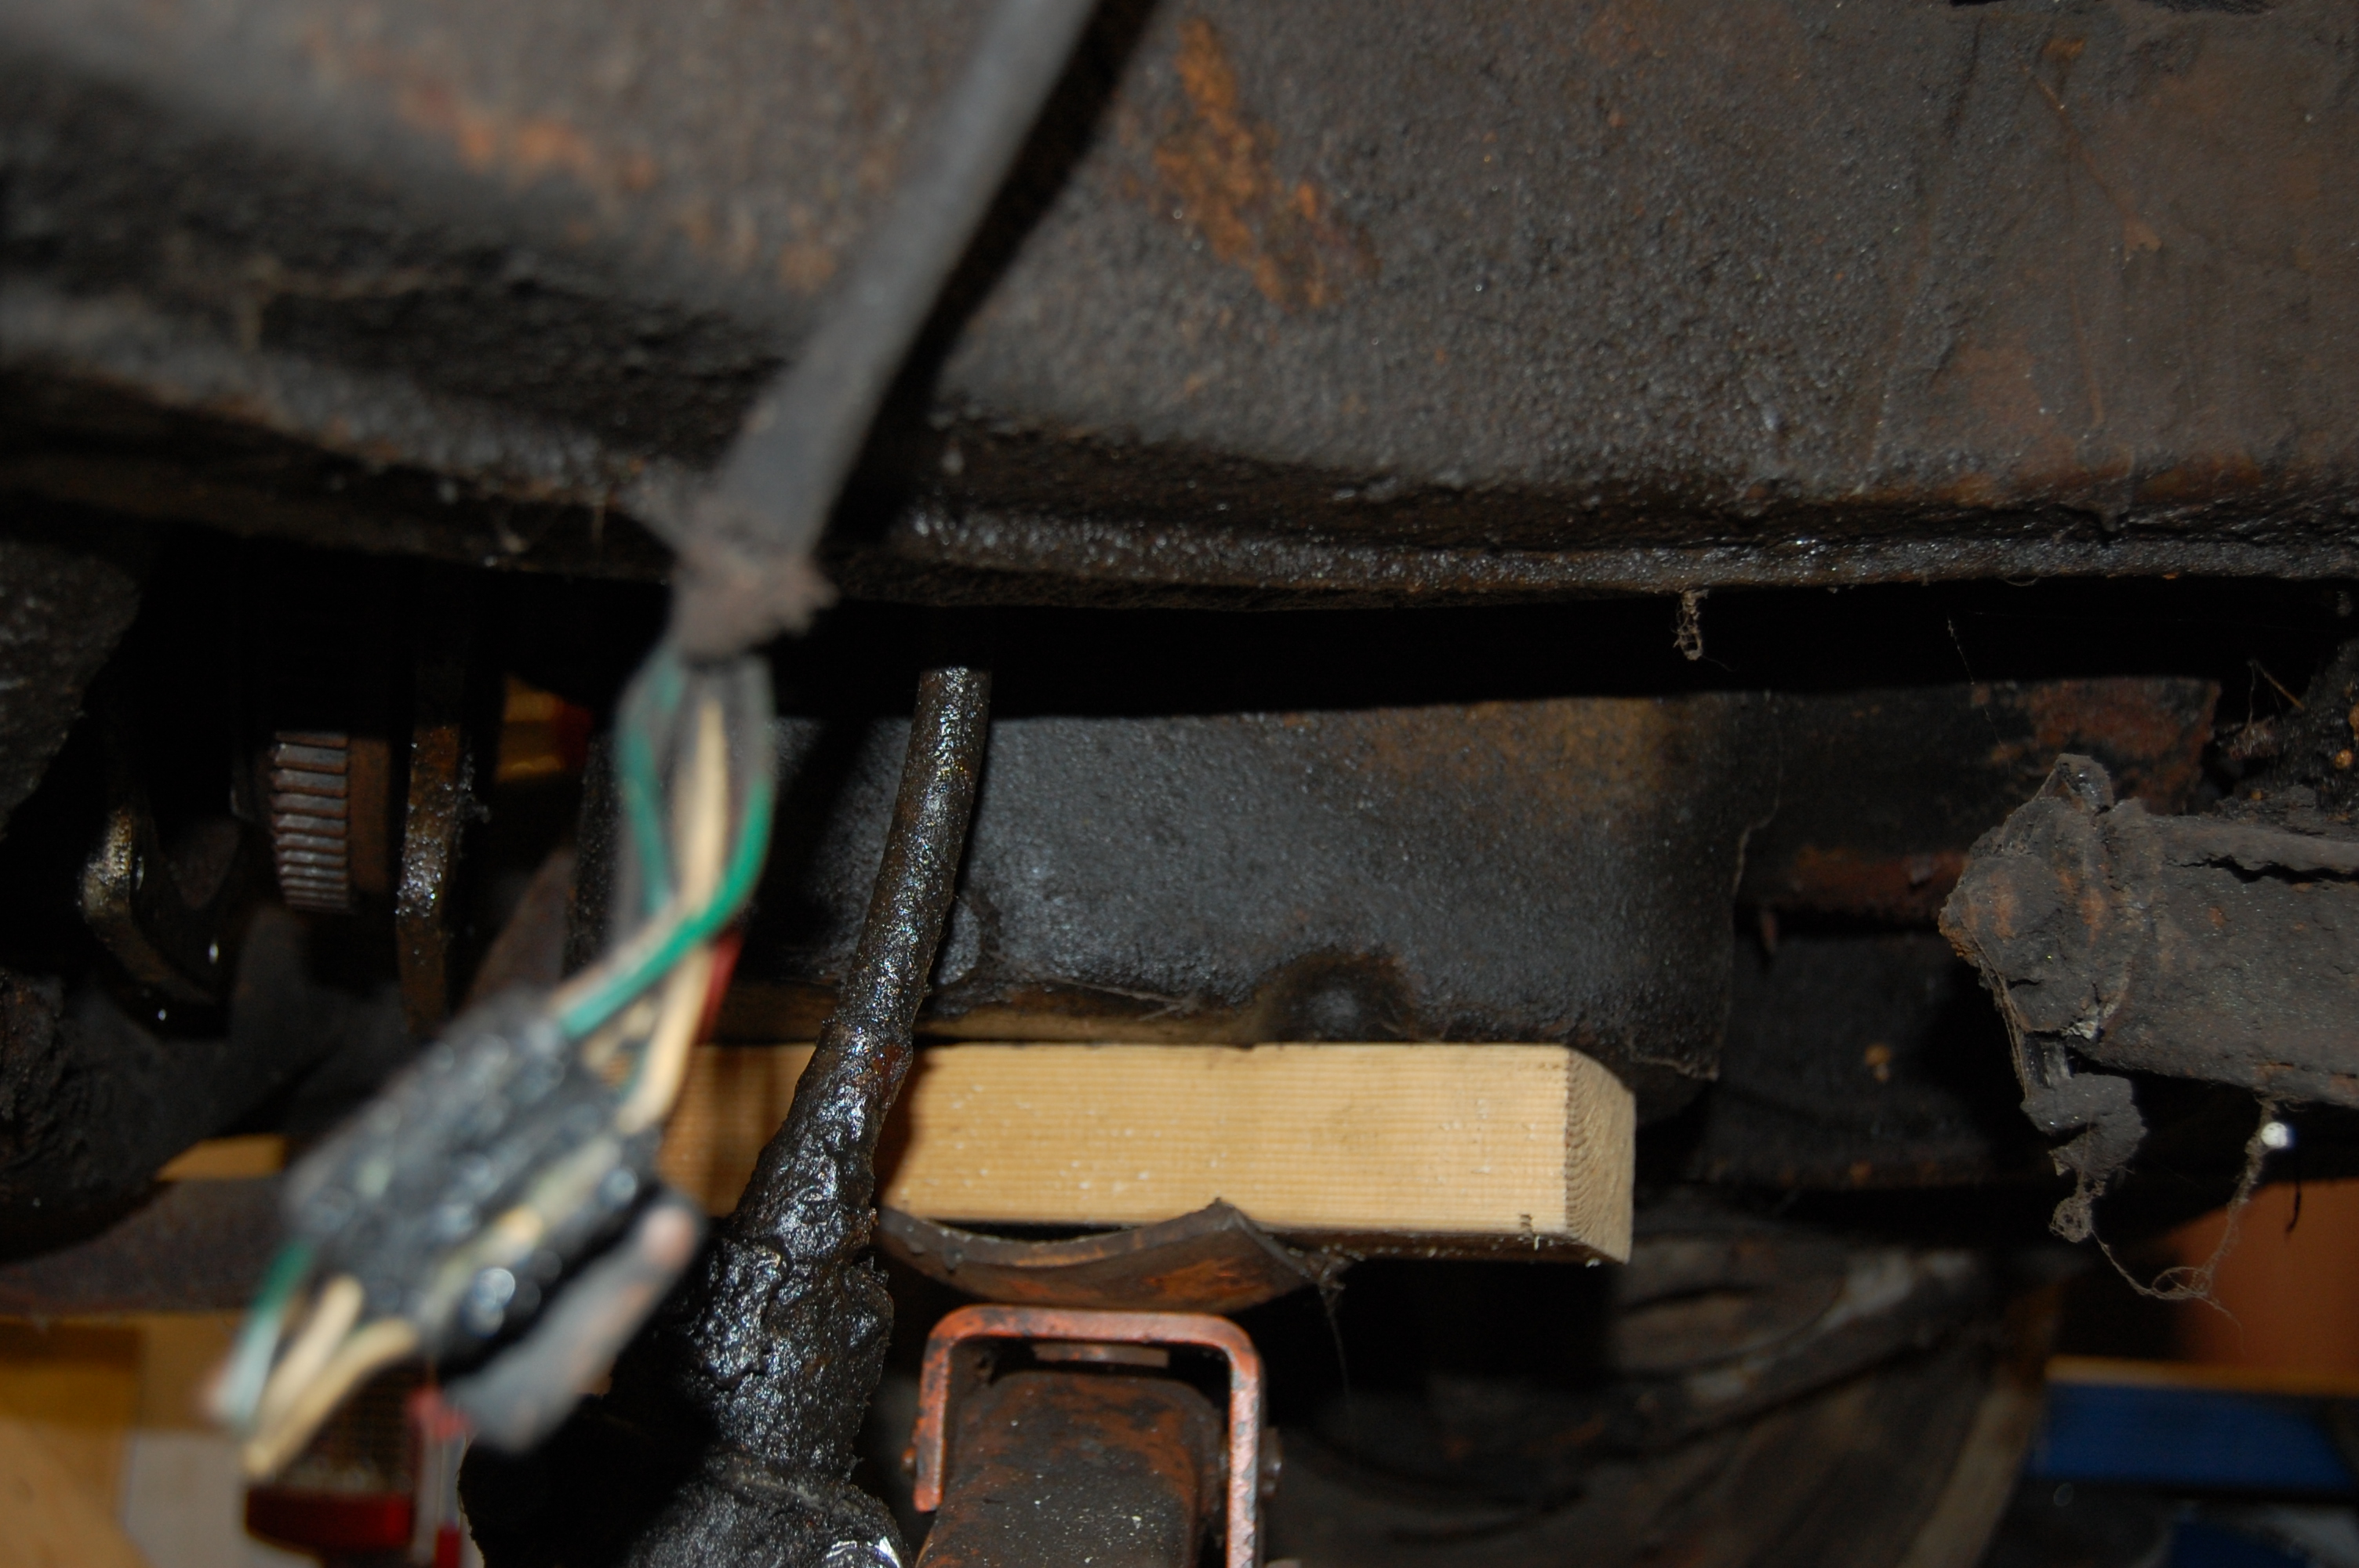
Support rear of engine.
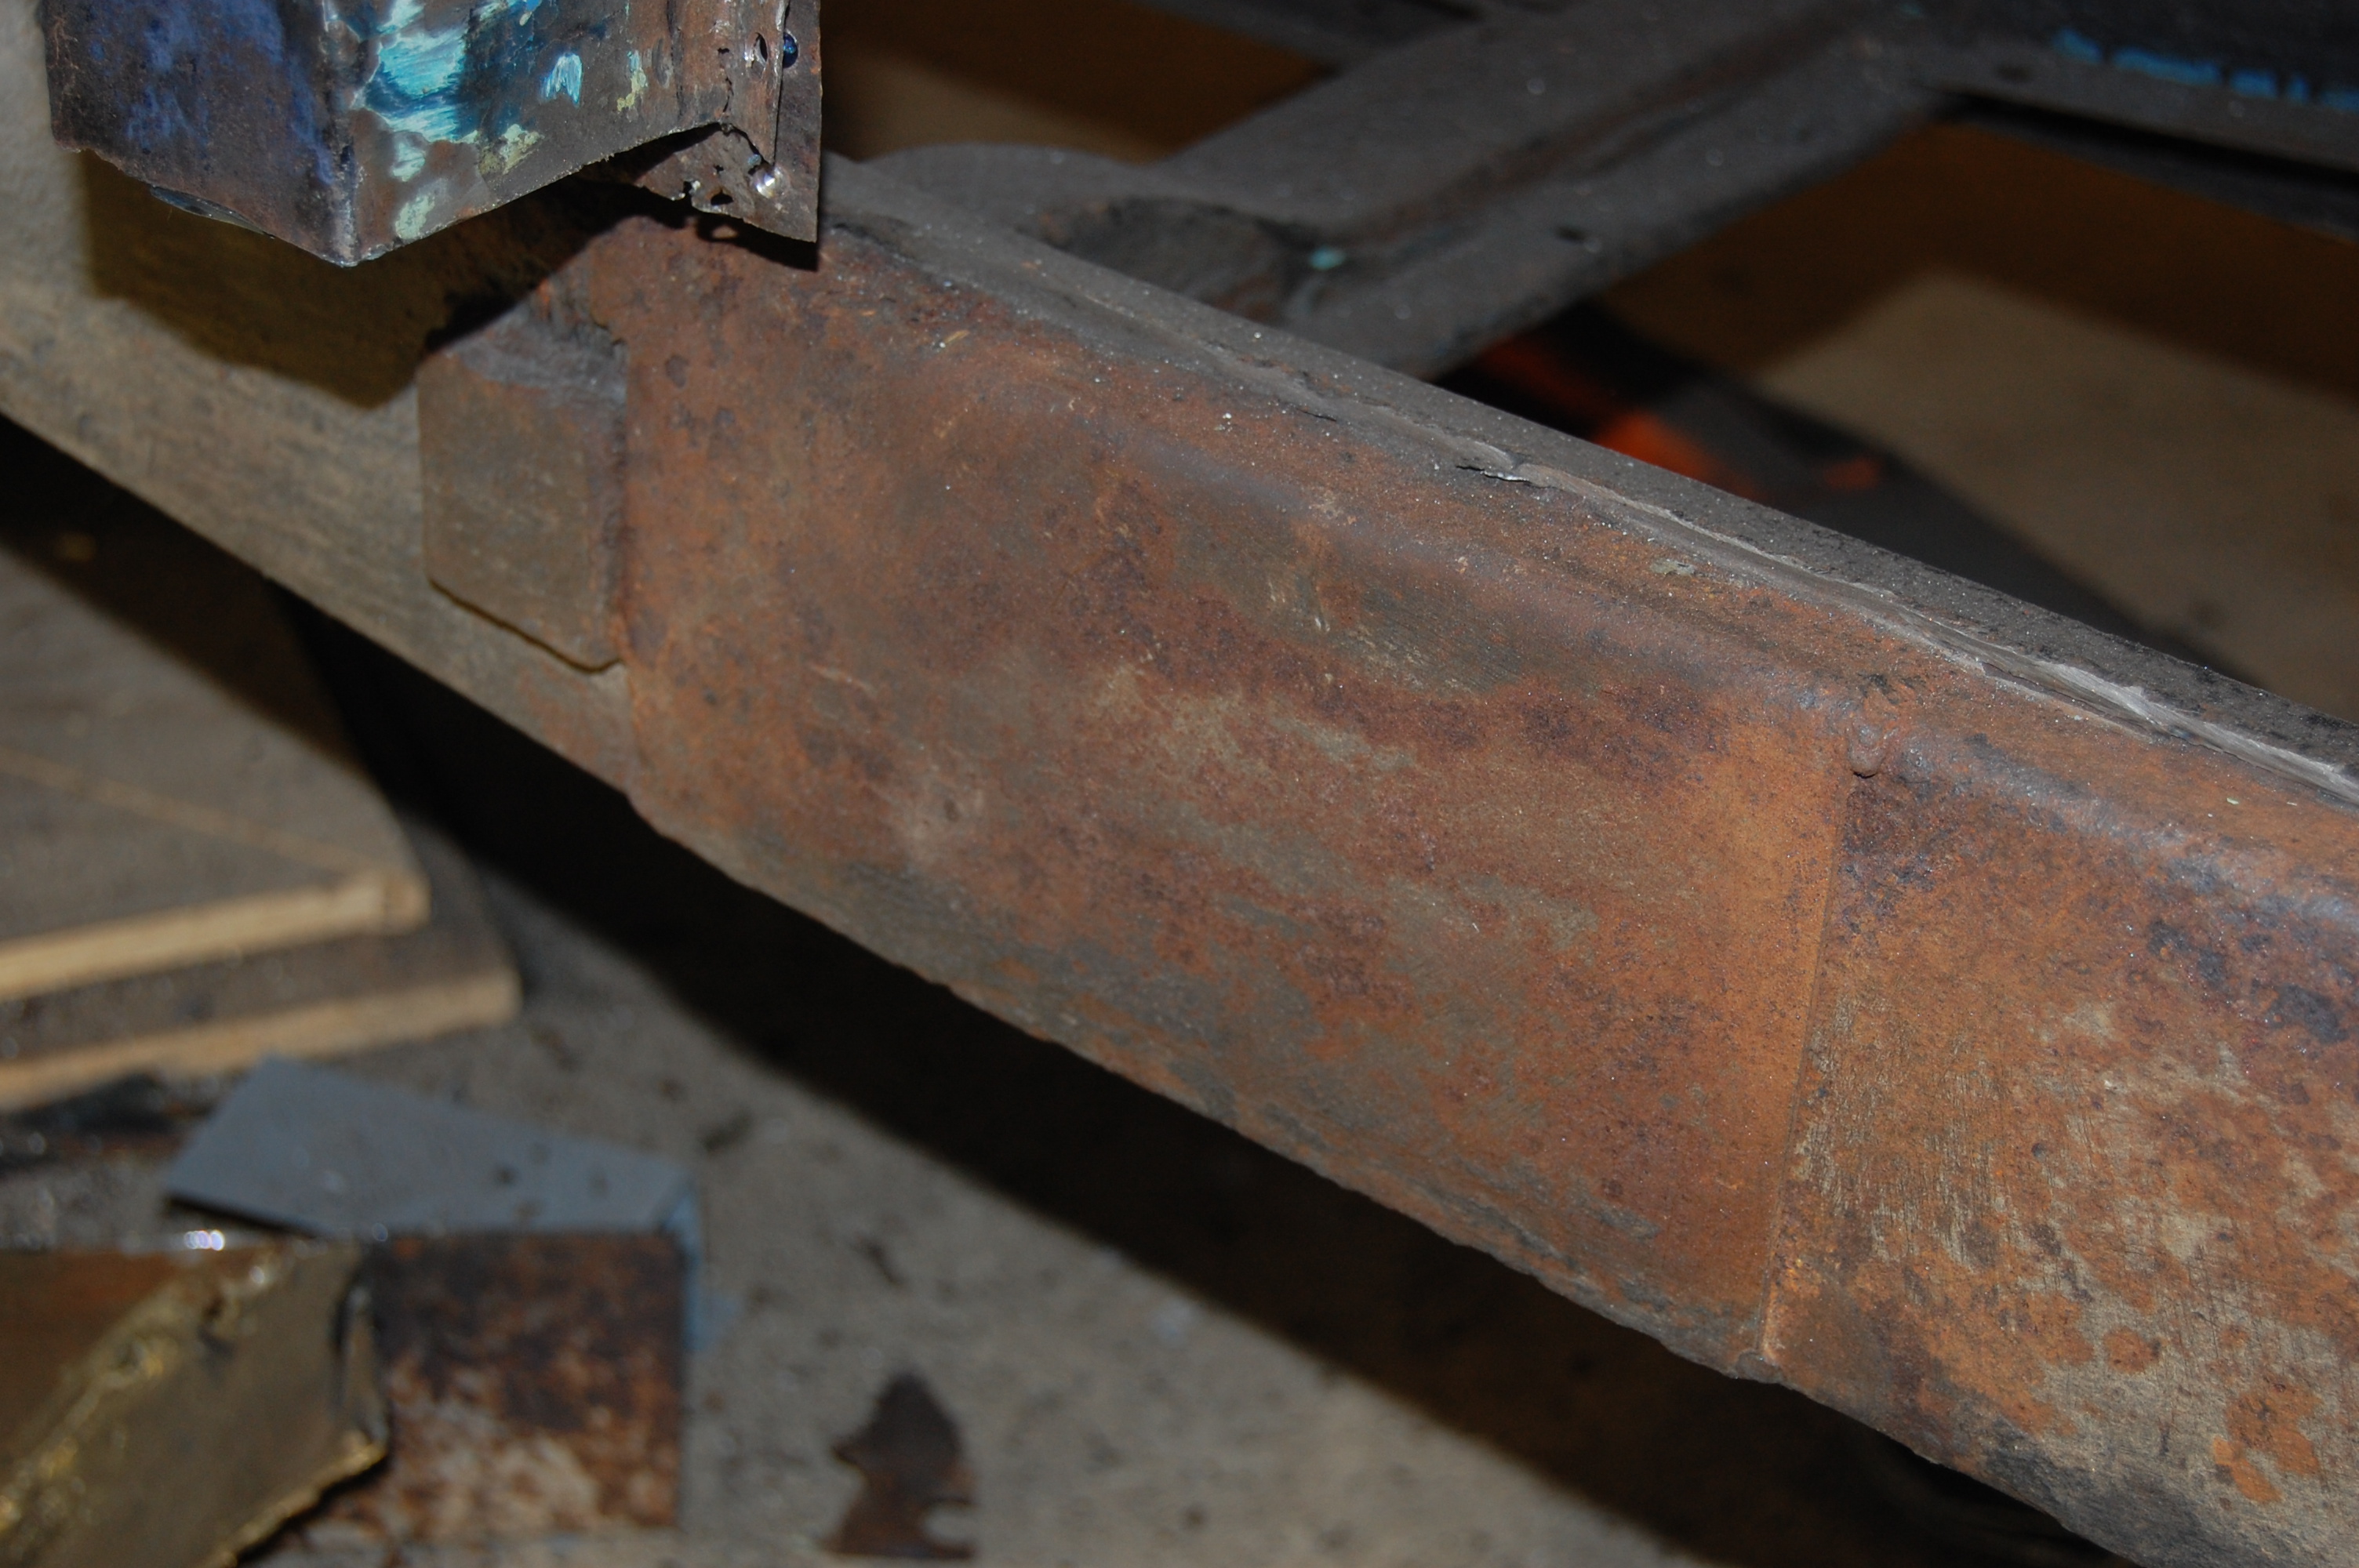
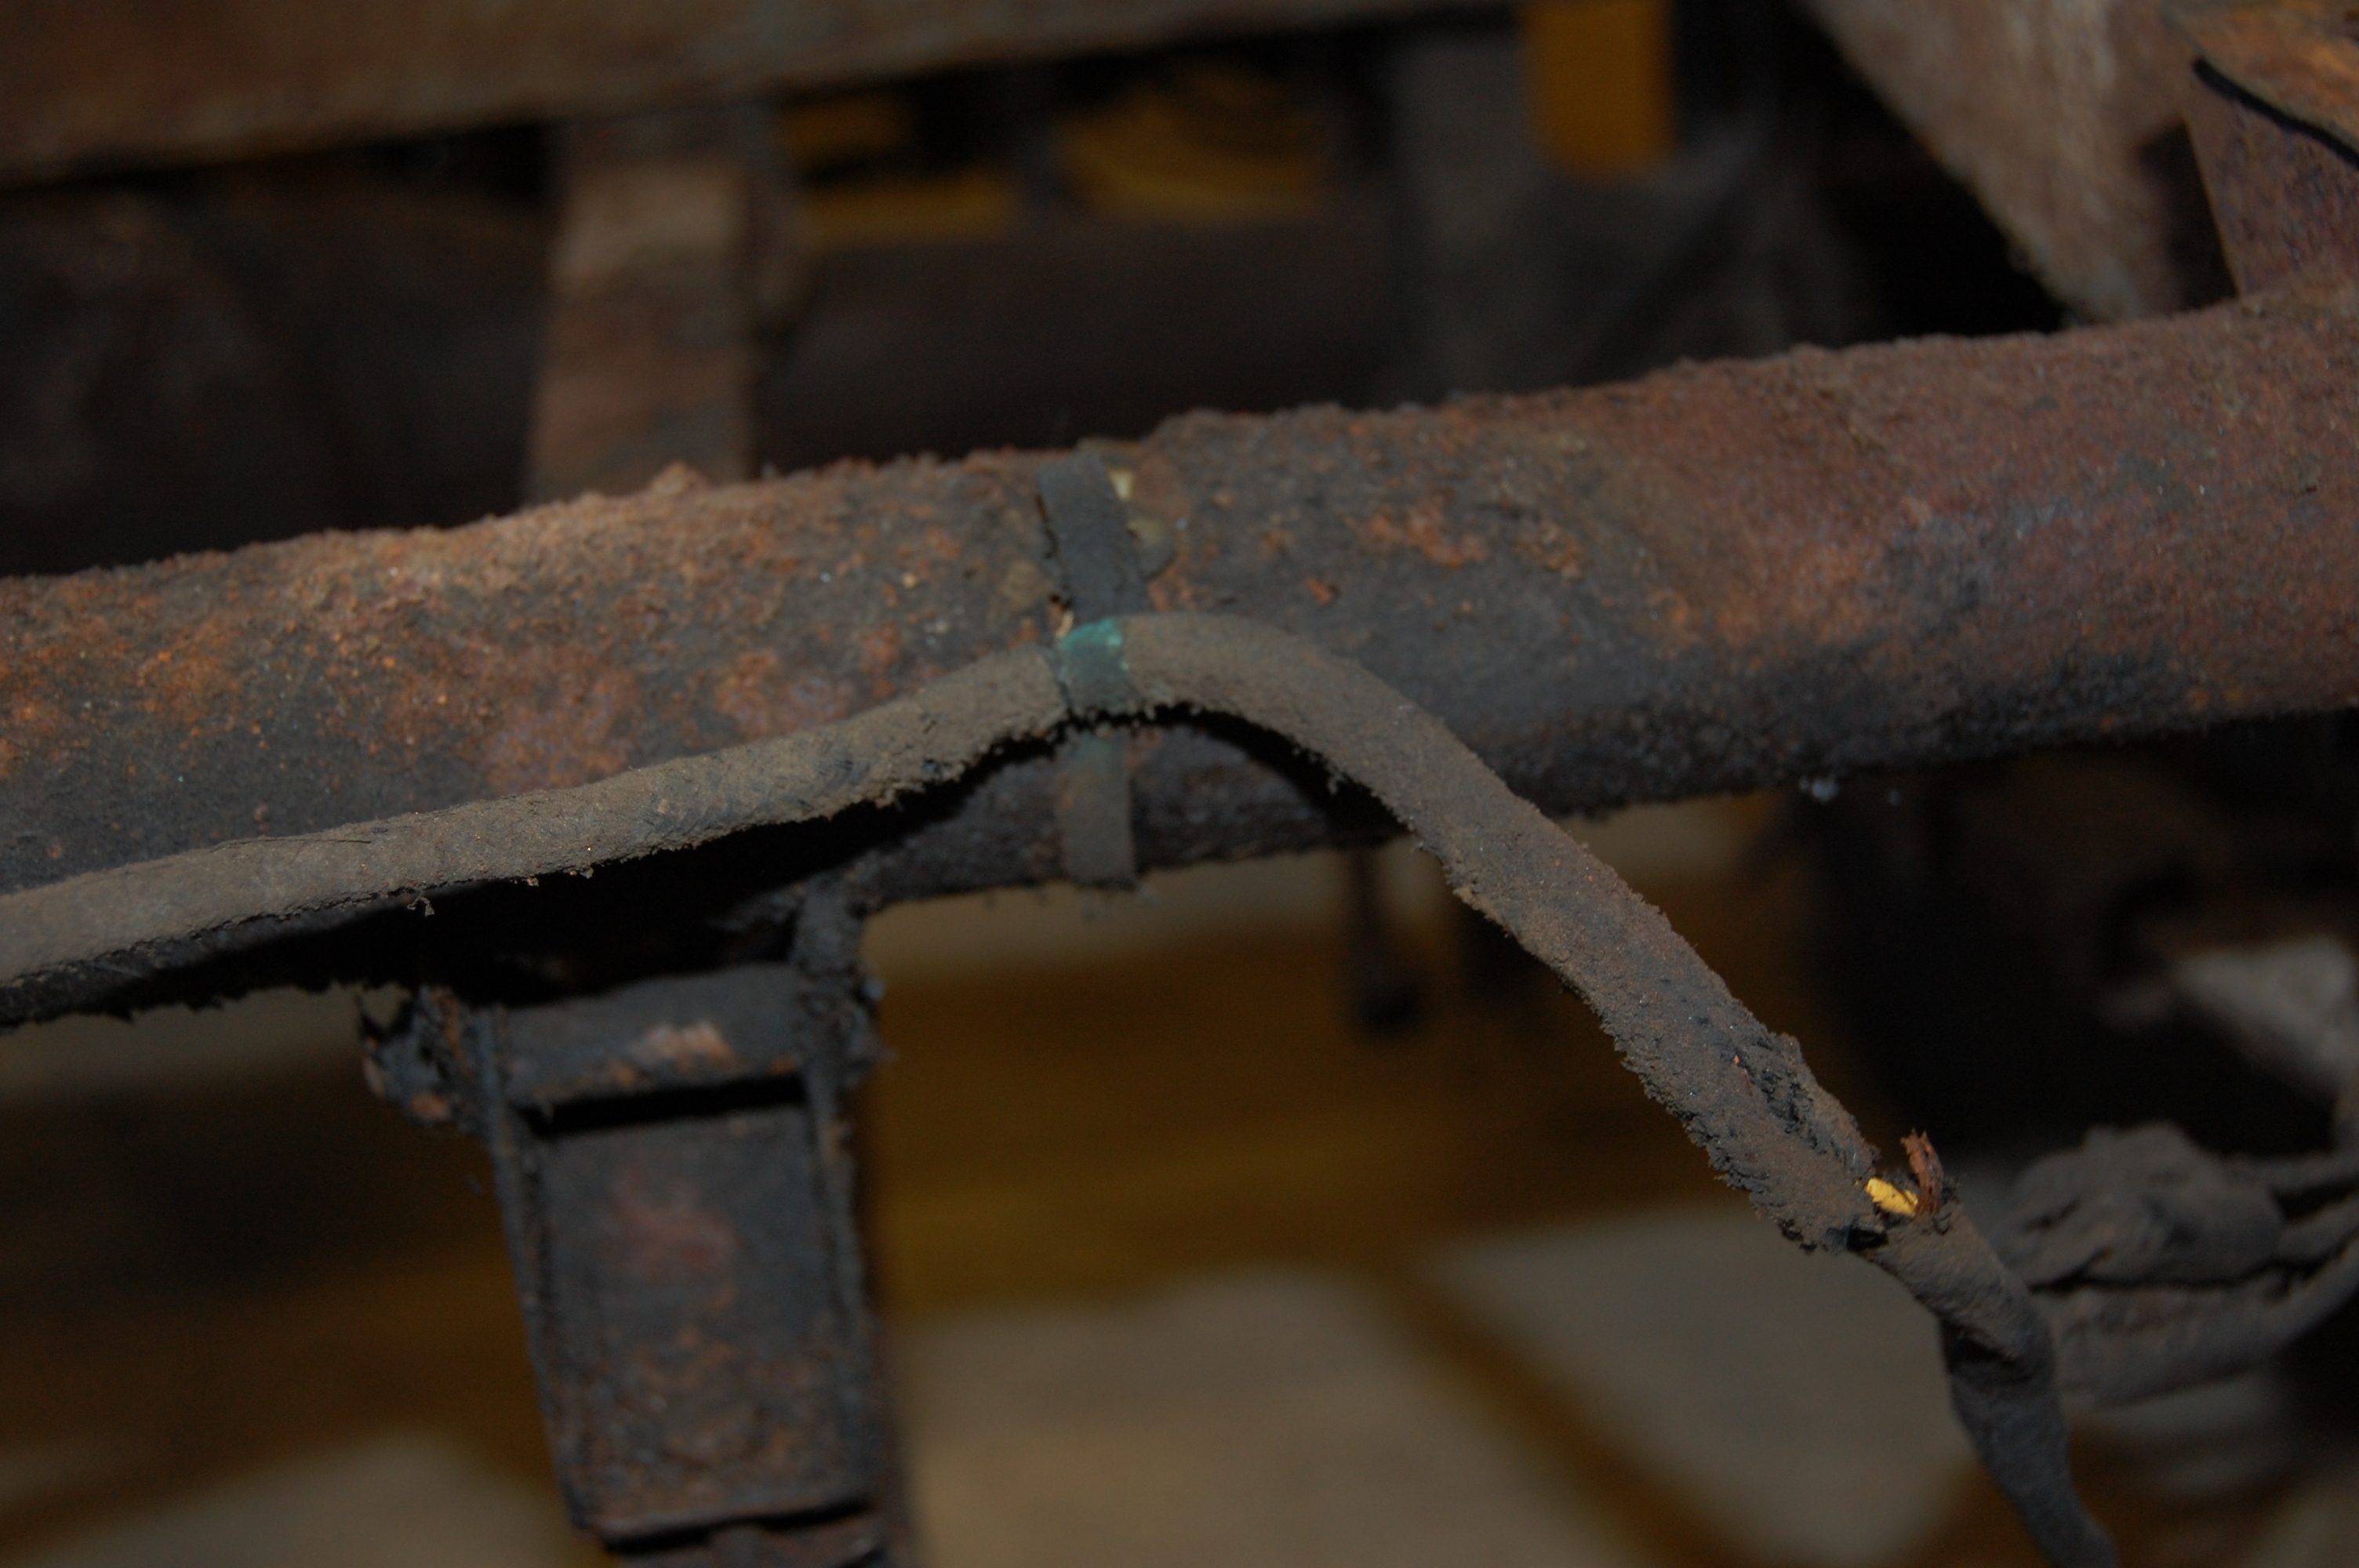
Chassis repair carried out at least 45 years ago.
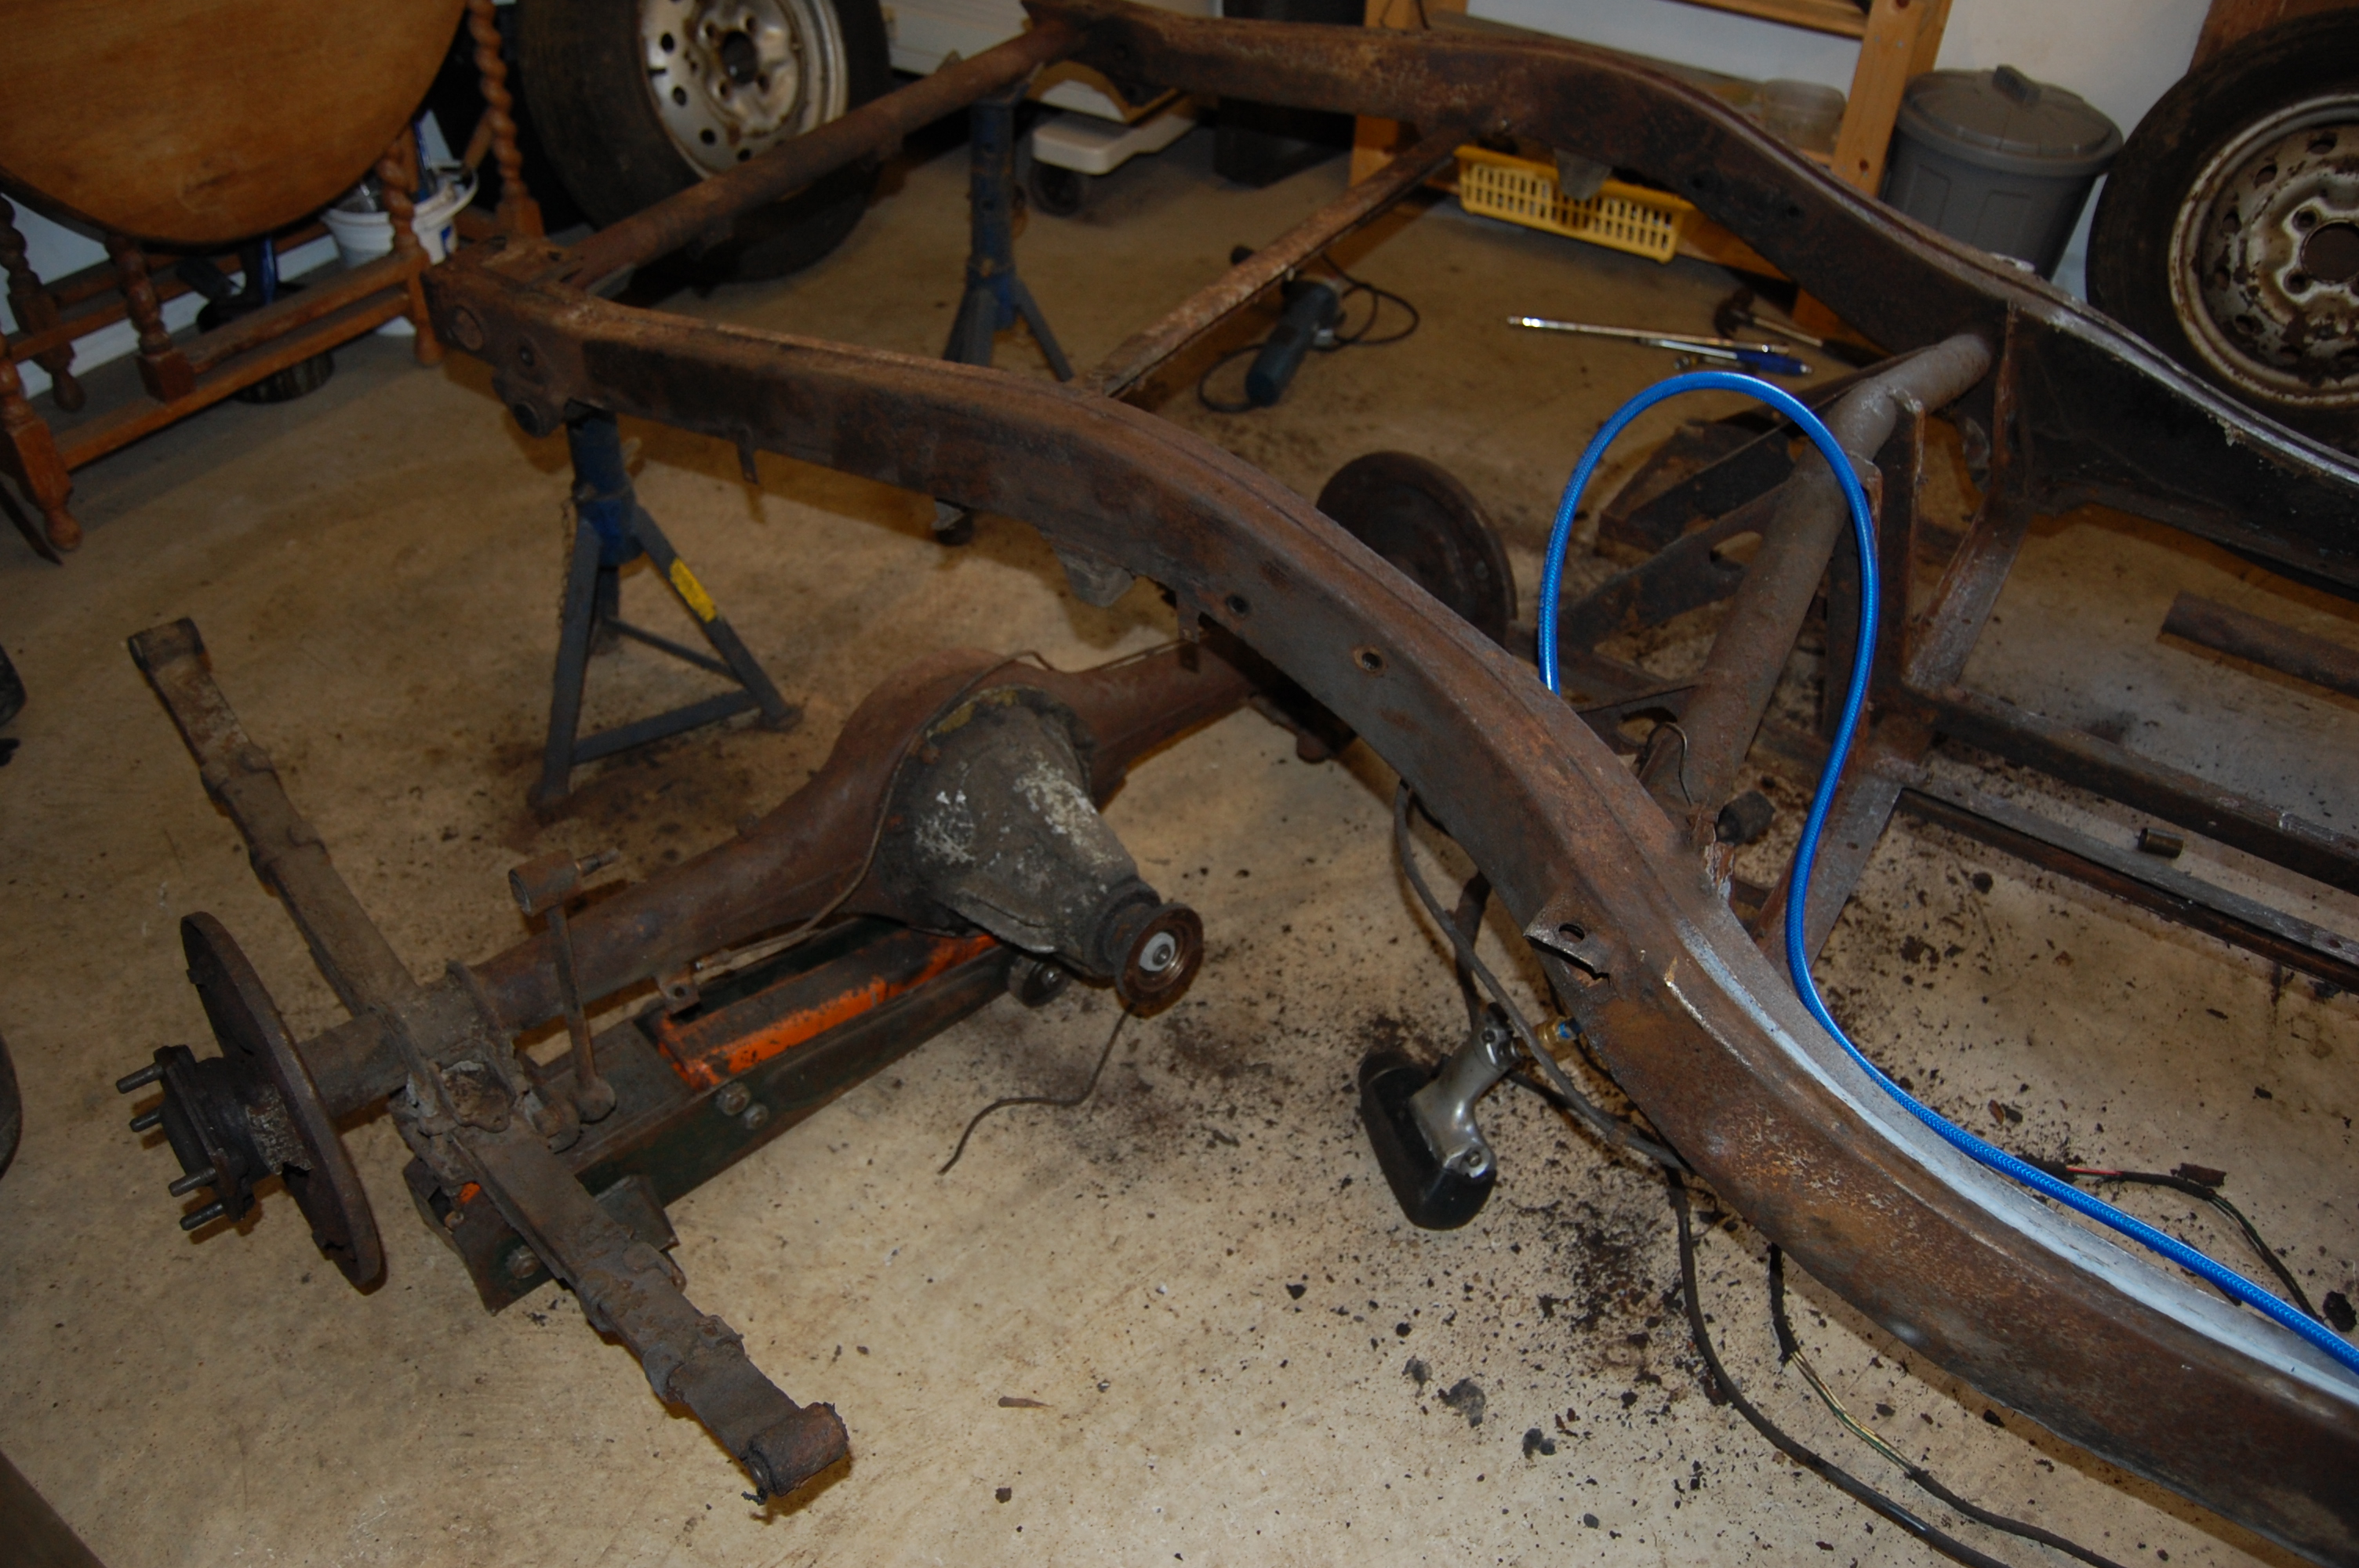
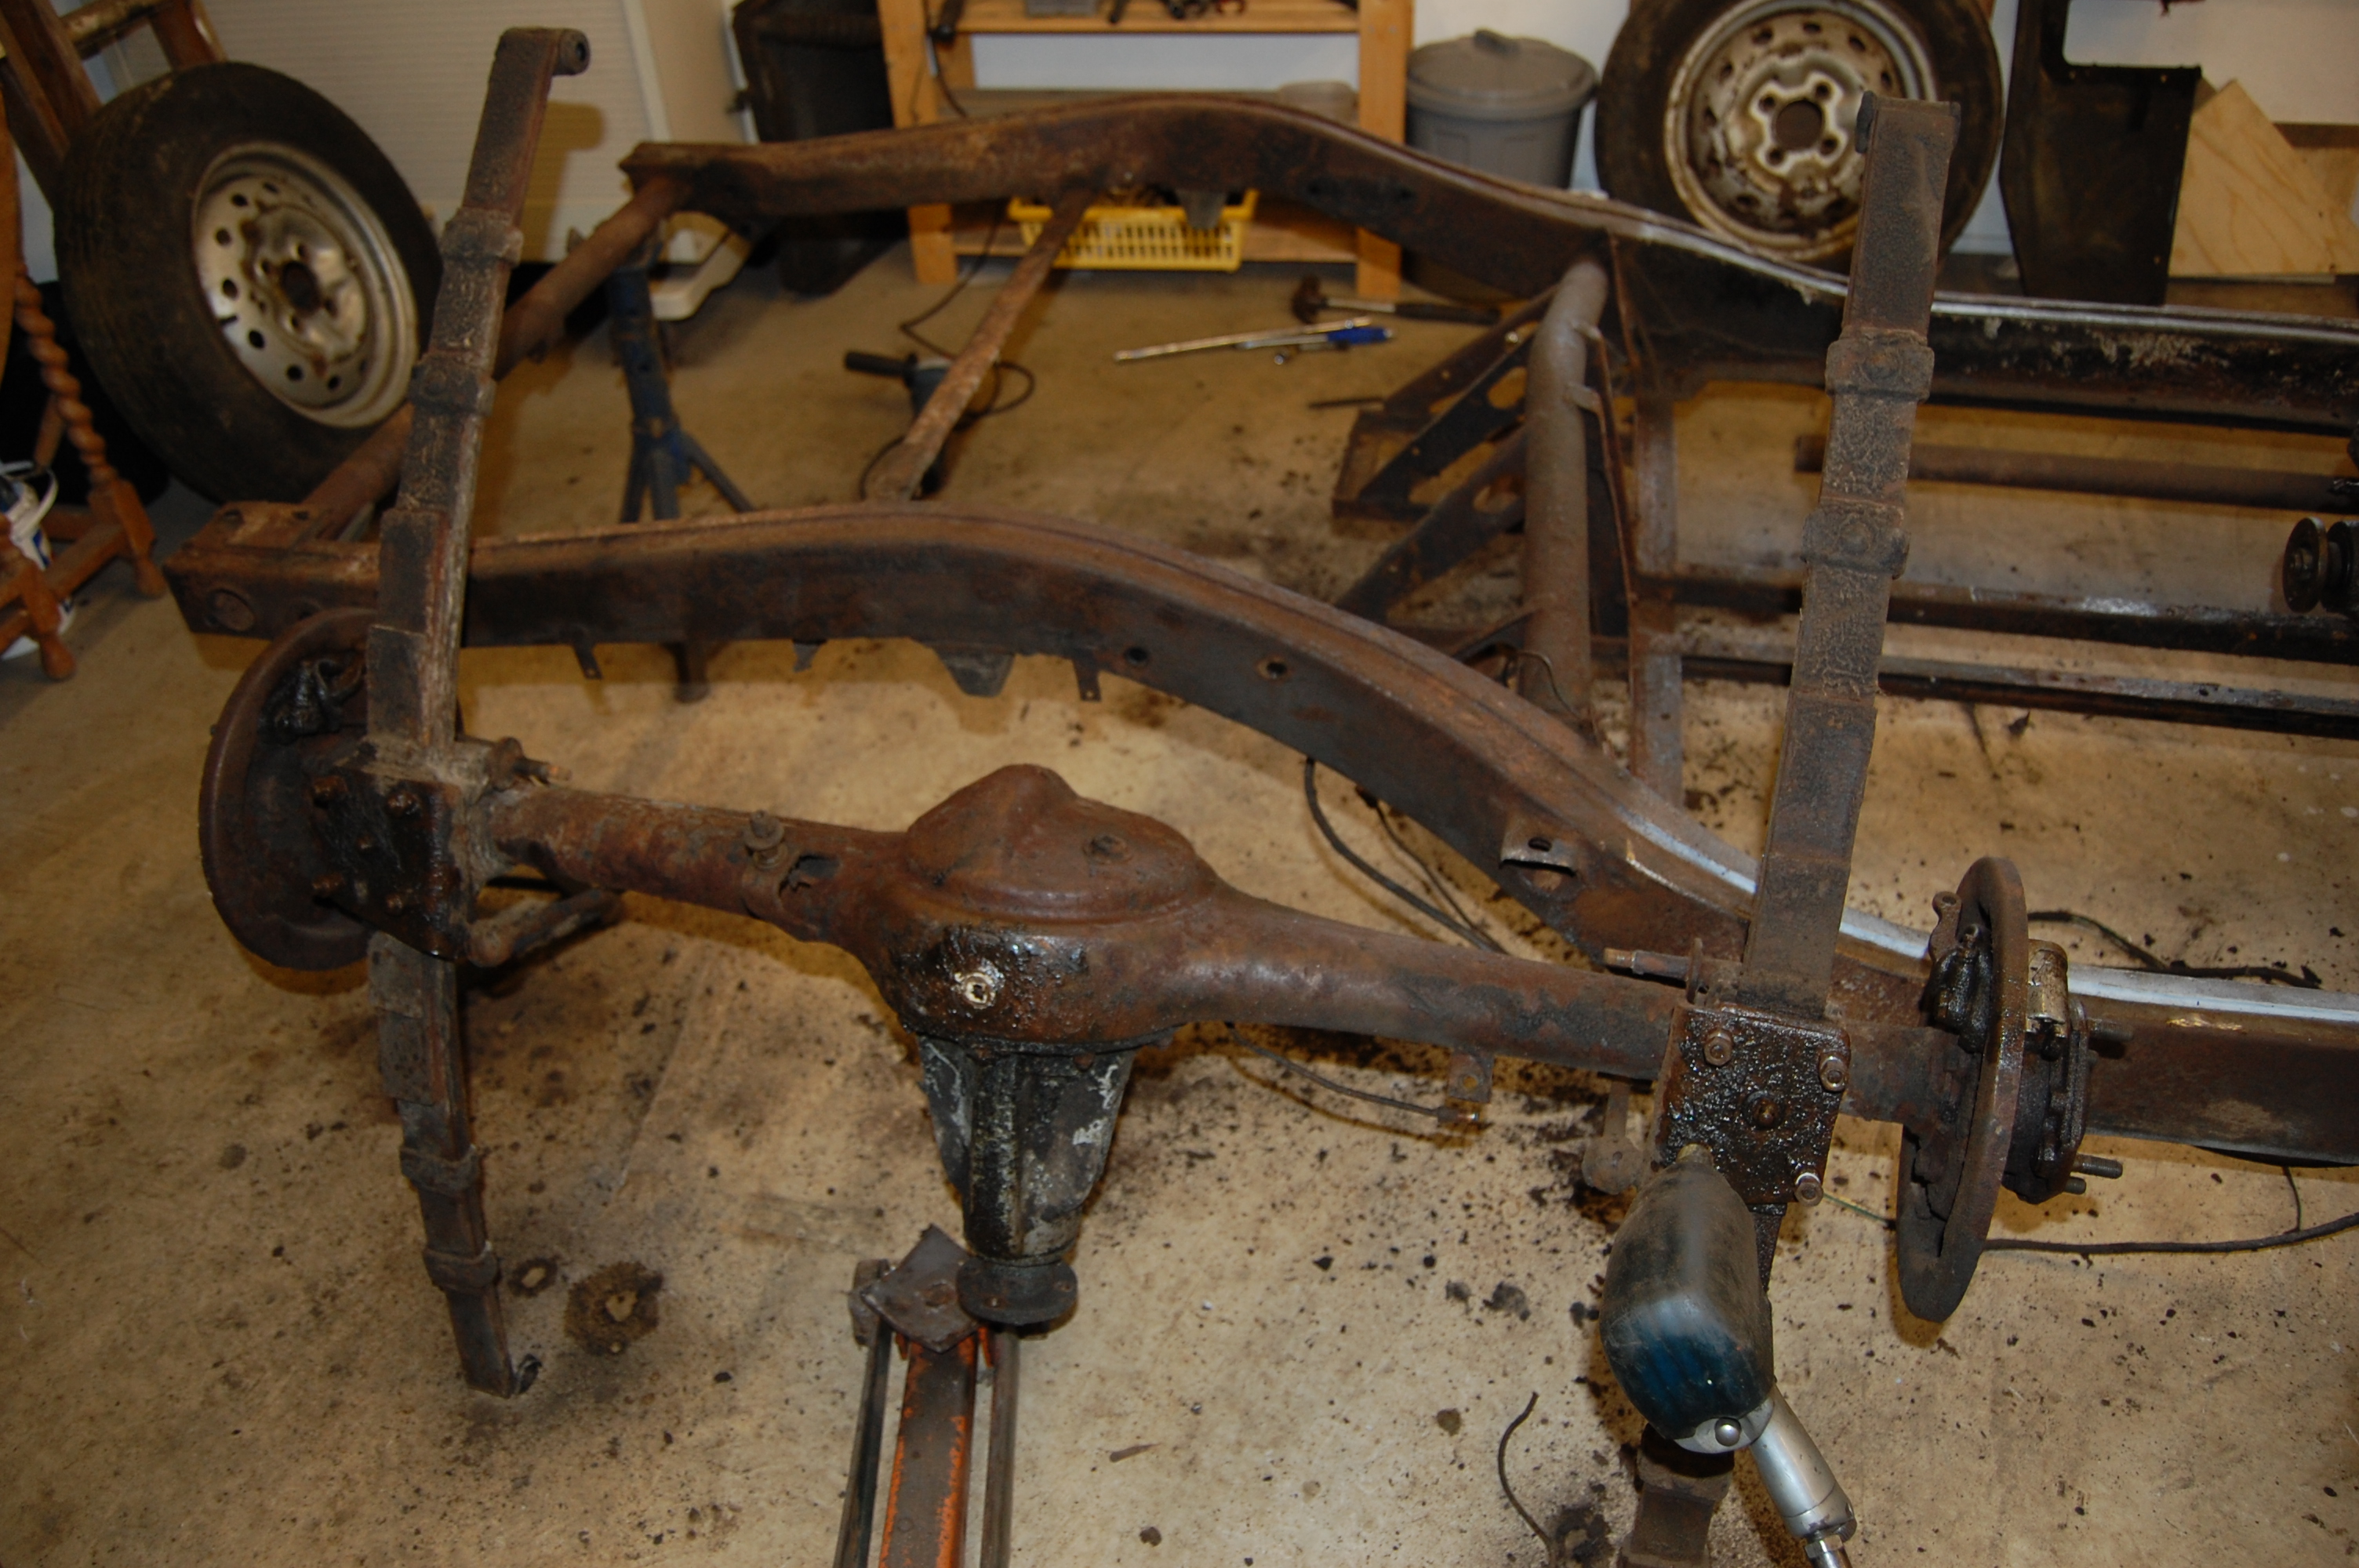
A good air gun is a big help in releasing the various suspension bolts that are unwilling to give up after 55 years. It’s much easier to remove the rear springs from the axle once it’s removed from the car. Remarkably, I only had to resort to the grinder for one bolt, which was the front left hand spring hanger bolt. All others eventually gave in to copious application of WD40 and grunt.
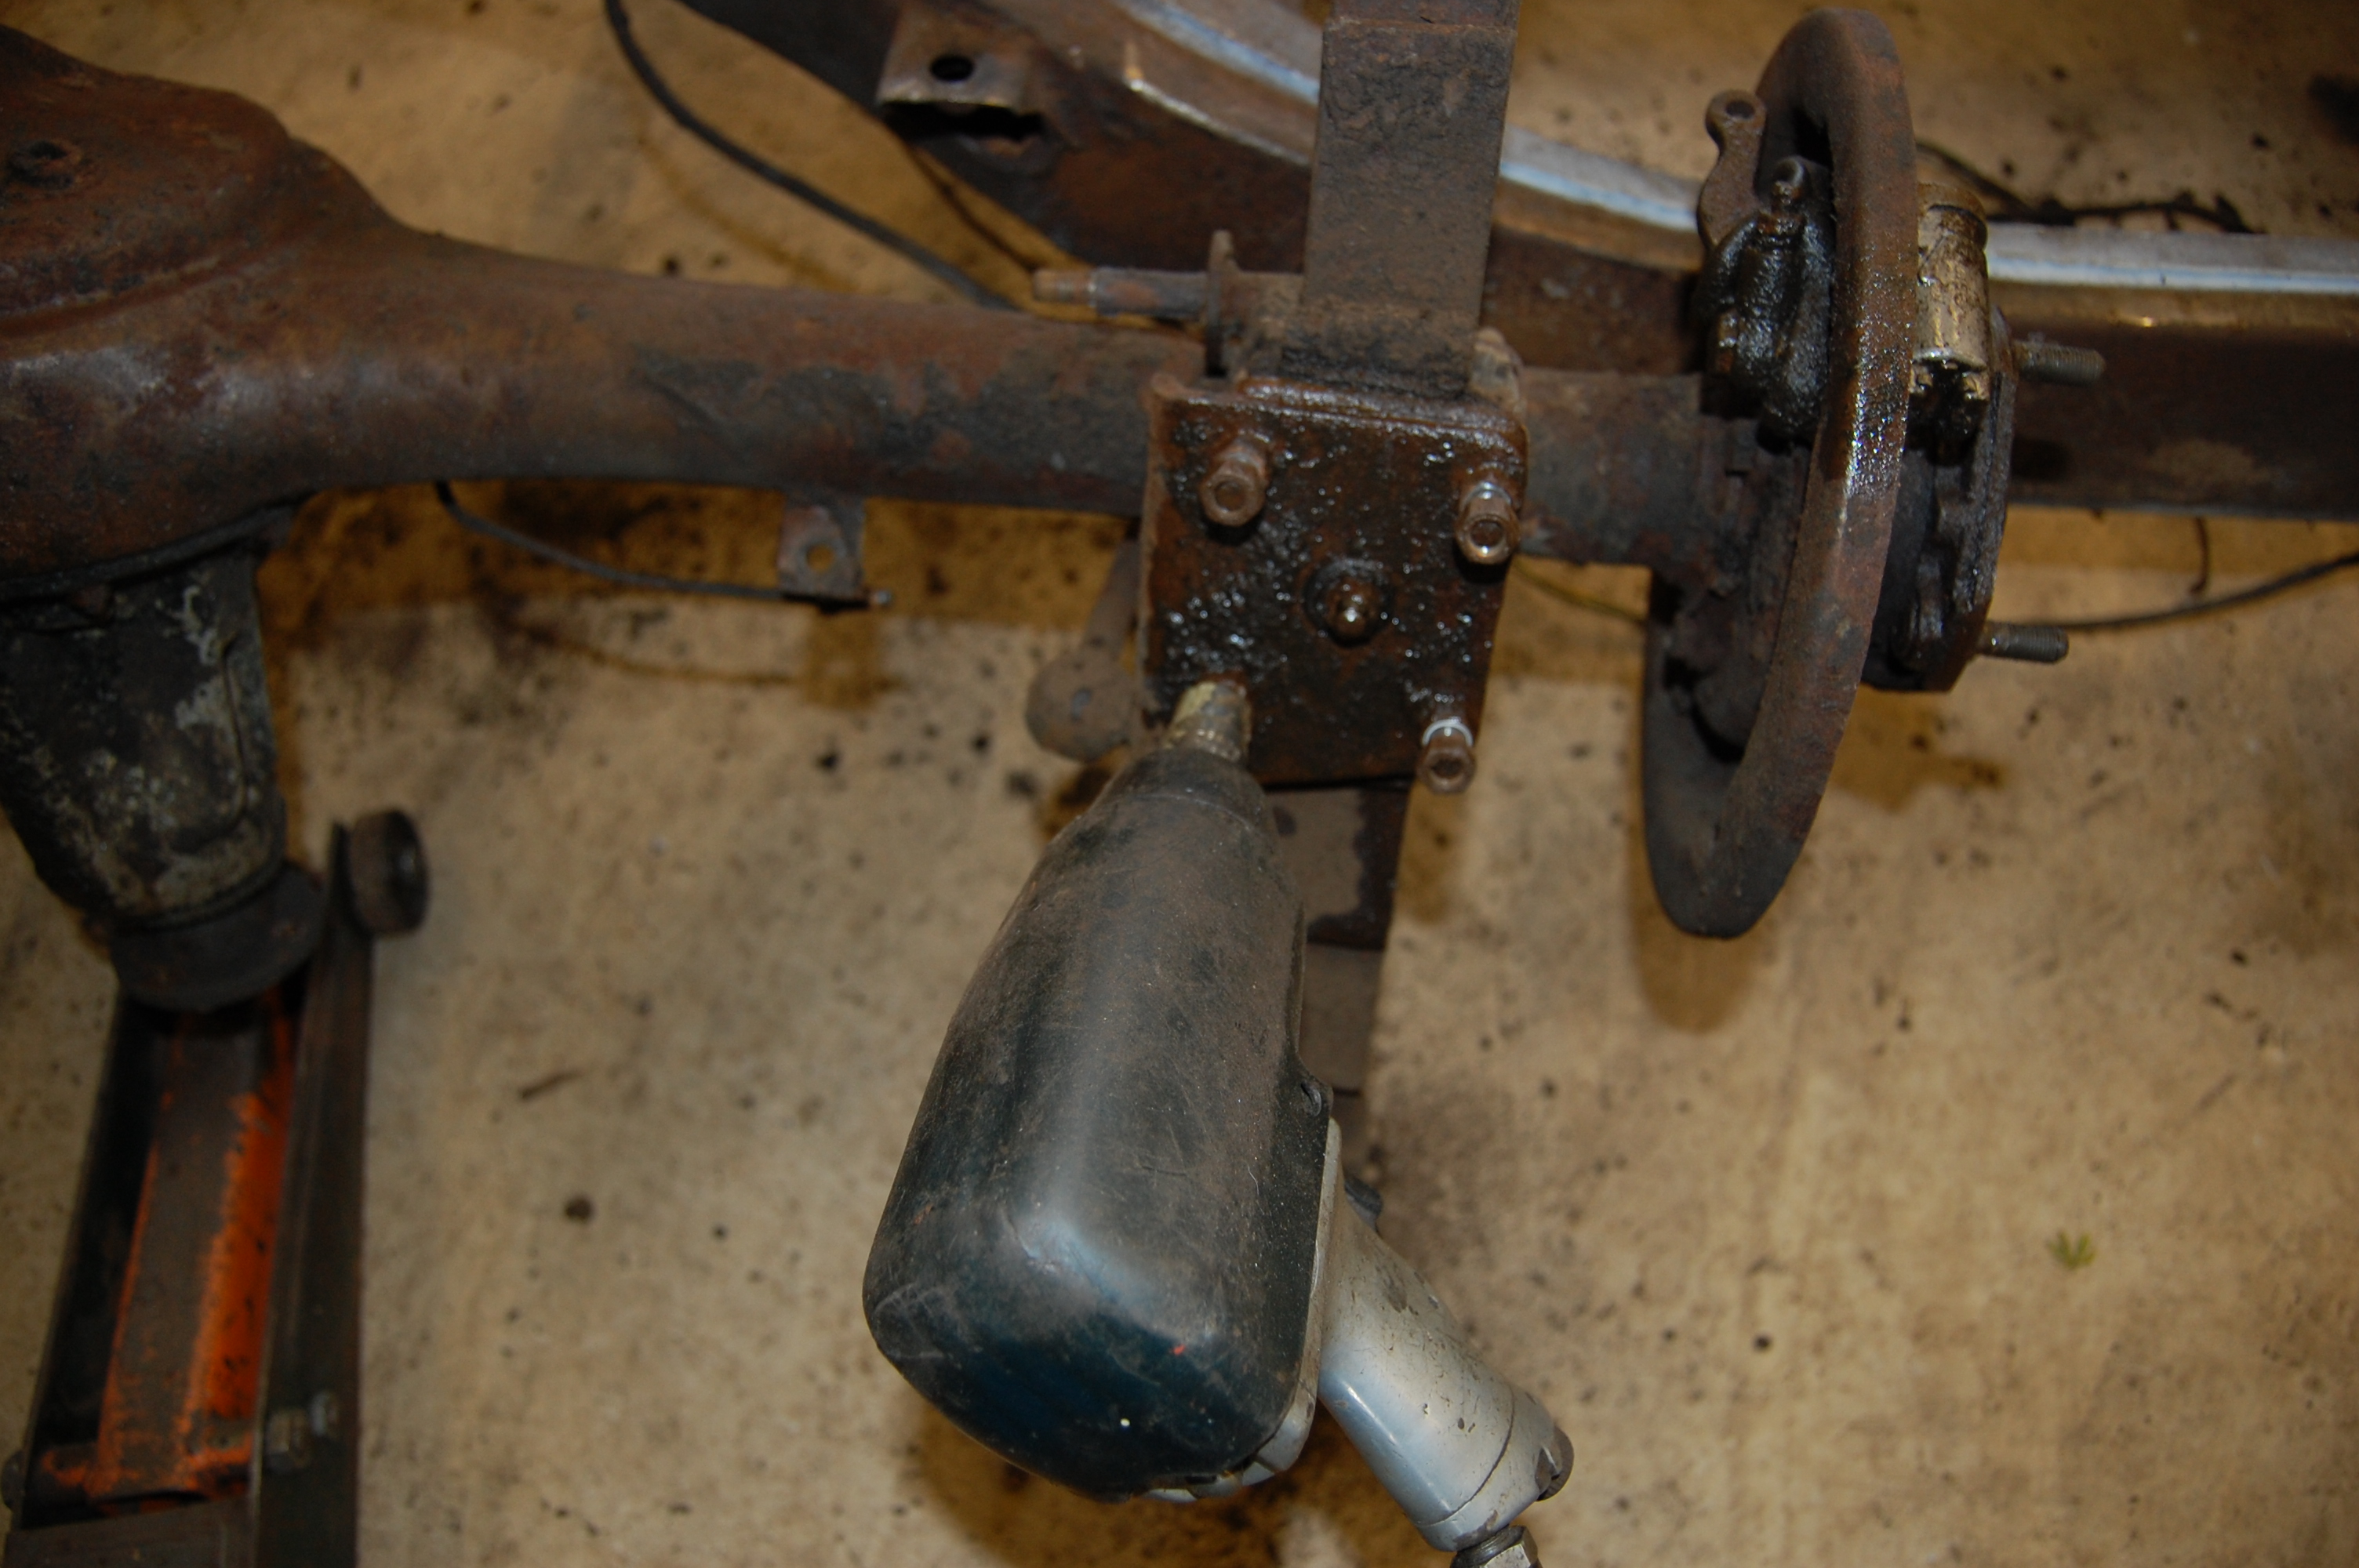
This Ingersoll Rand air wrench was part of my tool kit as a Ford apprentice between 1970 and 1975. I hung on to it not really expecting ever to use it again, but coupled to a decent compressor, it’s a godsend.
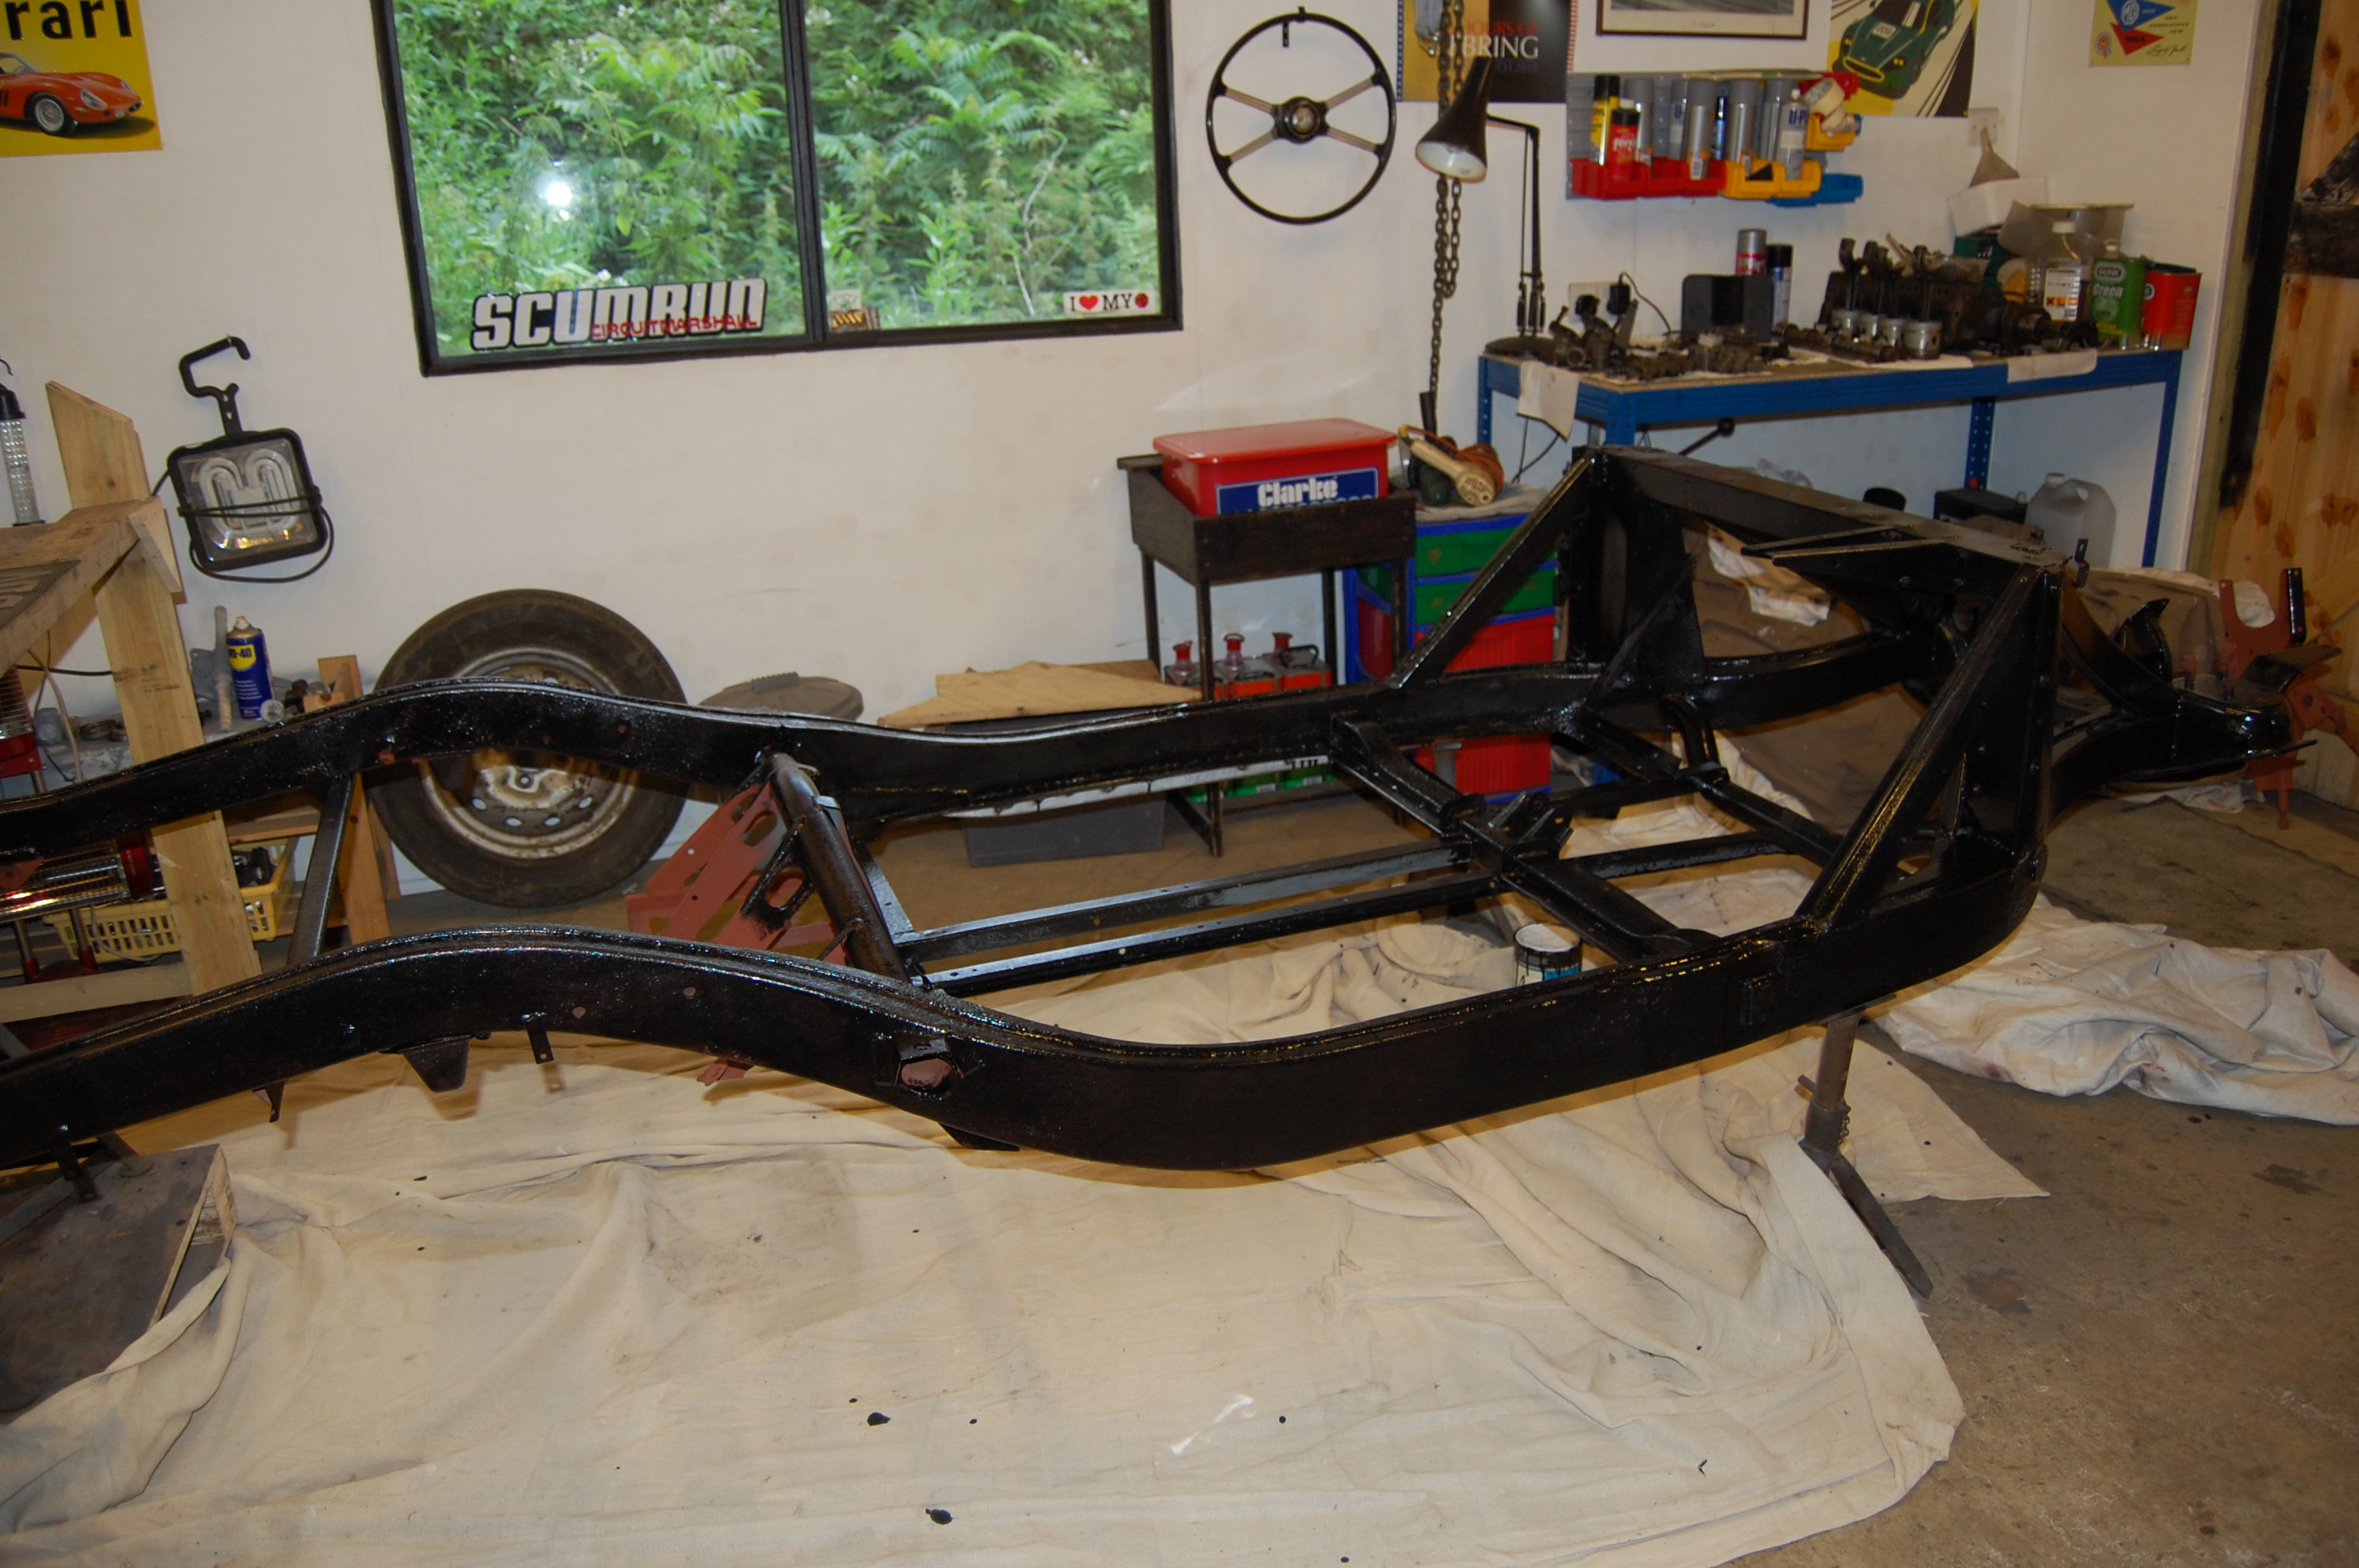
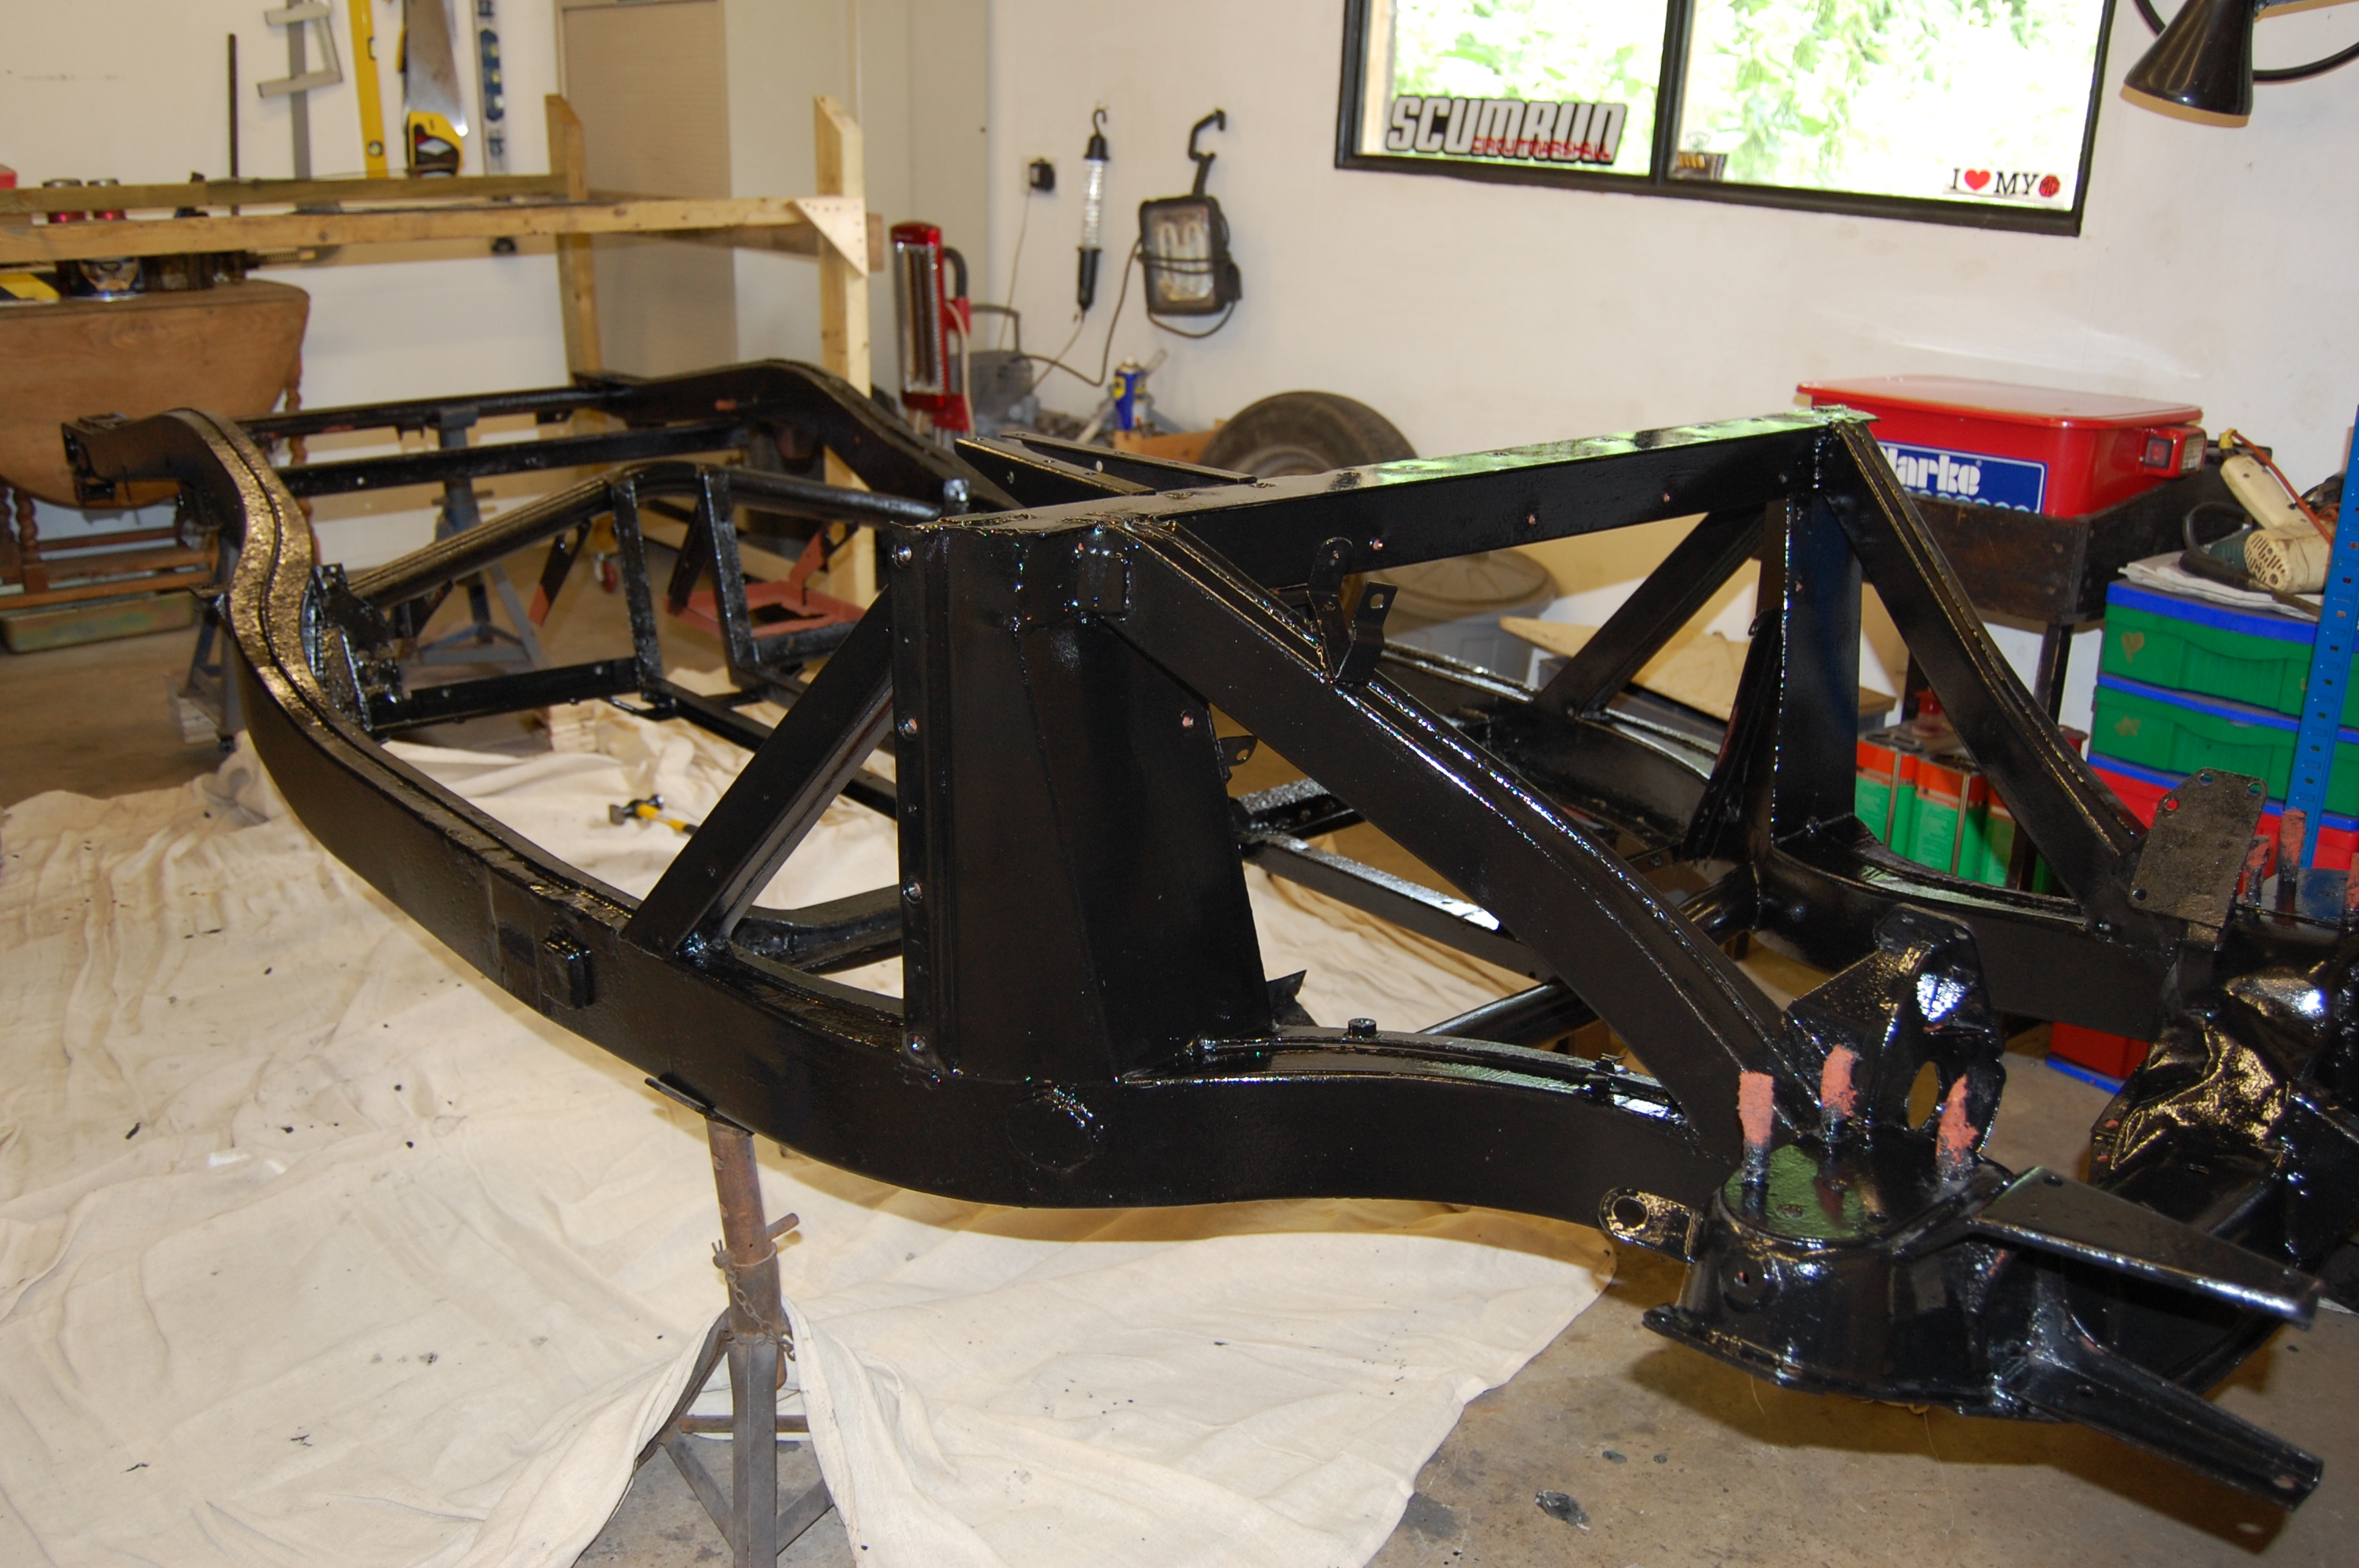
Chassis returned from shot blasting – nothing found more than was already obvious. If local to Chichester, I recommend Penfold Metalising in Barnham. Great service and a good price (£98). Only problem was that the black chassis paint that I’d purchased reacted with the oxide primer. I tried Hammerite smooth, but that reacted in the same way I finally settled on Blackfriar Satin Black, which is a great paint, but blows your mind if not well ventilated and a good respirator used.
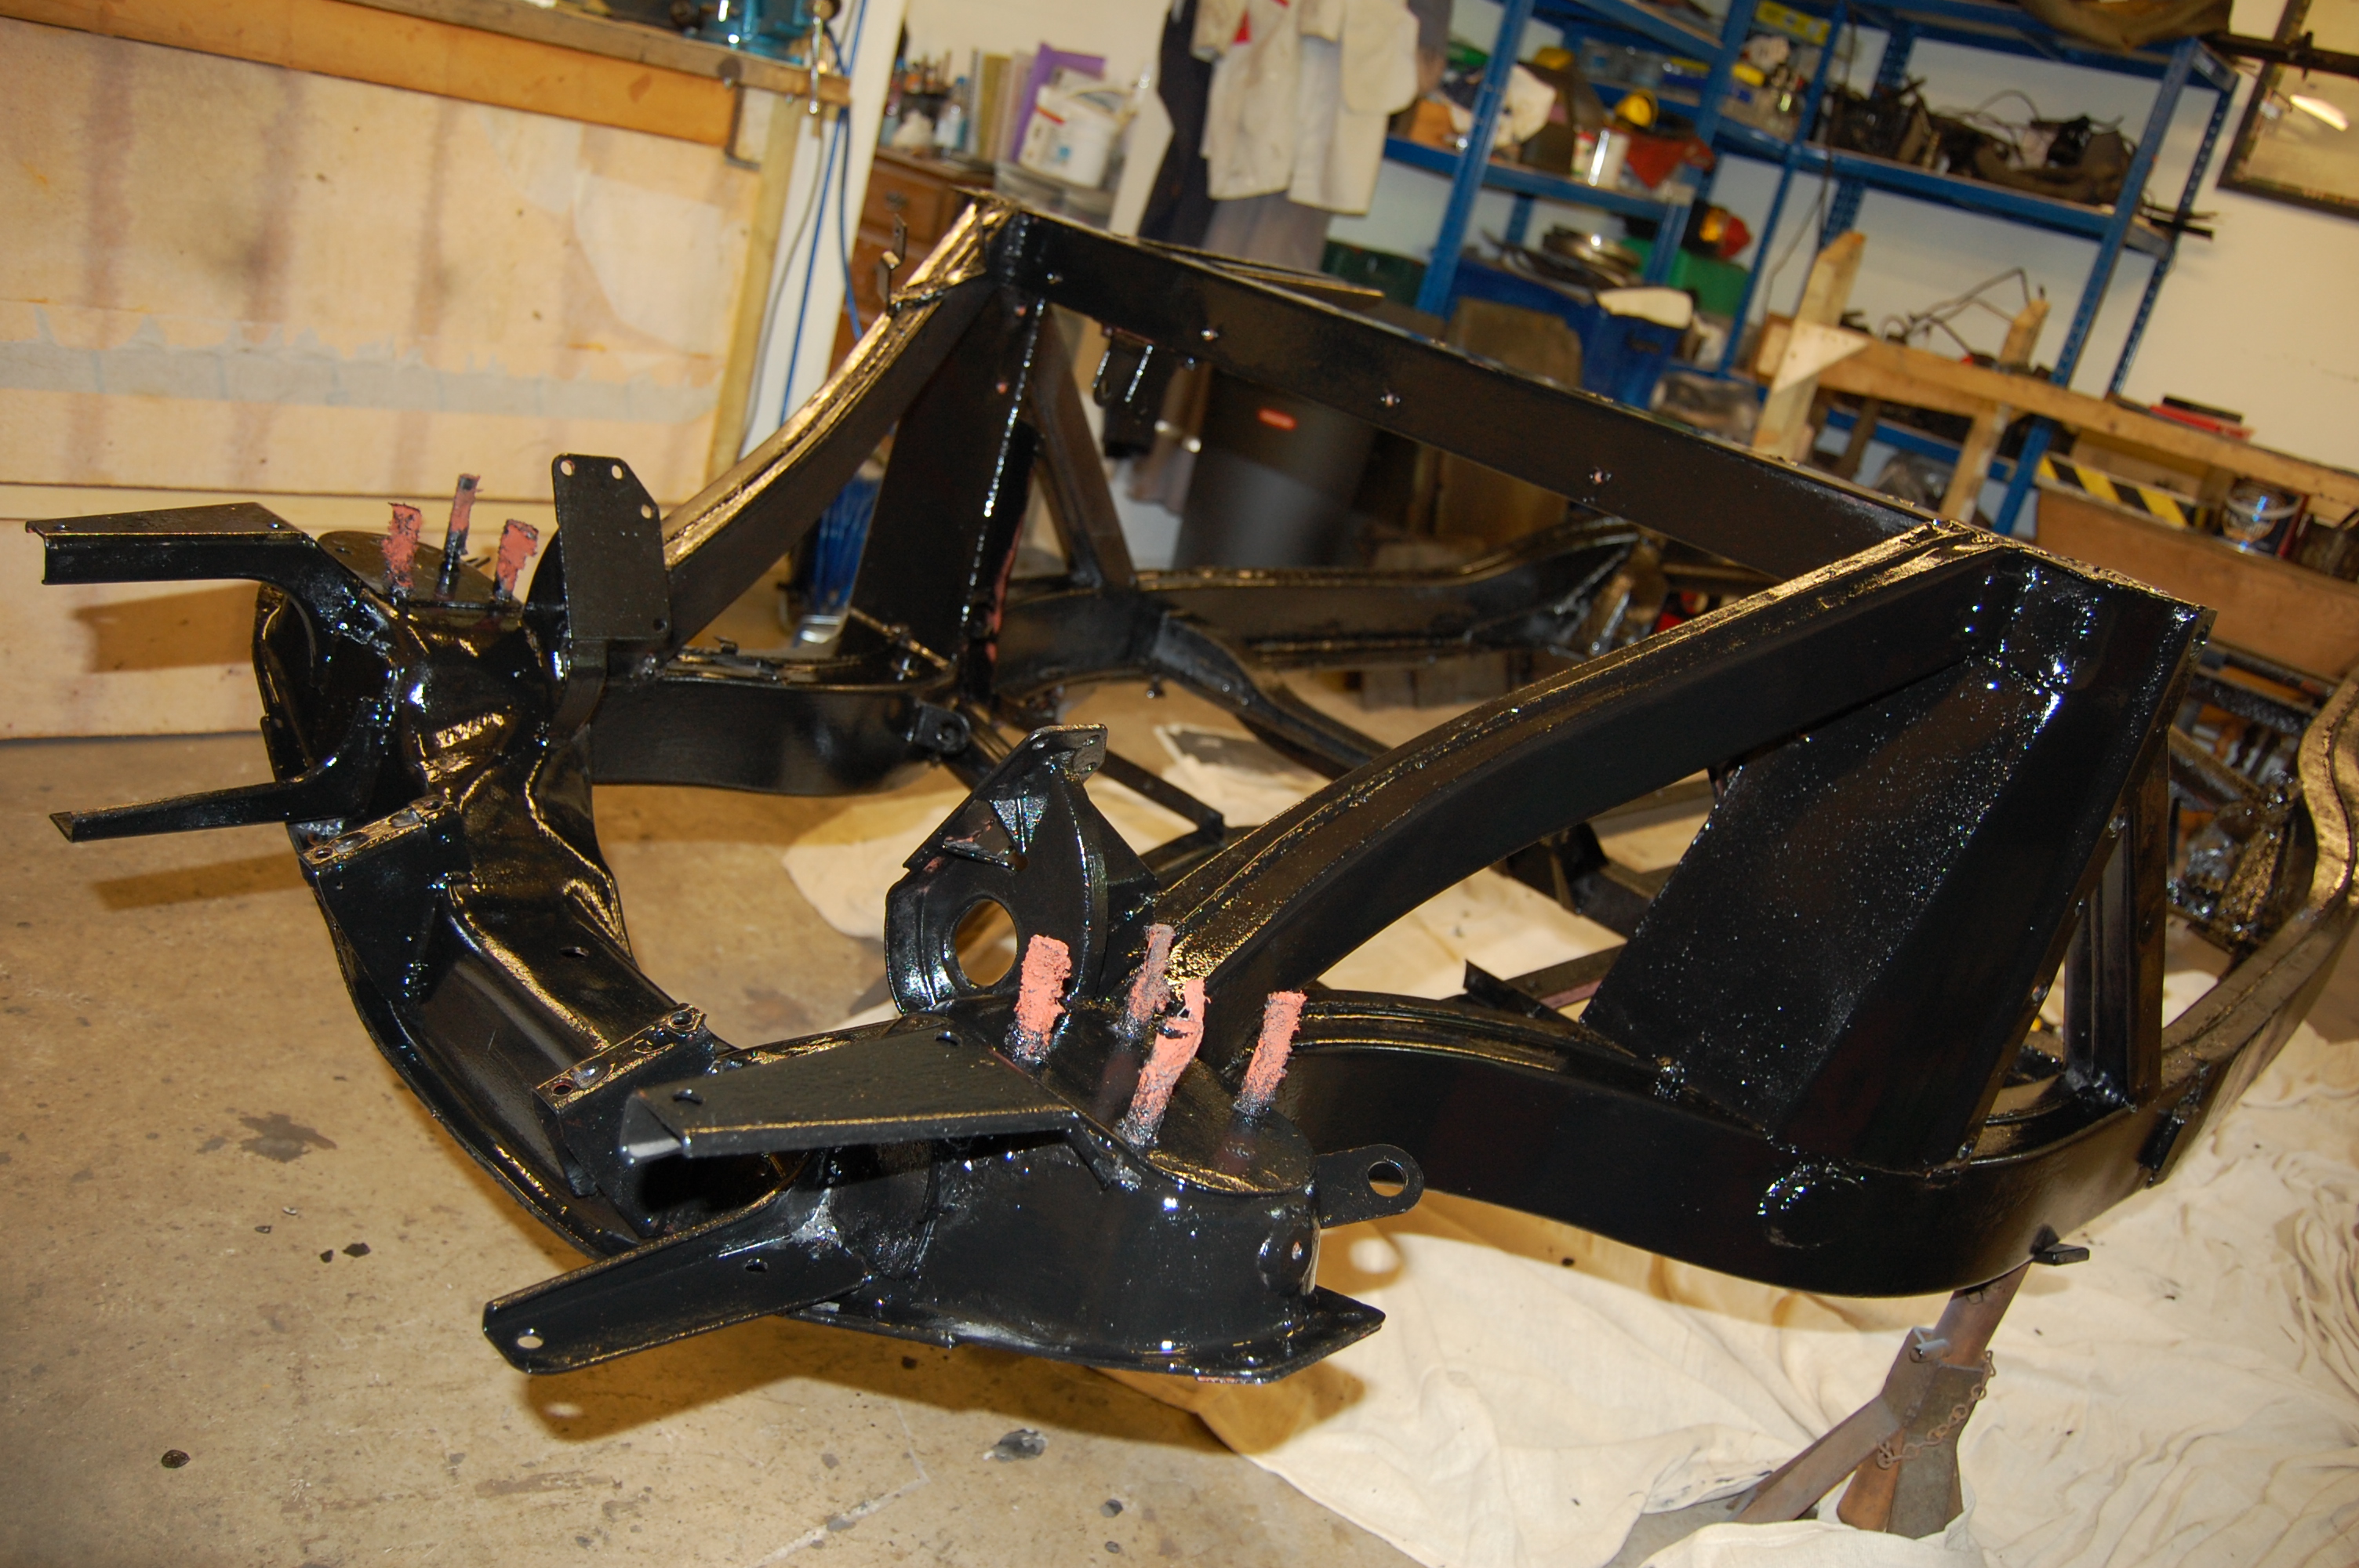
Chassis Repairs.
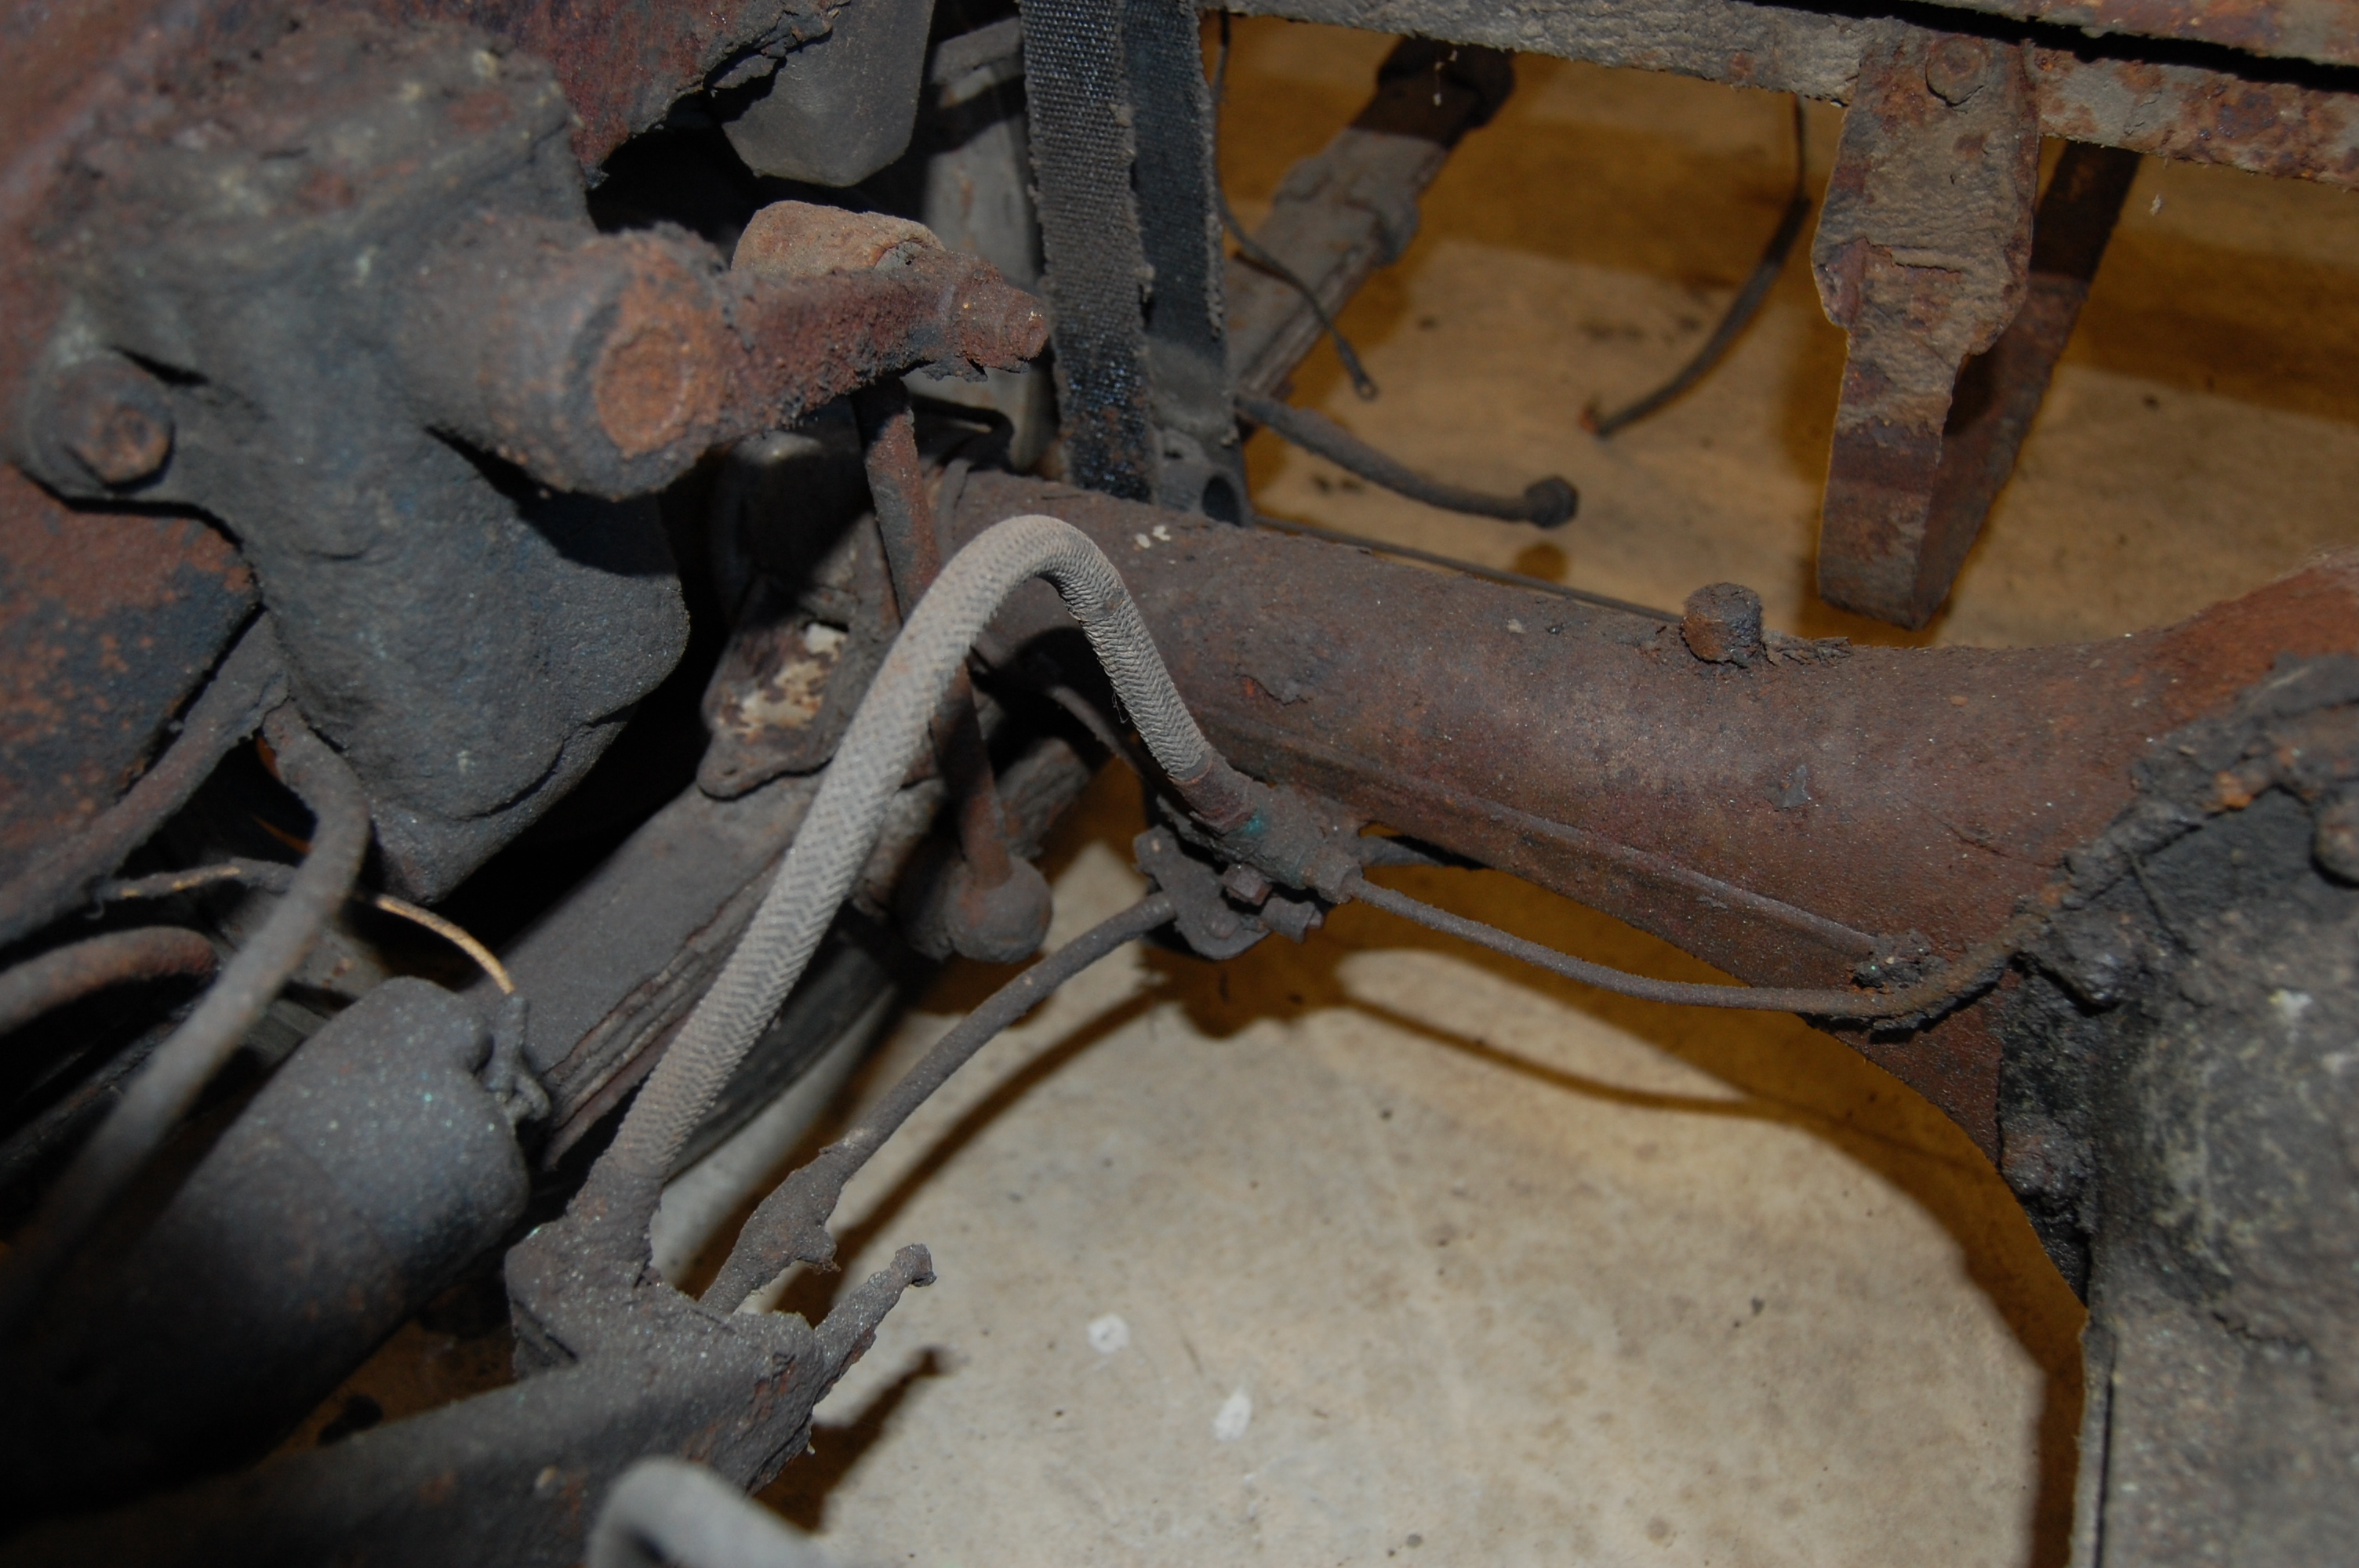
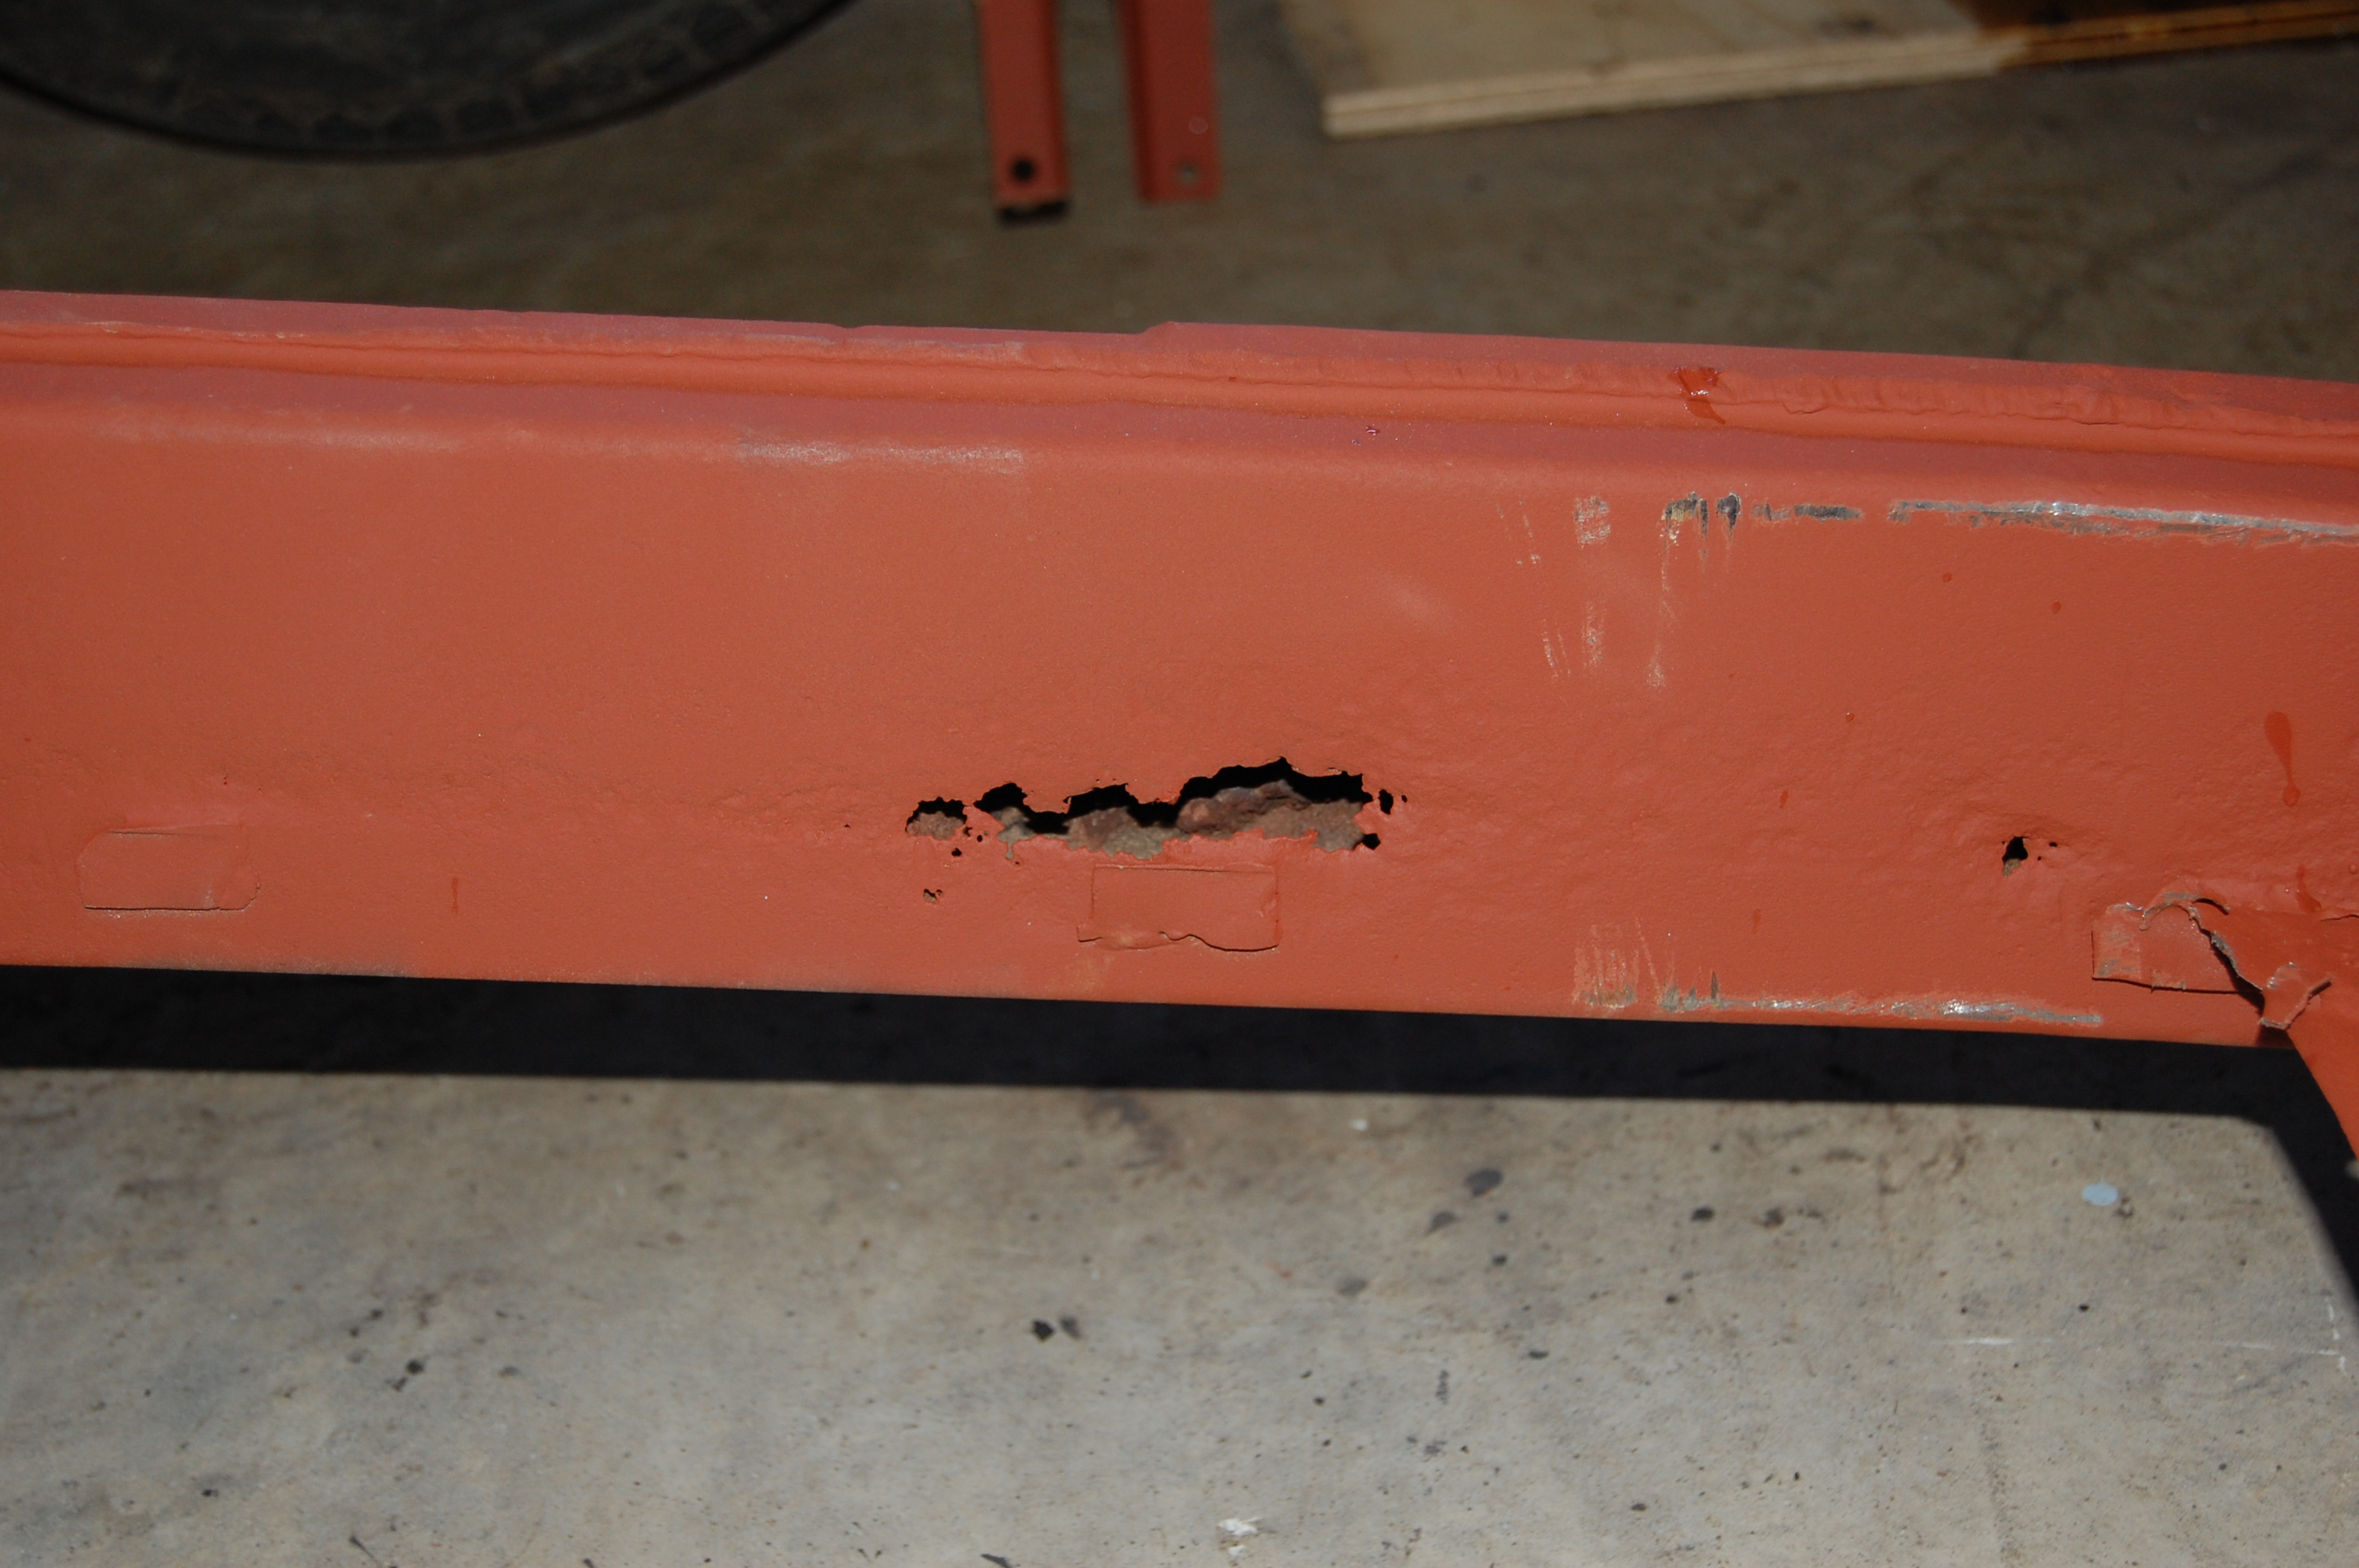
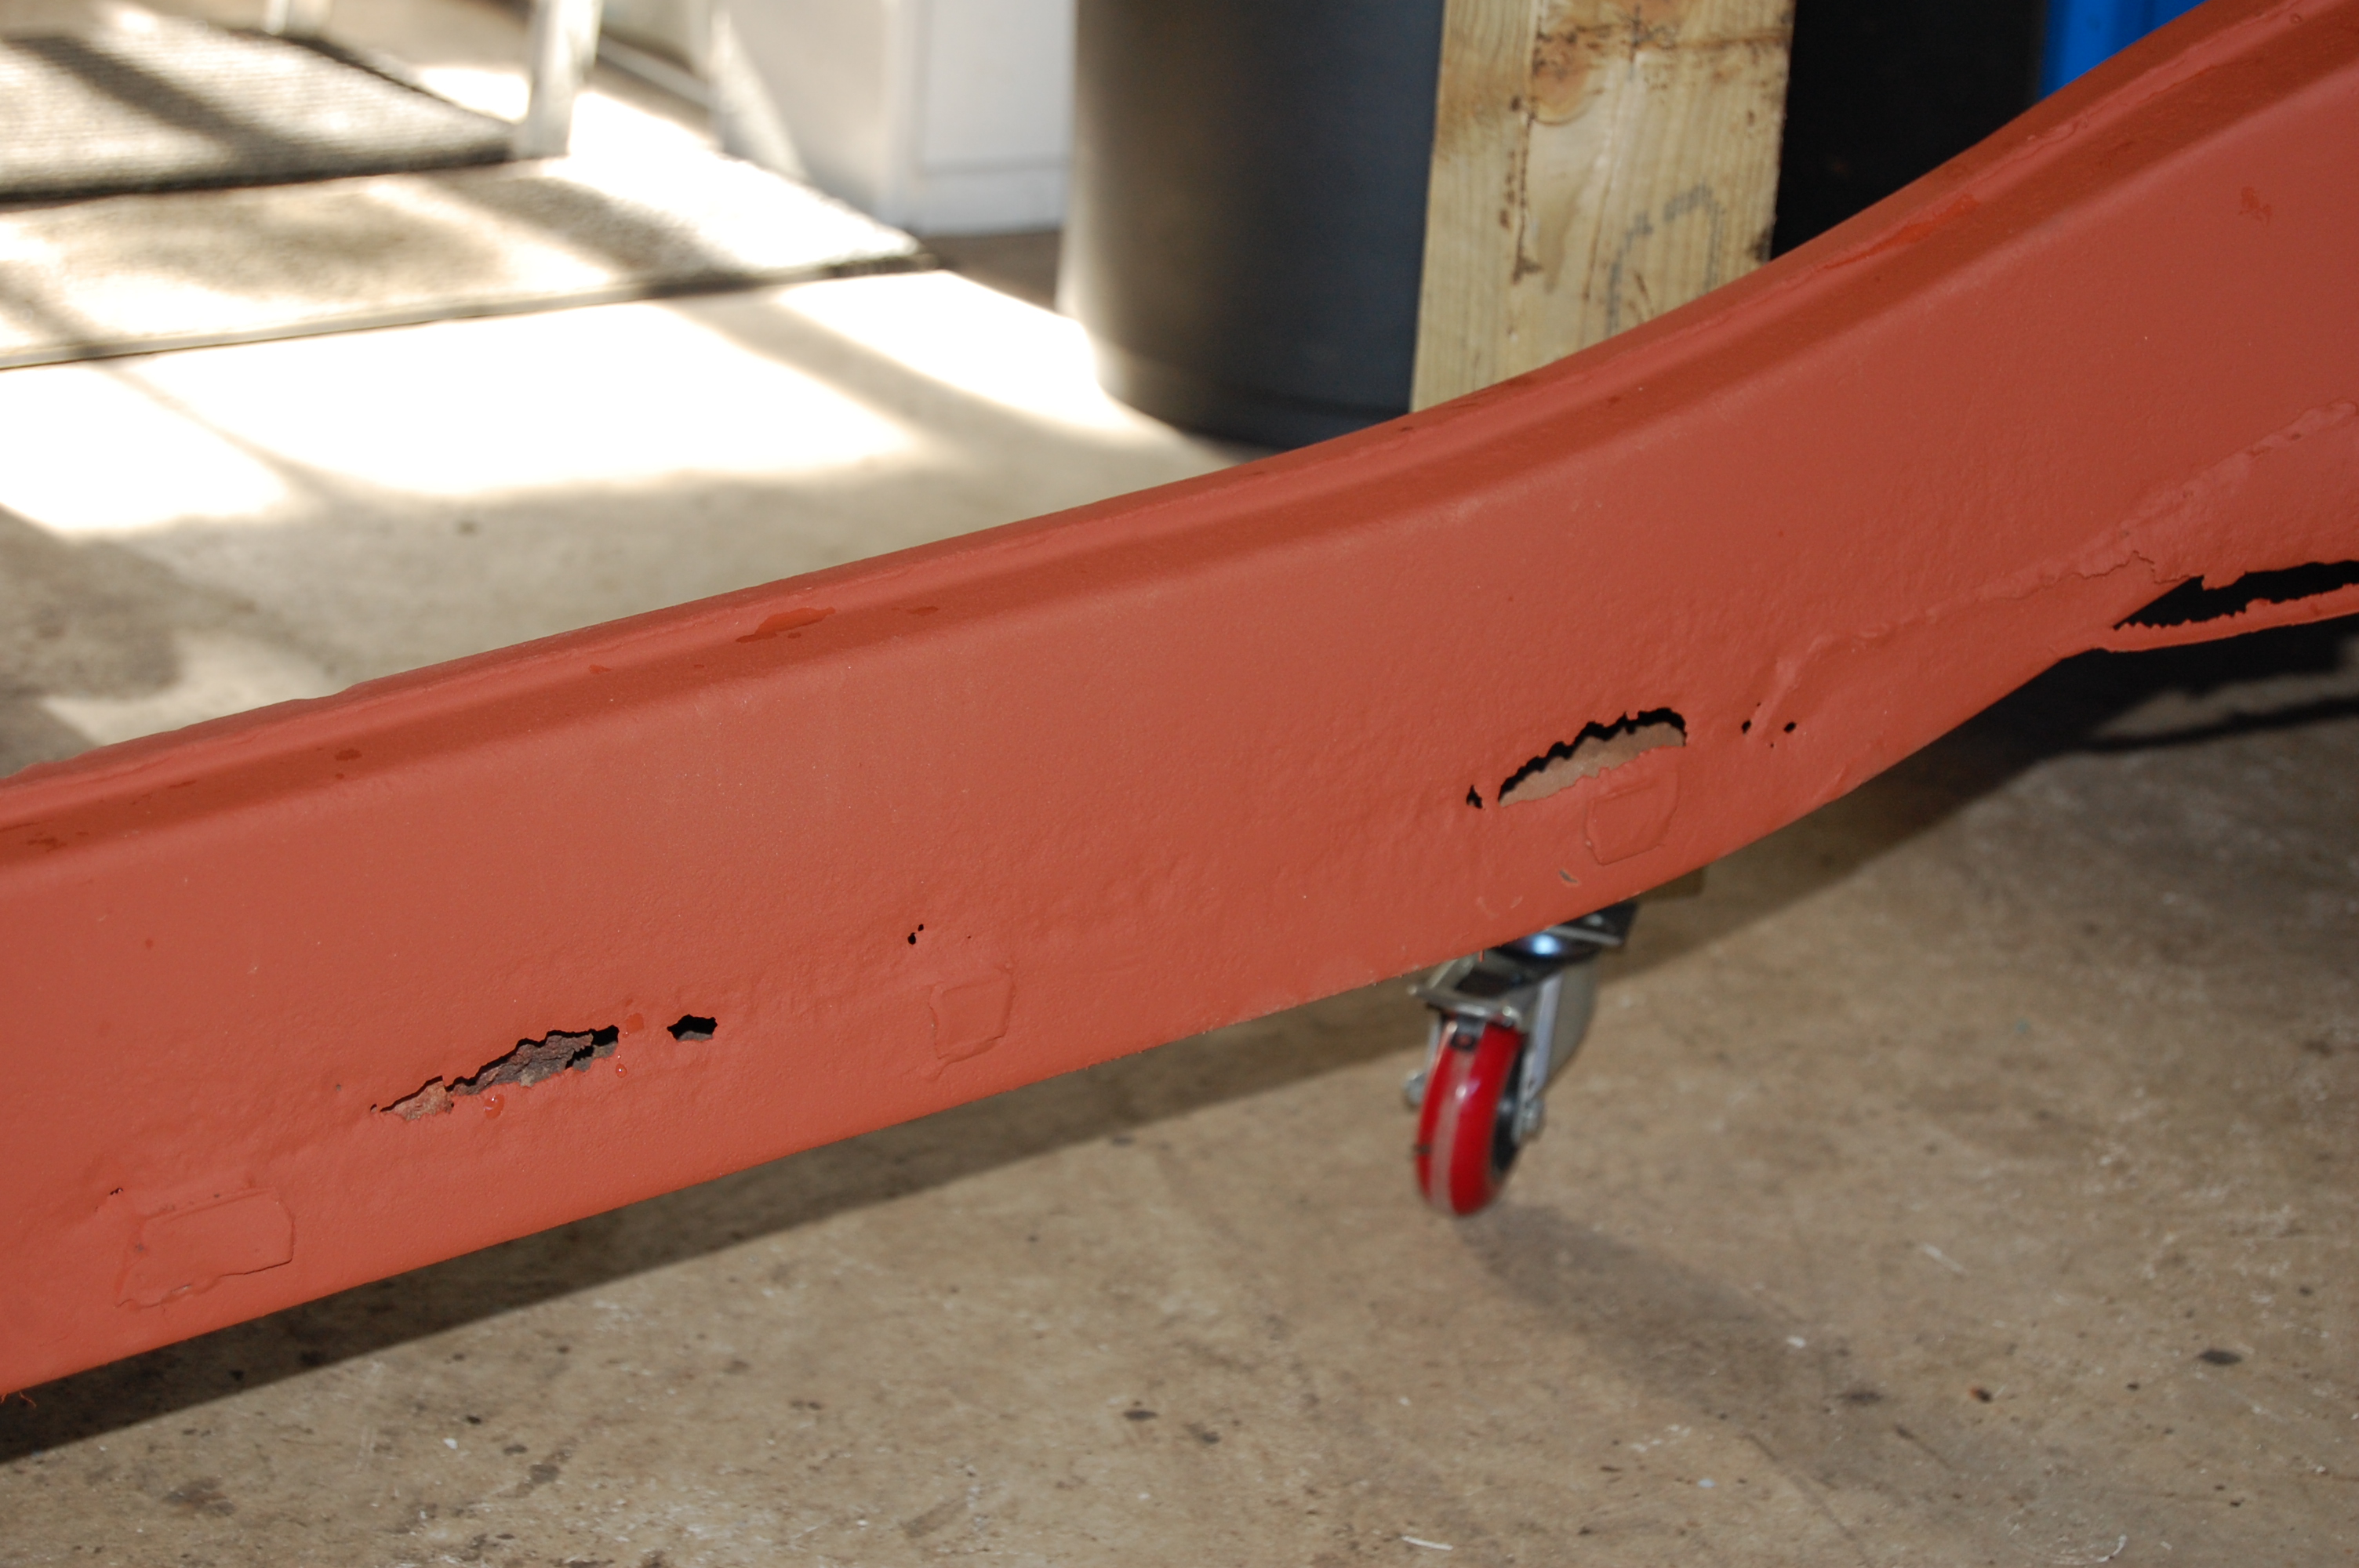
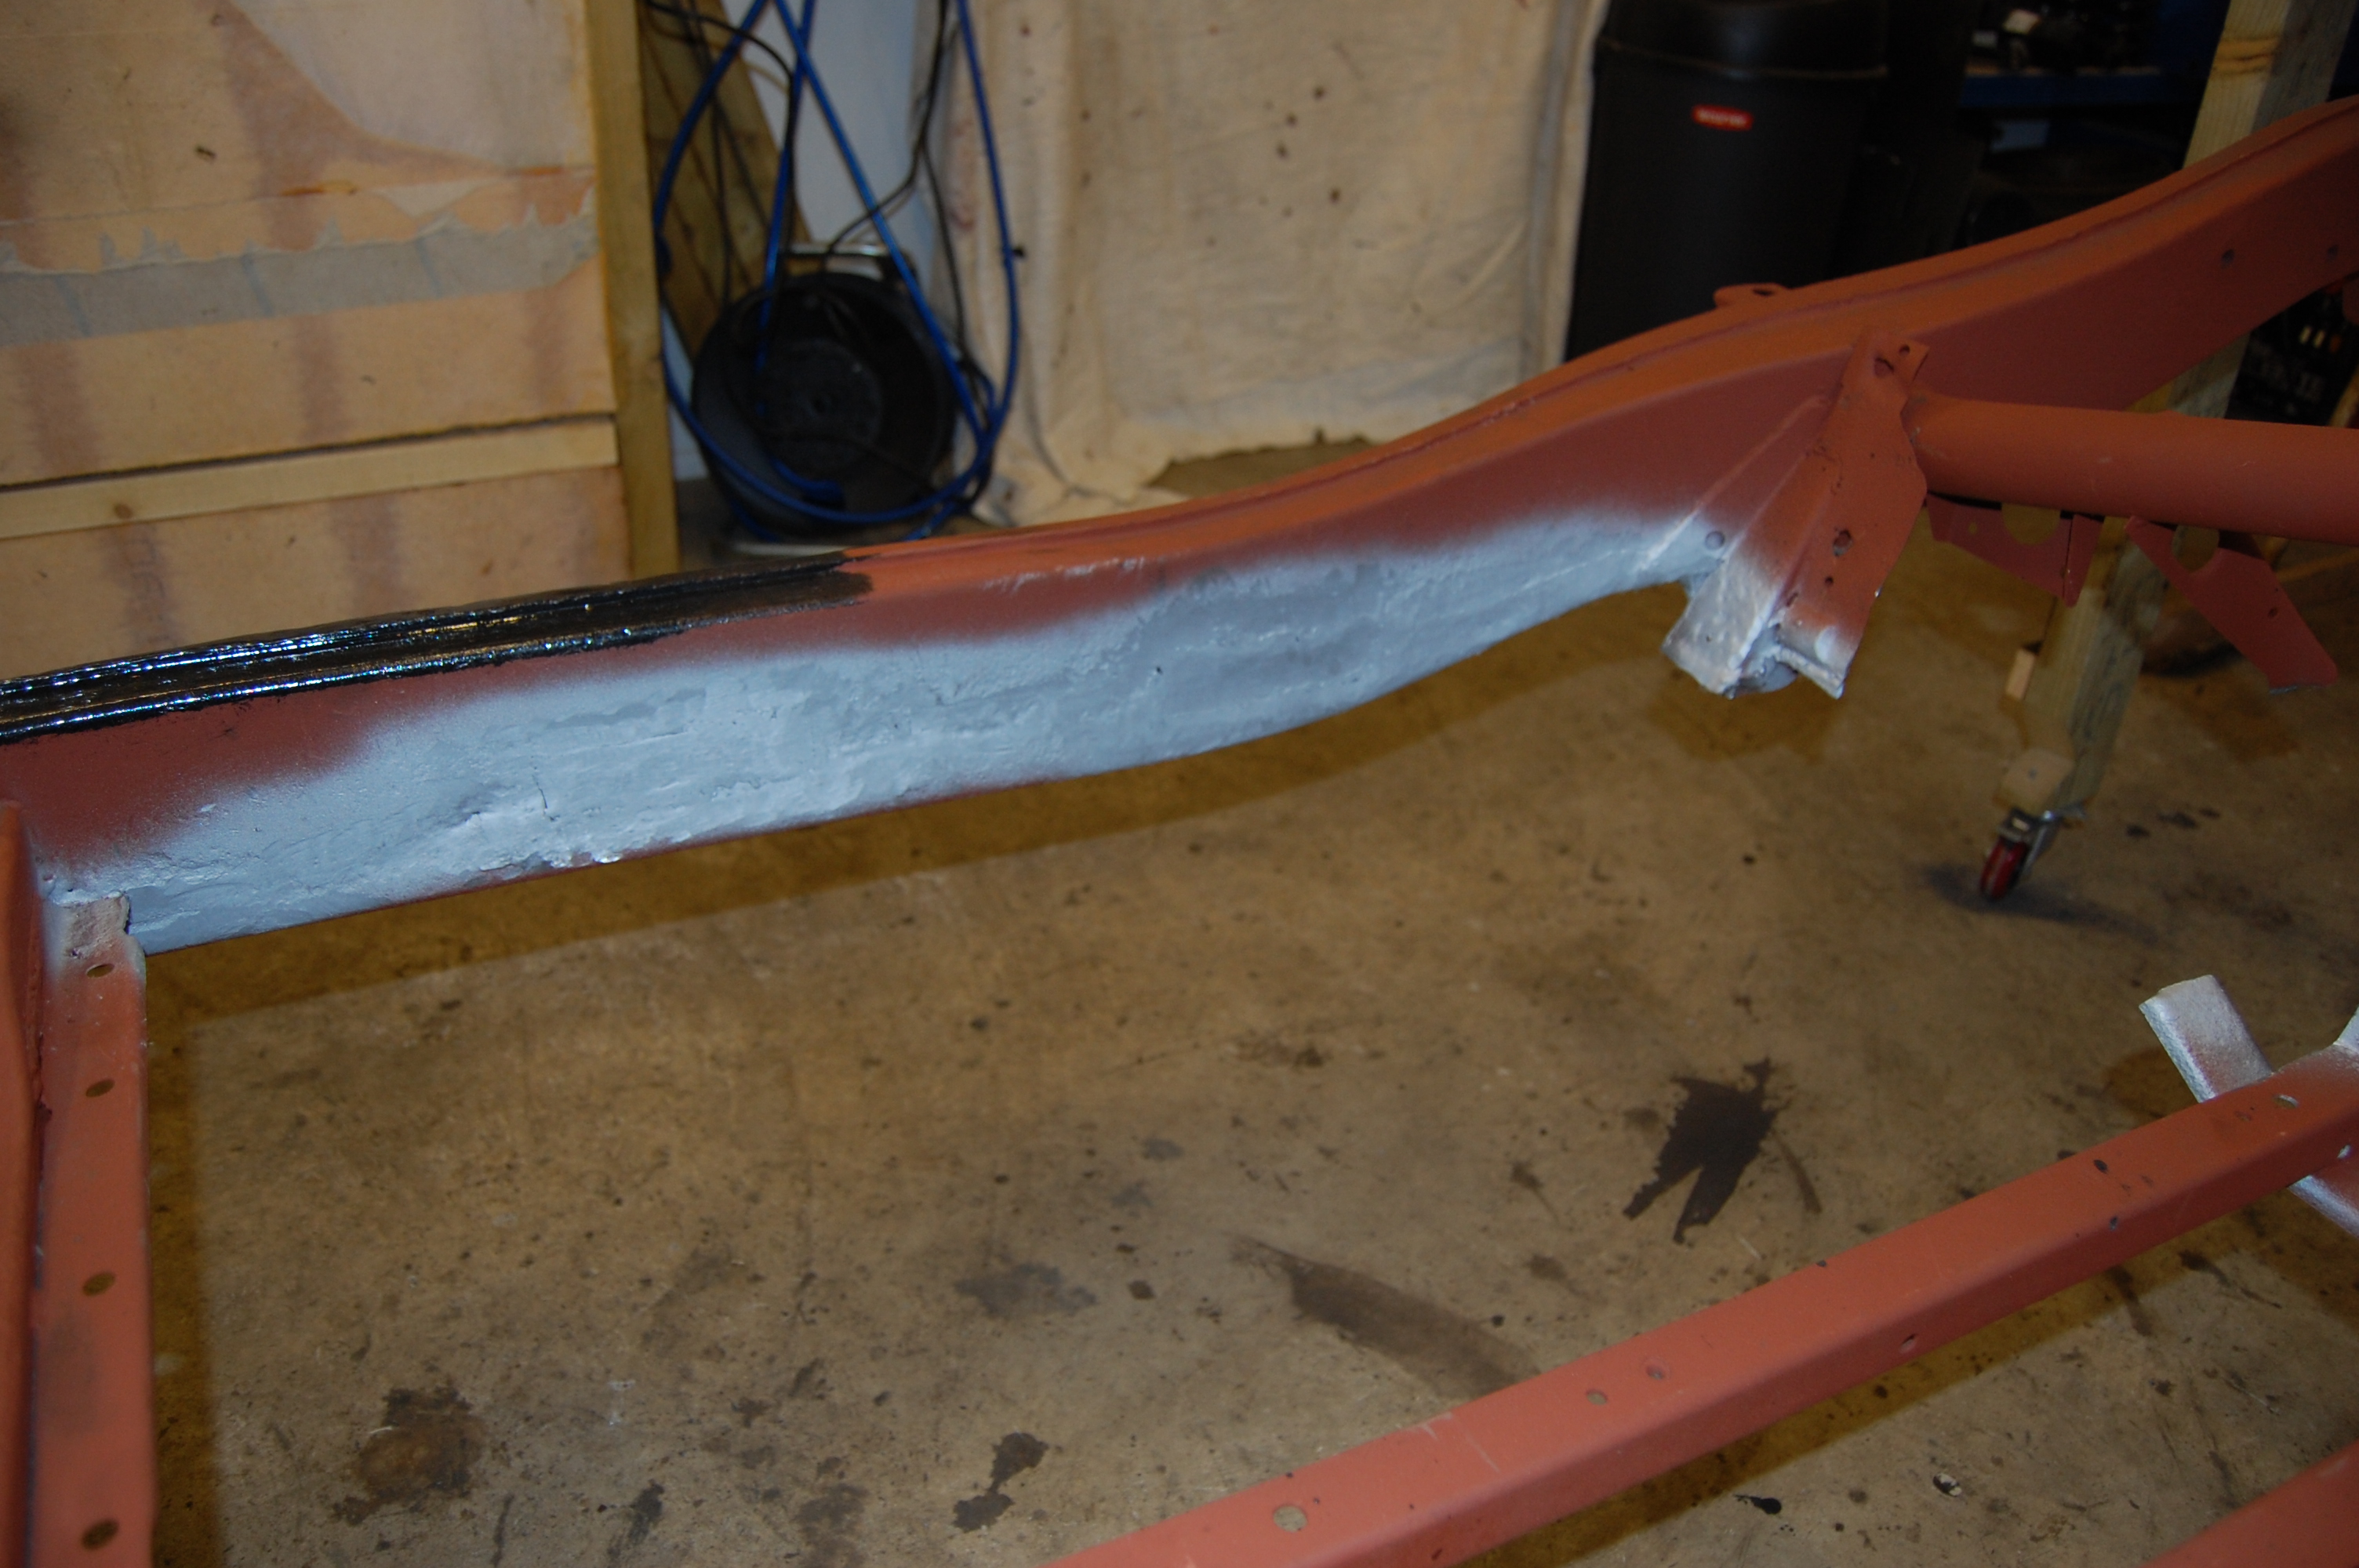
Both sides outer chassis around the cross member require cutting out and patching – not too serious and very typical.
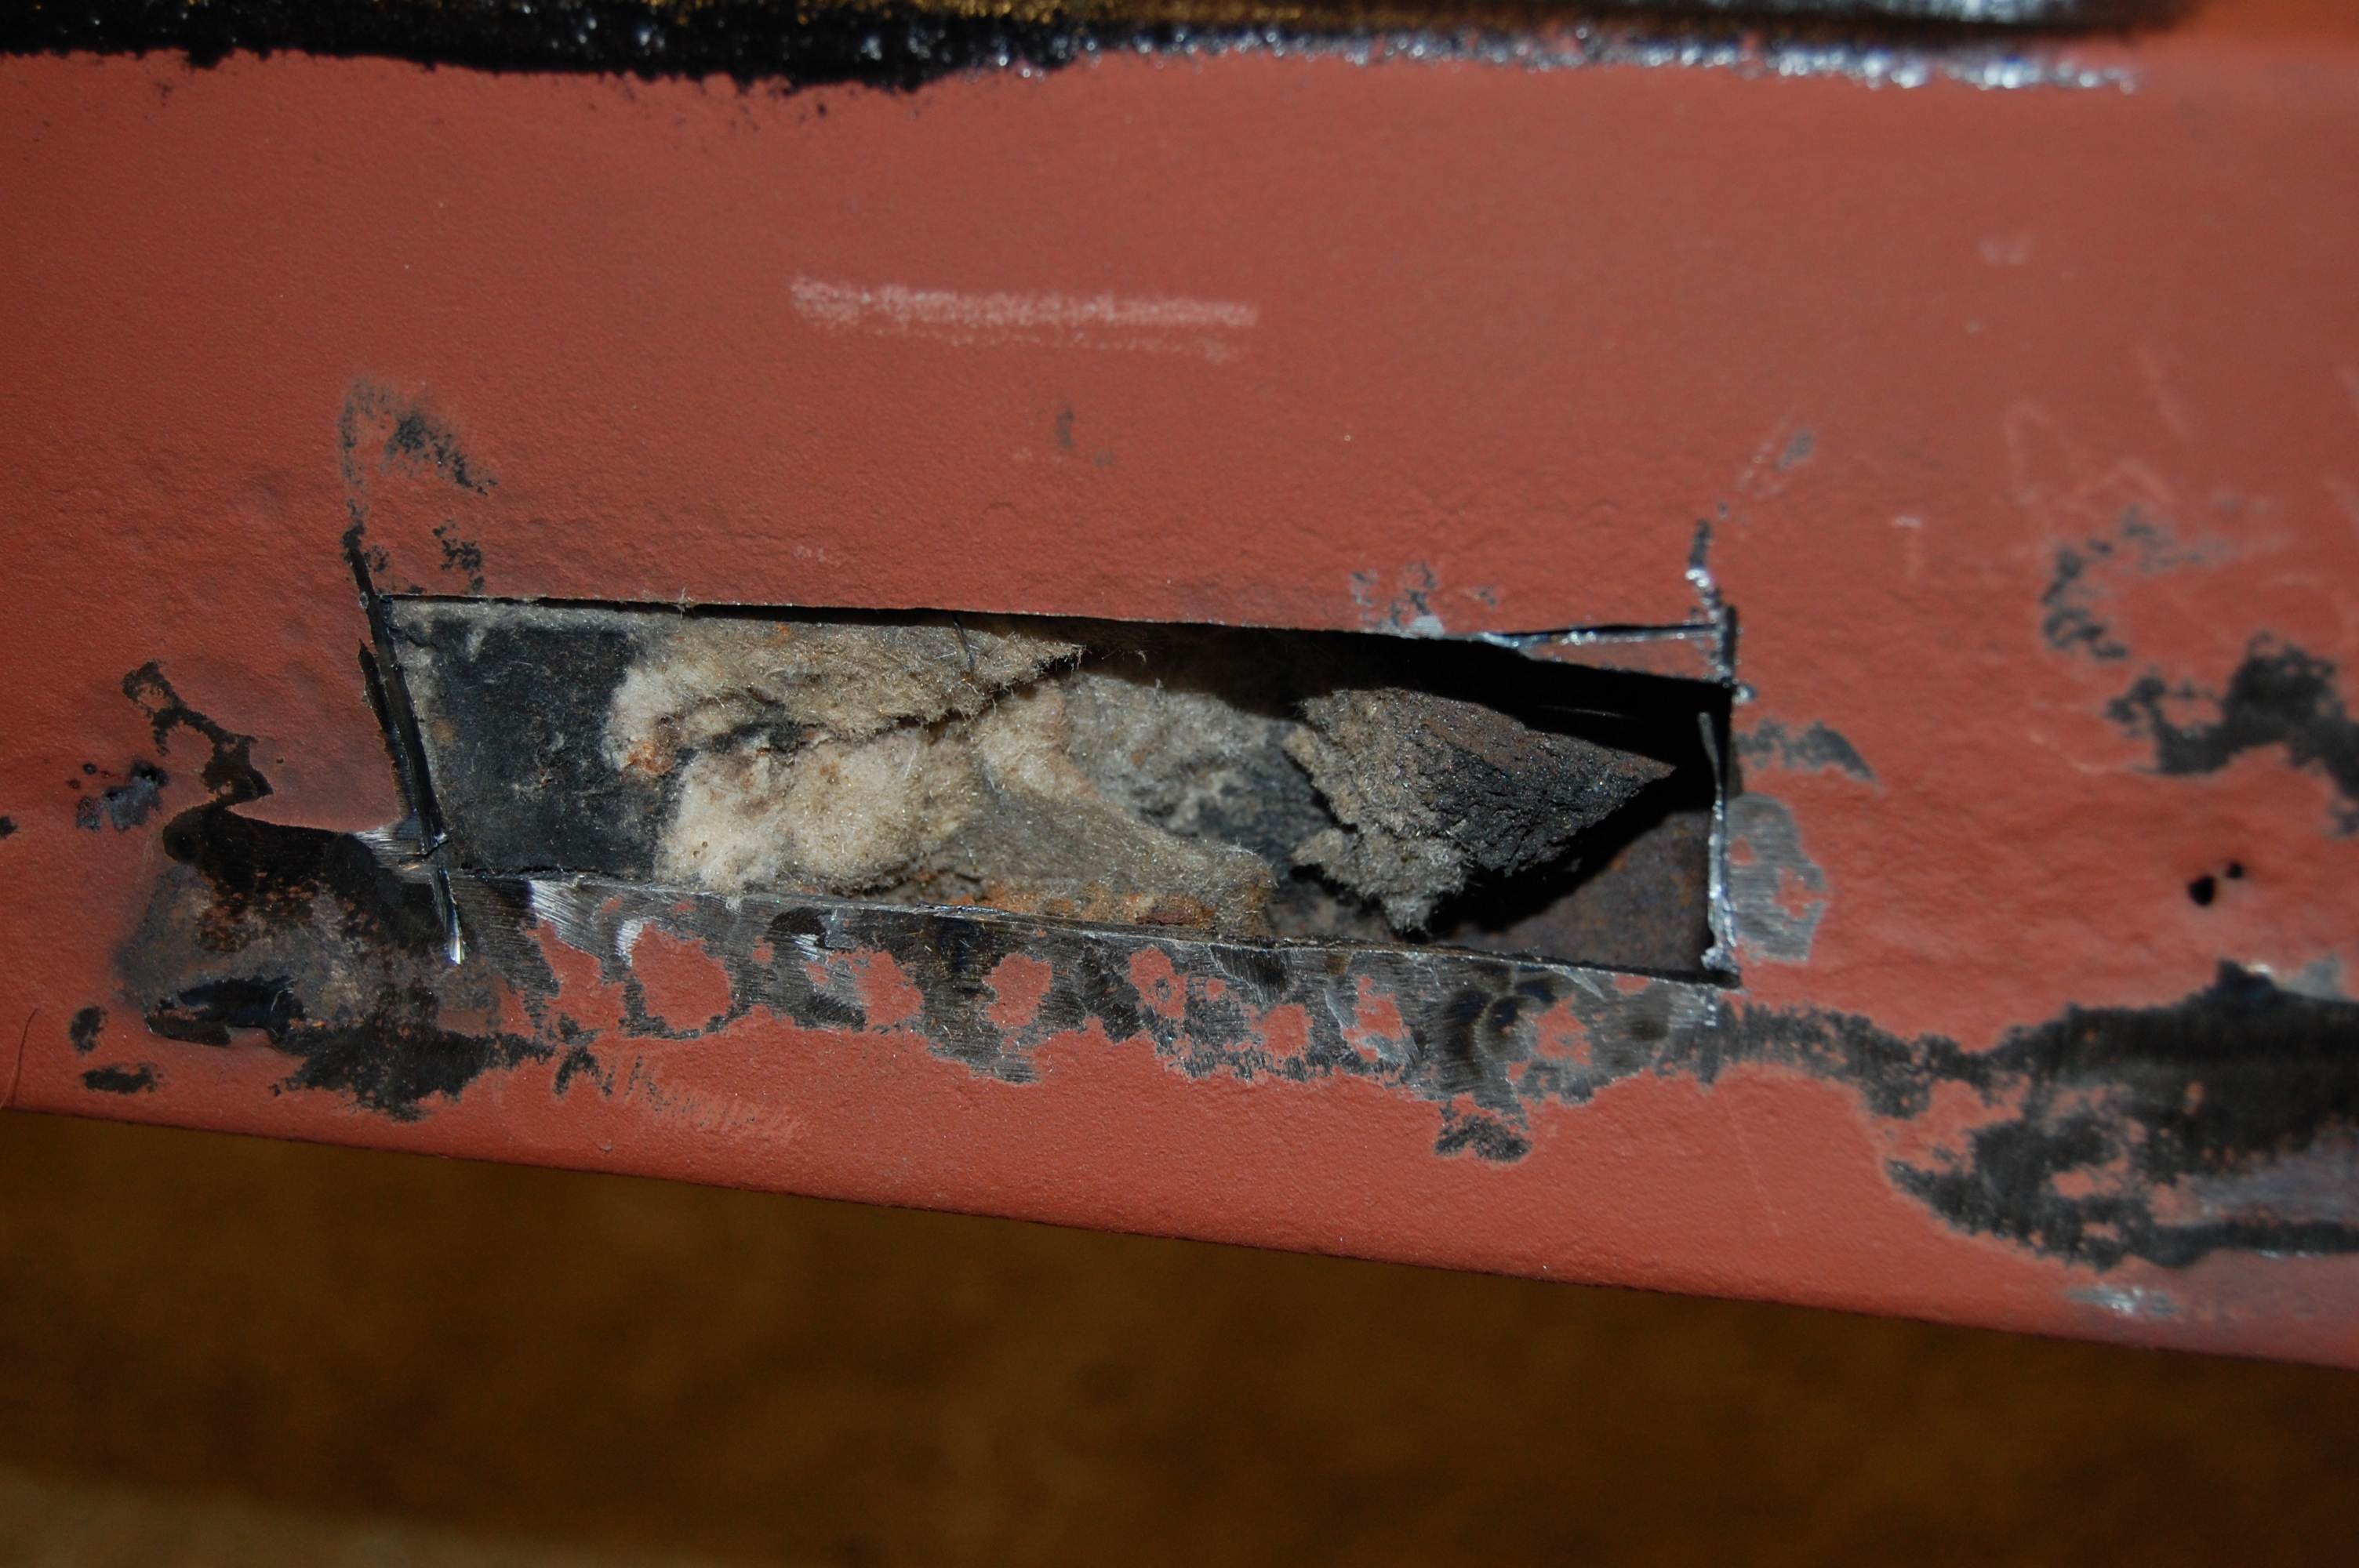
The left side inner chassis rail repair, revealed the packing material fitted to later 1500 cars, to help suppress noise transmitted down the chassis box section. Not sure what material this is, but it doesn’t seem to hold moisture and is fire resistant, as I welded against it. As it has worked up to this point, I left it in place.

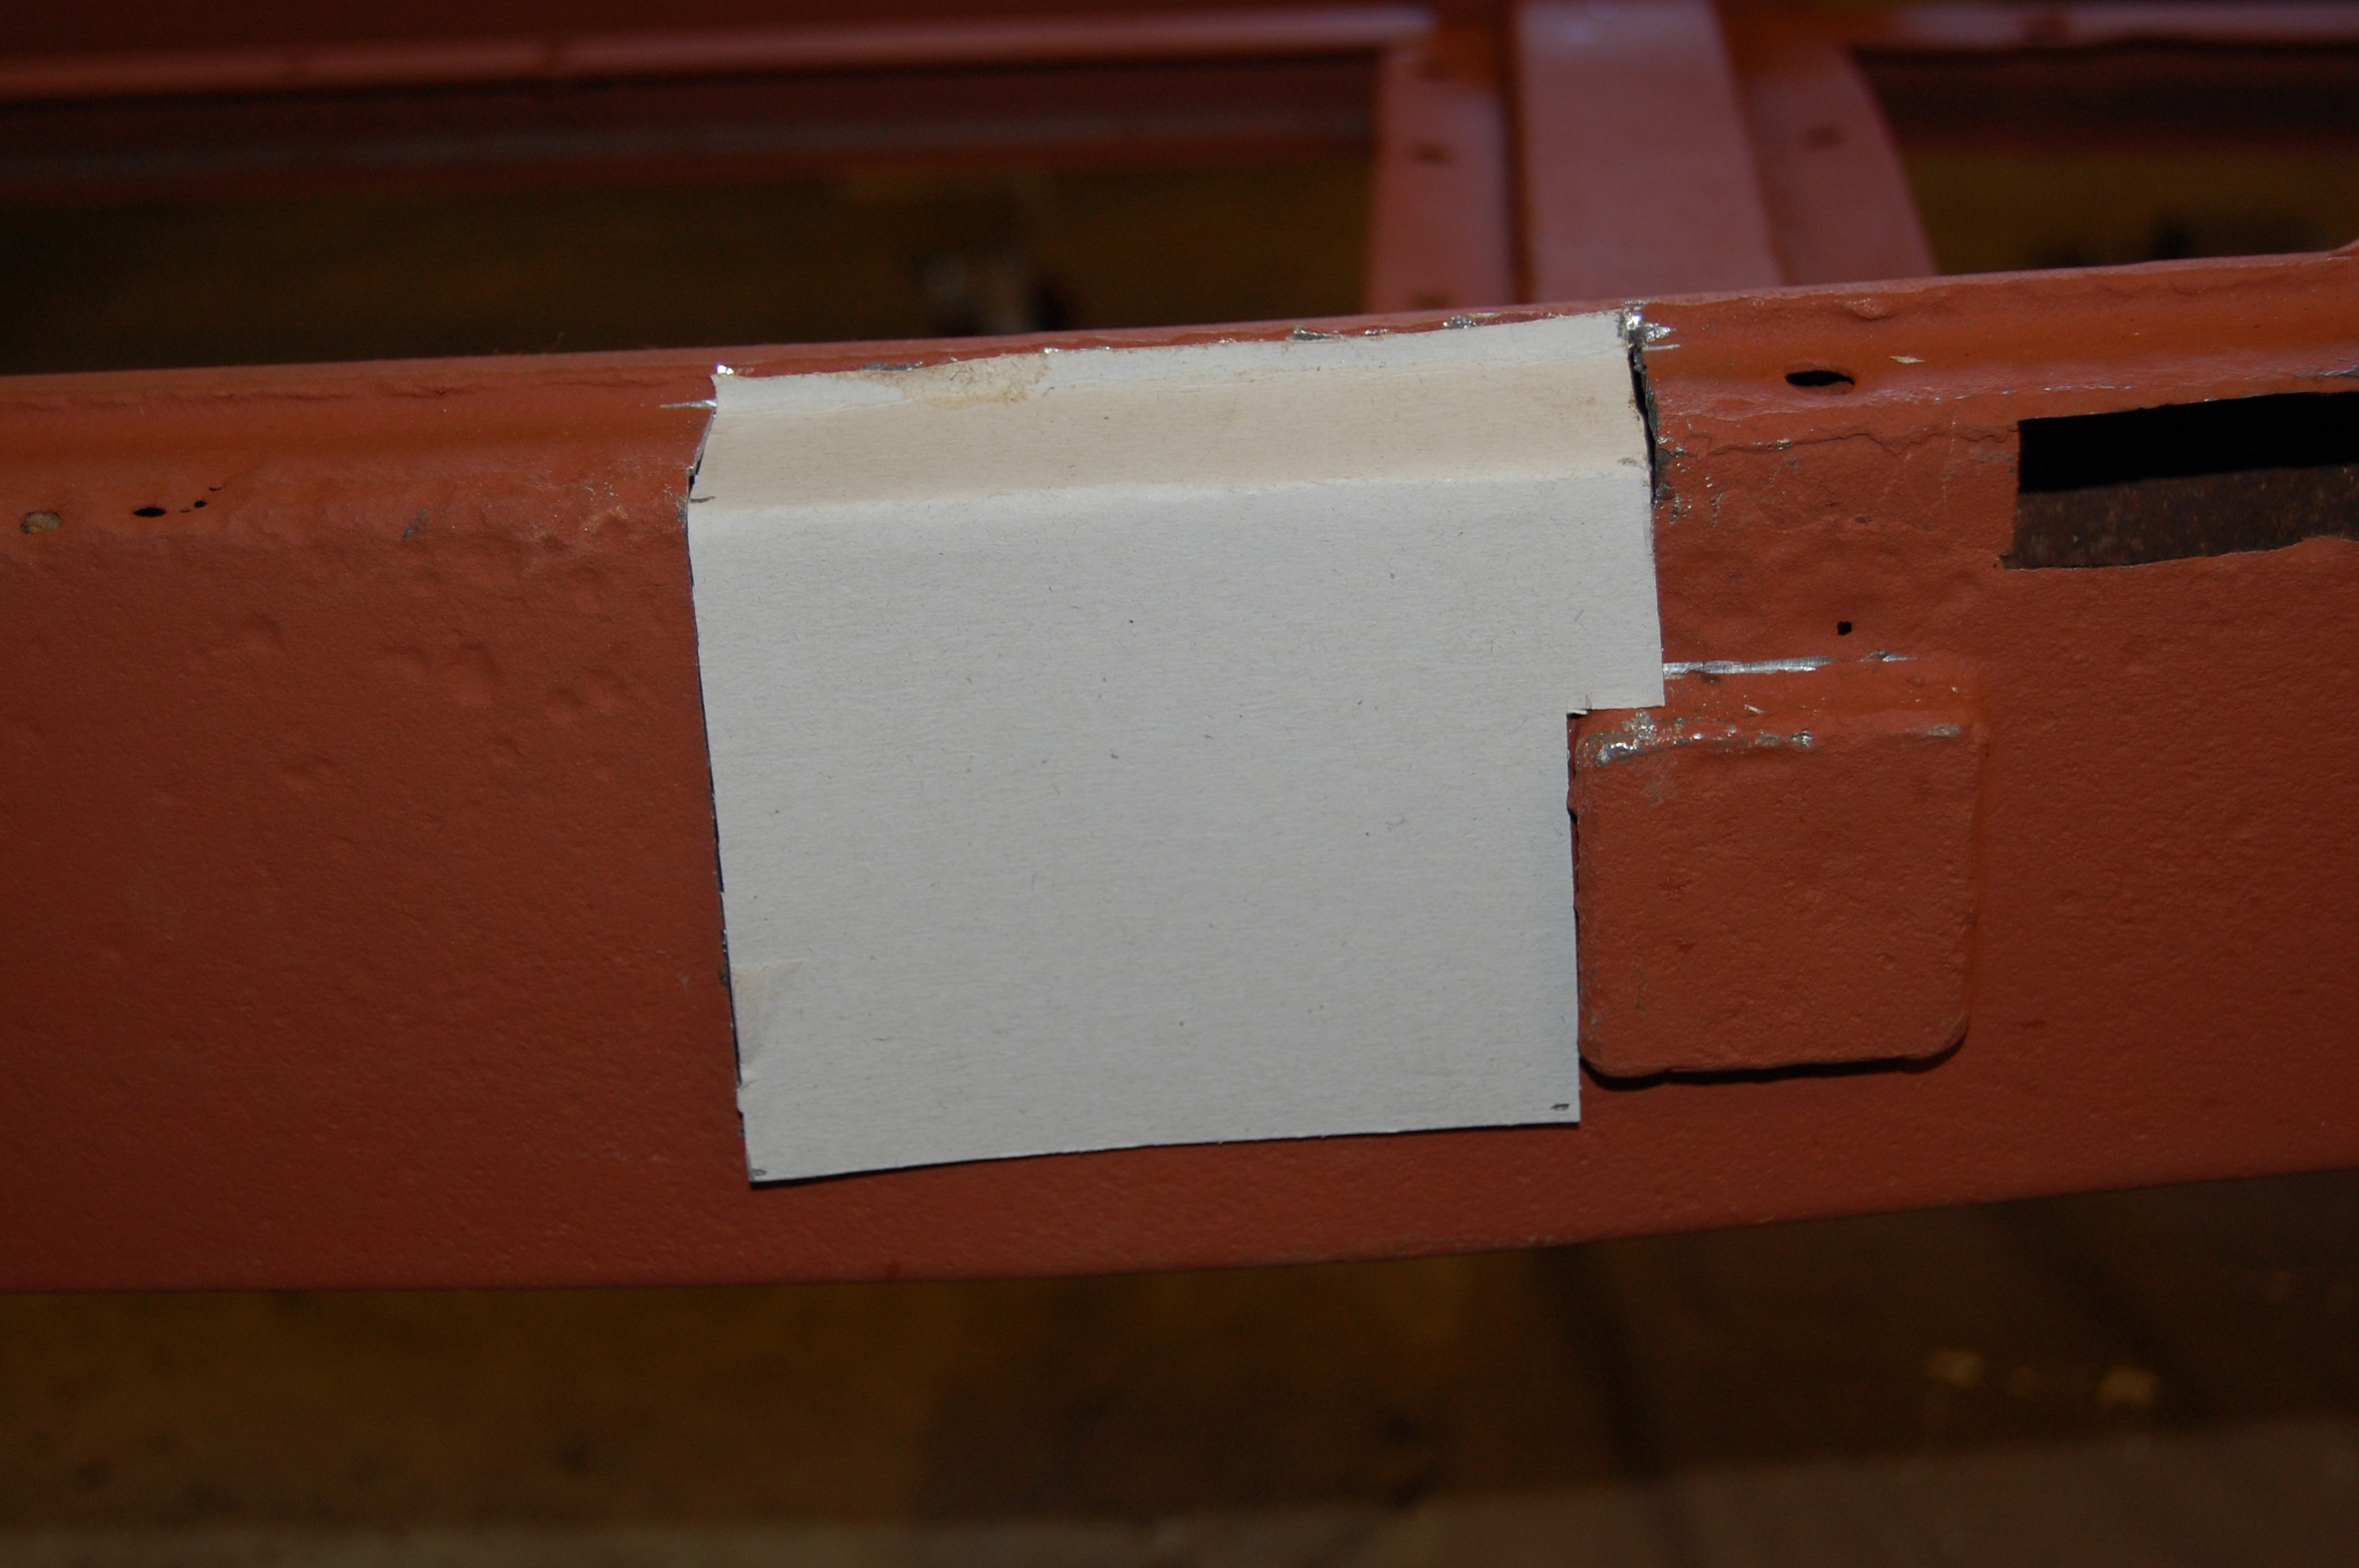
MGA chassis repair – Area of perforation cut out
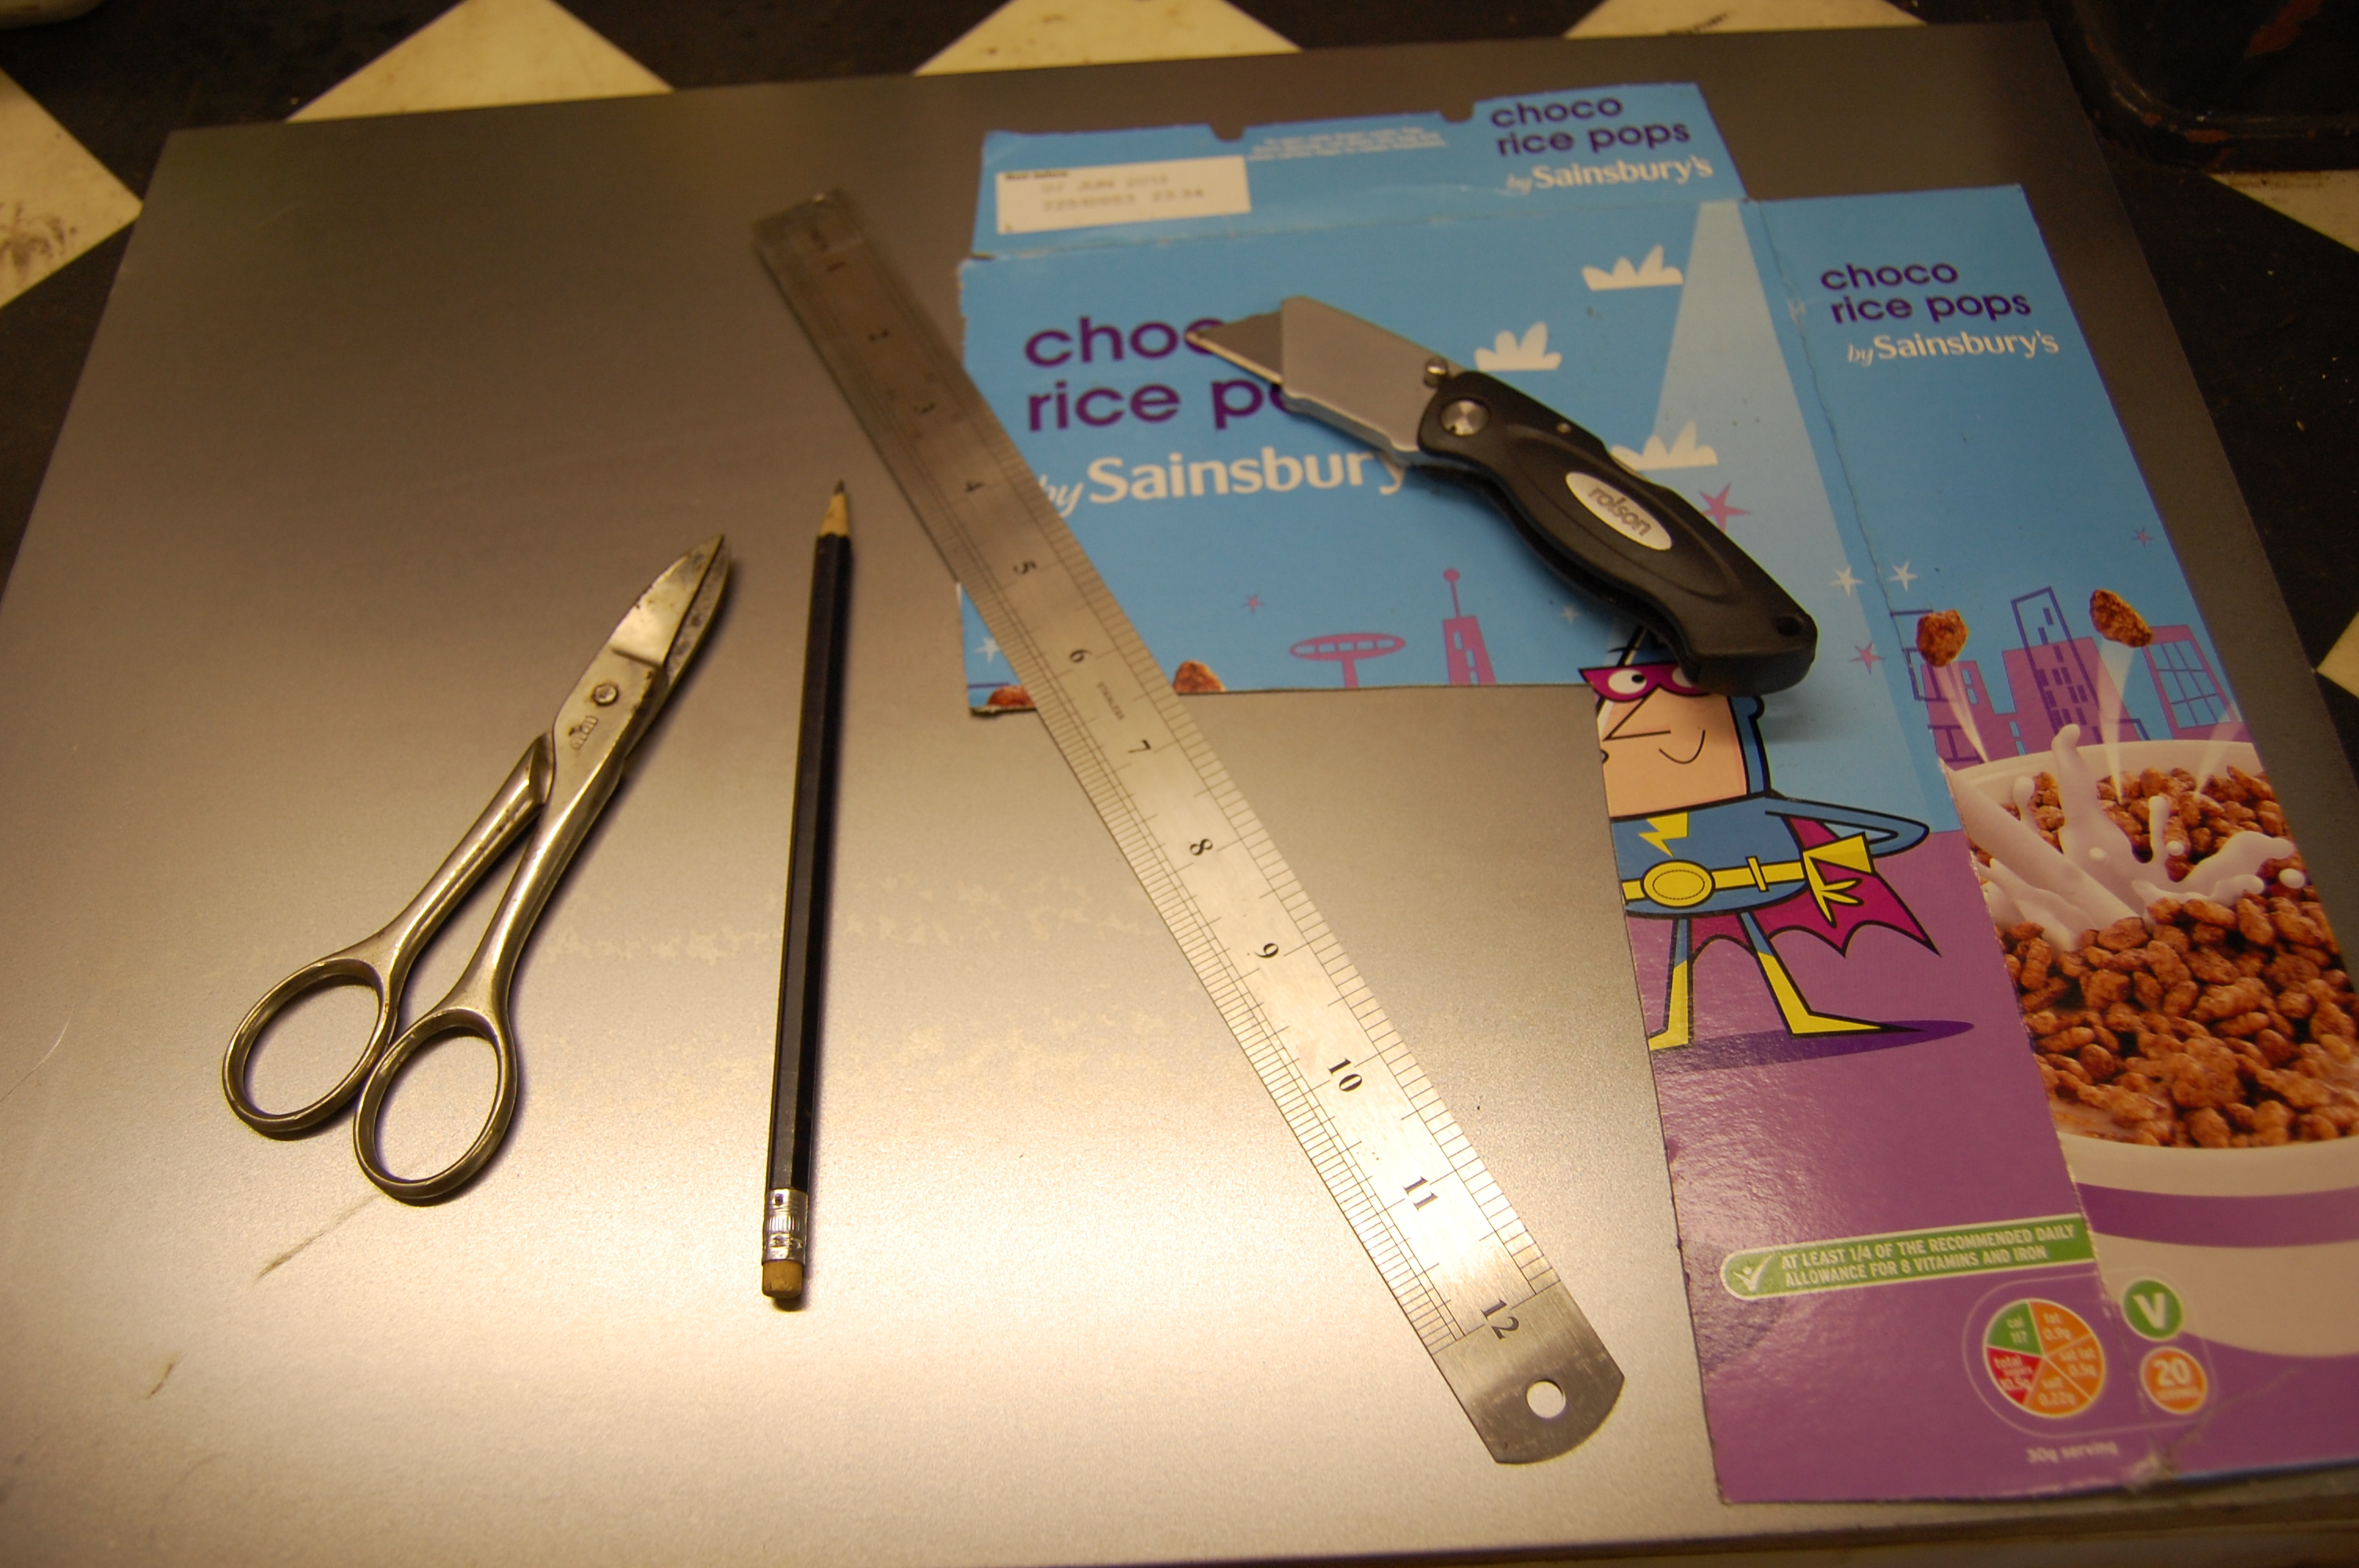
Preparing to make the chassis repair section. First a cardboard template – cereal boxes are the perfect weight of card.
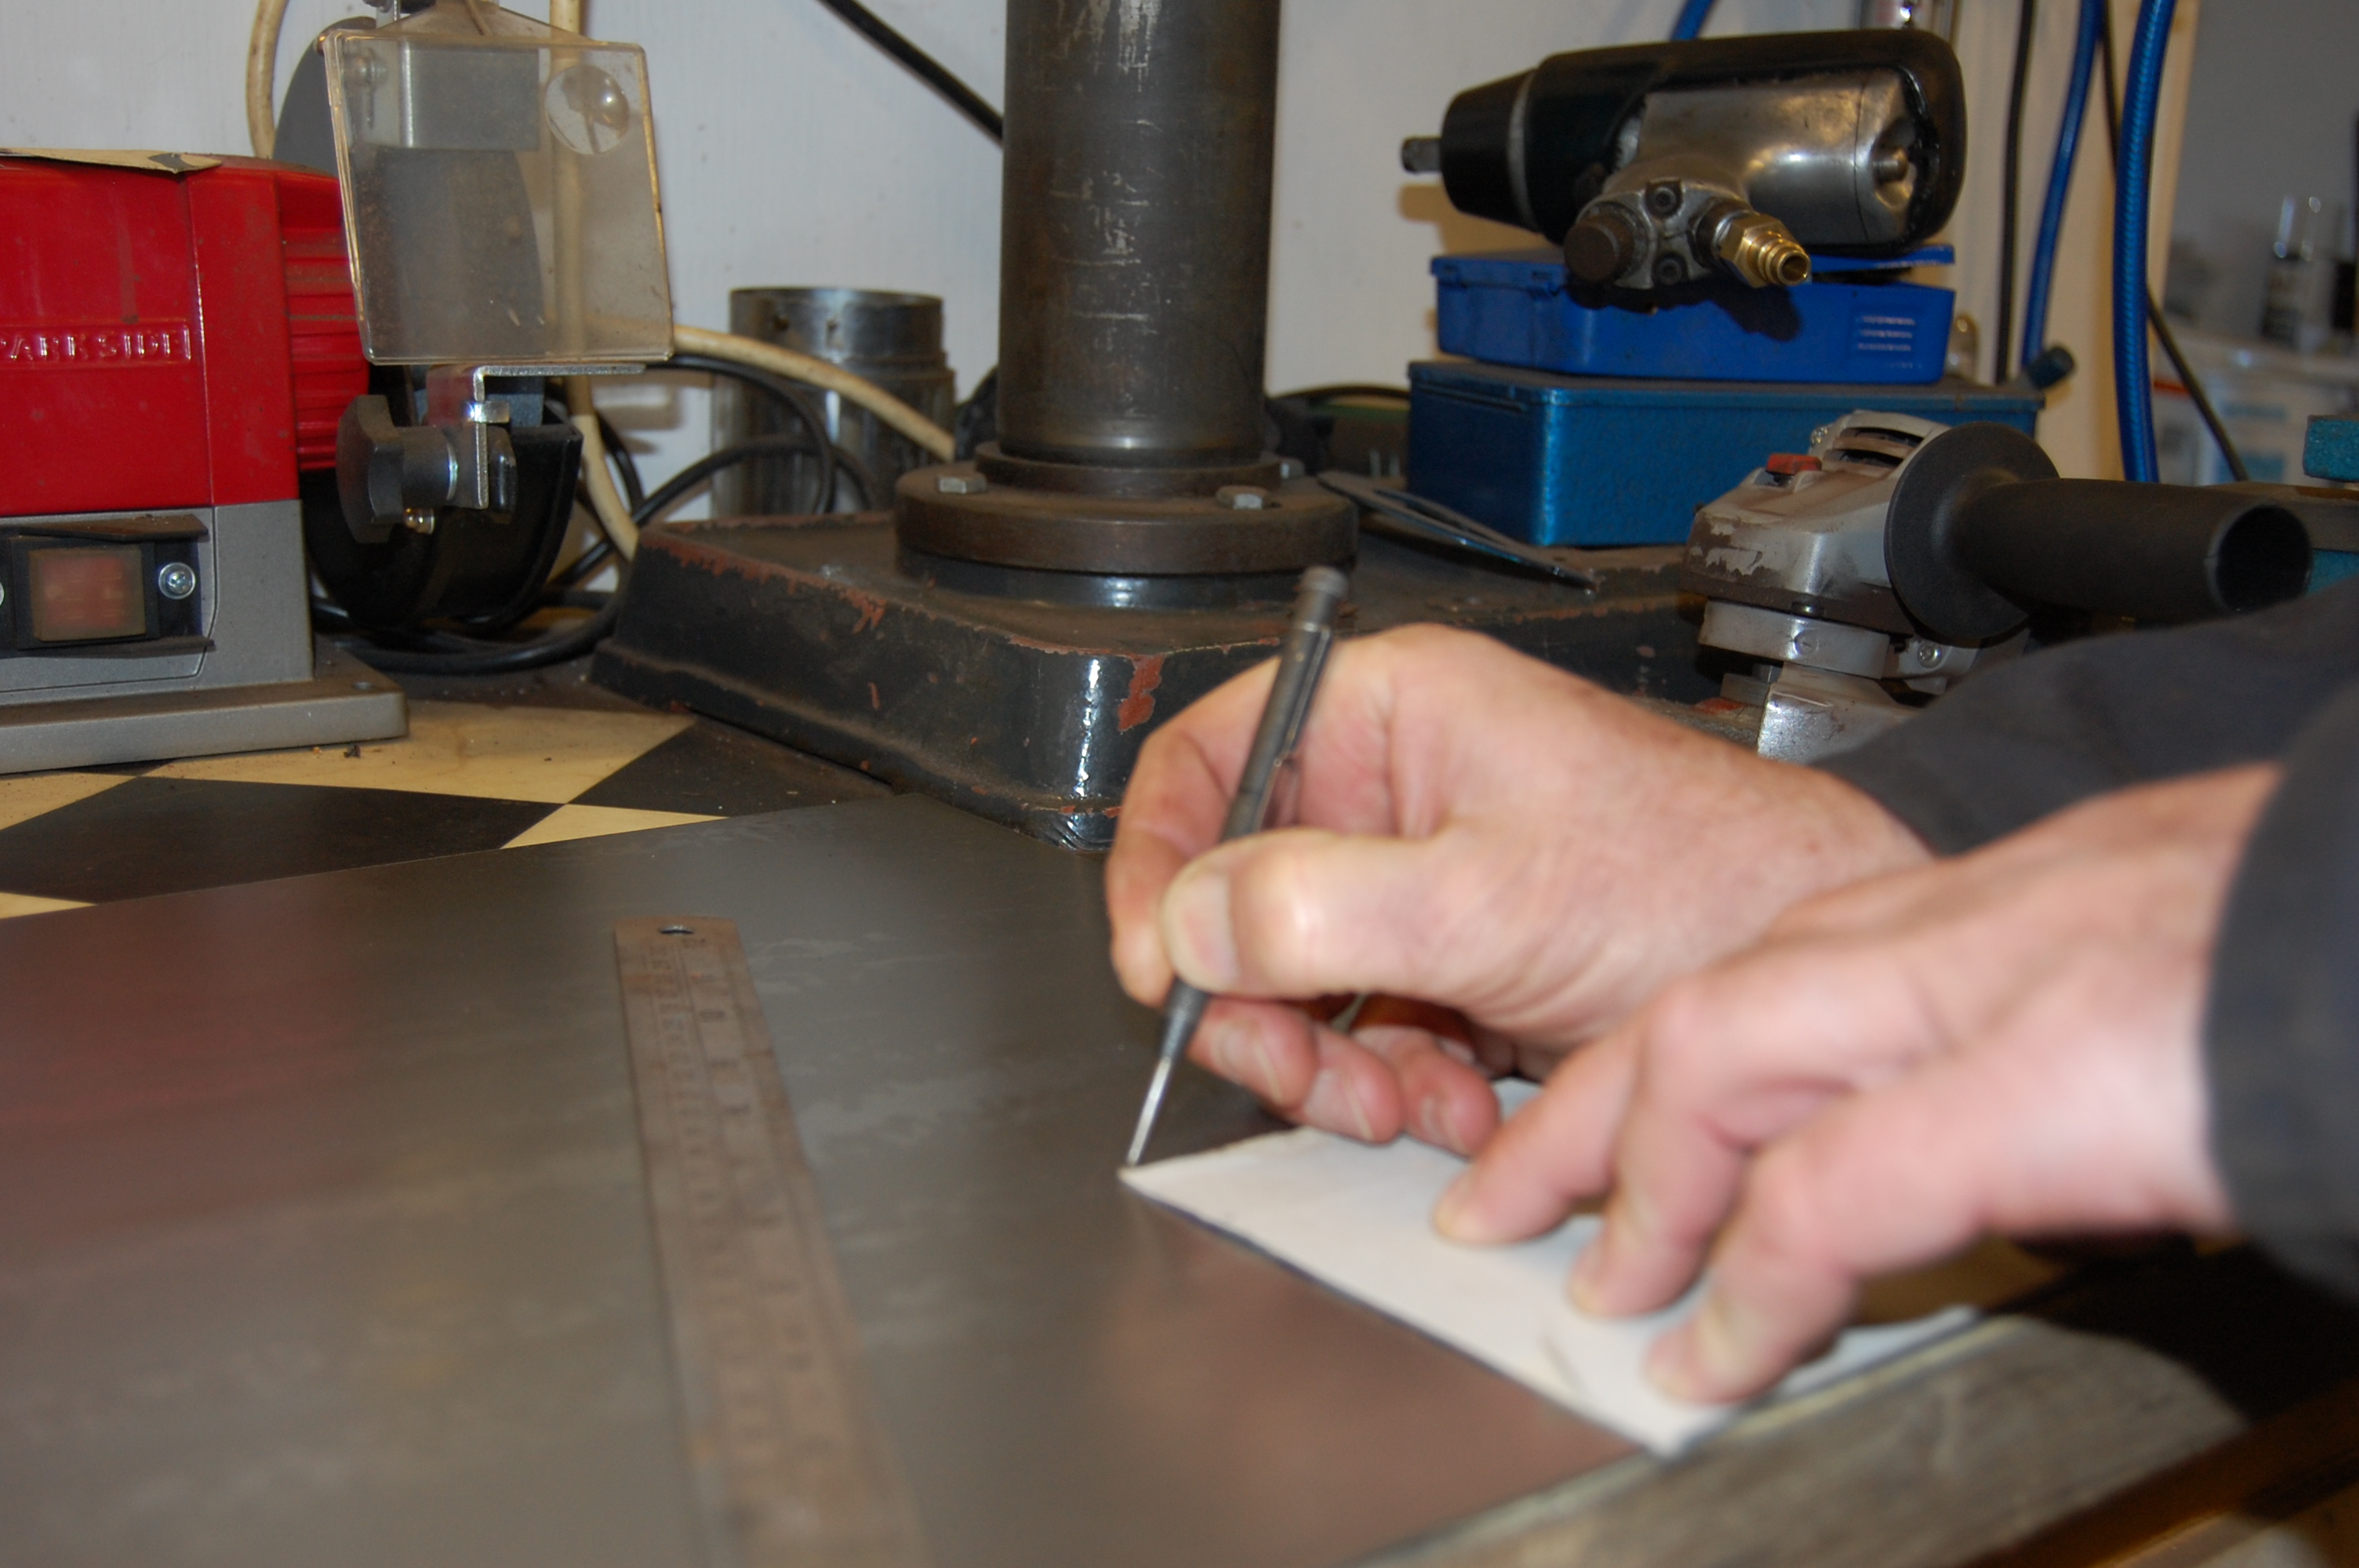
Unfolded template scribed onto 14 guage sheet metal.
Template cut to shape.
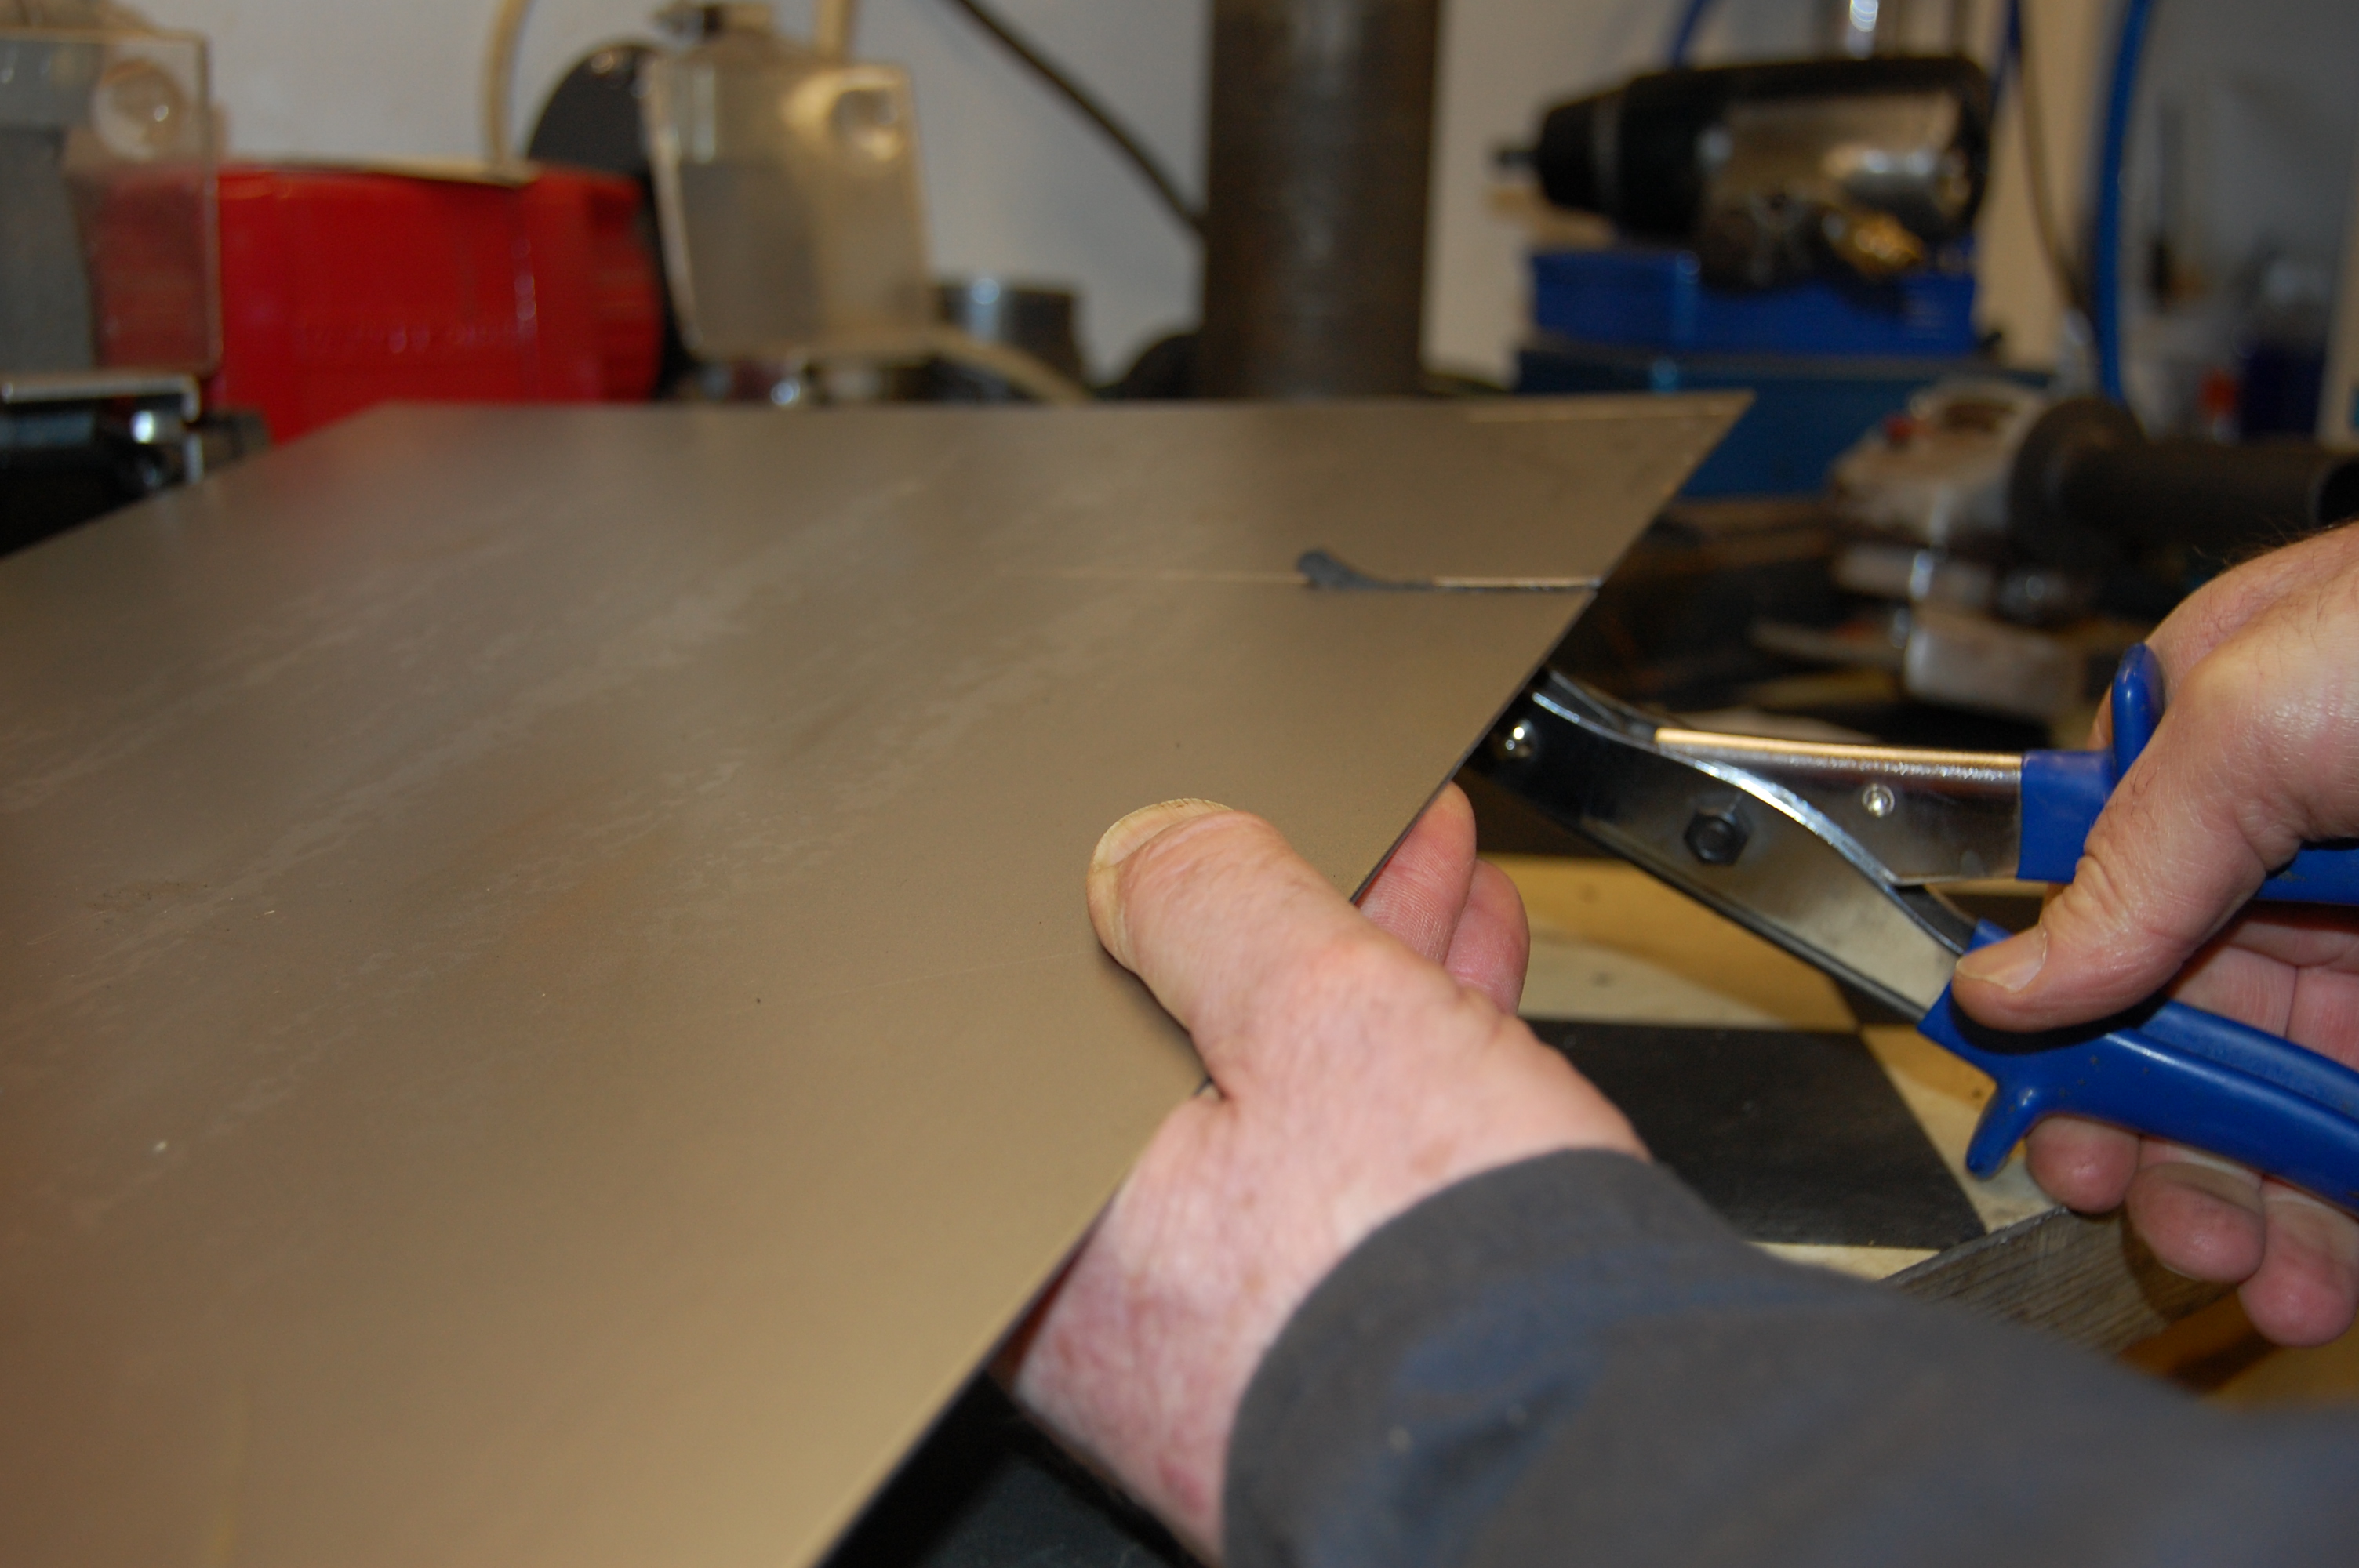
I used a nibbler as I don’t have a guillotine – 14 gauge is about the max for a nibbler
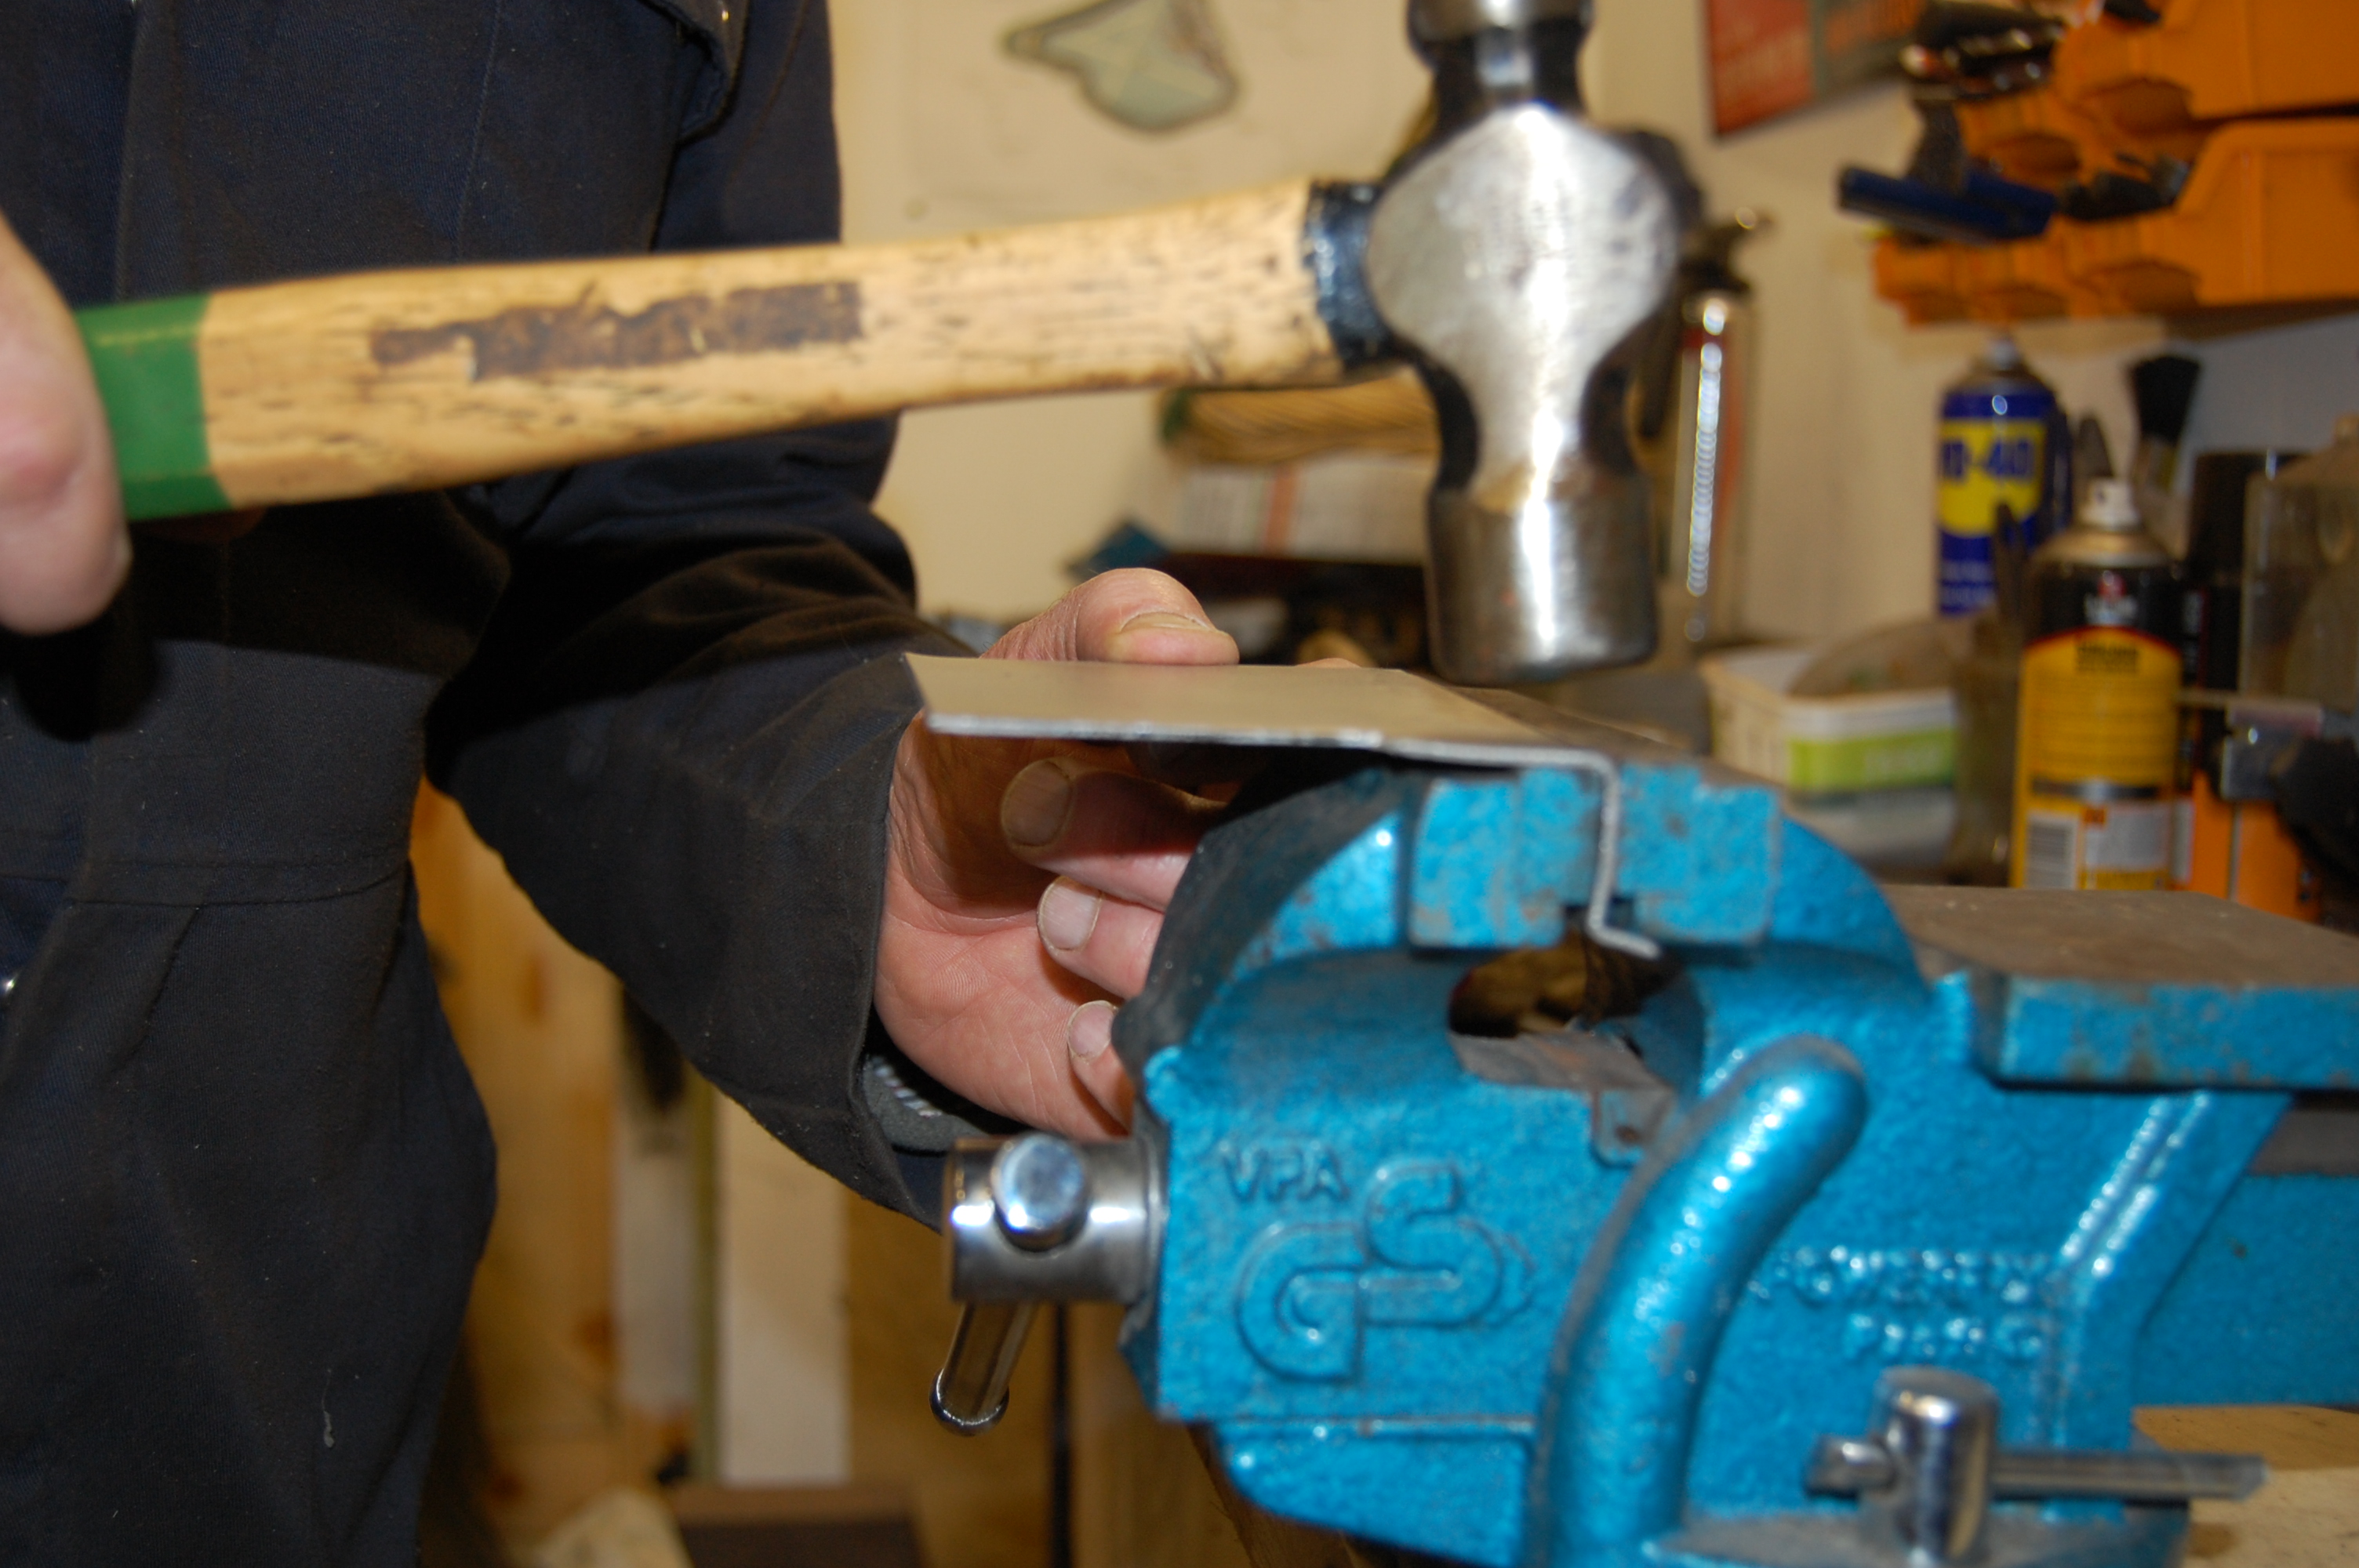
Bends were marked and then eased into shape using the time honoured vice and hammer technique.
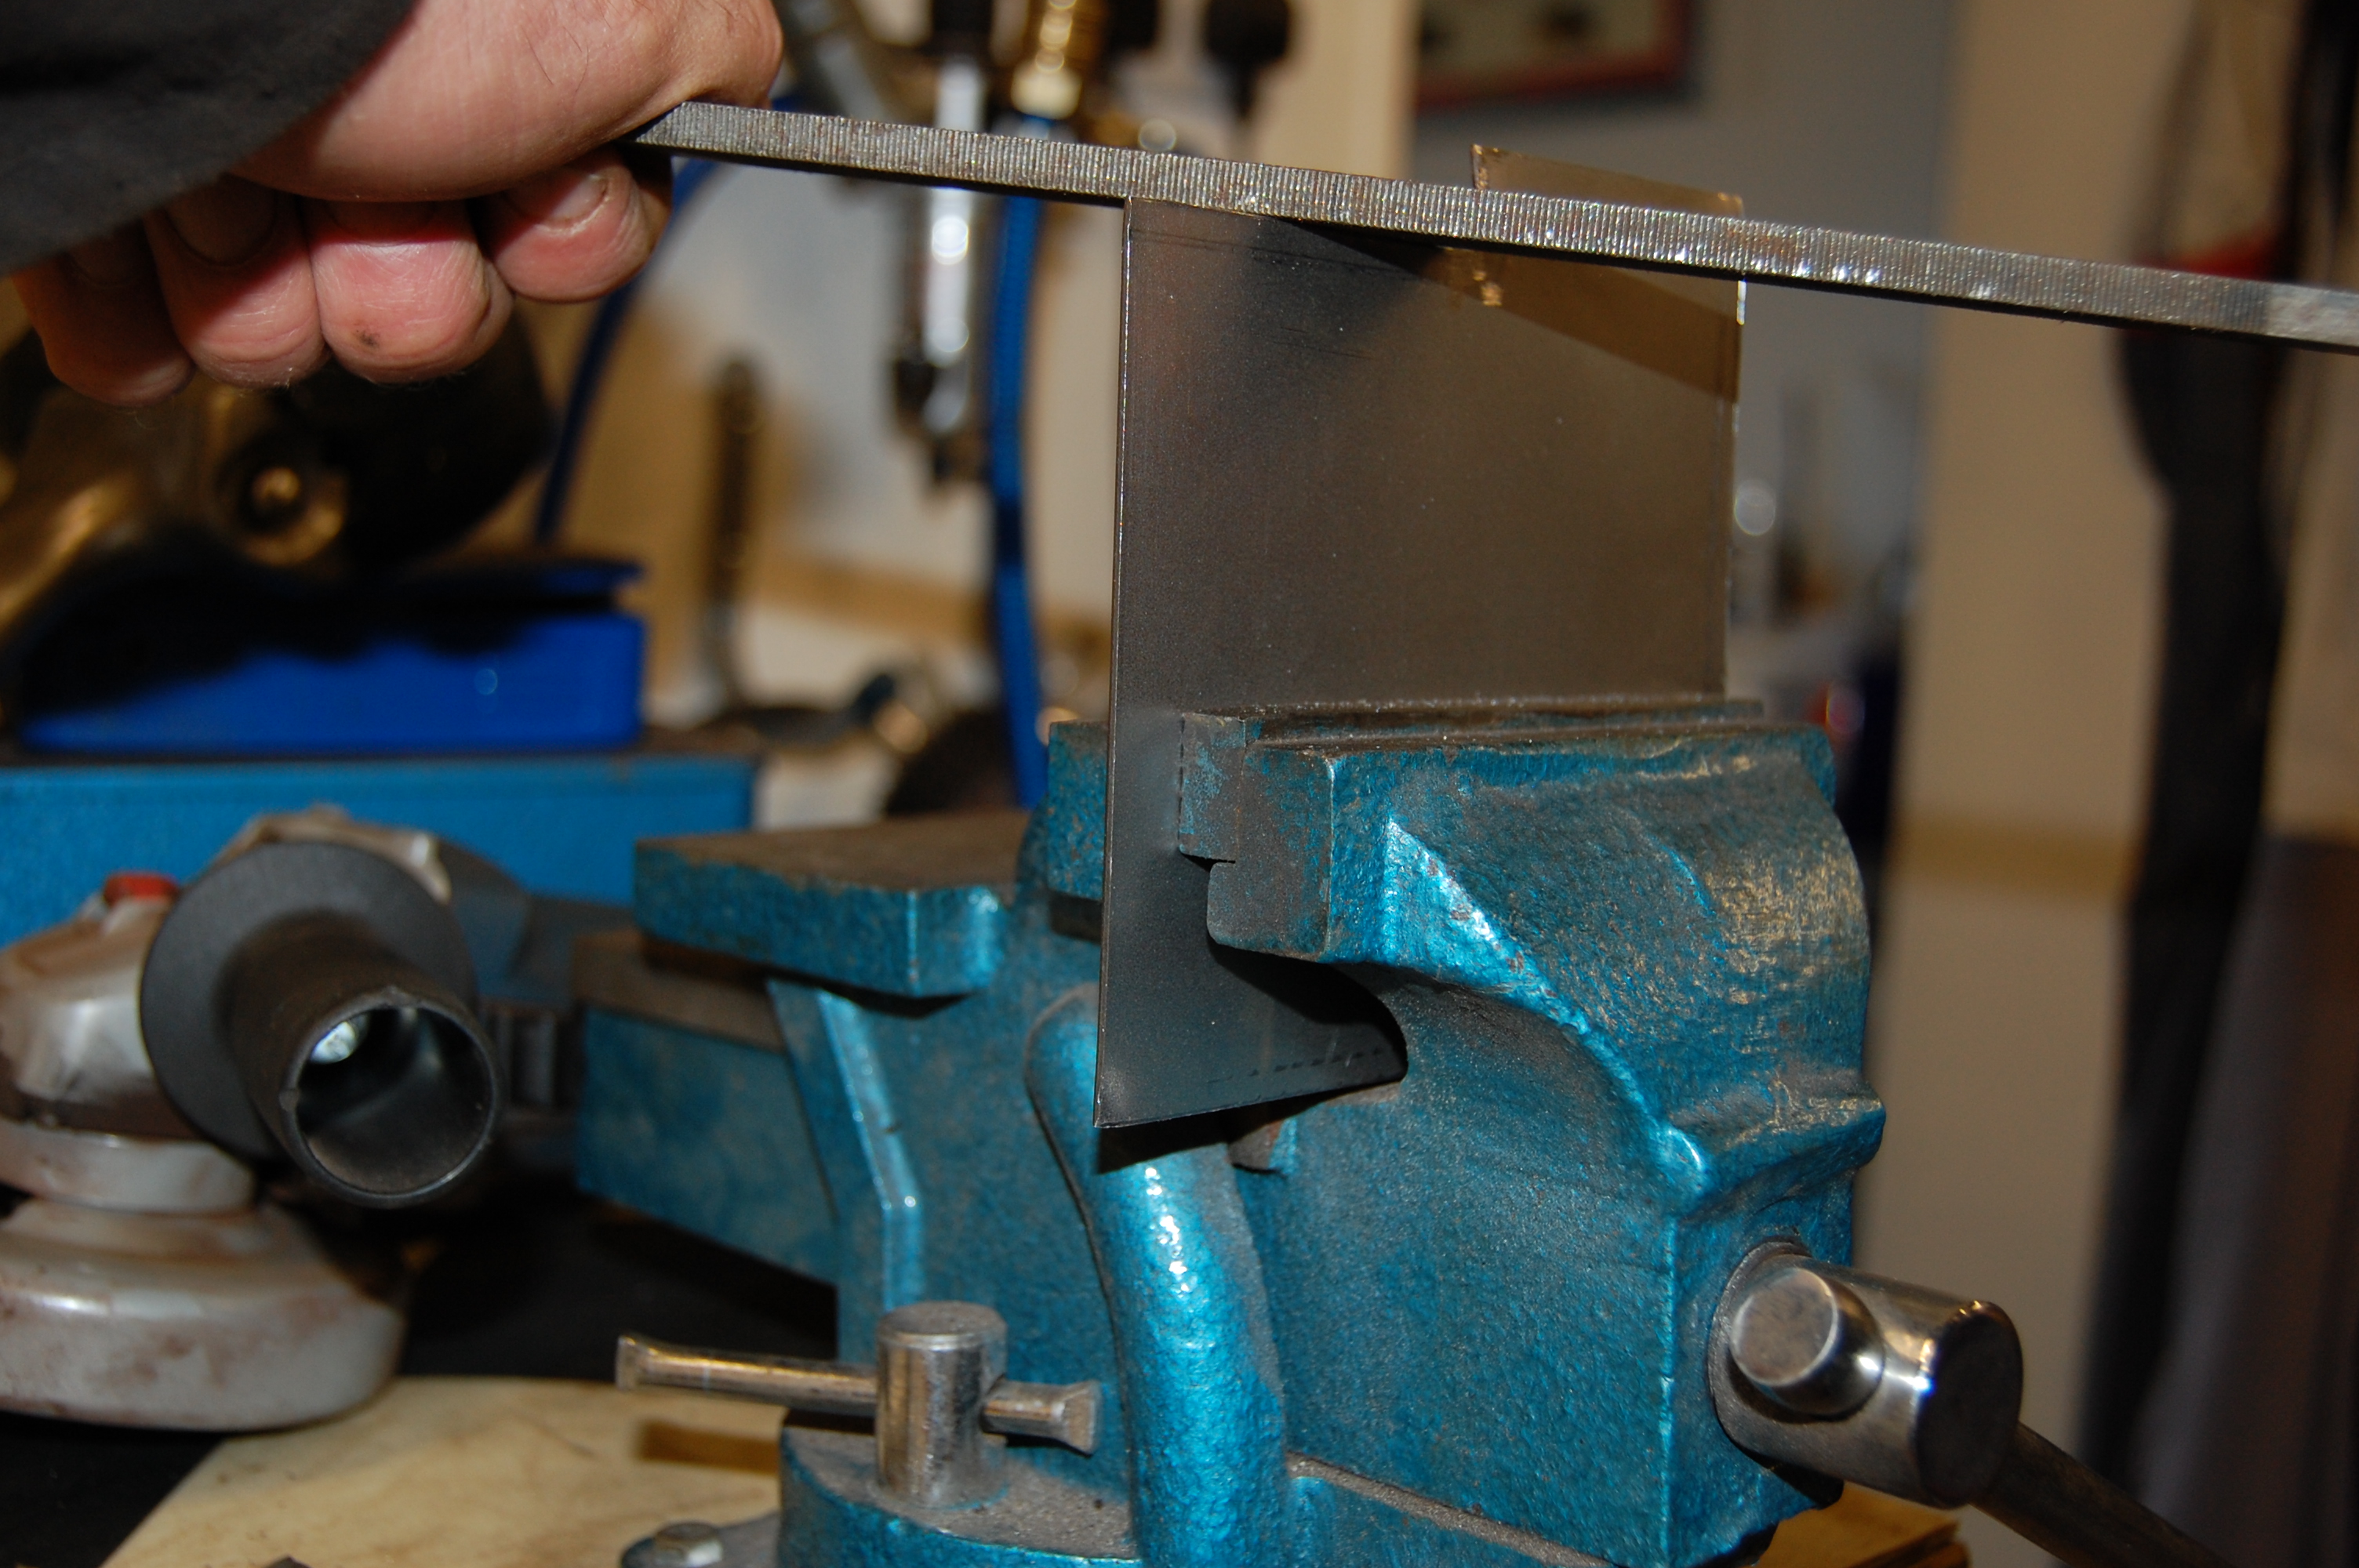
Edges cleaned up and trimmed to fit.
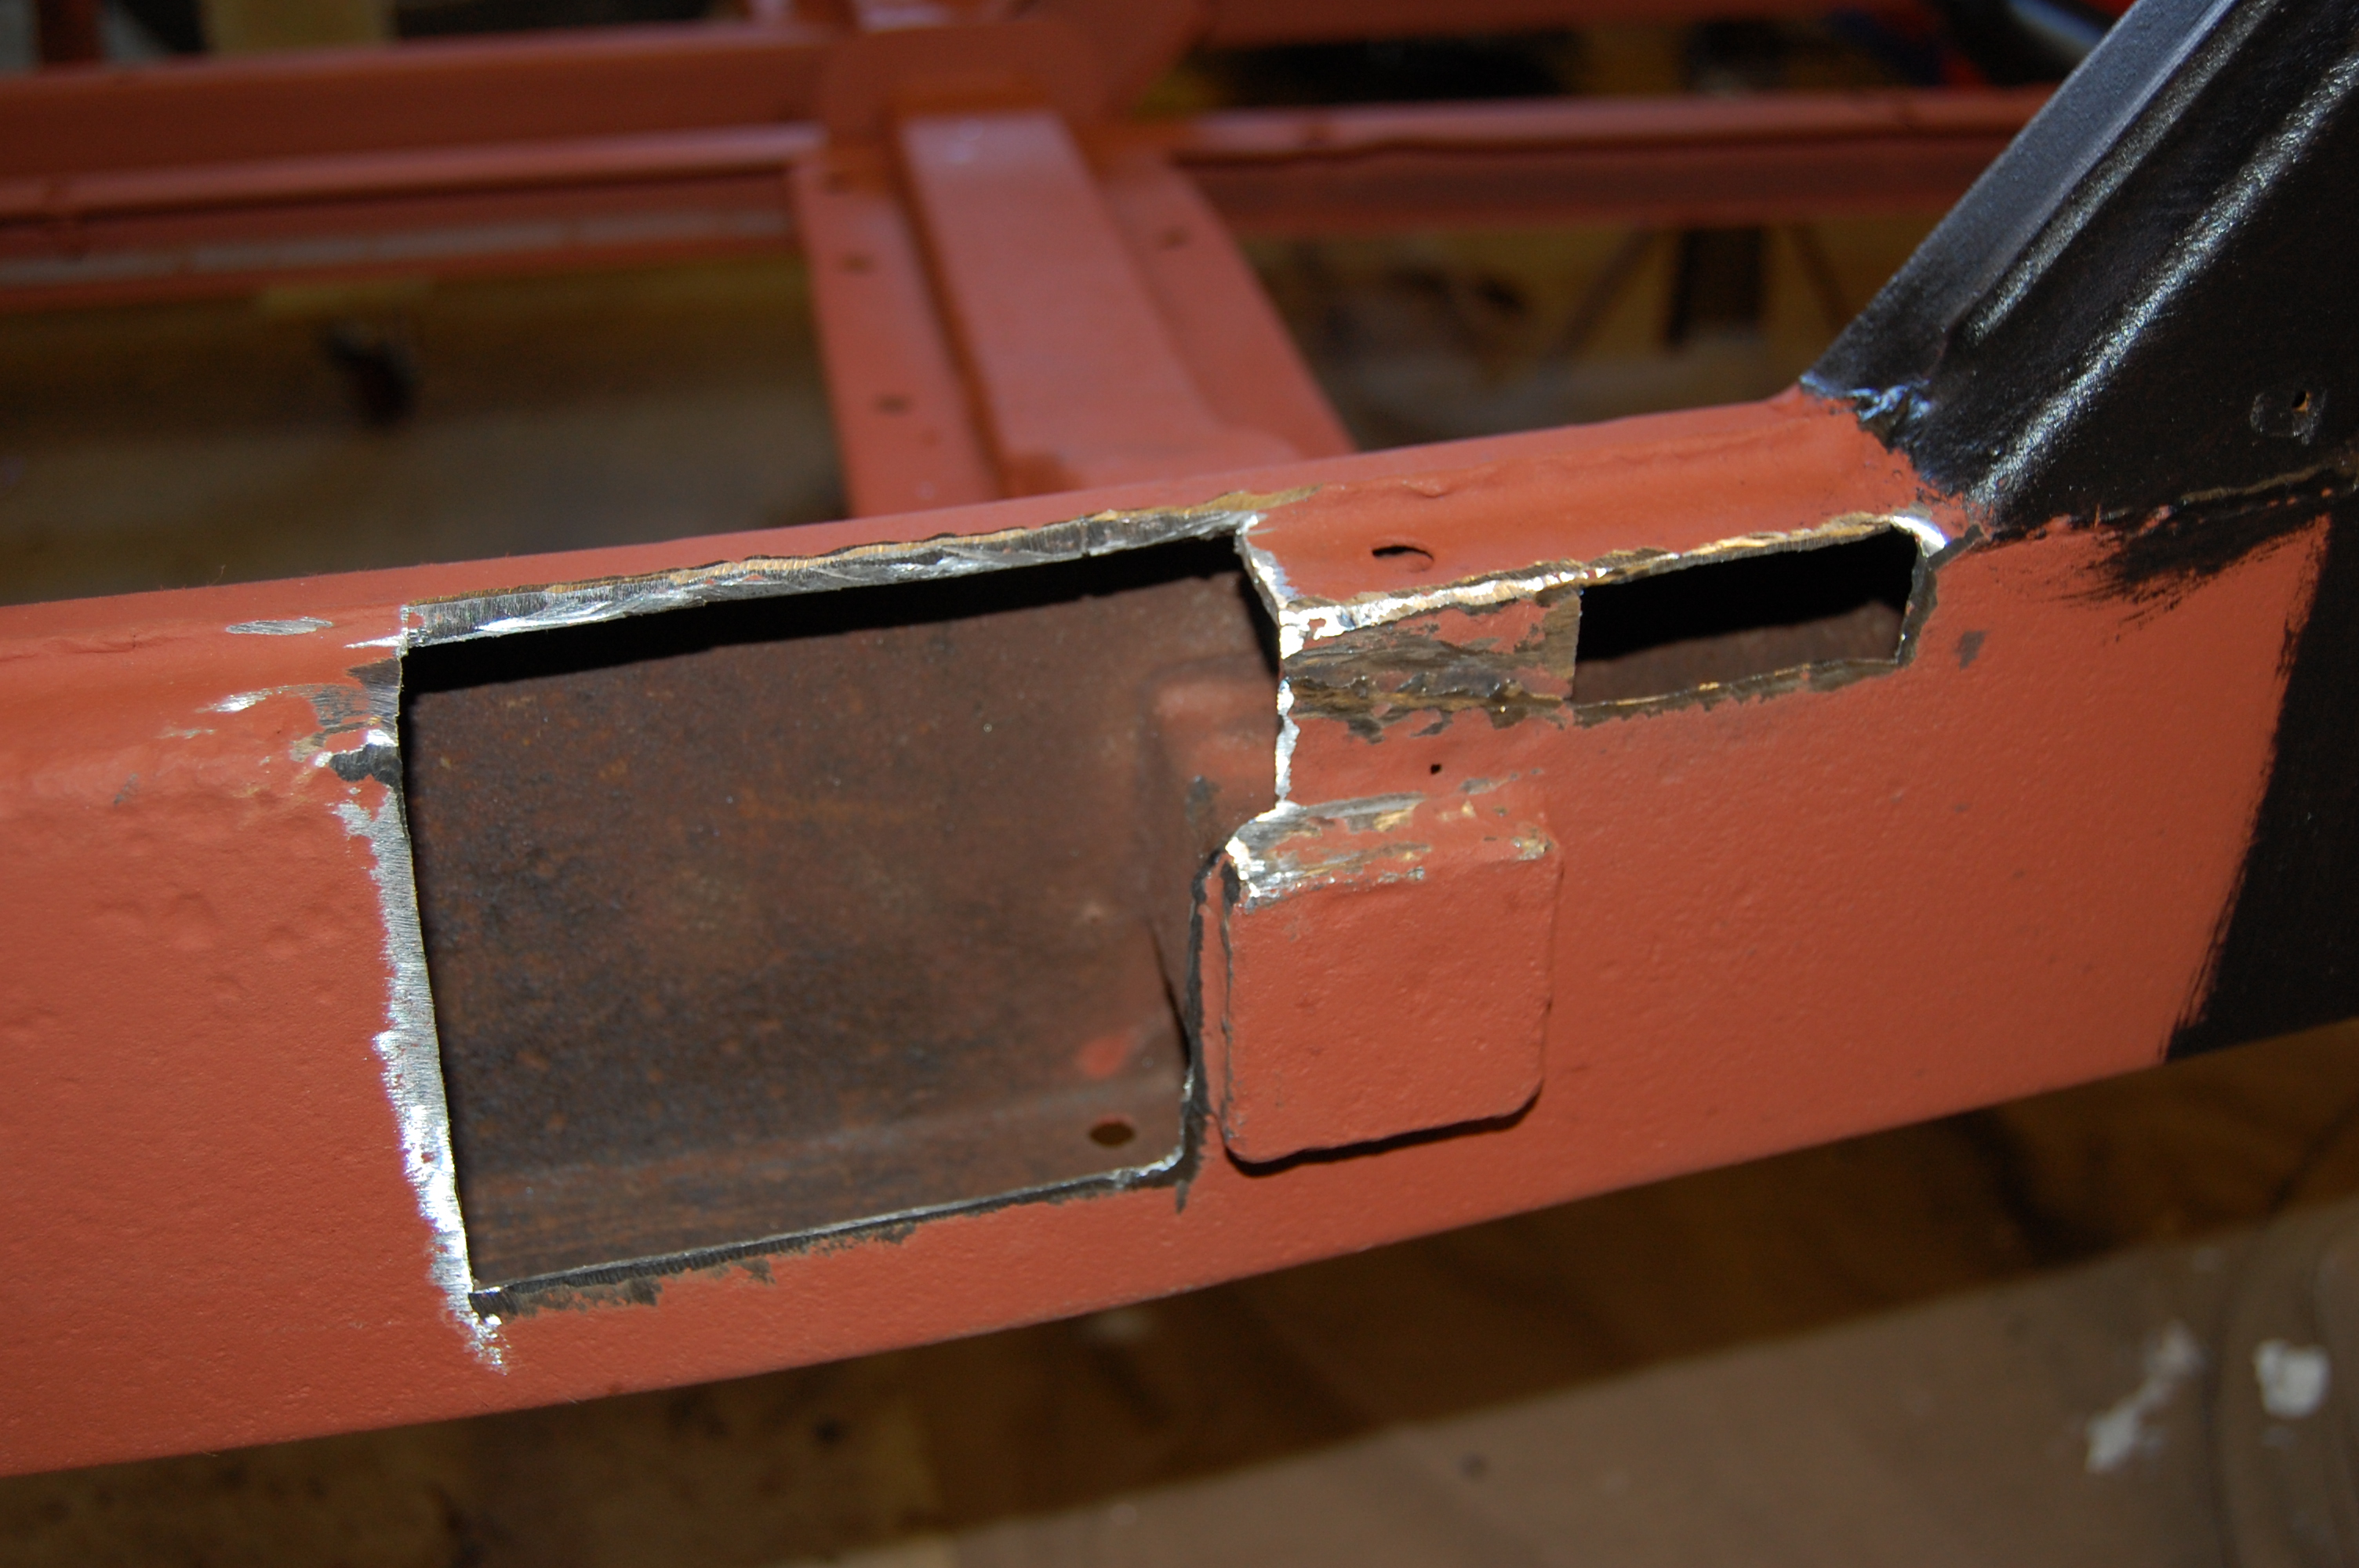
Red oxide primer ground back to leave clean metal for welding. Note how the inner surfaces are in great condition after 55 years – rust was from the outside in.
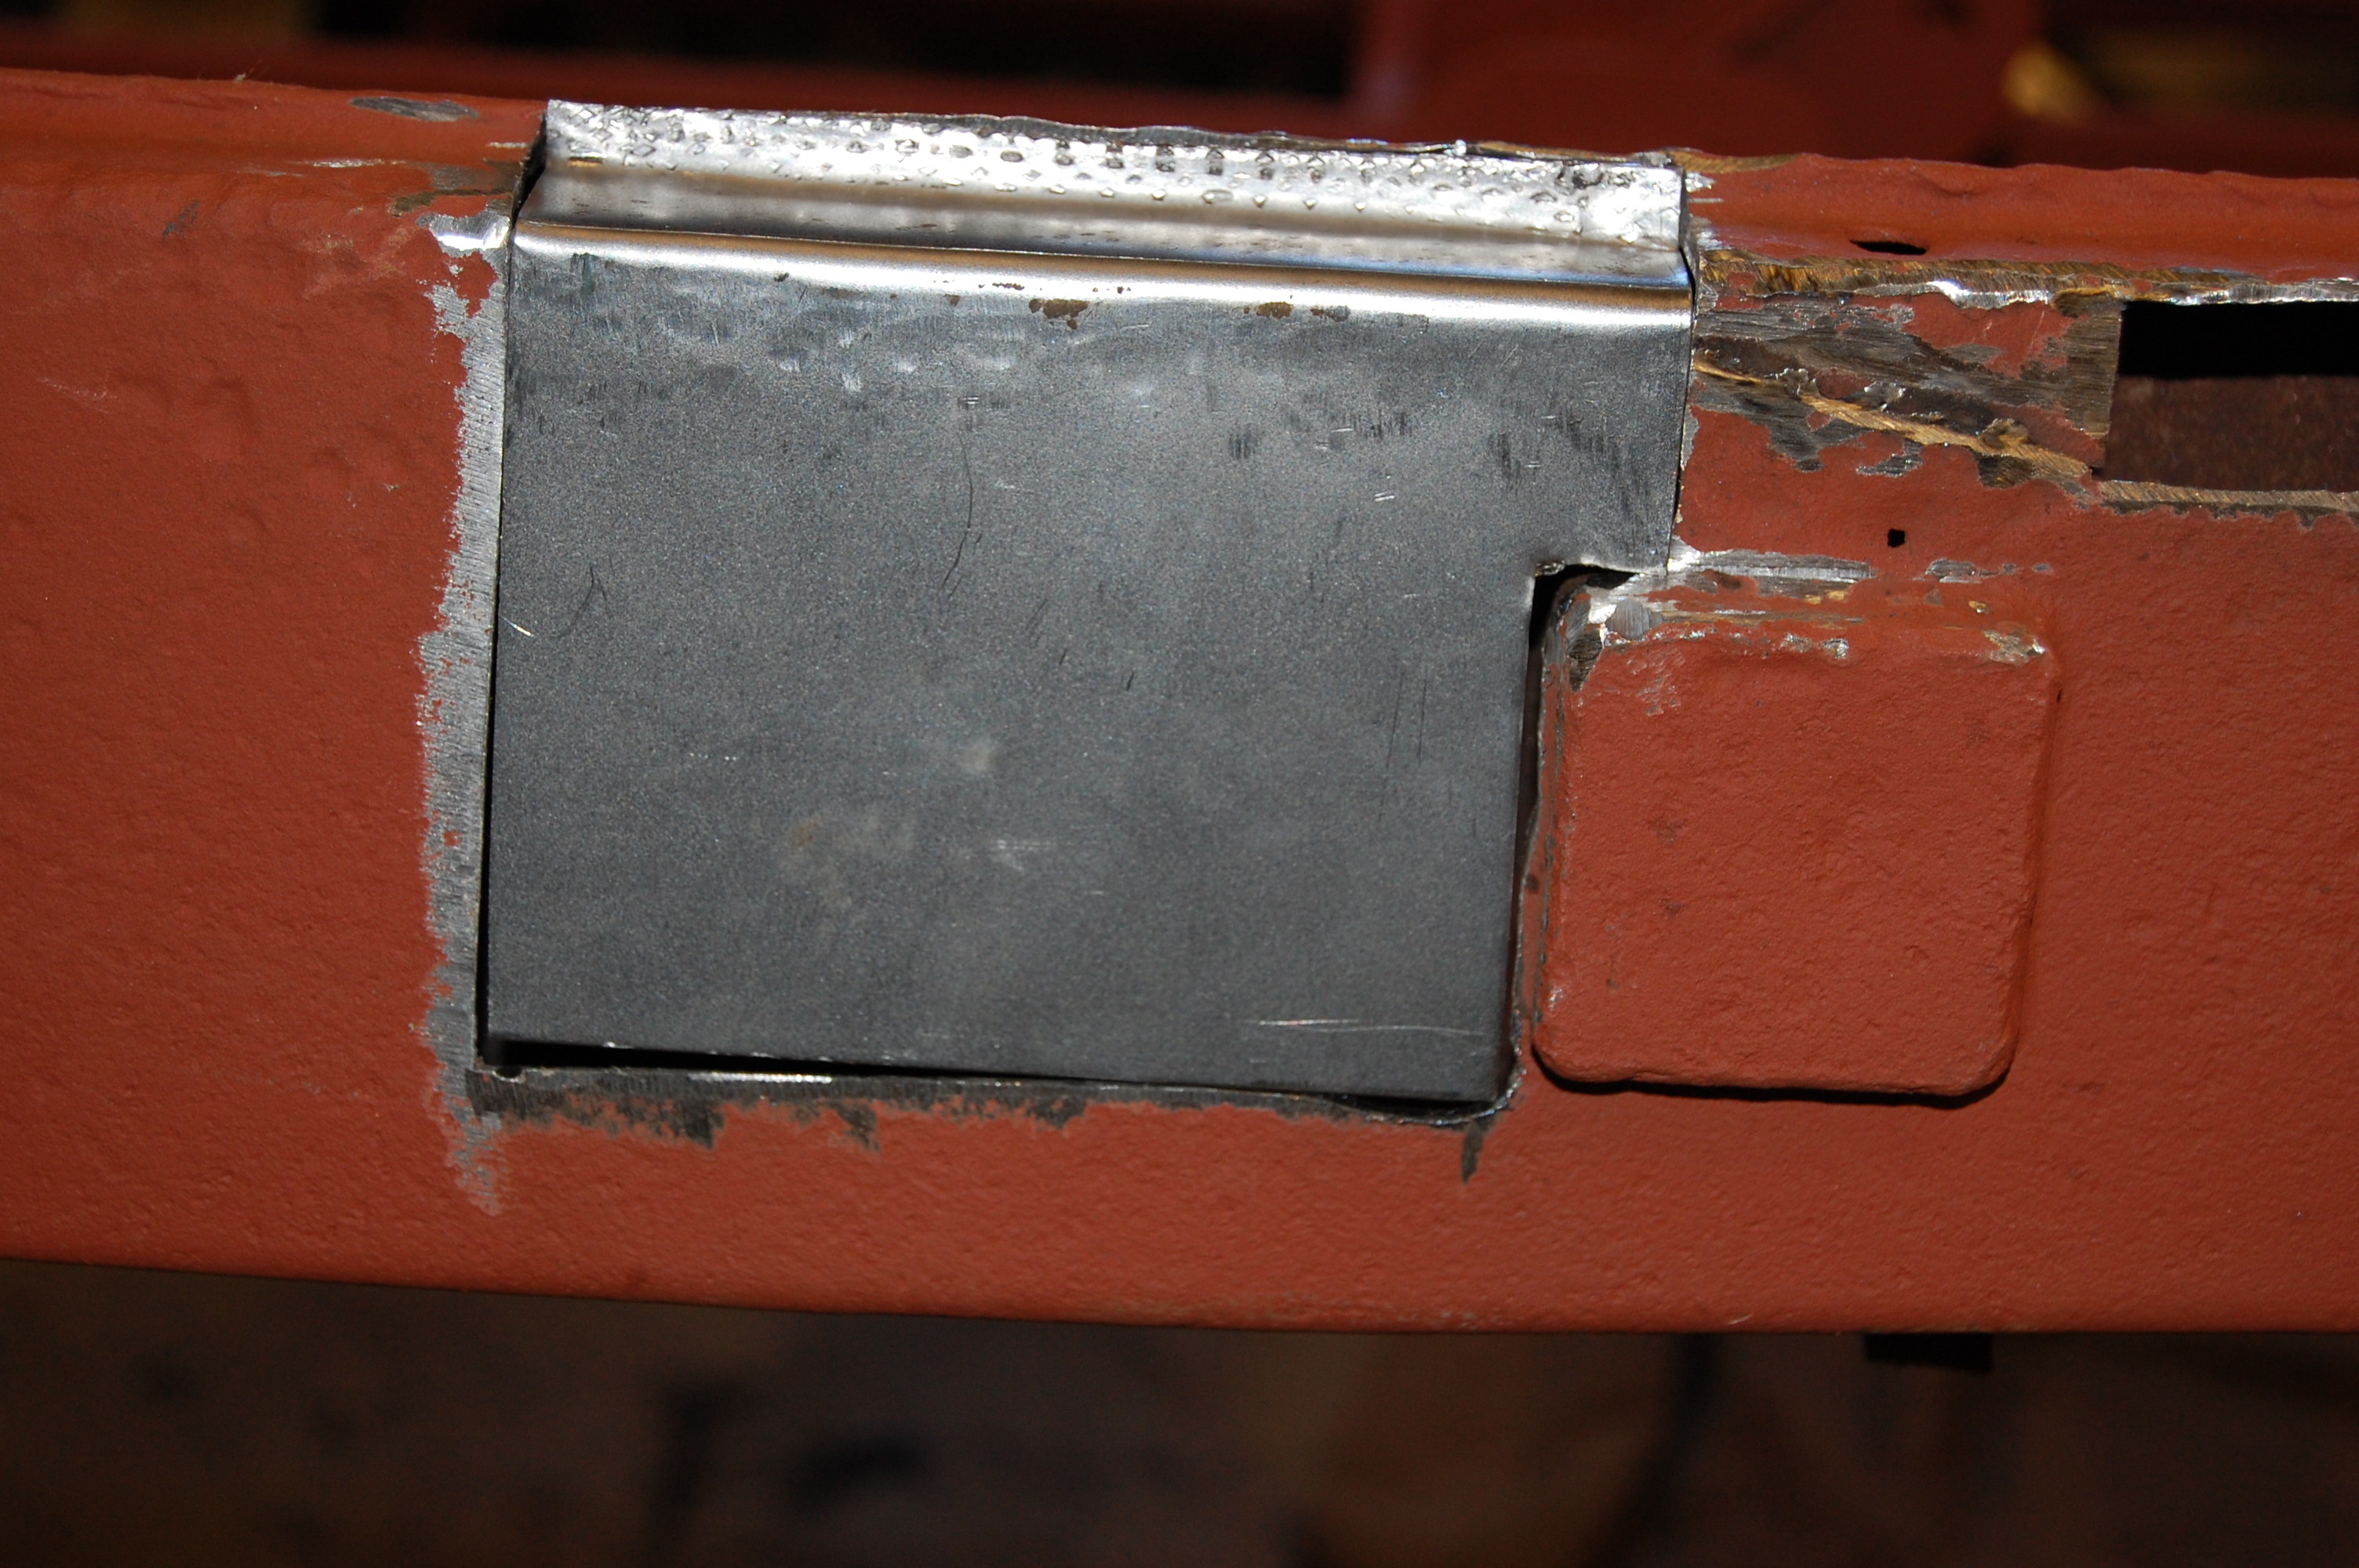
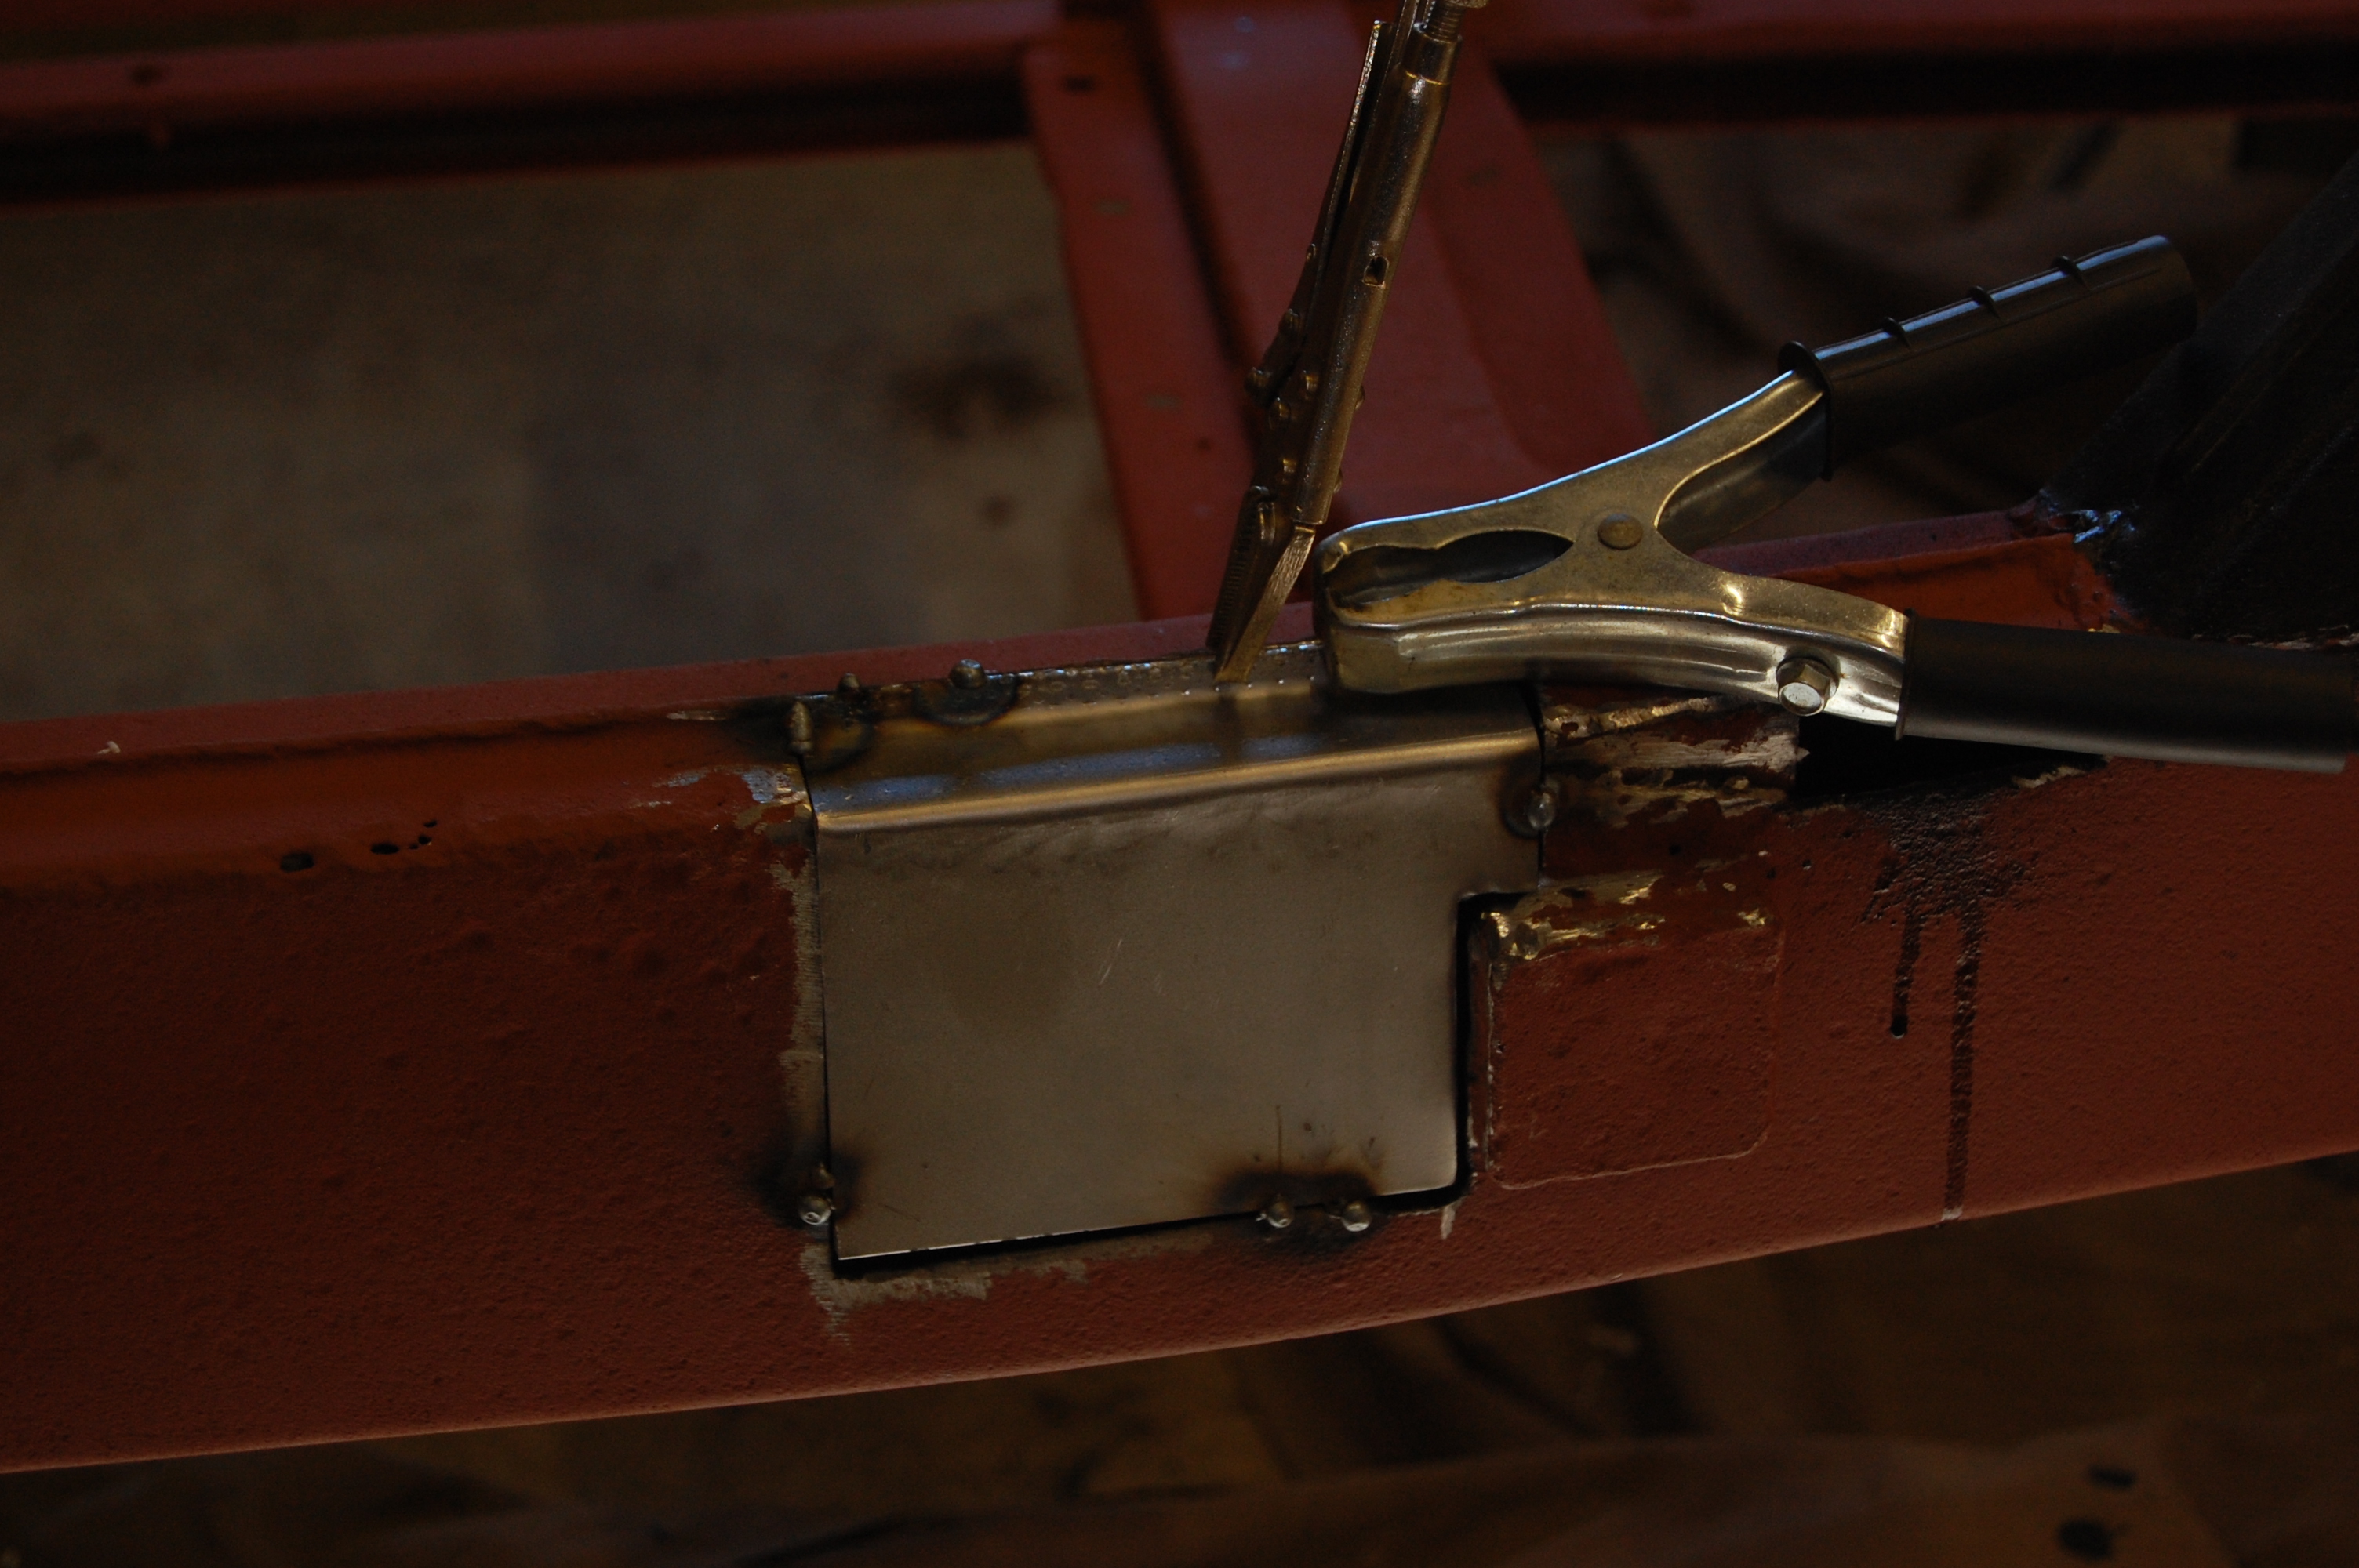
Tacked in place.
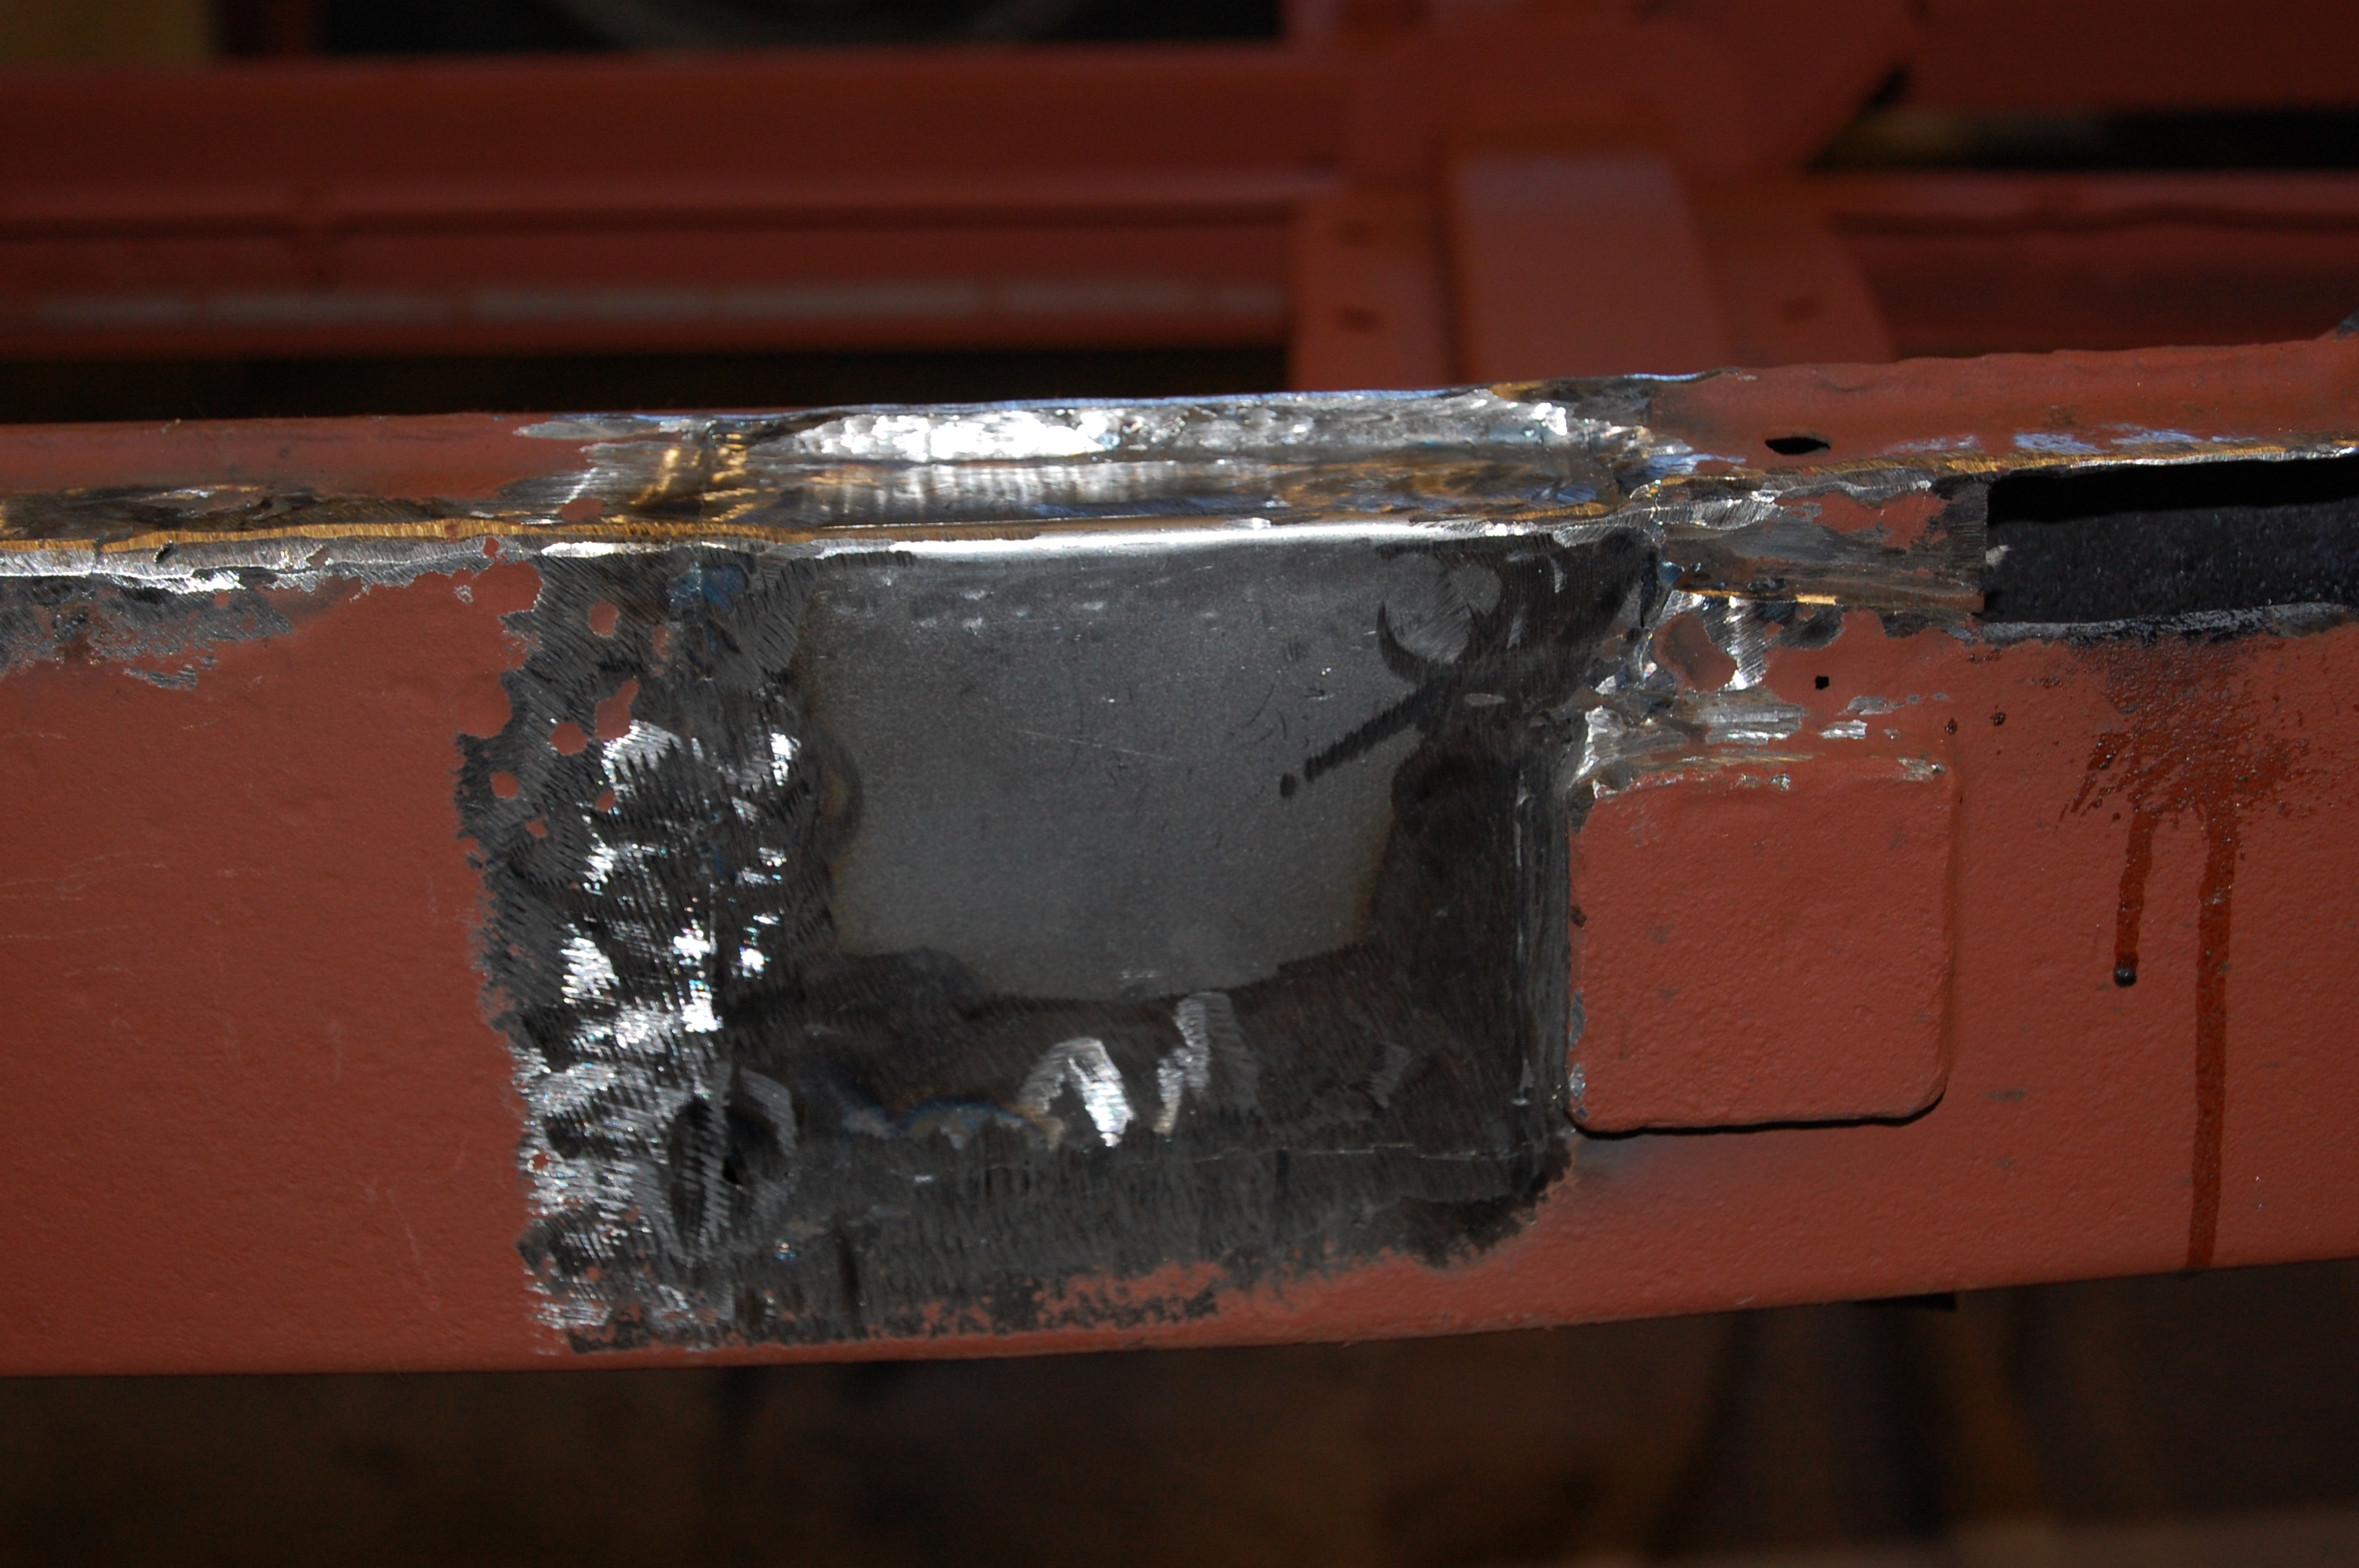
Finished flush repair – other smaller perforations were ground back and filled with weld. Further welding was carried out after this shot, where weld hadn’t penetrated sufficiently. One repair section from MGOC is £39.00, so worth the effort.
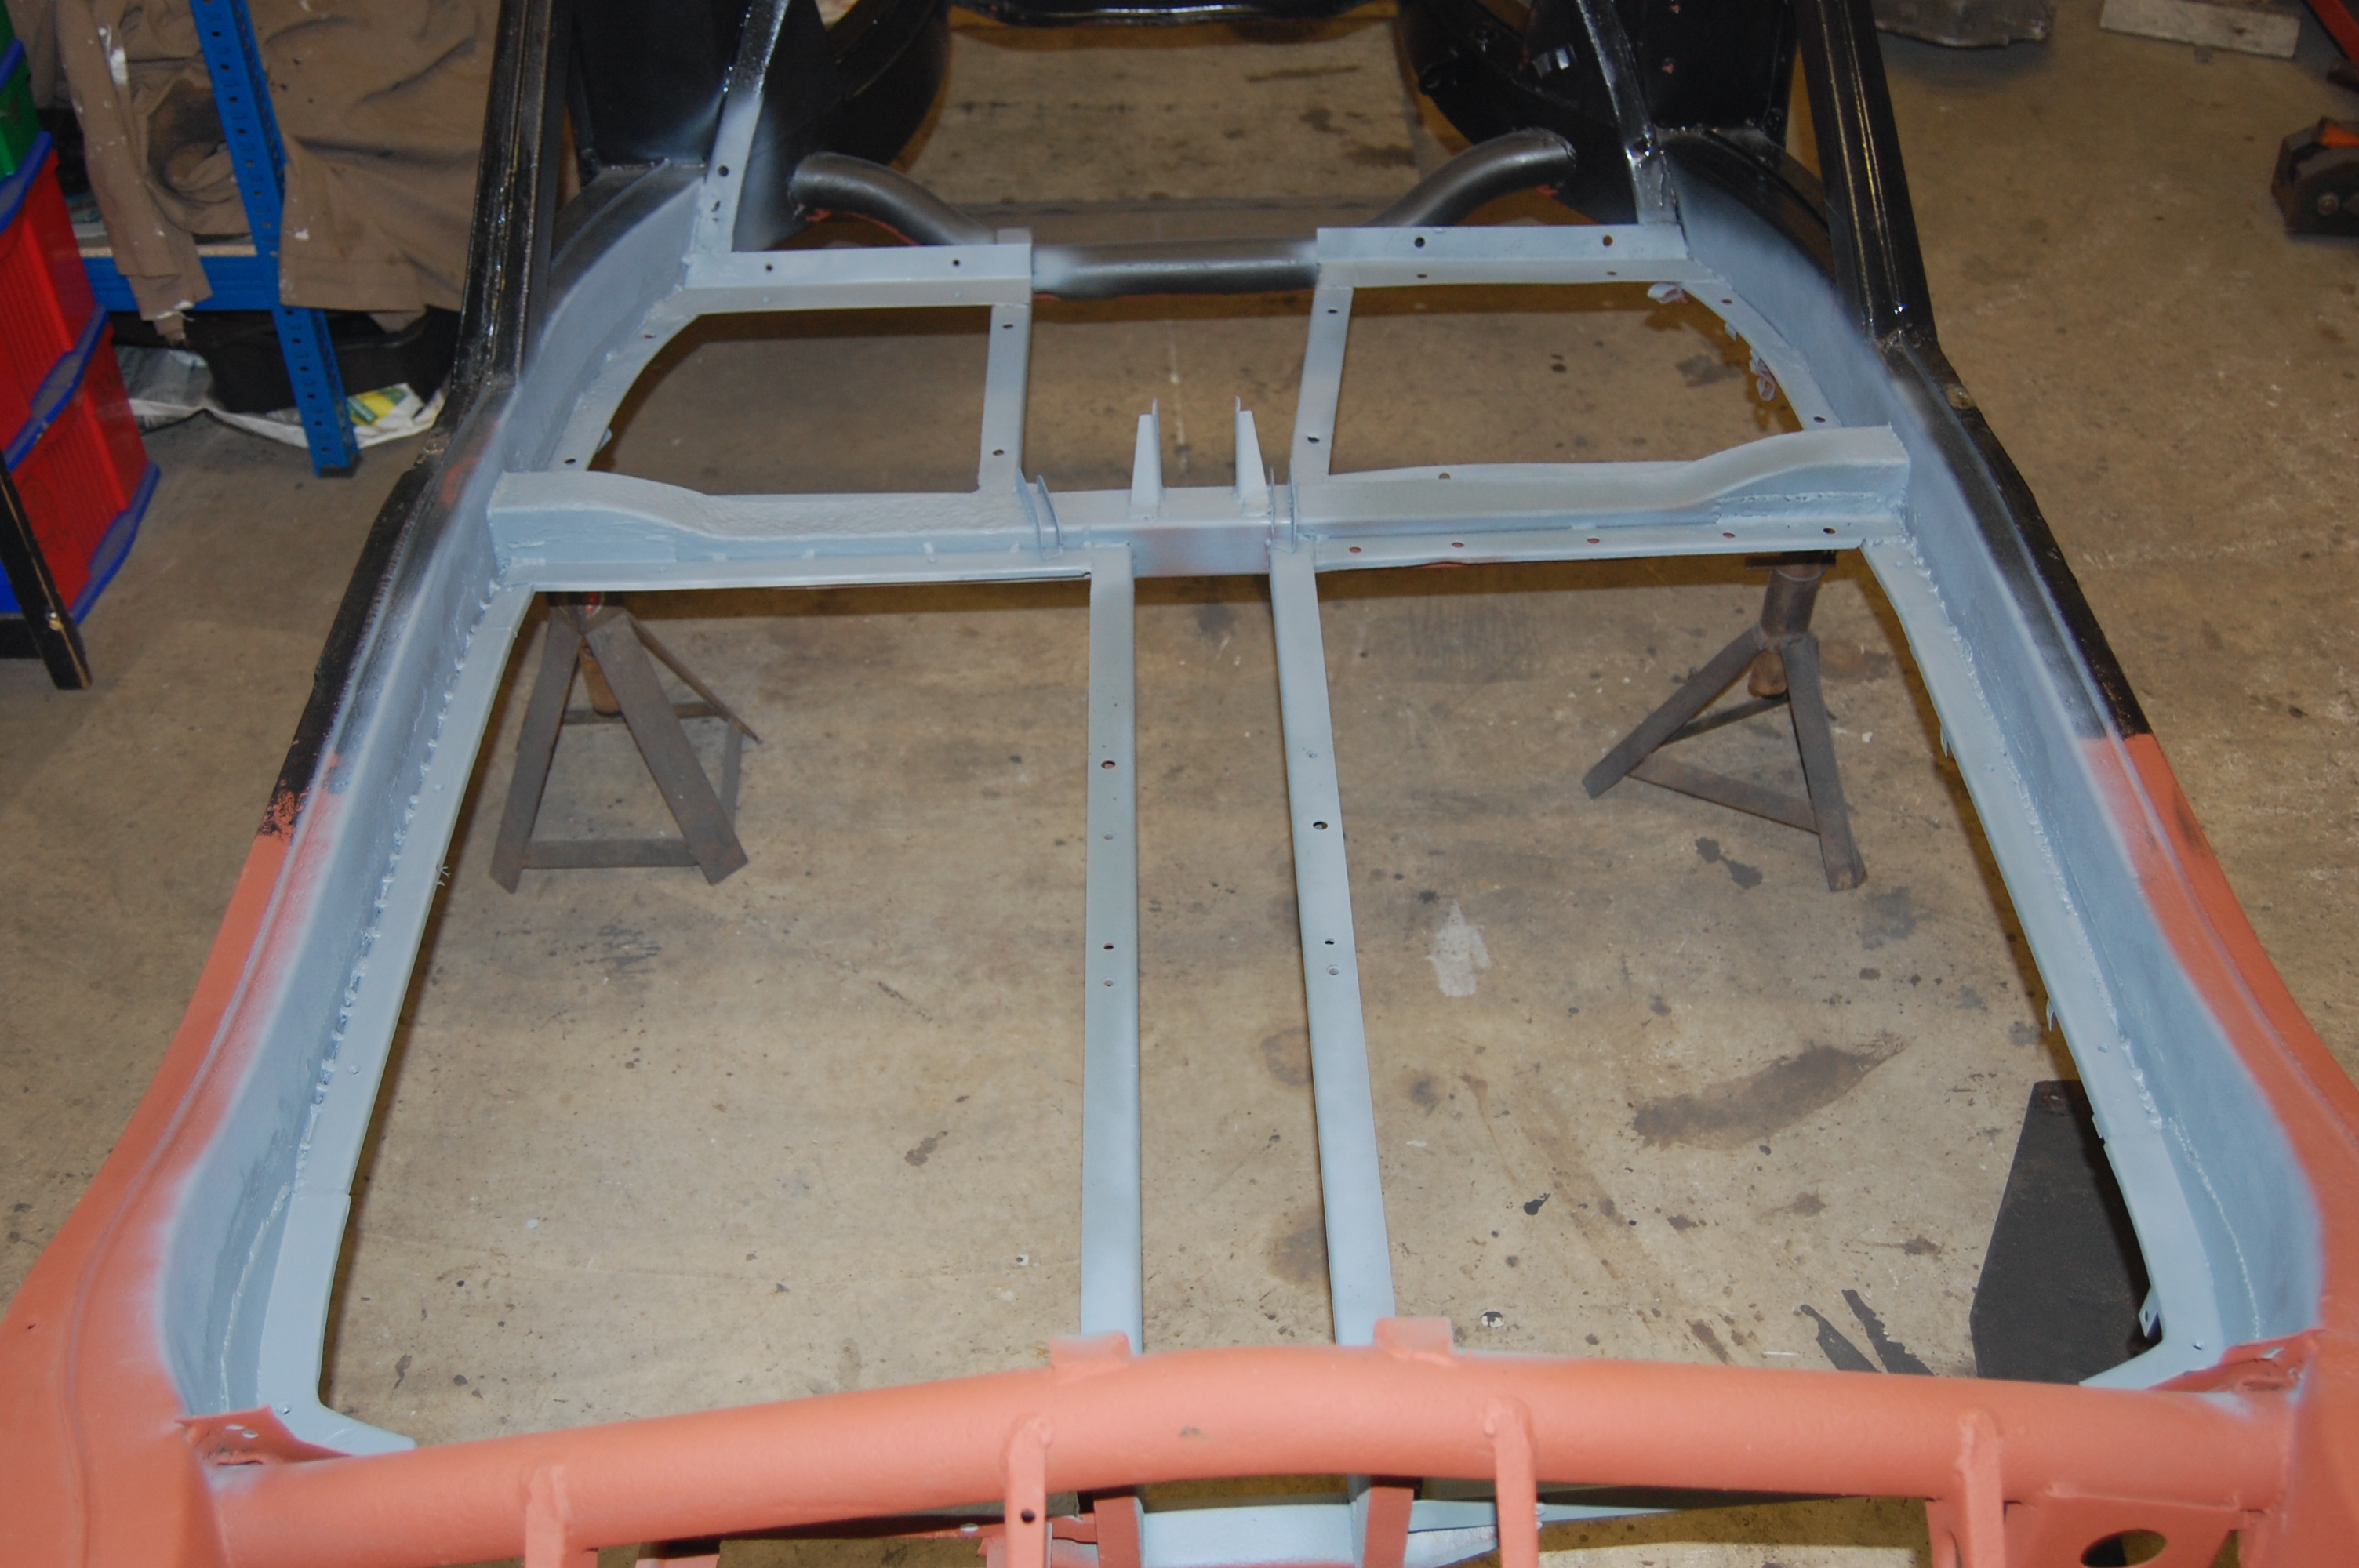
Floorboard Support Rails
The floorboard support rails are prone to becoming toast thanks to the original design that encouraged water to soak into the carpet next to the inner chassis rails.
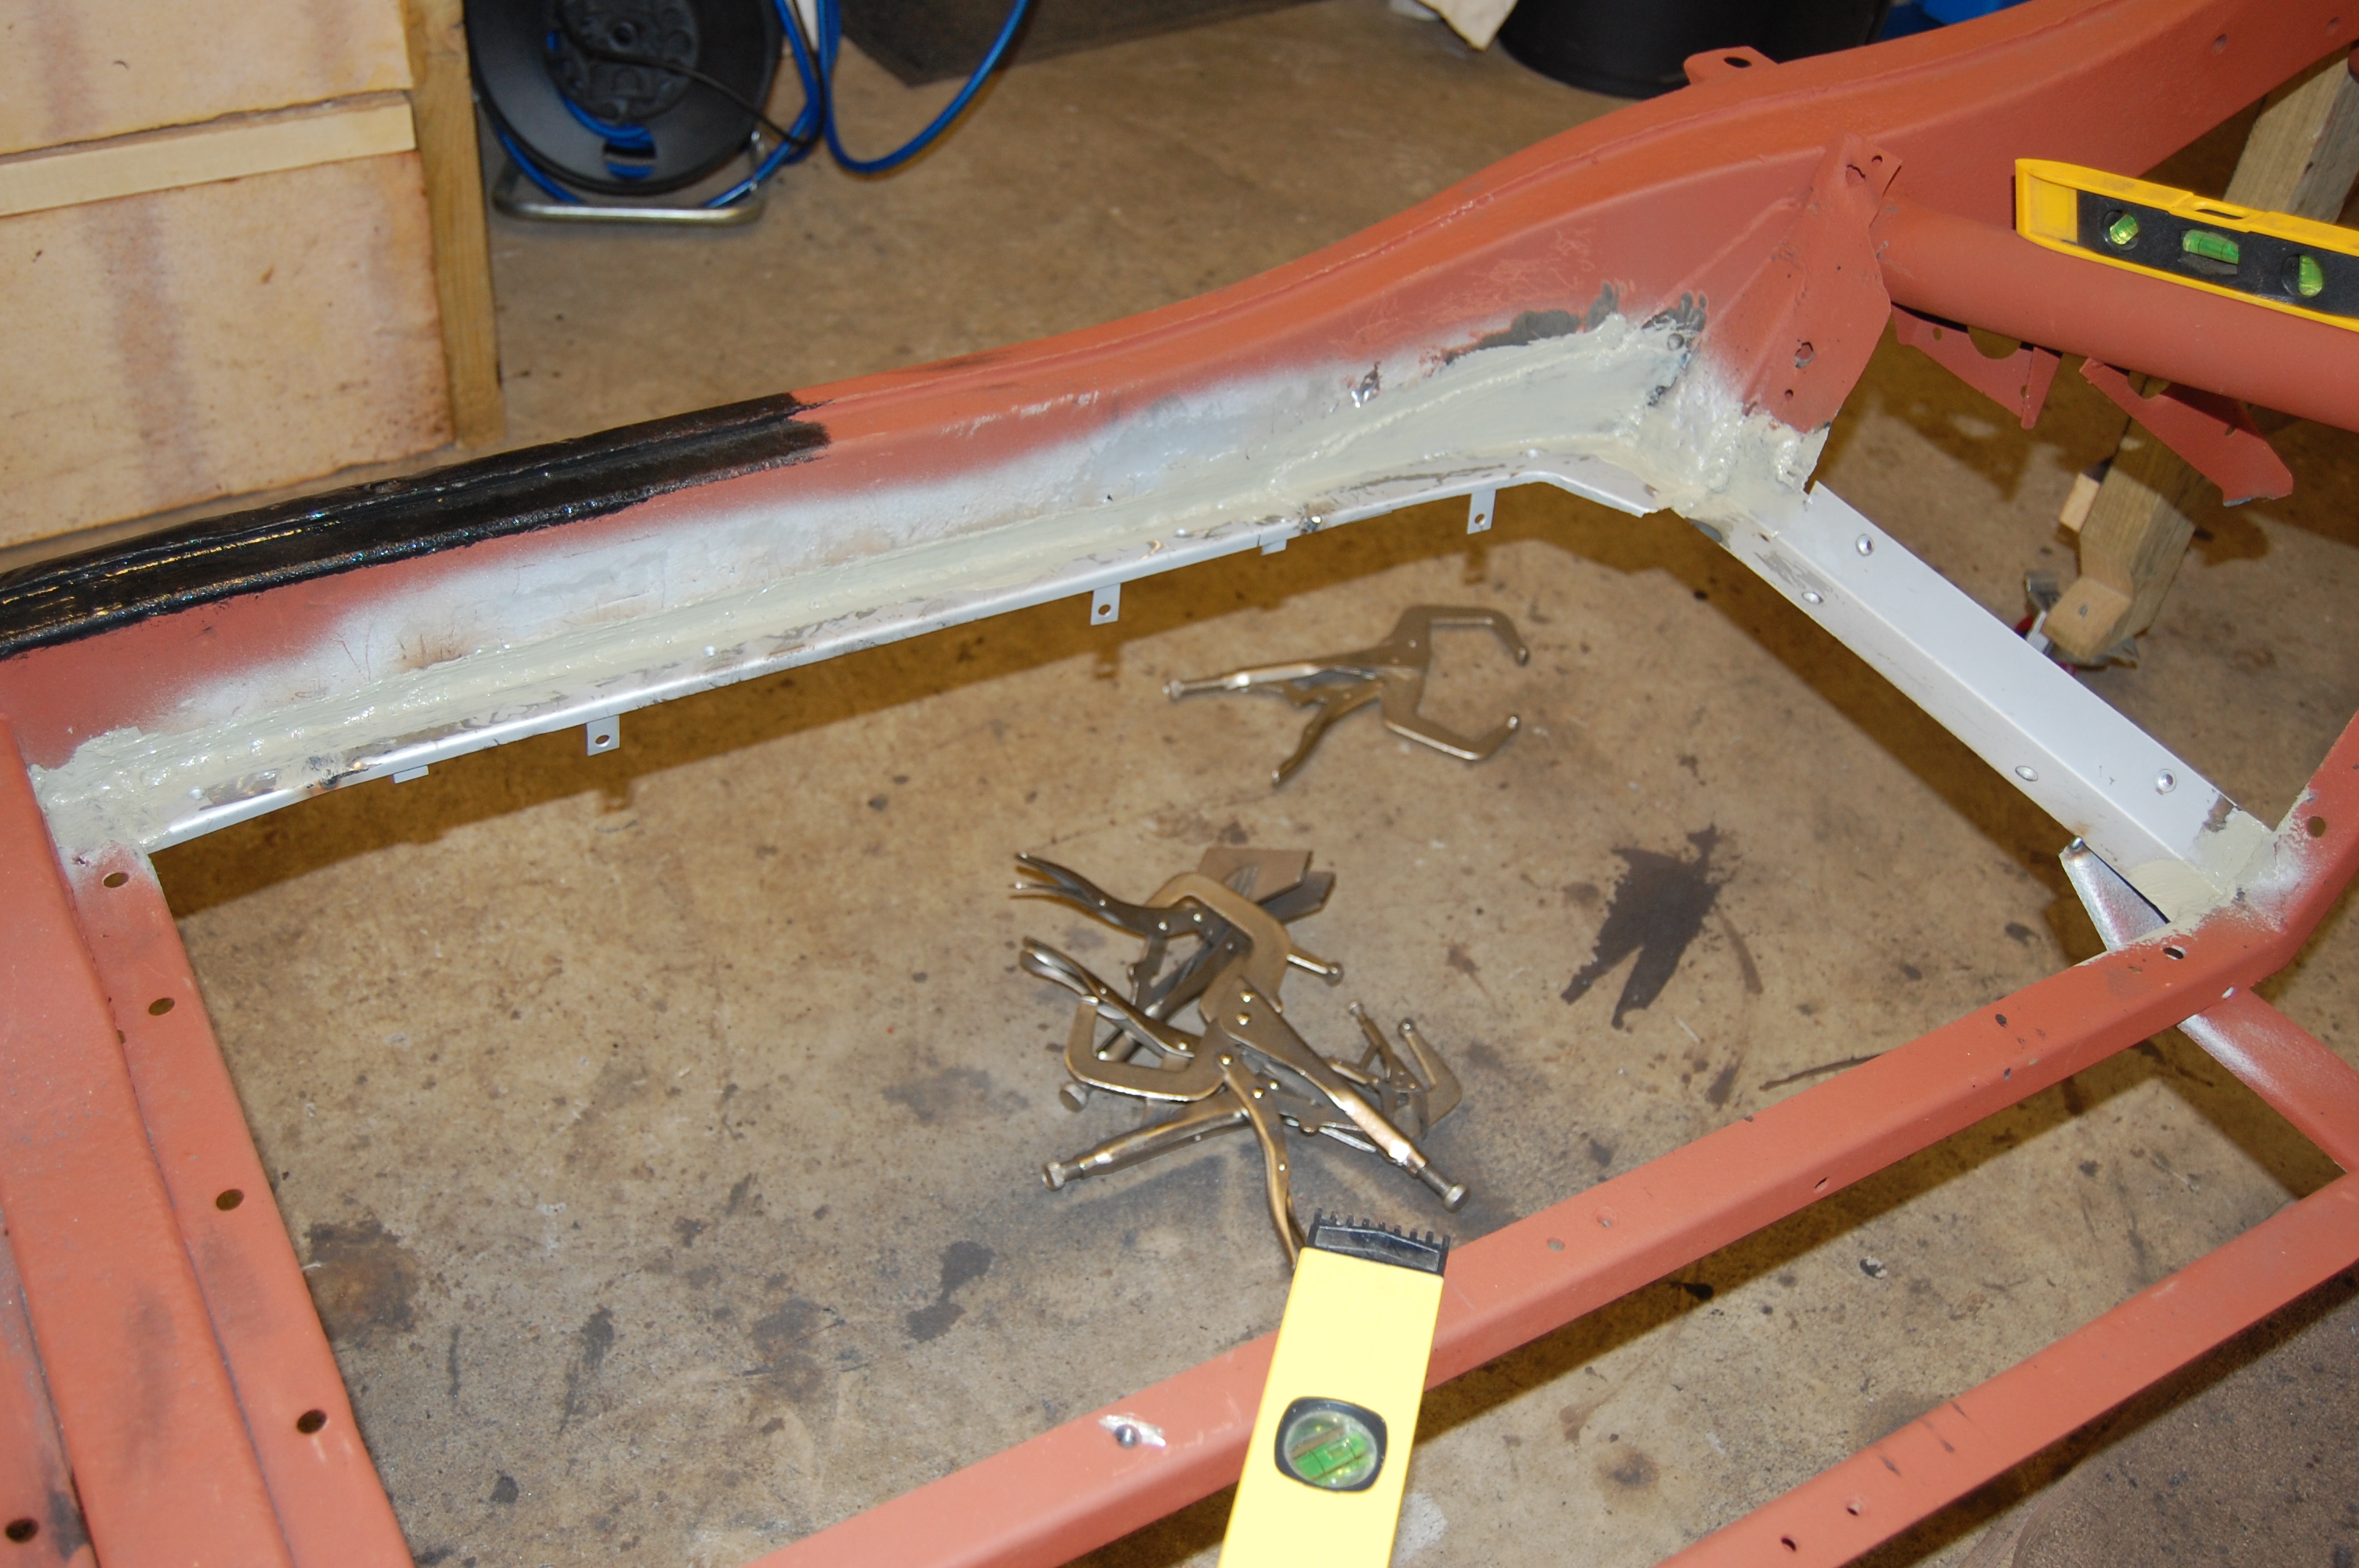
First task is to cut out and remove all traces of the old rusted rails and grind surfaces back to accept the new rails. Use of weld-thru primer is a good idea here, to prevent any possibility of rust occuring as a result of the welding process.
Ready for new floor board rails
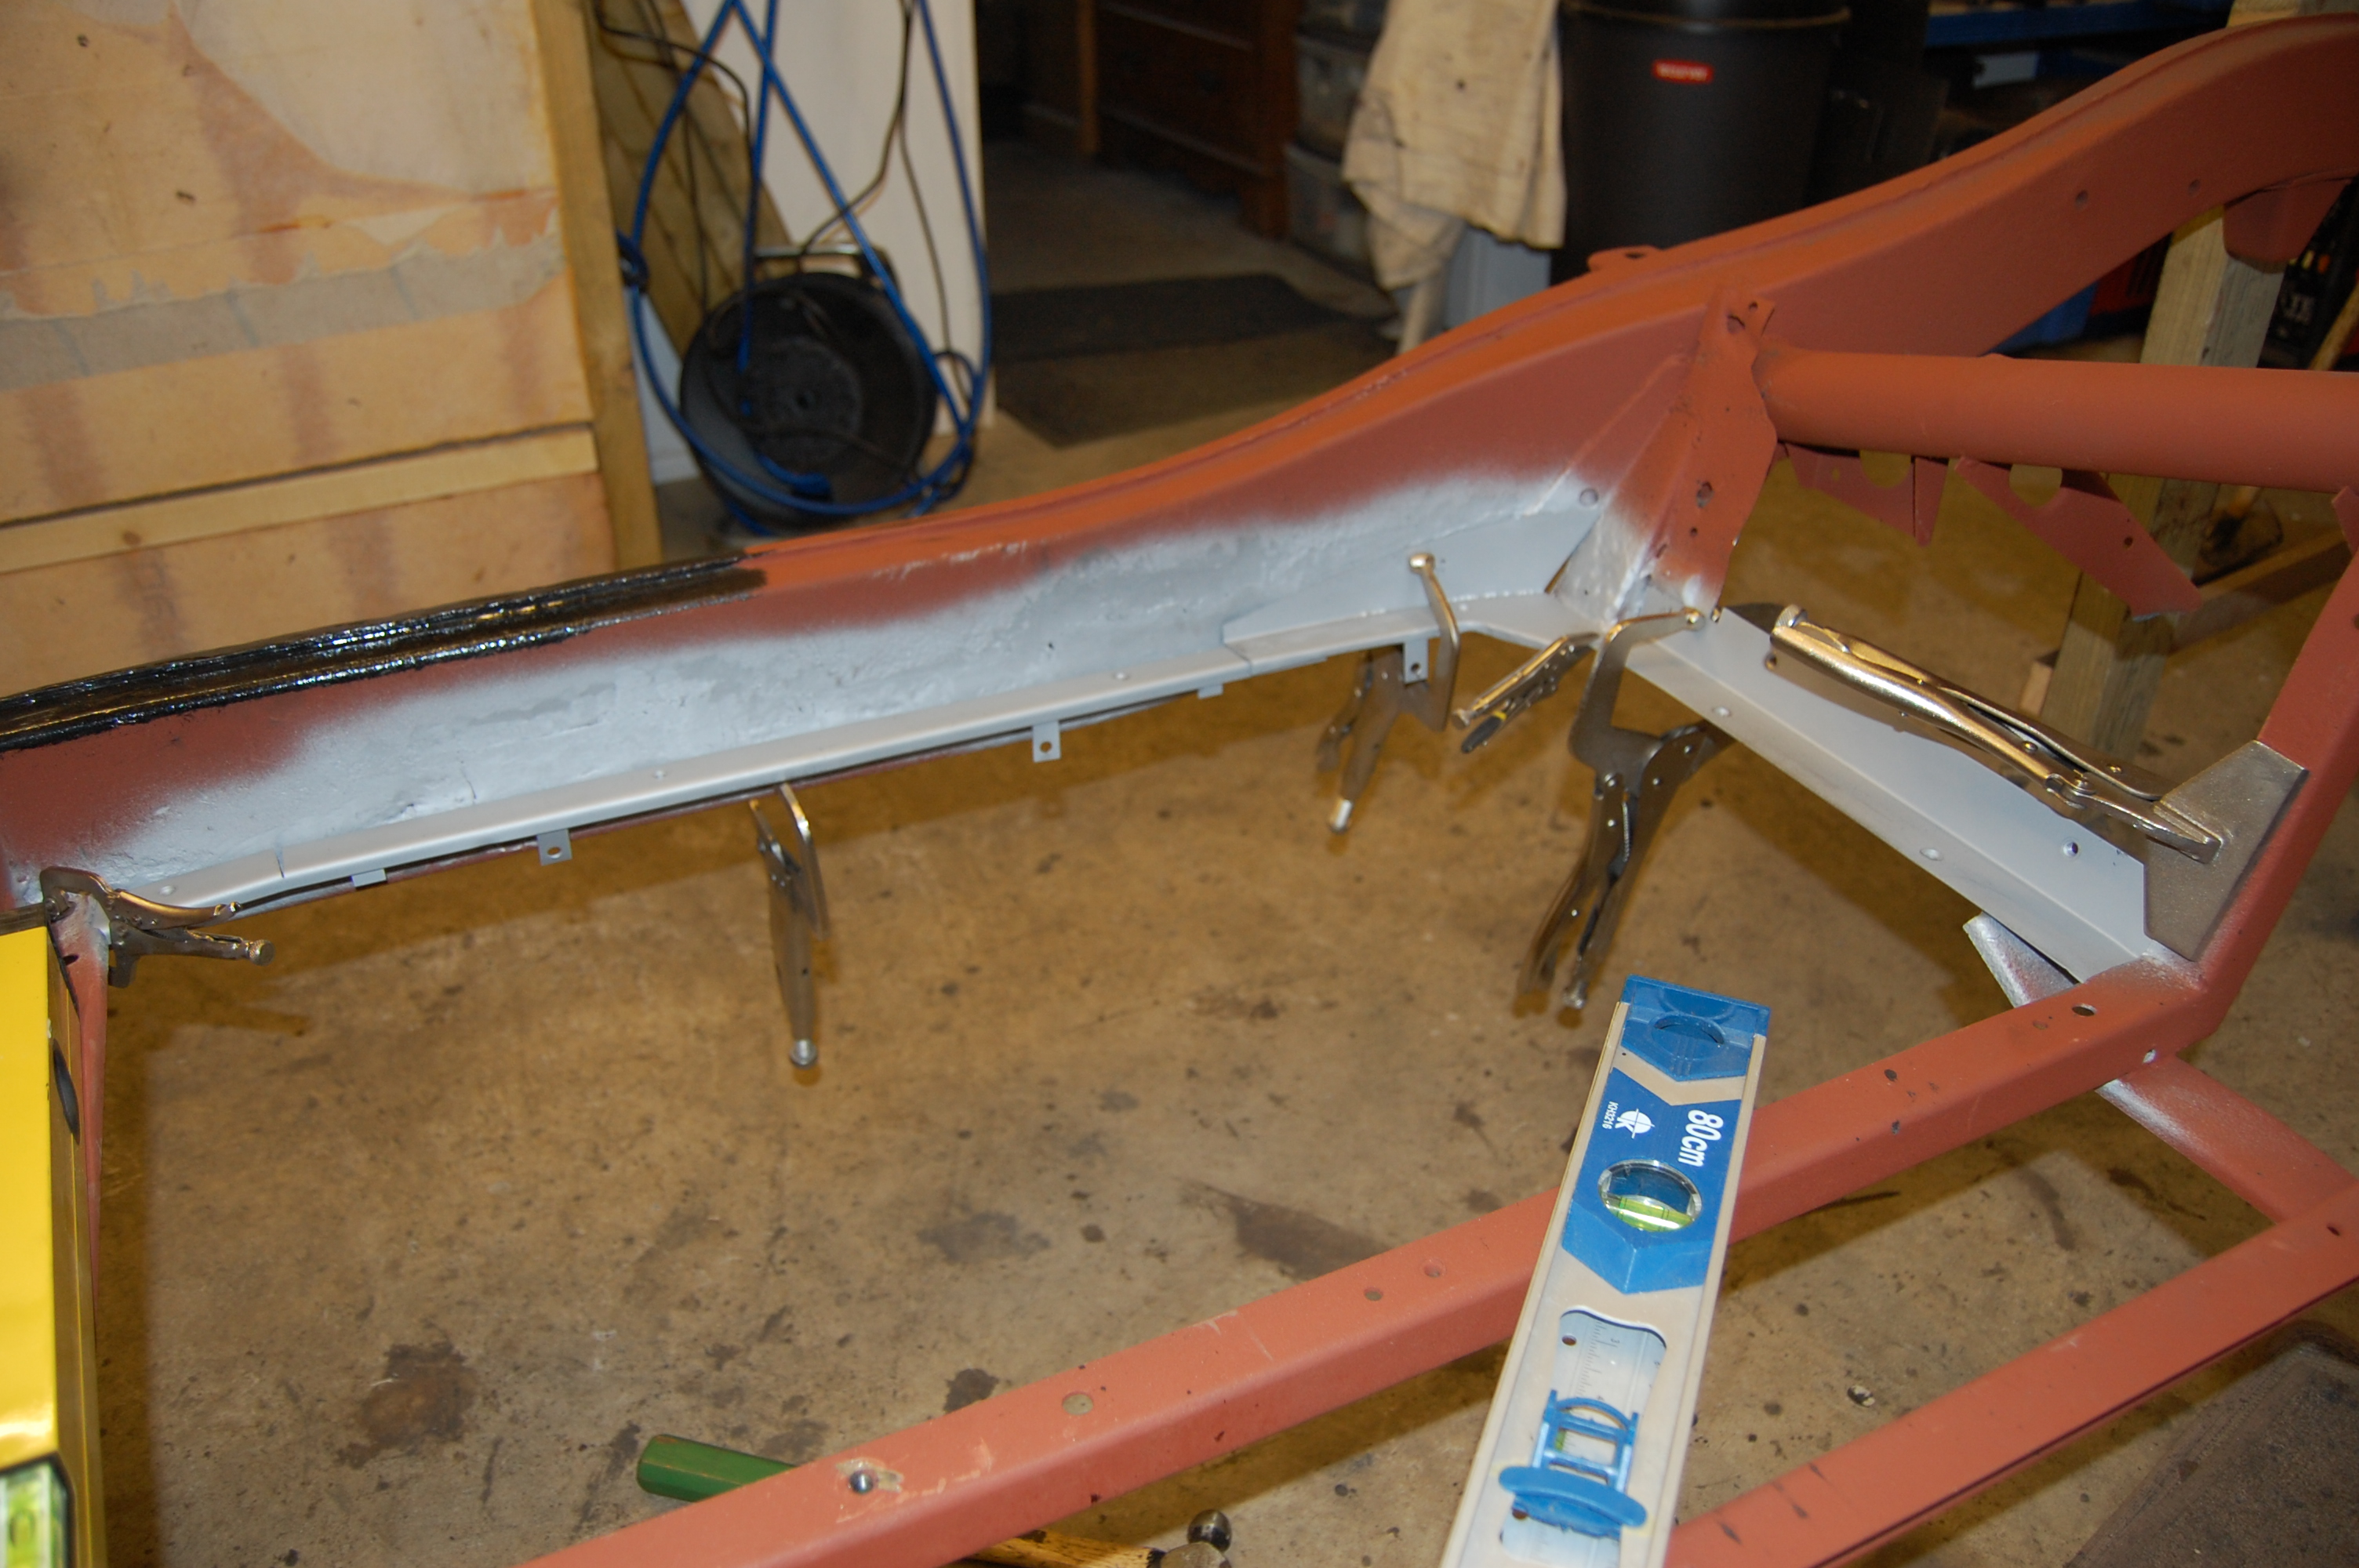
Some new rails were required, but where the originals were OK, they were repaired.
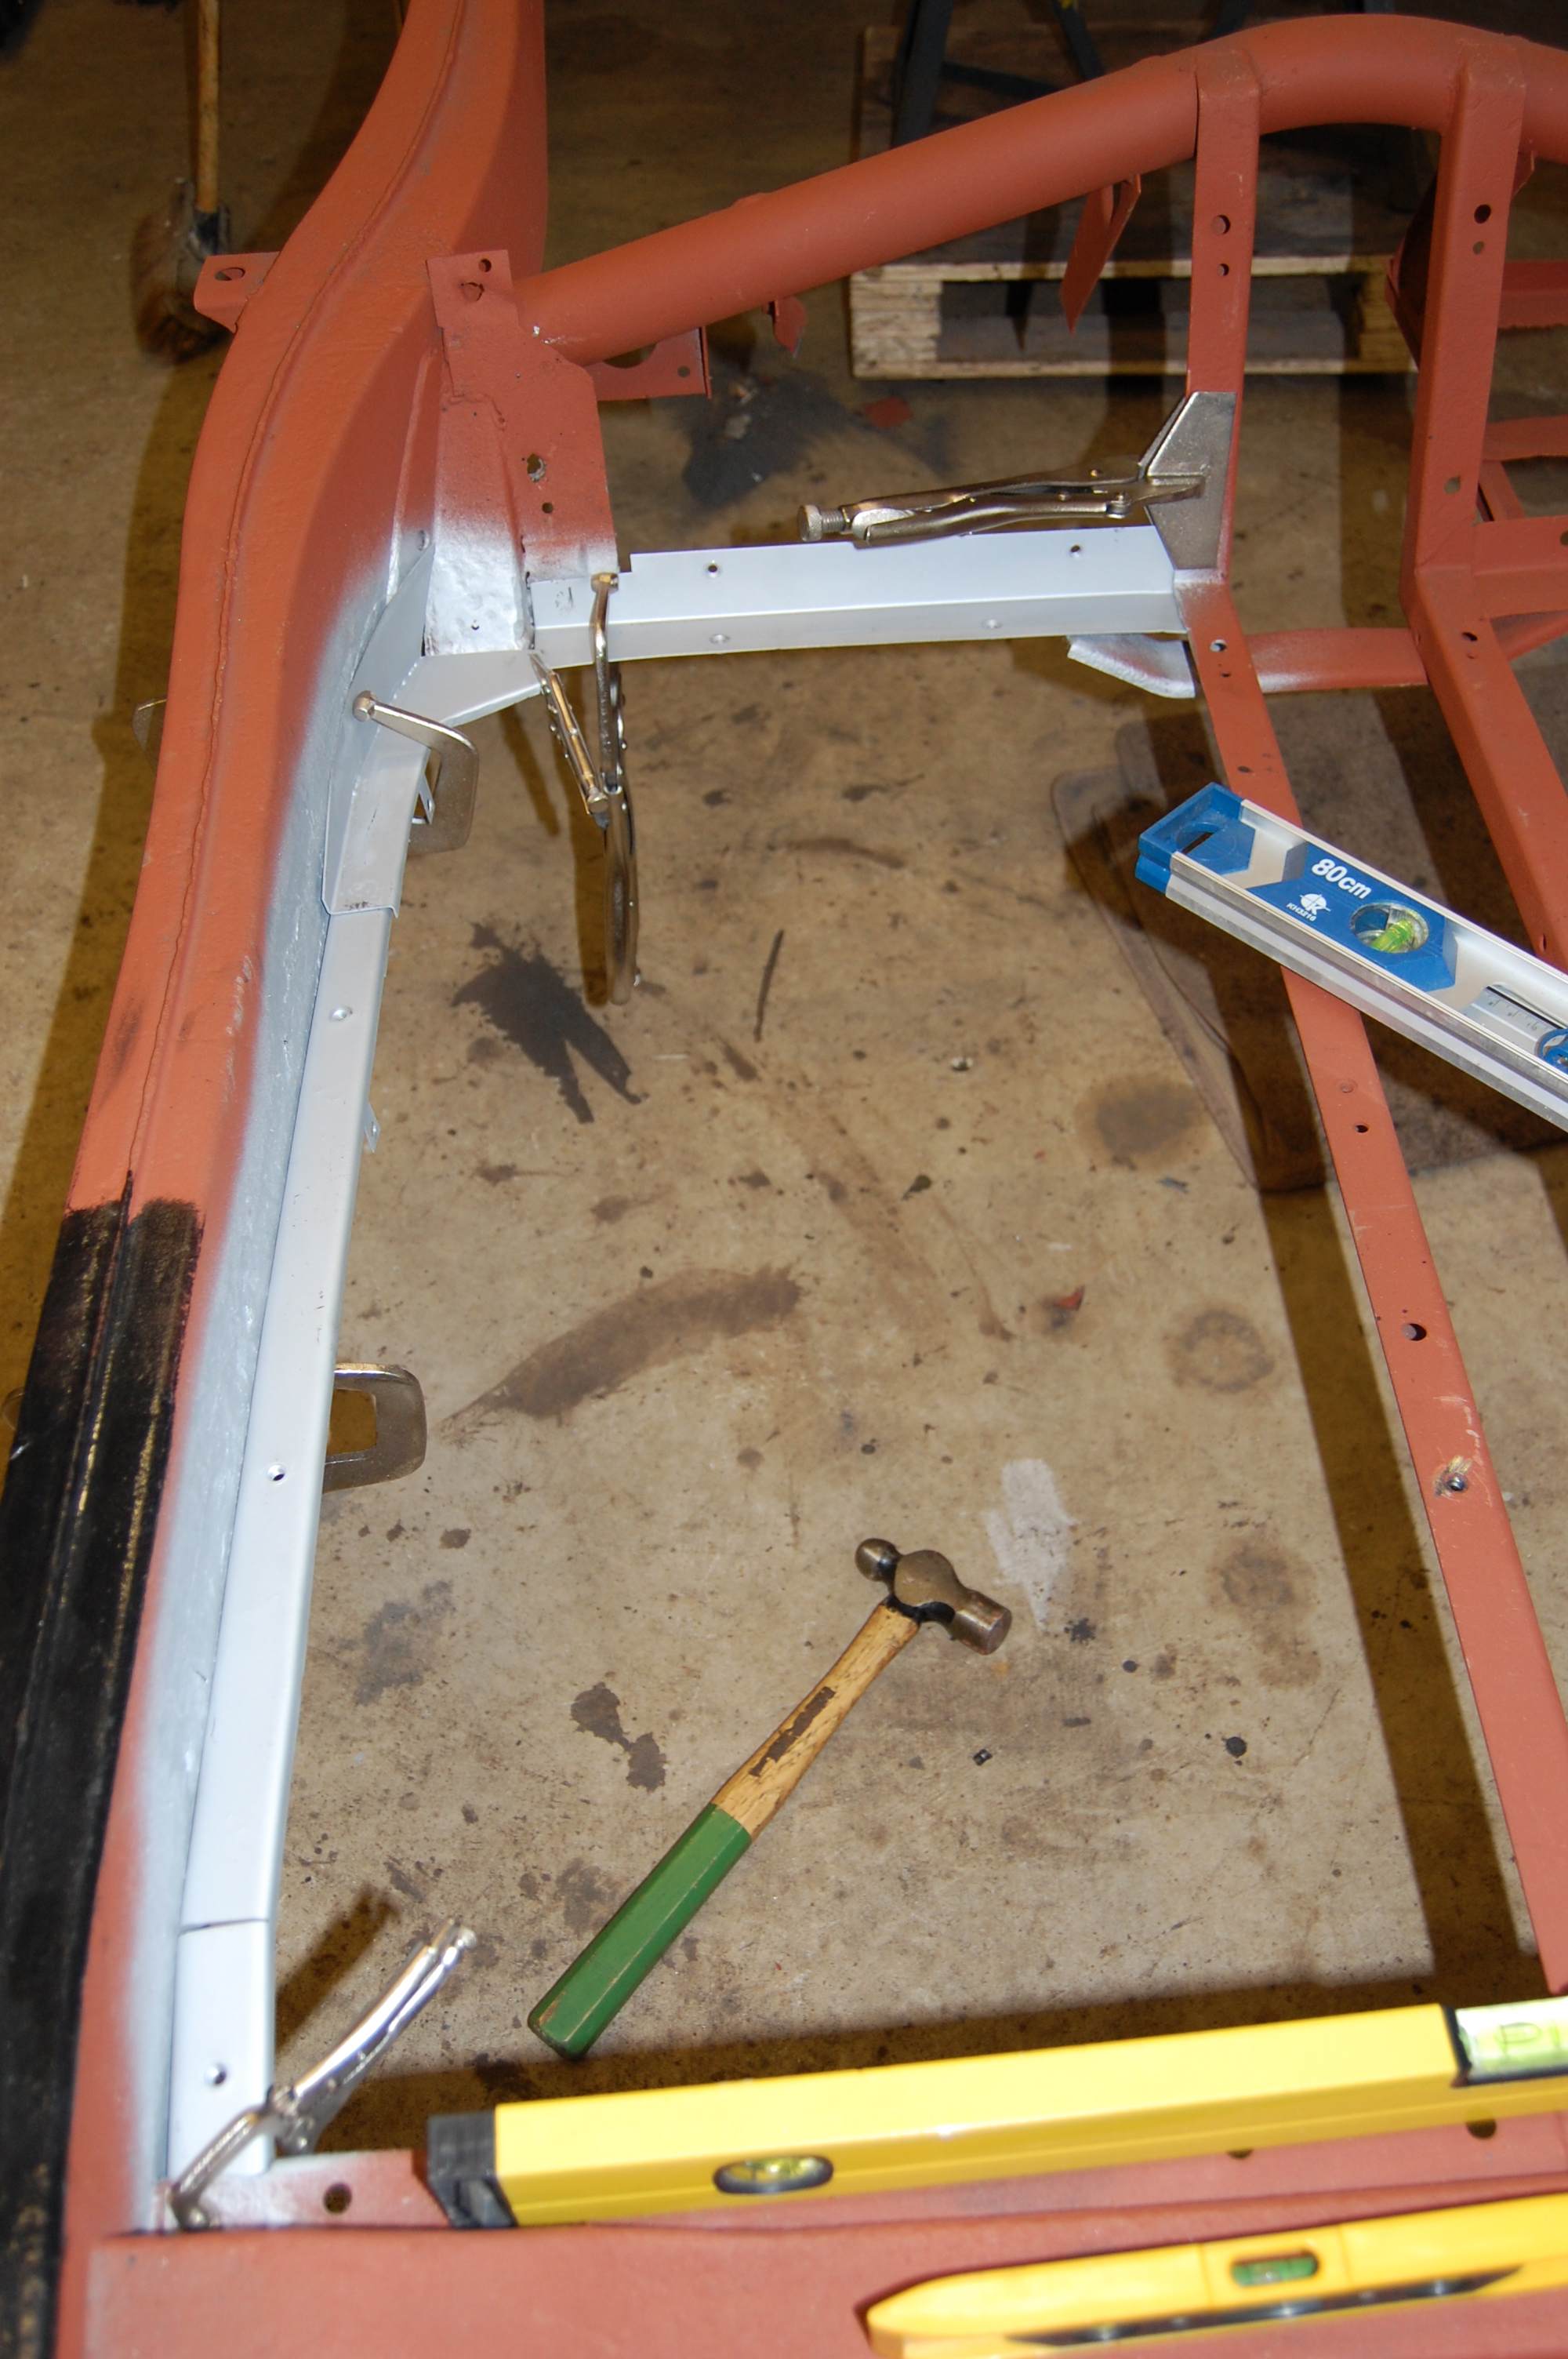
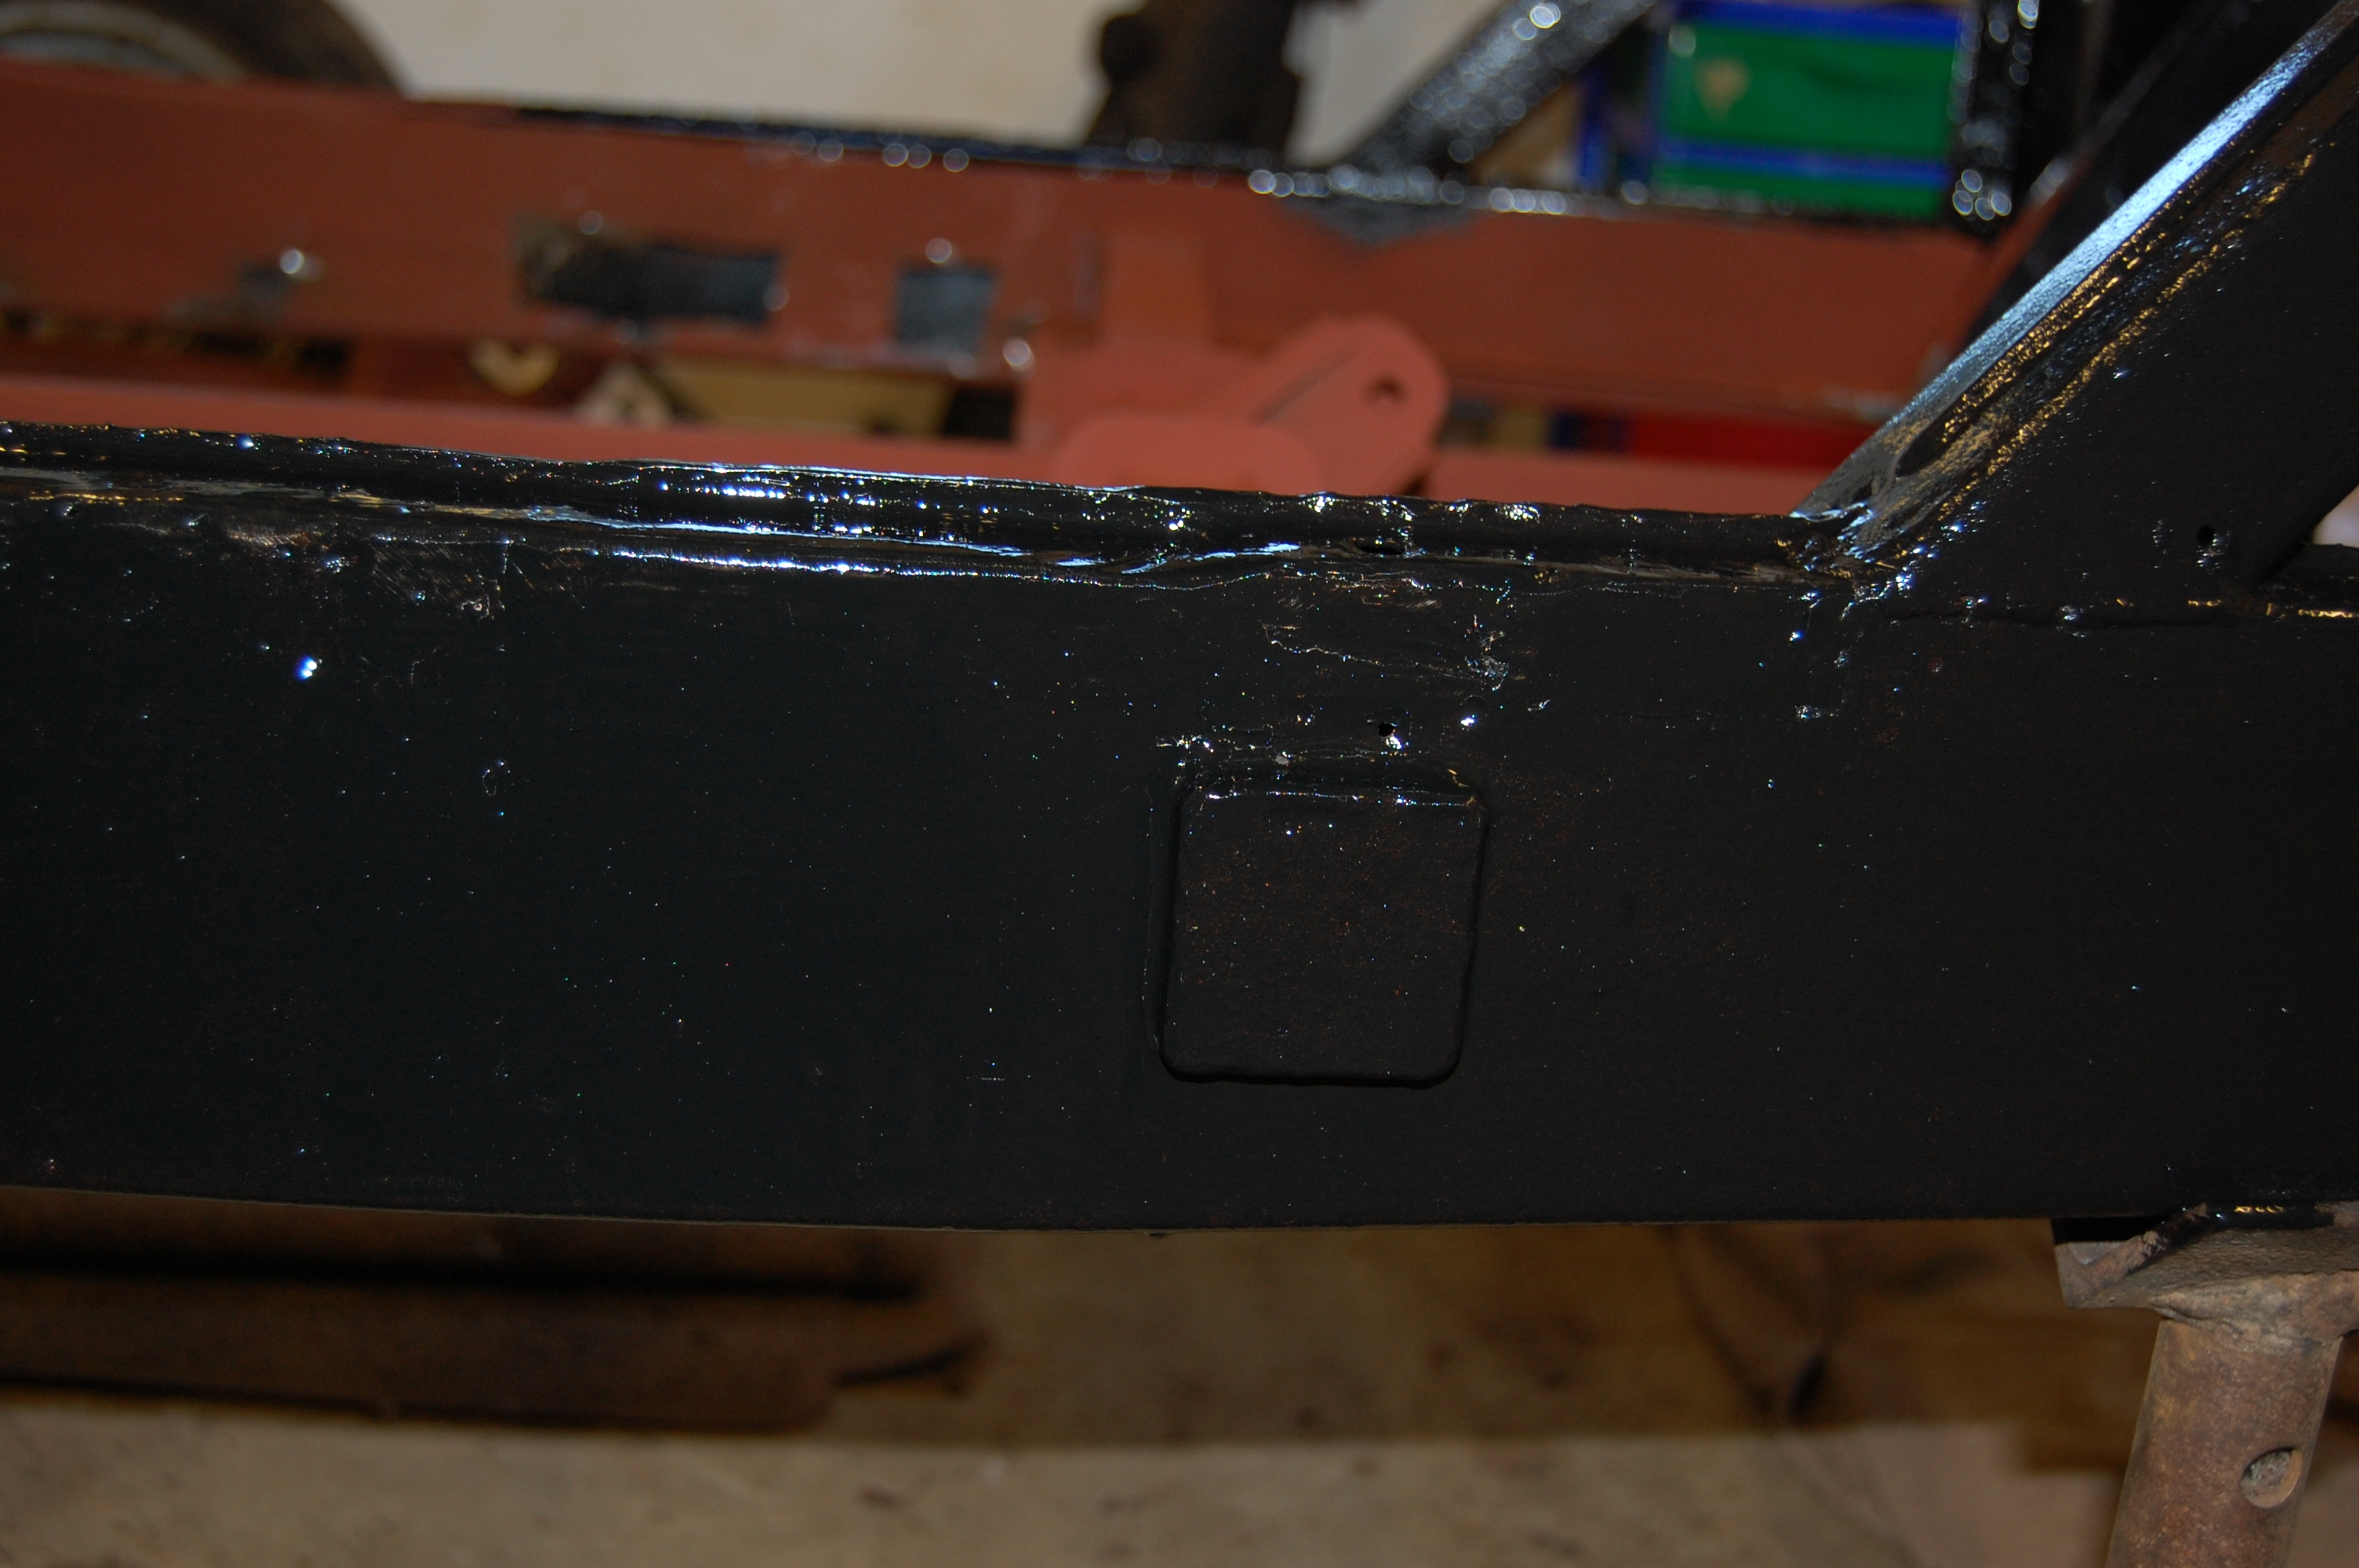
New rails welded in and primed.
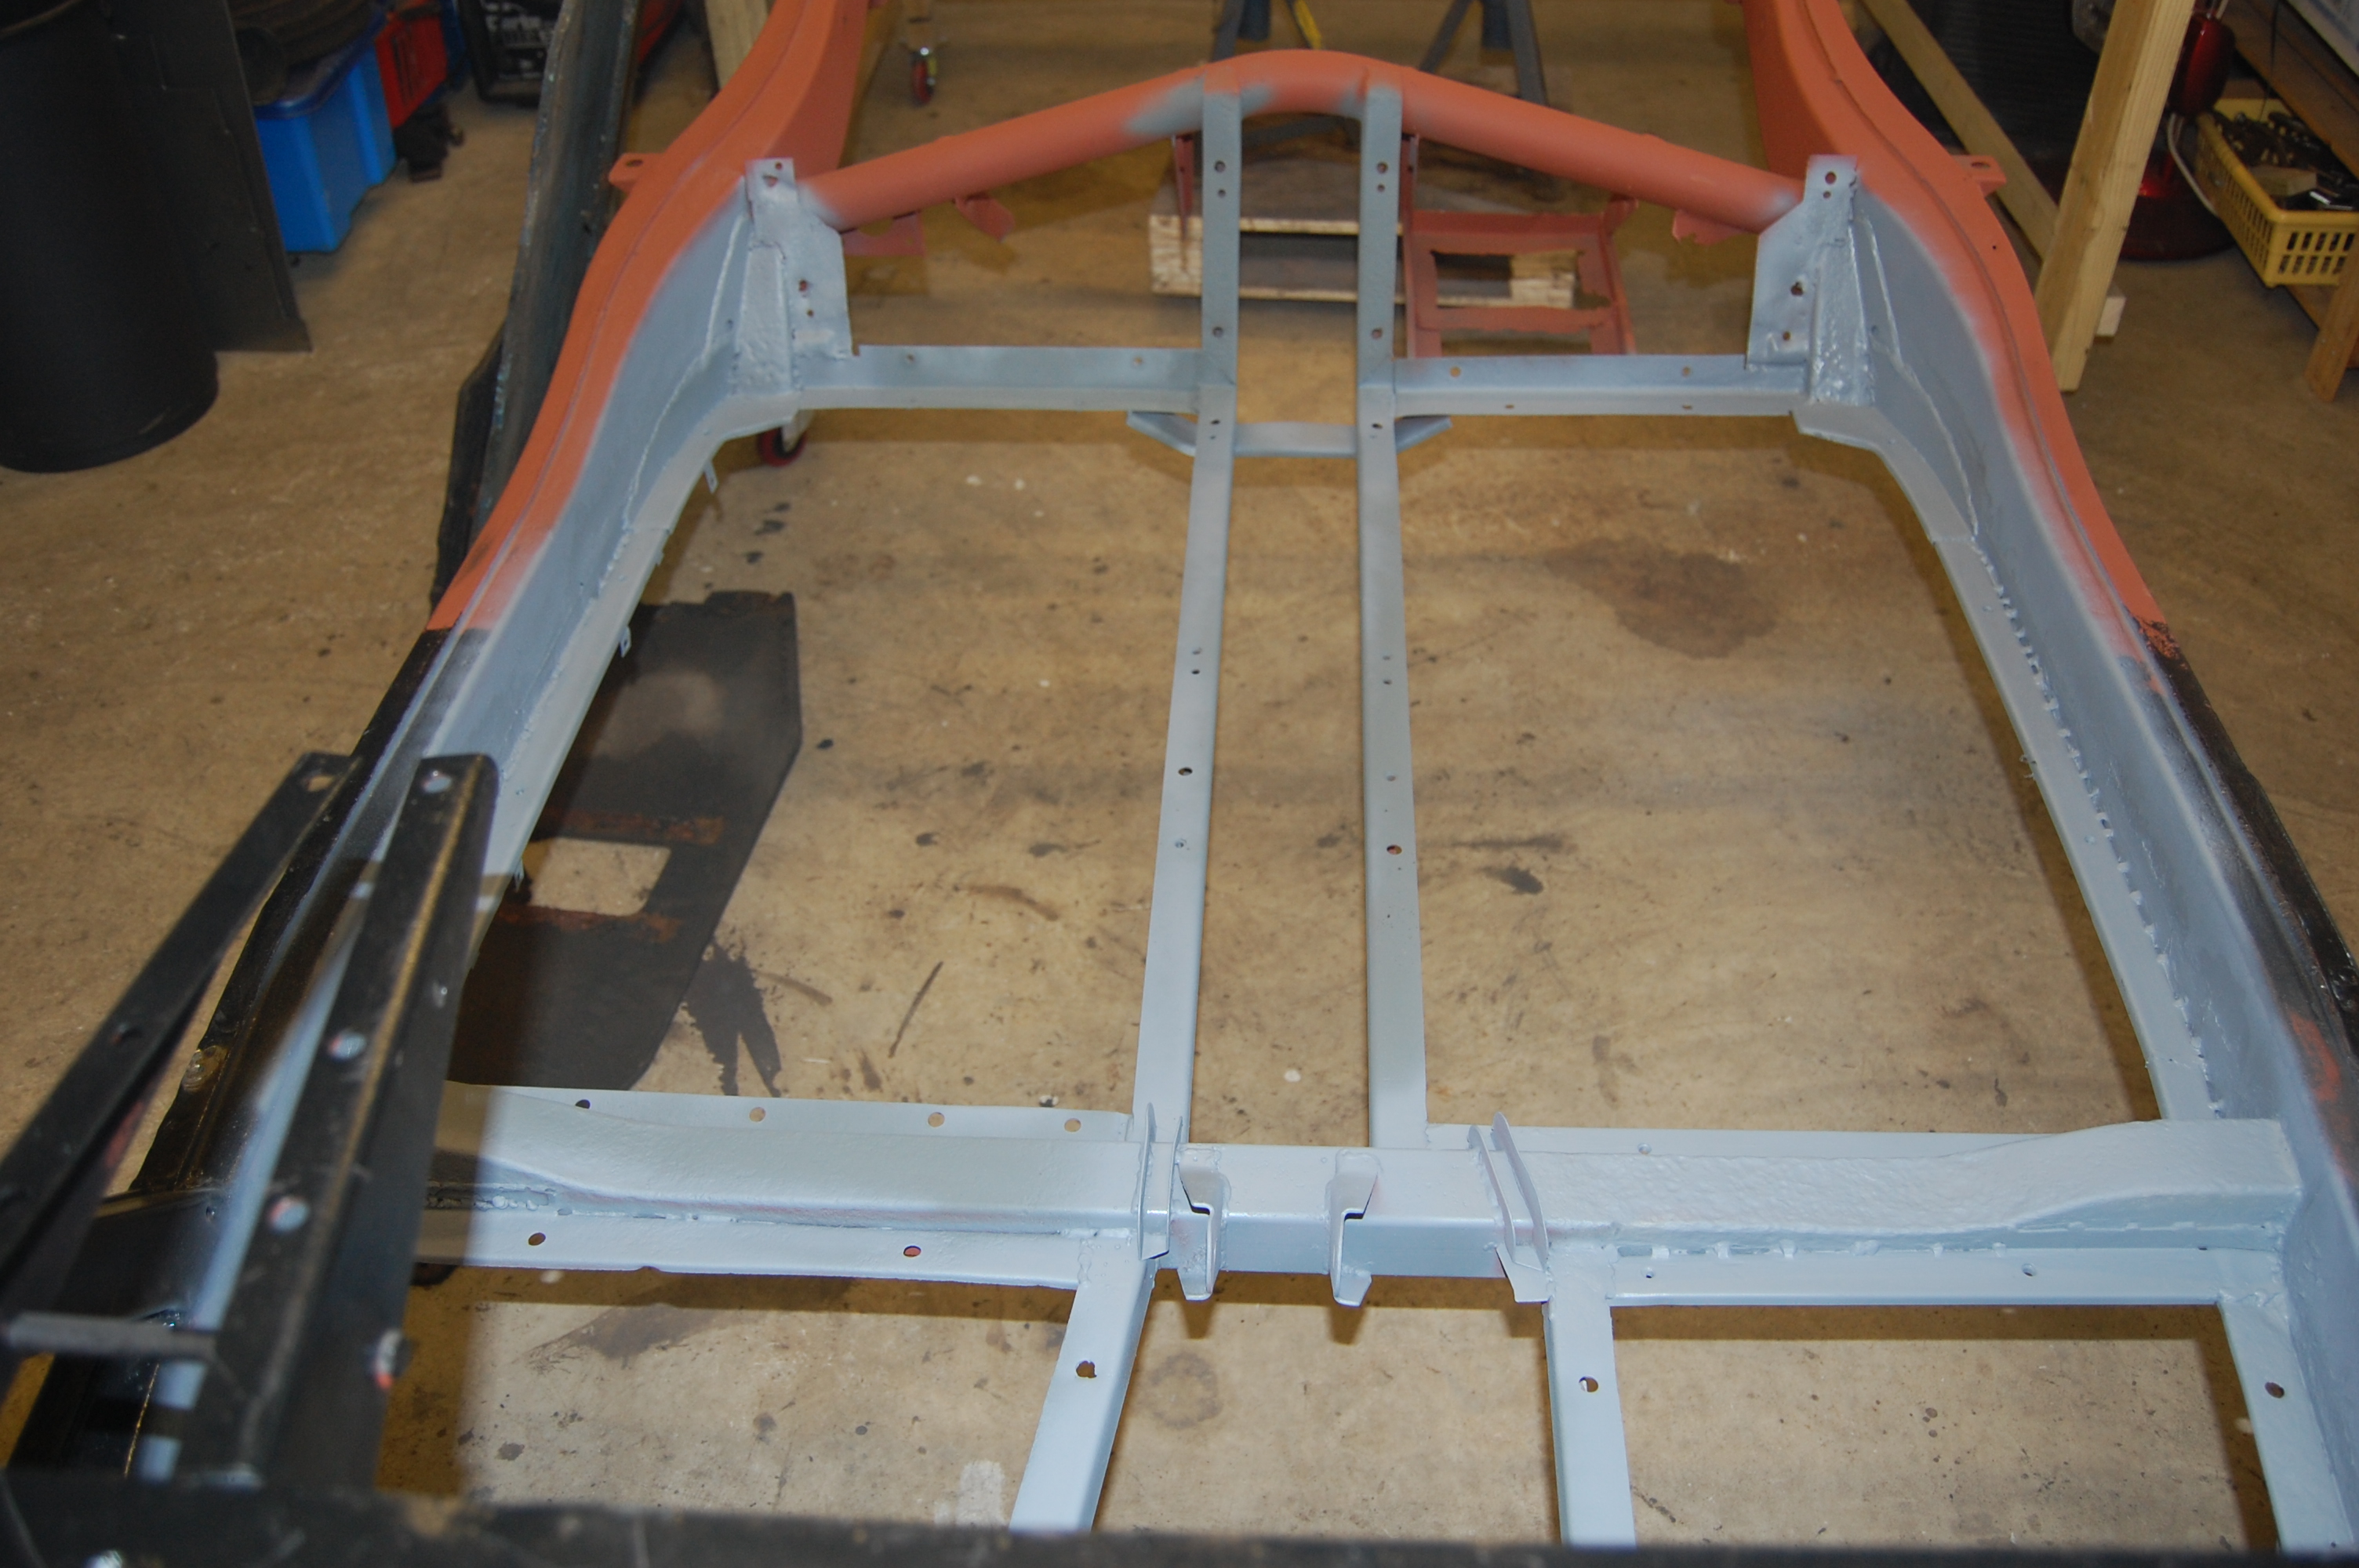
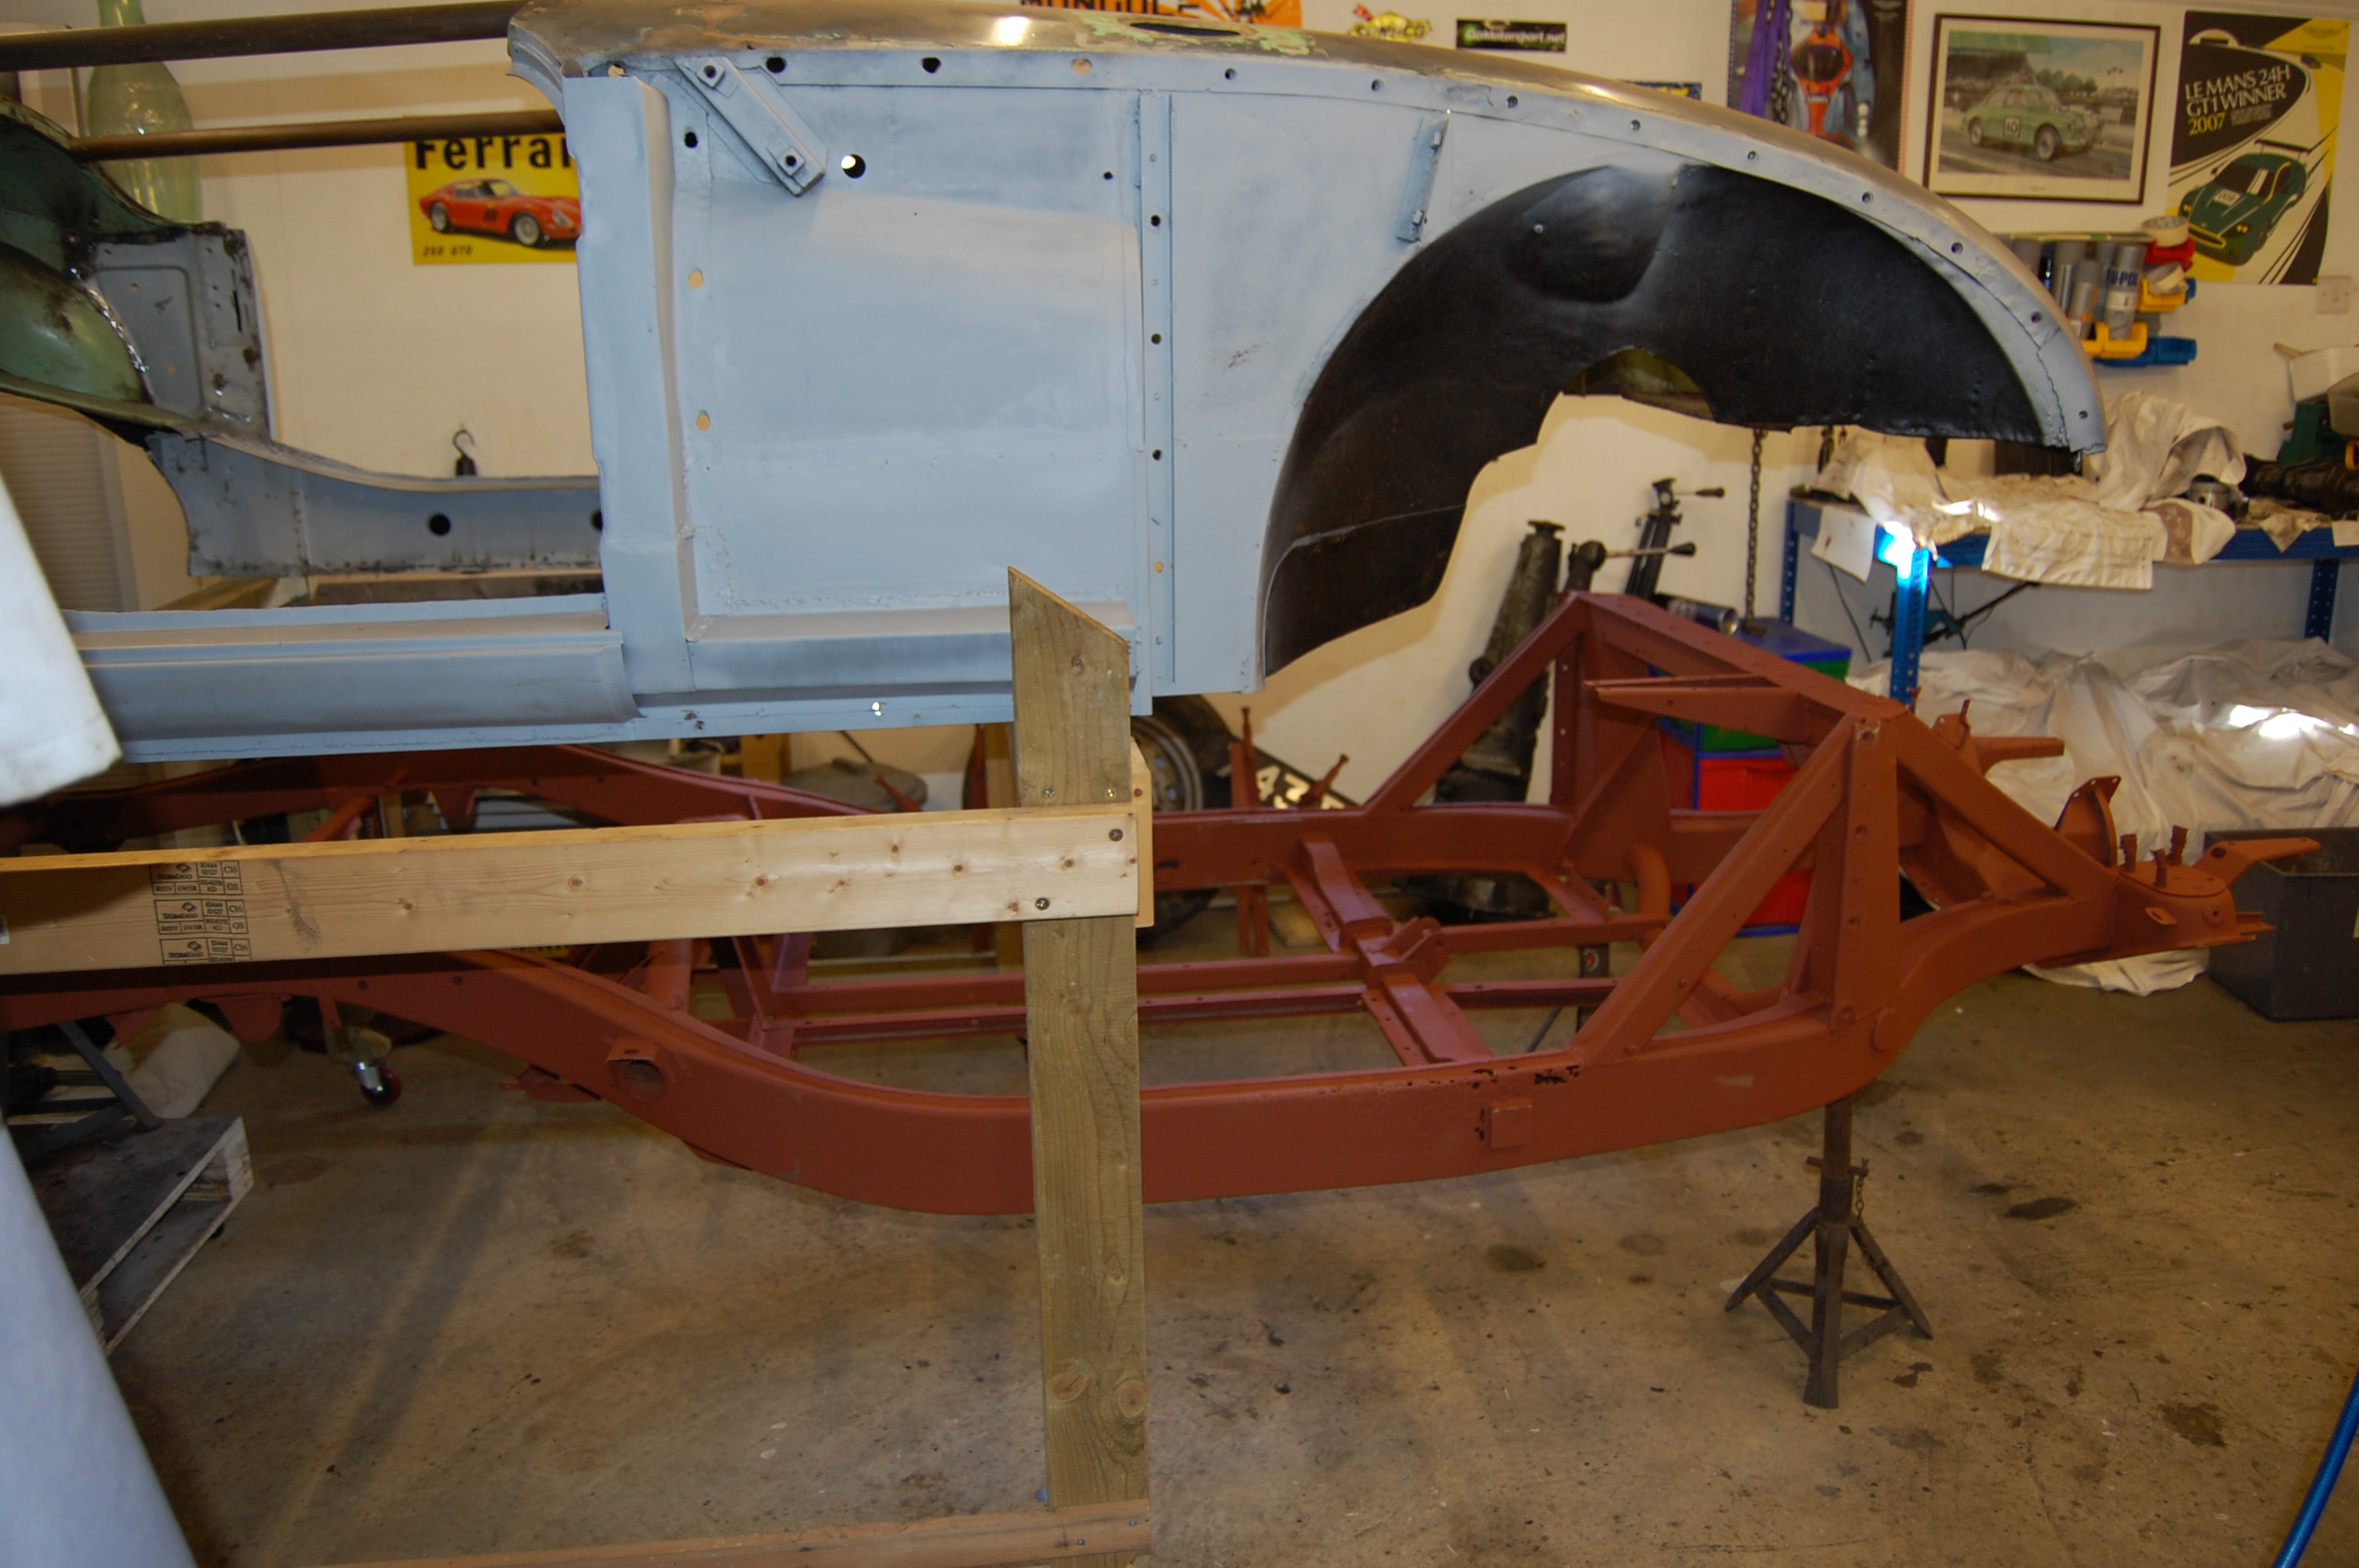
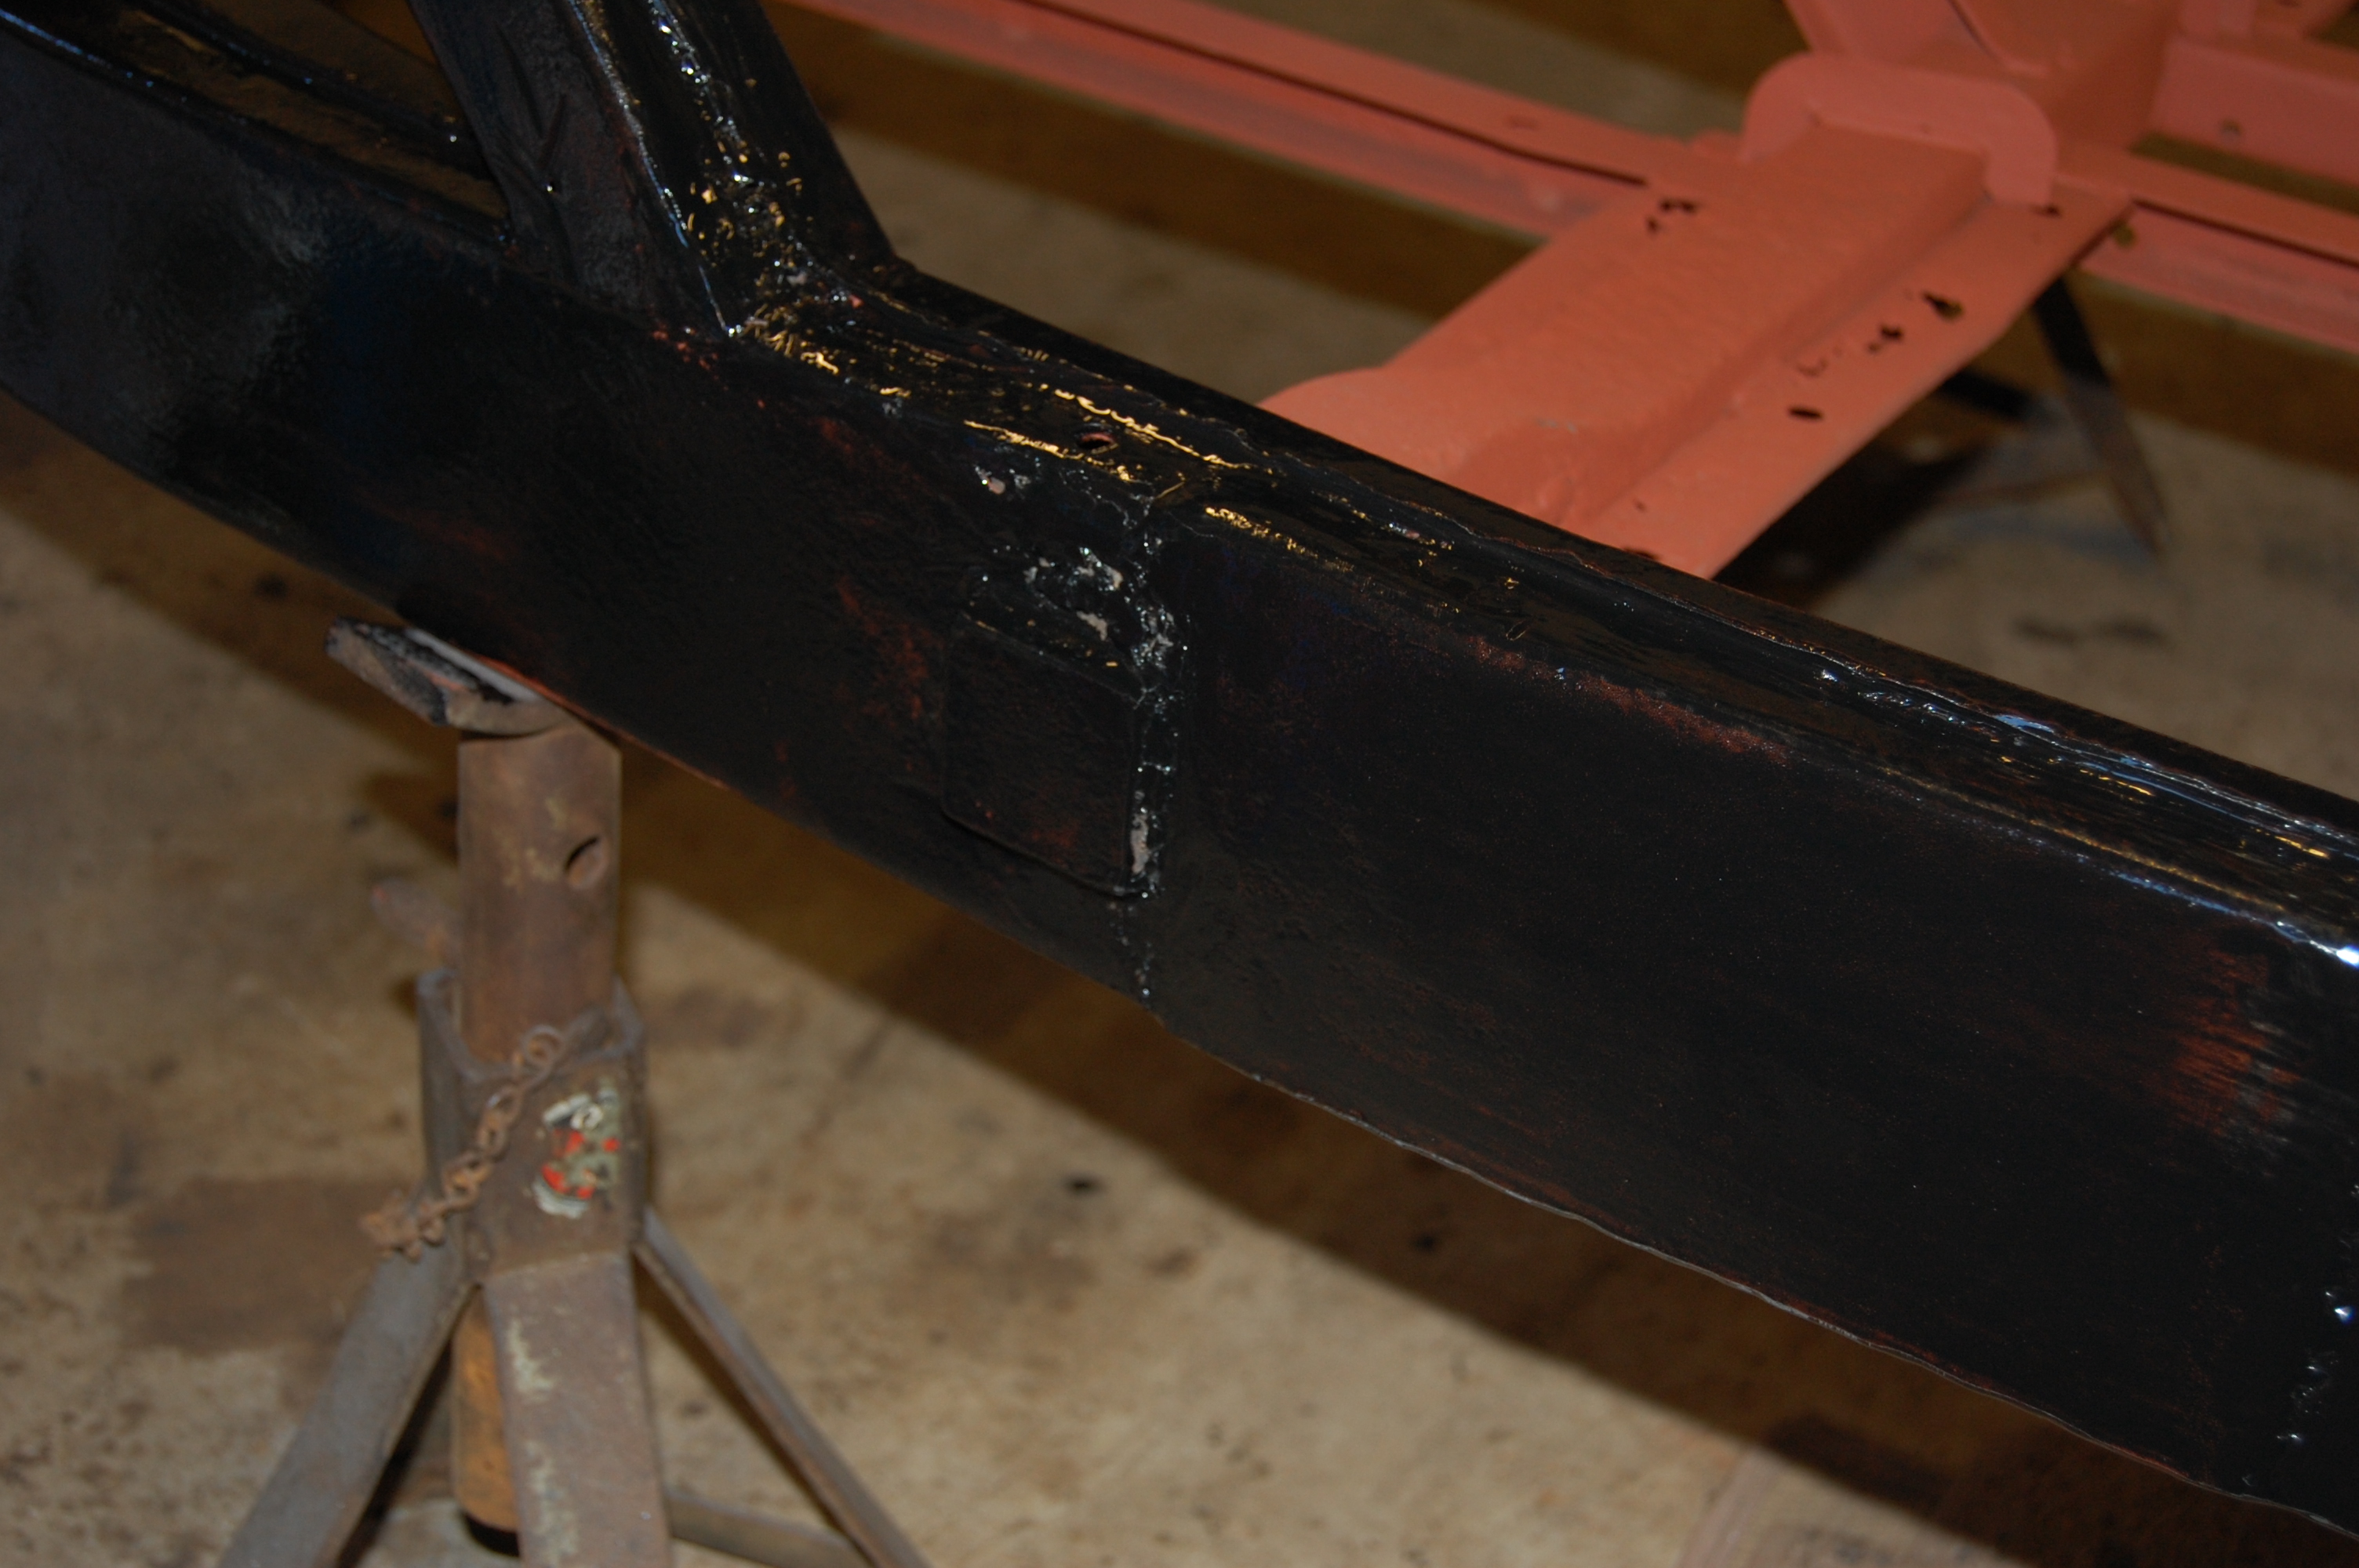
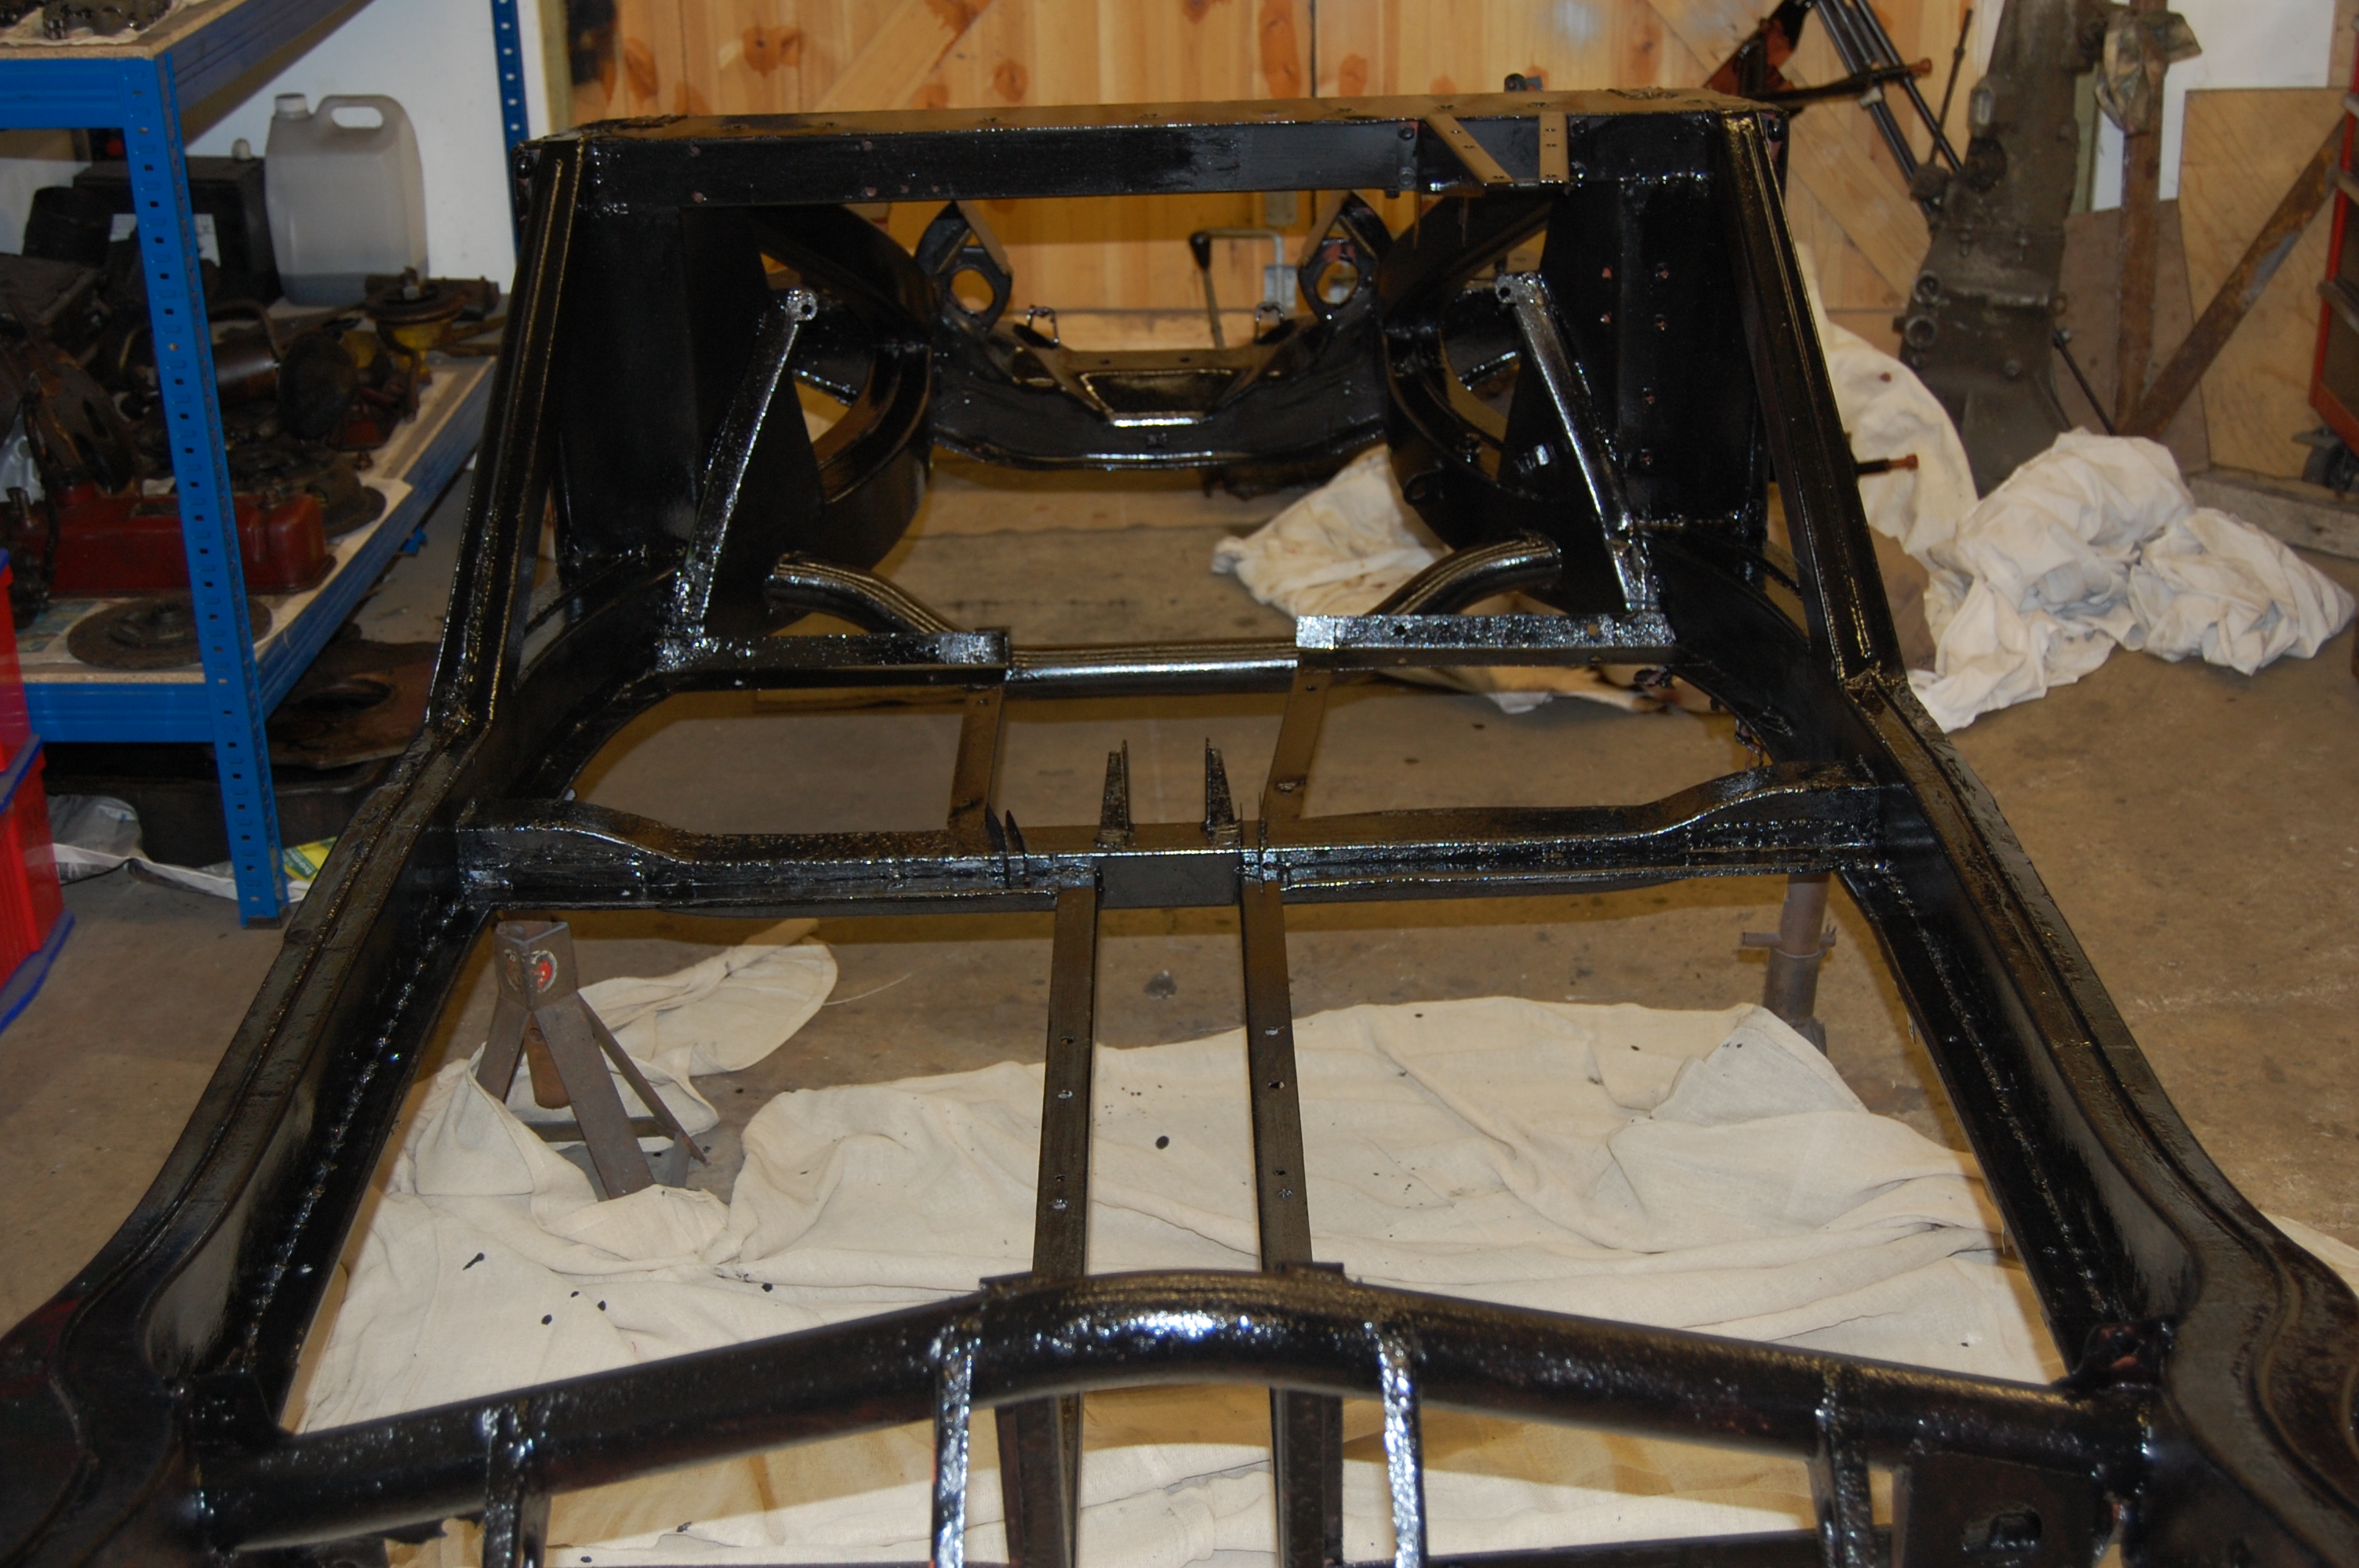
The chassis was painted with several coats of Blackfriar Satin Black.
Work still required to fit one battery carrier base and repair the other.
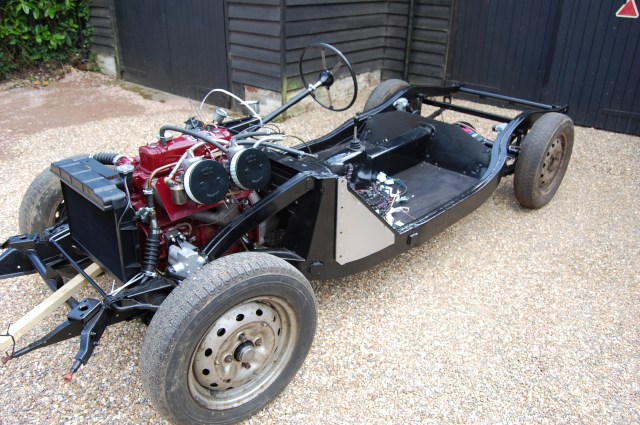
At this point, the engine block, crankshaft and cylinder head were away being machined – Saunders Motor Engineering, Cadnum, Southampton.
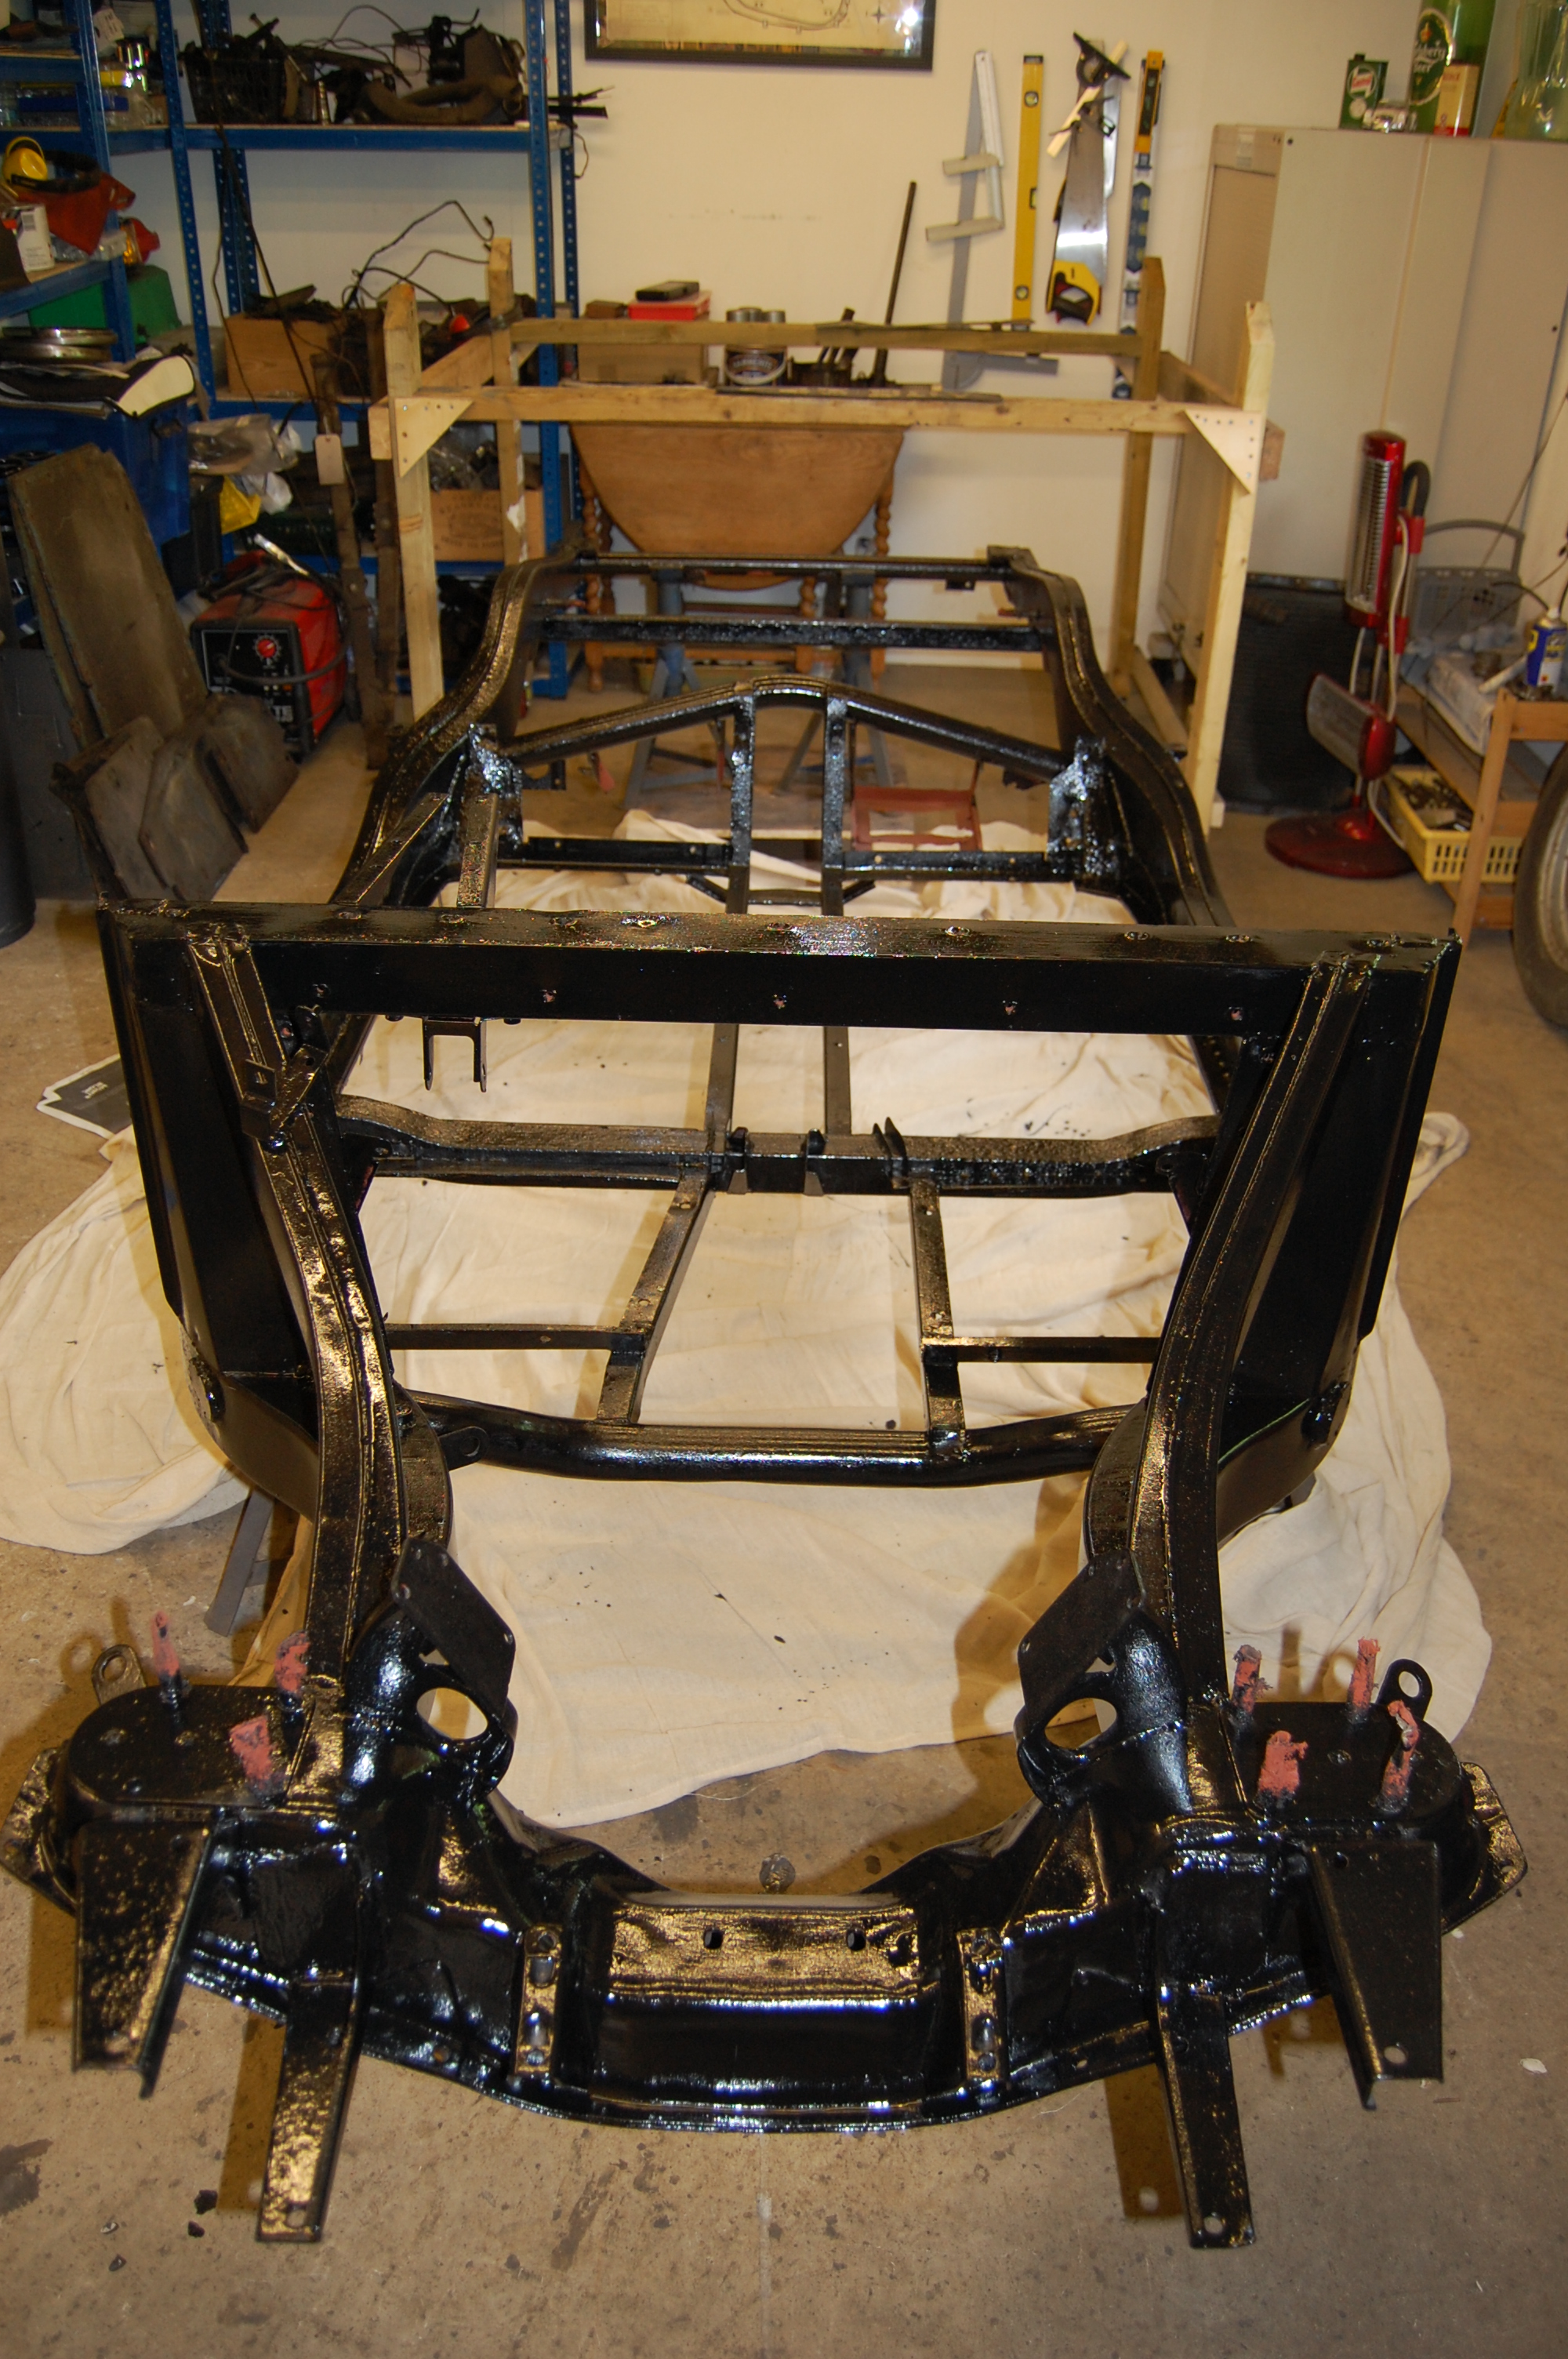
Finished chassis


Floorboards.
Most of the wooden floorboards required replacing, but one or two, such as the heel board (the vertical board behind the seats) were fine and as that particular one has some additional chamfering, it saved a bit of work.
I had an incident when the car was in use during the 70’s, when I hit a small flood at around 60 mph, which caused the trailing edge of the passengers front floorboard to burst, throwing the carpets up and filling the car with a mixture of foul water and leaves – I was also plastered and arrived at my girlfriends soaked in a wild state! Best then to make sure of the fit and fixings of the boards.The offending board is the top second from right showing the chunk missing where the bolt tore away.
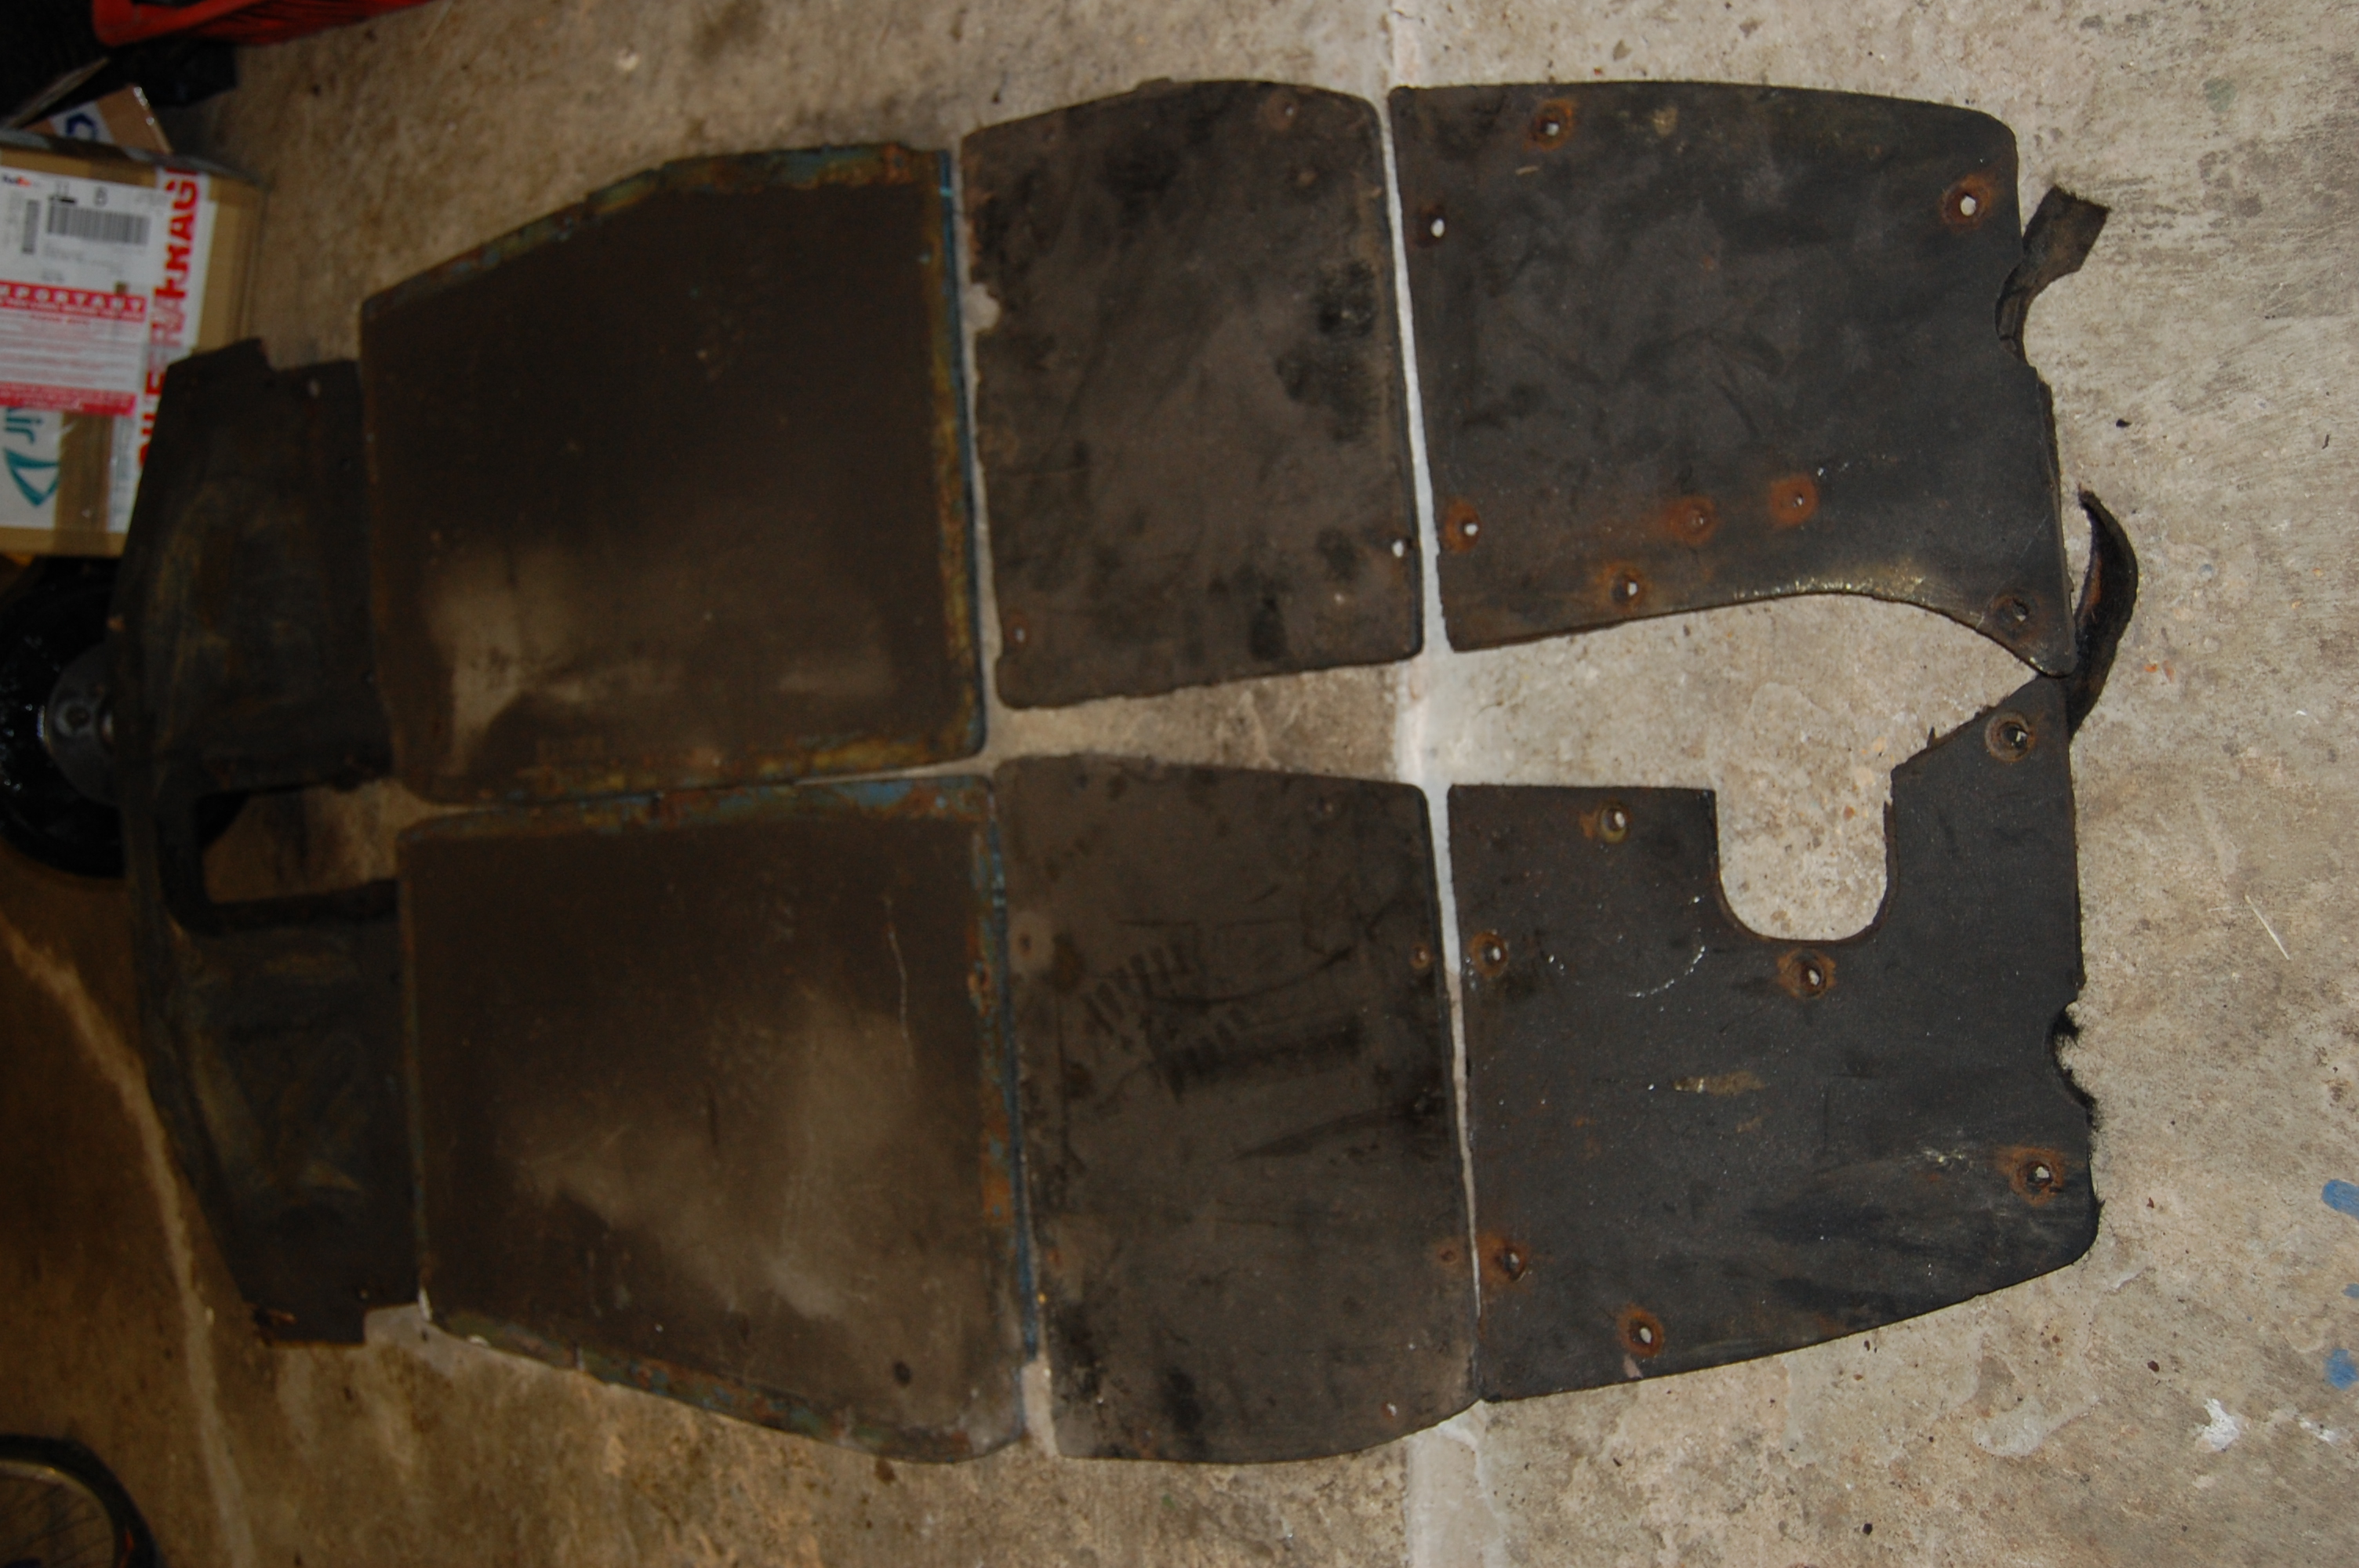
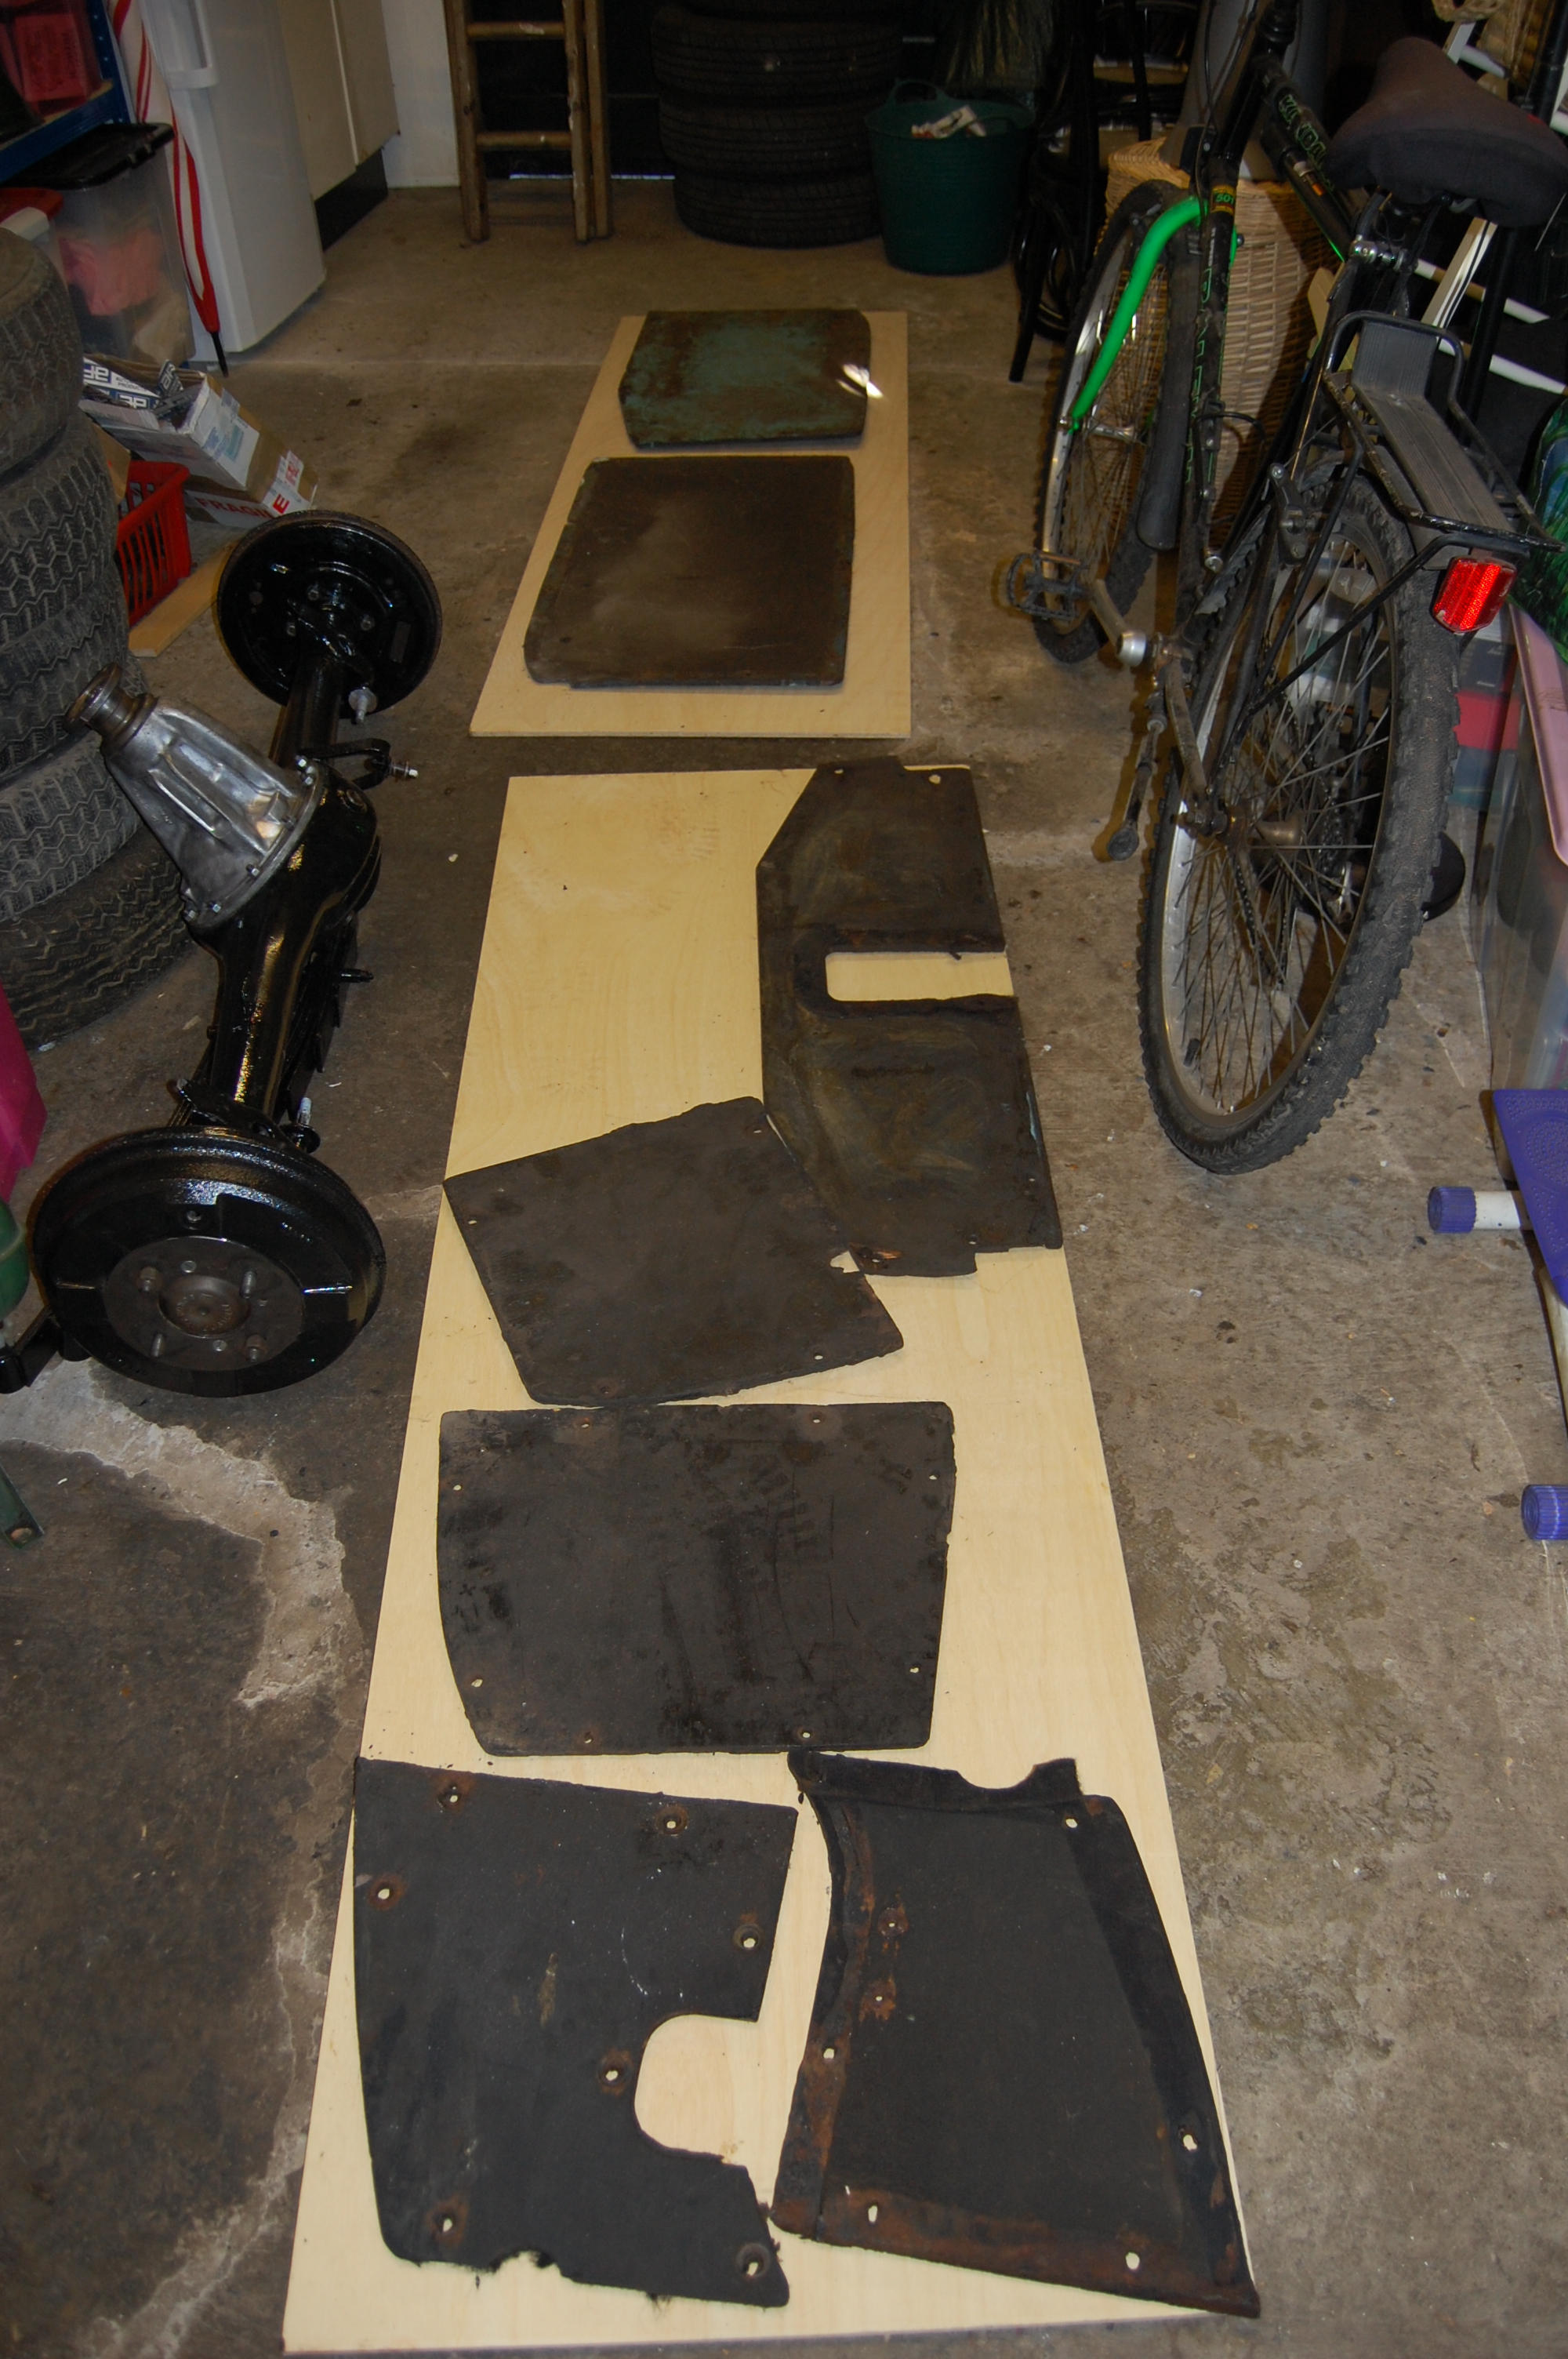
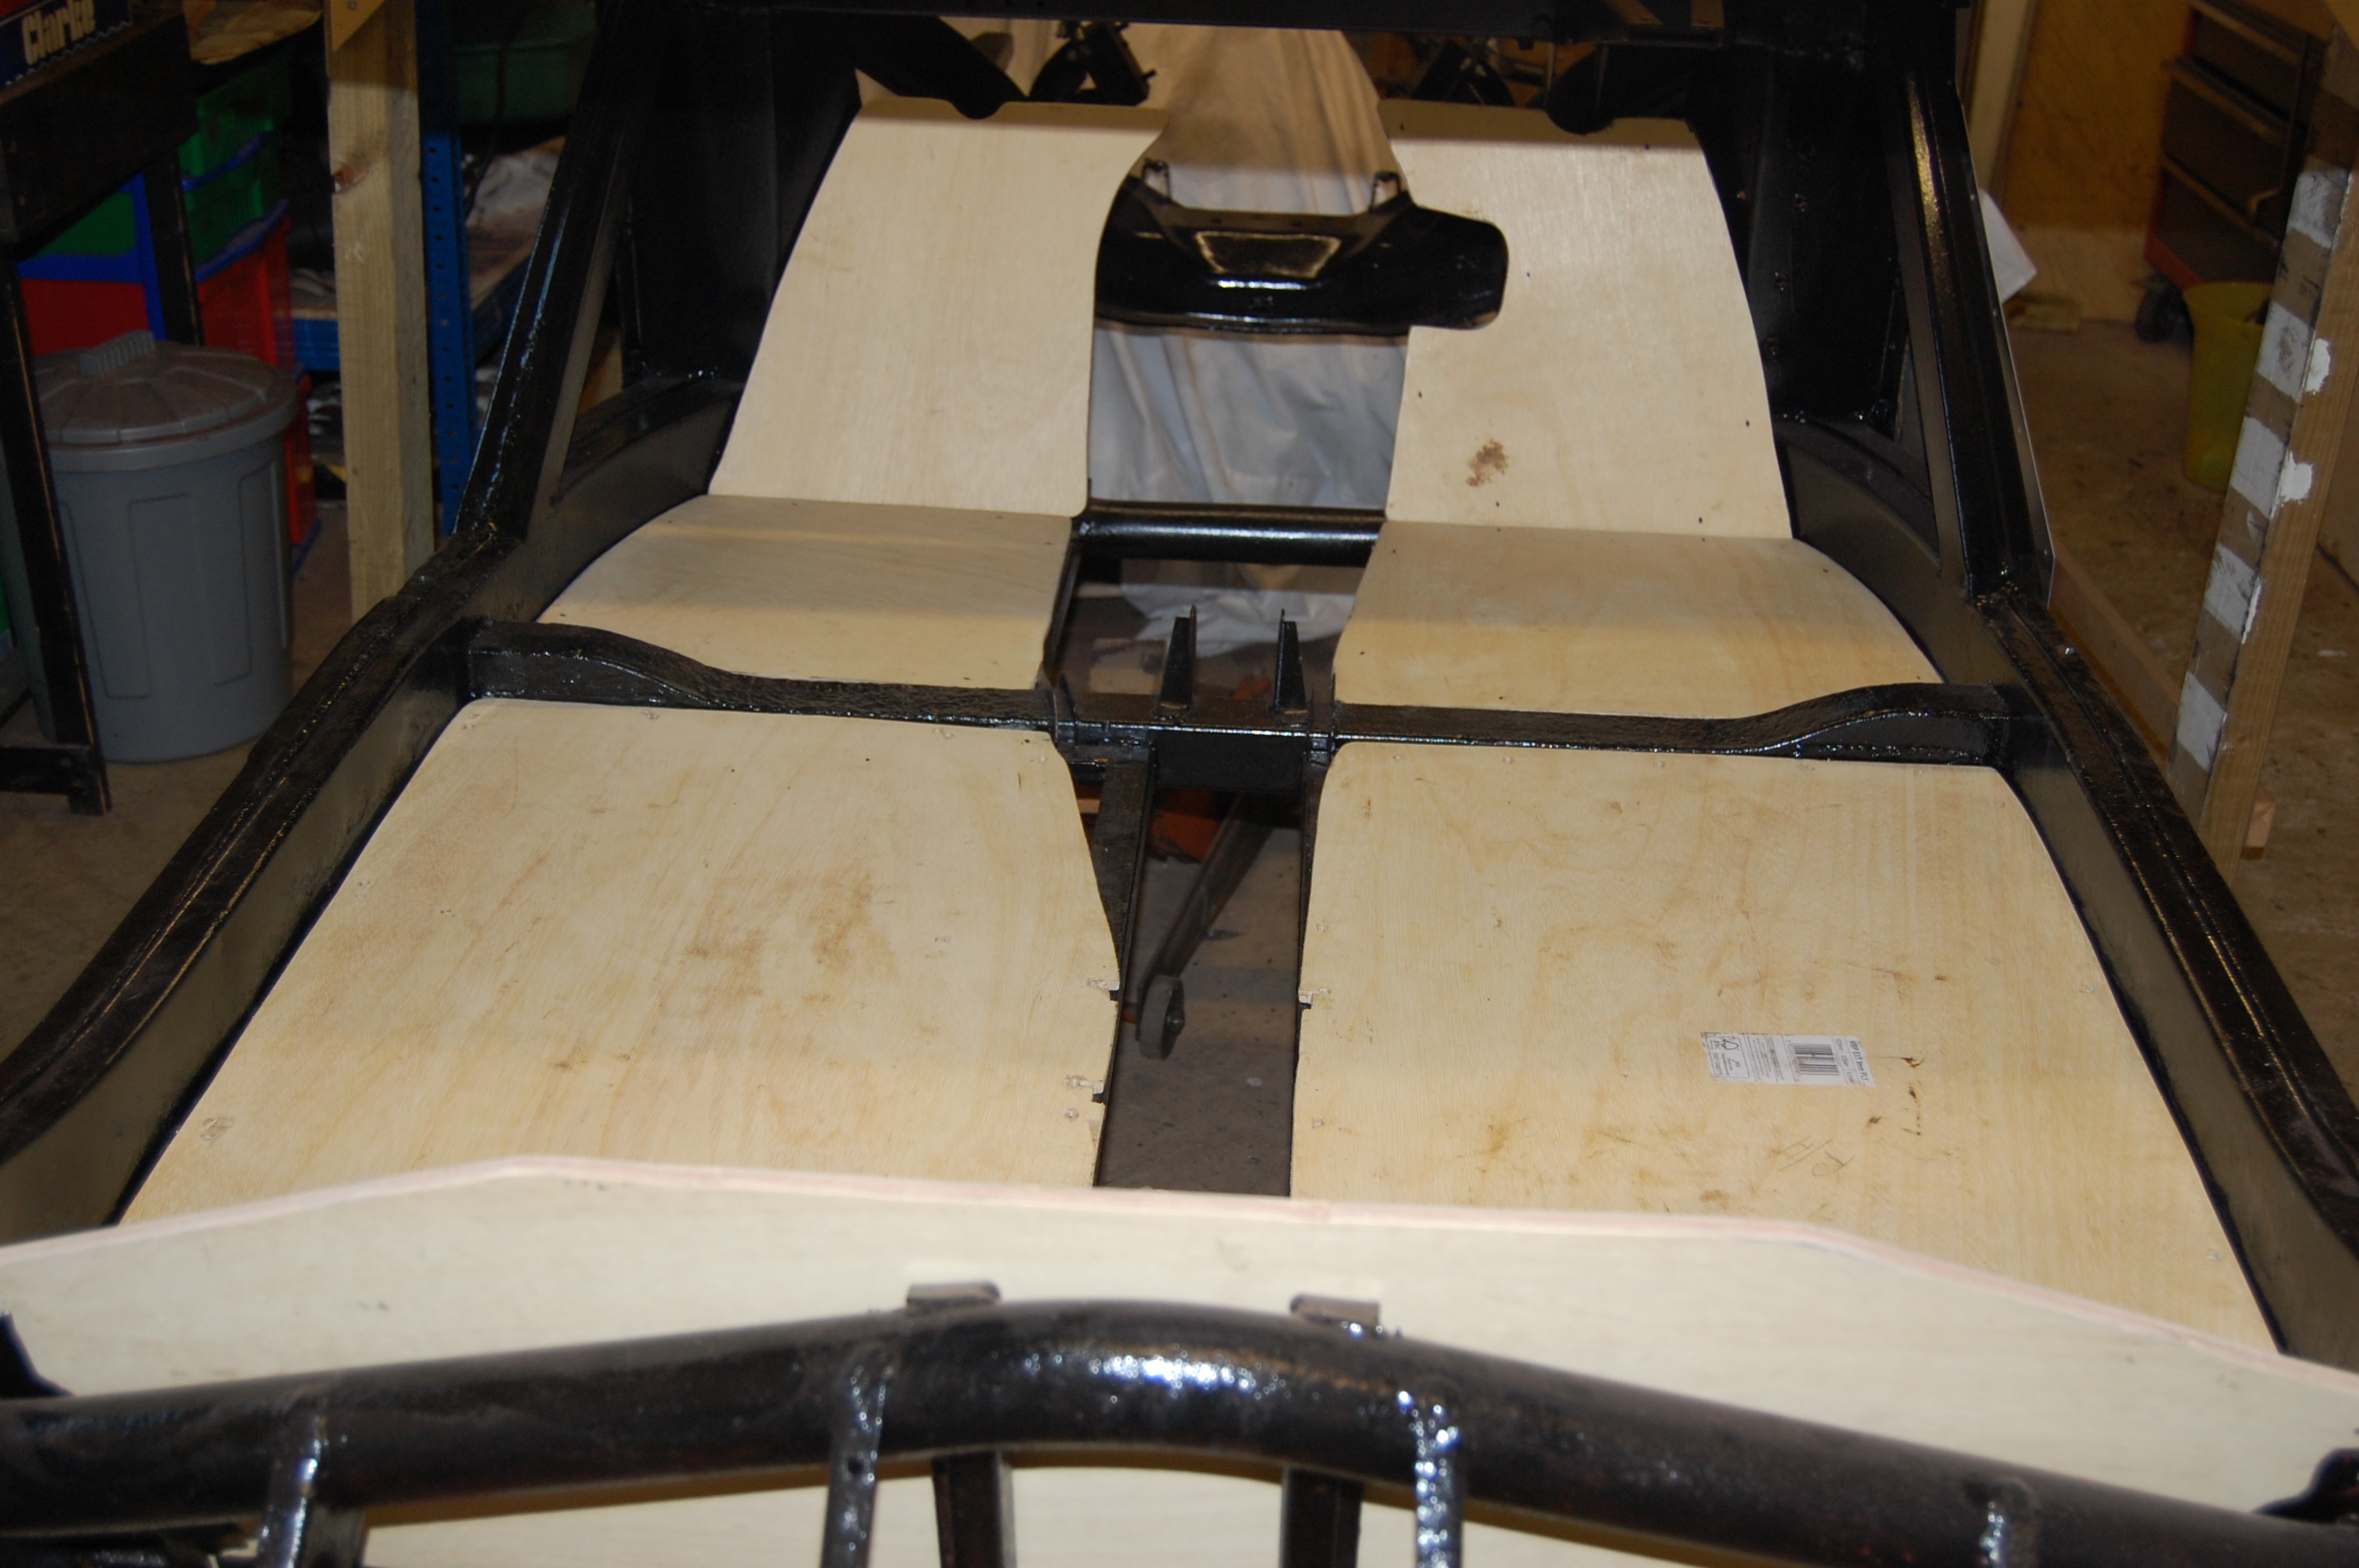
Original floorboards used as templates for new 9mm ply boards.
Original floorboards were not too bad, but I decided to replace them.
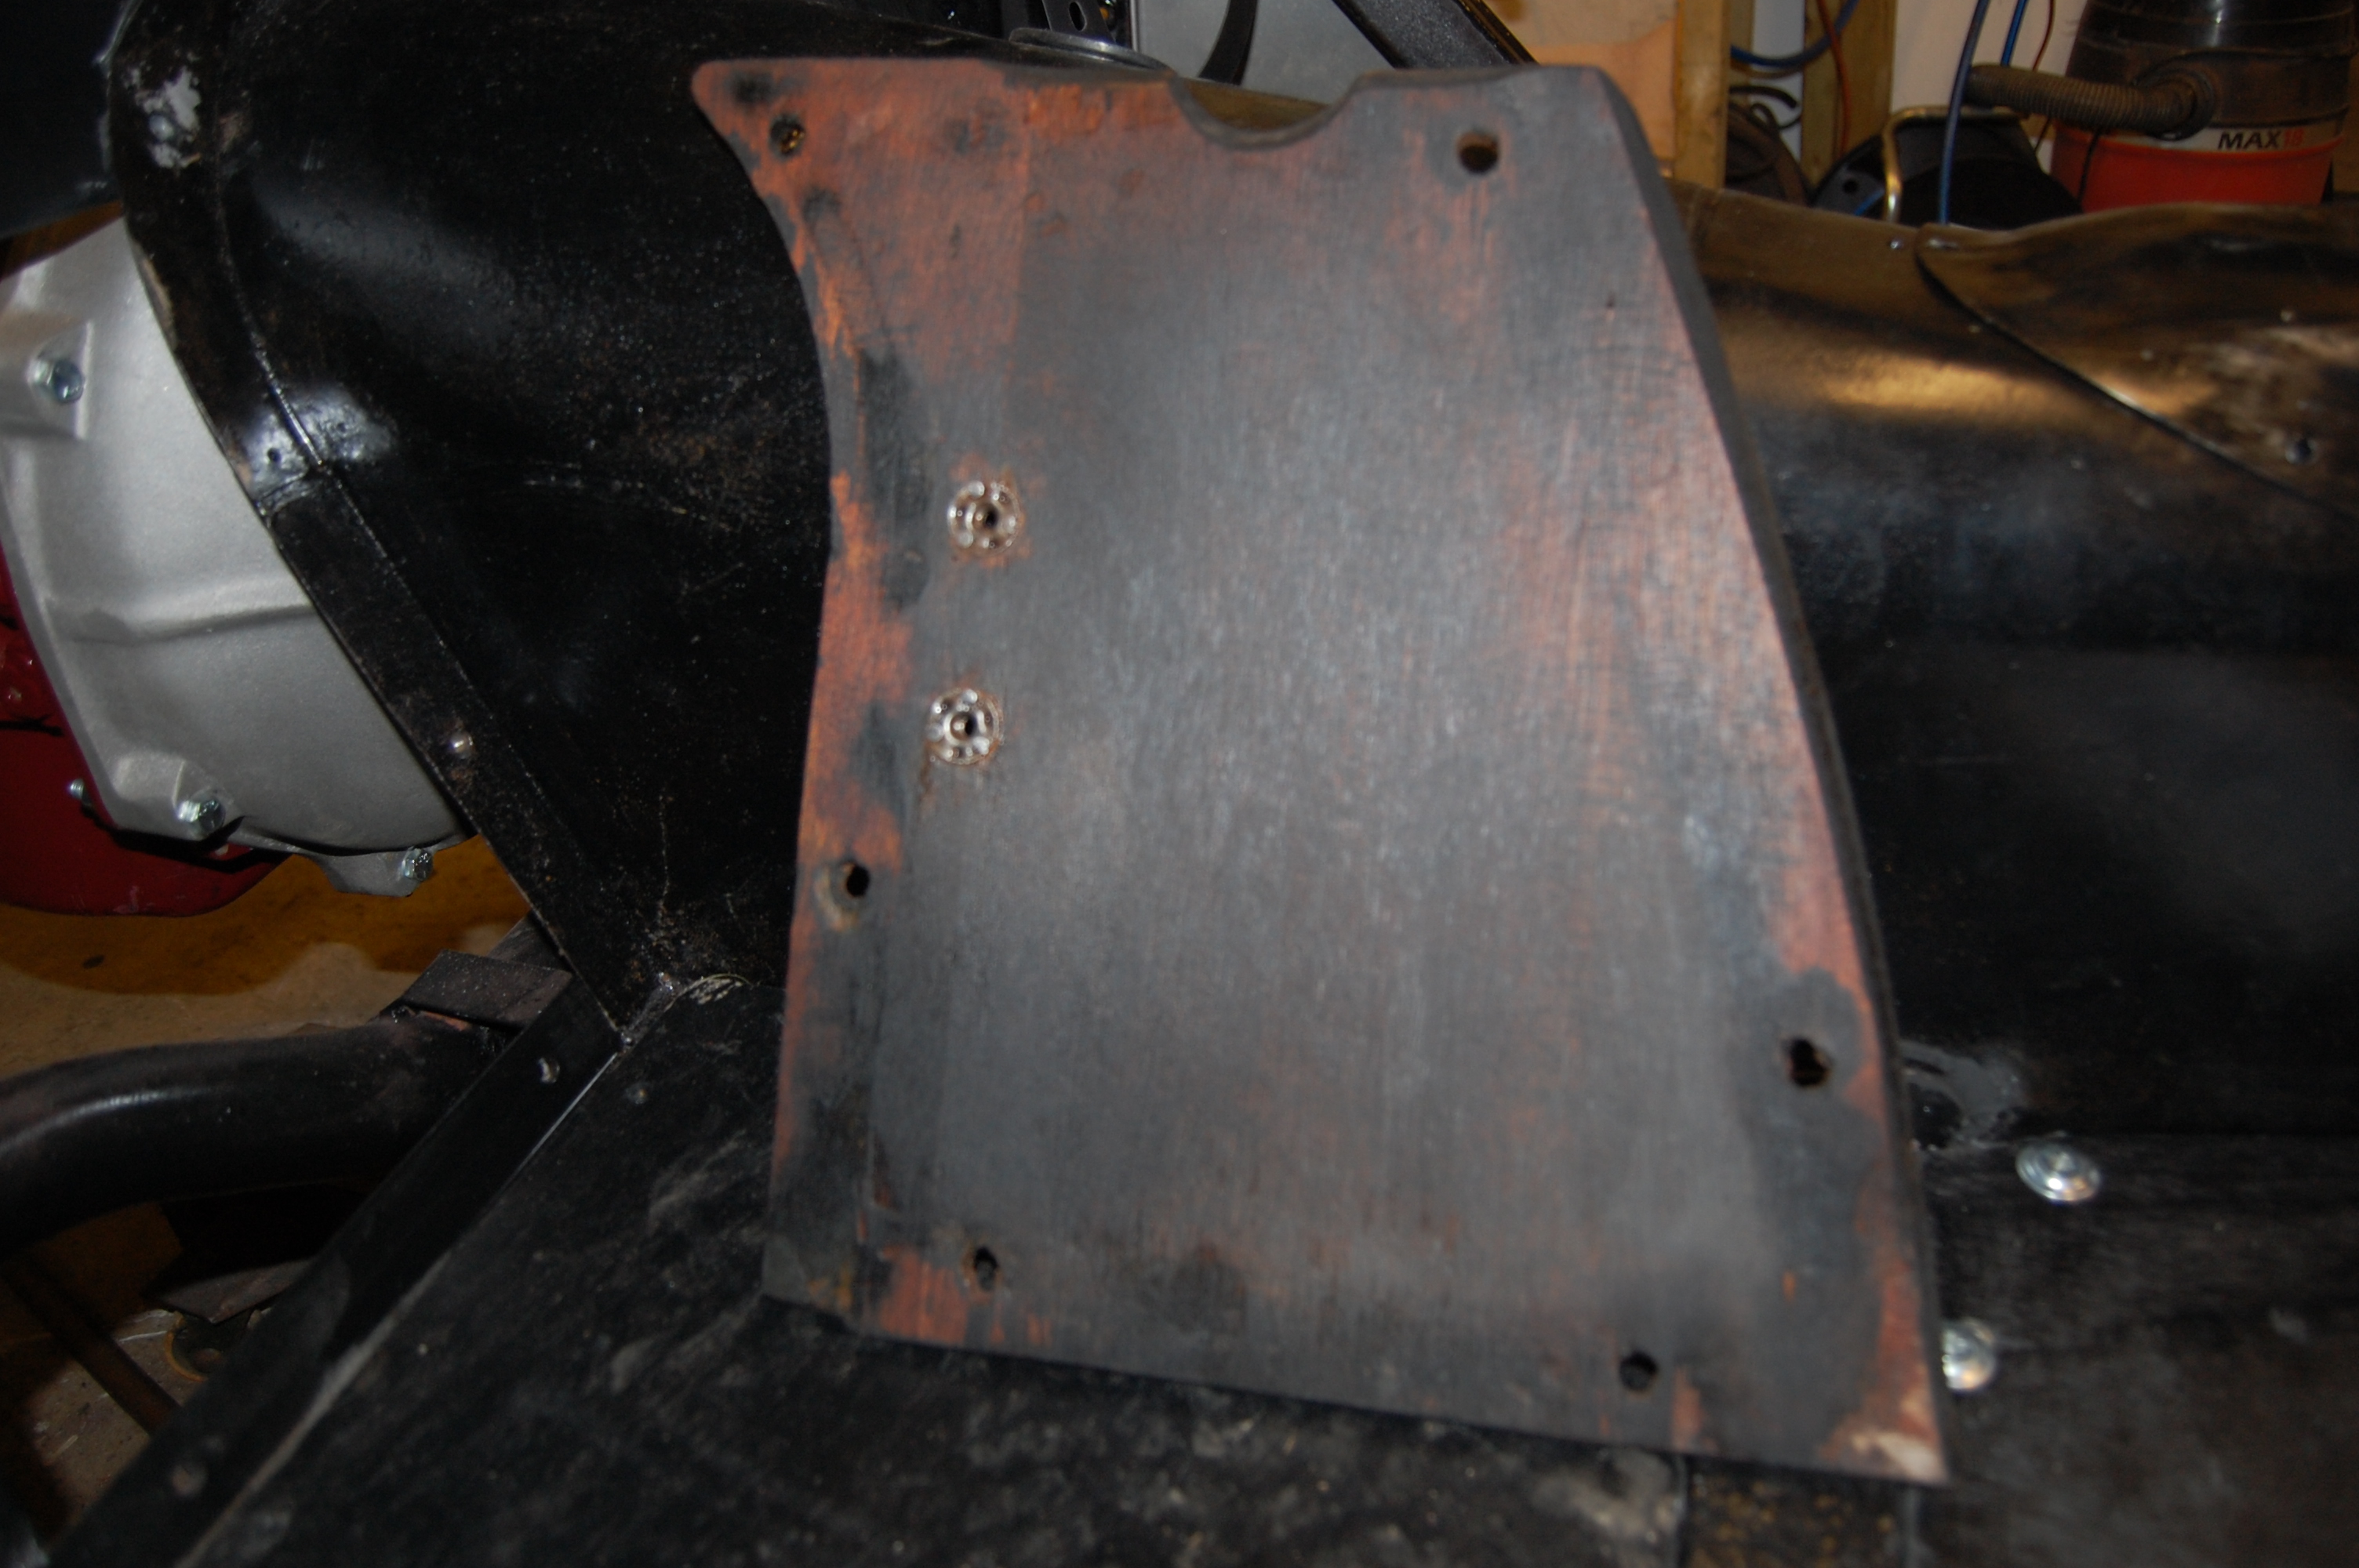
The original toeboards were reused as they were in good shape and have subtle profiling ensuring a proper fit. This is the left-hand toeboard that shows the location for left-hand drive car throttle pedal stop location – the two ‘T’ nuts middle left. Not sure why these were fitted to a righthand drive car, as they are redundant.
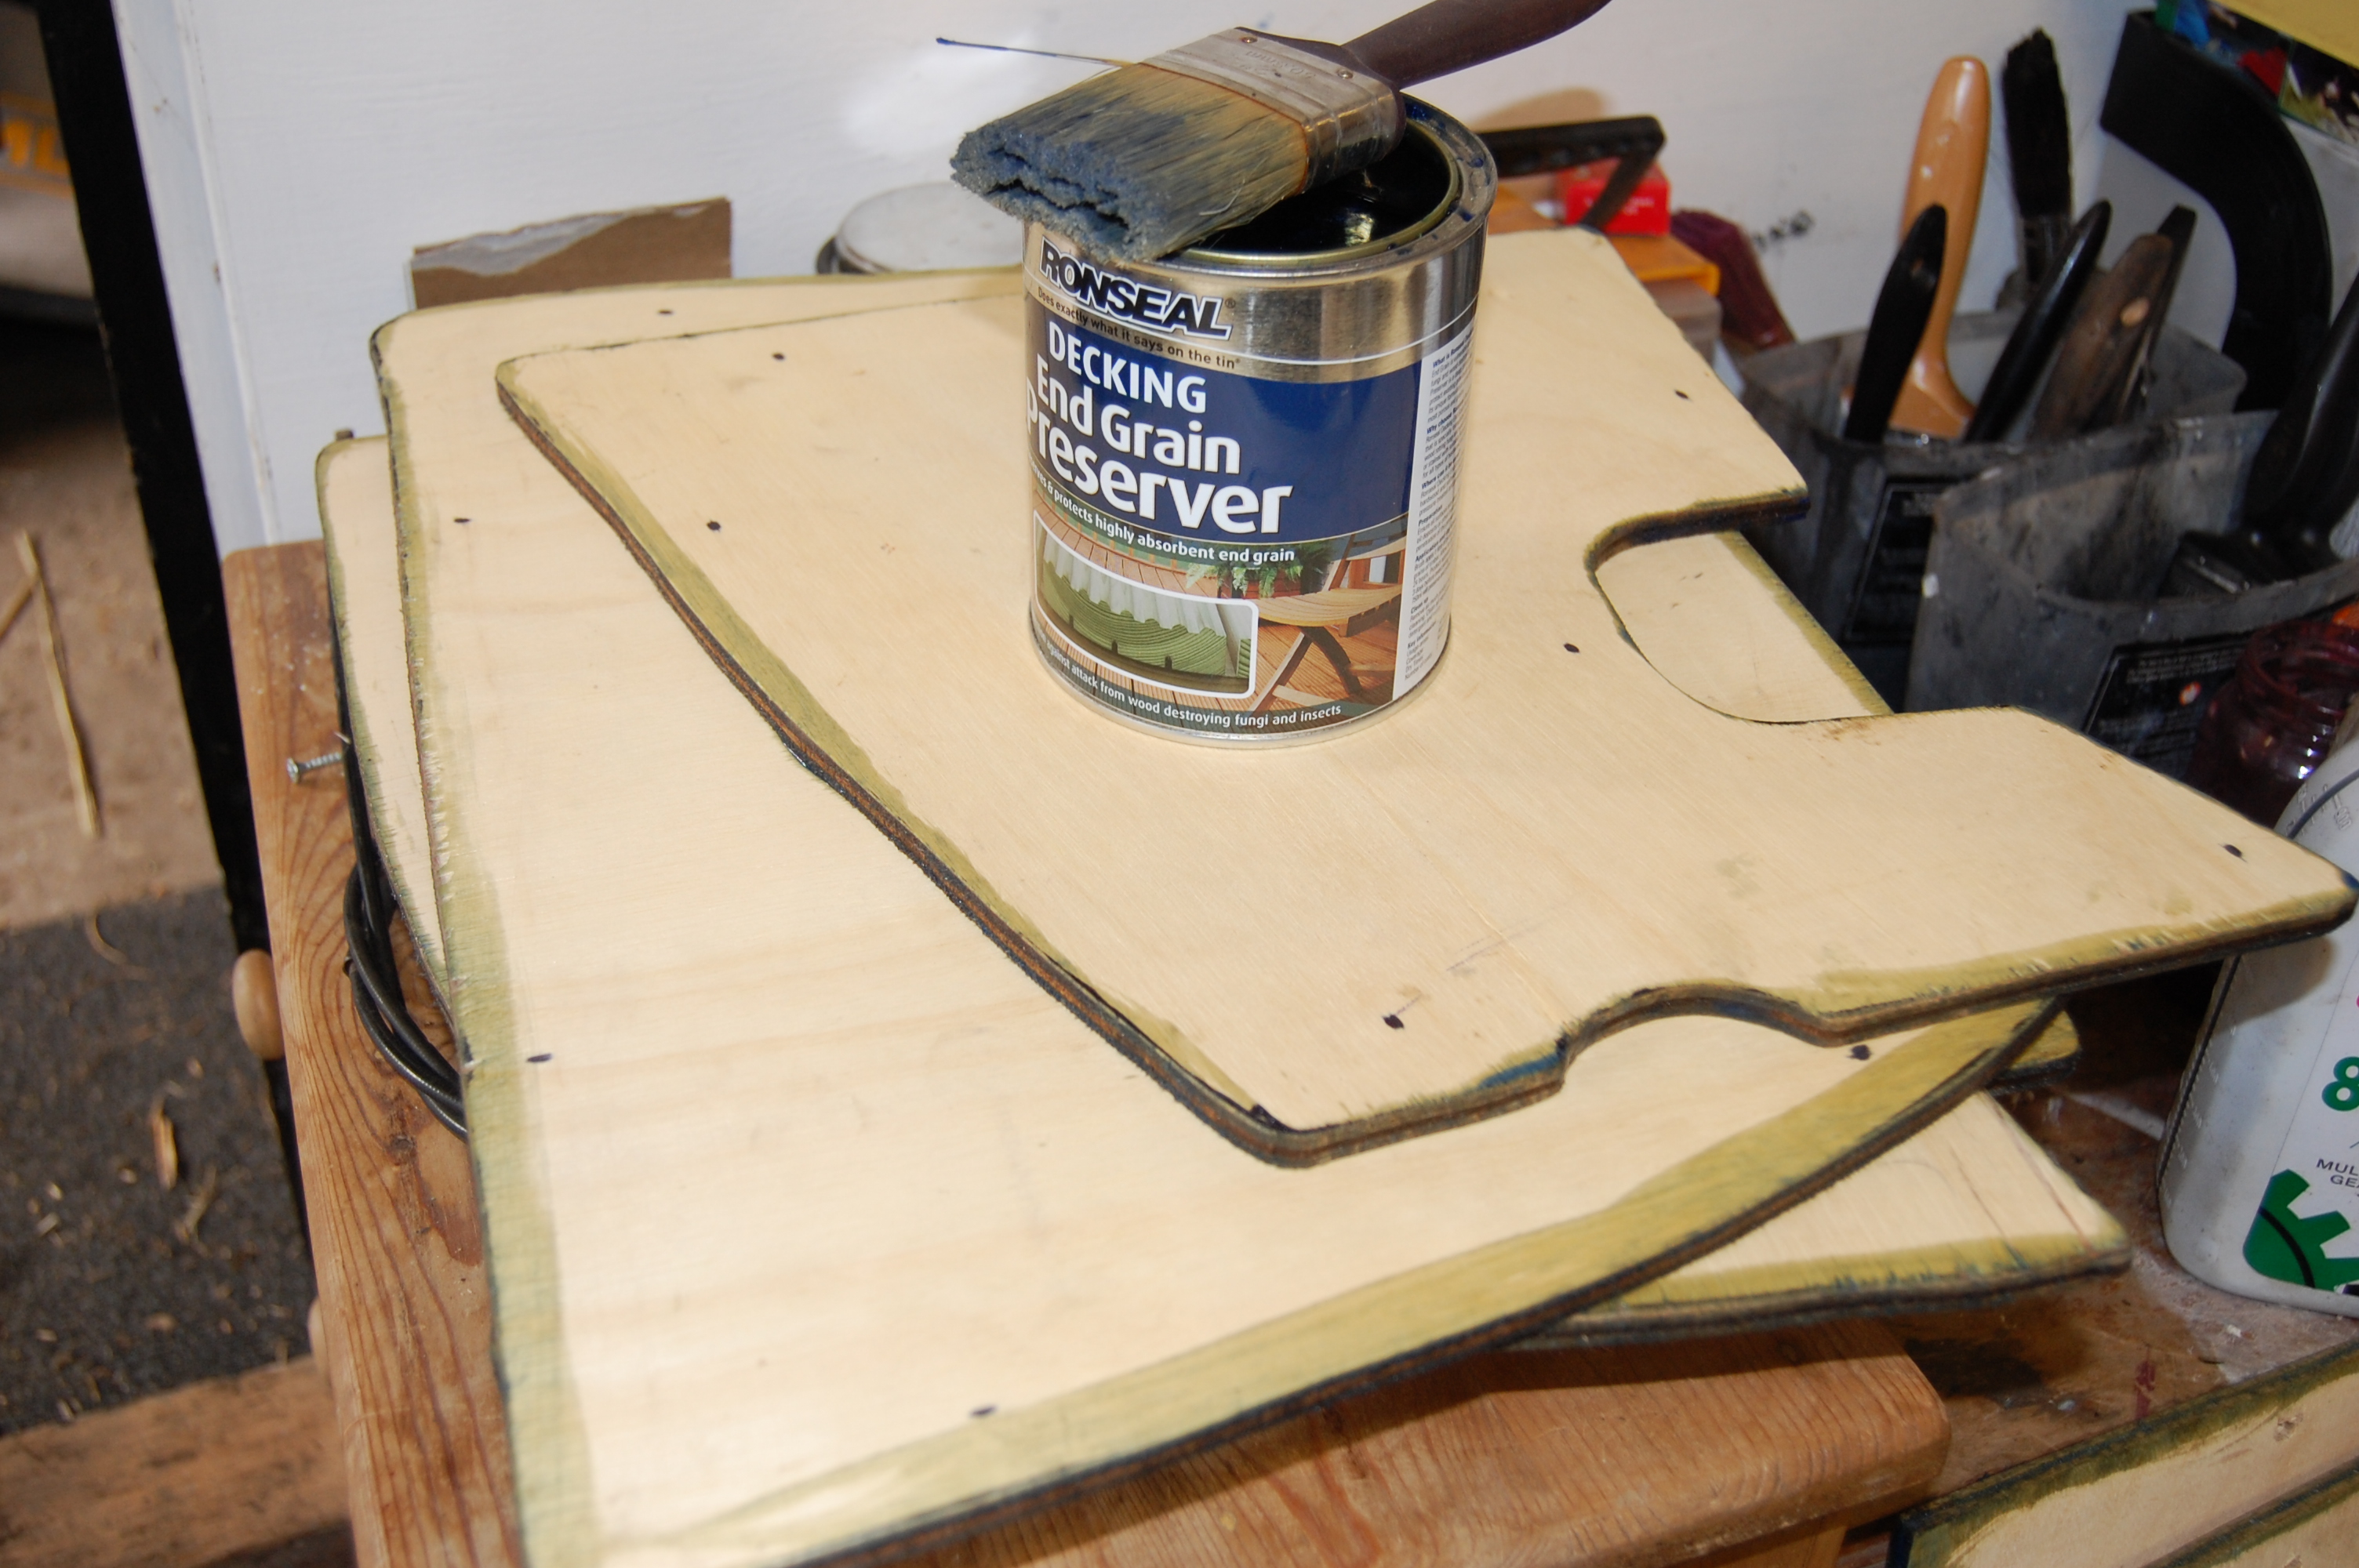
Floor edges treated with decking end grain preserver before painting with Sadolin black wood stain.
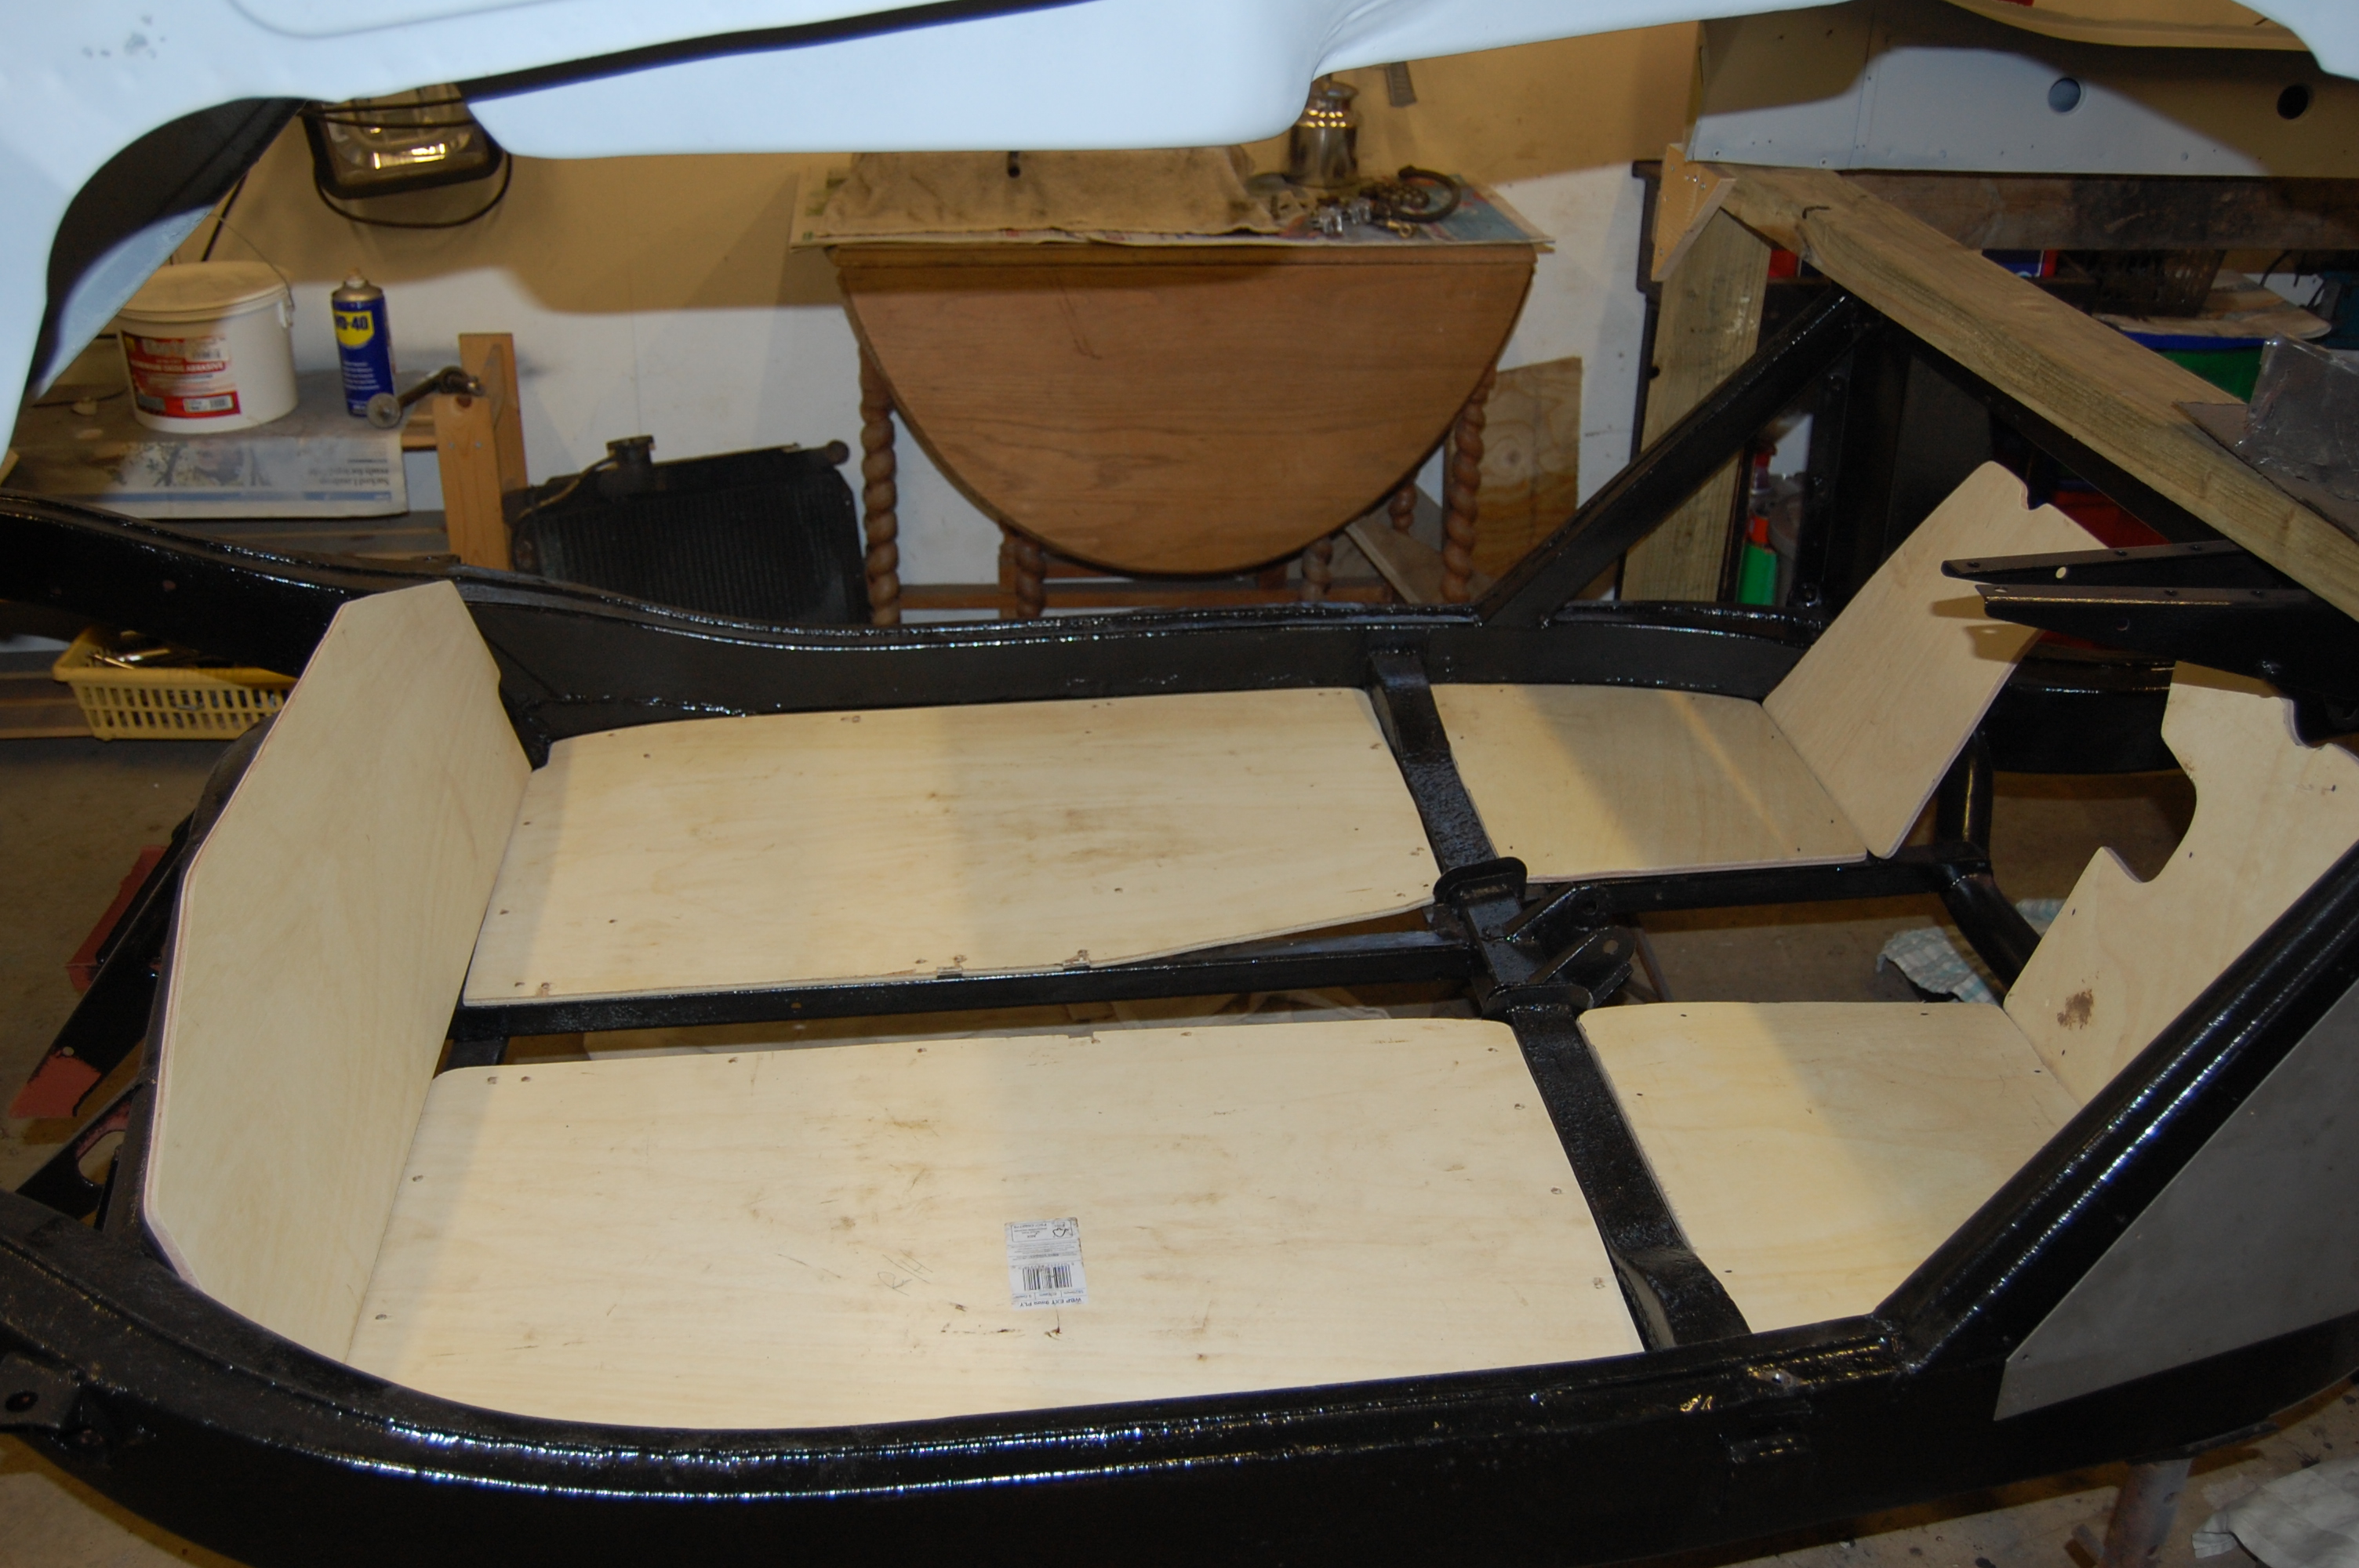
Trial fit and marking of retaining bolt holes, which in places are different to the originals due to the fitting of new chassis rails. The rear board has not been finished as I decided to re-use the original.
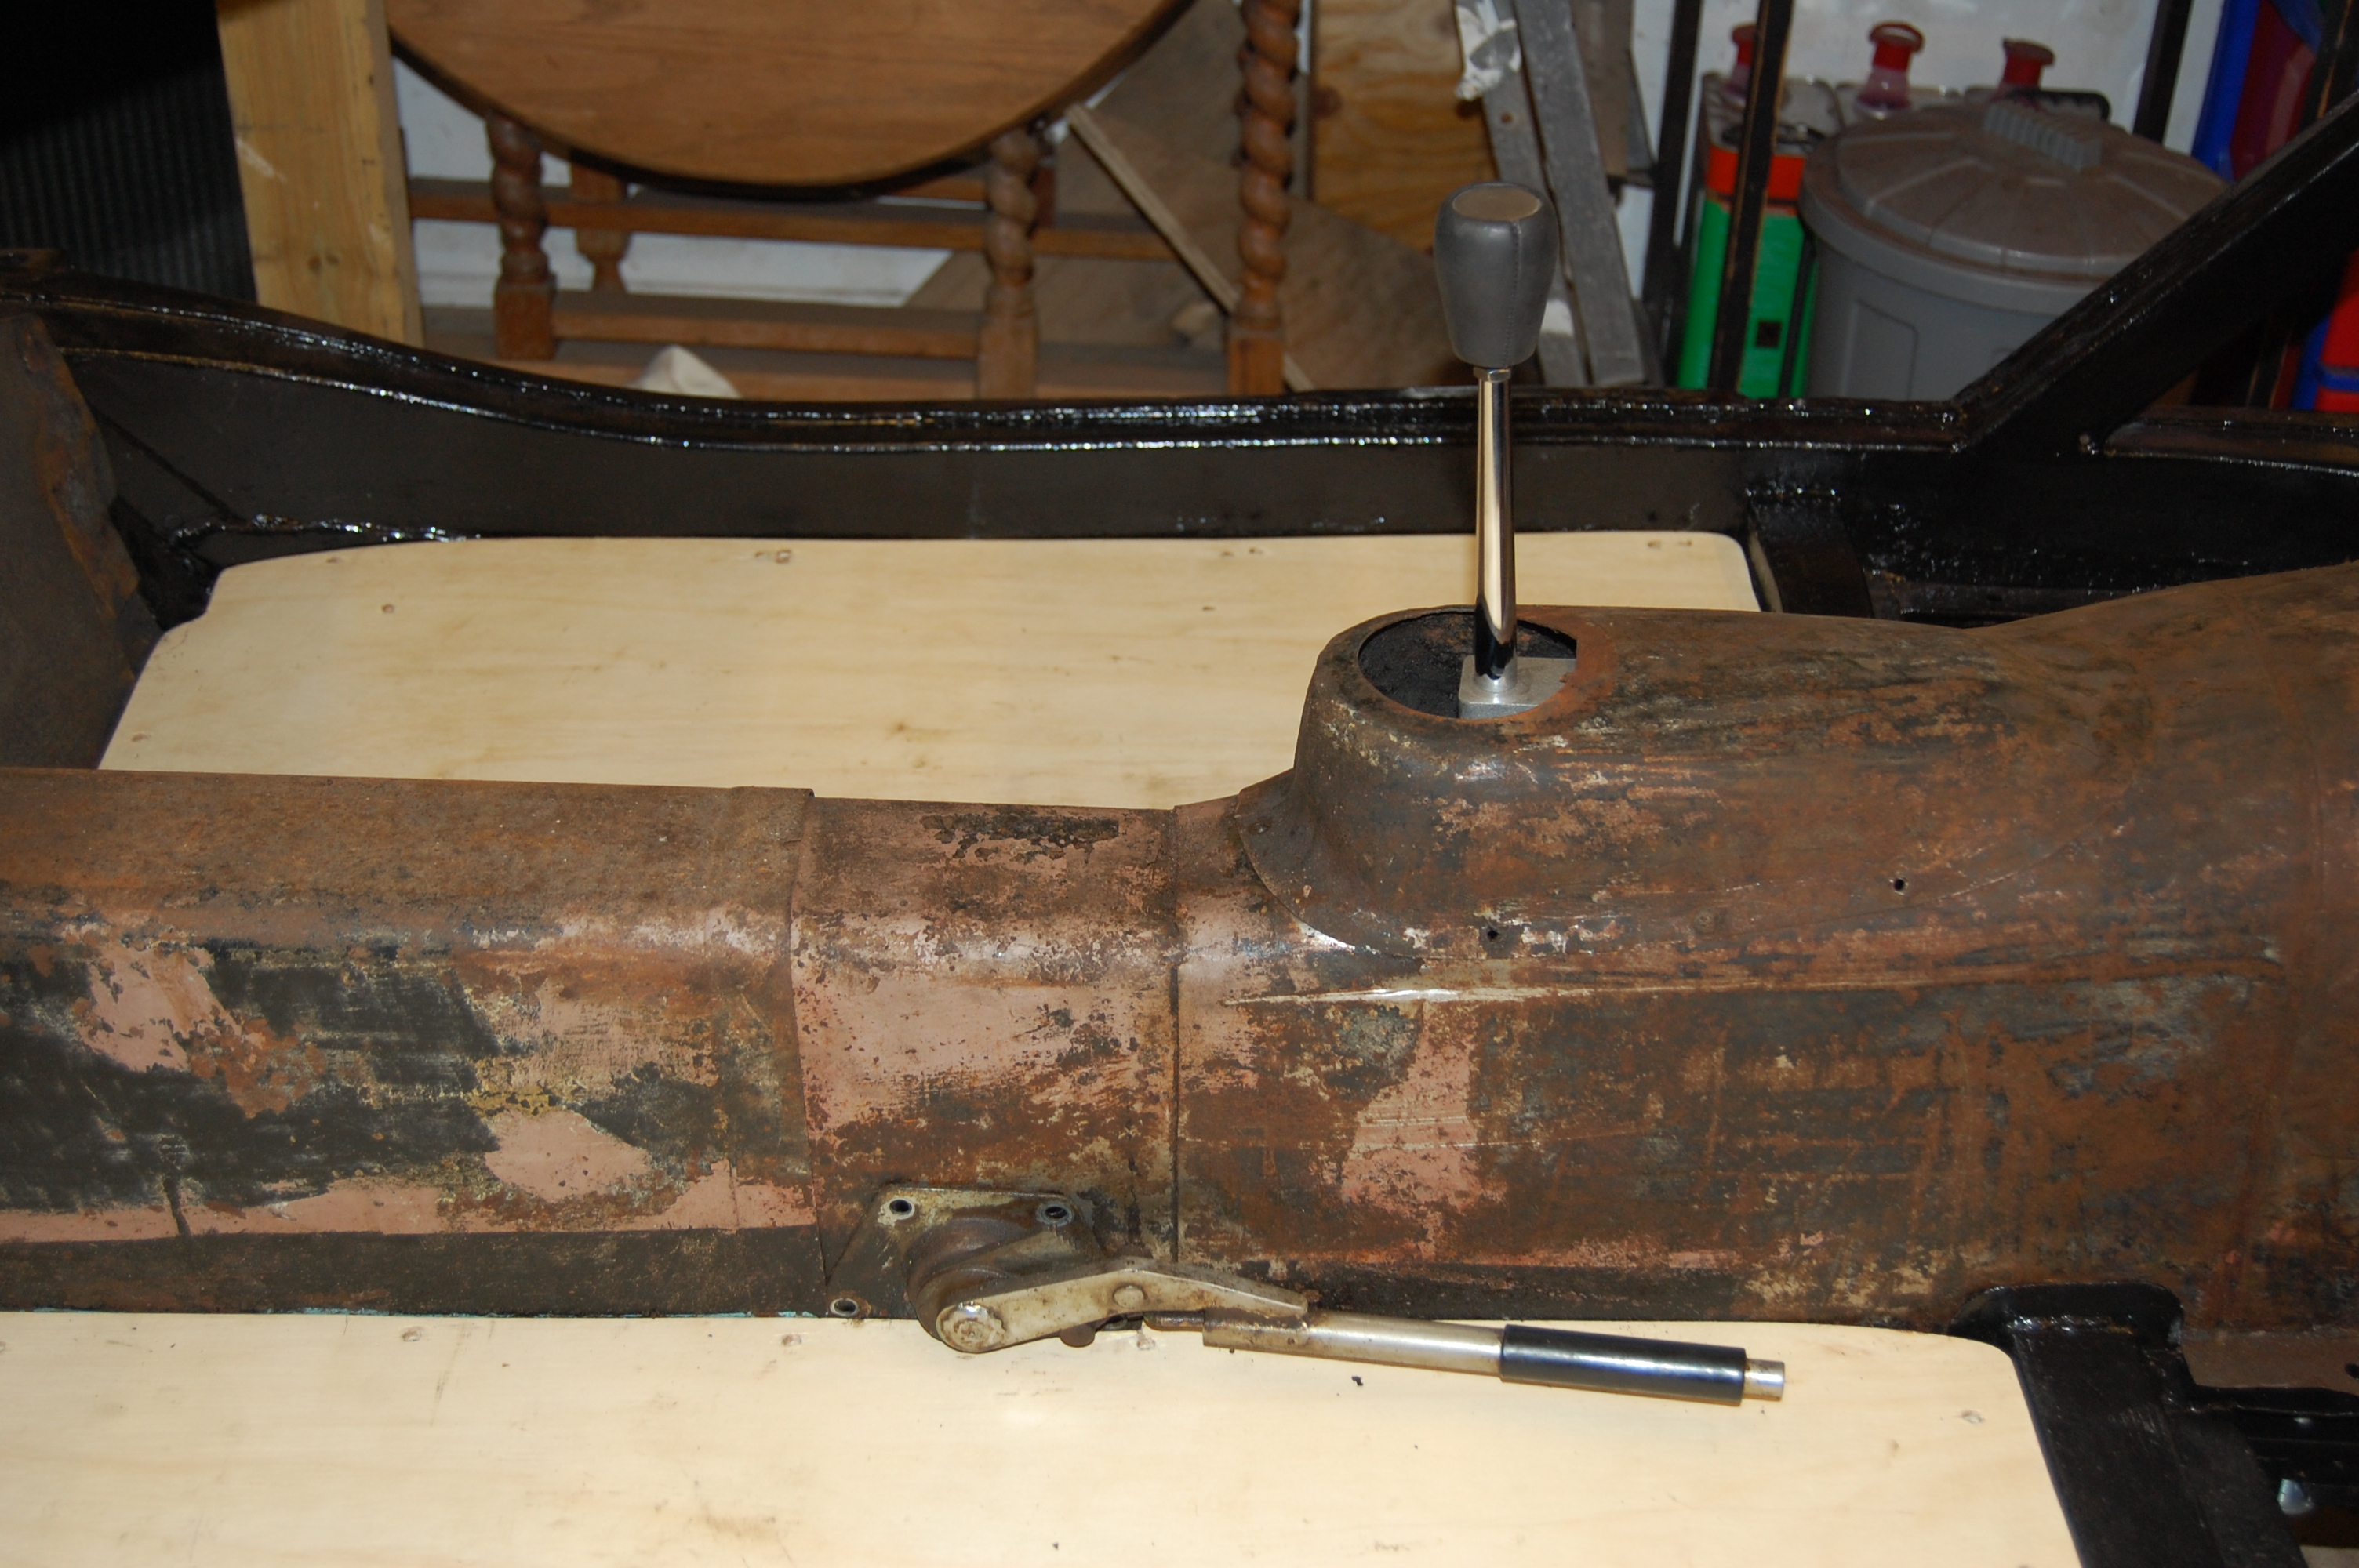

Trial re-fit of drive line tunnel – much cleaning up and painting required.
Floorboards were first treated with a thinned down black wood preservative, before being finished with Blackfriar satin black paint, which has proven it’s qualities on my house beams.
Before fitting the boards, all the areas of contact with the chassis support rails were sealed using a black gutter sealant. Once the boards were fitted, all the edges were sealed to prevent any future water ingress to get trapped – nothing was used by the factory.
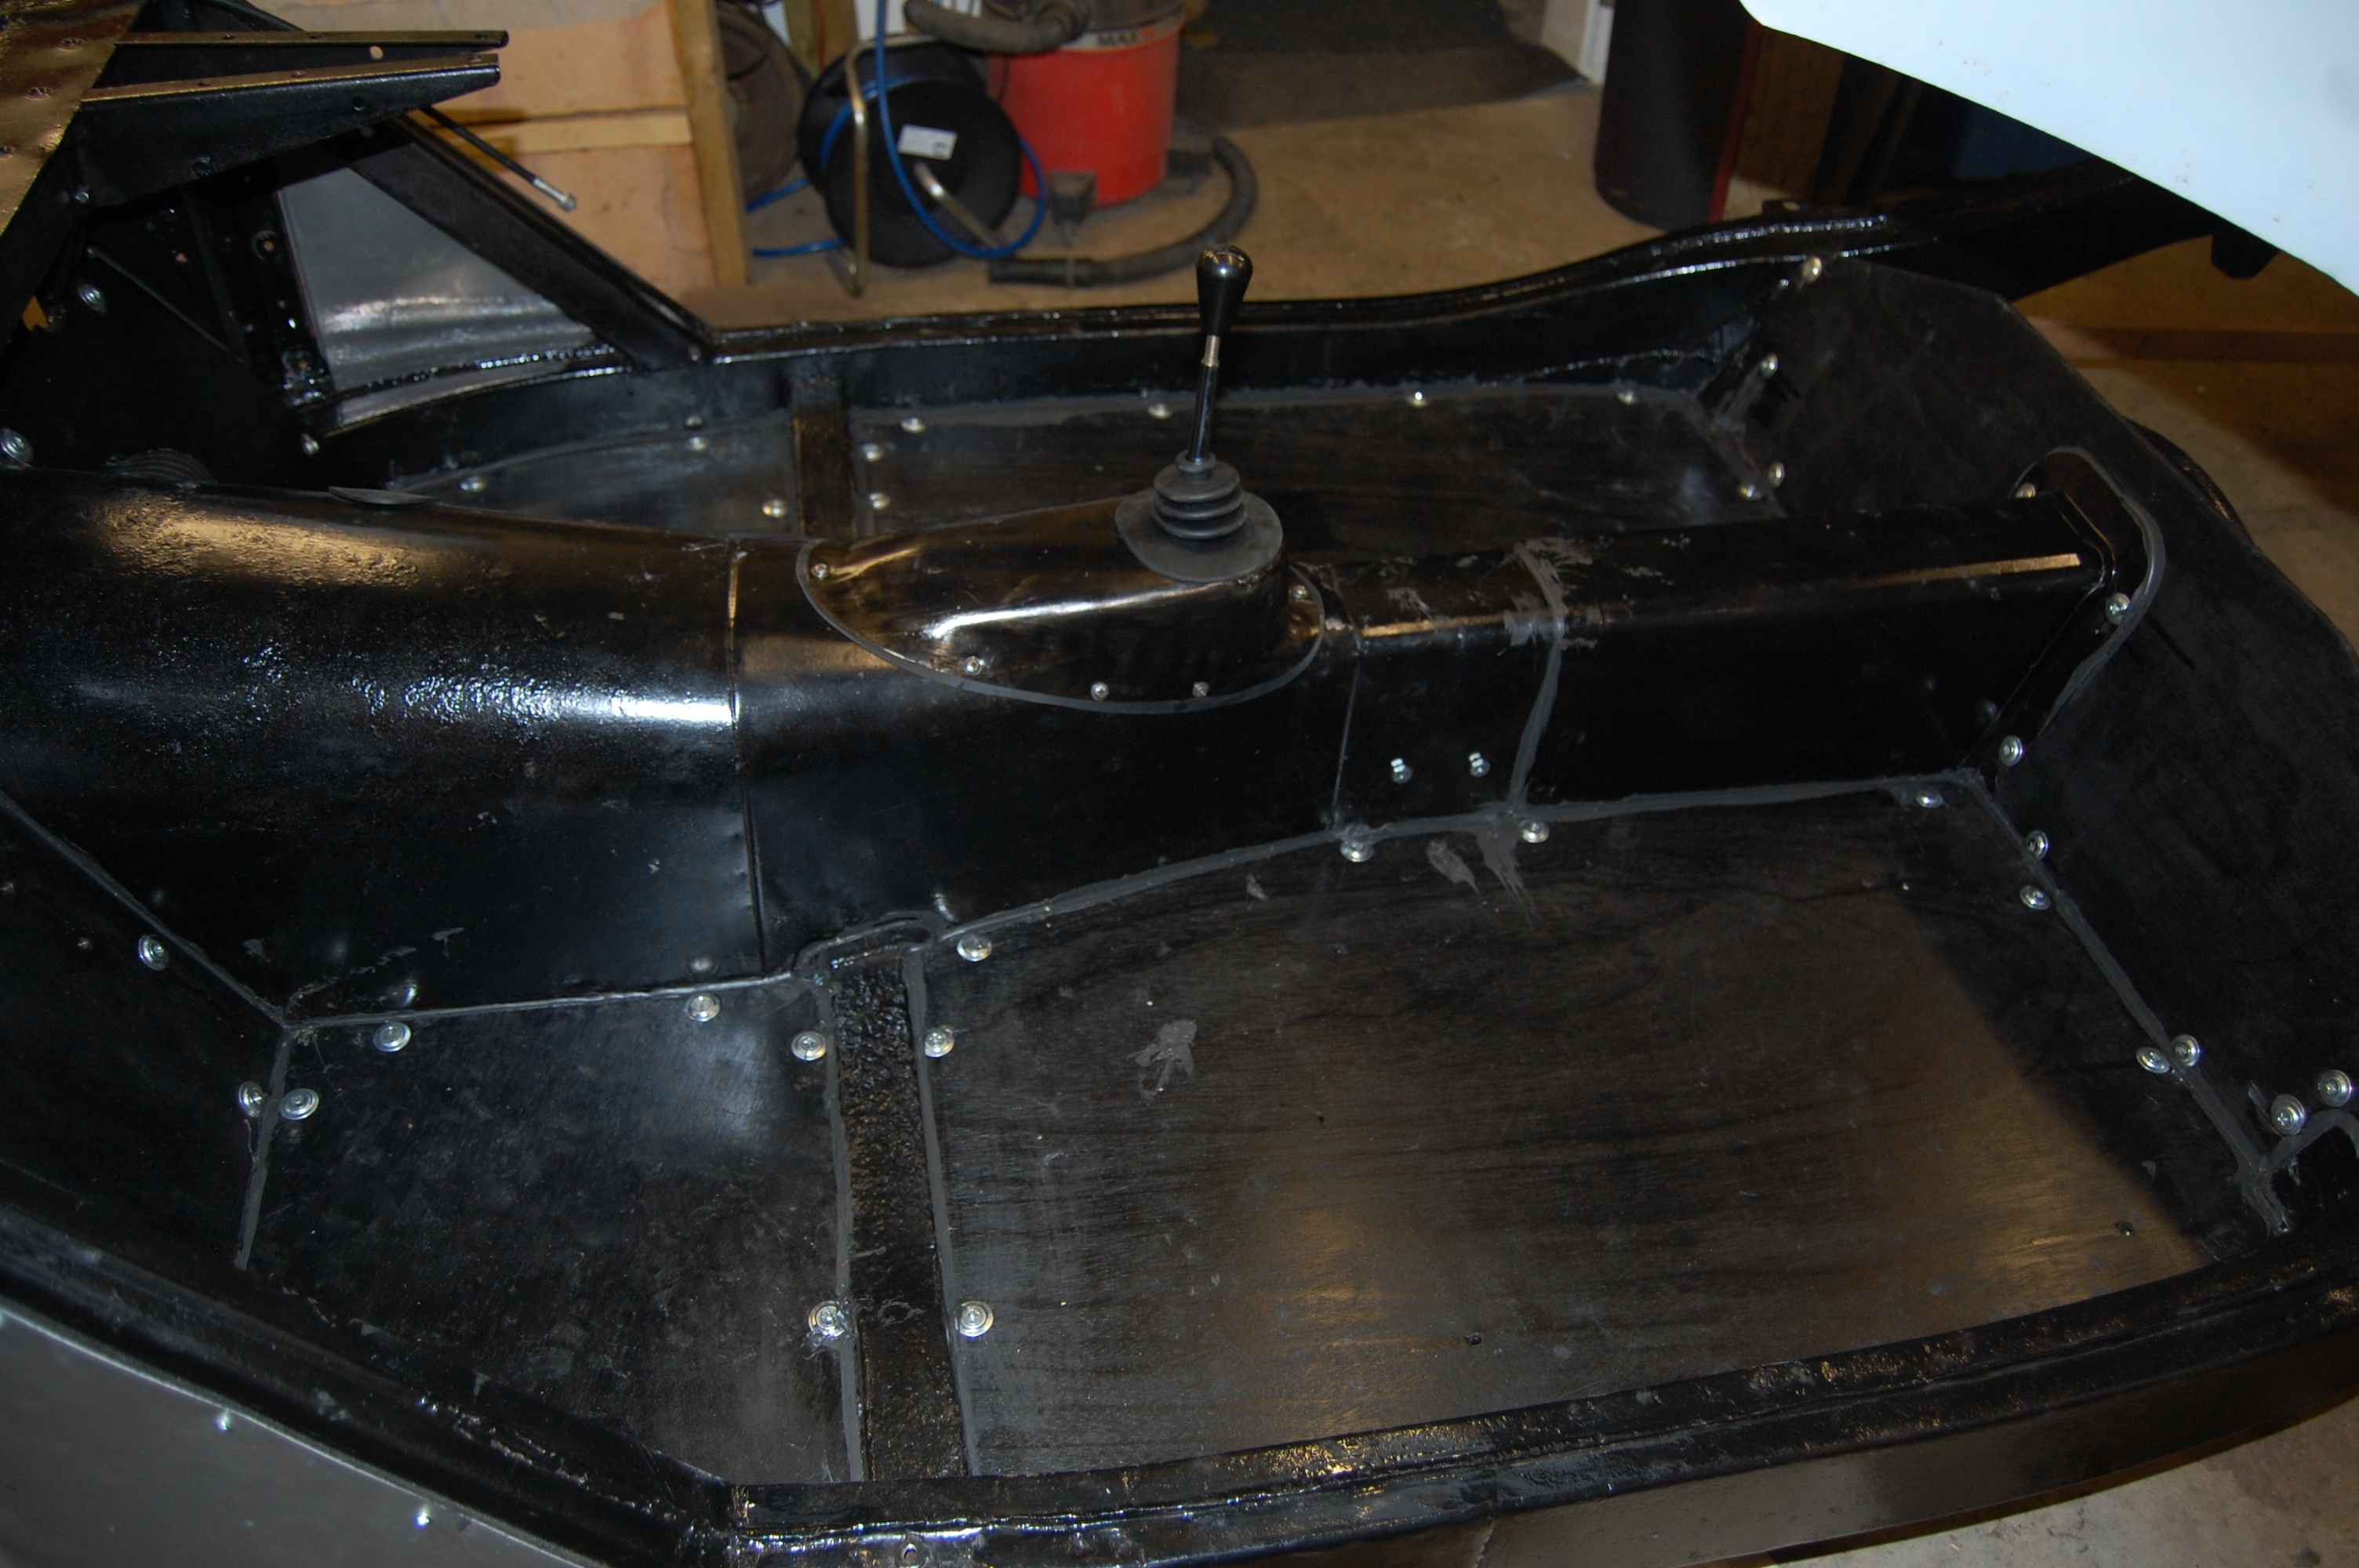

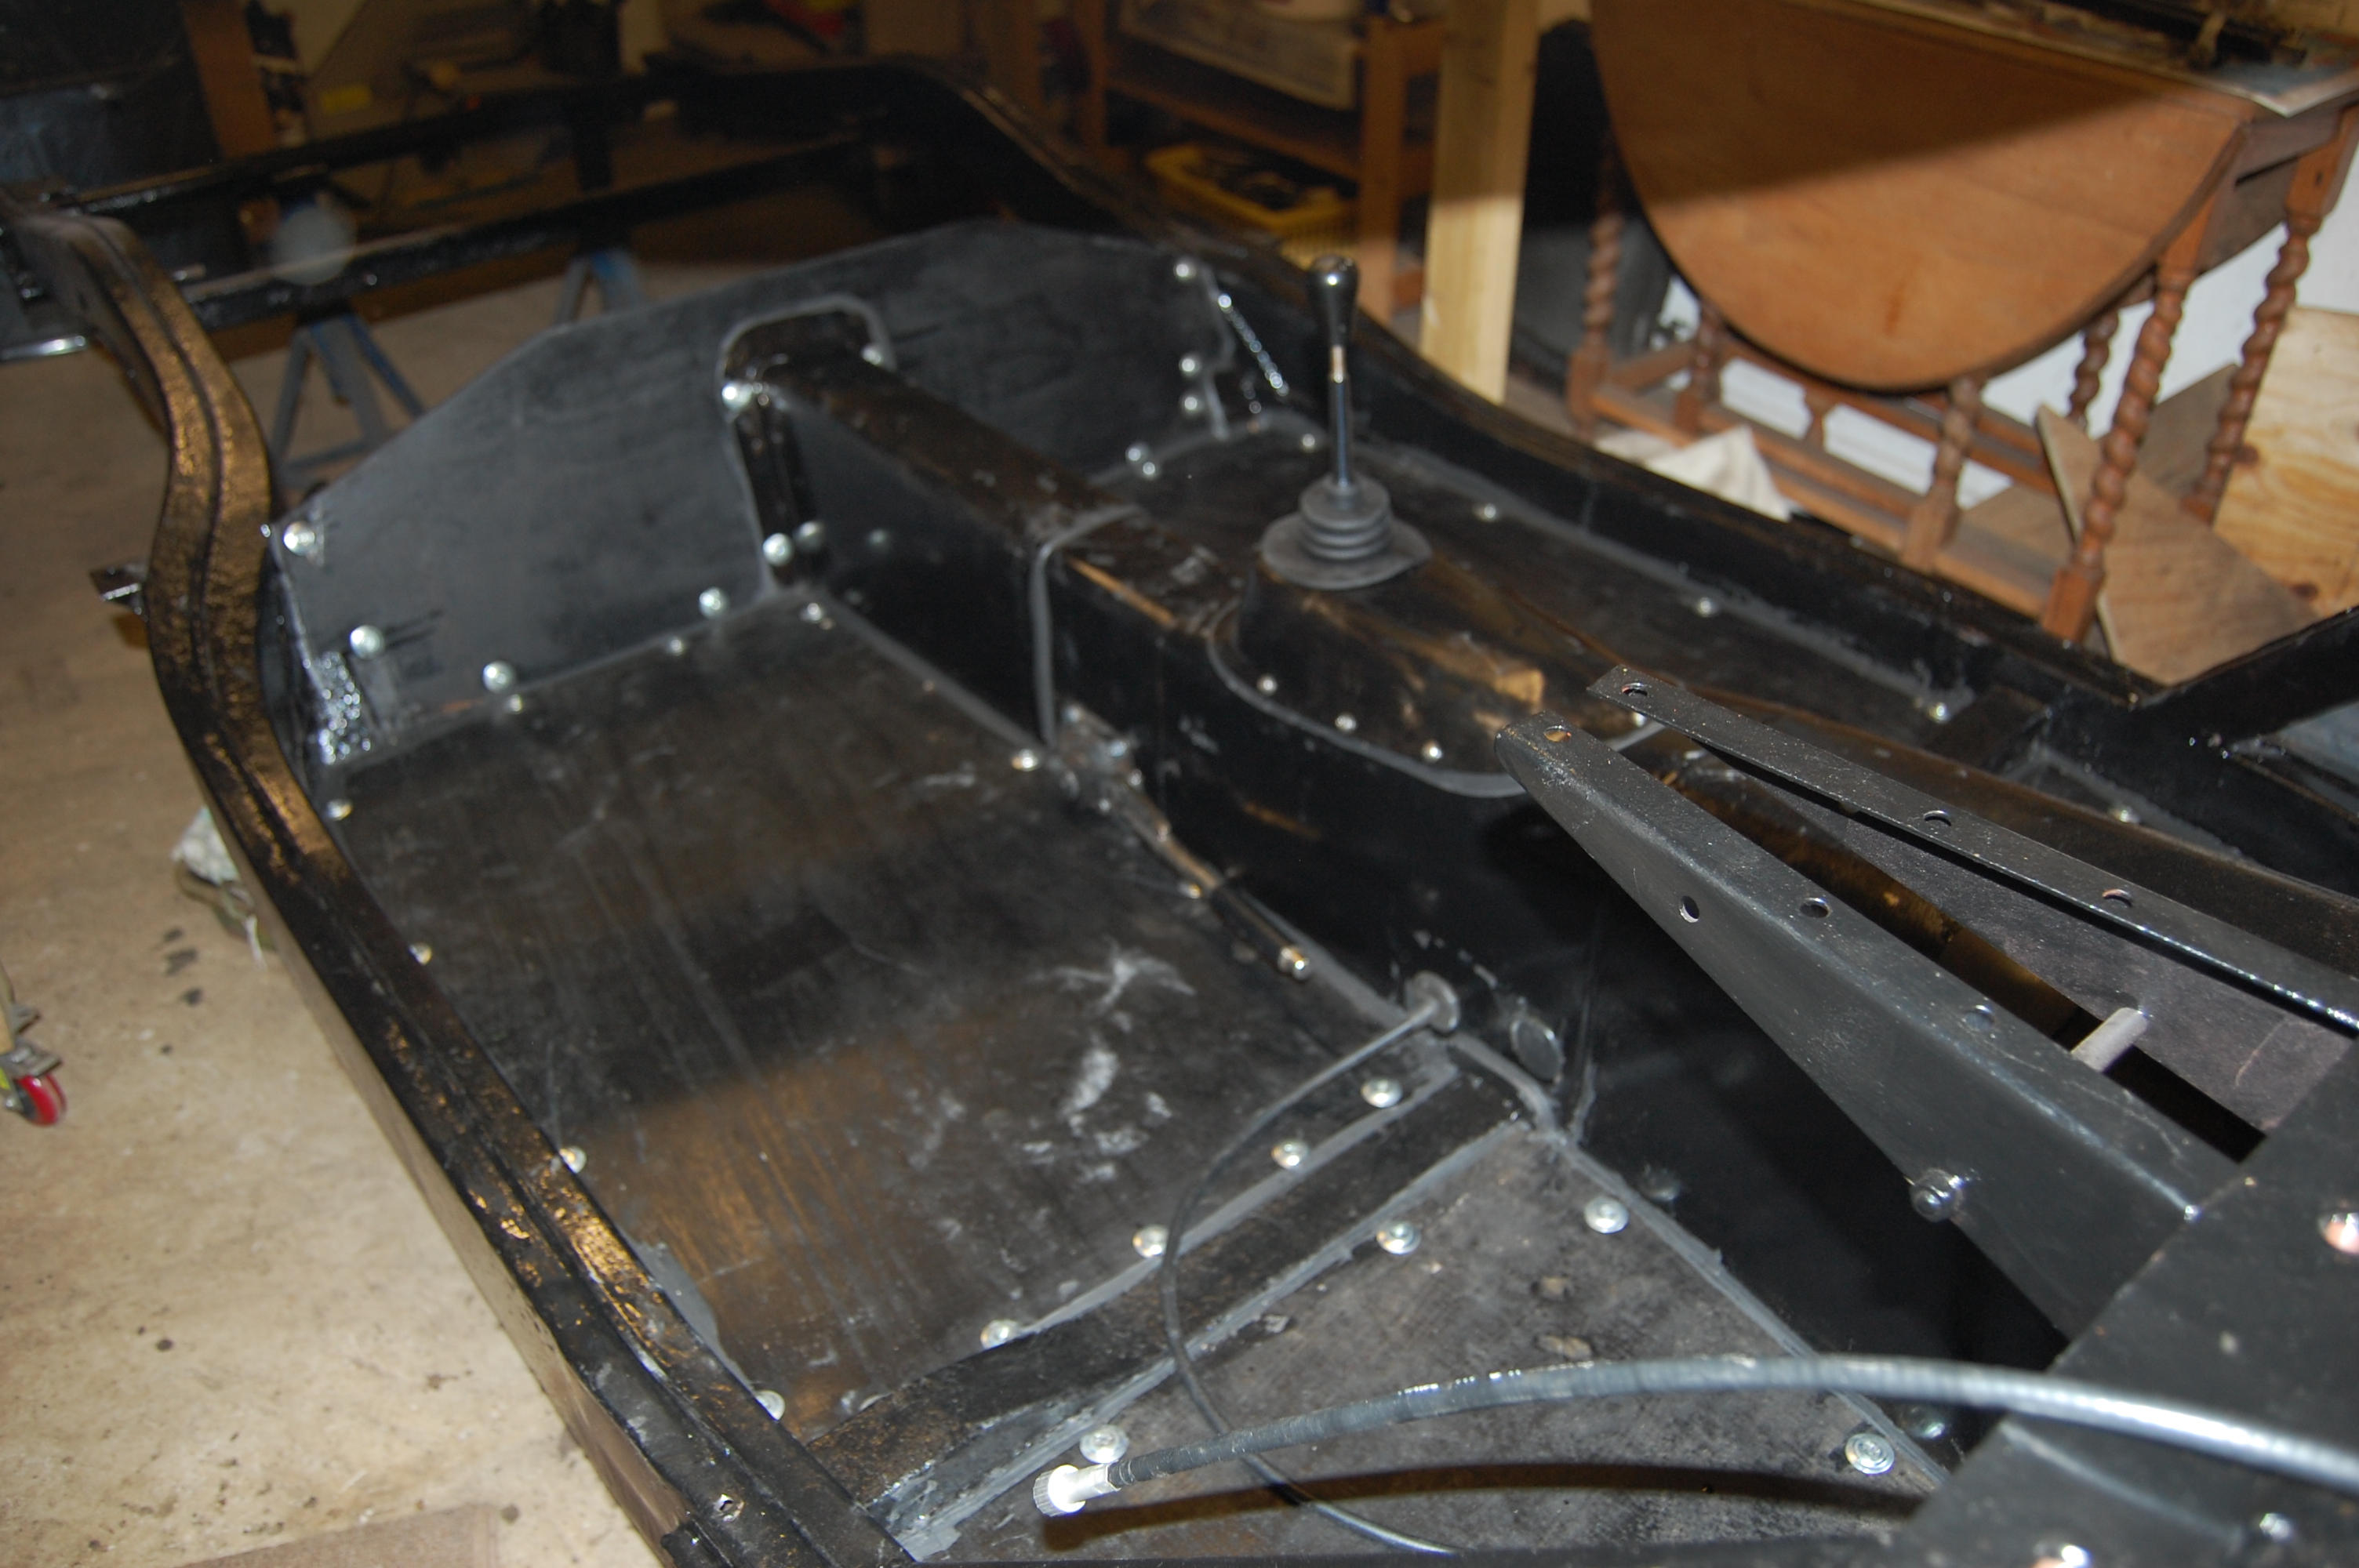
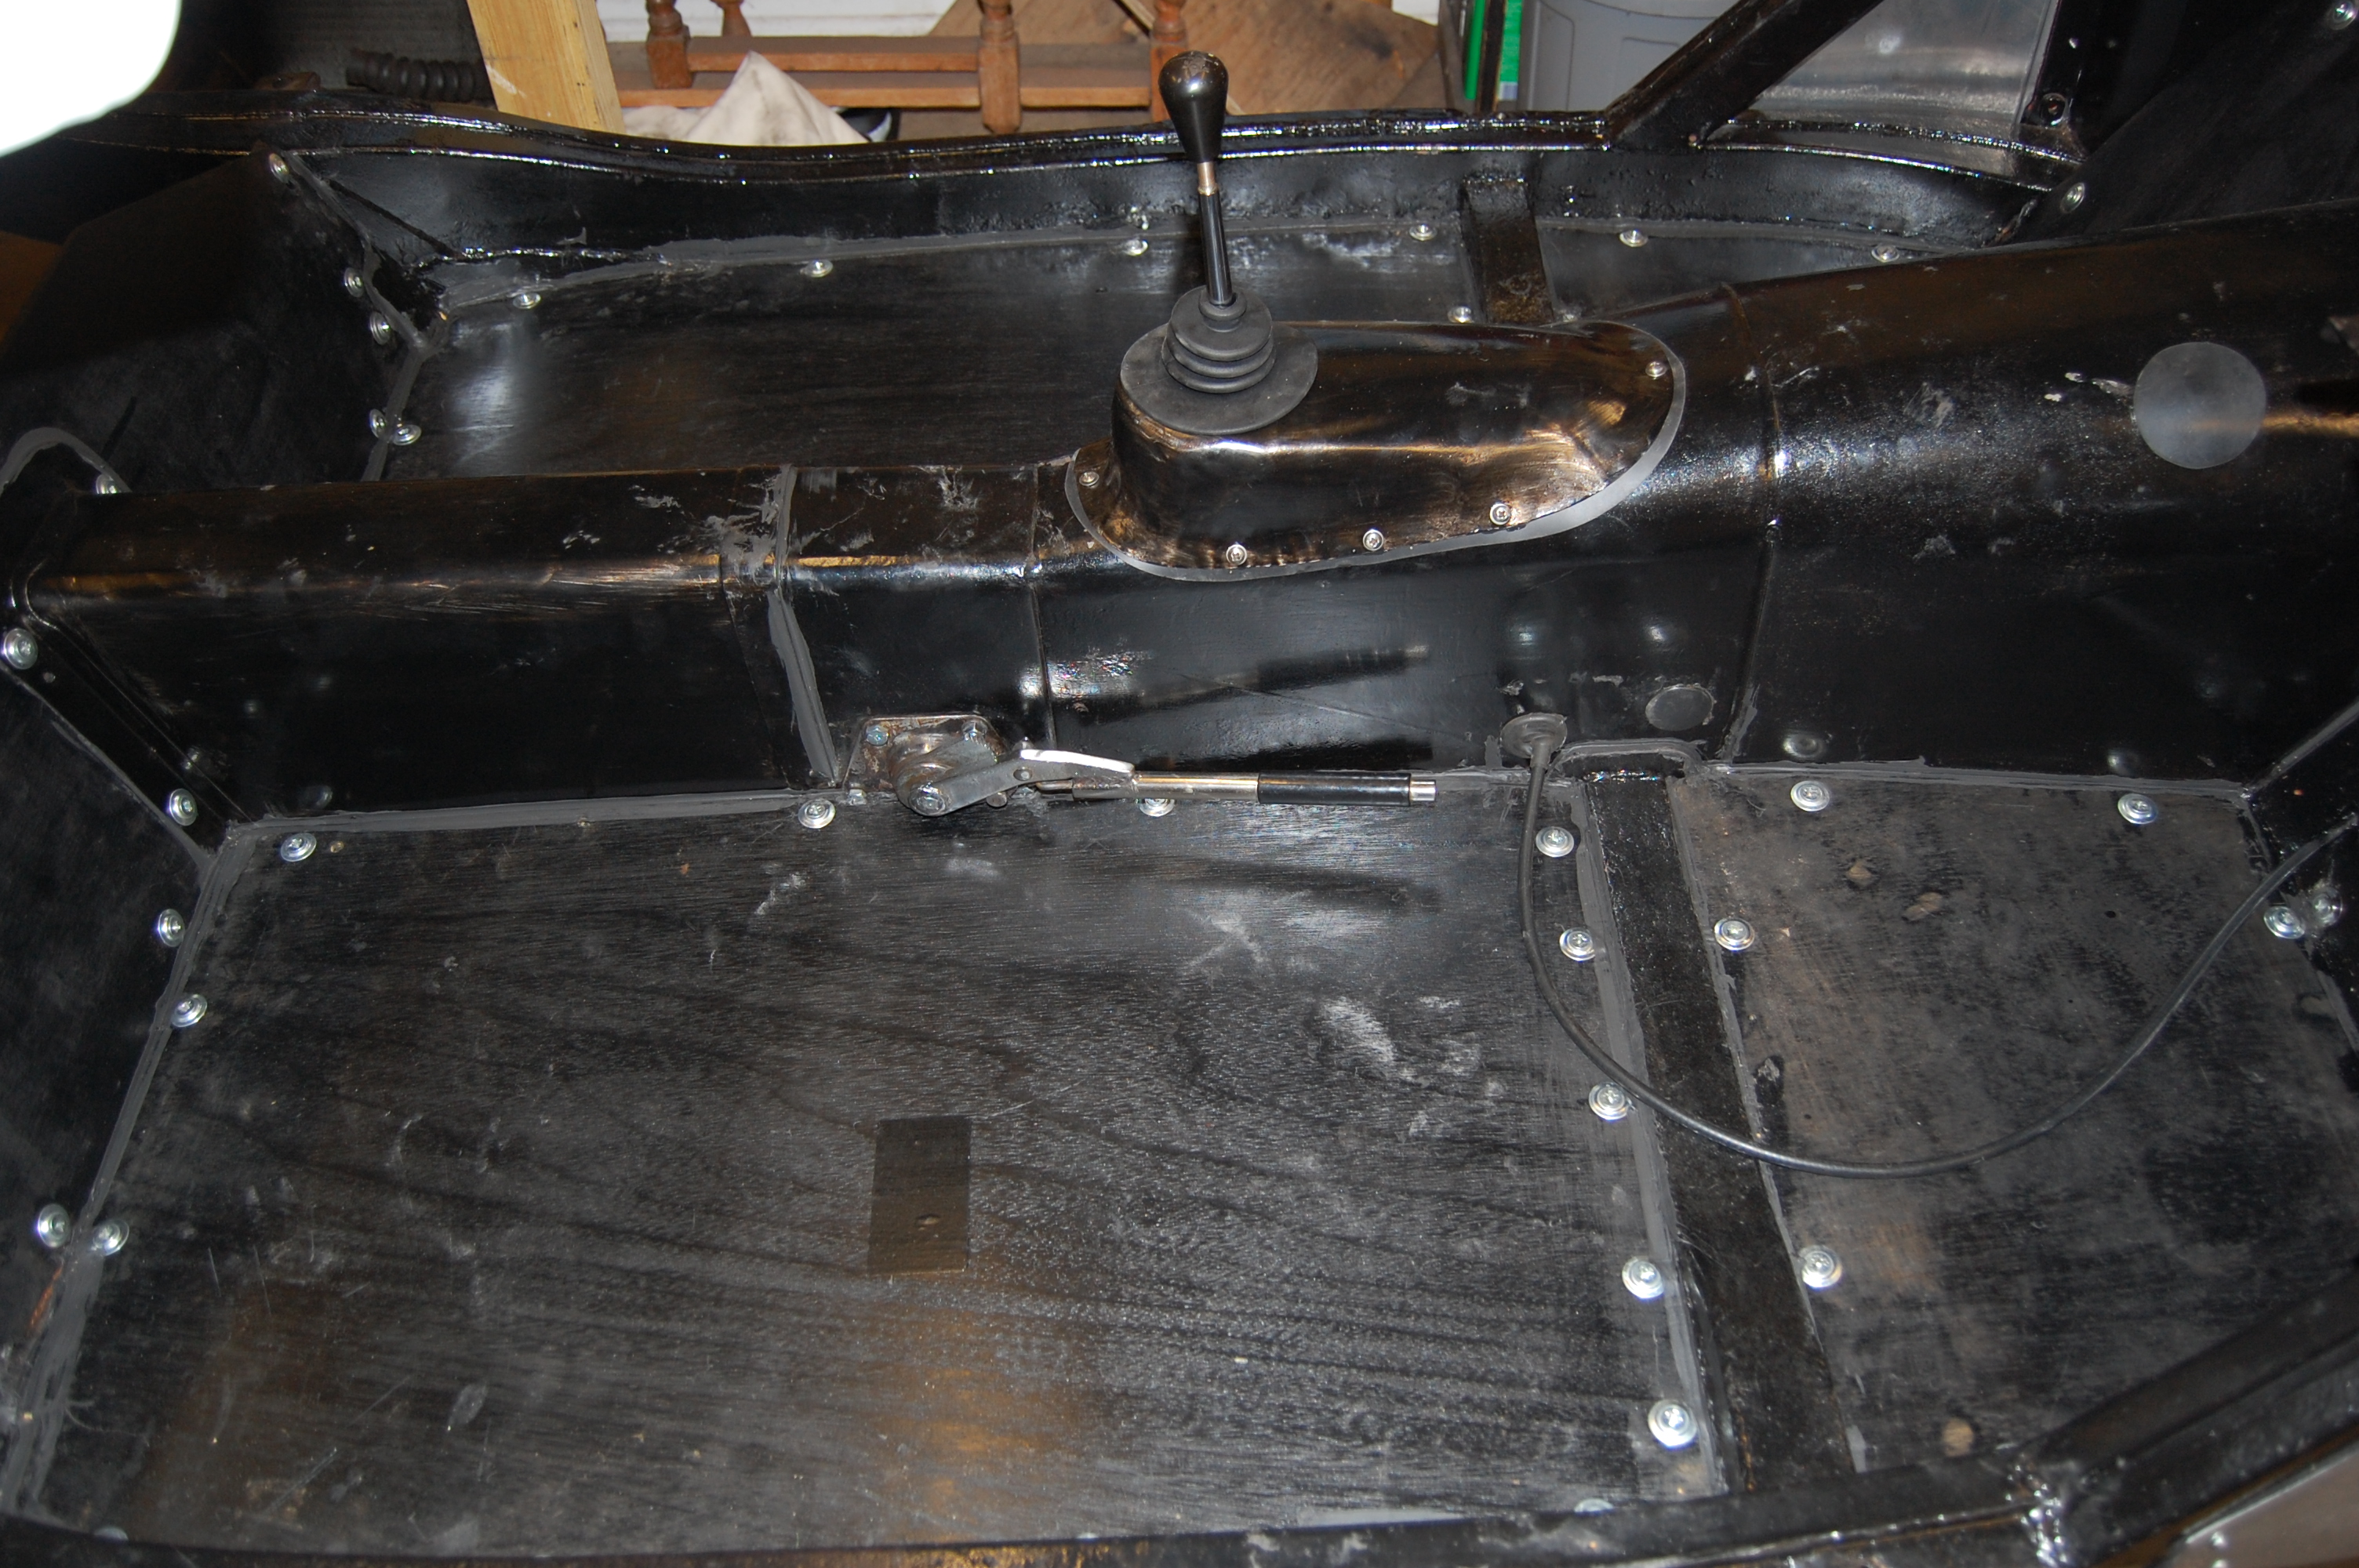
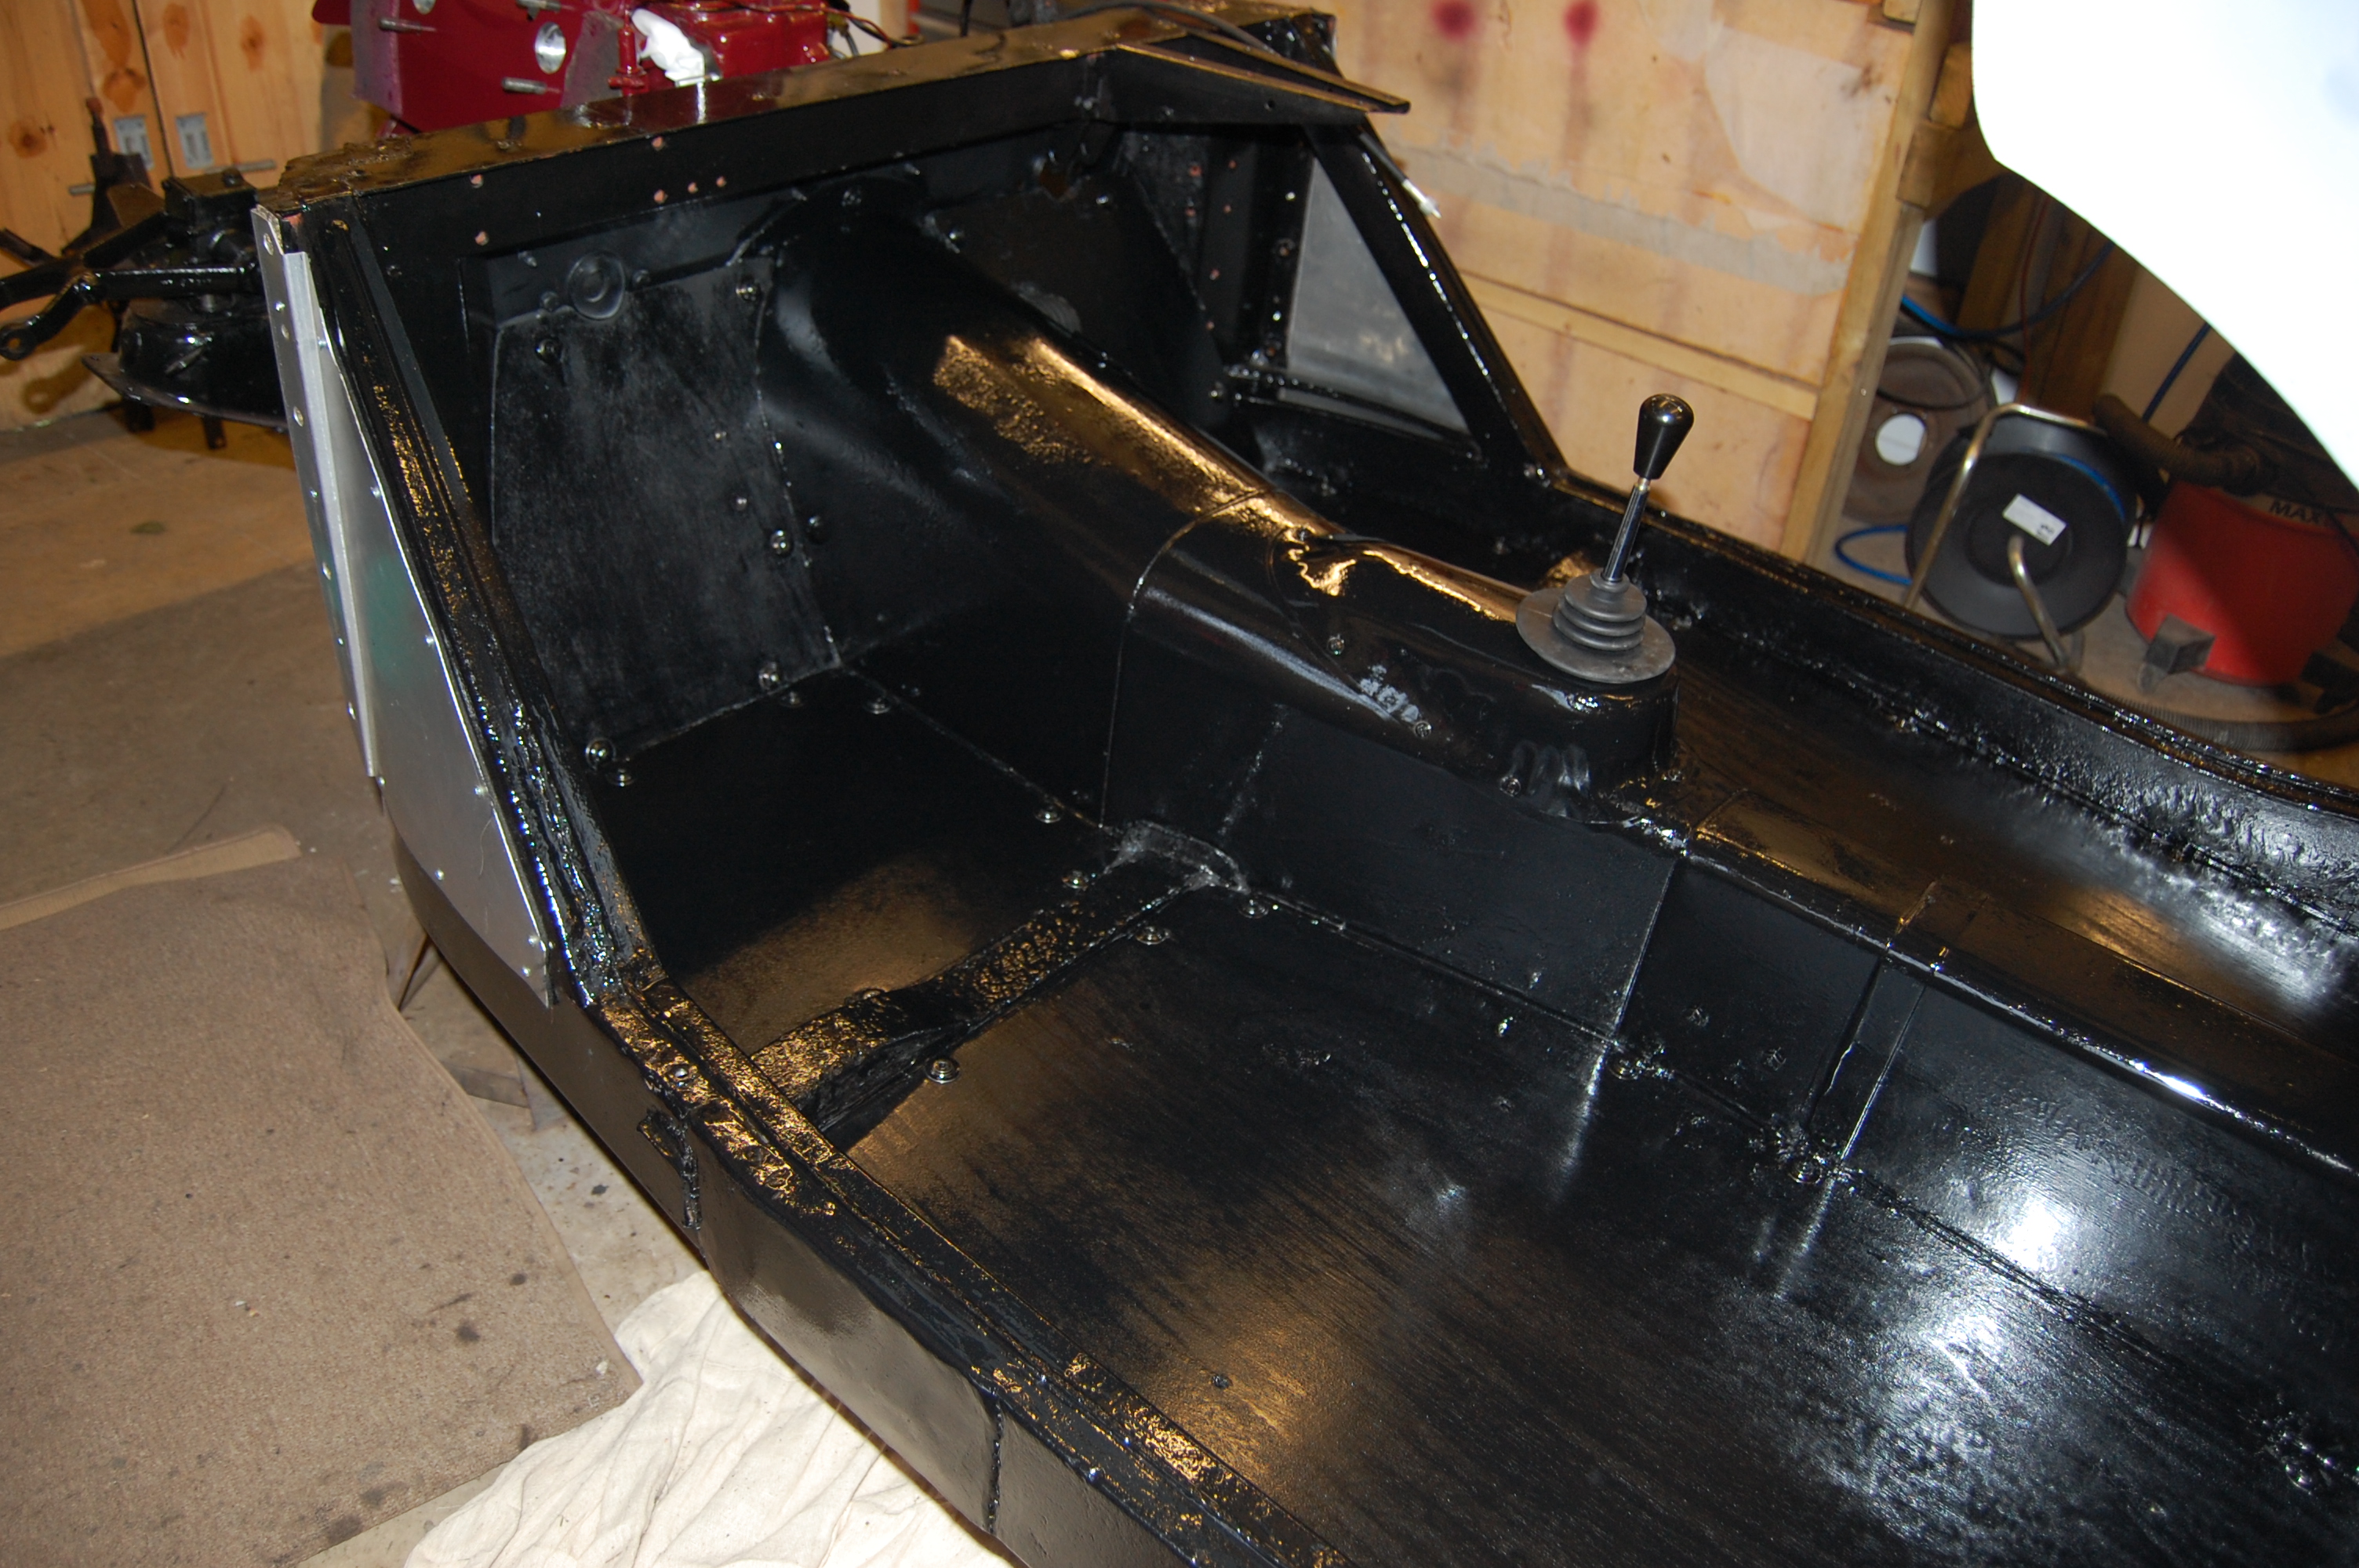
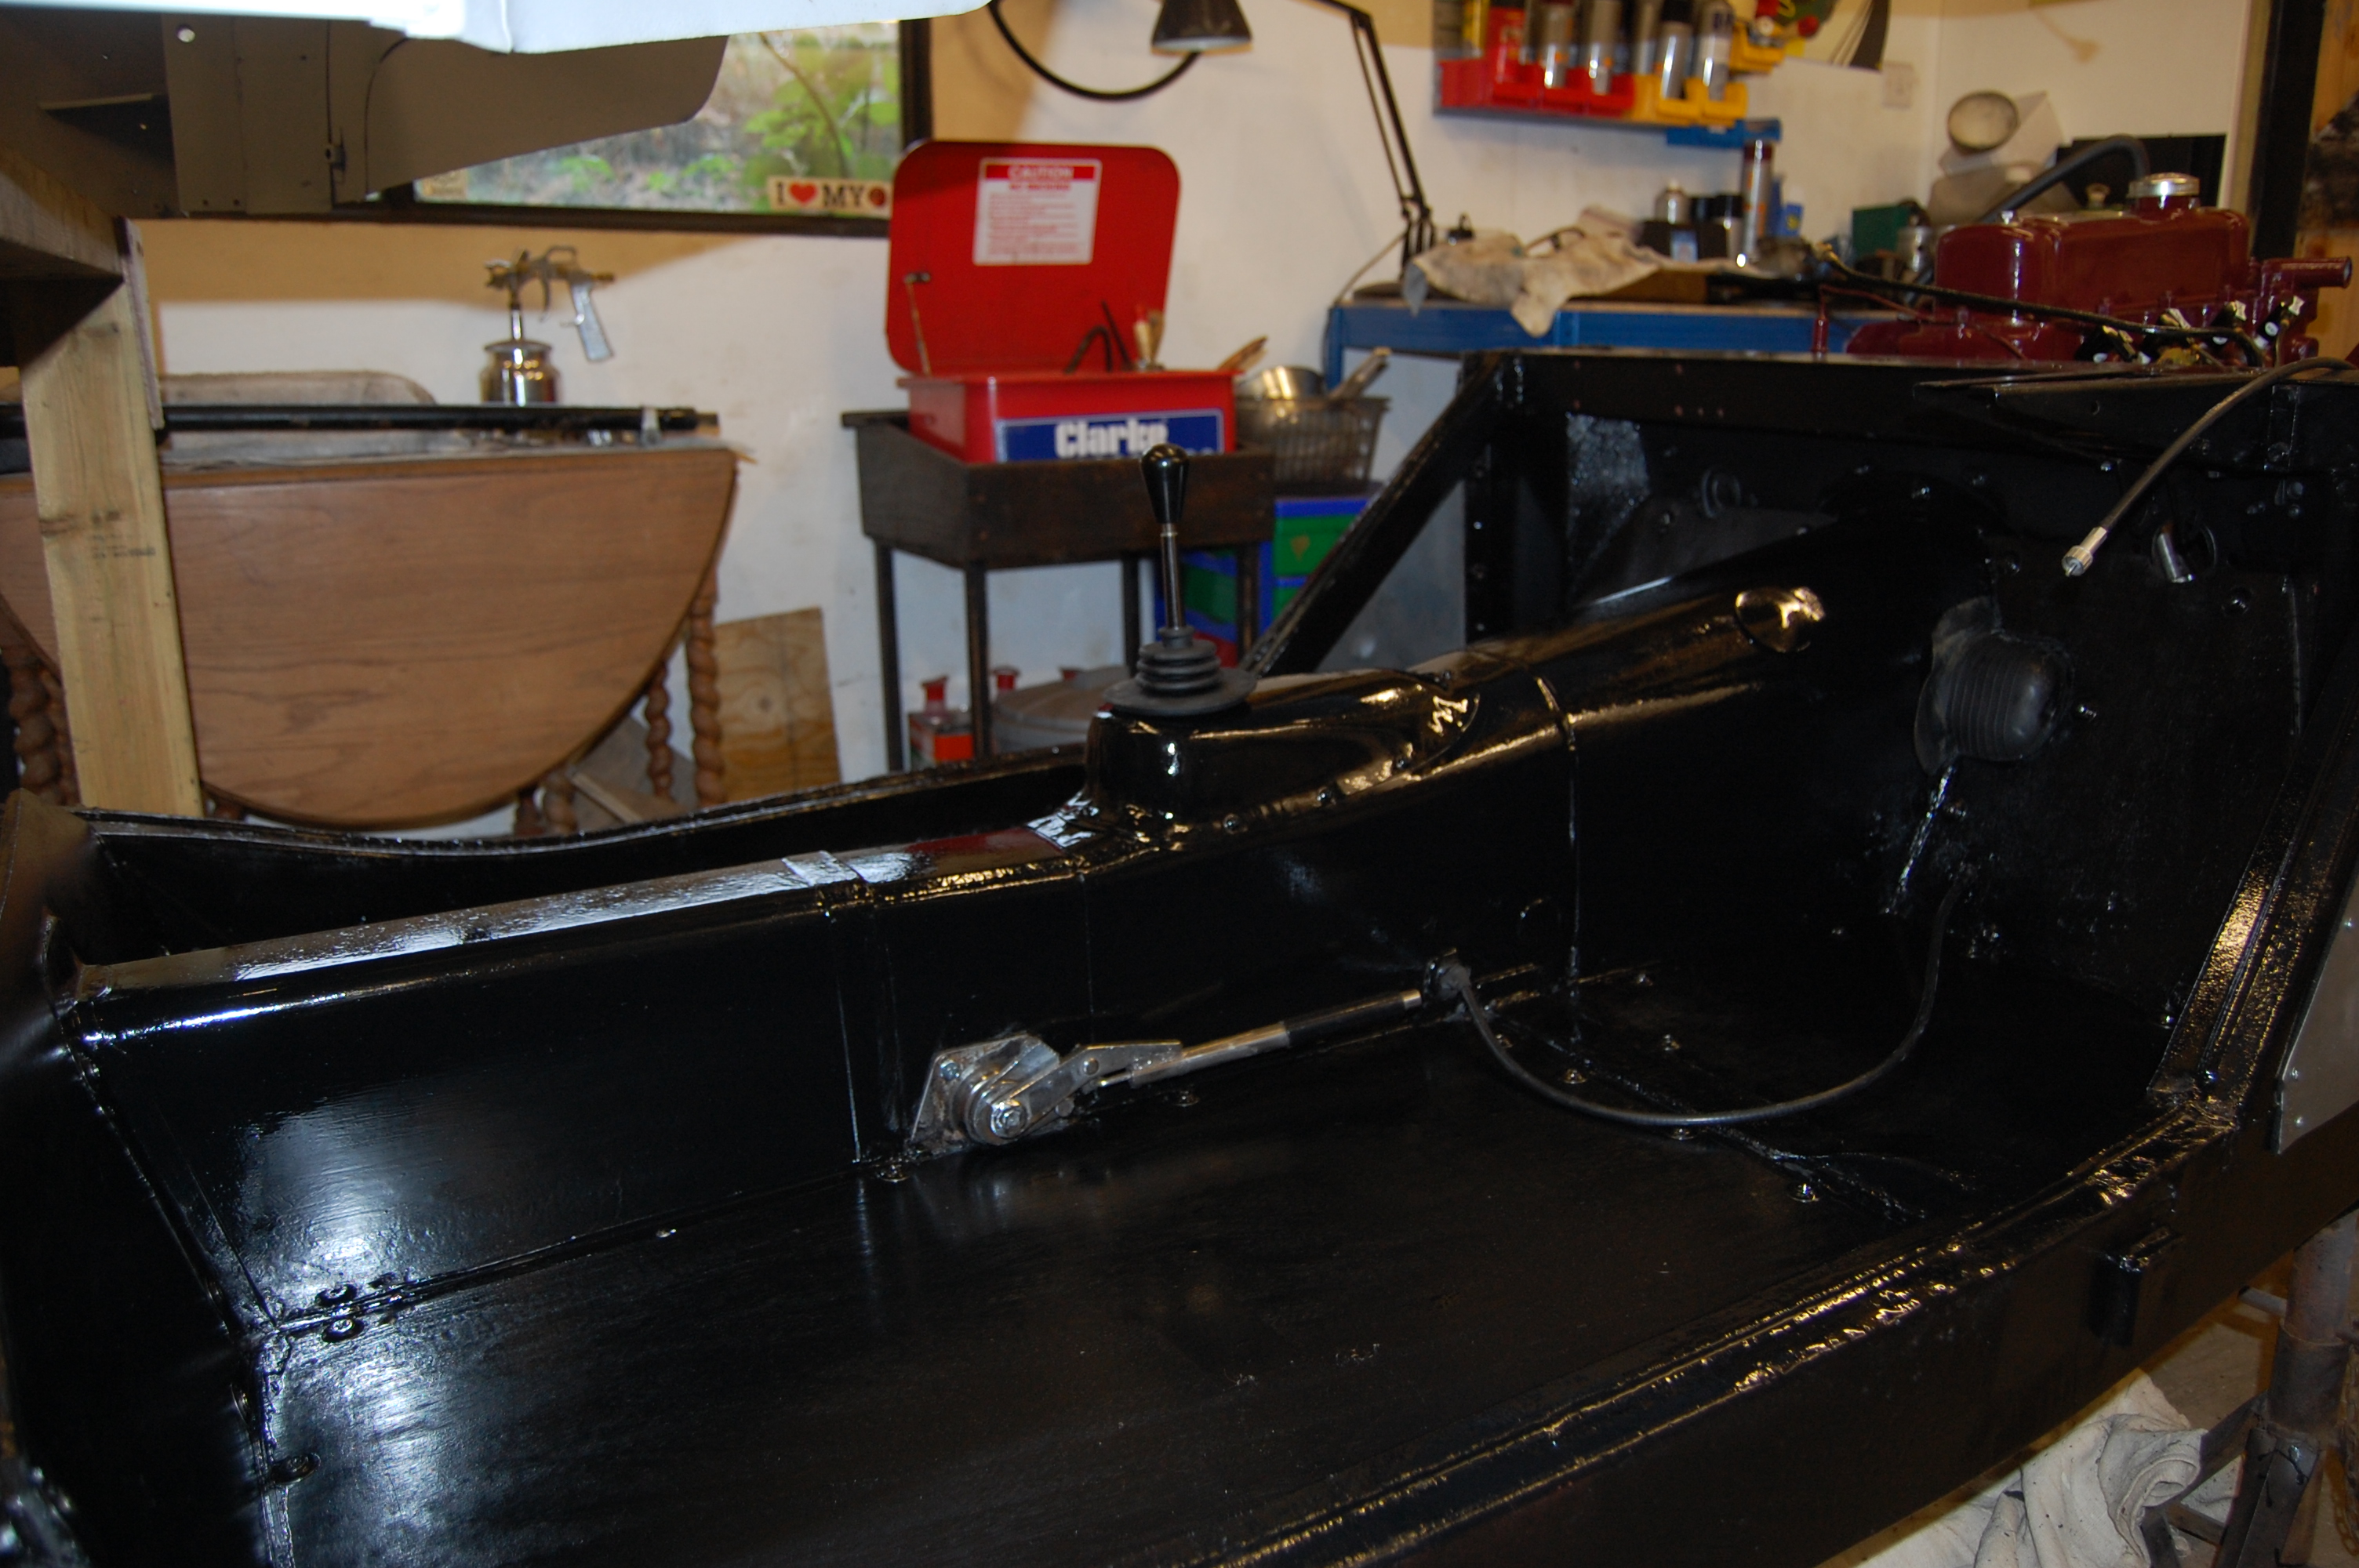
Final painting of boards and finished gearbox/propshaft tunnel. Positioning and routing of speedo cable for 5 speed conversion can be seen, which will eventually be hidden under the carpet.
While waiting for the bodyshell to return from the paint shop, I set about insulating the cockpit. Having looked at the price of auto products, I sought alternatives and found a material used in the building industry, which is a fraction of the price and works very well. It is a dense foam/neoprene backed with reflective foil, with a self adhesive backing. It came in a metre wide roll and enough to do at least 3 cars for about £35. Unfortunately I can’t recall the name of it, as I found it online and didn’t keep a record.
The pictures show the mat being heated to soften the adhesive to make it tacky.


Bill Jeffries – billnjeffries@gmail.com
