Where possible I’ve tried to use as many of the original parts as possible, but as the car stood unused for 33 years, nothing could be reused without a lot of work. Here I include some of the projects along the way.
Side Screens

These are the original side screens that were supplied with the car from new and were an option in 1959. They are in a poor state, but worth saving.

New side screens are available, but are said to be of lower quality than the originals, do not fit as well and cost around £380. On advice from fellow restorer Andy Kenning, I’m using a full restoration kit produced by Todd Clarke USA. The kit is of high quality, includes the four Perspex windows, rubbers, felt channel inserts, all fastenings and anti blow-out clips for about £75.00

Outer-facing aspect.


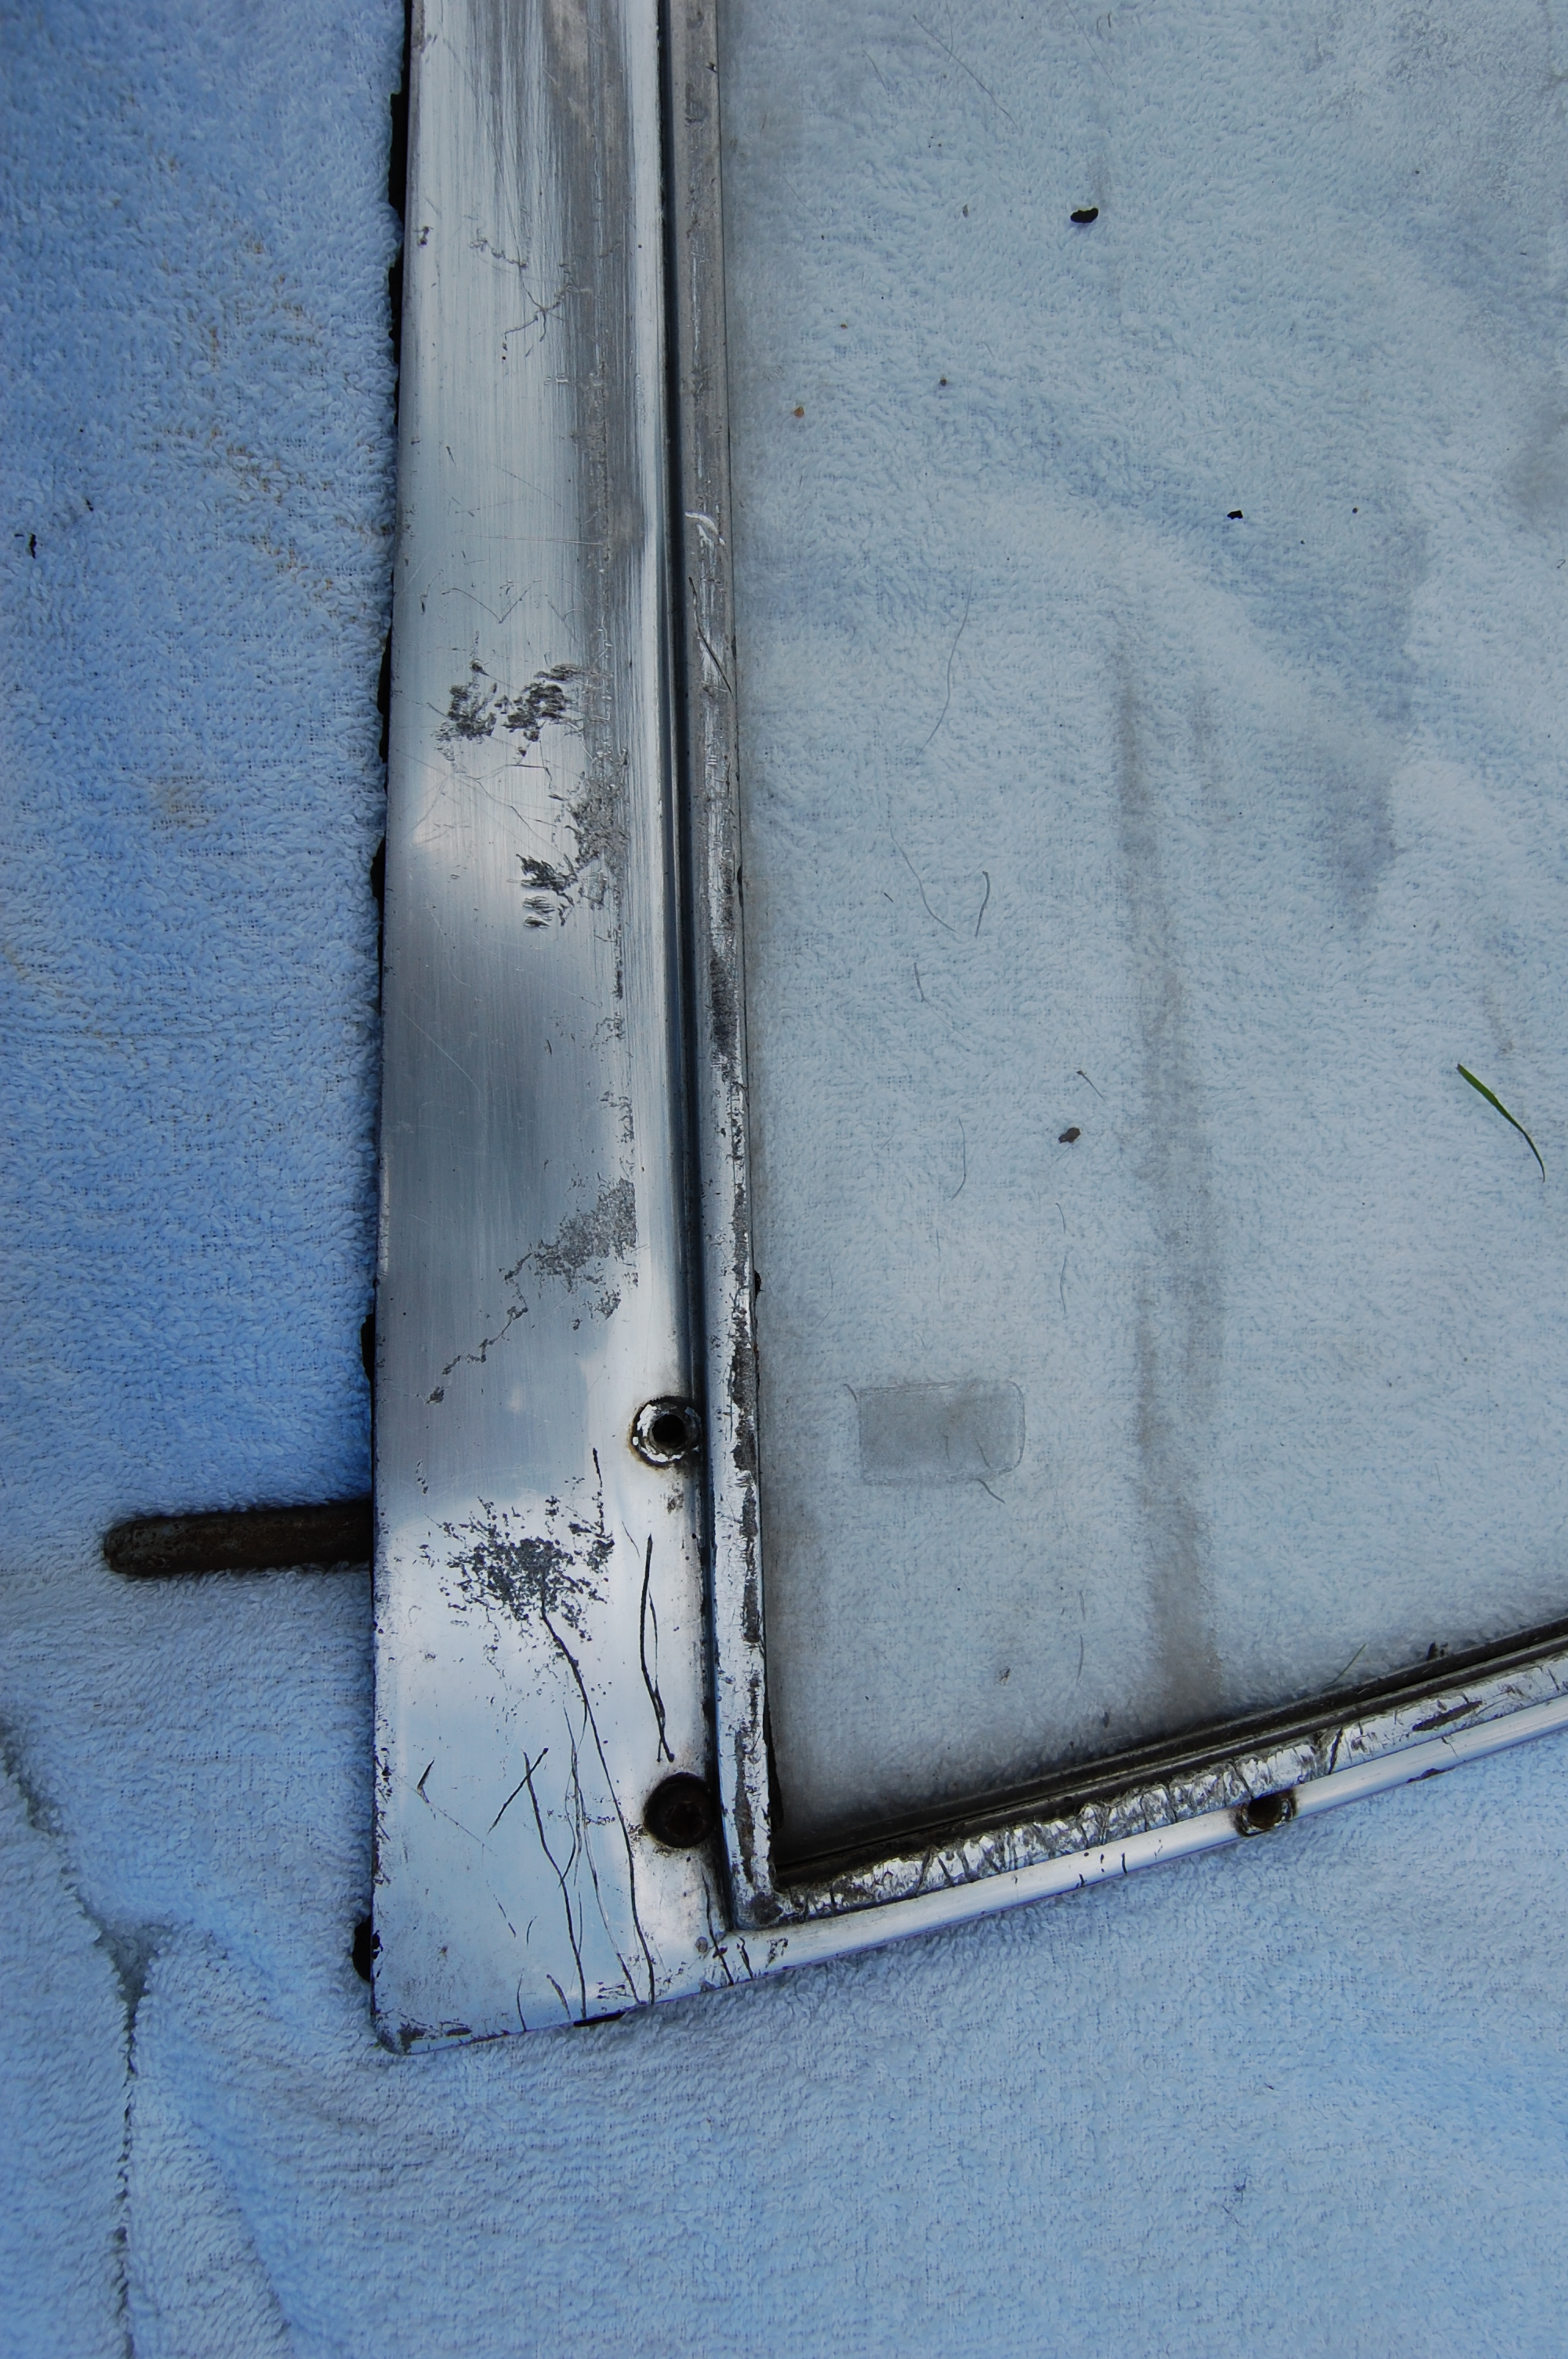

Fixed pane is held by crimp in channel

The renovation is straightforward, starting with the removal of the existing perspex. In my case most of it was in poor condition or broken, so removal was simple. Note that the fixed forward pane is held in place by a crimp in the aluminium channel. This needs to be carefully opened up to release the perspex. Otherwise, the perspex comes out by bending in the centre line until it releases from one channel.
Removal of the brackets is obvious, but after 40 years or so the screws are tough. Next is the removal of the aluminium strip that runs along the inner lower edge and secures the rubber seal in place. This is held by tiny screws that are difficult to remove without resorting to drilling. Once these are removed and the remains of the felt channel inserts are removed, the hard work begins, which is bringing the aluminium frames up to standard. In my case, they were both badly scratched and scored and in a couple of places worn away.
Fellow MGA restorer Andy Kenning gave me the tip for restoring the frame surfaces, which is based on plenty of elbow grease and rubbing down with increasingly fine grit paper/water, until an acceptable finish is achieved. this is then finished off with Autosolvol or similar and a buffing wheel. The finish achieved is a bit shinier than original, but looks pretty good.
The building up is straightforward using the Todd Clarke kit, which has every bit including all the tiny screws. Care needs to be taken getting the new perspex into the runners, as the new felt channel liners make it a very tight fit.


An acceptable finish, although some areas refused to come up, but I’m happy that function prevails over form in this case.


Finished screen – same again for passengers side.

Original brackets were chromed, but I’m happy with them cleaned up as they are – hopefully they’ll spend most of their time tucked away in their stowage bag.


The finished side screen, with new rubbers, perspex and in the top left corner, the anti-burst clip. The clip was standard on the later 1600 side screens.
Dual gauge renovation

When the engine was test run, the original oil pressure gauge failed to work. Having failed to resolve the problem and the gauge being in poor condition, I decided to find a later one and convert it using the original Jaeger dial face. A new/restored Jaeger dual gauge is anything up to £200, which is crazy. I found the later Smiths one which is new, for £64, which I think maybe a second as it has a few marks on the dial face.
Changing Faces

First job was to dismantle both gauges.

The needles pop of with a careful bit of leverage.

Just a case now of cleaning up the old face and refitting it into the new gauge, although care needs to be taken with the cleaning agent used as the surface paint is very thin and delicate.

The temperature needle was fitted while holding the sensor in a kettle of boiling water, to match it to boiling point.

The cleaned up face in the new gauge makes it as good as new – apart from a dob of black paint needed on the lower needle. Thanks to Andy Sargents MGA restoration guide puplished through the MGA register back in the late 1970’s. Addendum – Sod’s Law, having taken the old gauge apart, I decided to drop the oil pressure mechanism into the boiling water used to test the temp gauge and see if it cleared the blockage. This plus a good poke with wire and blast with the air line had it working again! I’ll stick with the new one.
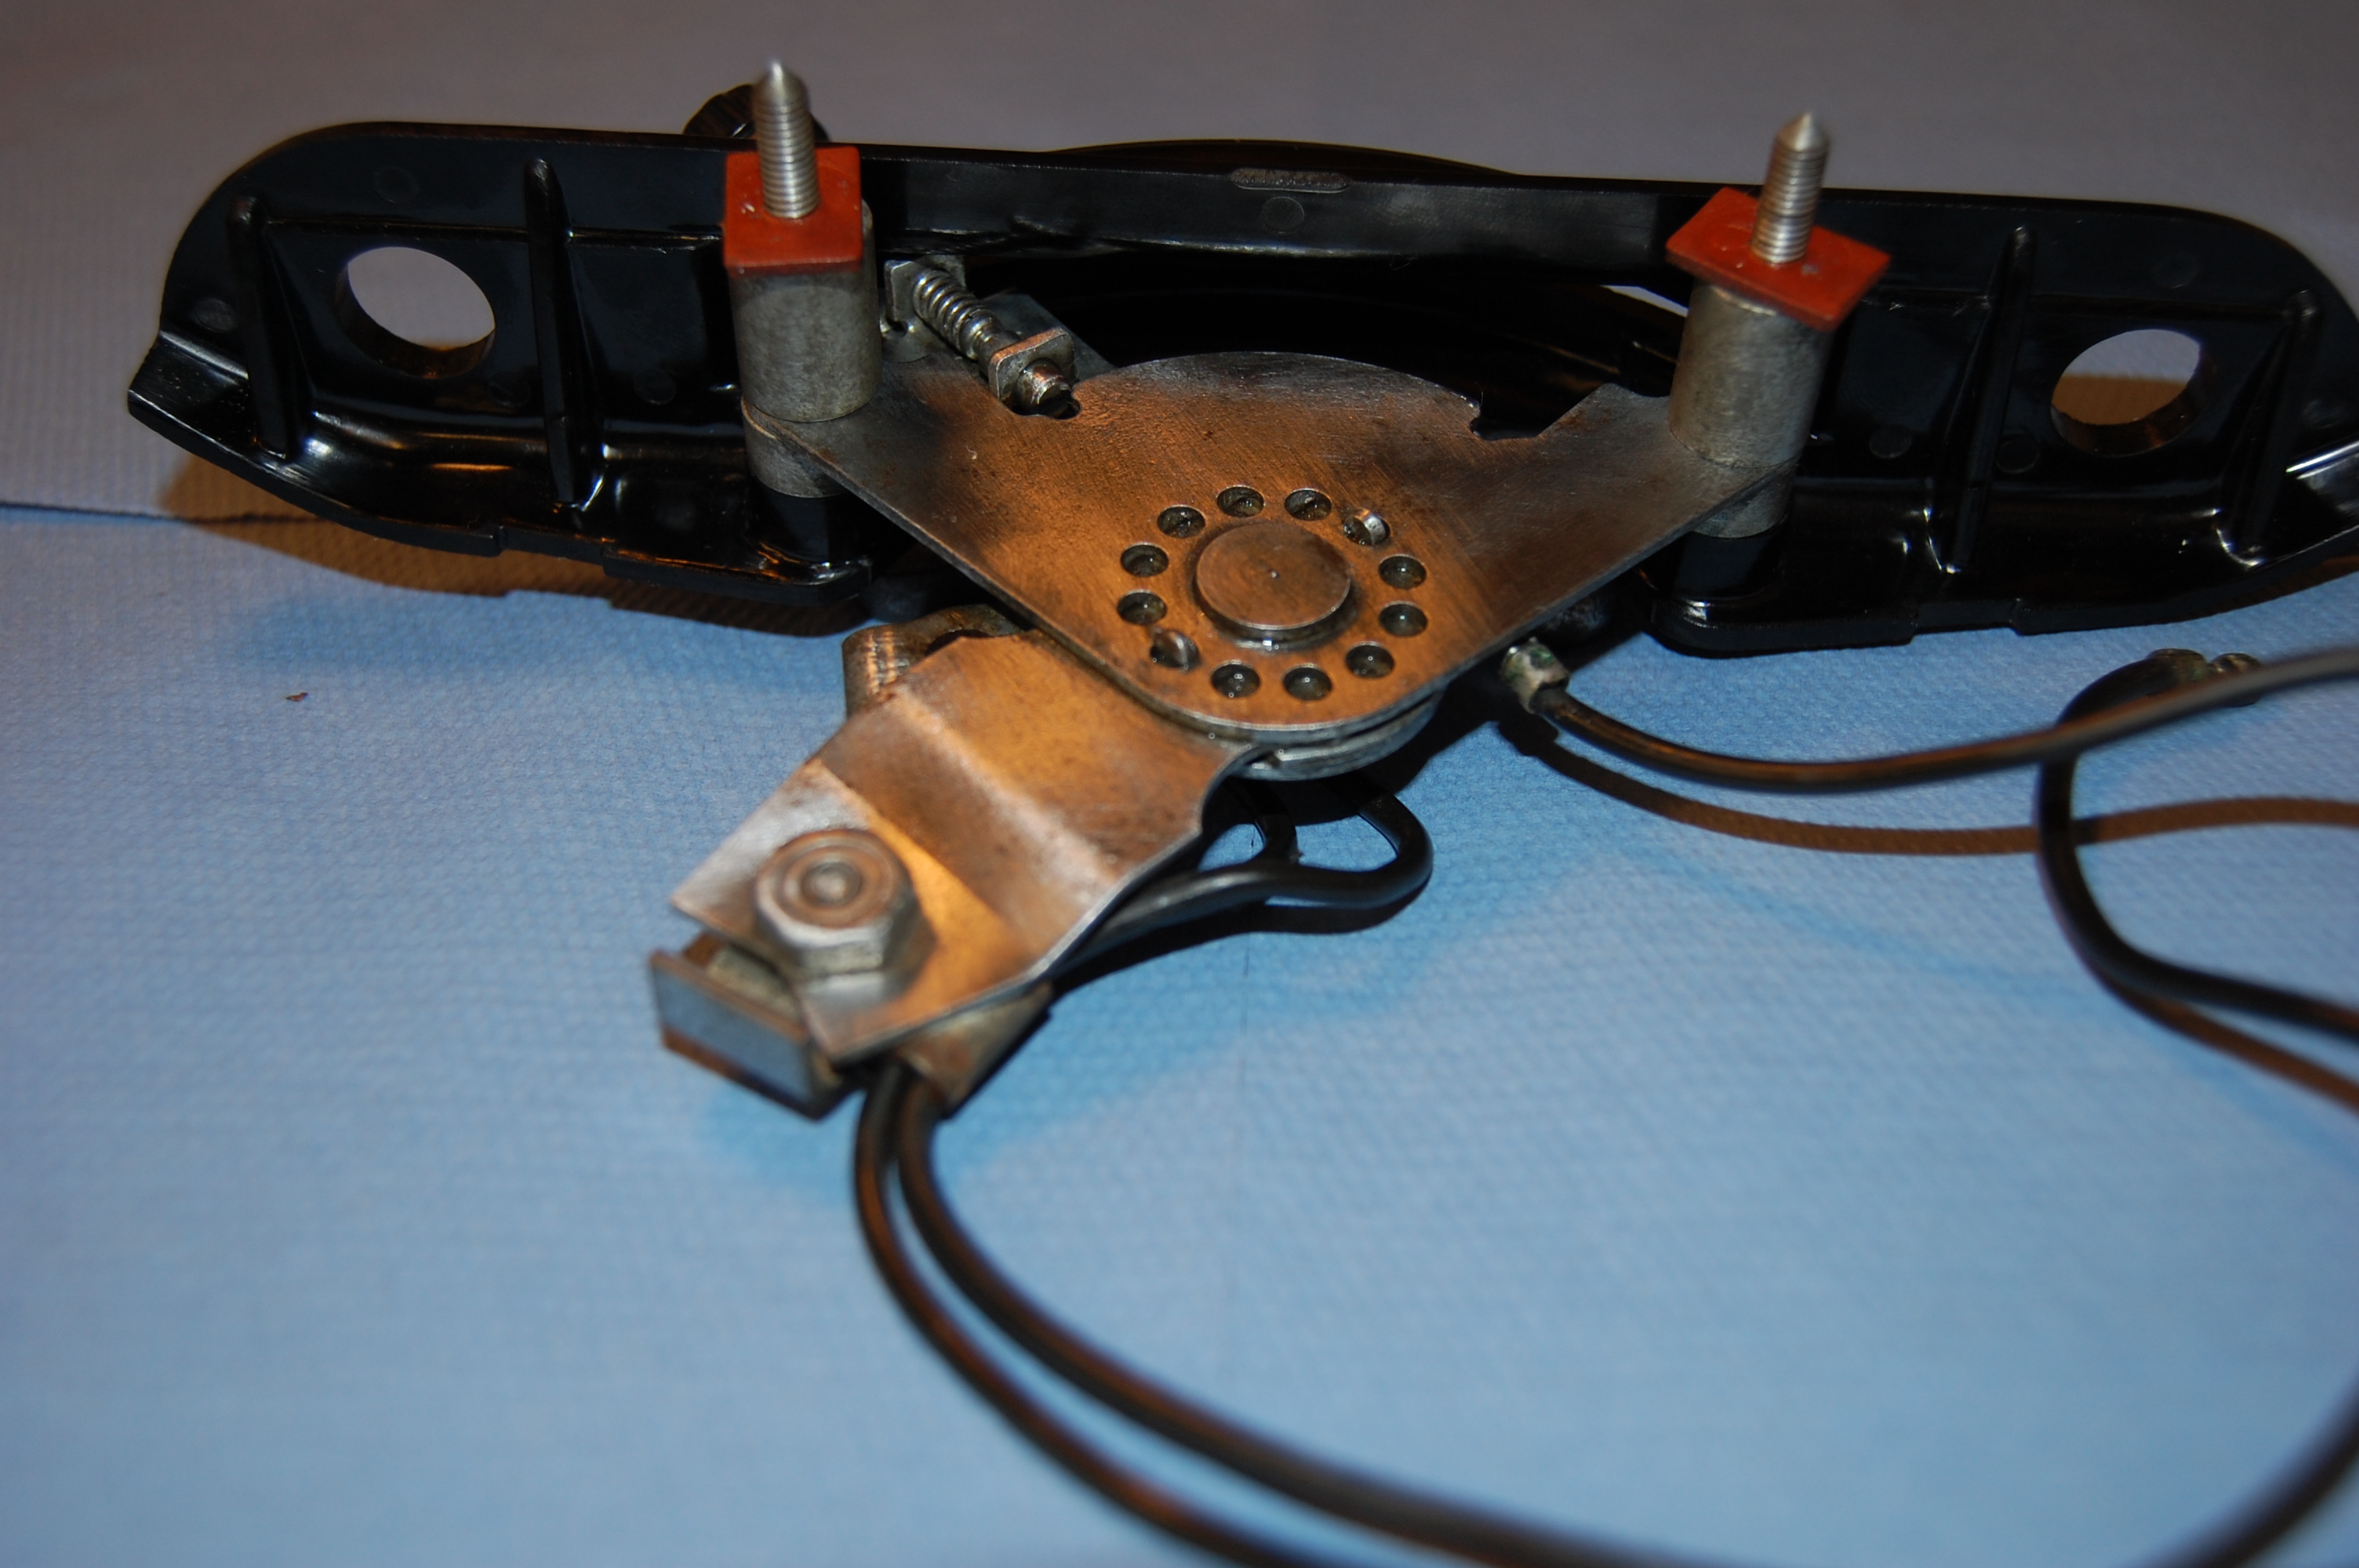
Smiths heater
The Smith’s heater unit, like the rest of the car was complete but in very poor outward condition. The construction of the unit is very simple, basically comprising a box containing a water heater matrix, a 12 volt motor driving a hamster wheel fan and inlet and outlet vents.
Dismantling is simple and the main elements requiring careful examination and probably remedial work are the electric motor and the heater matrix. Unfortunately, I failed to photograph the detail of this work, but it is straightforward and logical.
Dismantle the motor and check the bearings and brushes and repair or replace as necessary. In my case the bearings were good and only needed cleaning and lubricating. The heater matrix can be checked visually for external damage and then by connecting a hose to one pipe and blocking the other, put the matrix under pressure to check for leaks. Also the hose will show how well the water flows in and out of the unit. In the worst case new matrix are available and not too expensive at around £60 (Moss). Upgrades can also be made to the fan performance by replacing the original metal one with a modern plastic unit.


Testing the motor – runs sweetly after 35 years of idleness.
 The main work was cleaning back the rusted box sections, treating and painting. As it was the outward facing side of the box was in a very poor state and was replaced by new one found on eBay for £20.


Heater control unit.
Throughout my ownership, the original heater control panel had the righthand side section missing and therefore no cable control over the demister/cabin flap. New panels are available and all are quite brittle. There are also two types, one marked on the upper left ‘Push & Turn’, for early cars and another with just ‘Push’. Mine came from Moss and strangely was marked with the very early Push & Turn. Being thrifty, I scraped off the ‘& Turn’, leaving a very acceptable ‘Push’.


Overhauling the controls behind the panel is a simple dismantling and cleaning up job, other than making sure the various spacers and washers are fitted in the correct order and that the finished control is fitted the right way up in the panel. This is where before and after photos pay dividends.


Heater control – how did you treat the shiny metal to keep it from rusting again?
On the combination gauge – when you put the oil pressure needle back on did you have to calibrate its location?
John
Hi John, I probably used a silicone spray which is my default
for electrical and preventing rust.
The oil pressure didn’t need recalibration, only the water temp.
Regards.
Bill.