Before starting the full restoration, I photographed as many aspects of the car as I could, primarily to help me remember where everything fitted when it came to re-assembly. These photos have proven to be extremely valuable, as I’ve gone back to them many times and I hope they serve to assist other restorers needing similar reference information.
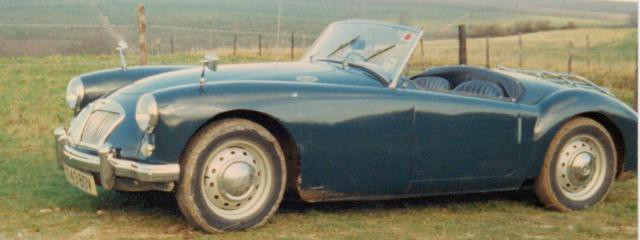
The ‘A’ was stored without adequate preparation, but was regularly sprayed with penetrating fluid over the years which helped prevent it becoming a complete heap of rust.The following photos were taken to help me identify parts when refitting and providing a record of the cars condition before restoration.

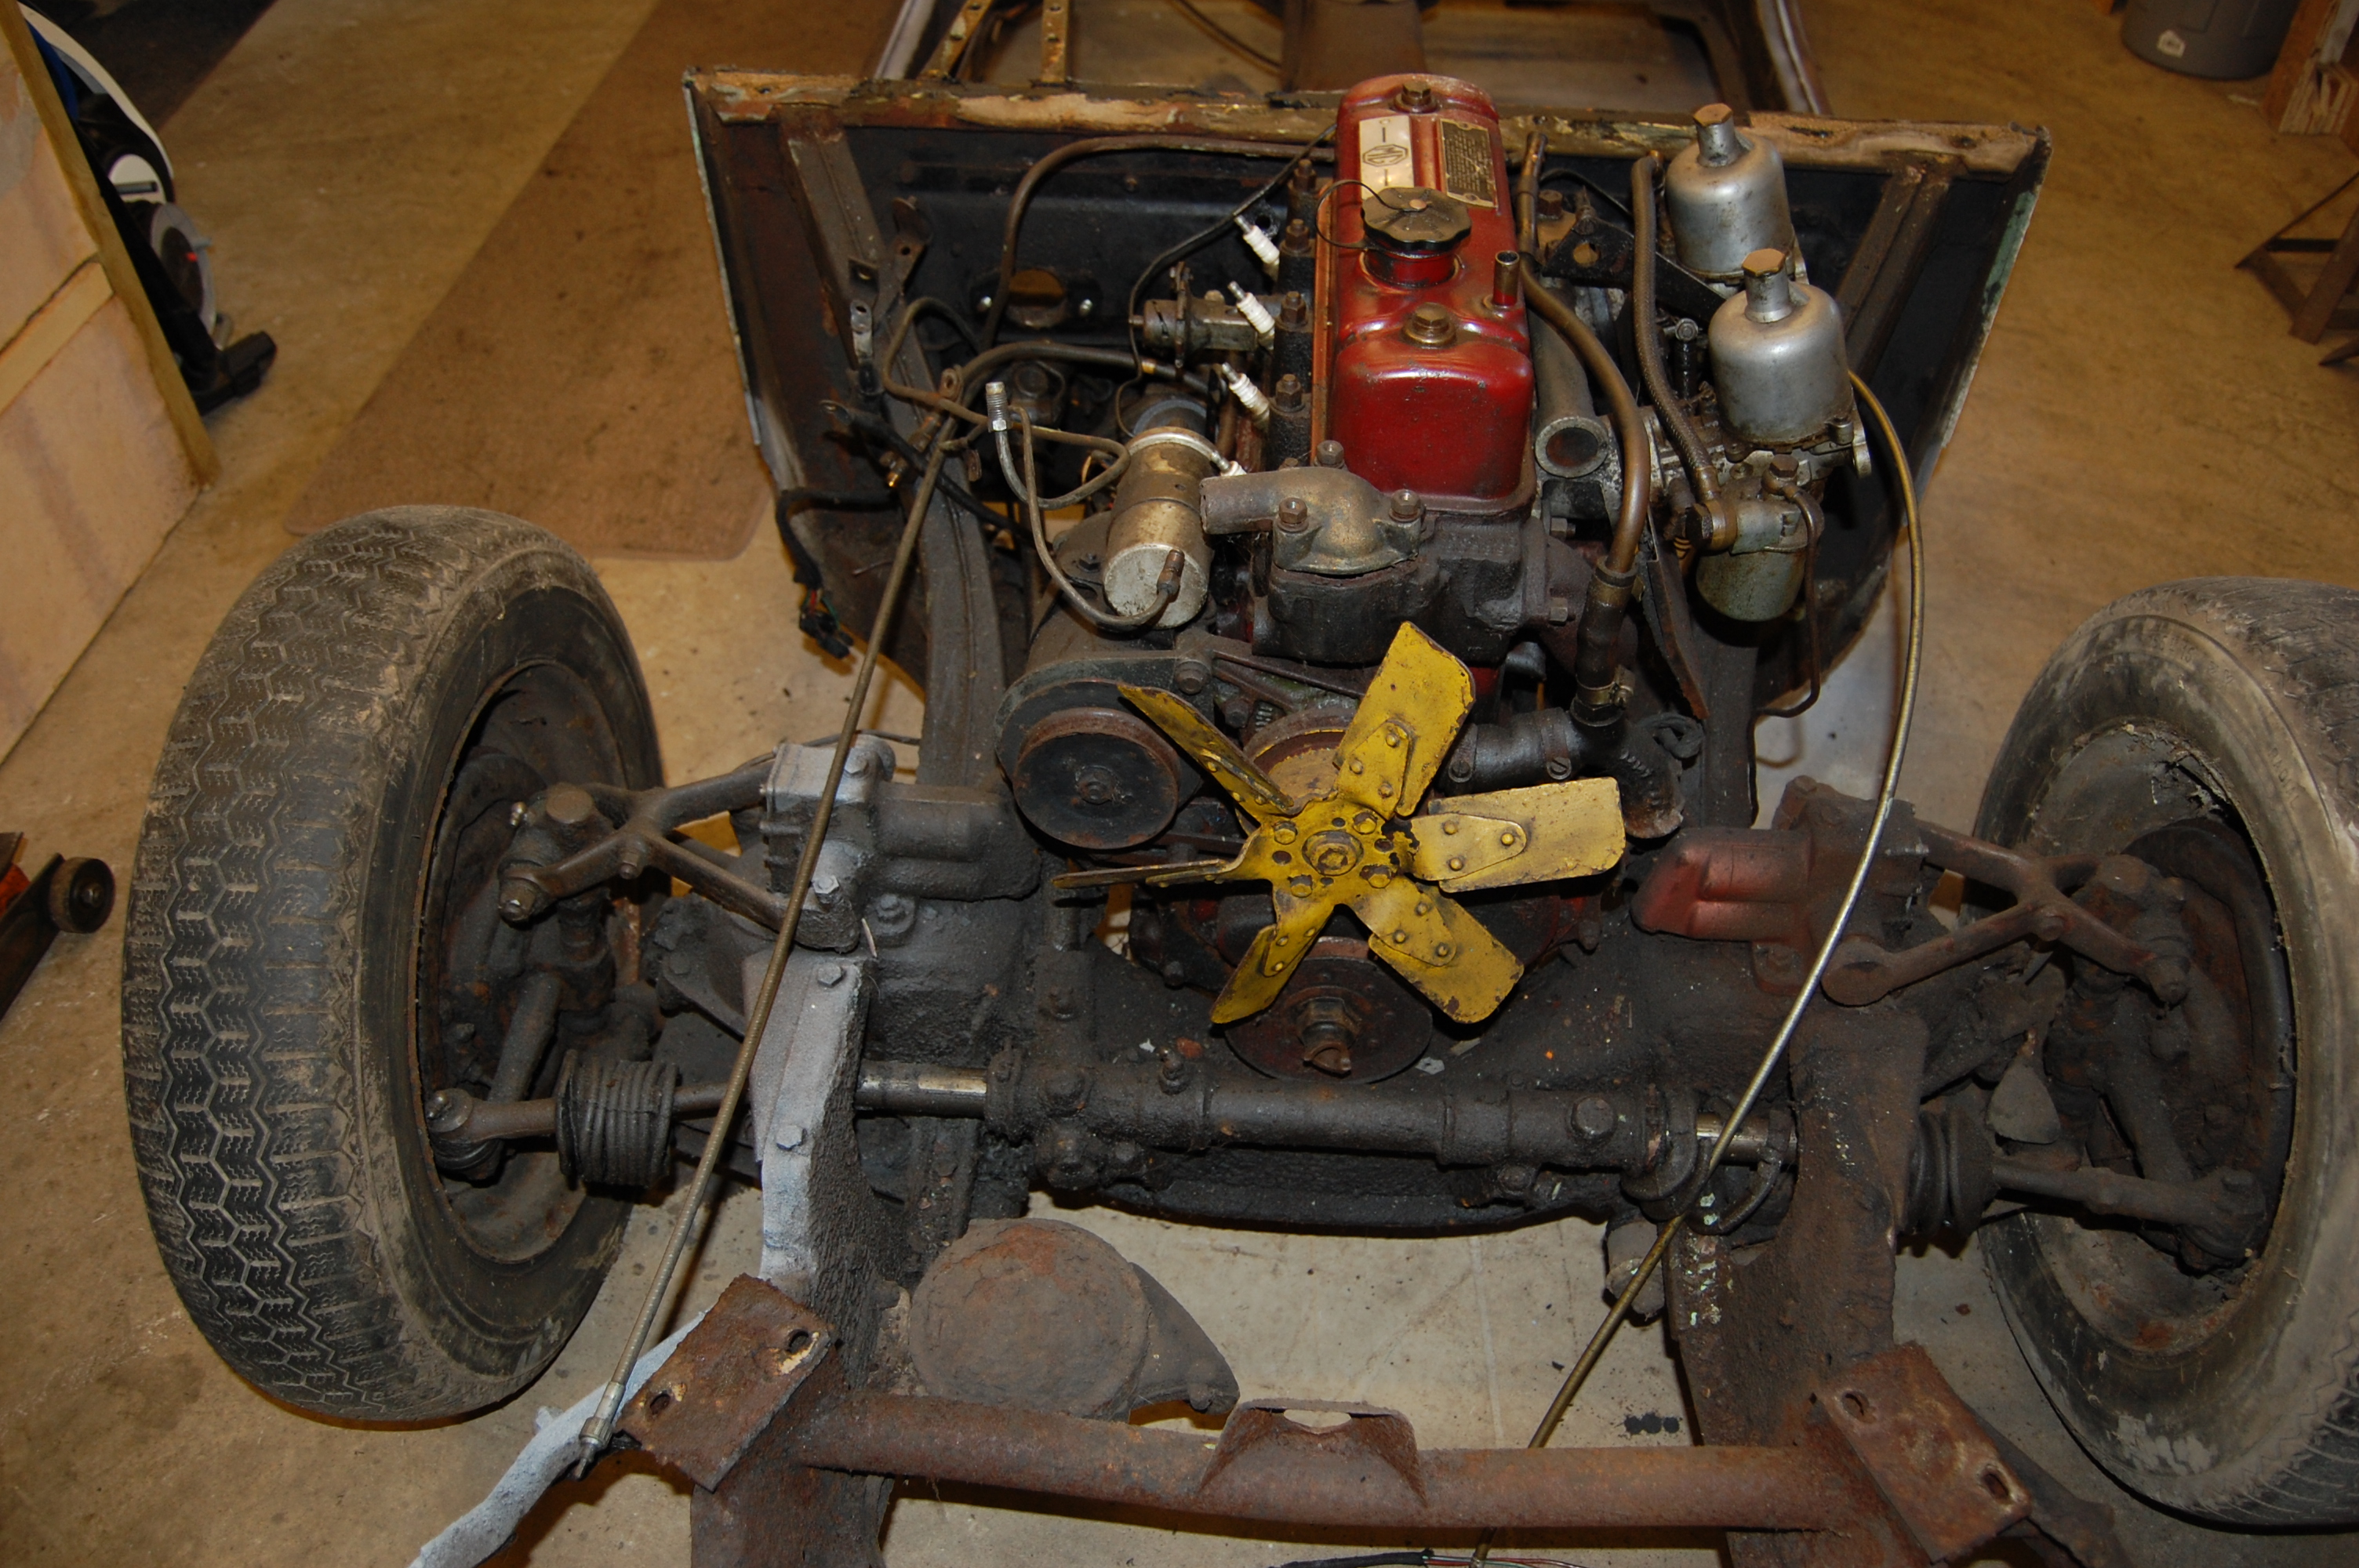
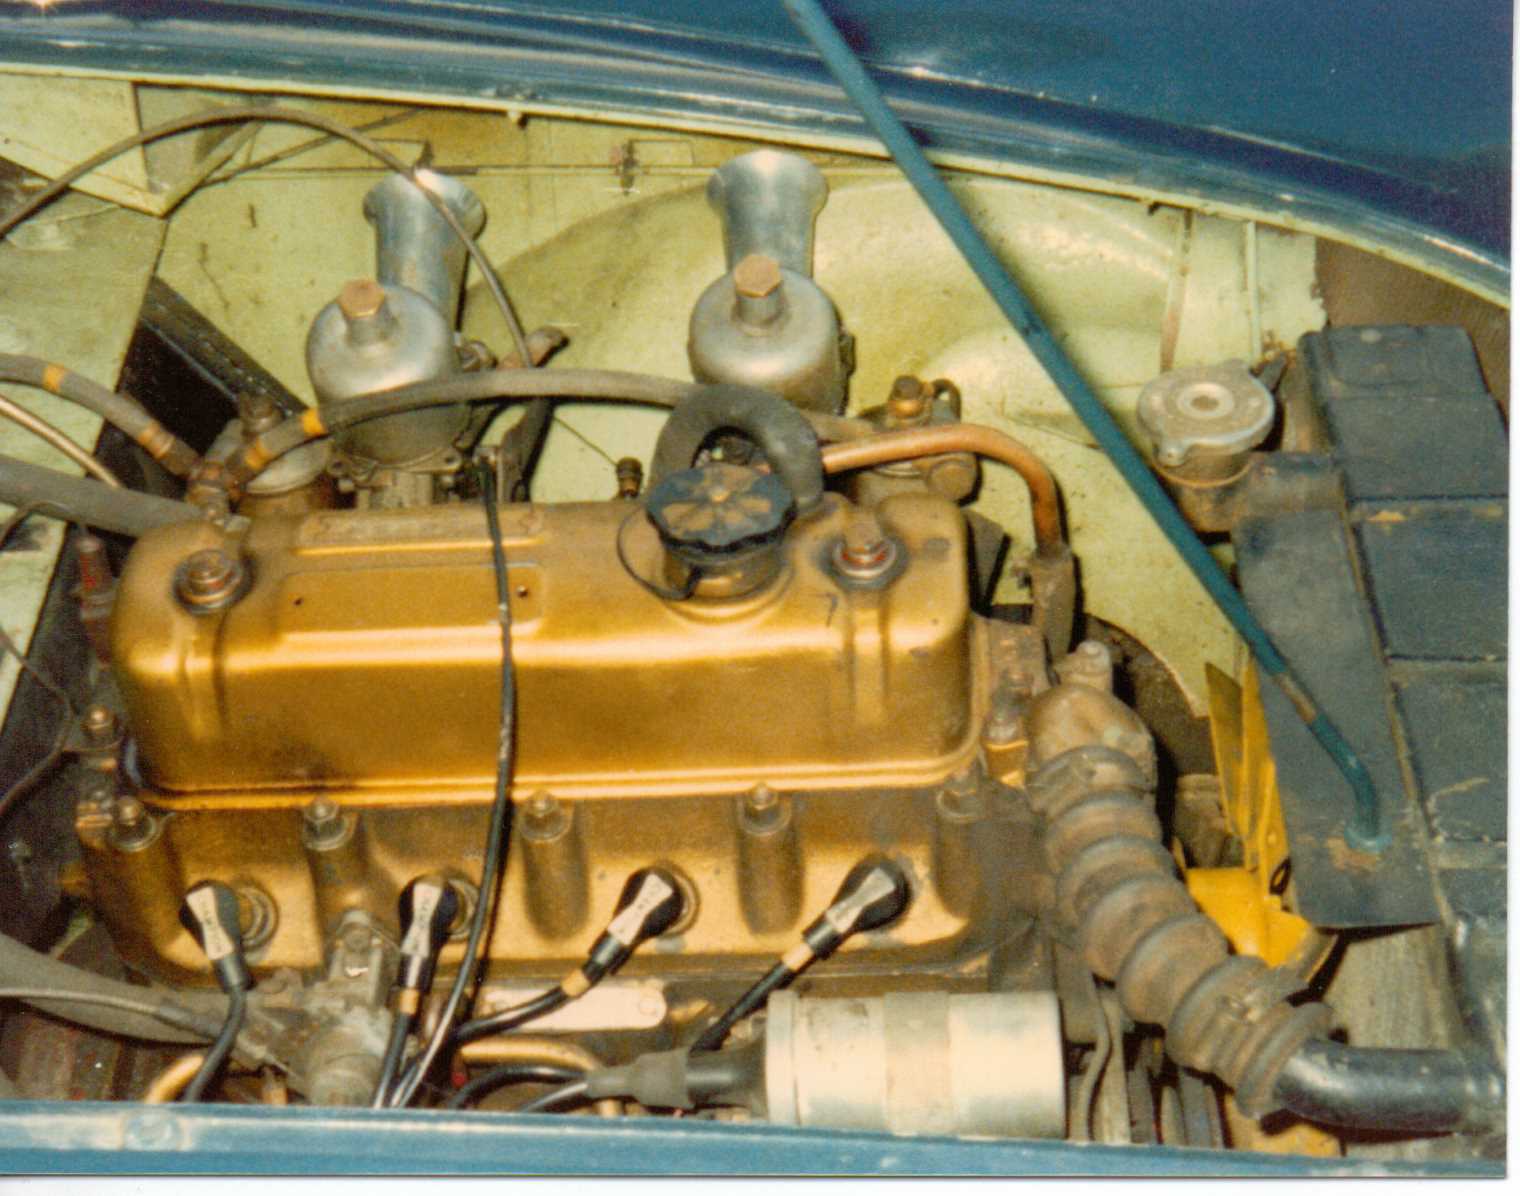 When I bought the car in 1974 it was fitted with a BMC ‘Gold Seal’ reconditioned engine. Open trumpets on the twin 1 1/2 H4 SUs was a quick way to ruining the engine, but it added to the great sound track!
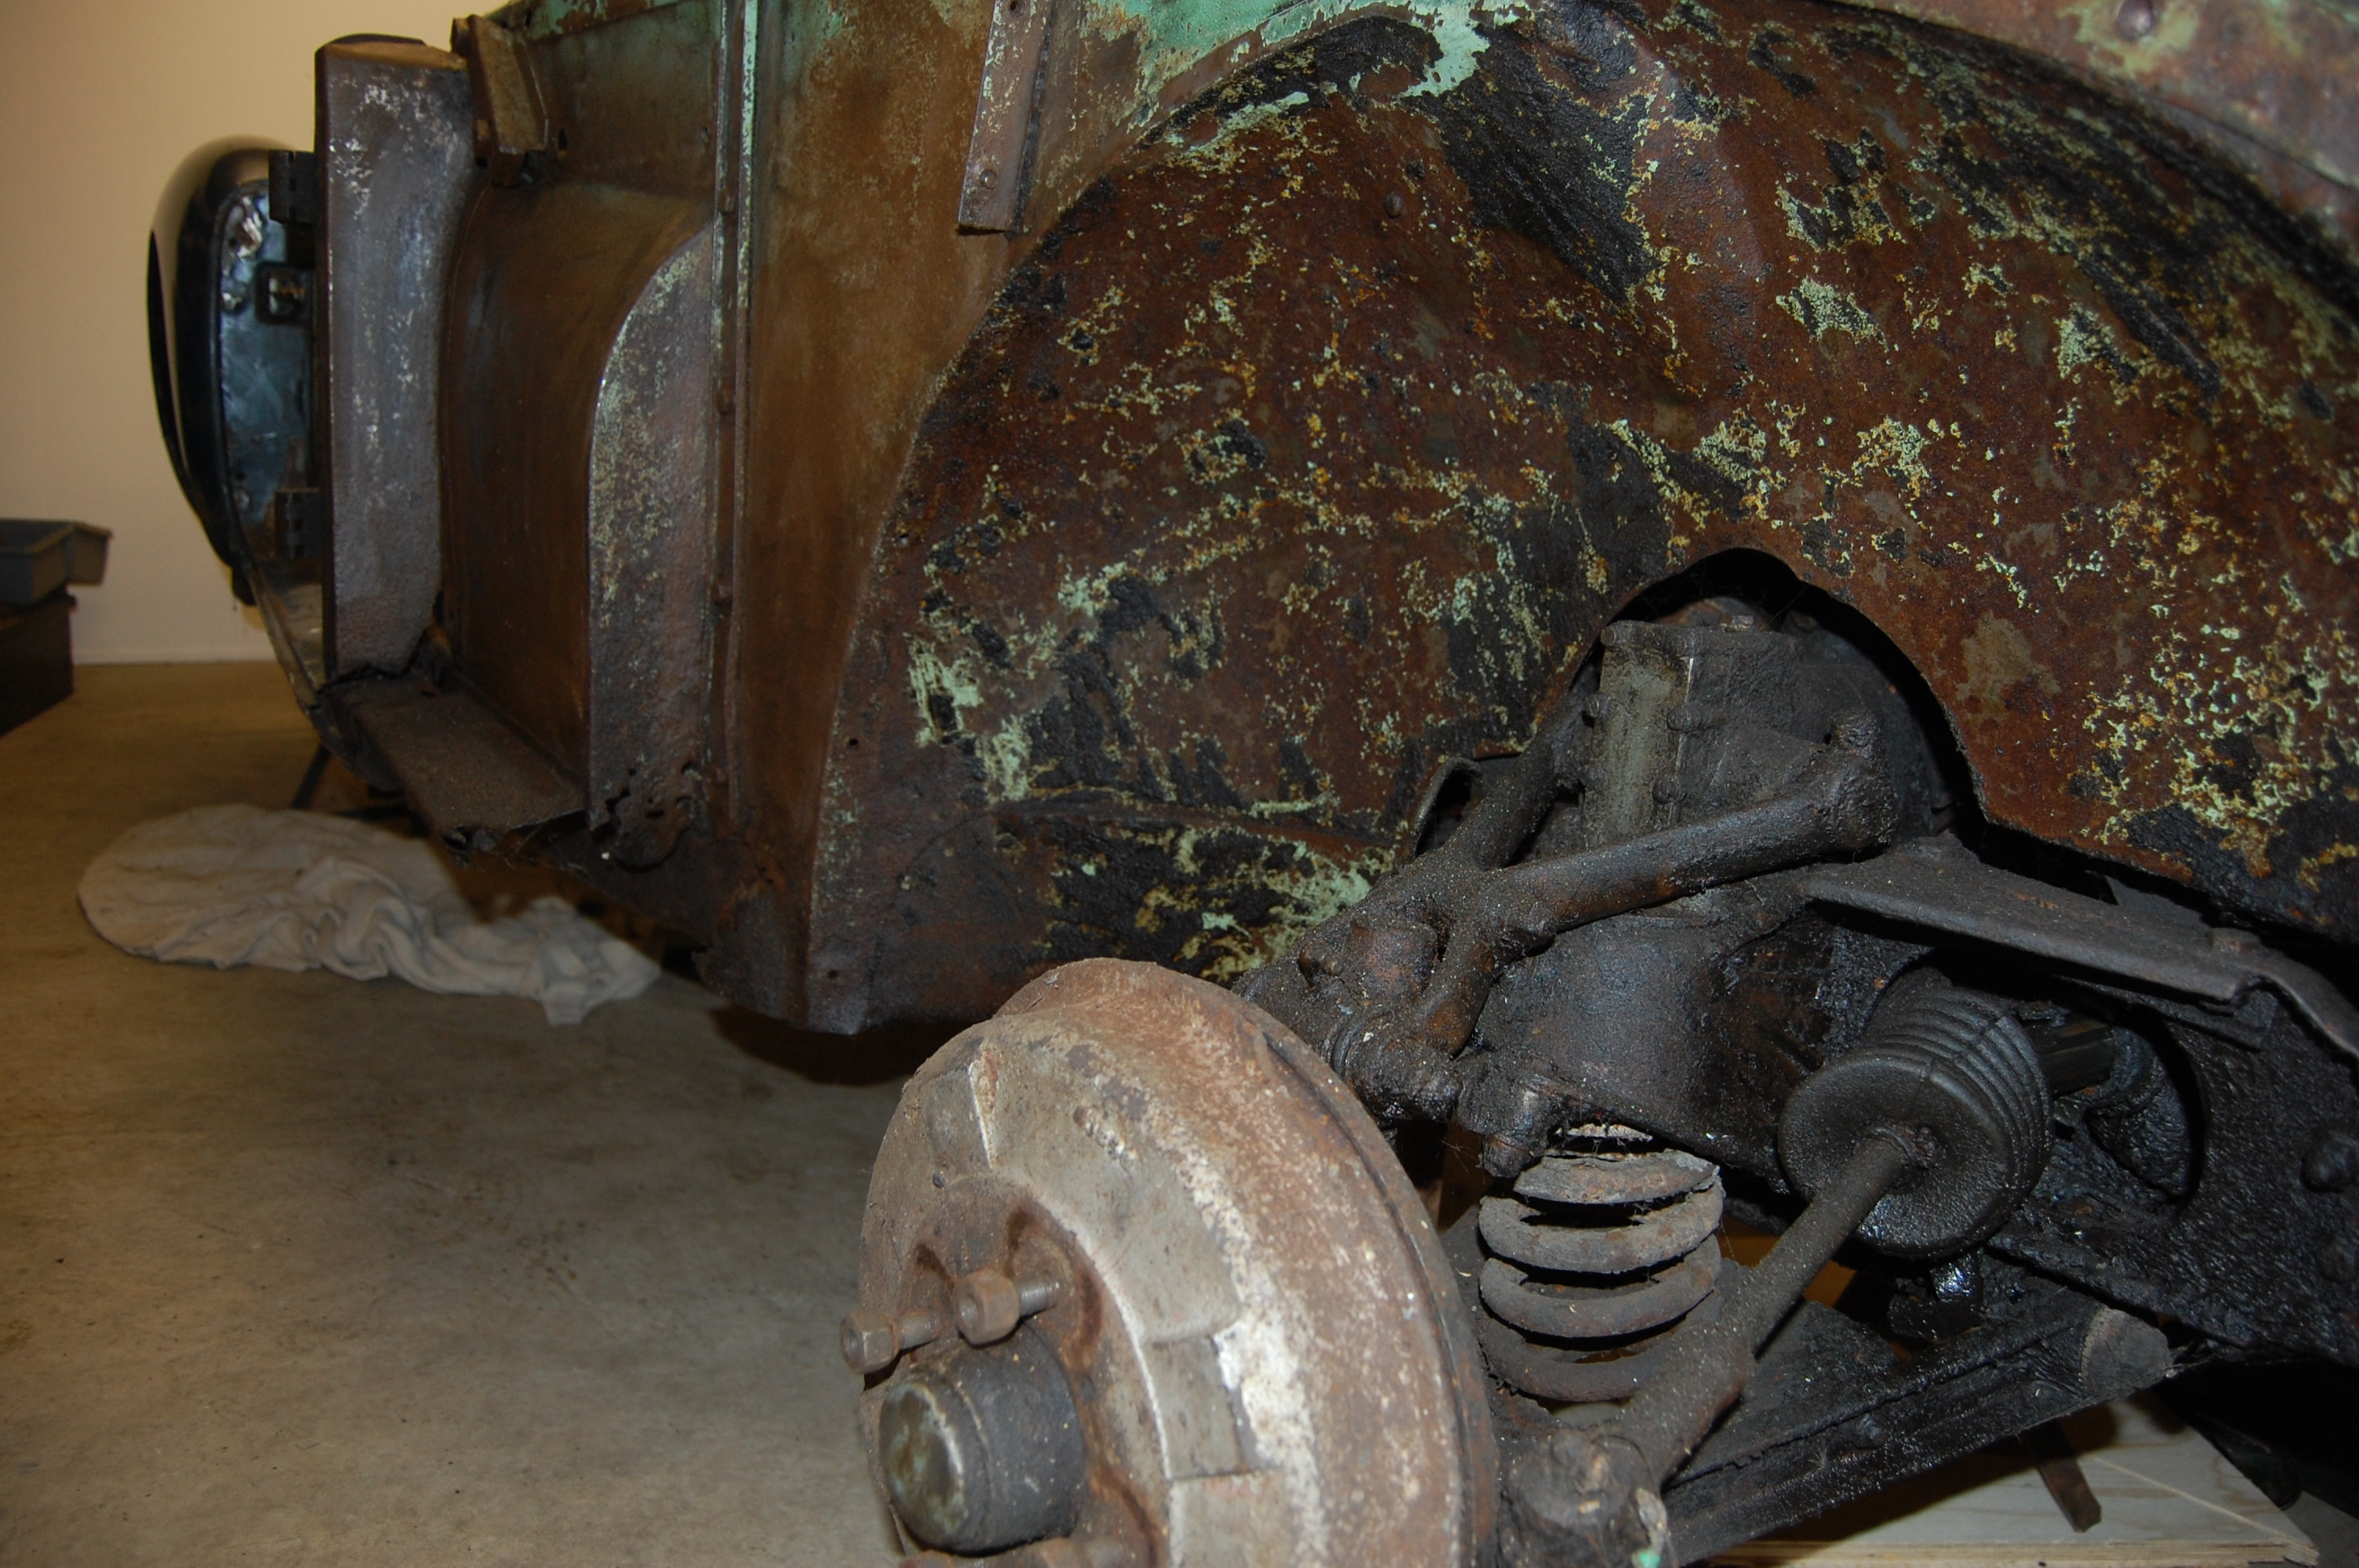
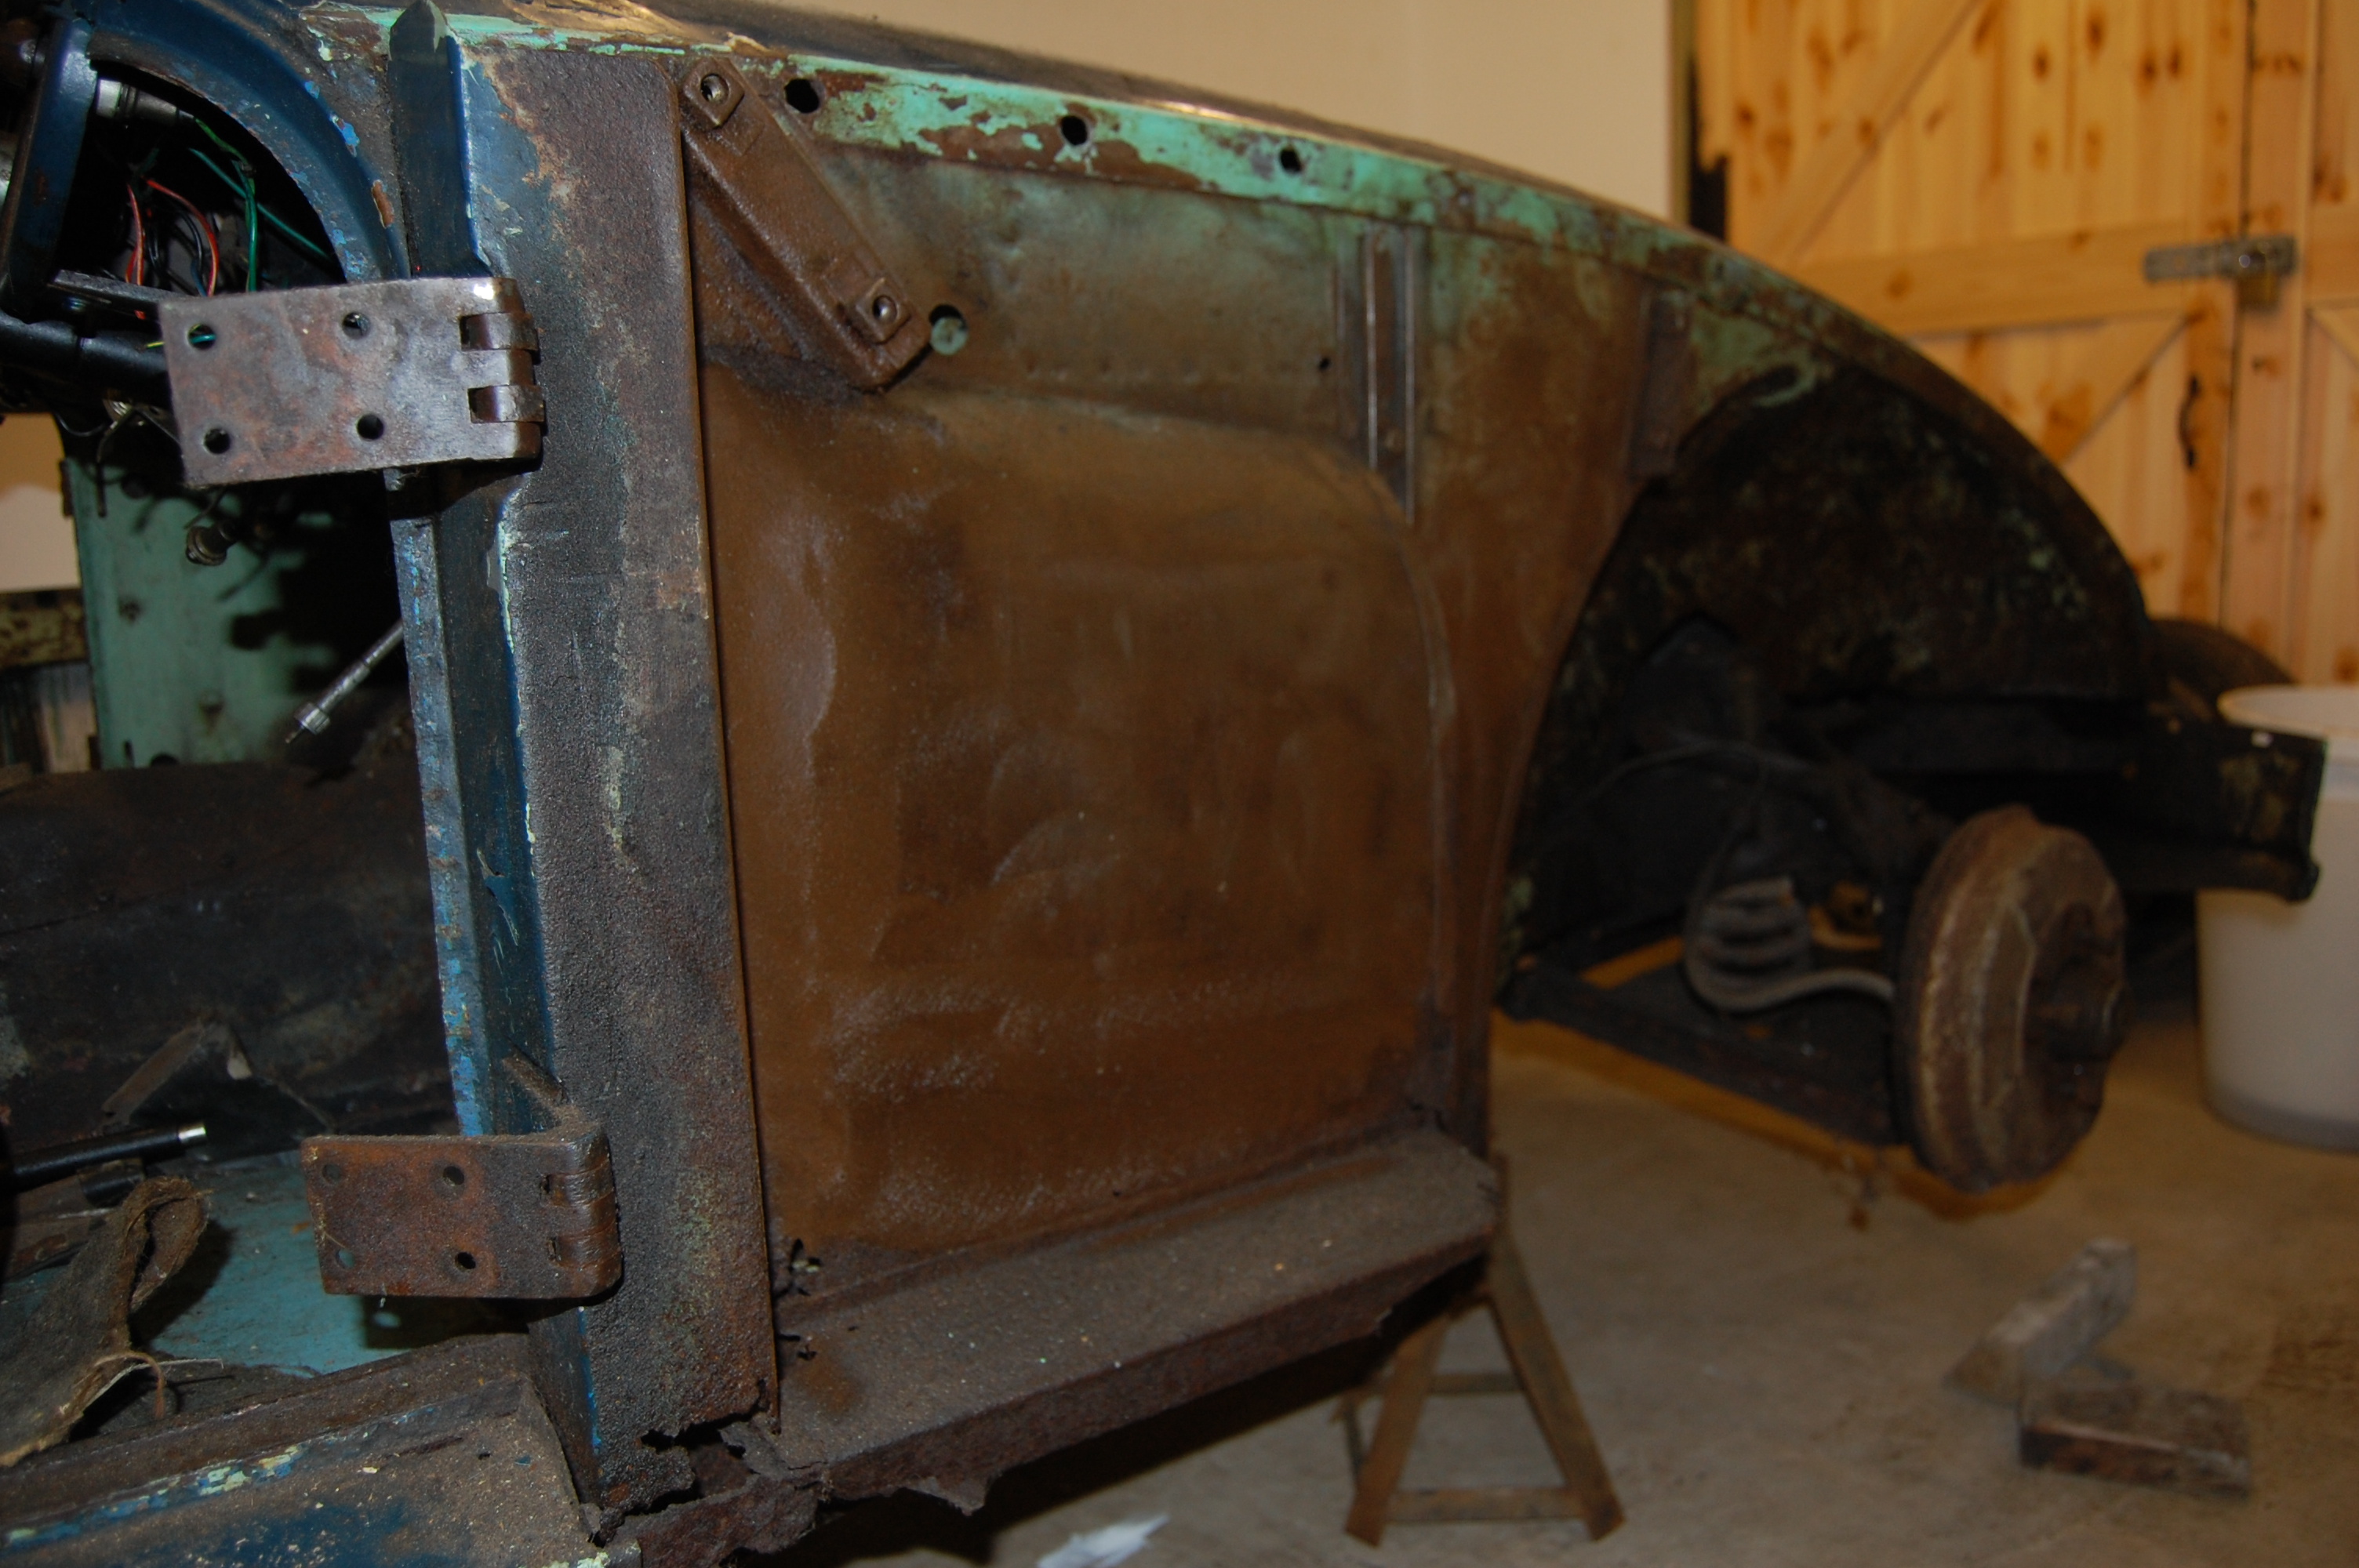
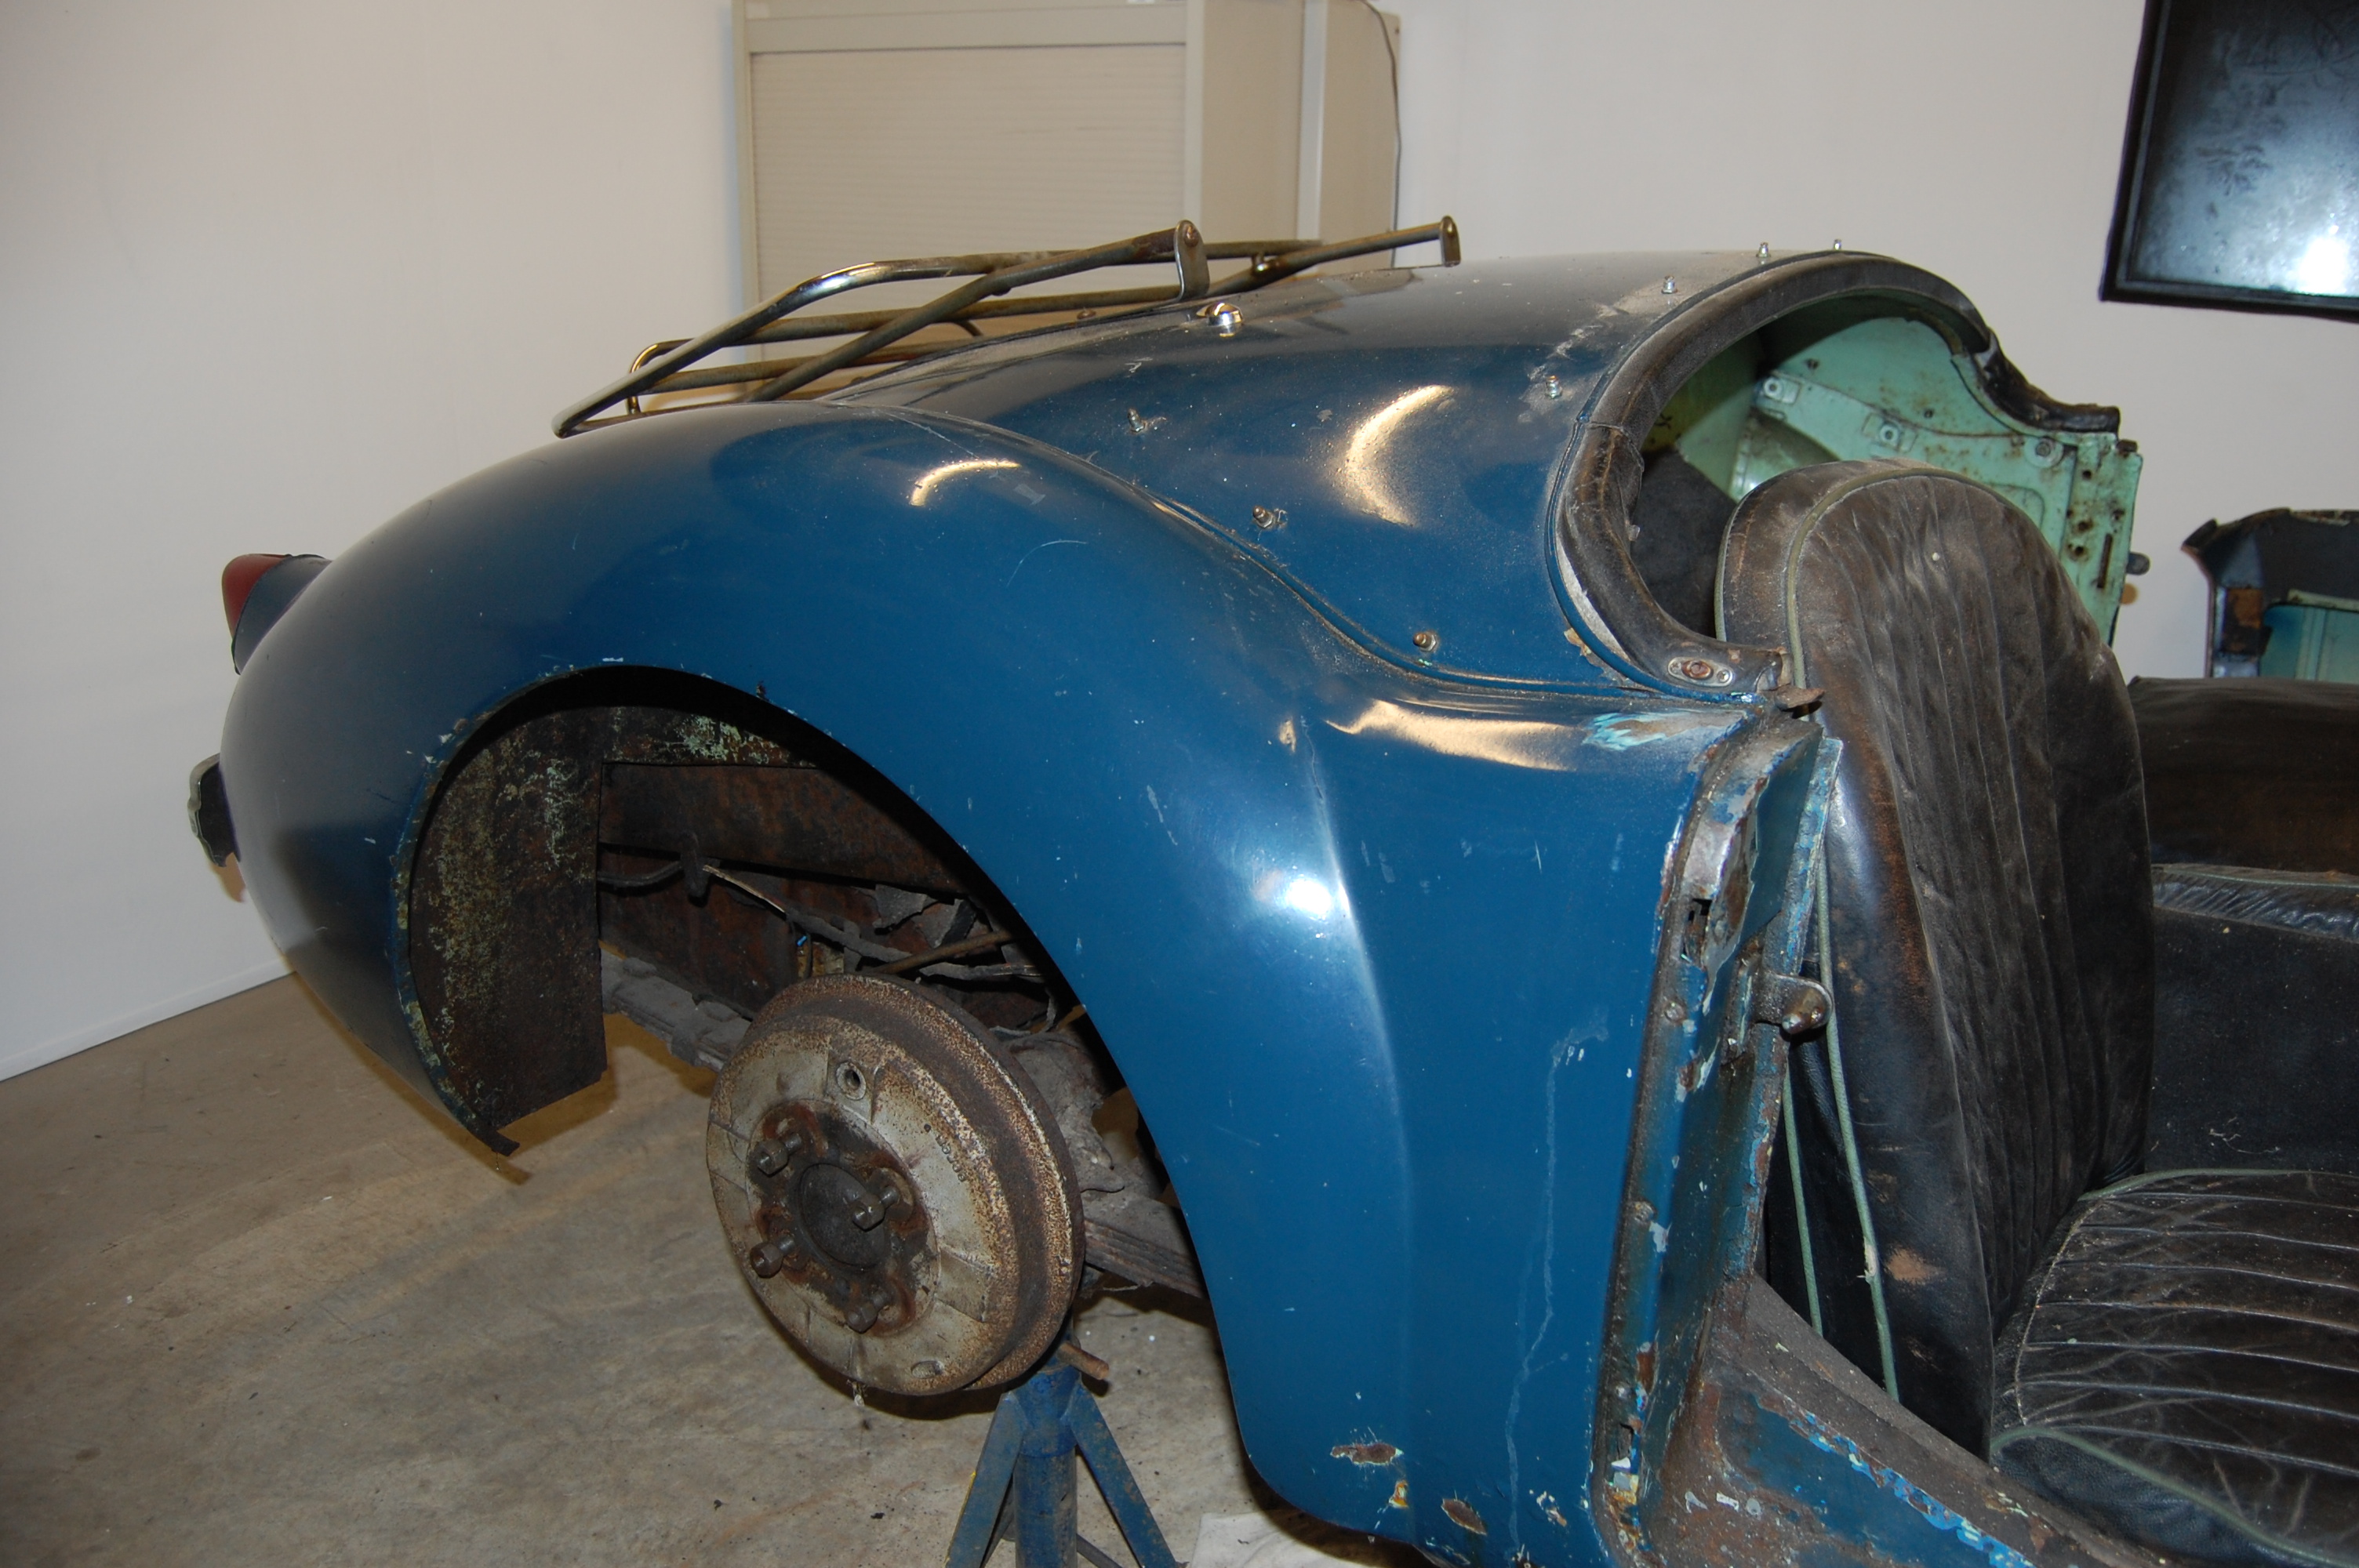 The rear wings appeared on the surface to be in good shape, but covered a multitude of sins. Compare this with the mess once the wings were removed
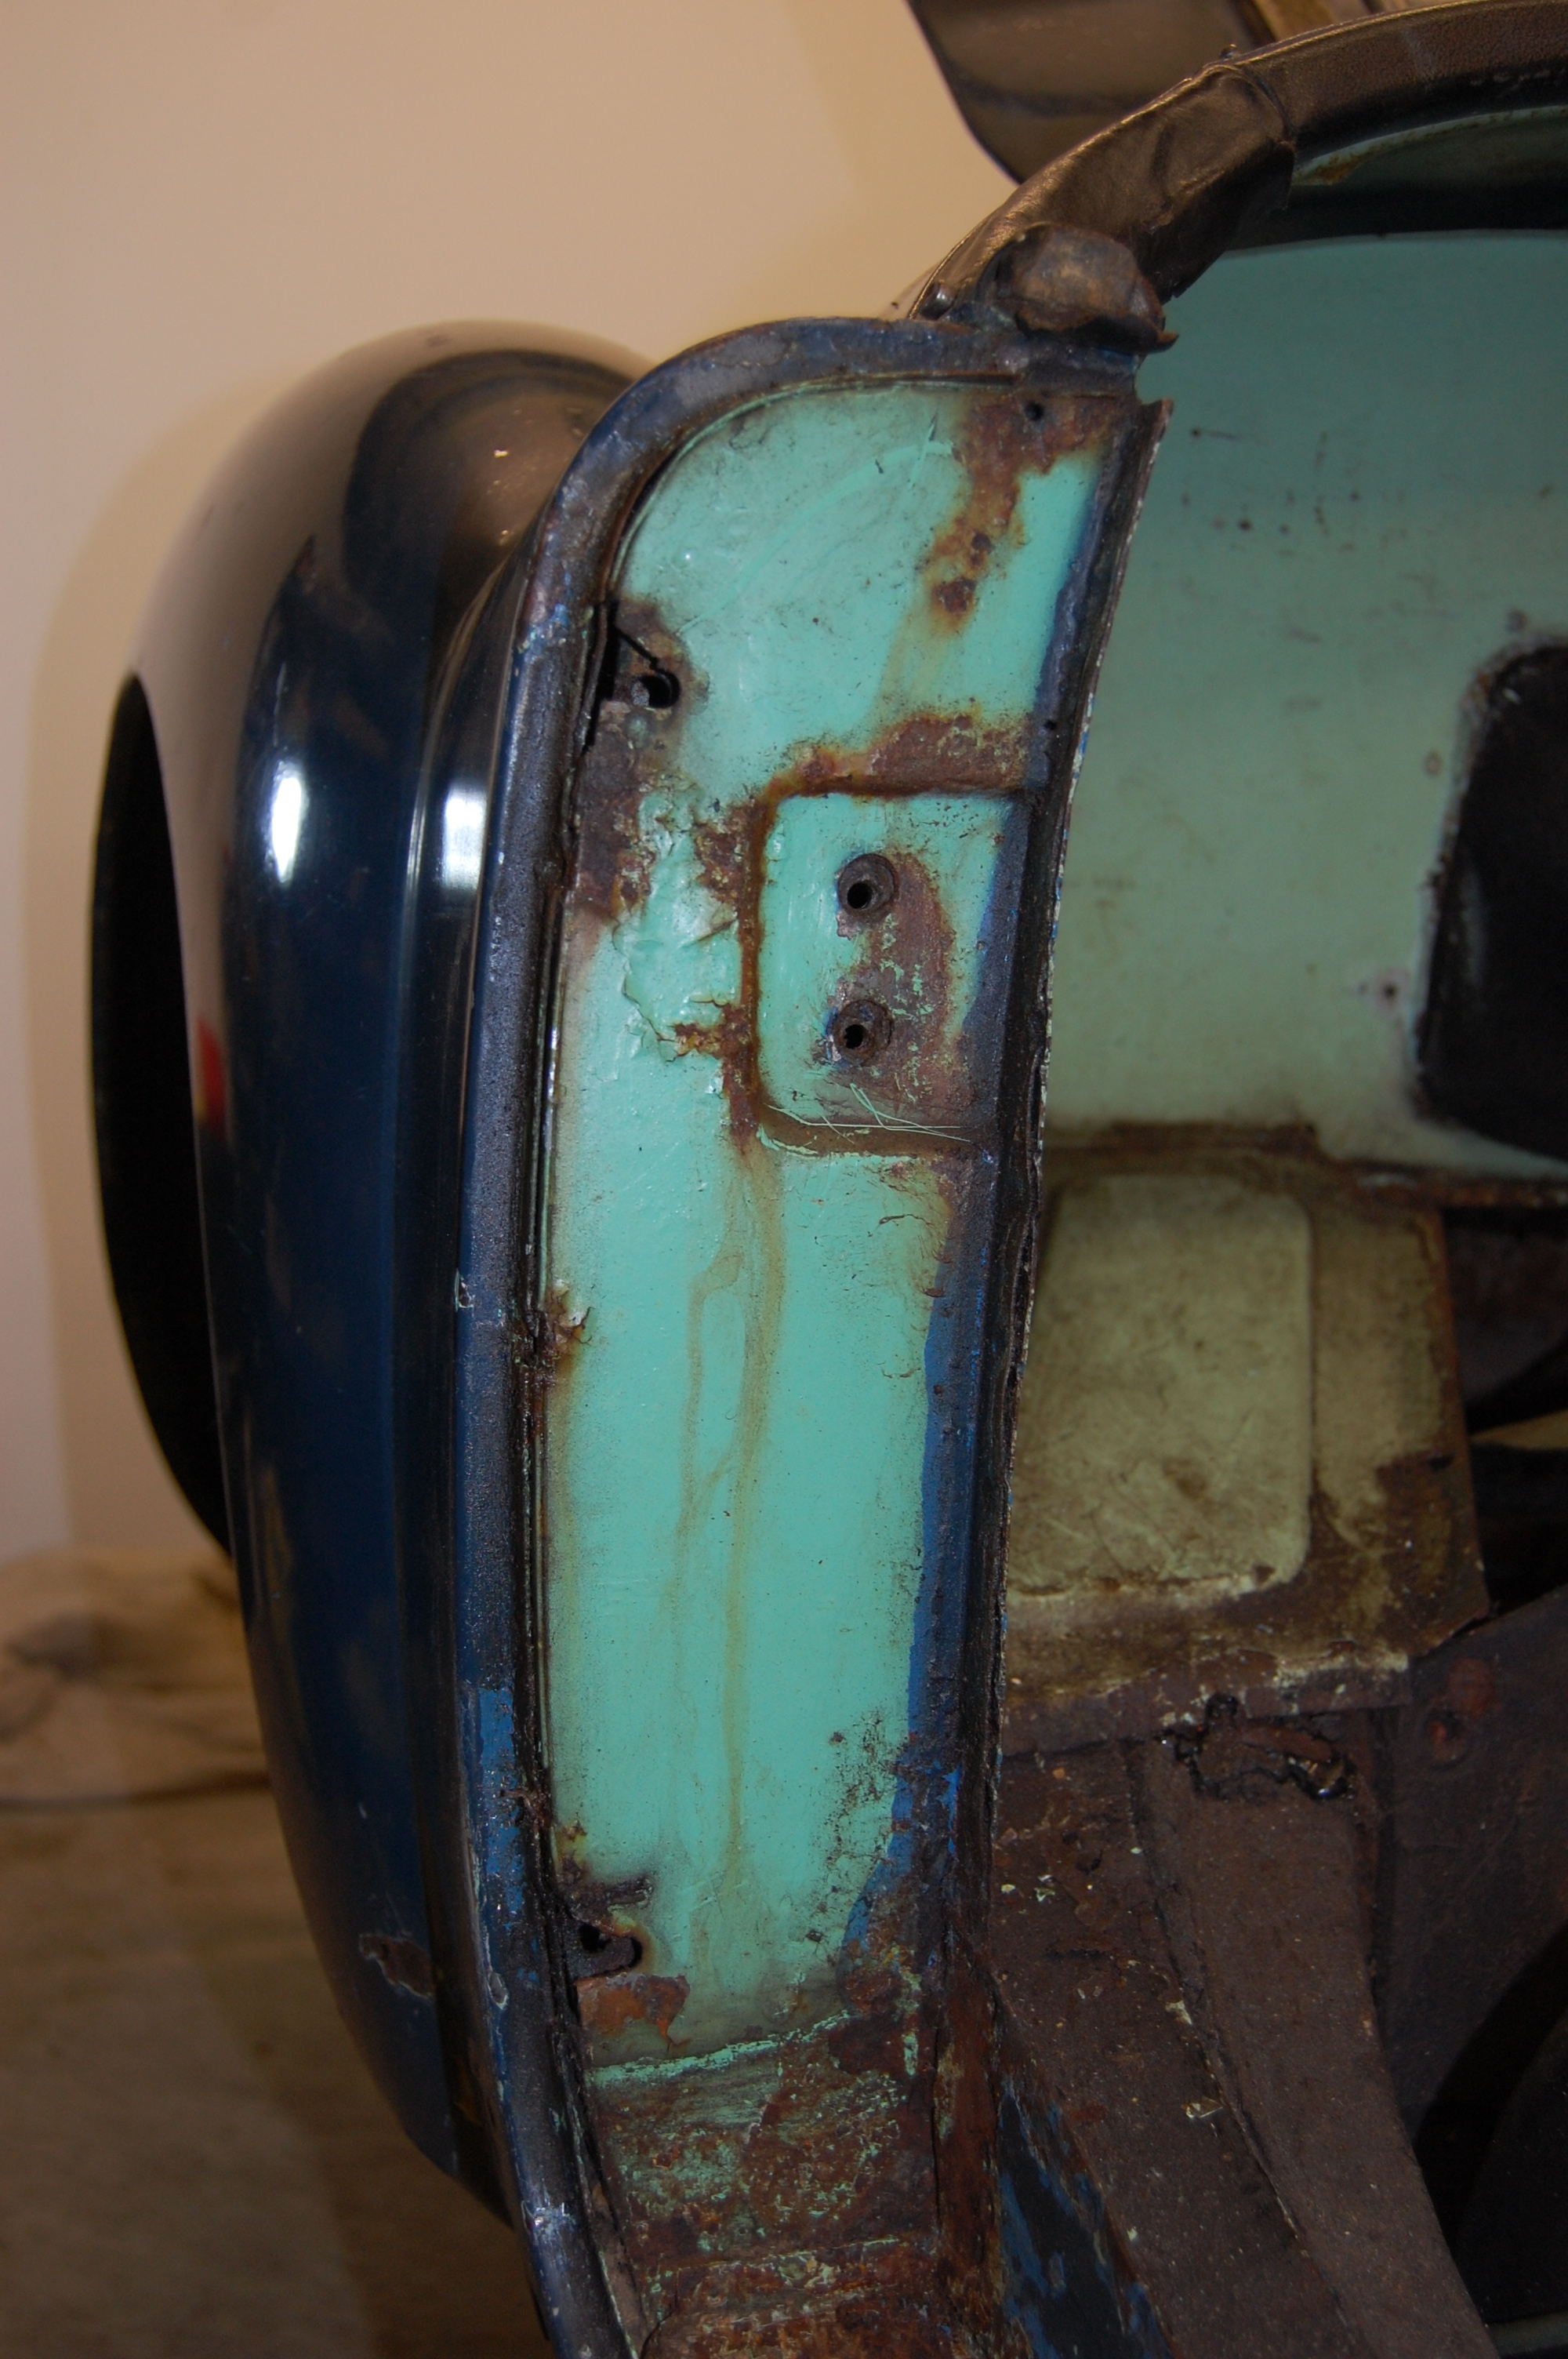
 Removing the wing revealed severe corrosion of the ‘B’ pillar and sill structure. Years of accumulated road dirt and winter salt did their worst.
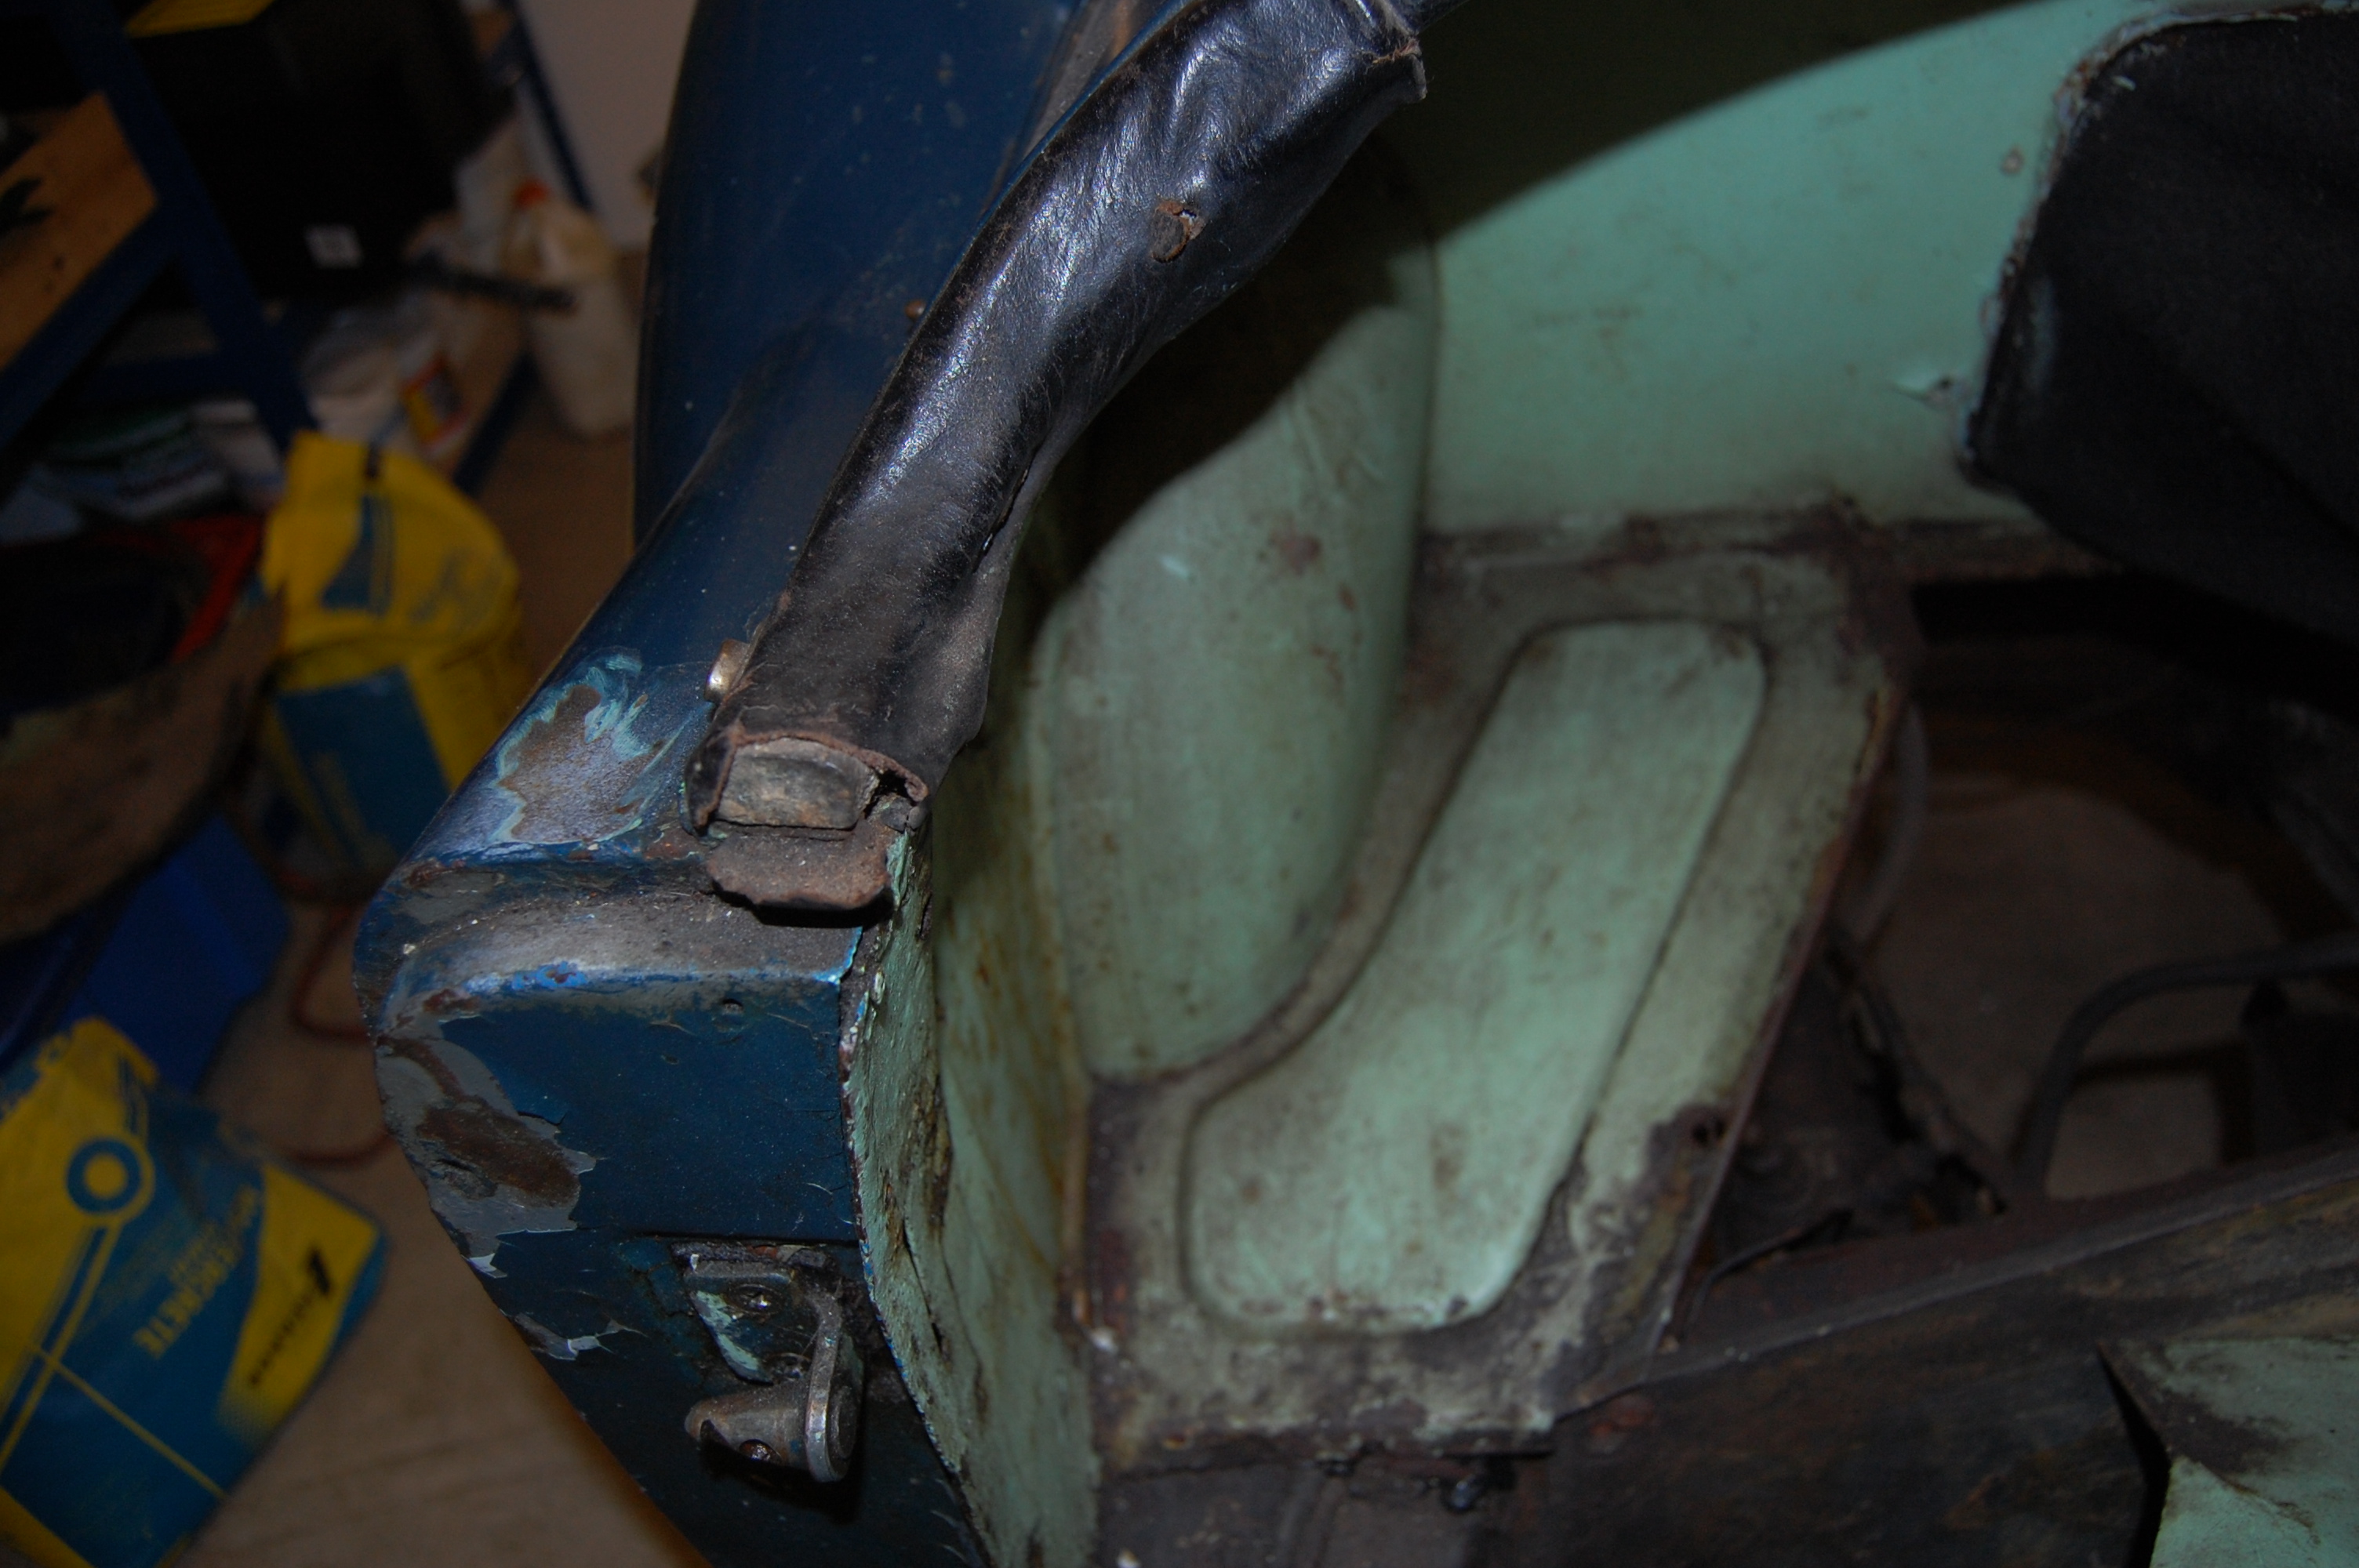
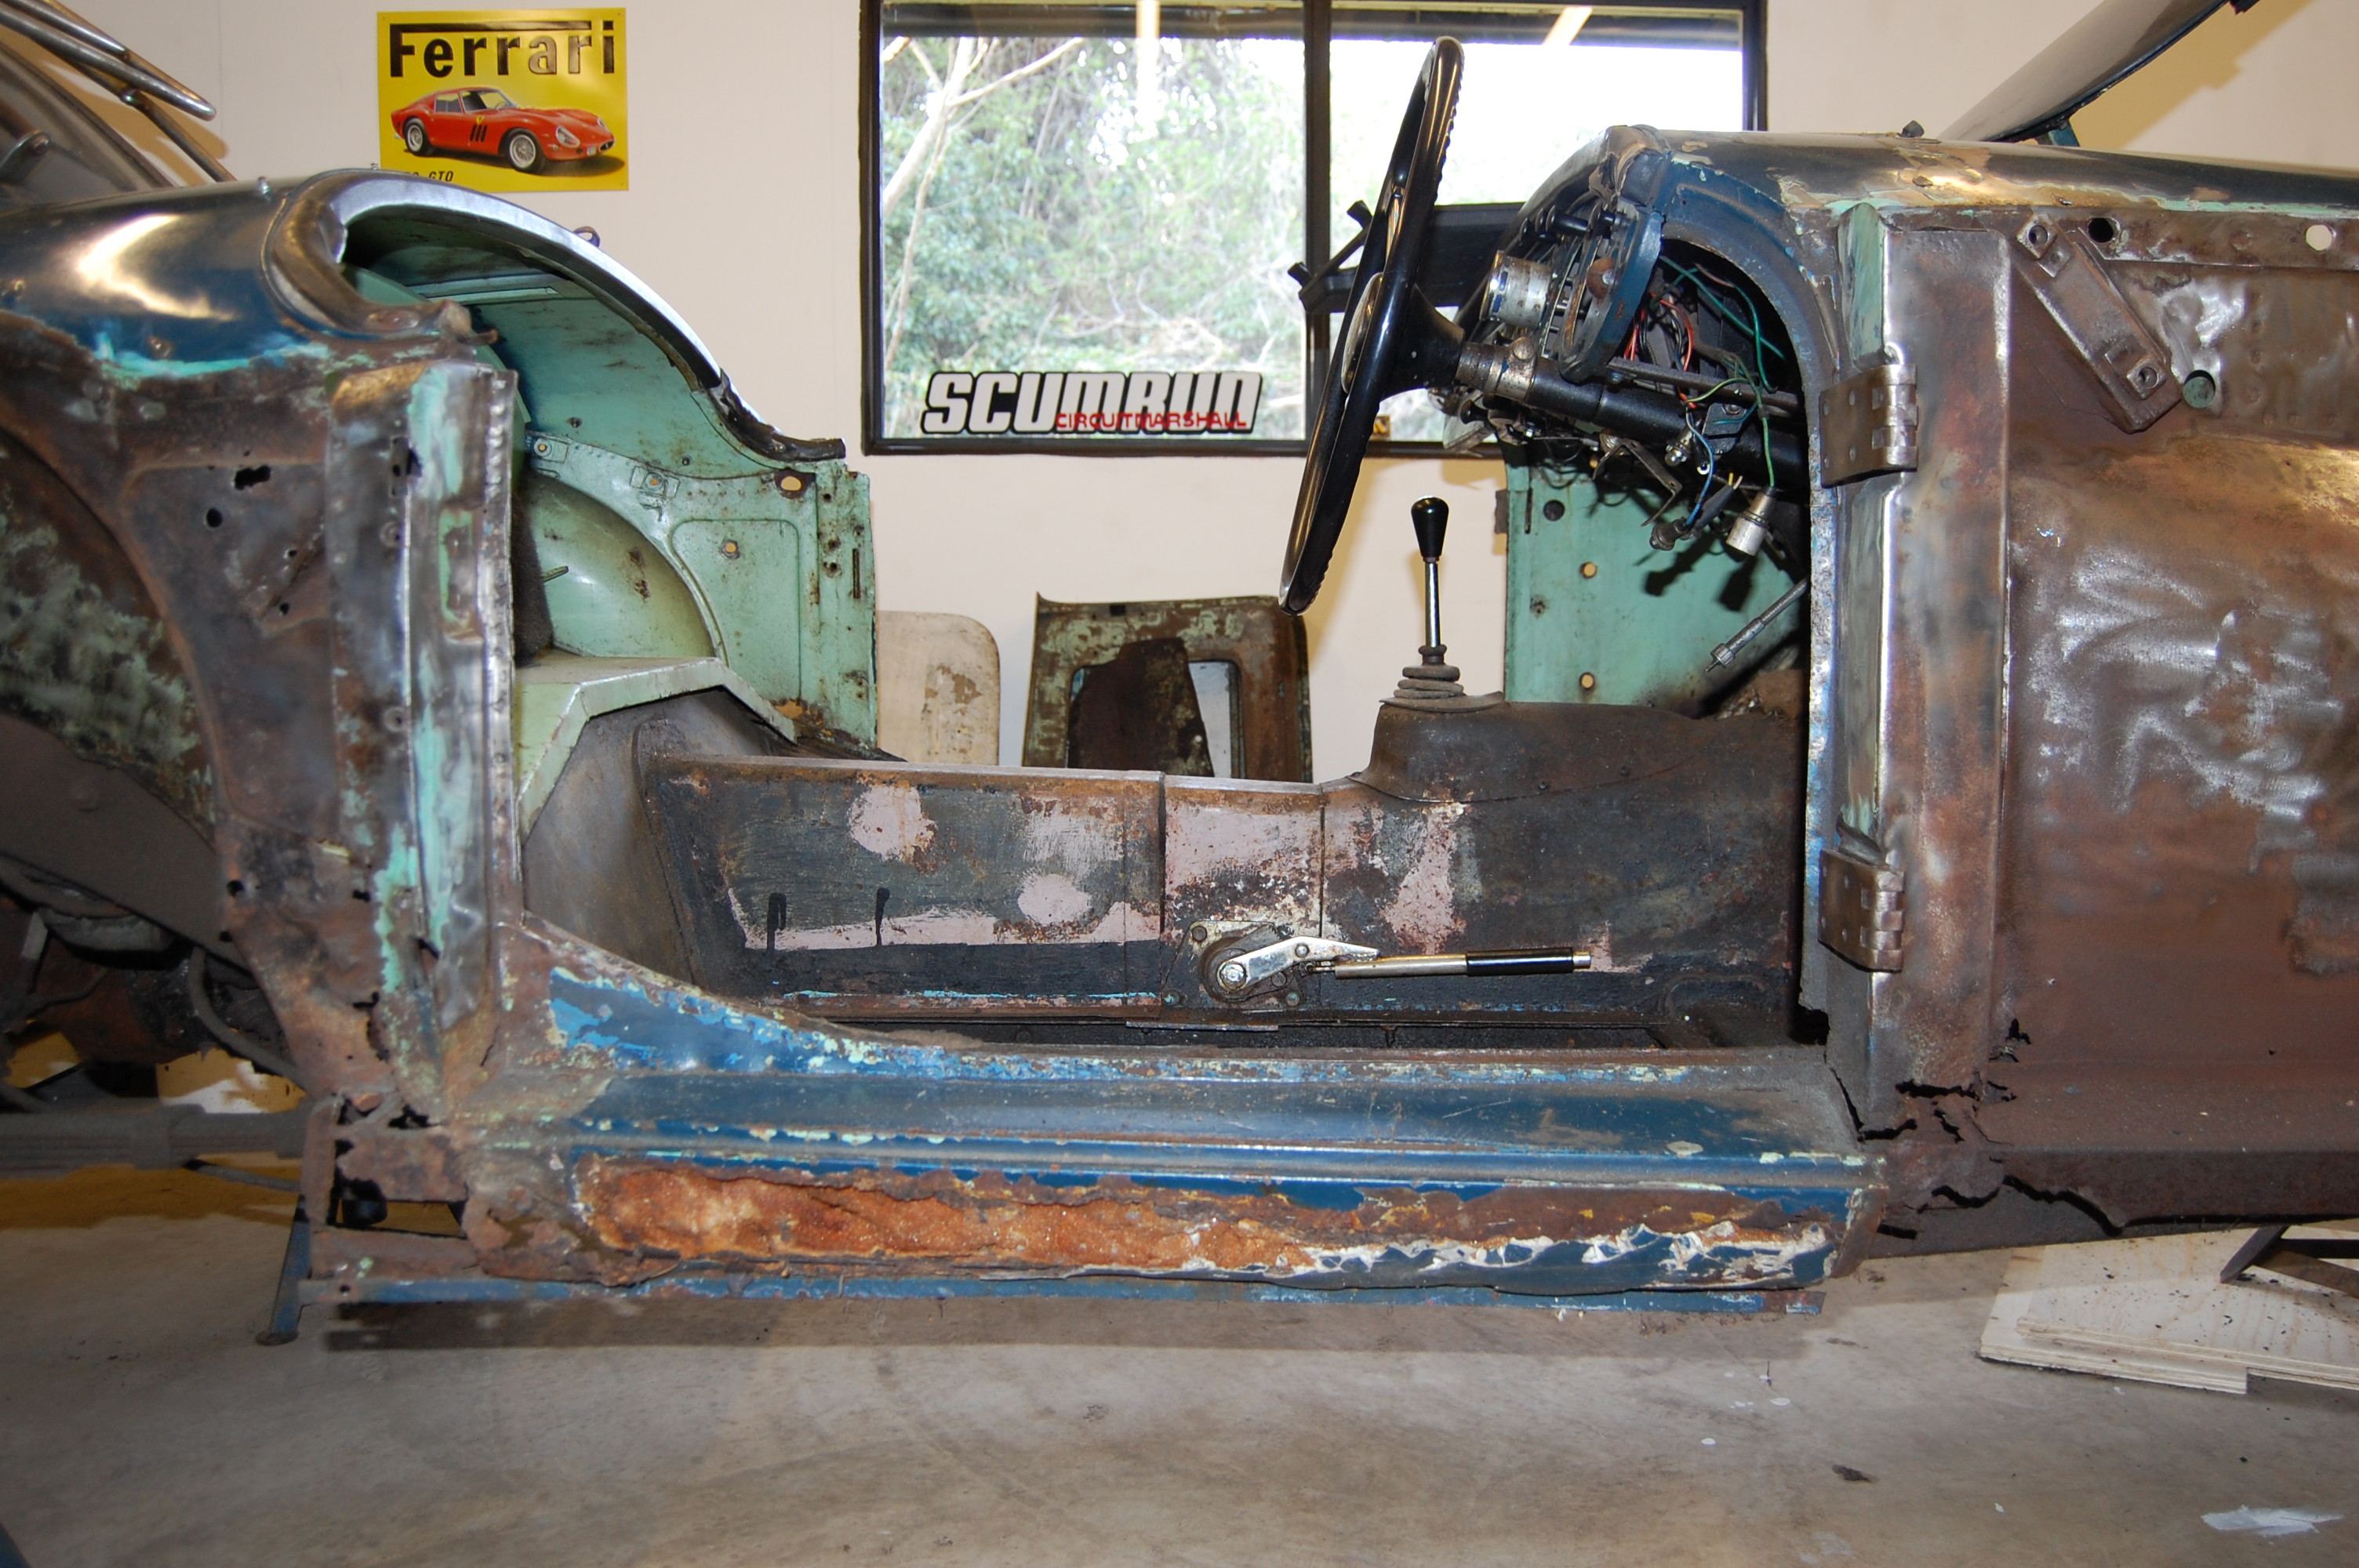
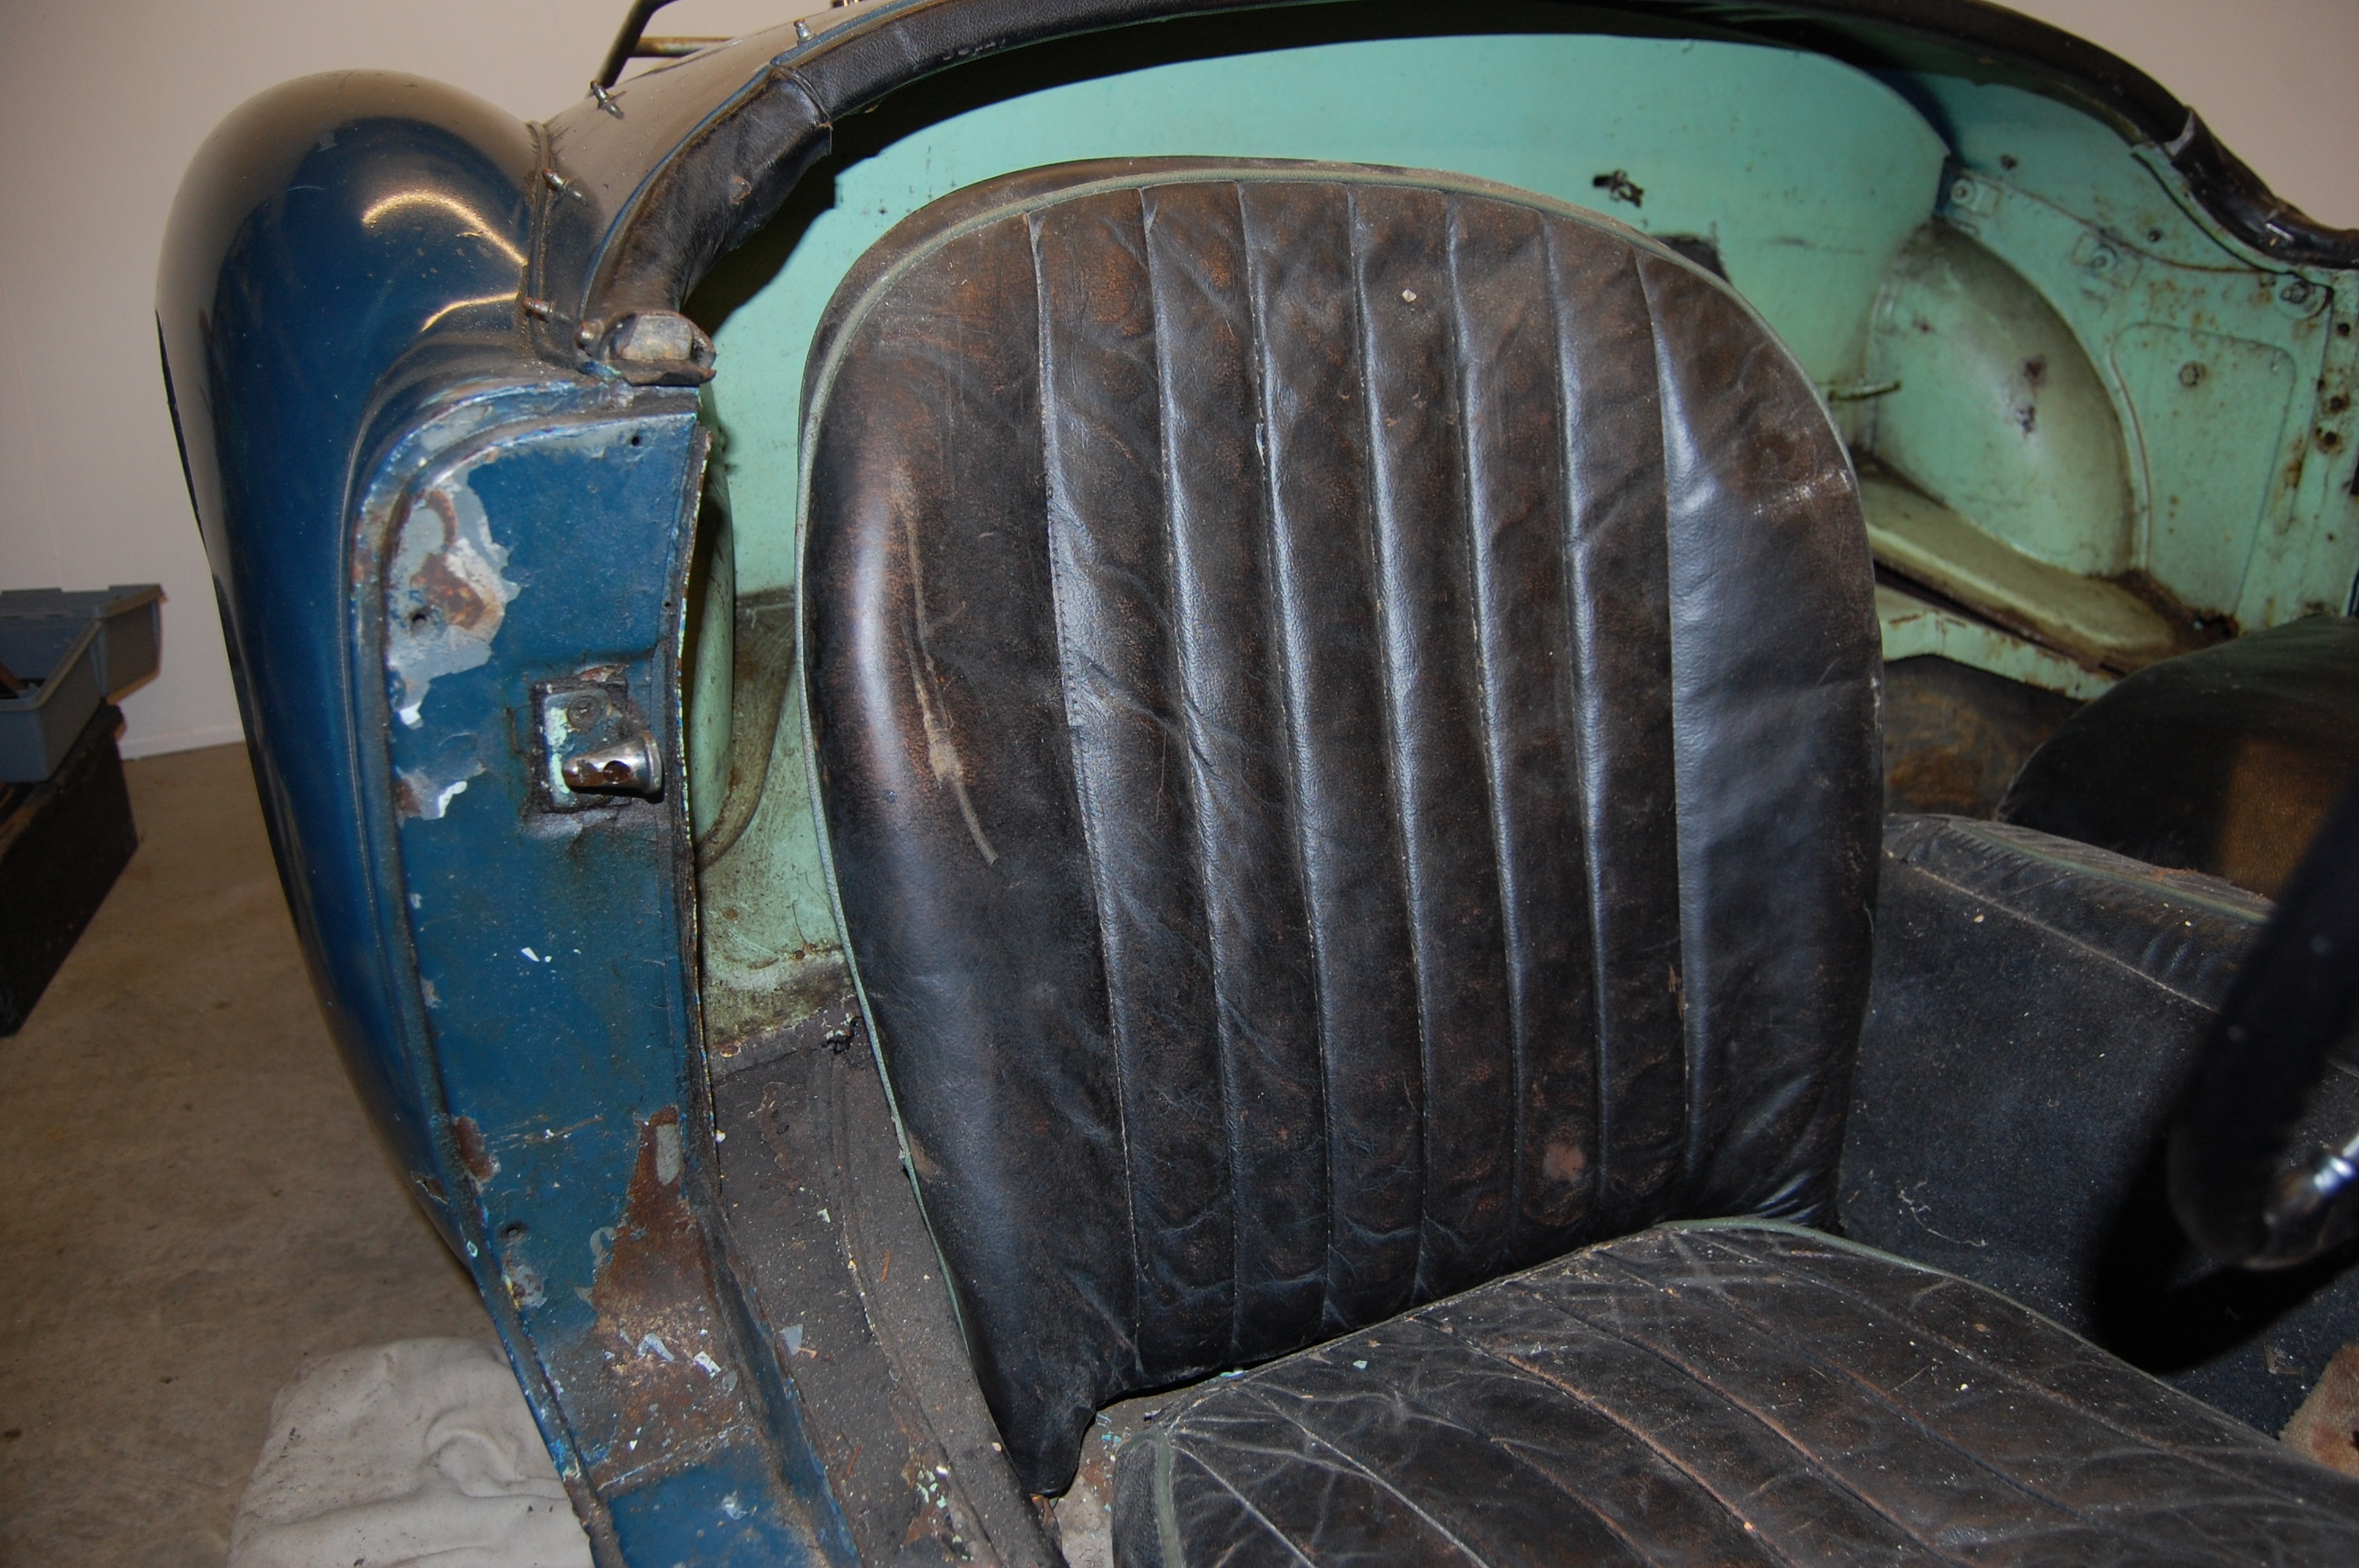 The original Ash Green colour can be seen clearly along with what were once black seats with green piping, as per original secification.
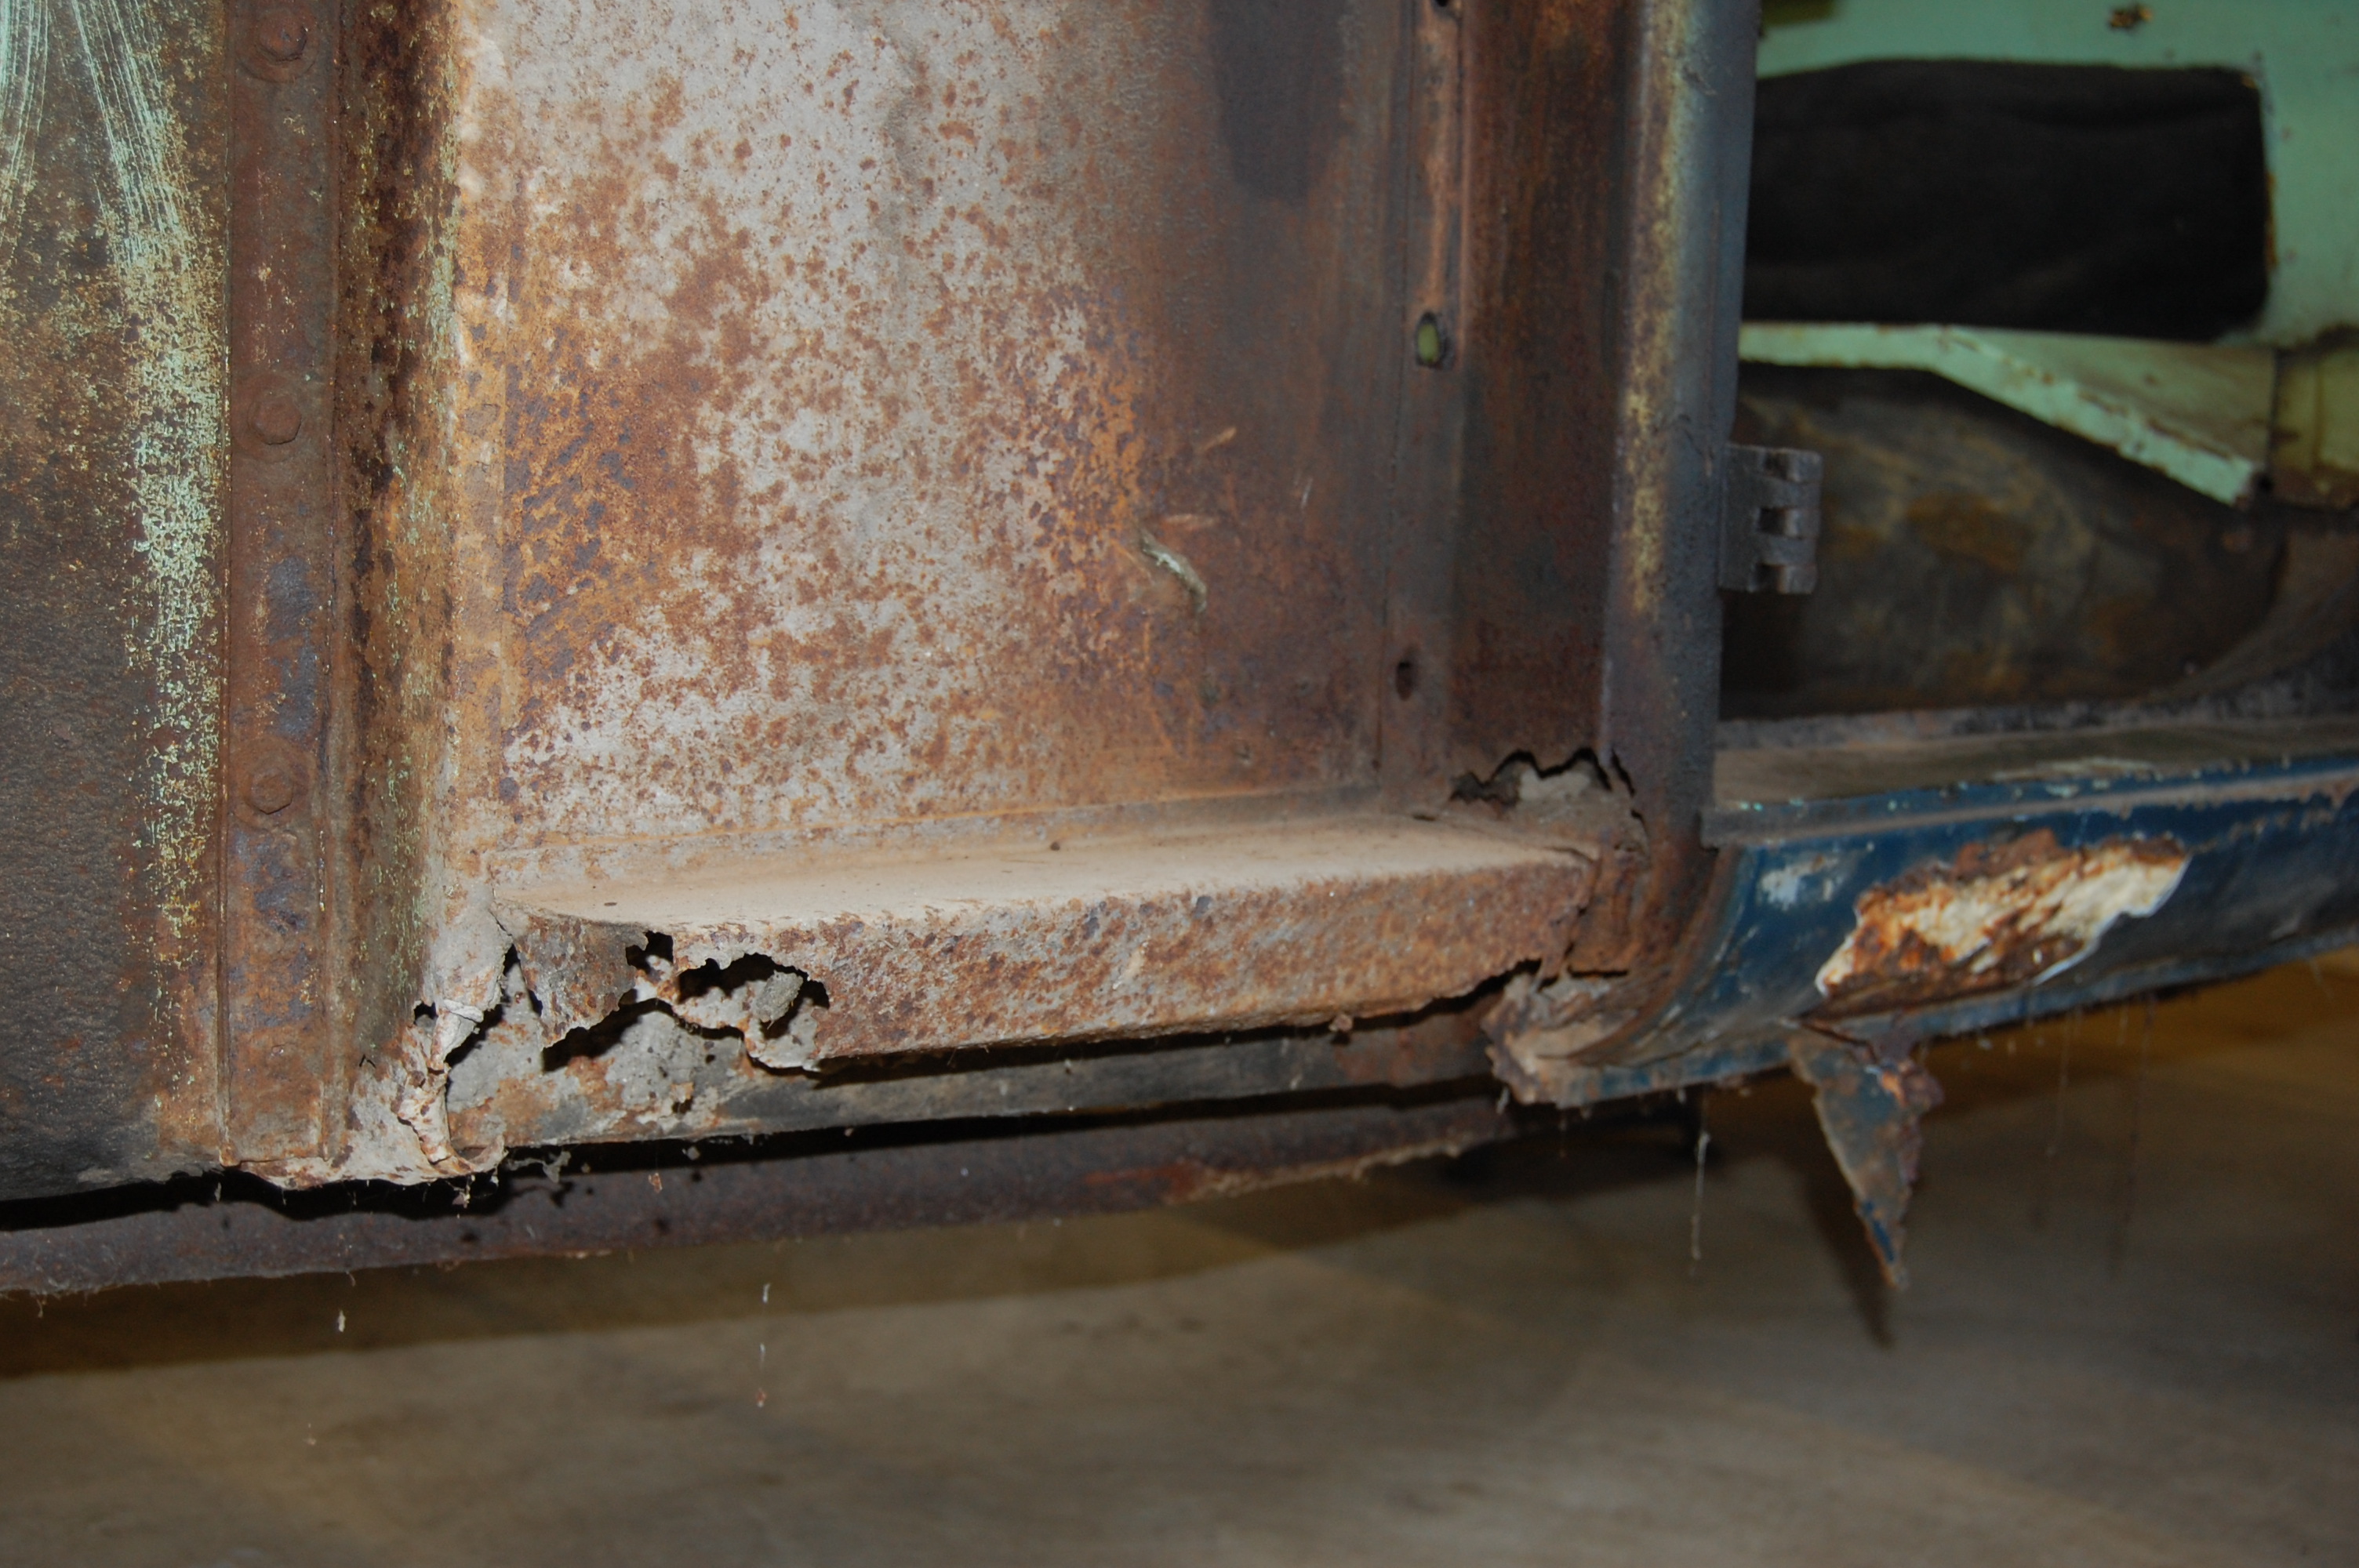
 Boot floor was solid, with only surface rust, but lip suround is ragged where the spongy rubber seal held moisture.
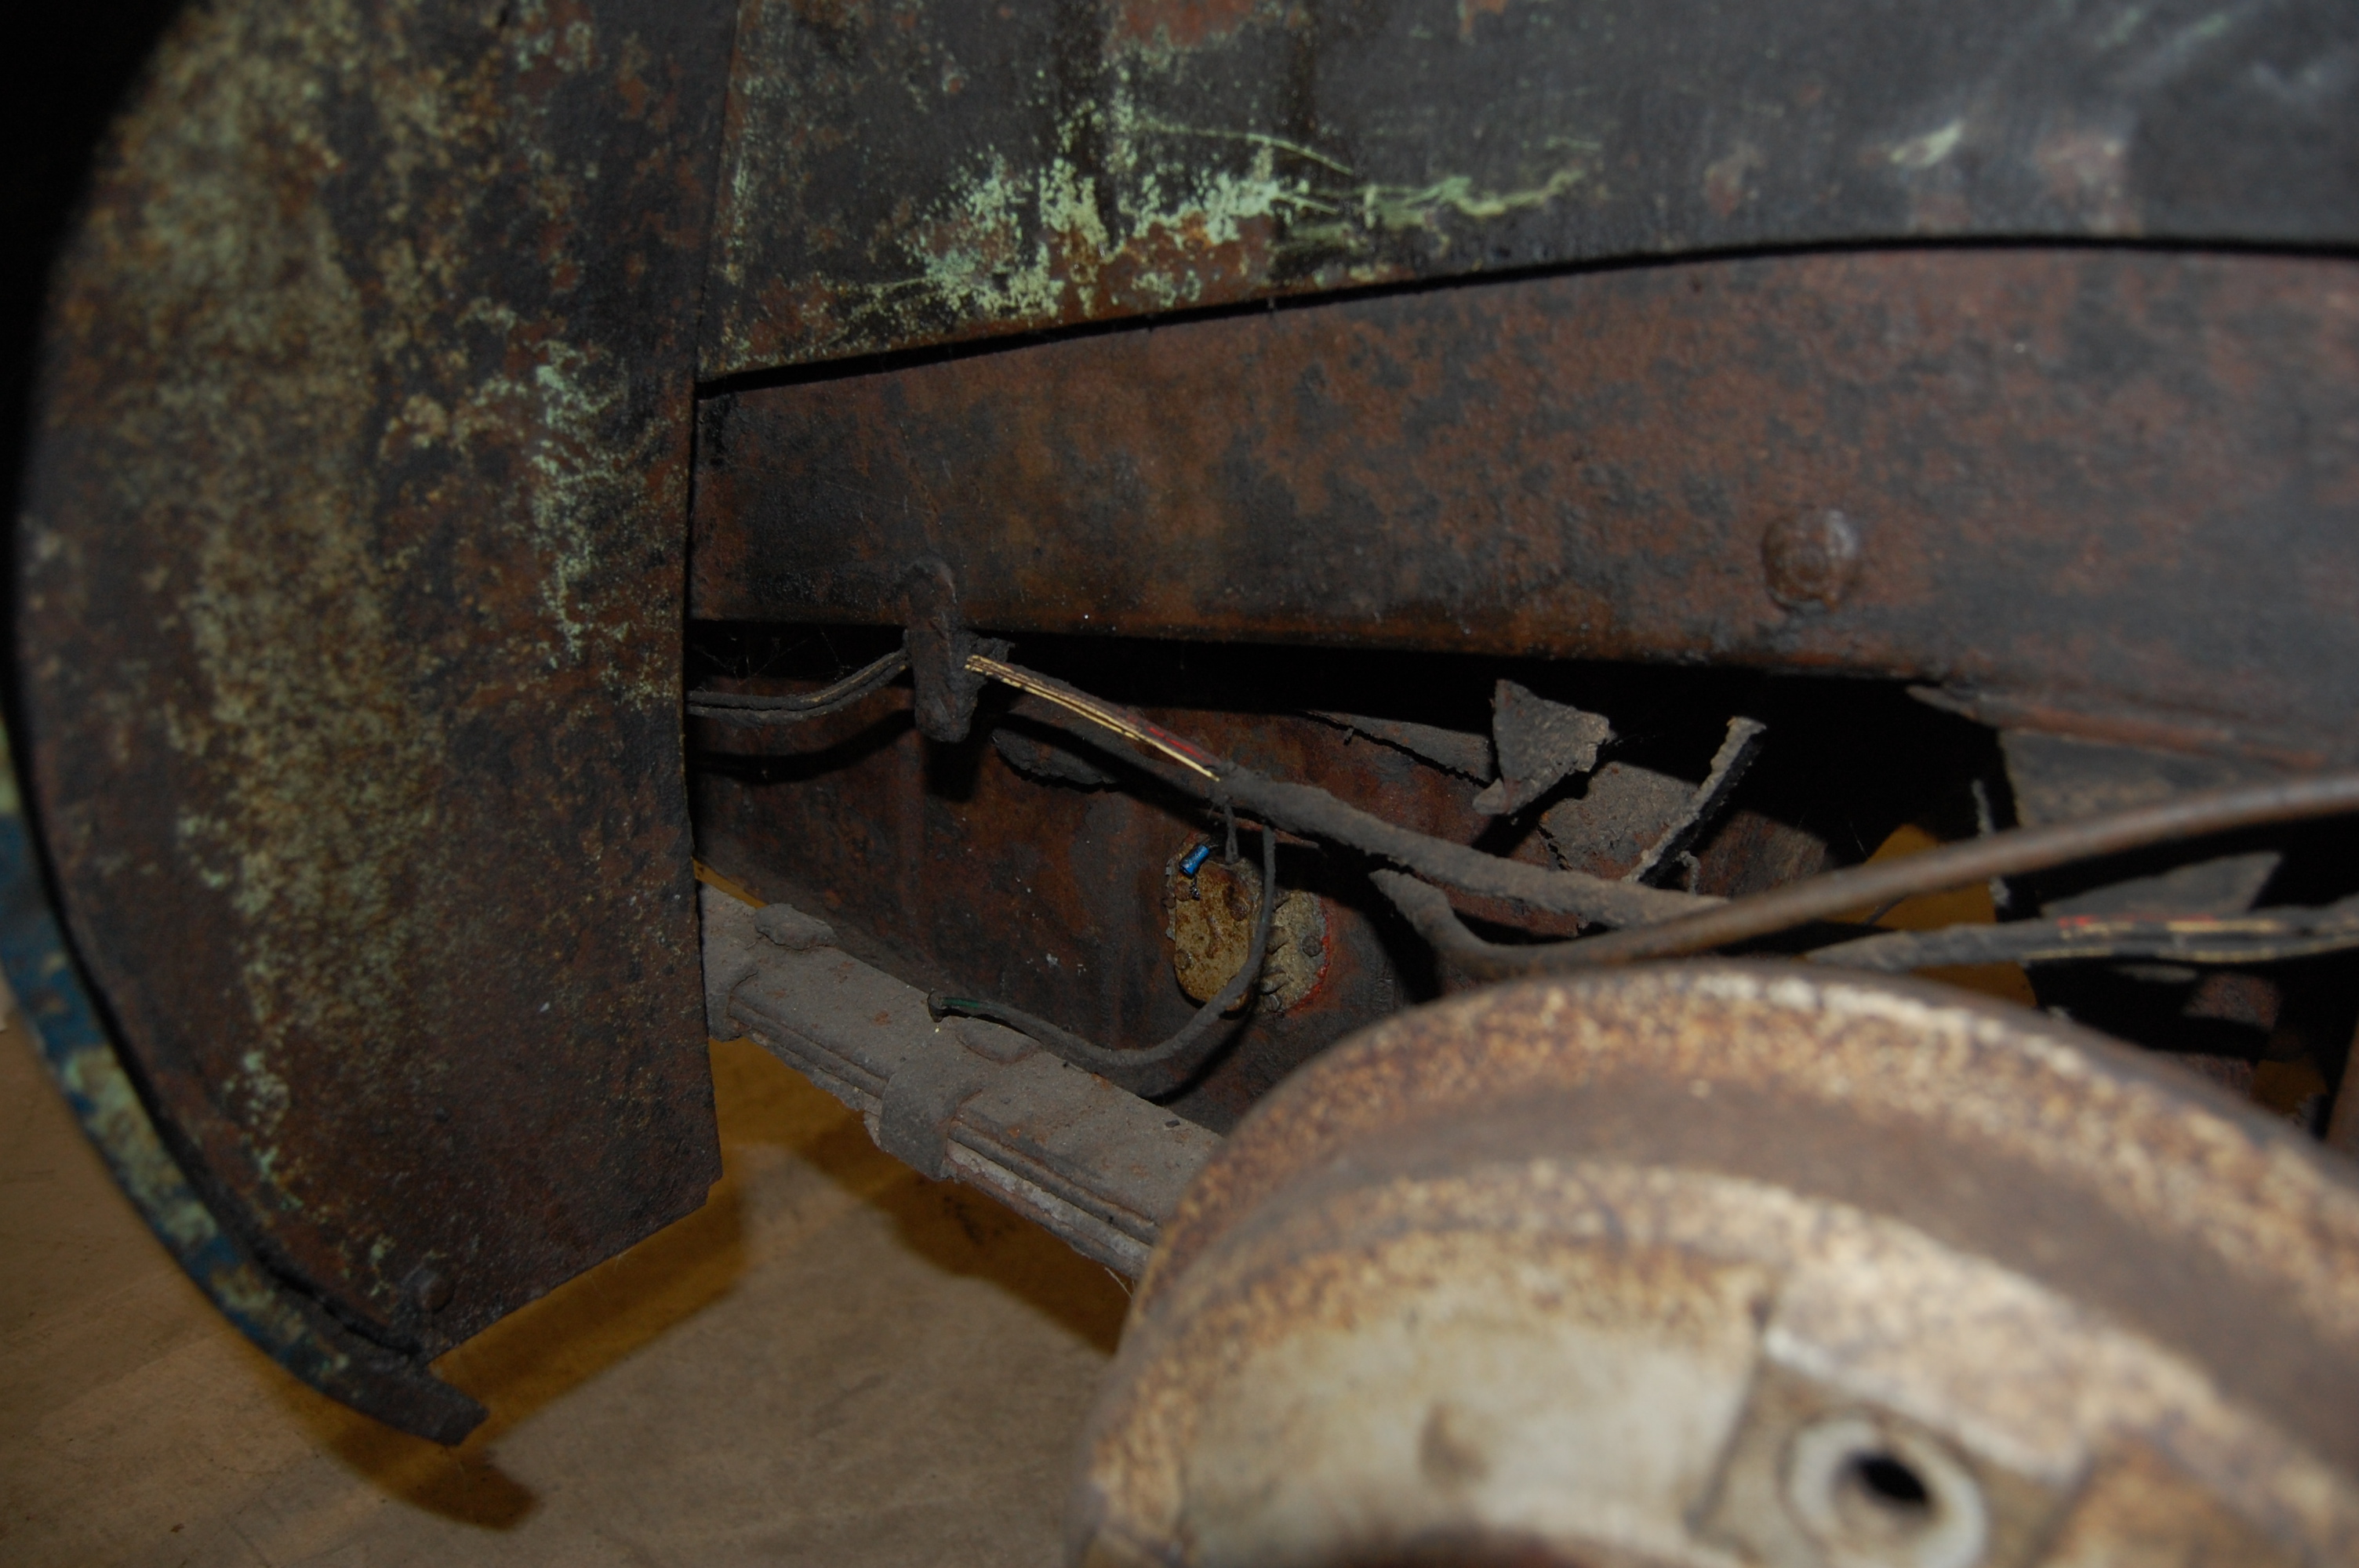
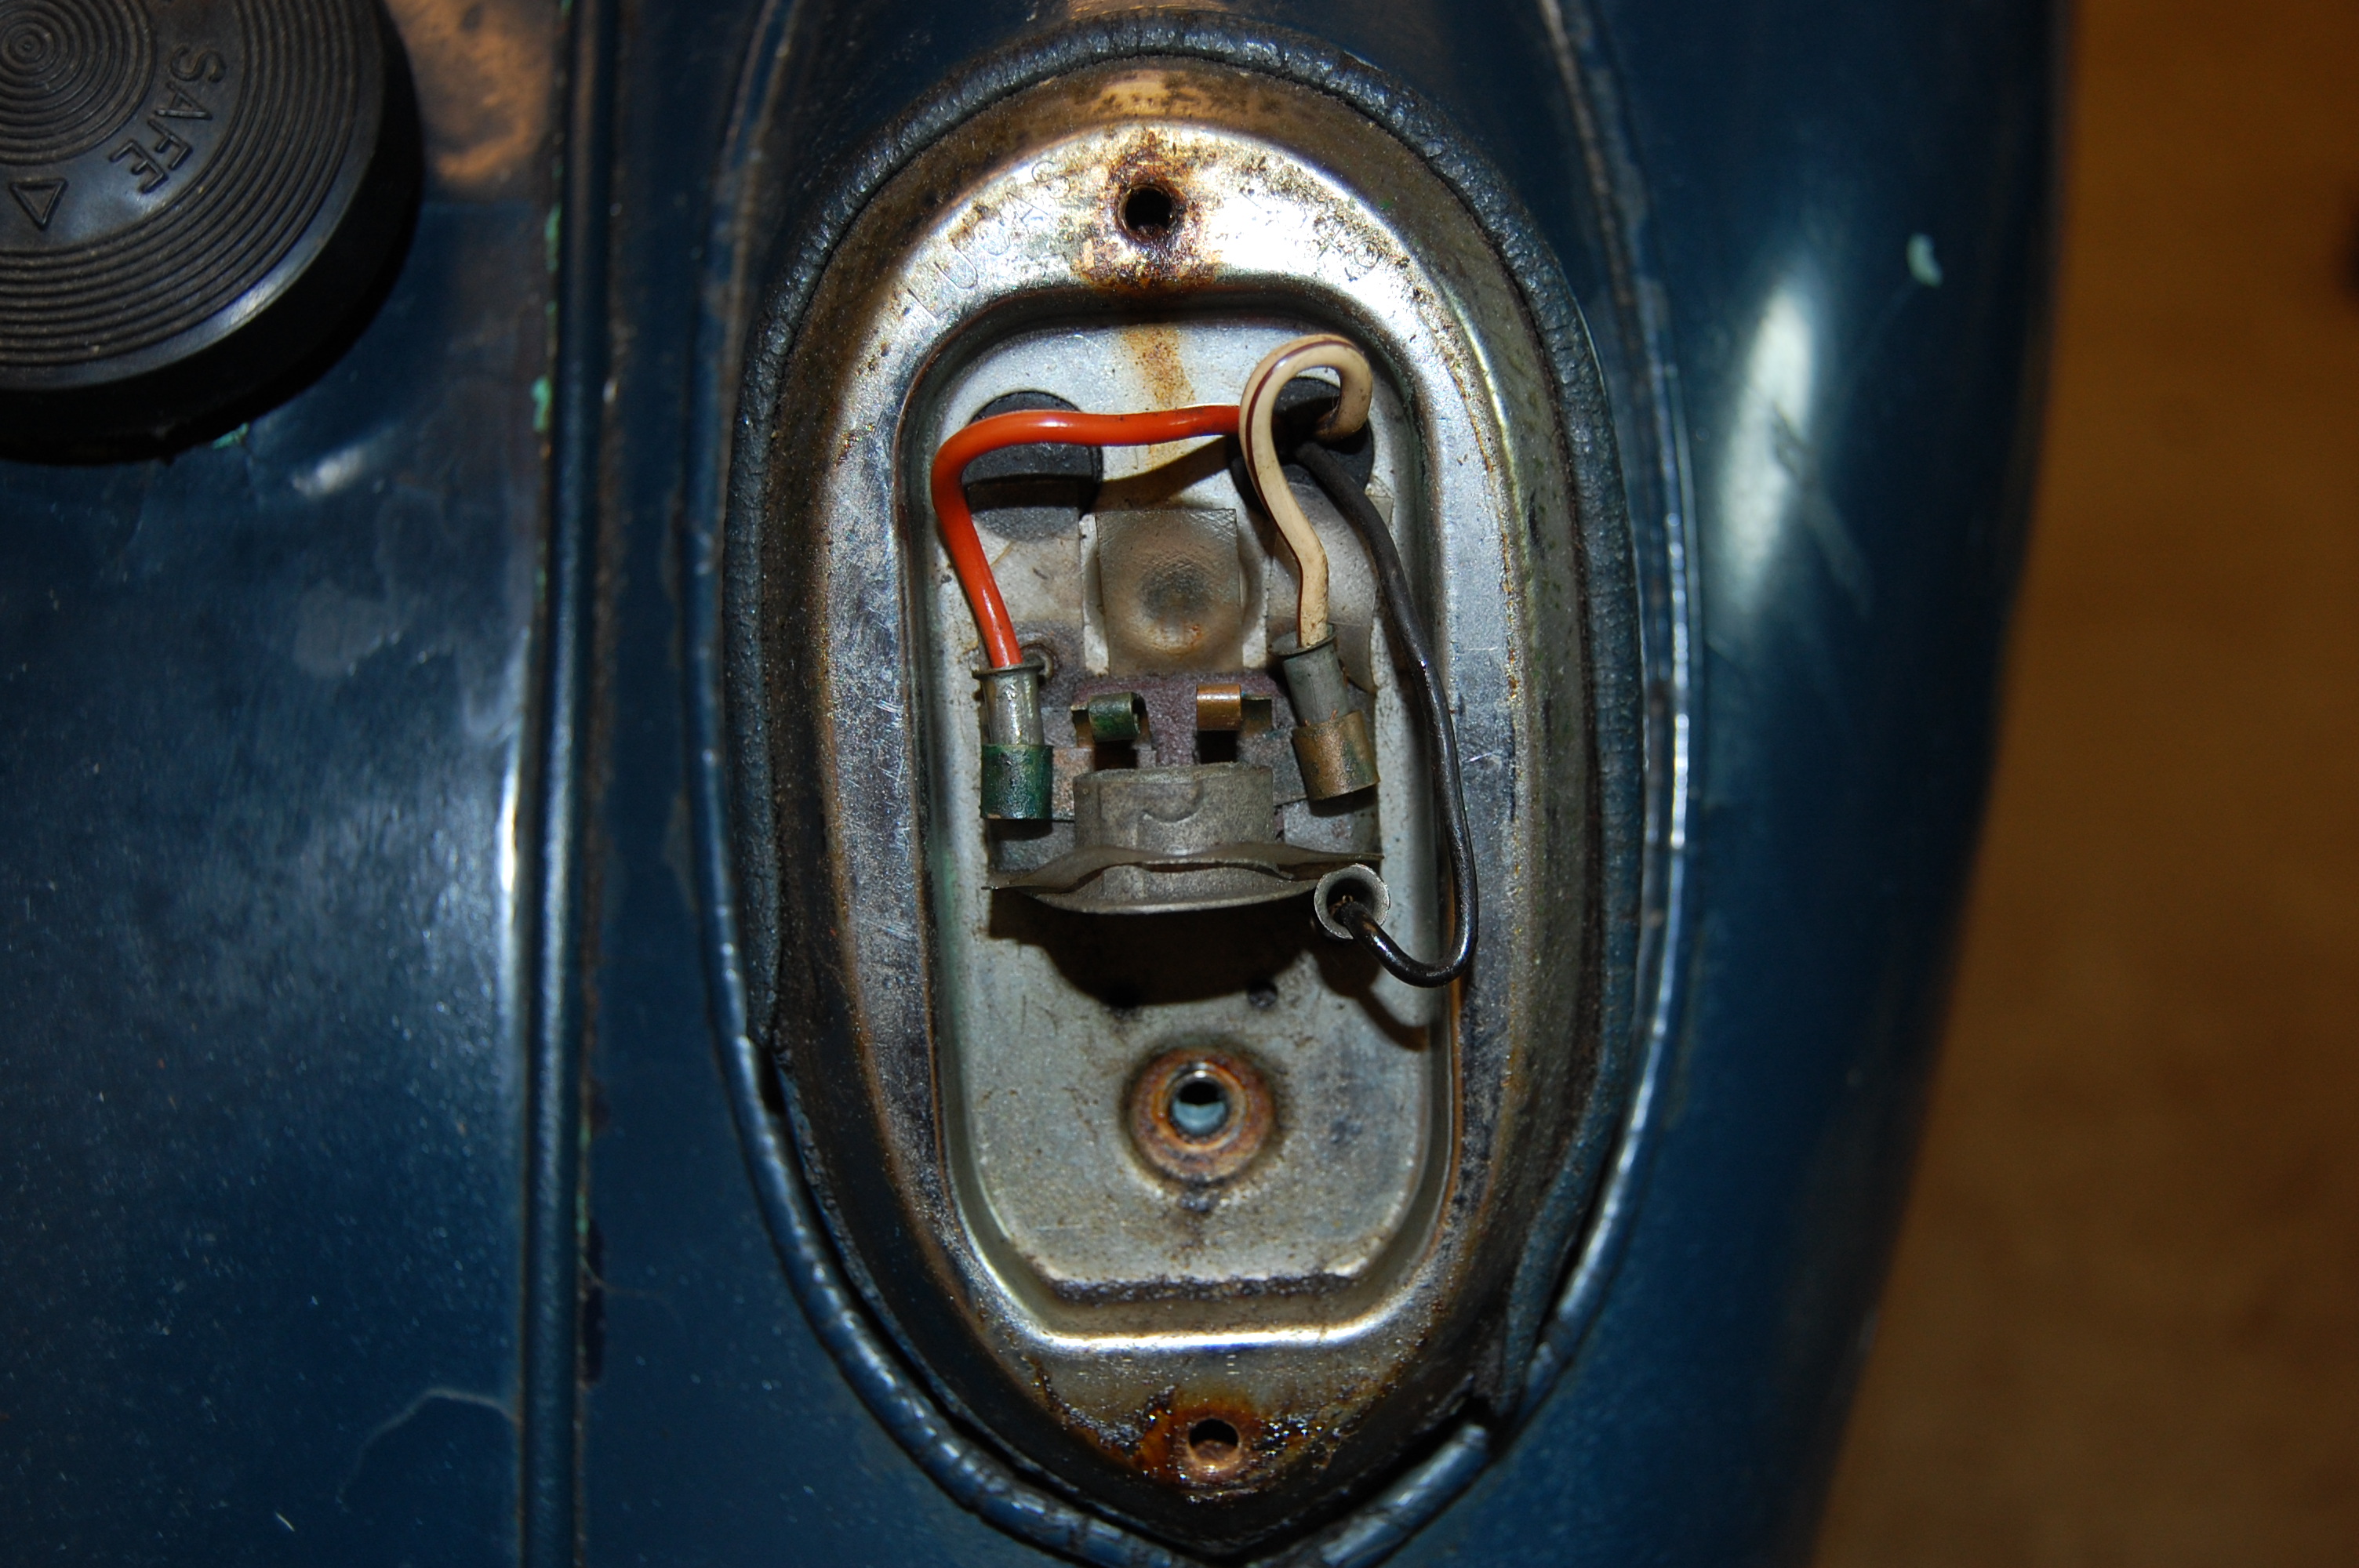
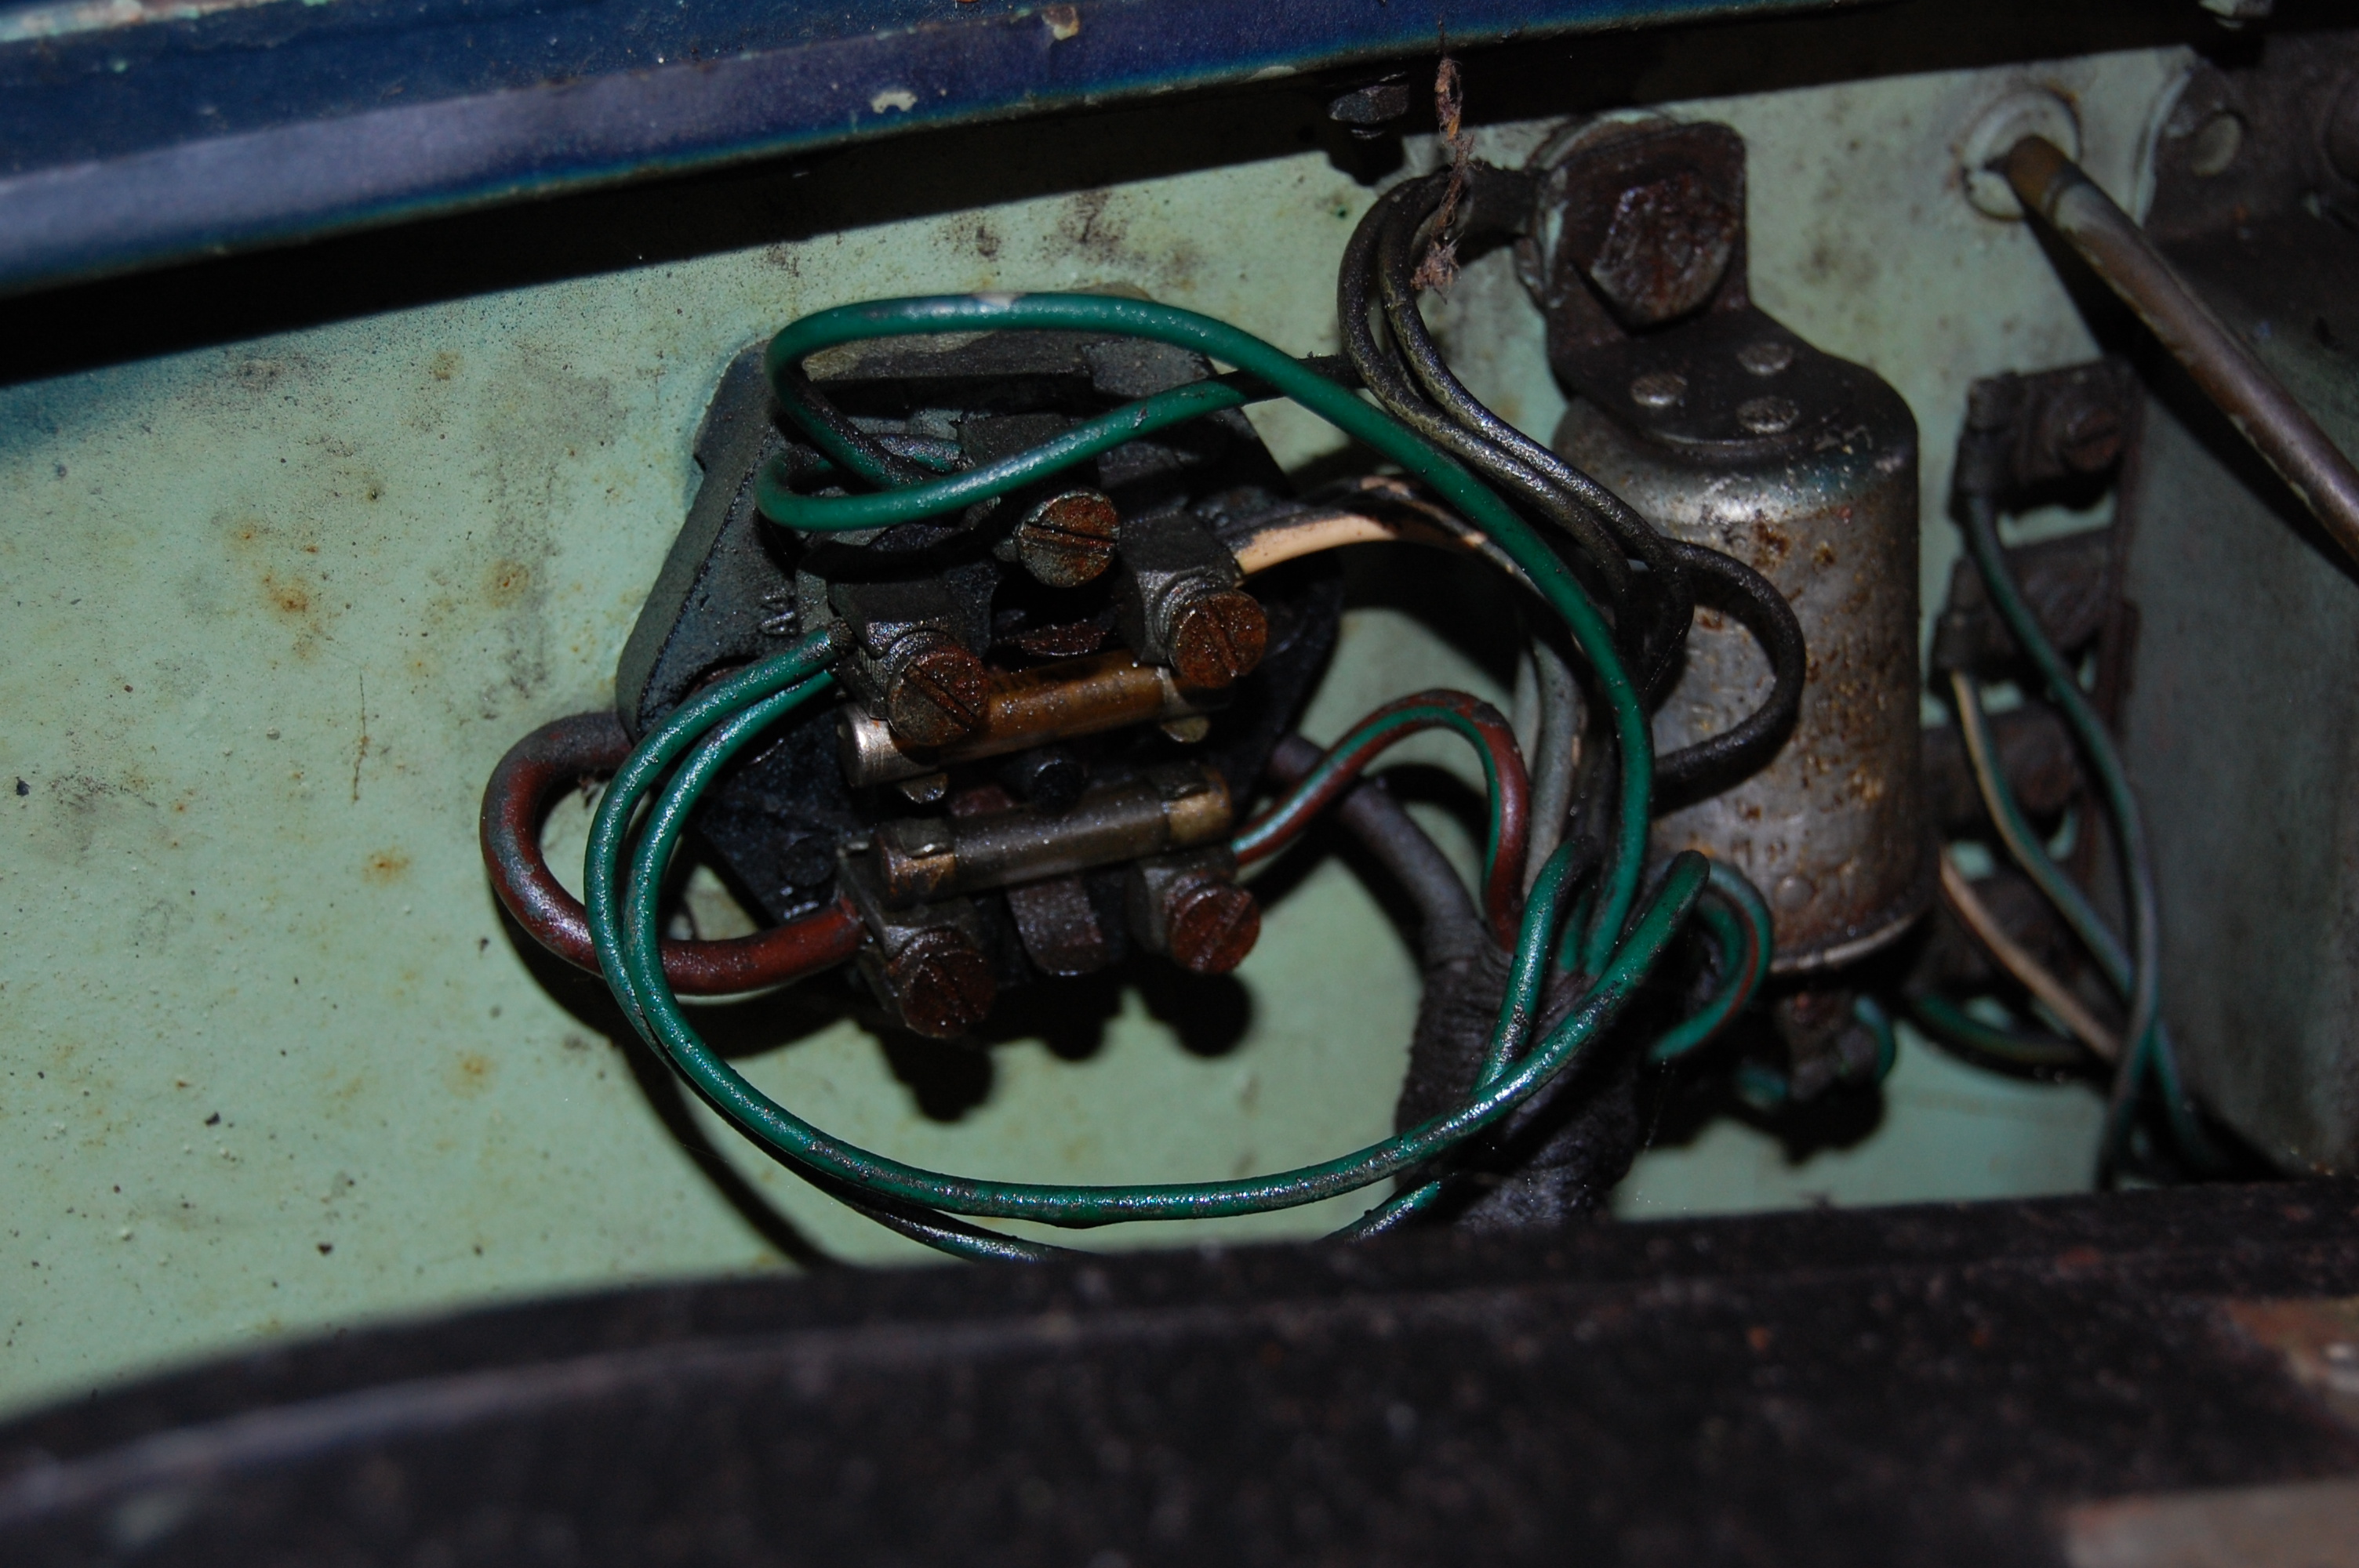
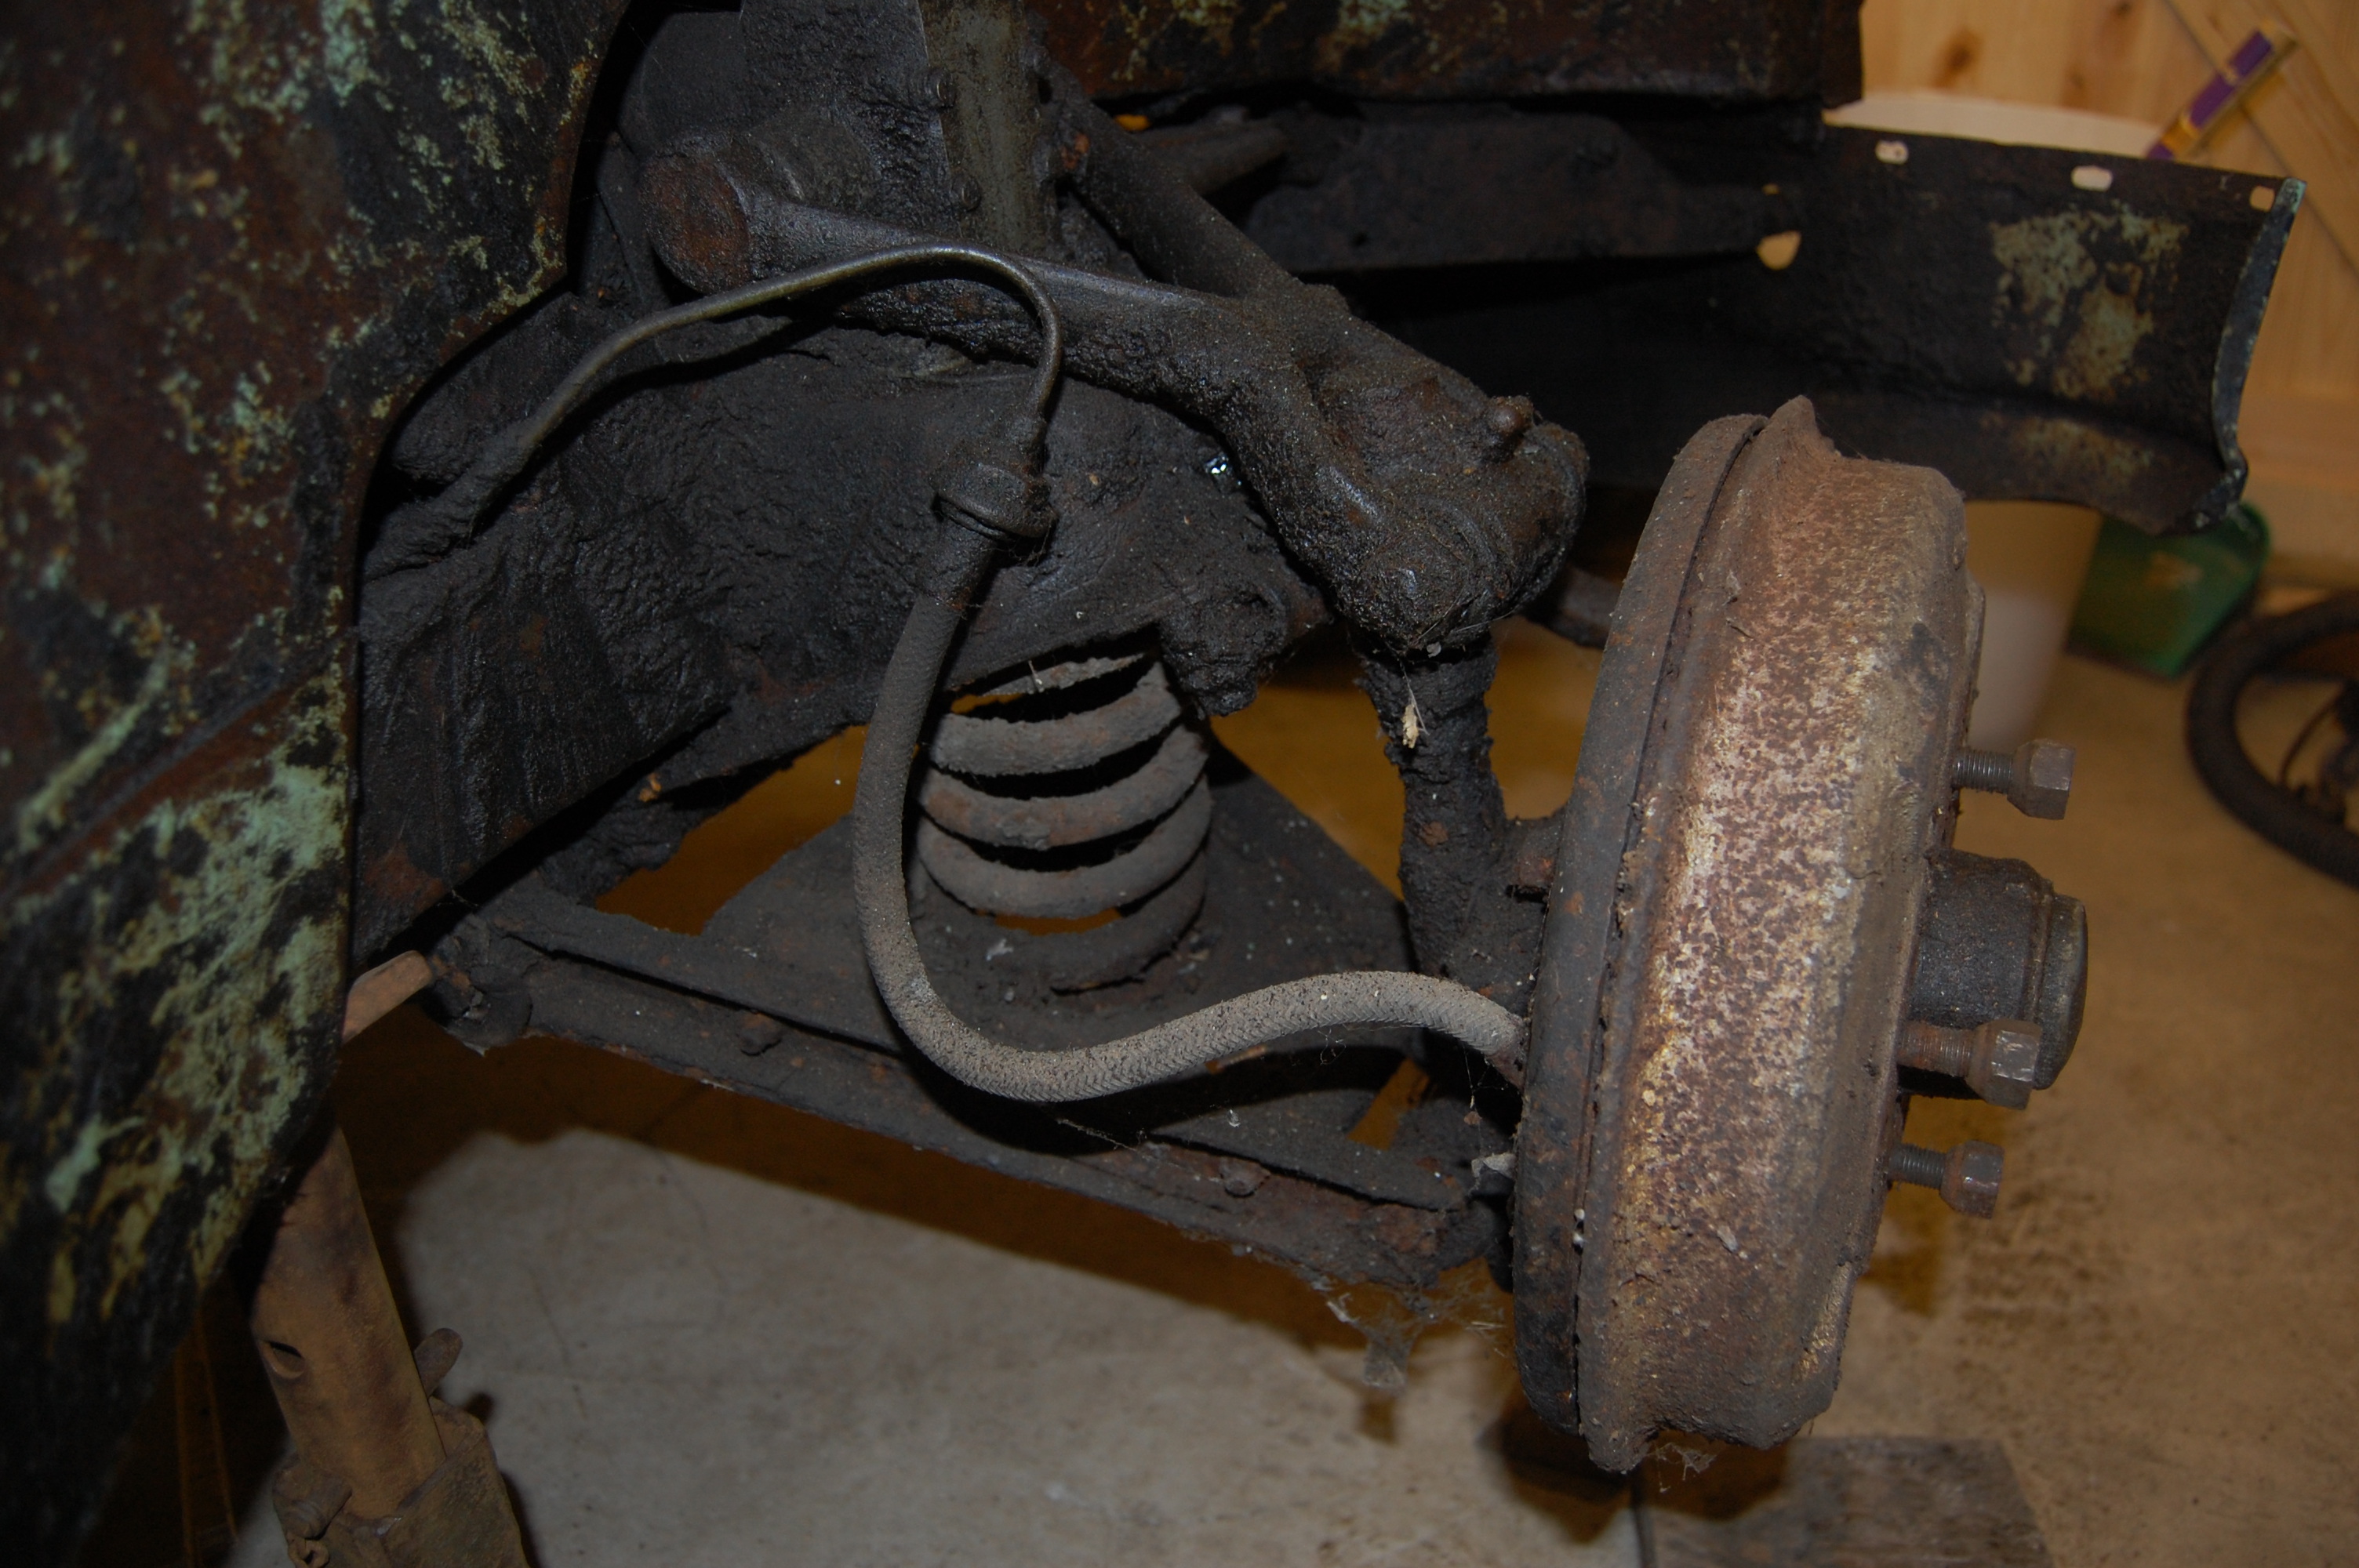 The following photos are useful for identifying the correct routing of brake pipes and wiring. Other than the paint colour and engine, the car was very original.
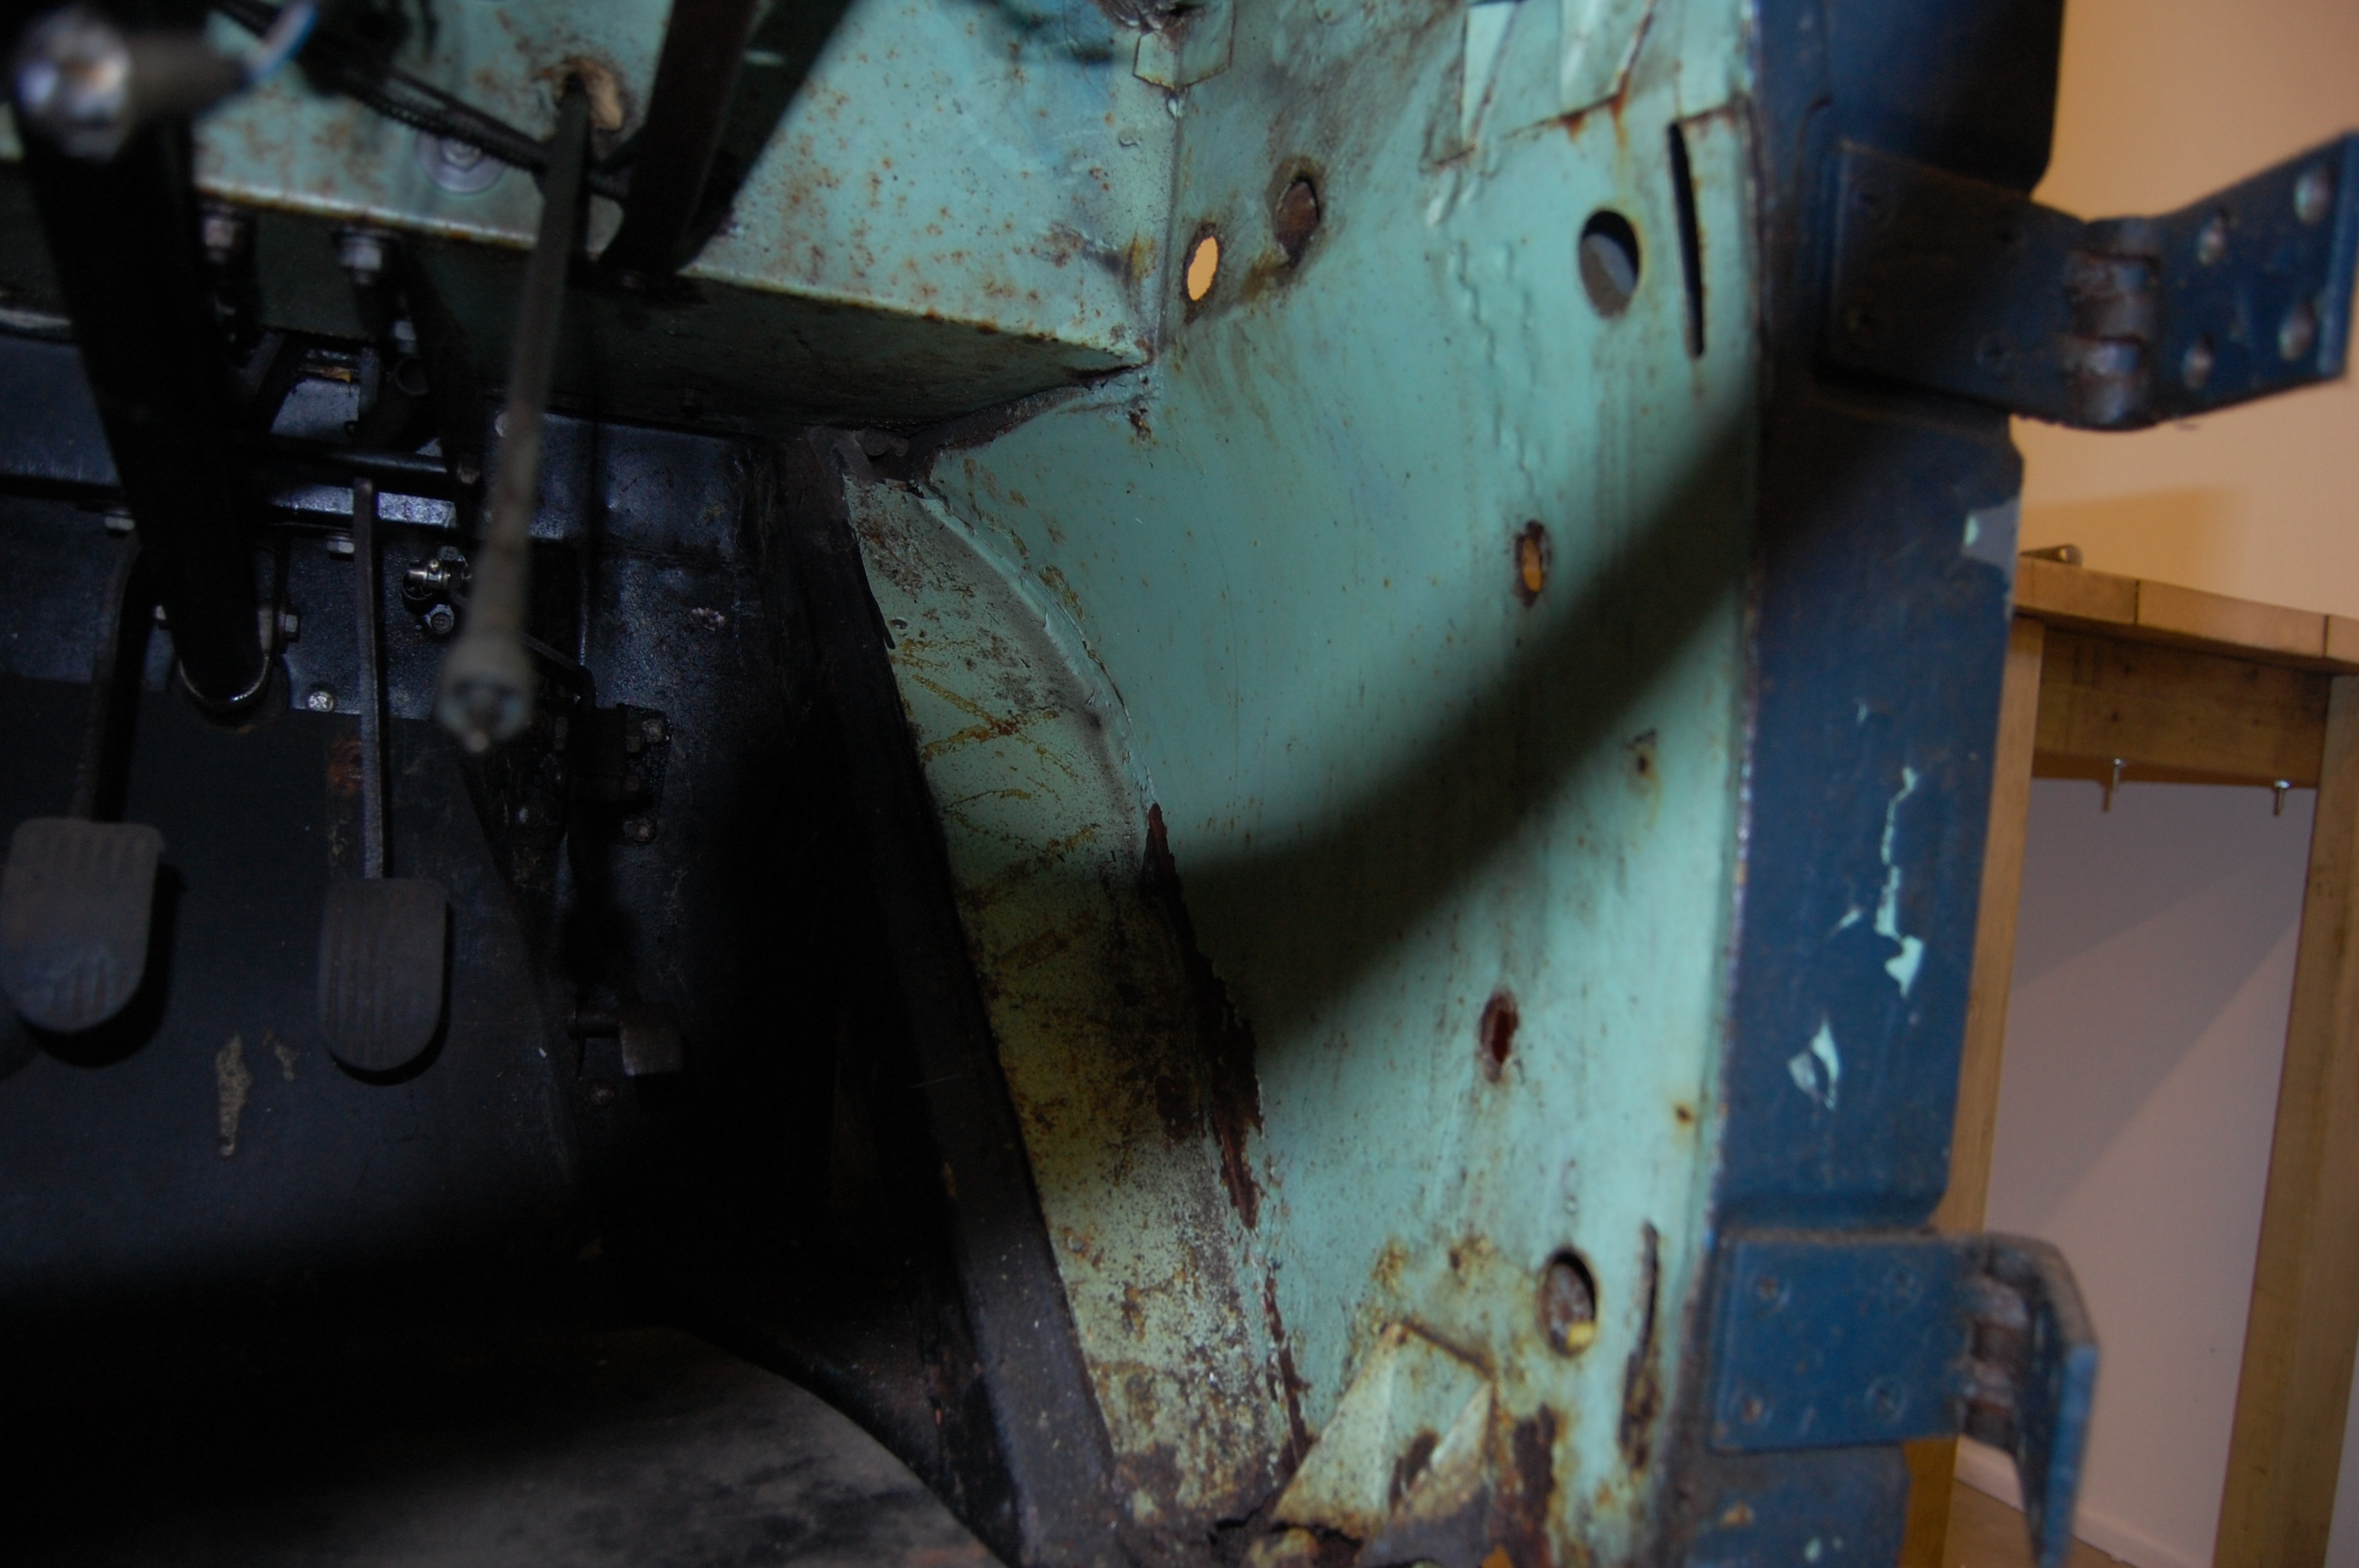
 Storage for many years was in a small lock-up garage just half a mile from the seashore with it’s salt laden air. This was the worst period.
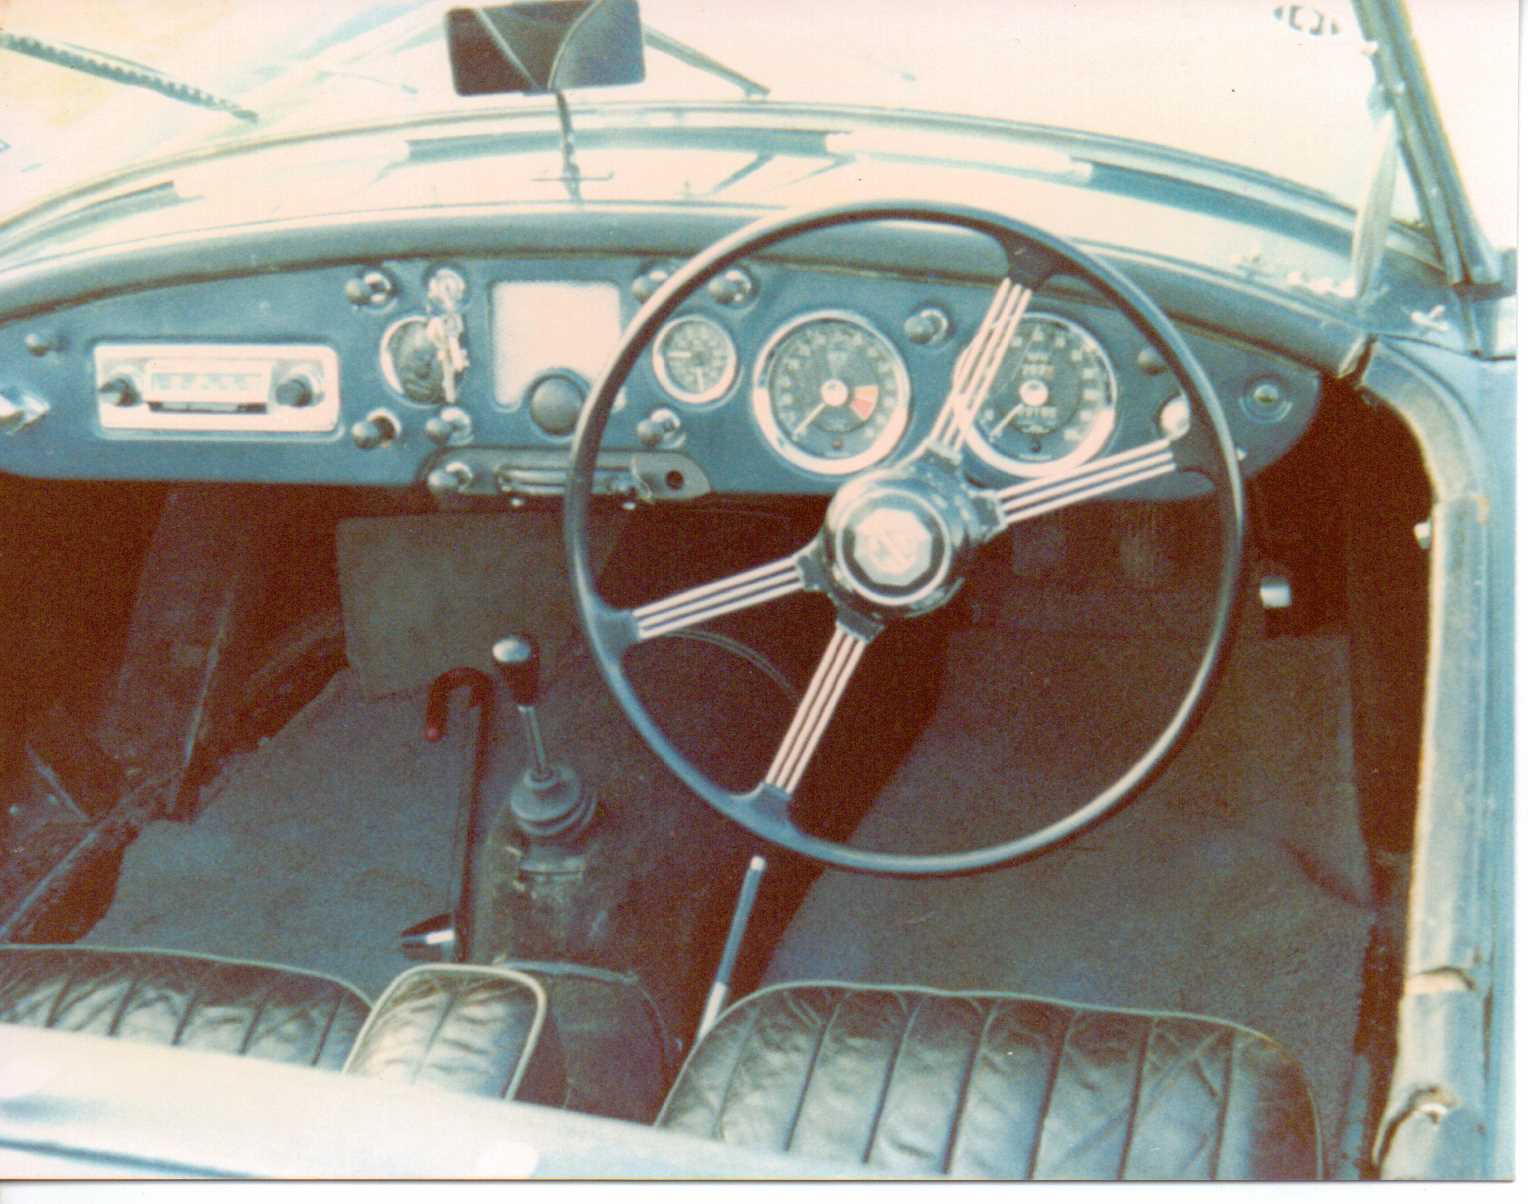
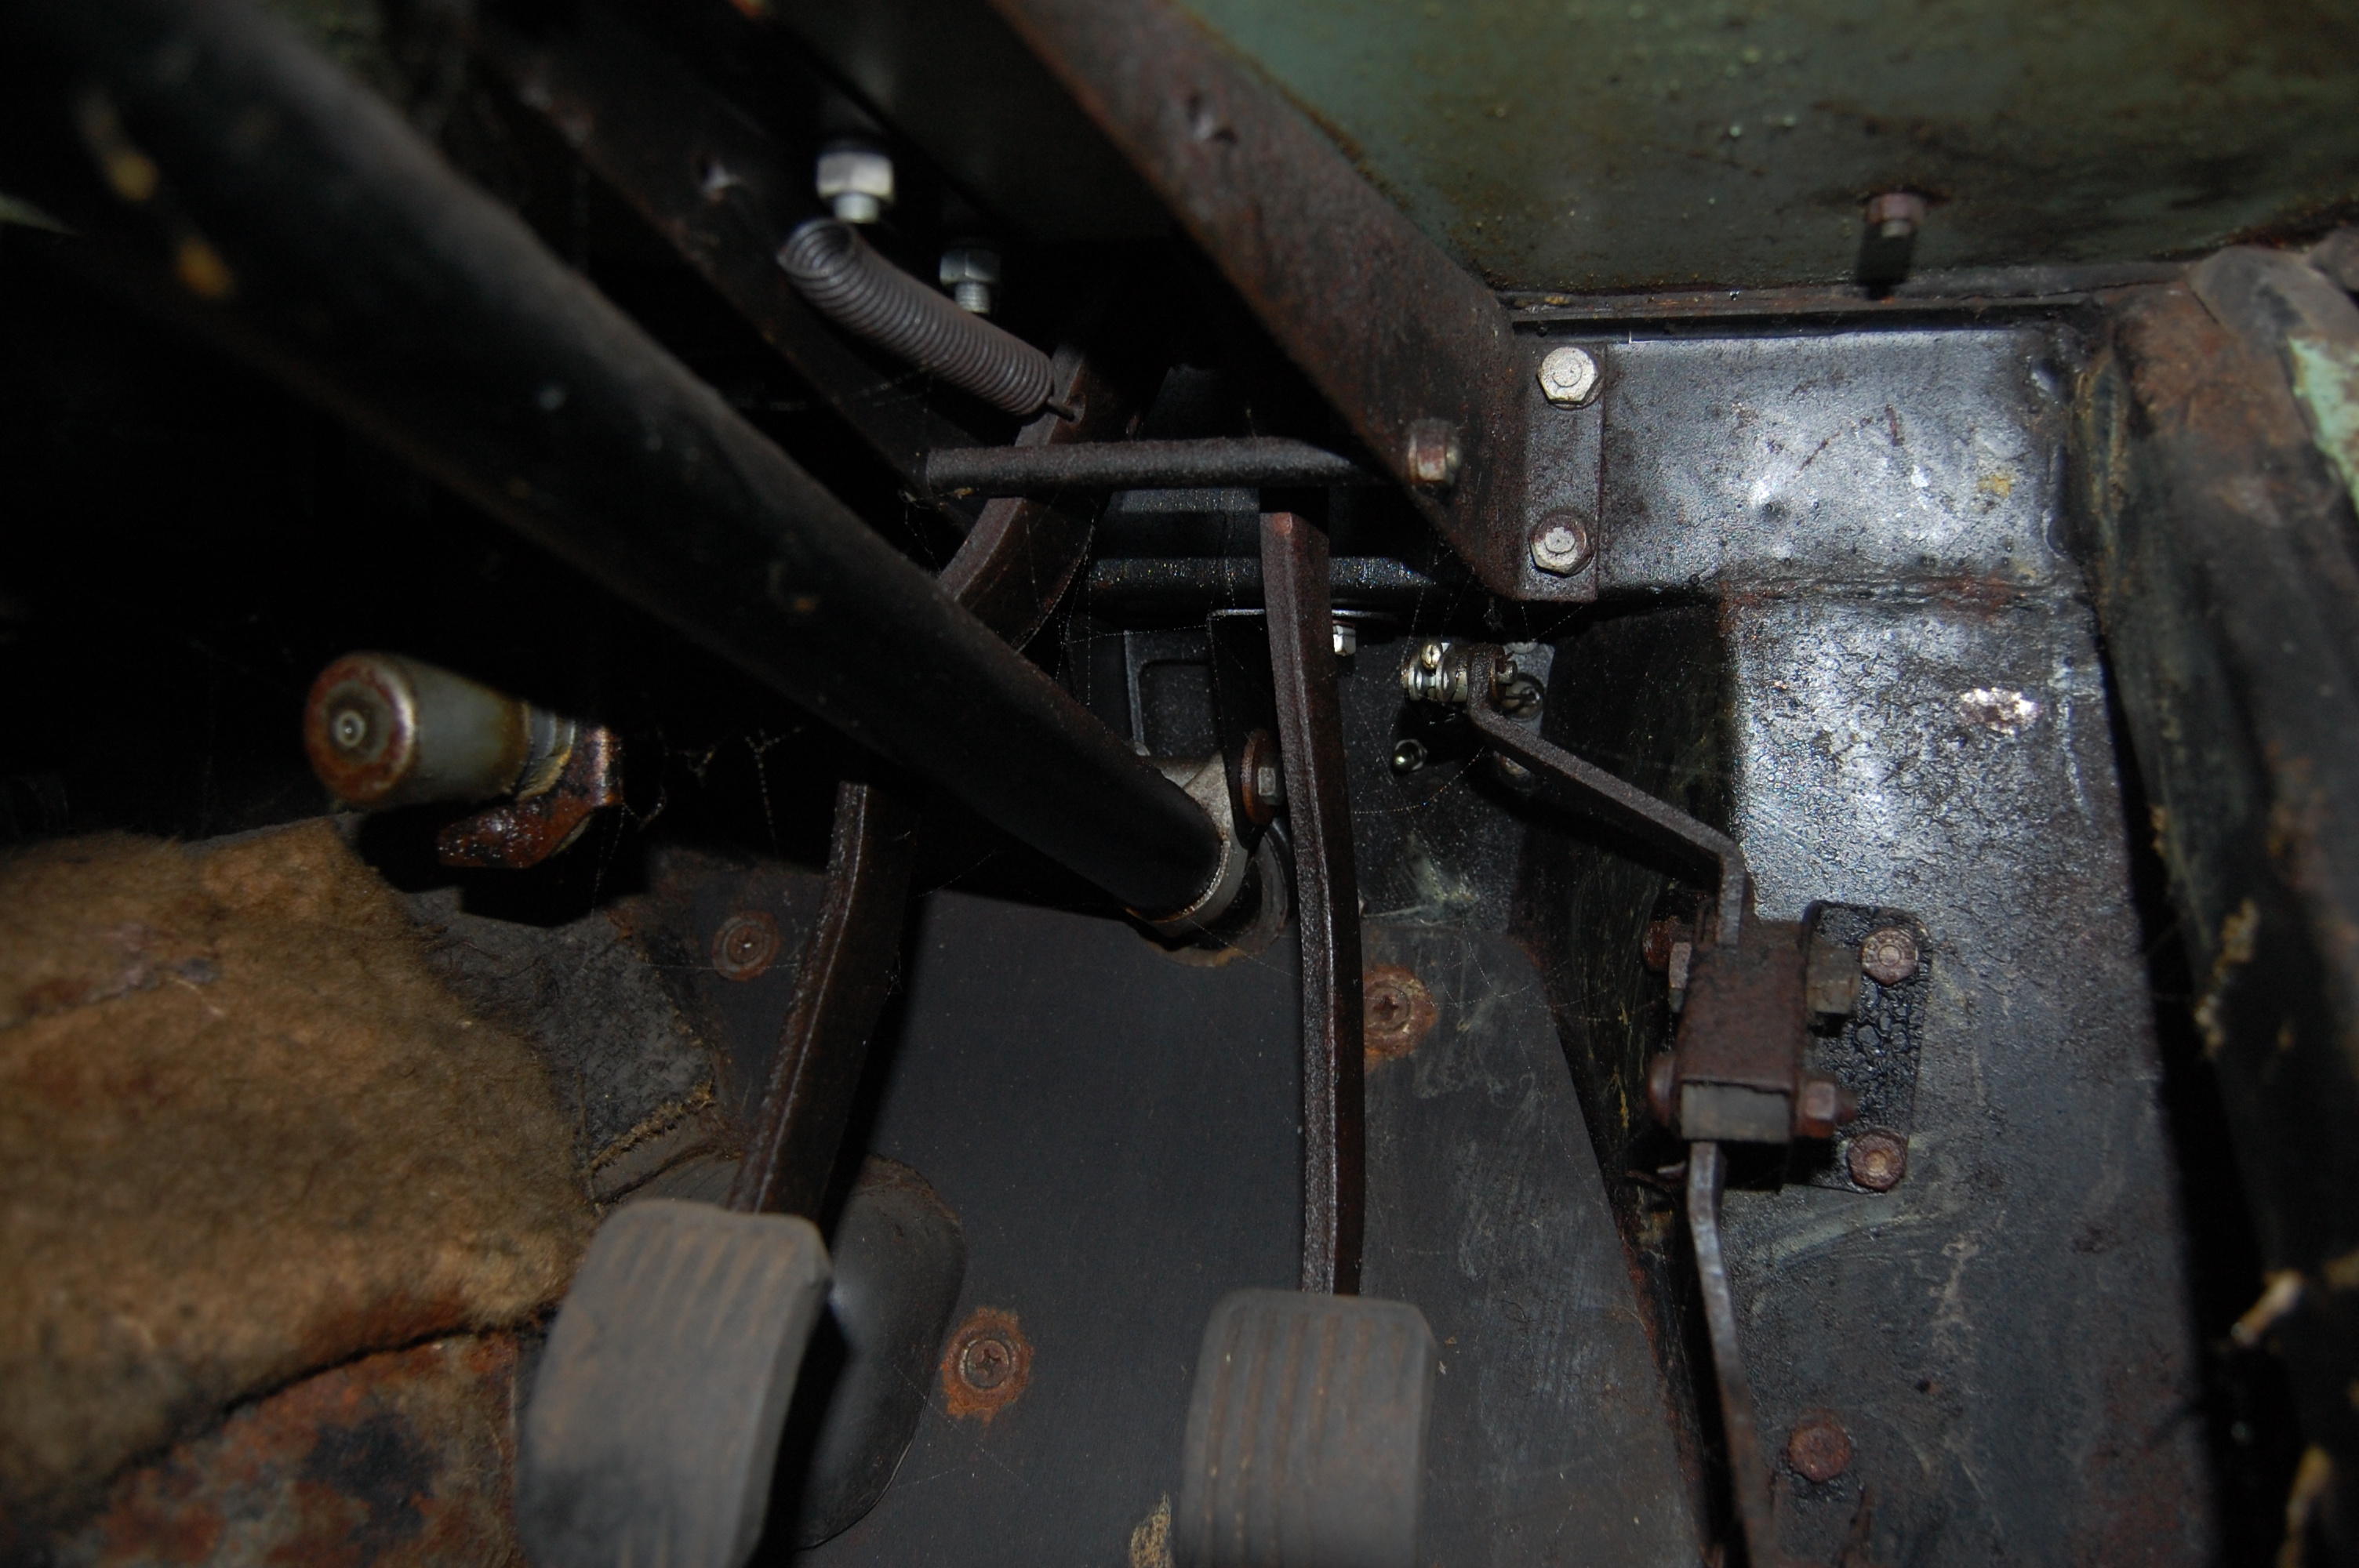 Right-hand drive pedal set-up.
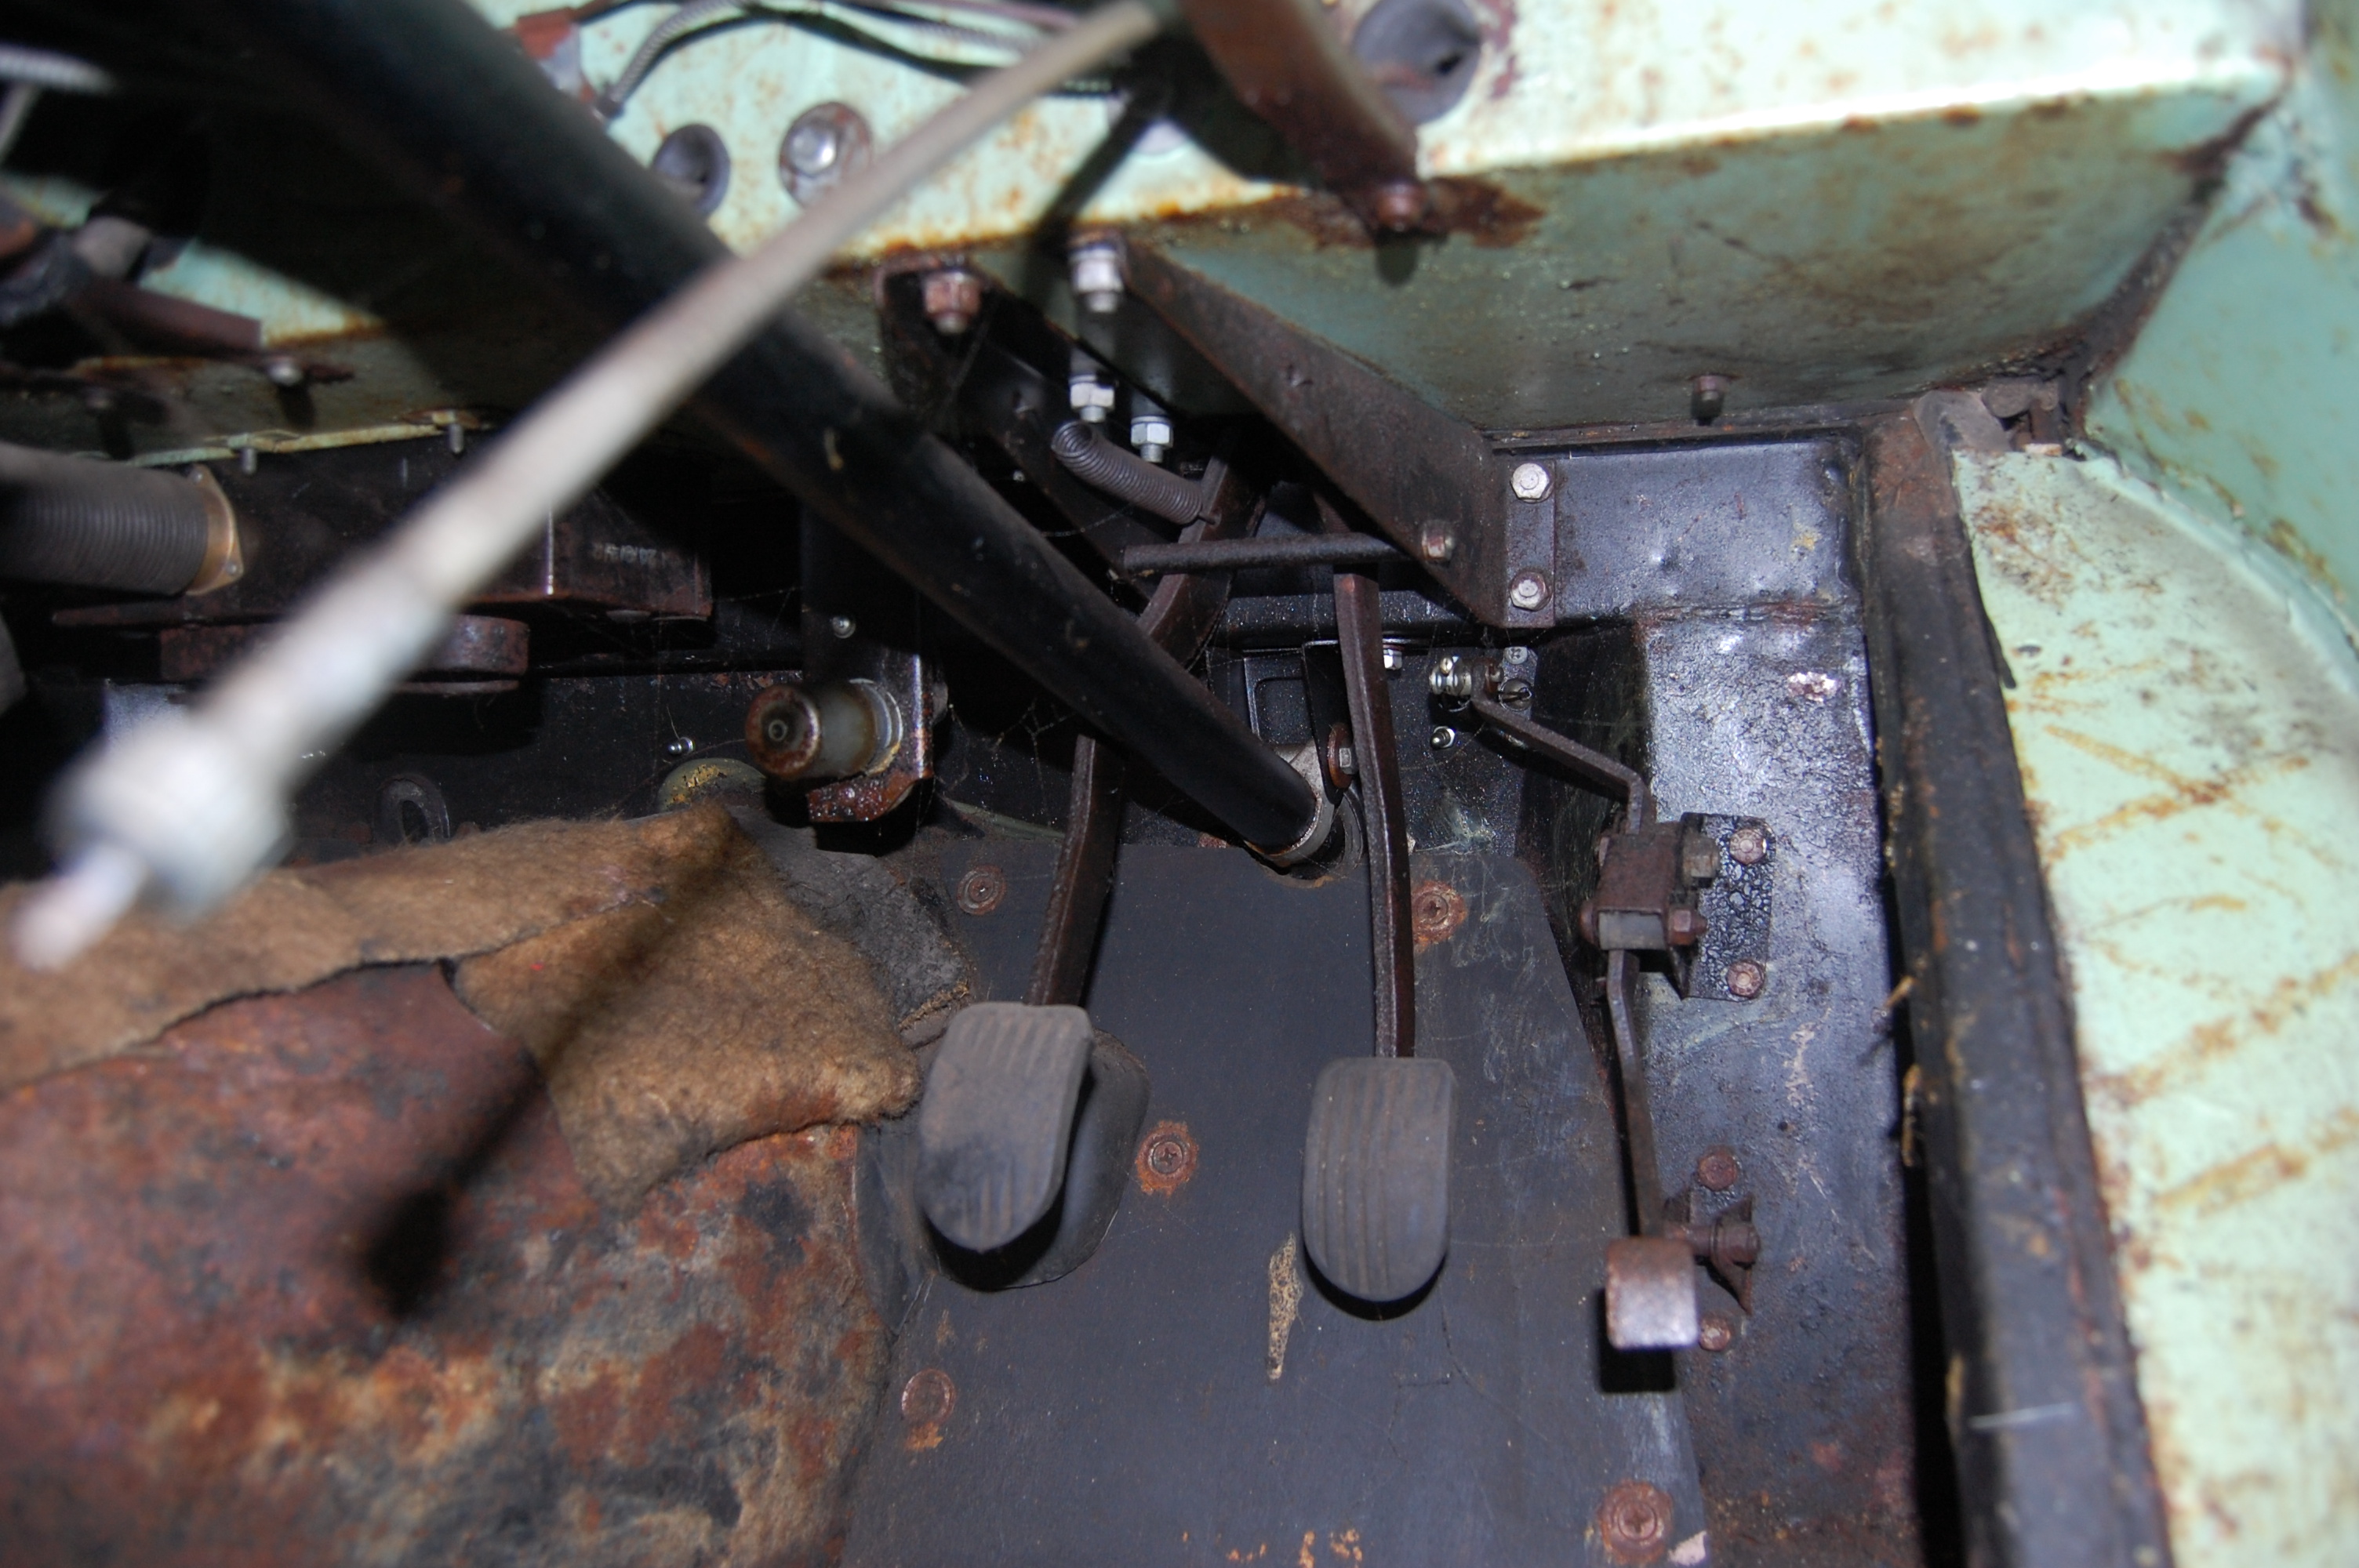
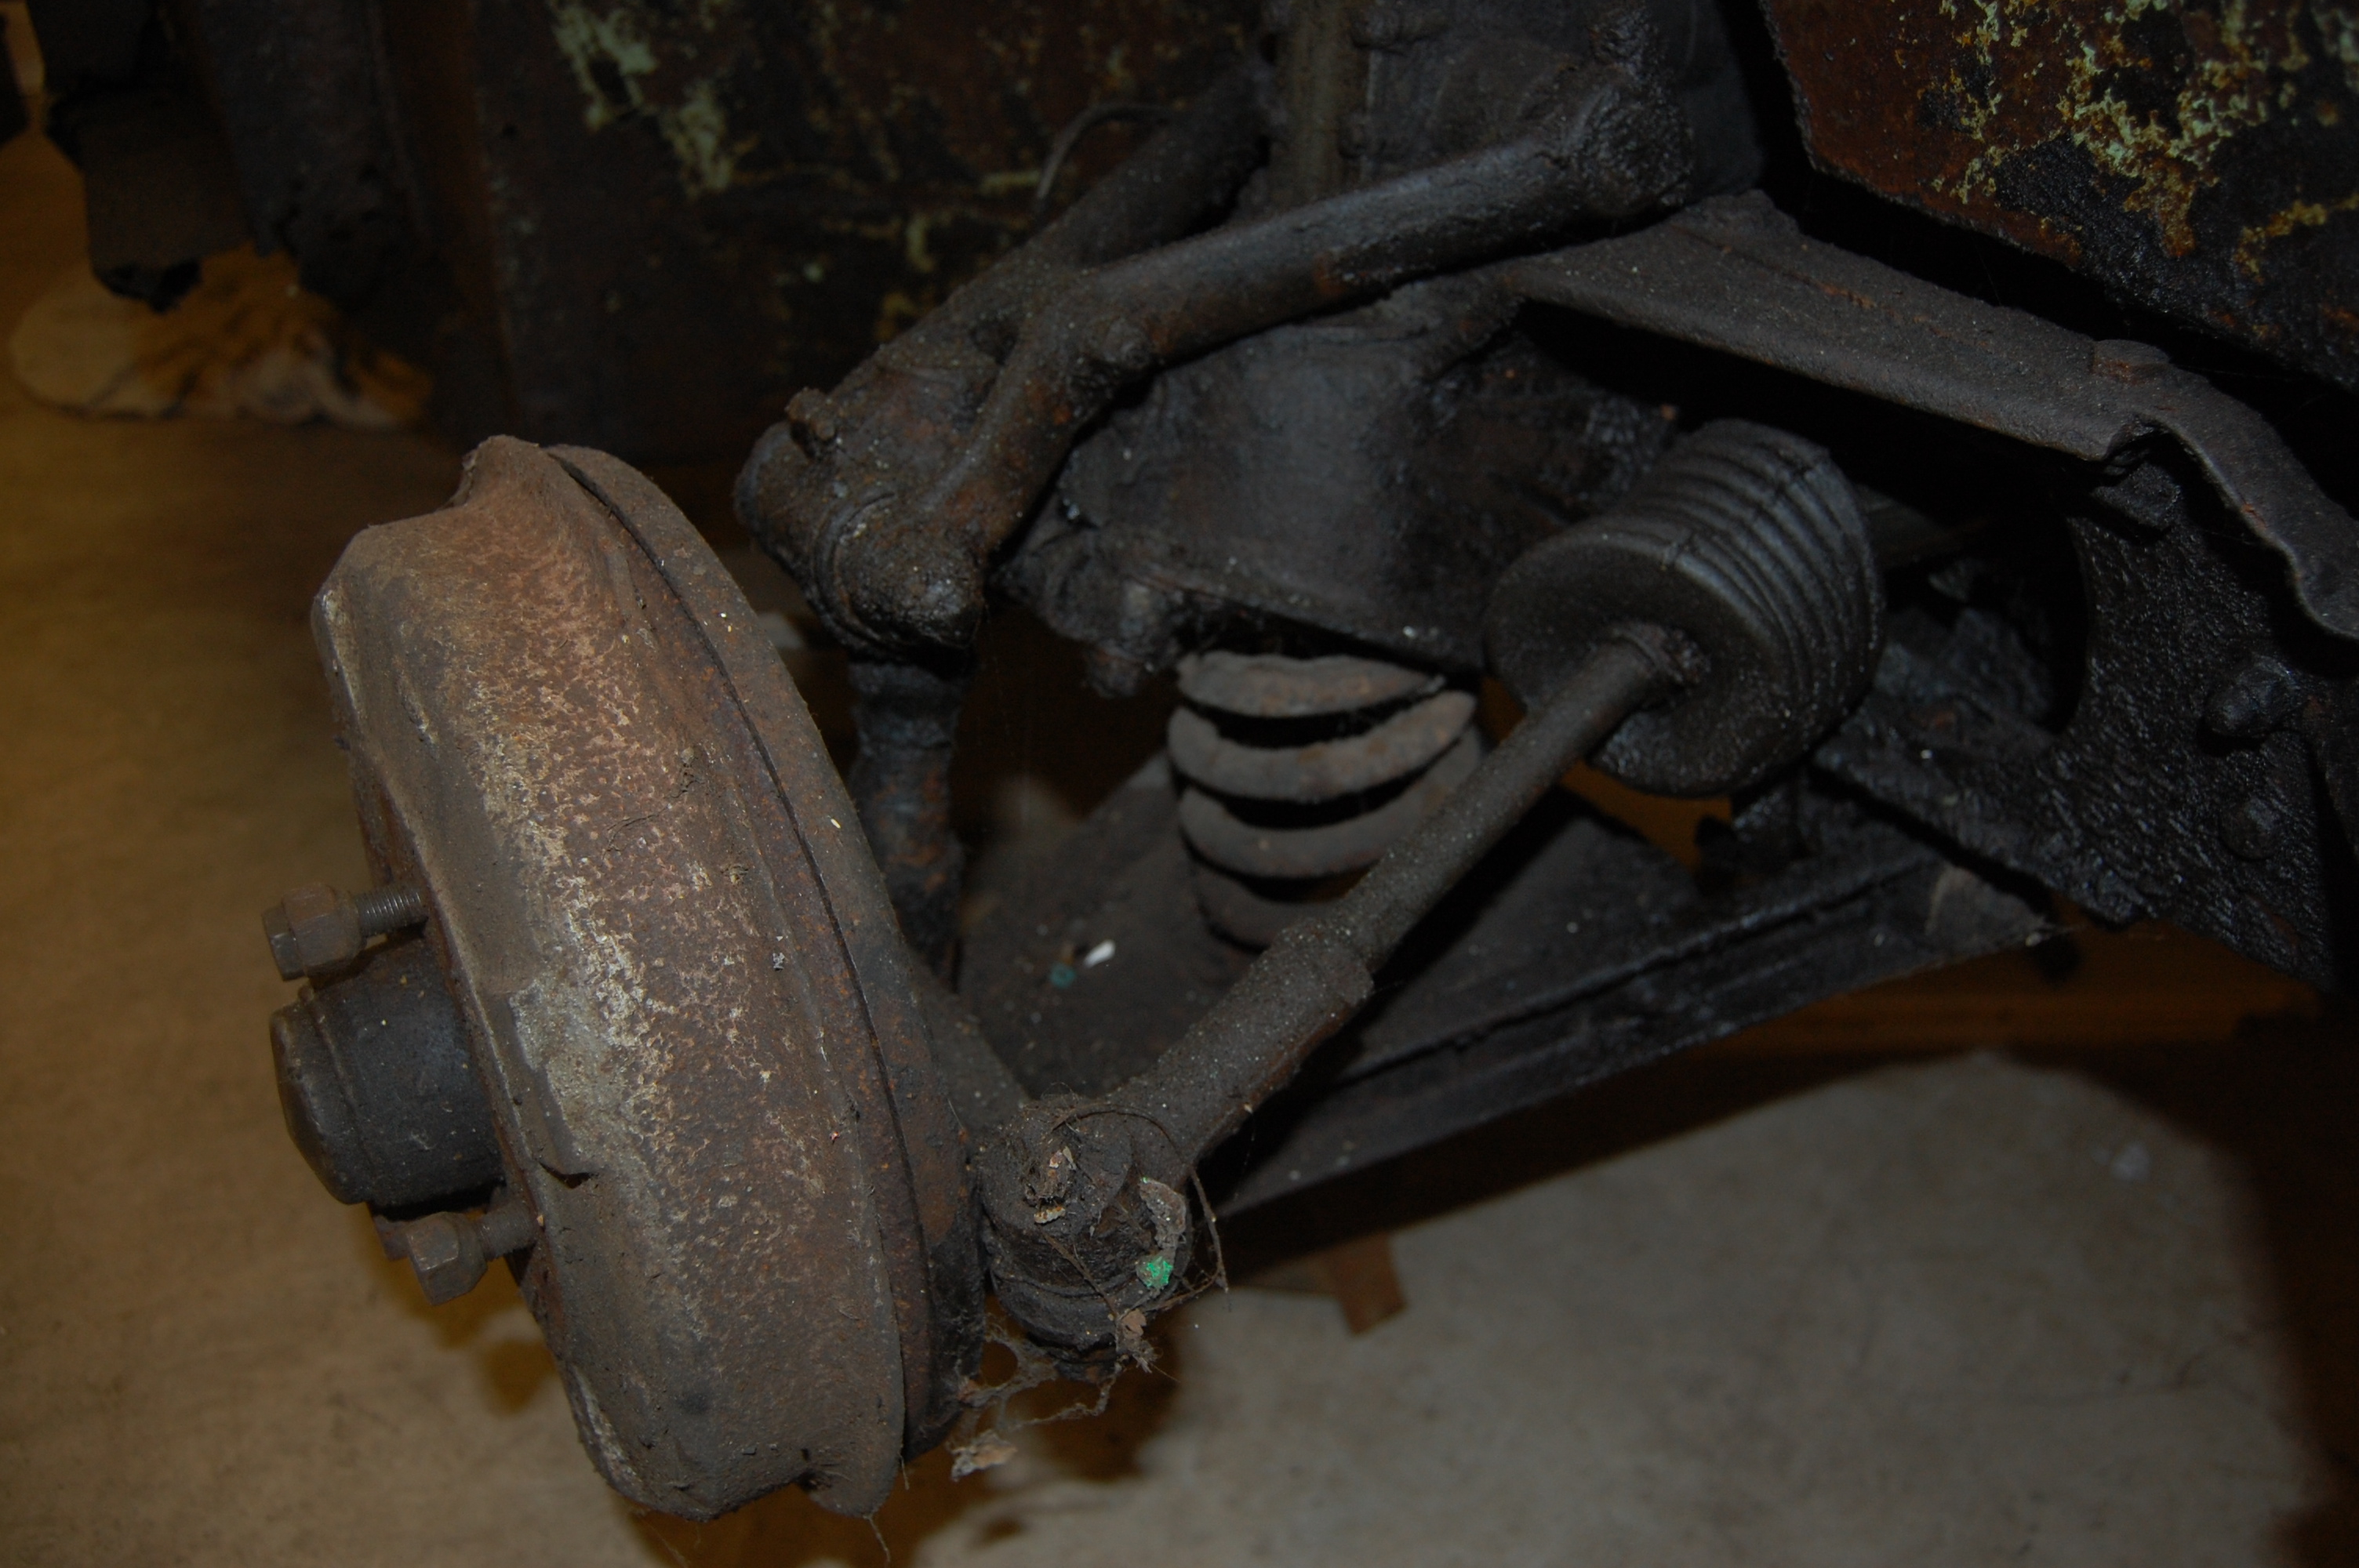
 Rear inner wings on both sides were good and solid.
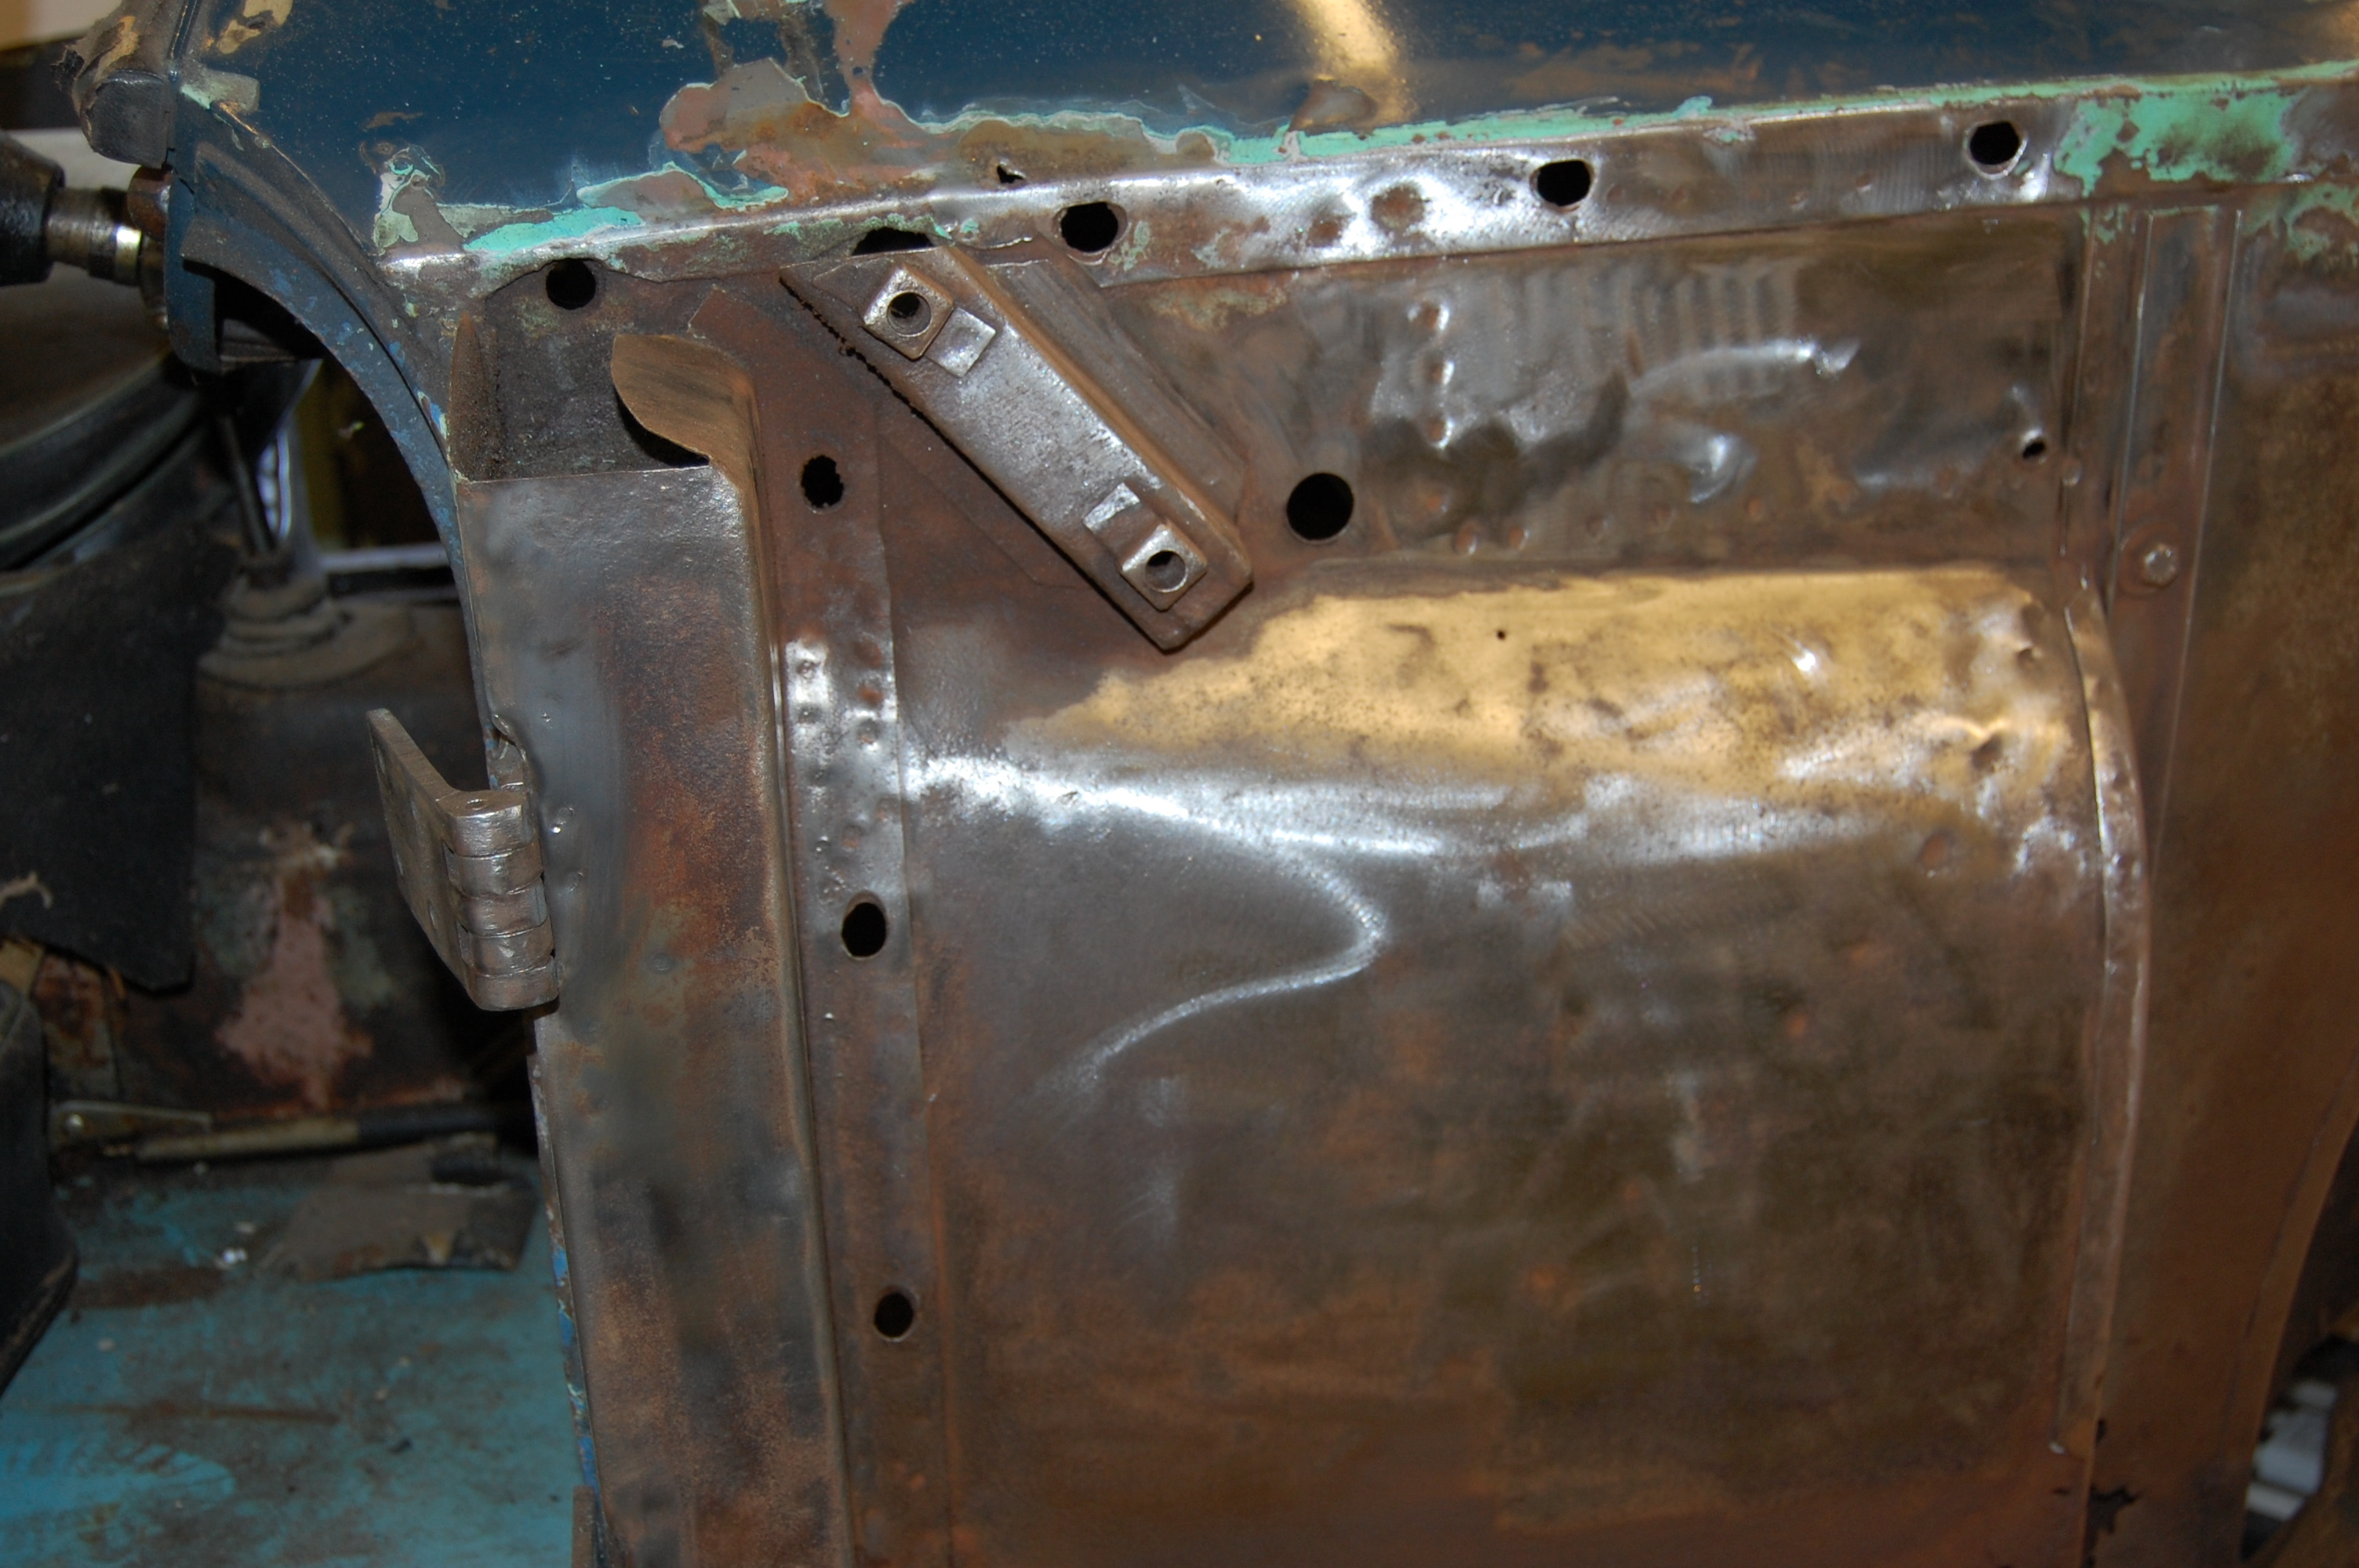
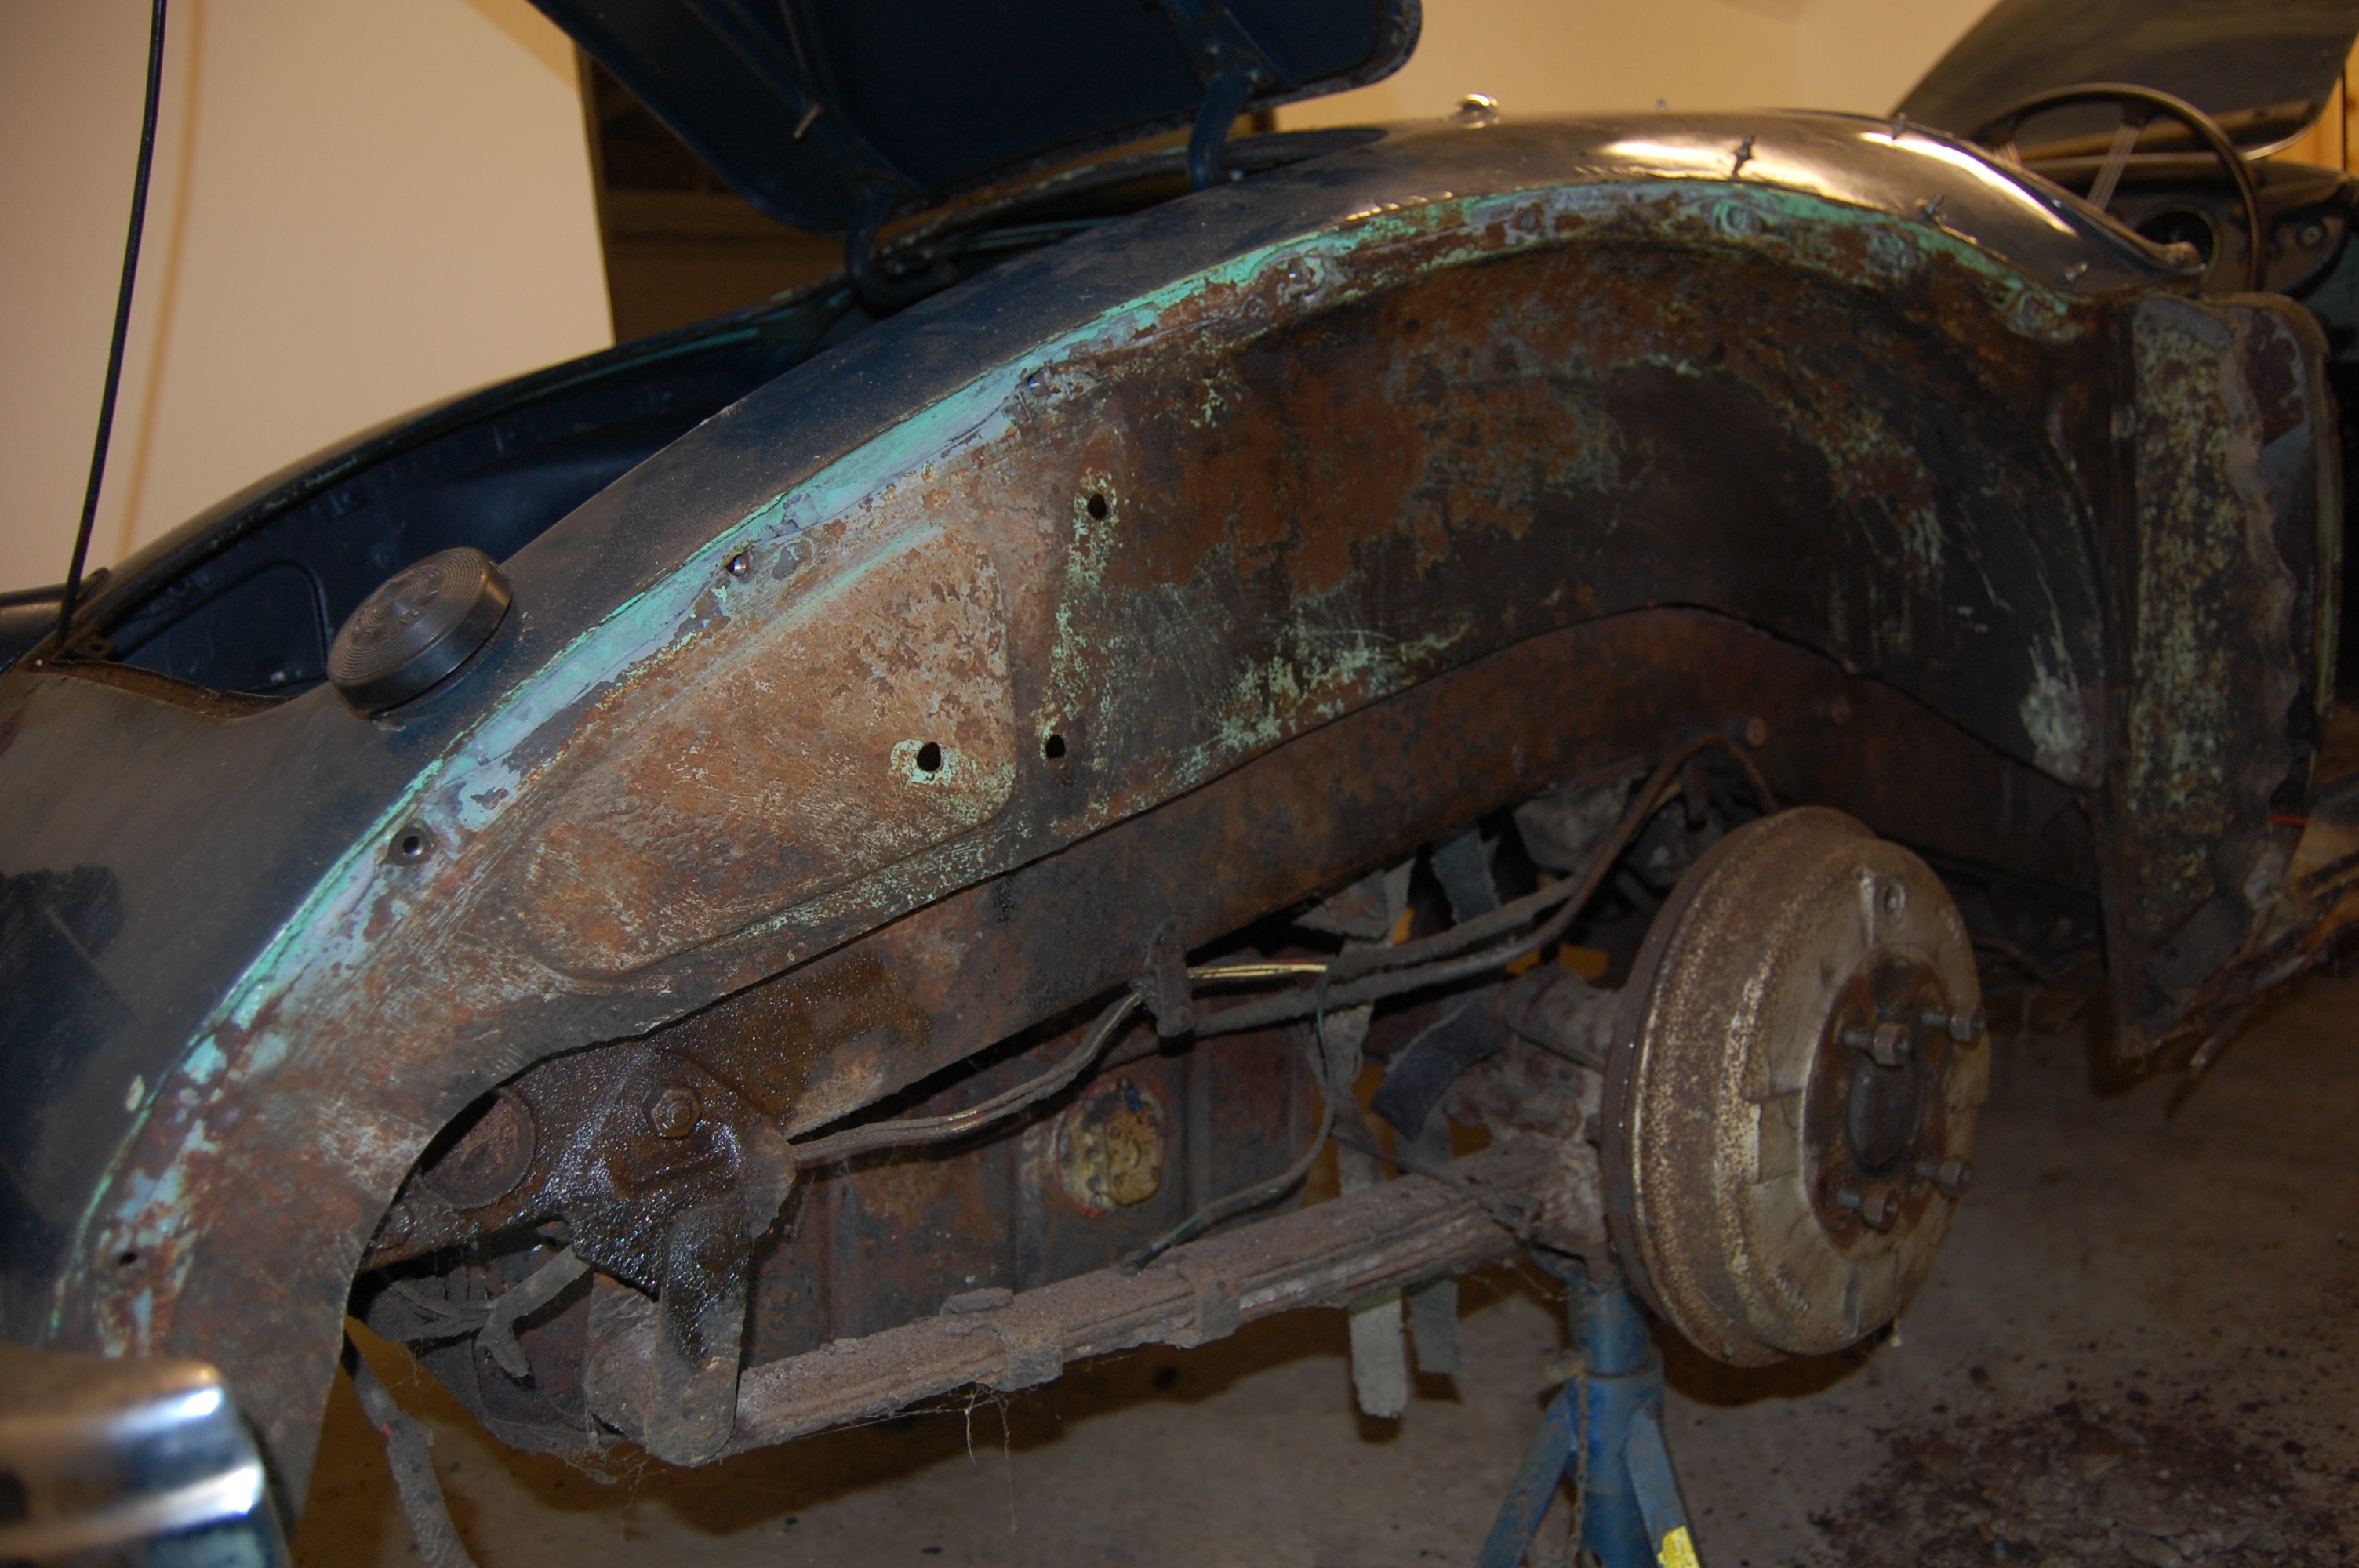 Aft of the door catch post, the body was surprisingly sound.
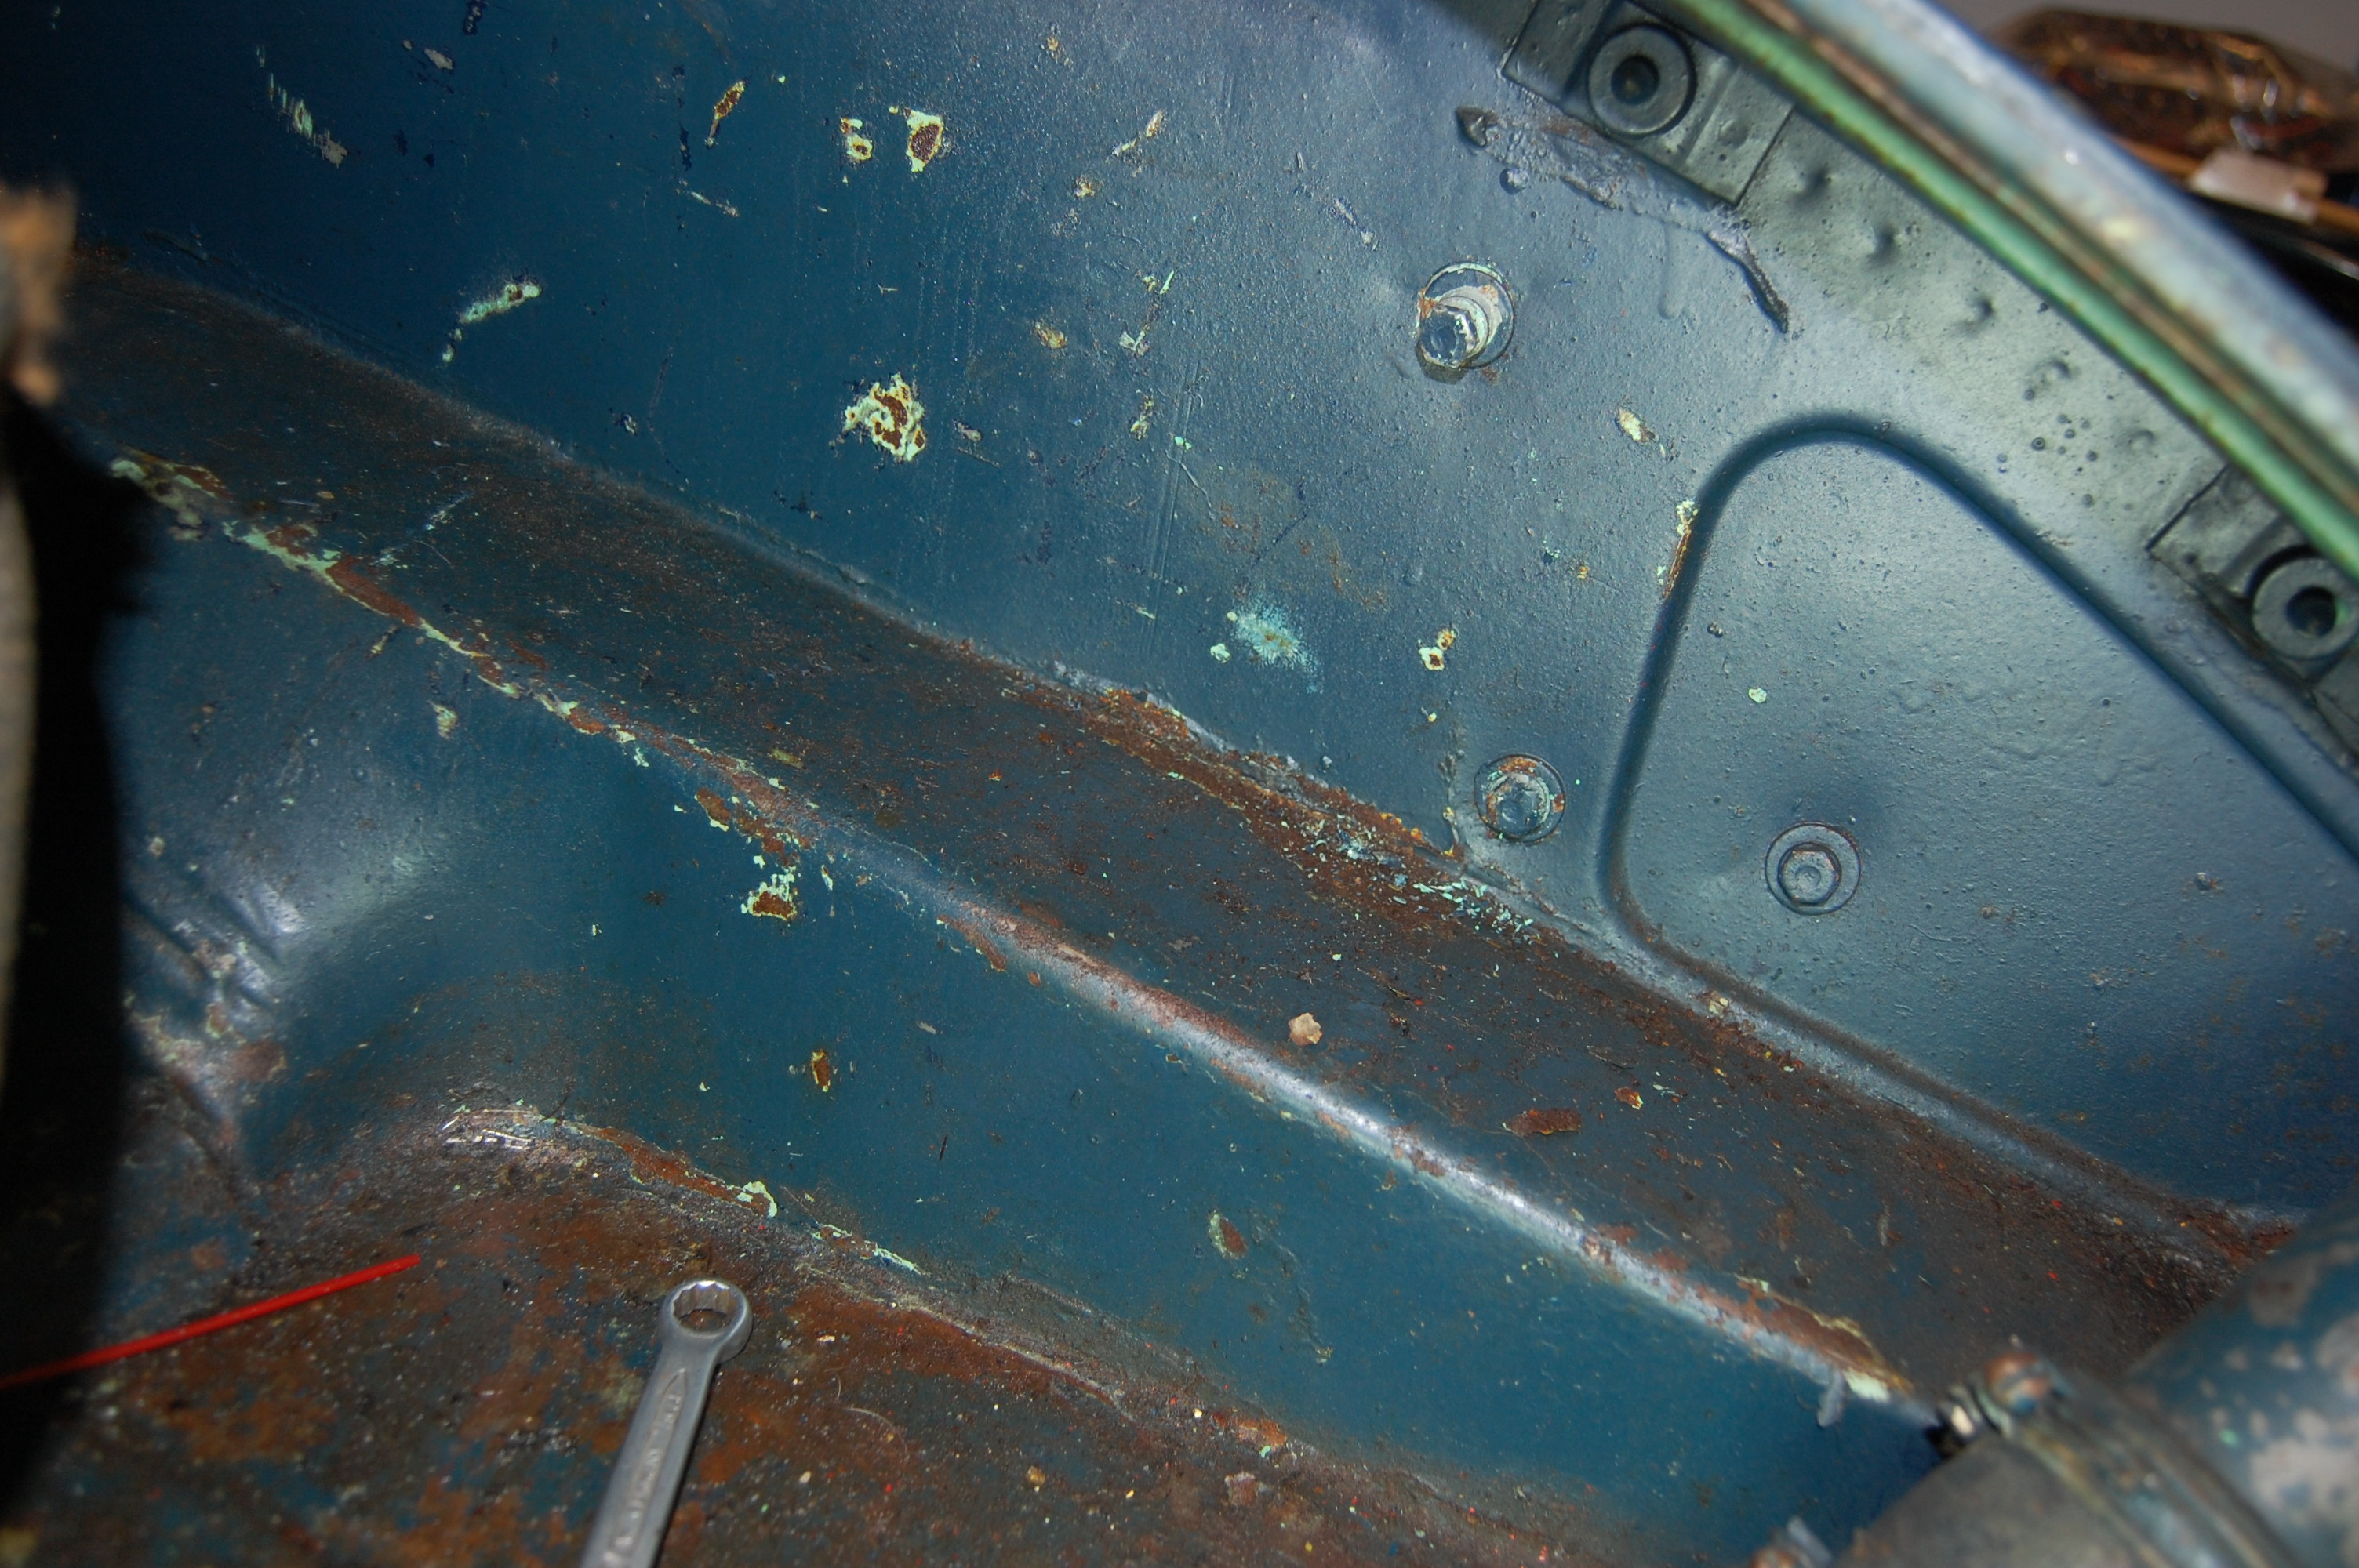
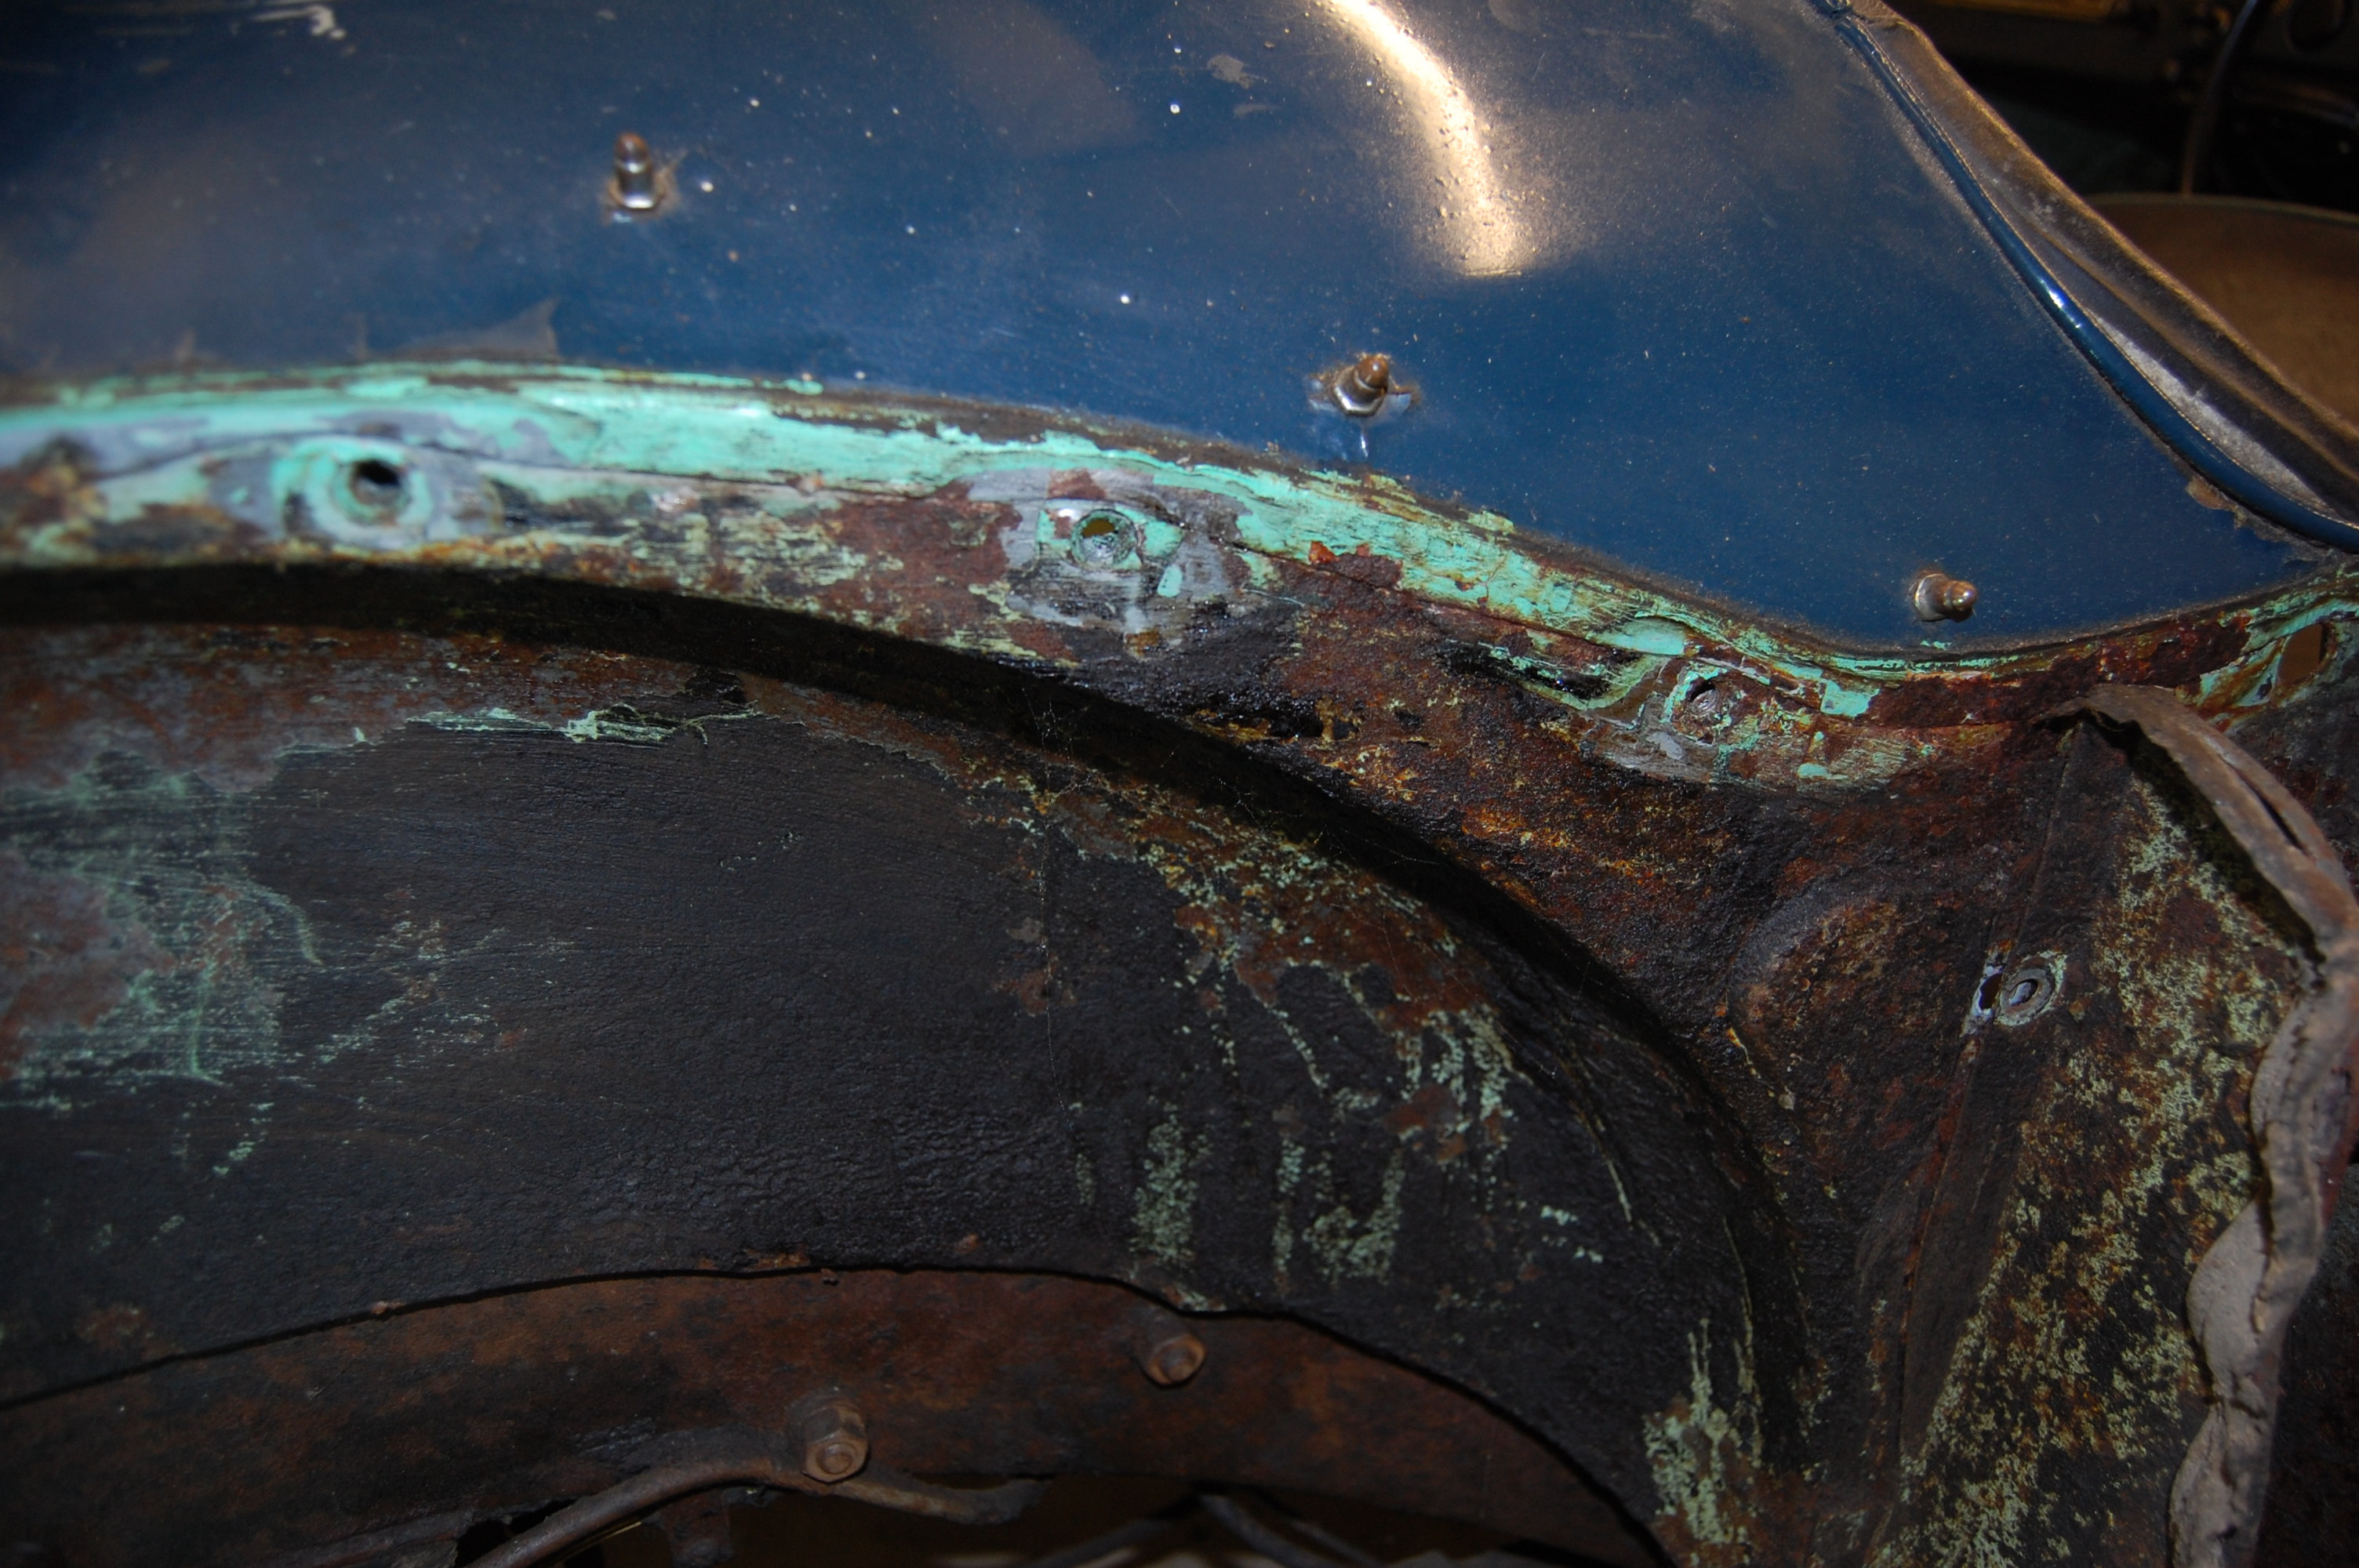 Evidence of original underseal.
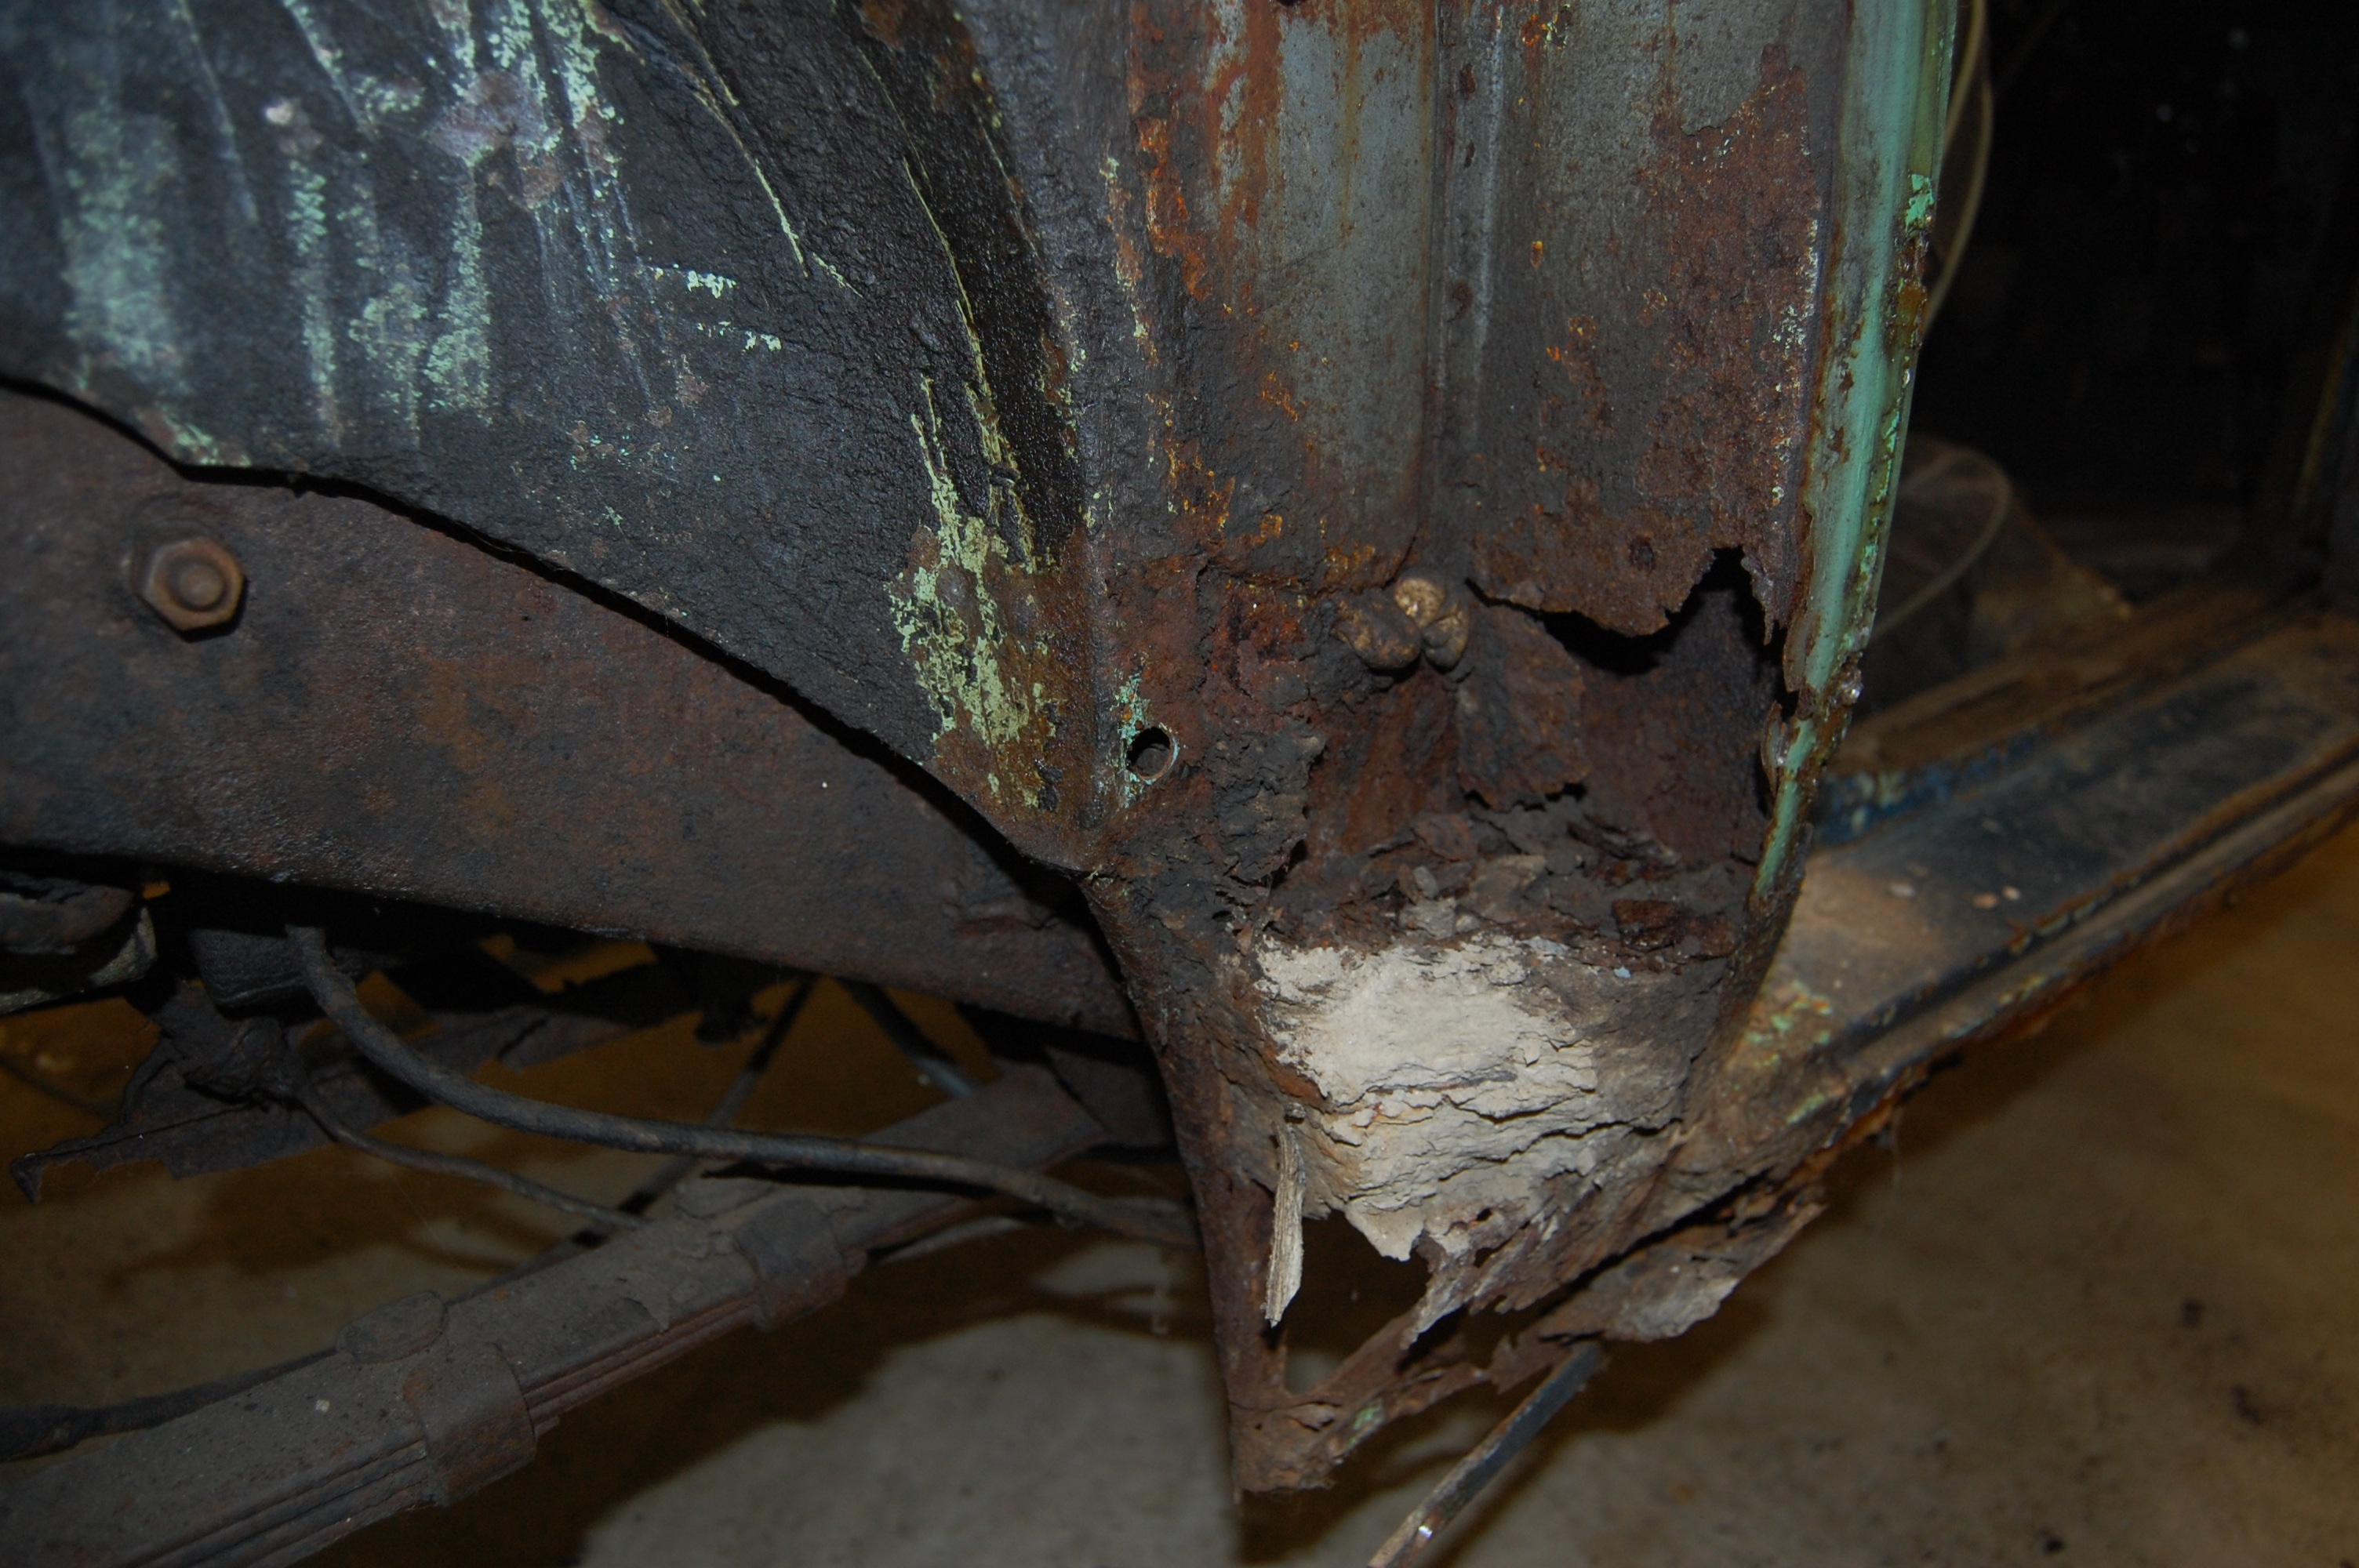 Serious corrosion caused by years of water running down inside the ‘B’pillar and road dirt thrown up inside rear wheel arch.
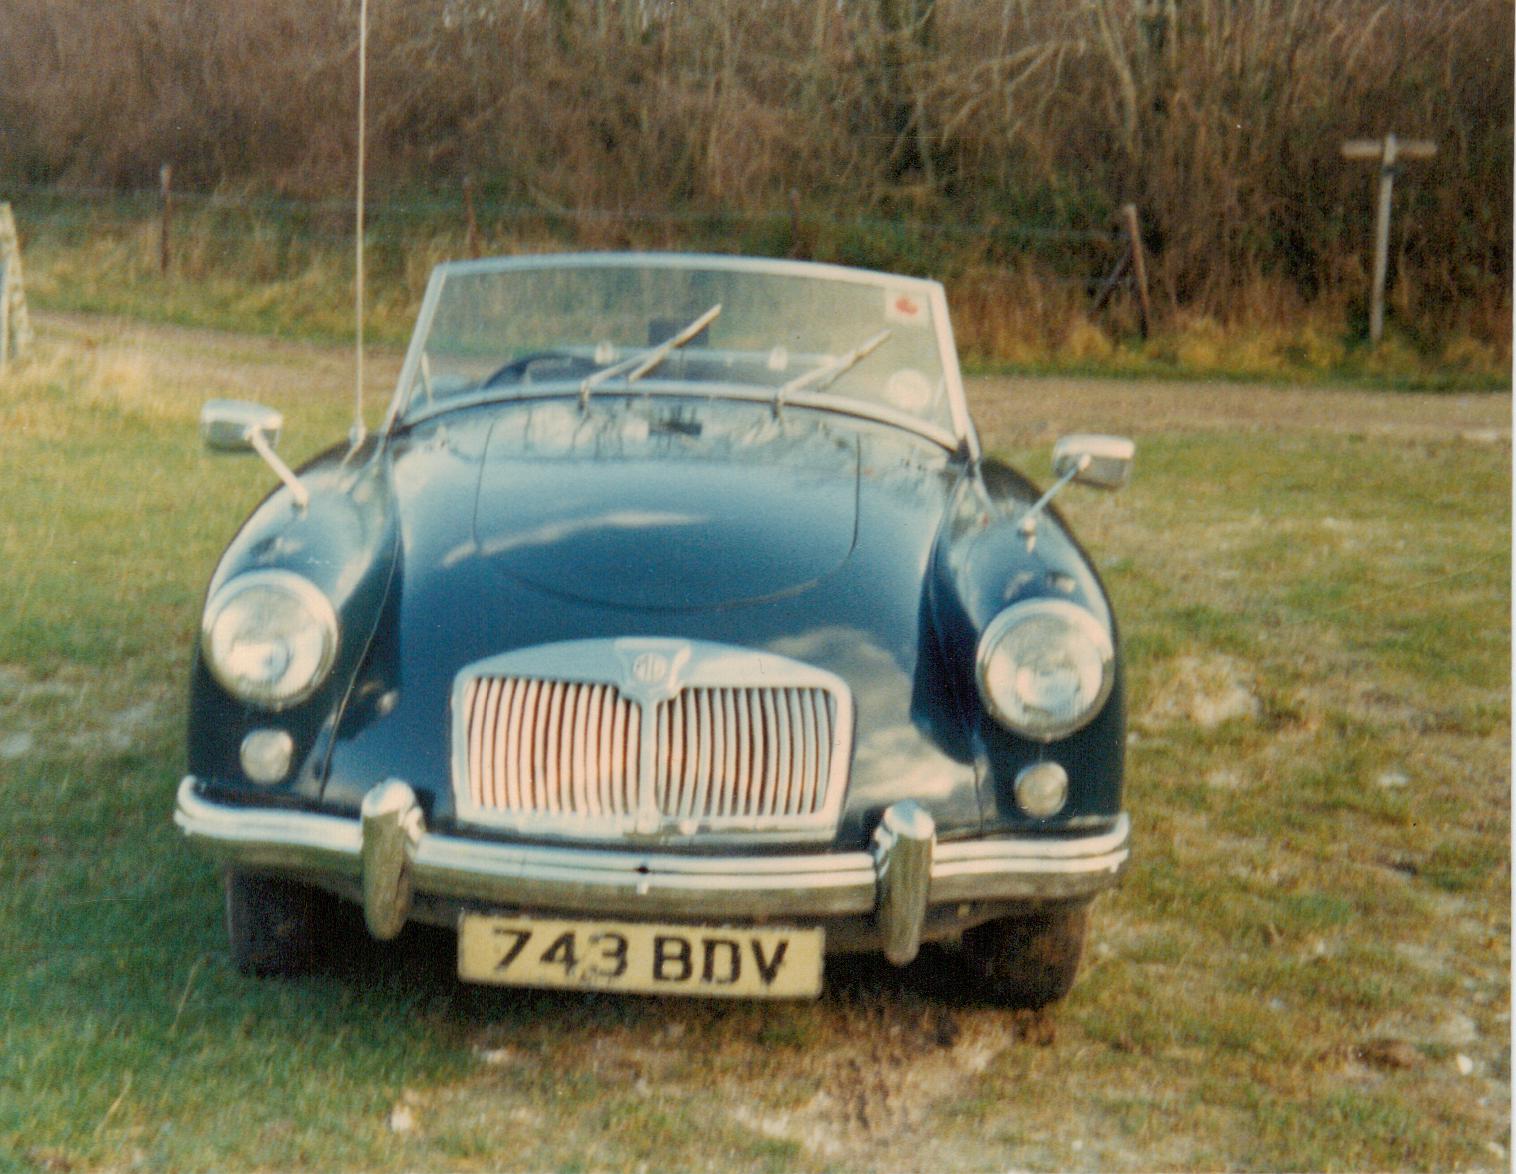
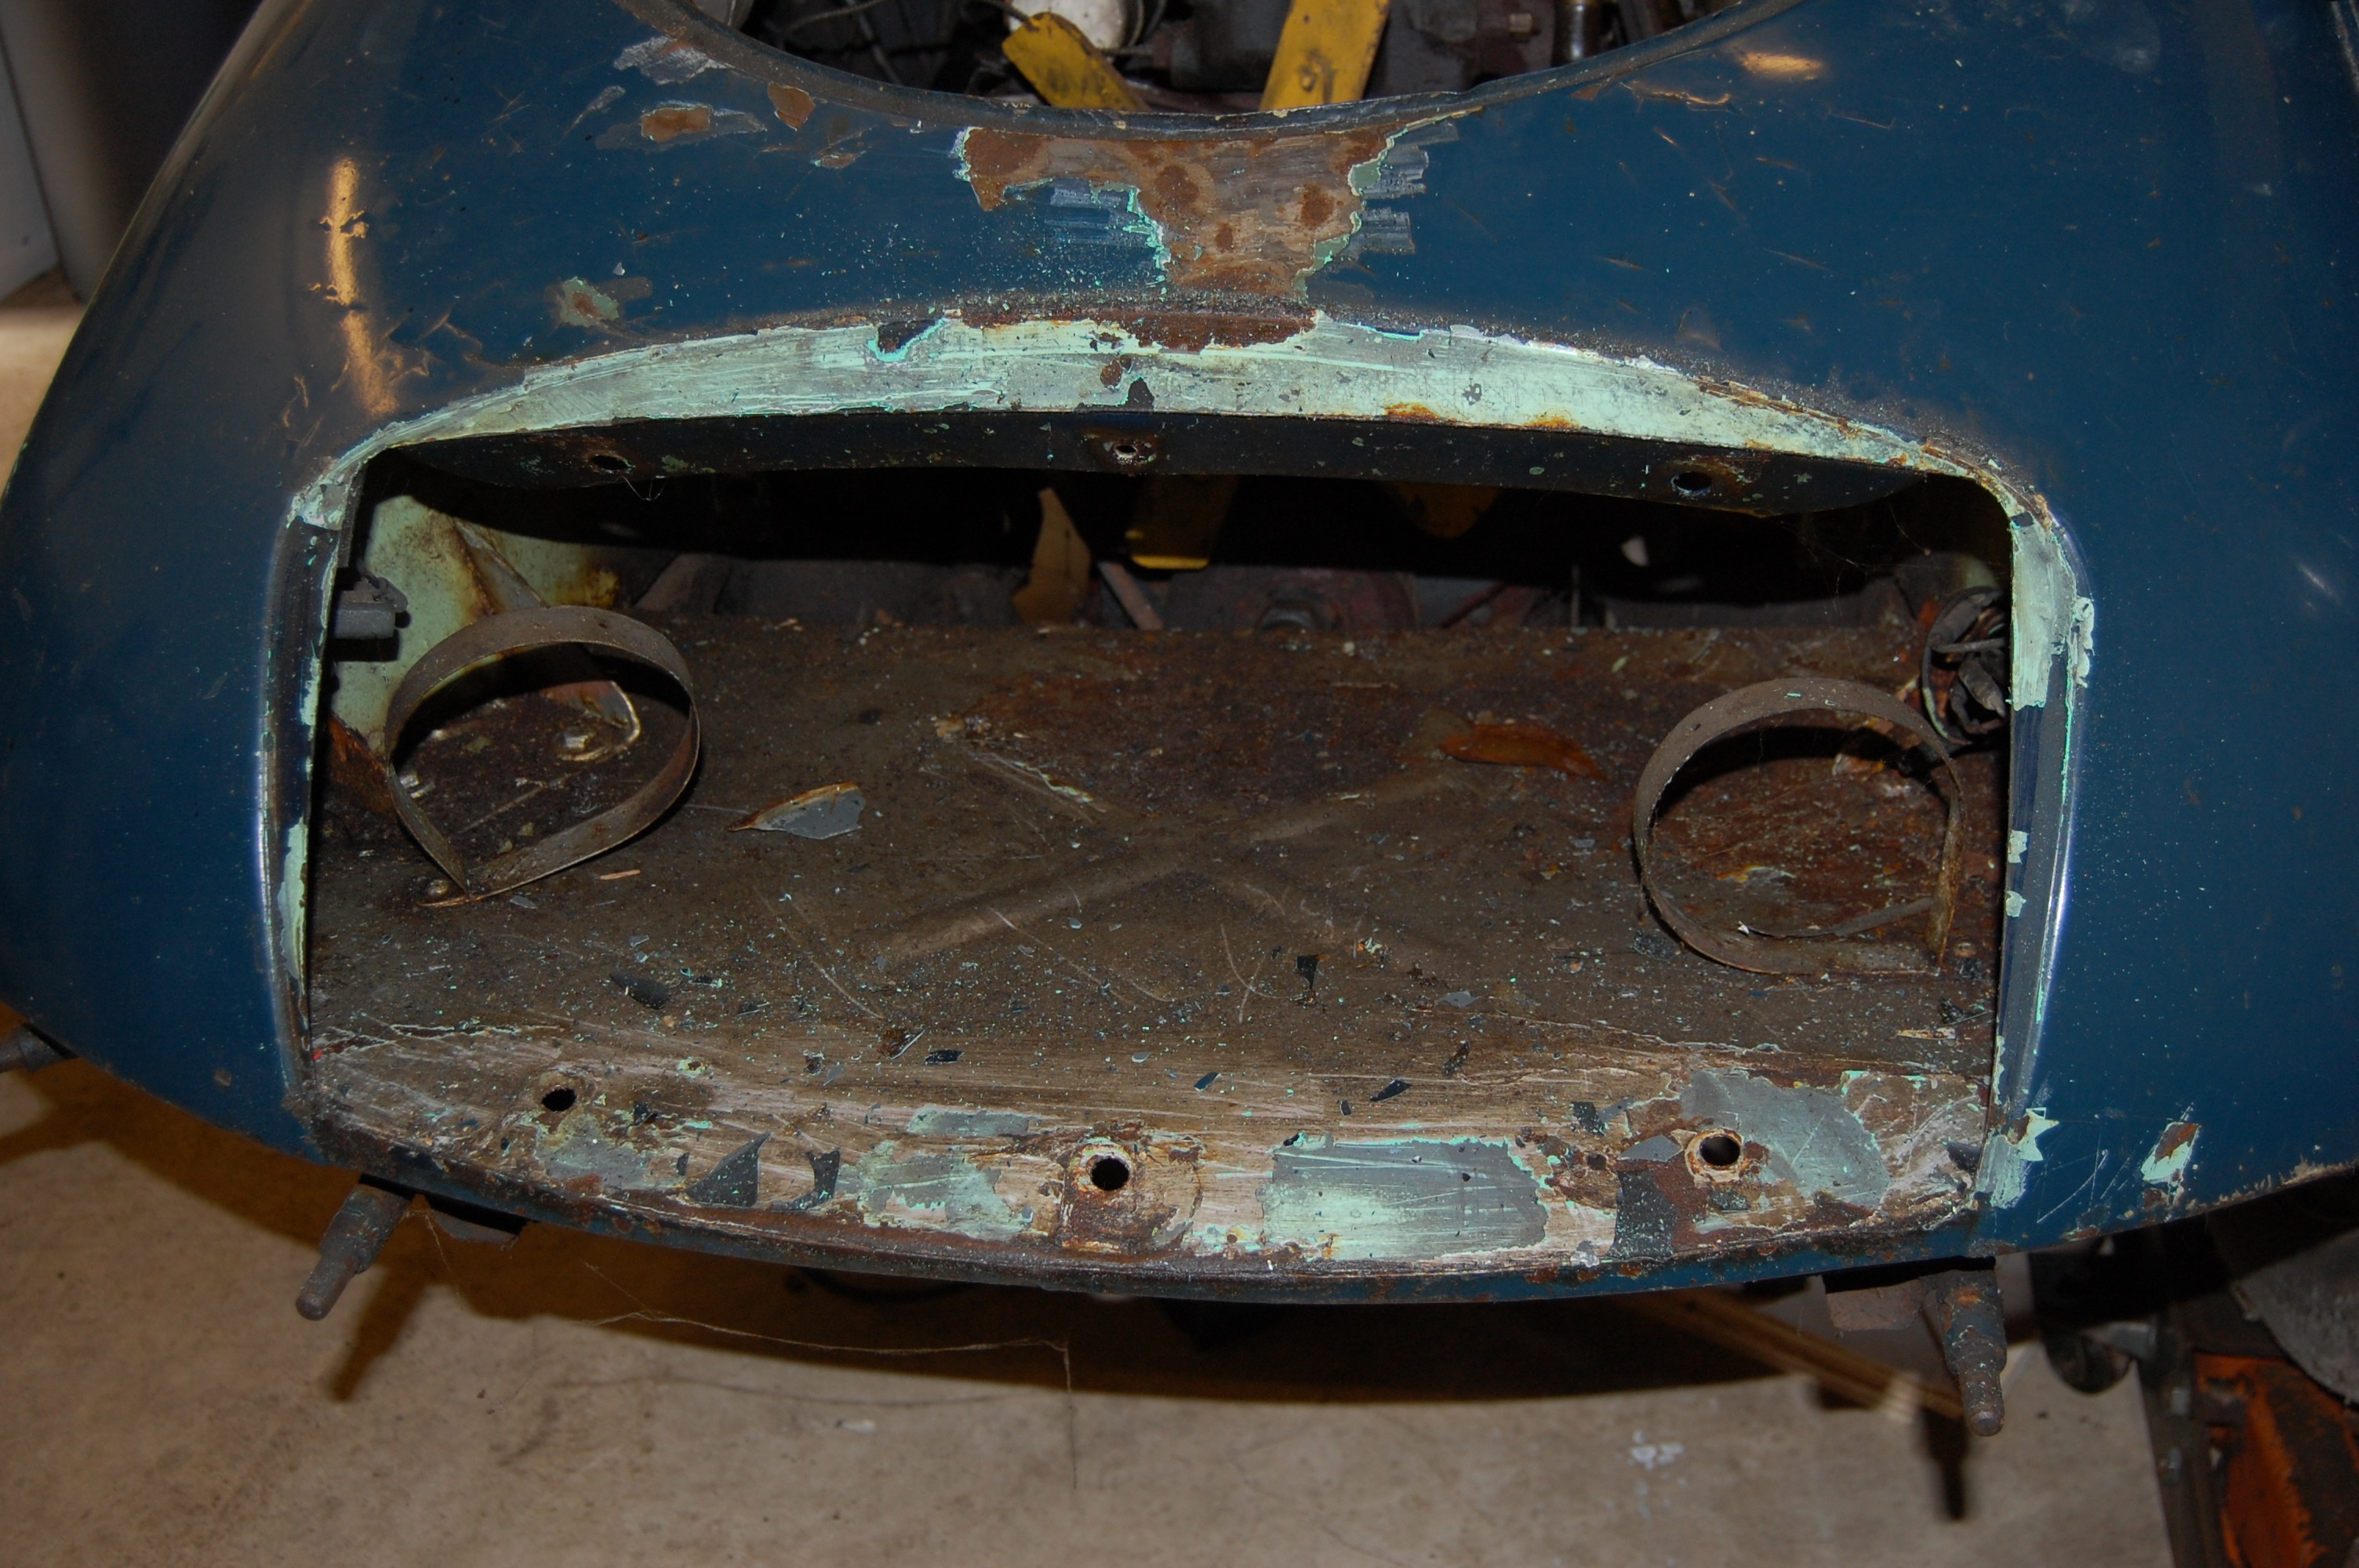 Front end and shroud were in generally good shape – no previous significant accident damage.


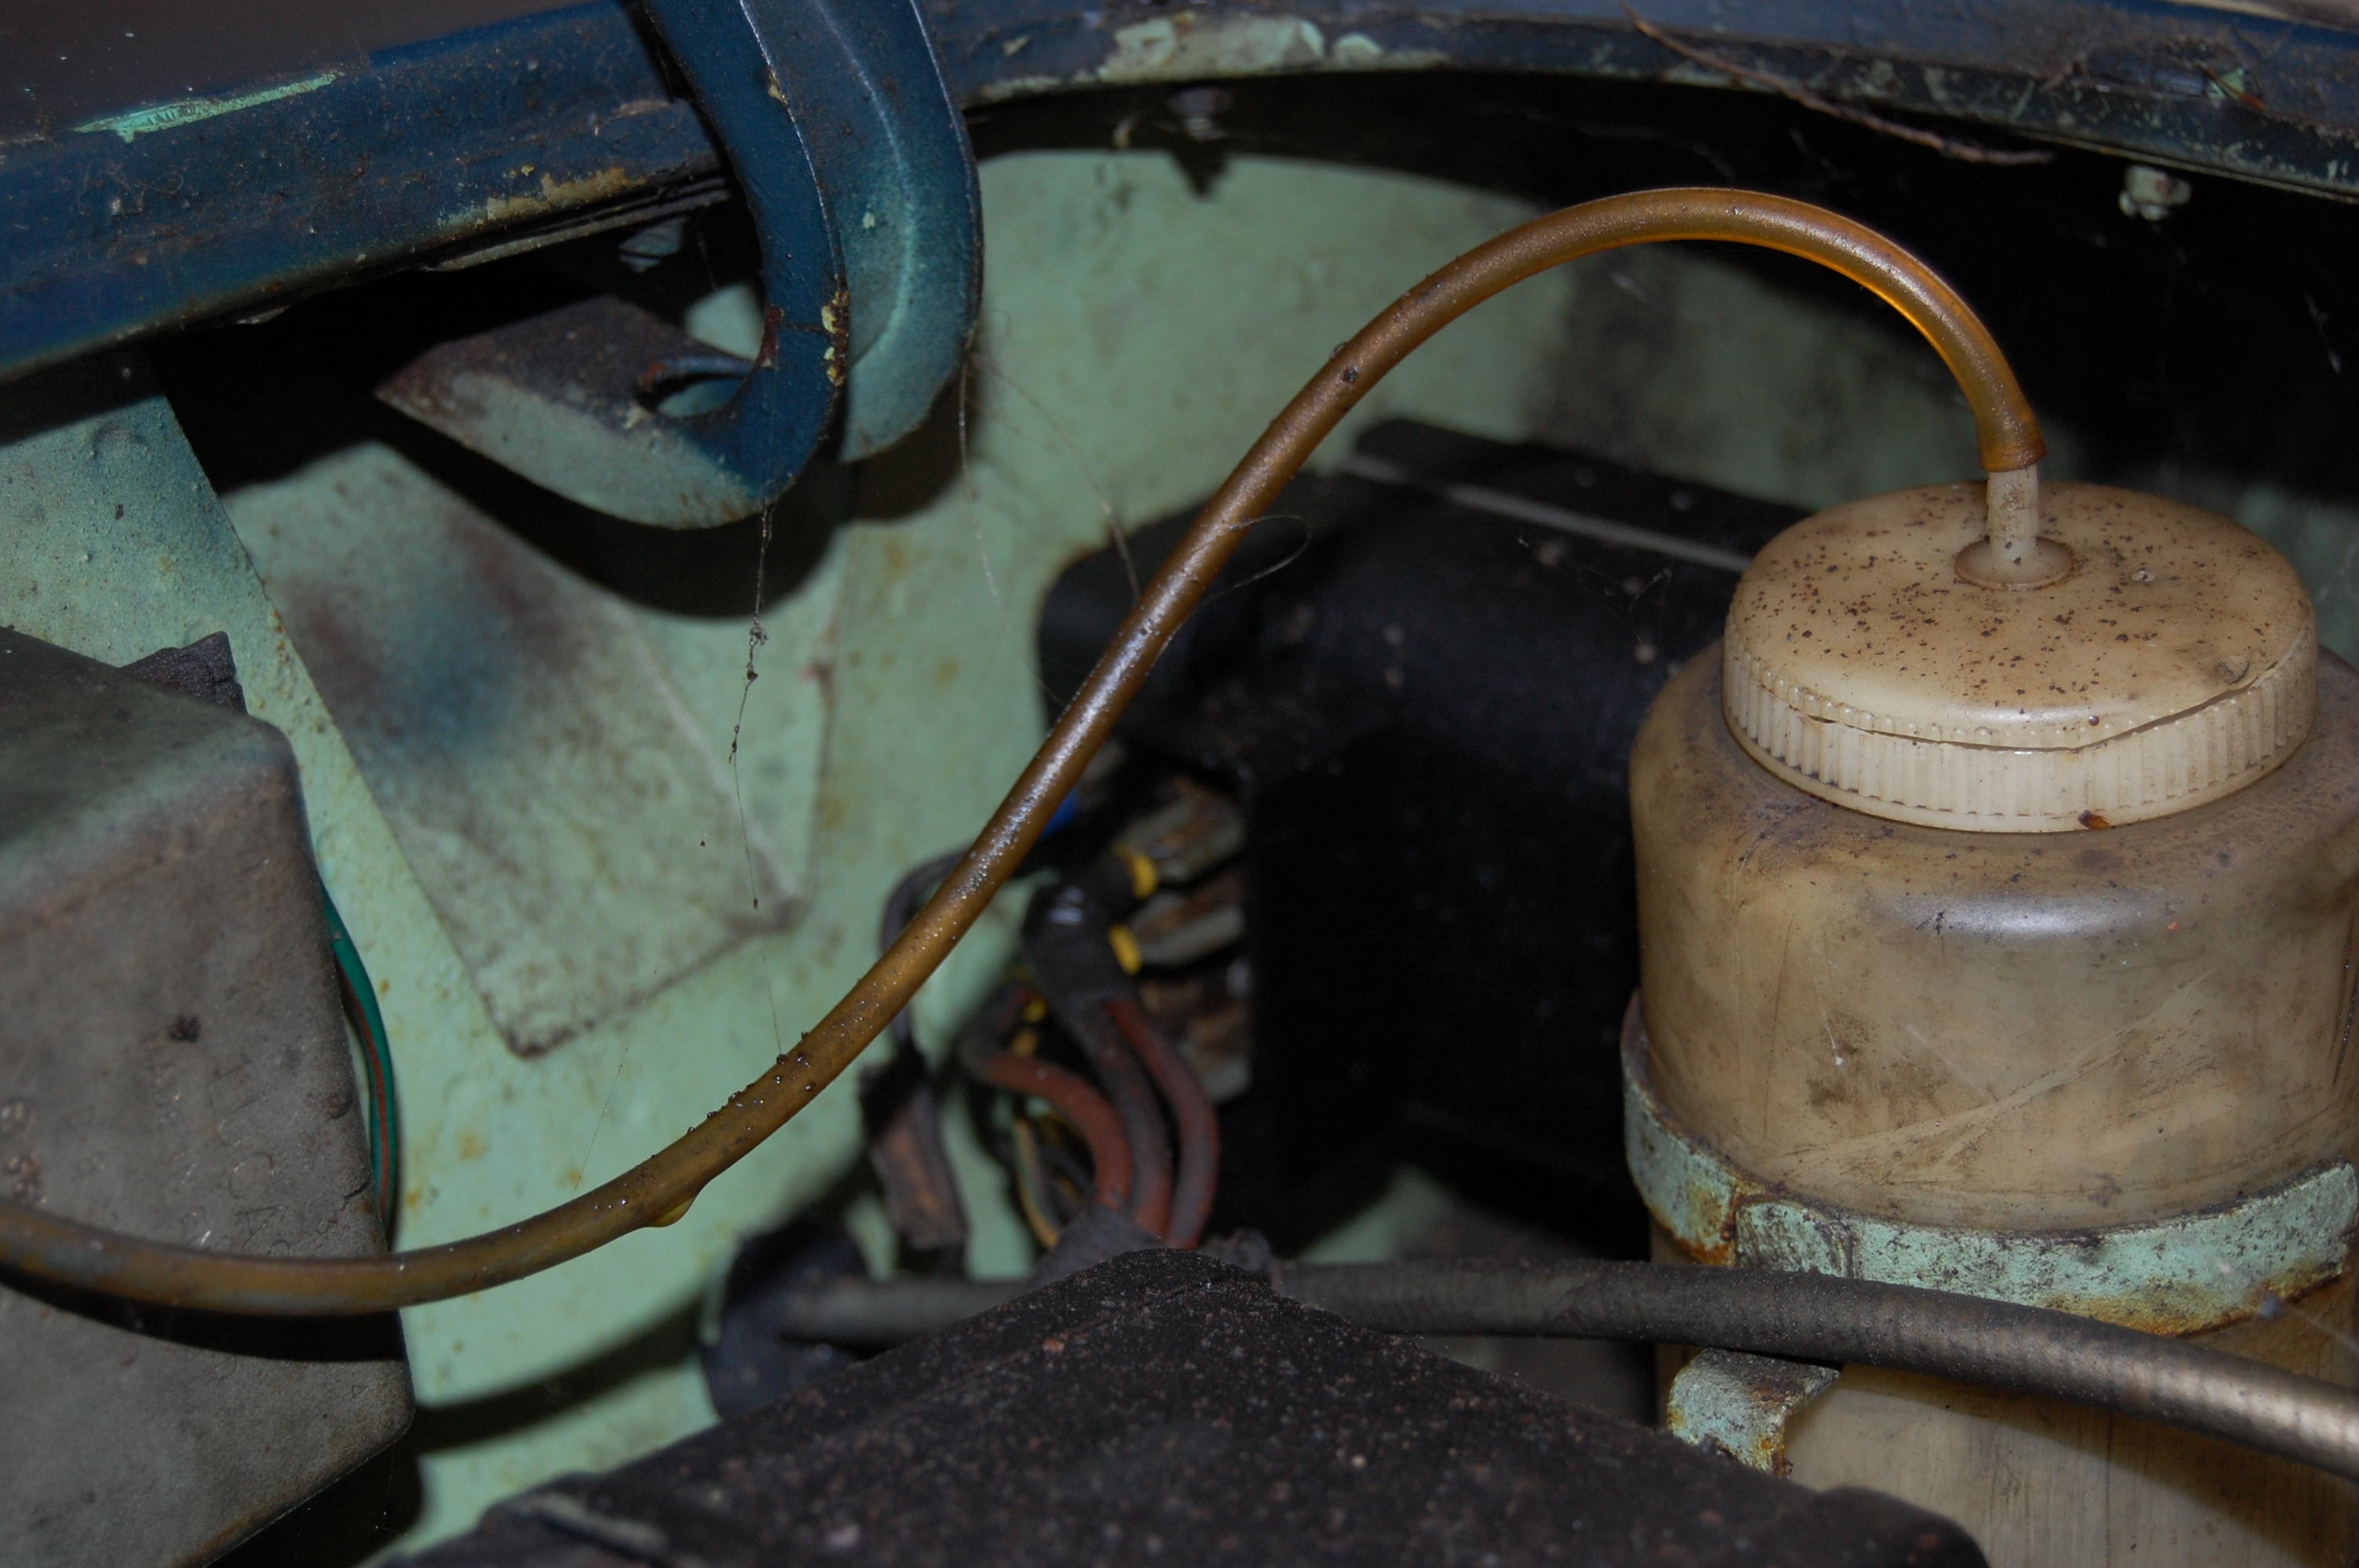

Removal of the heater unit and the Brake/clutch master cylinder allows access to loom and other pipework.

Full Strip down of body in readiness for removing the body.
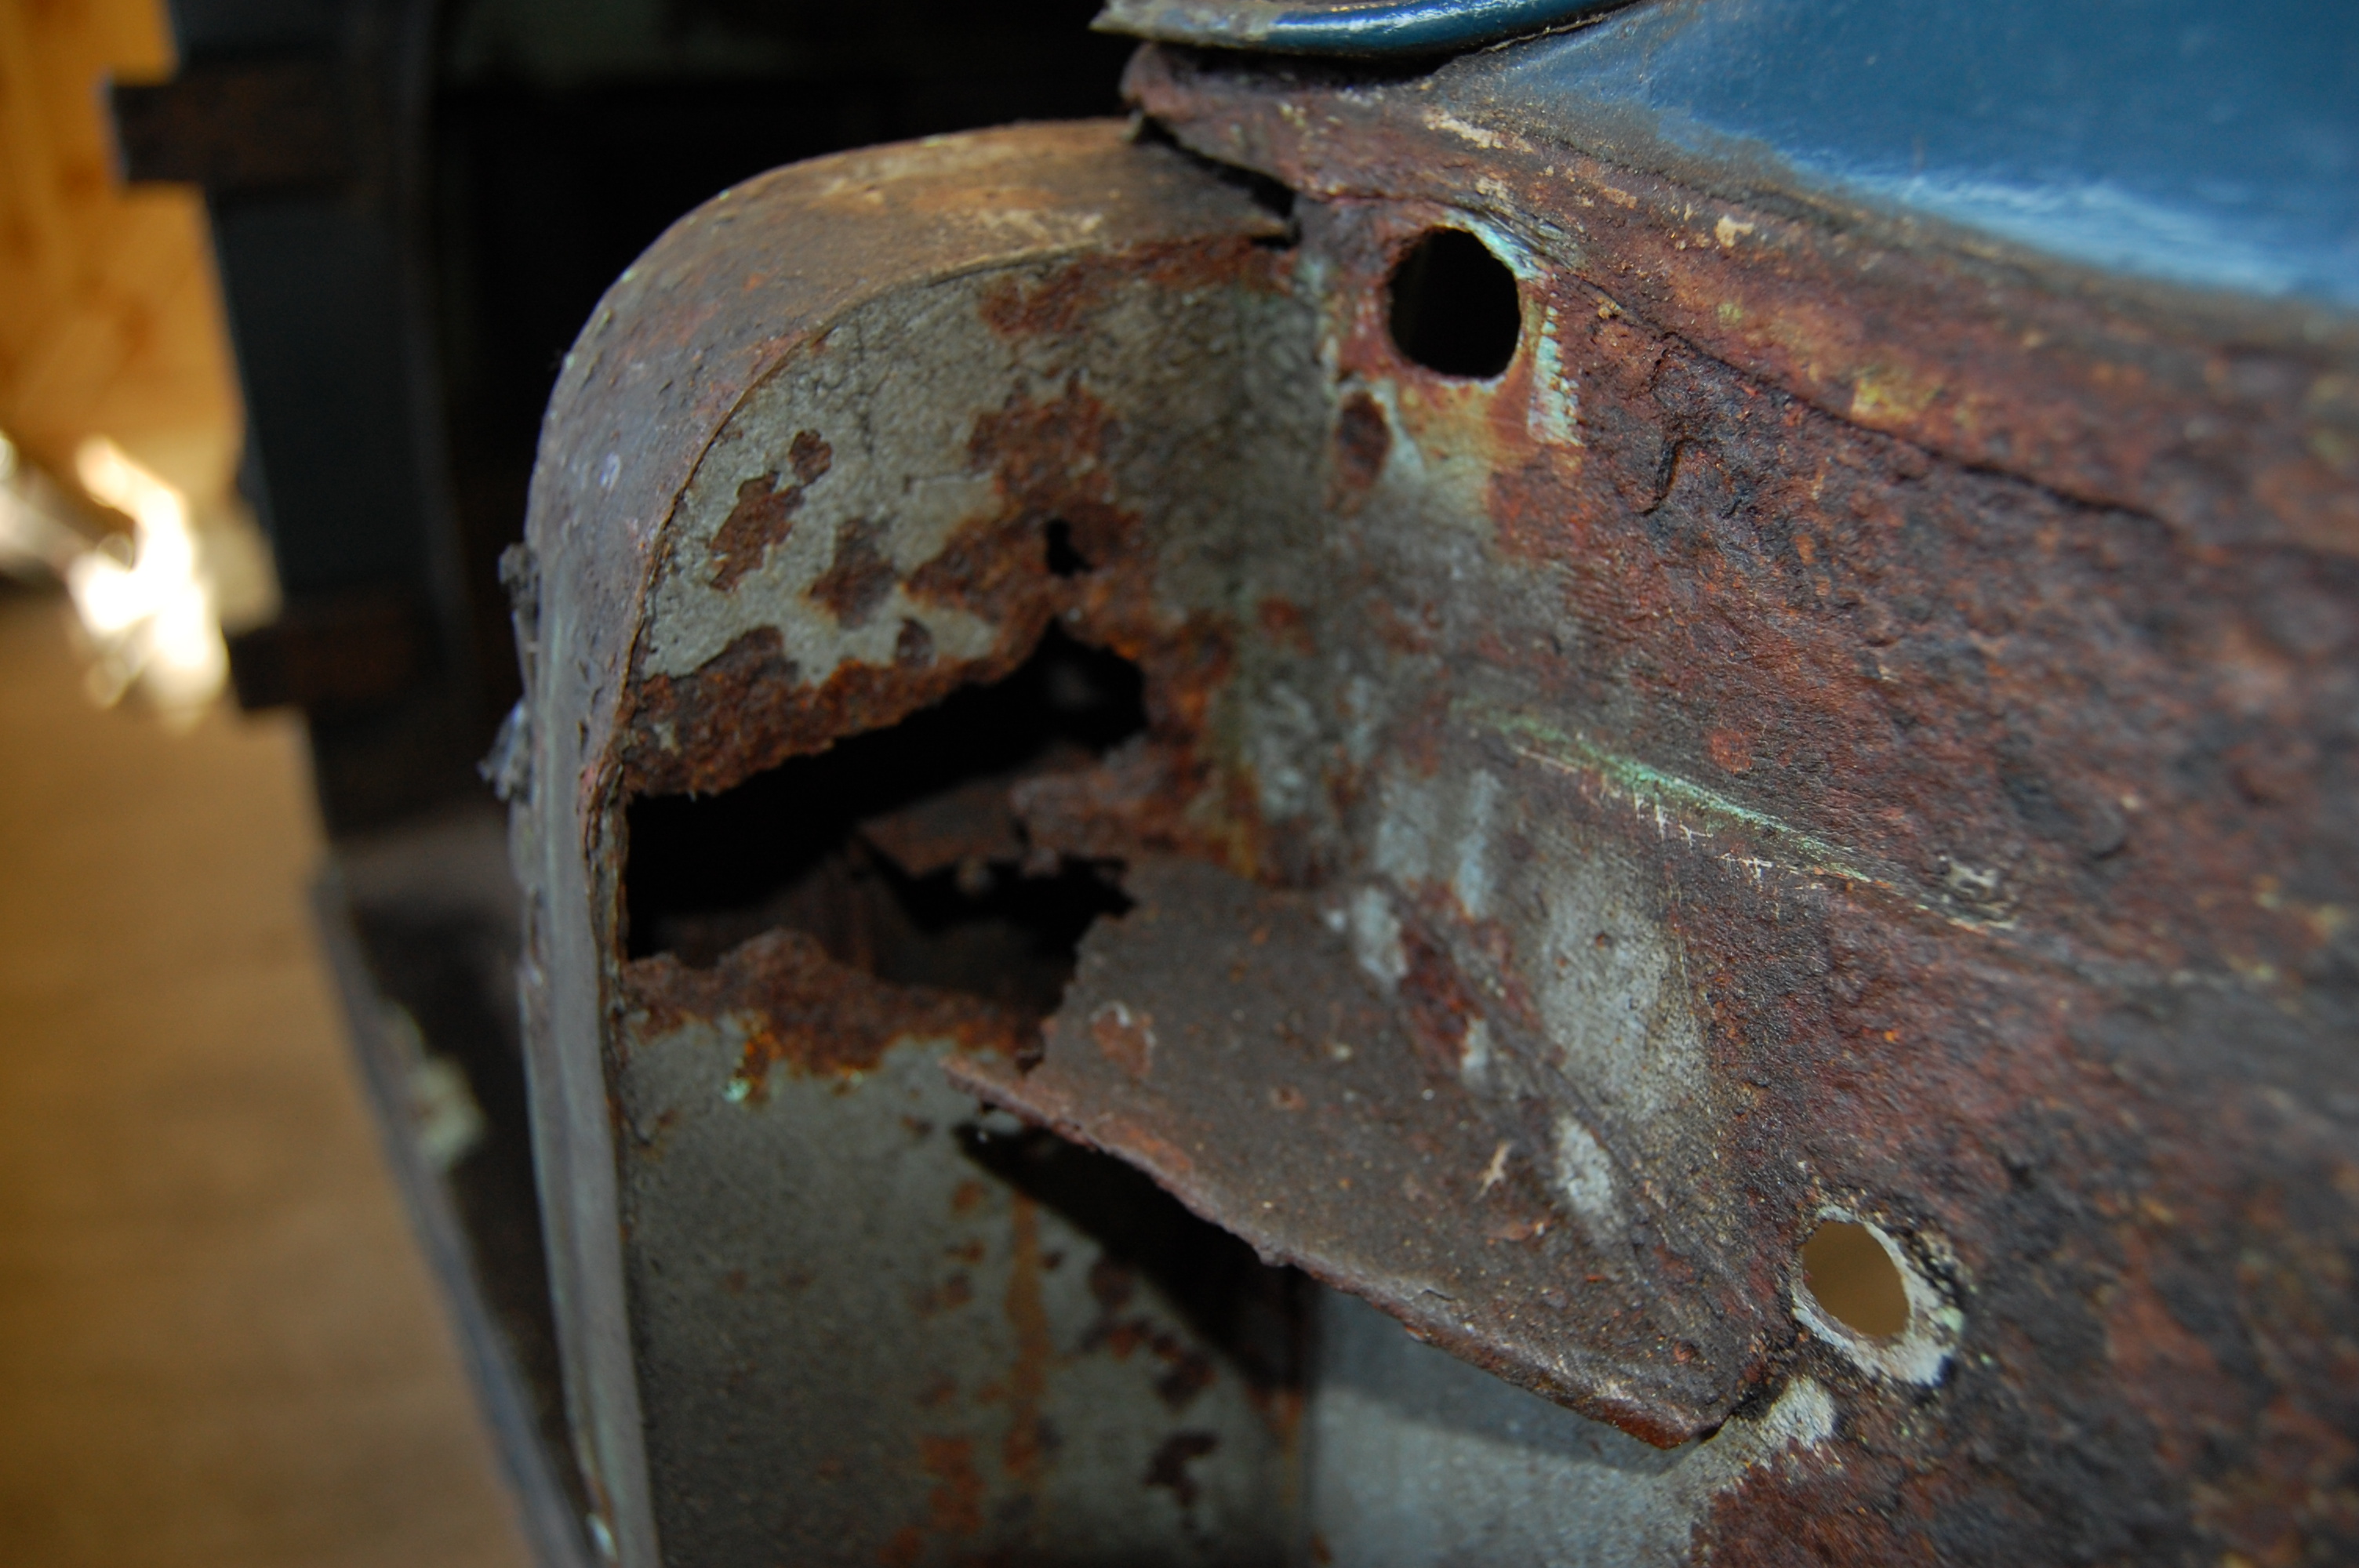 Ouch.
Ouch.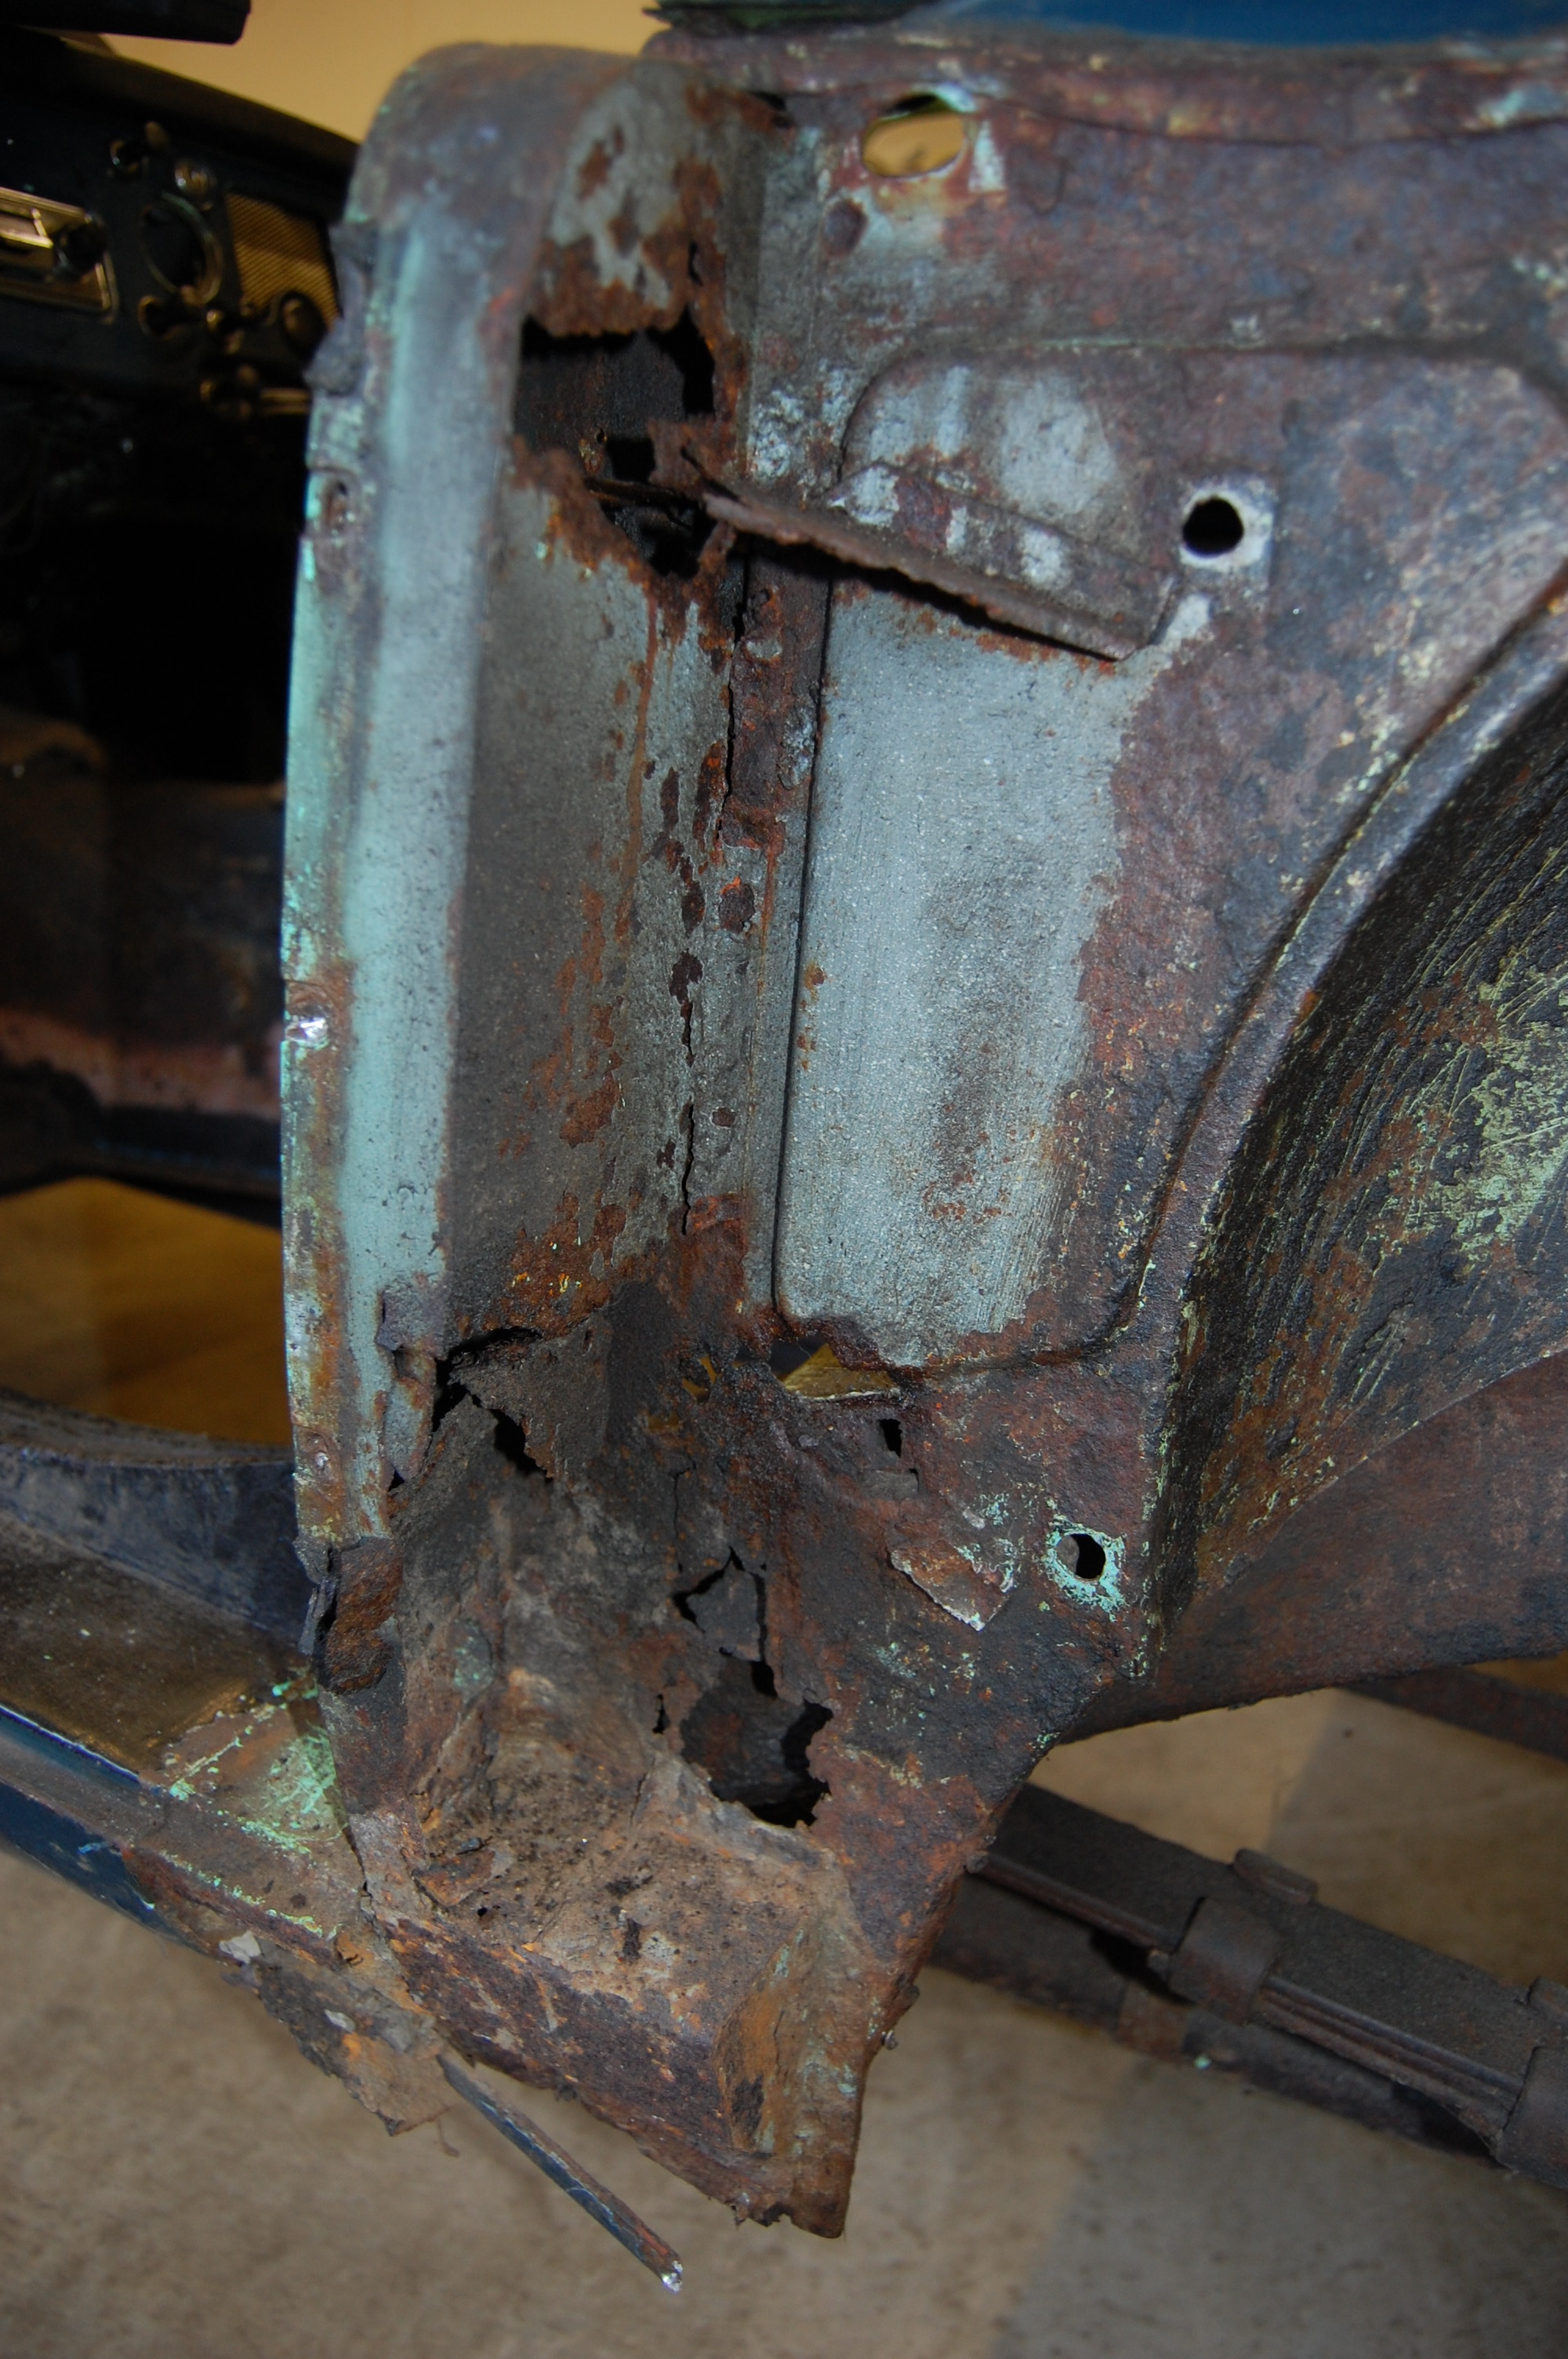

 Left side in slightly better shape and useful to take datum measurements to help position right side repair panels
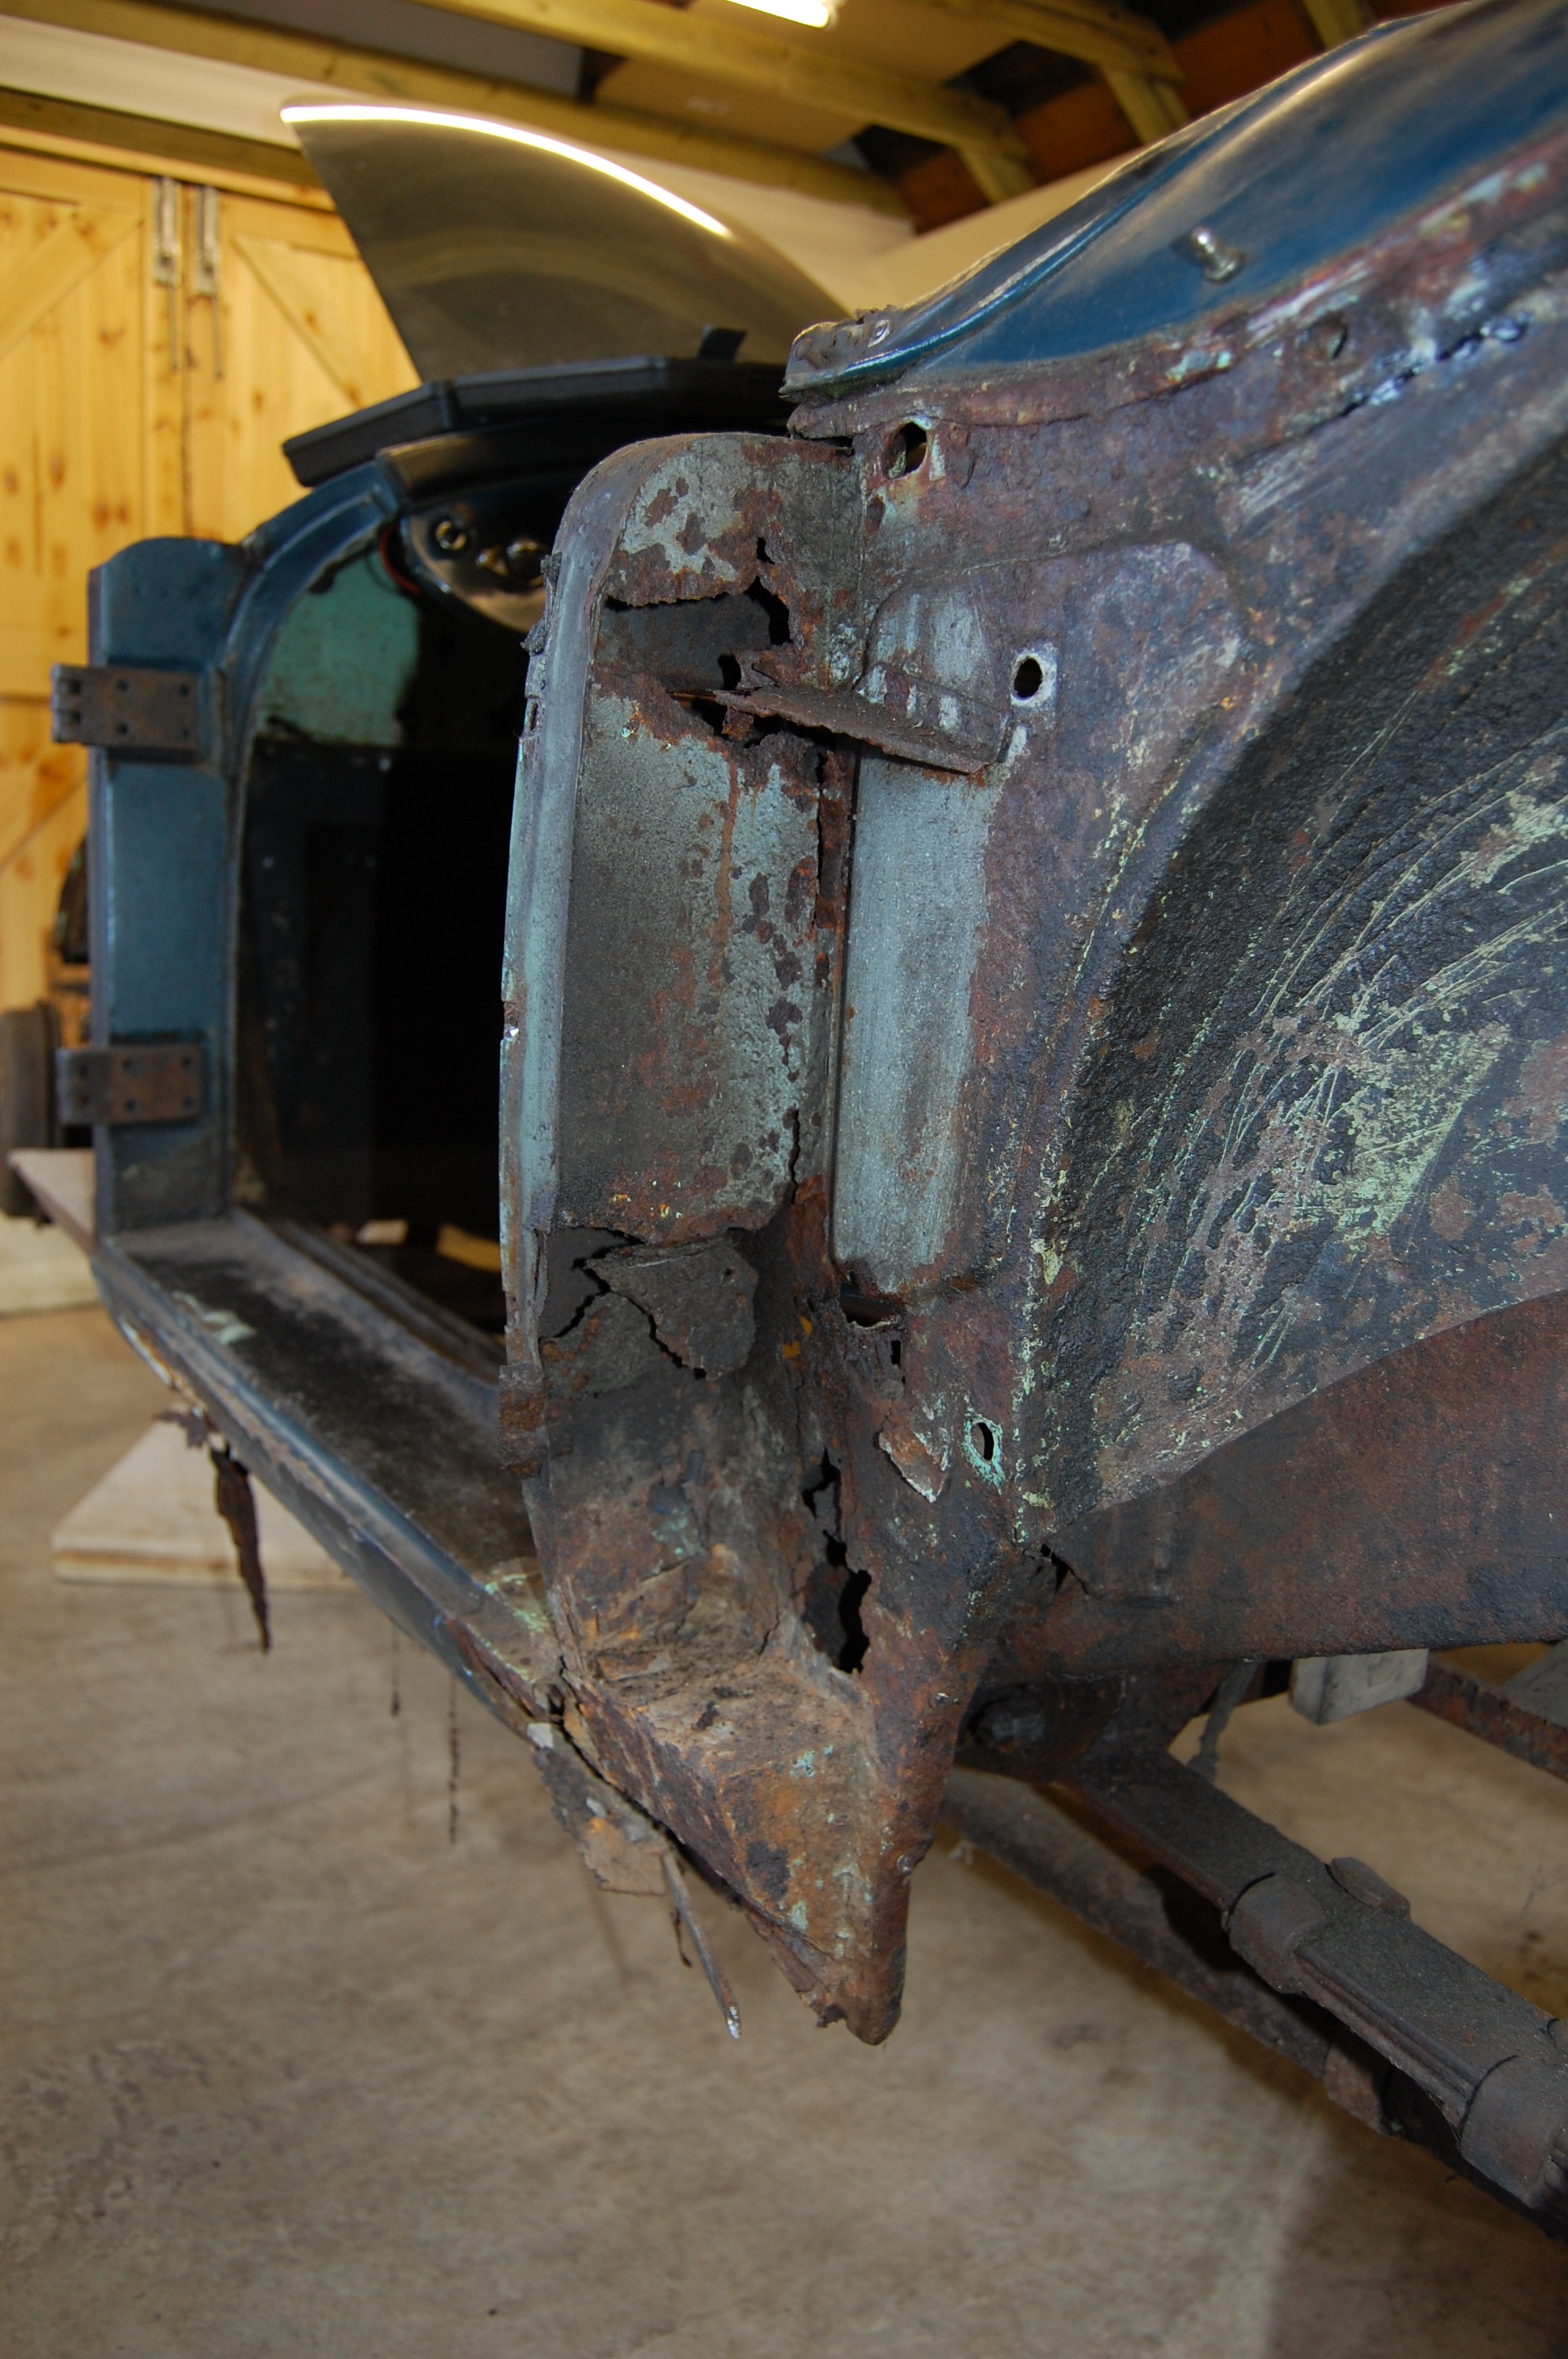

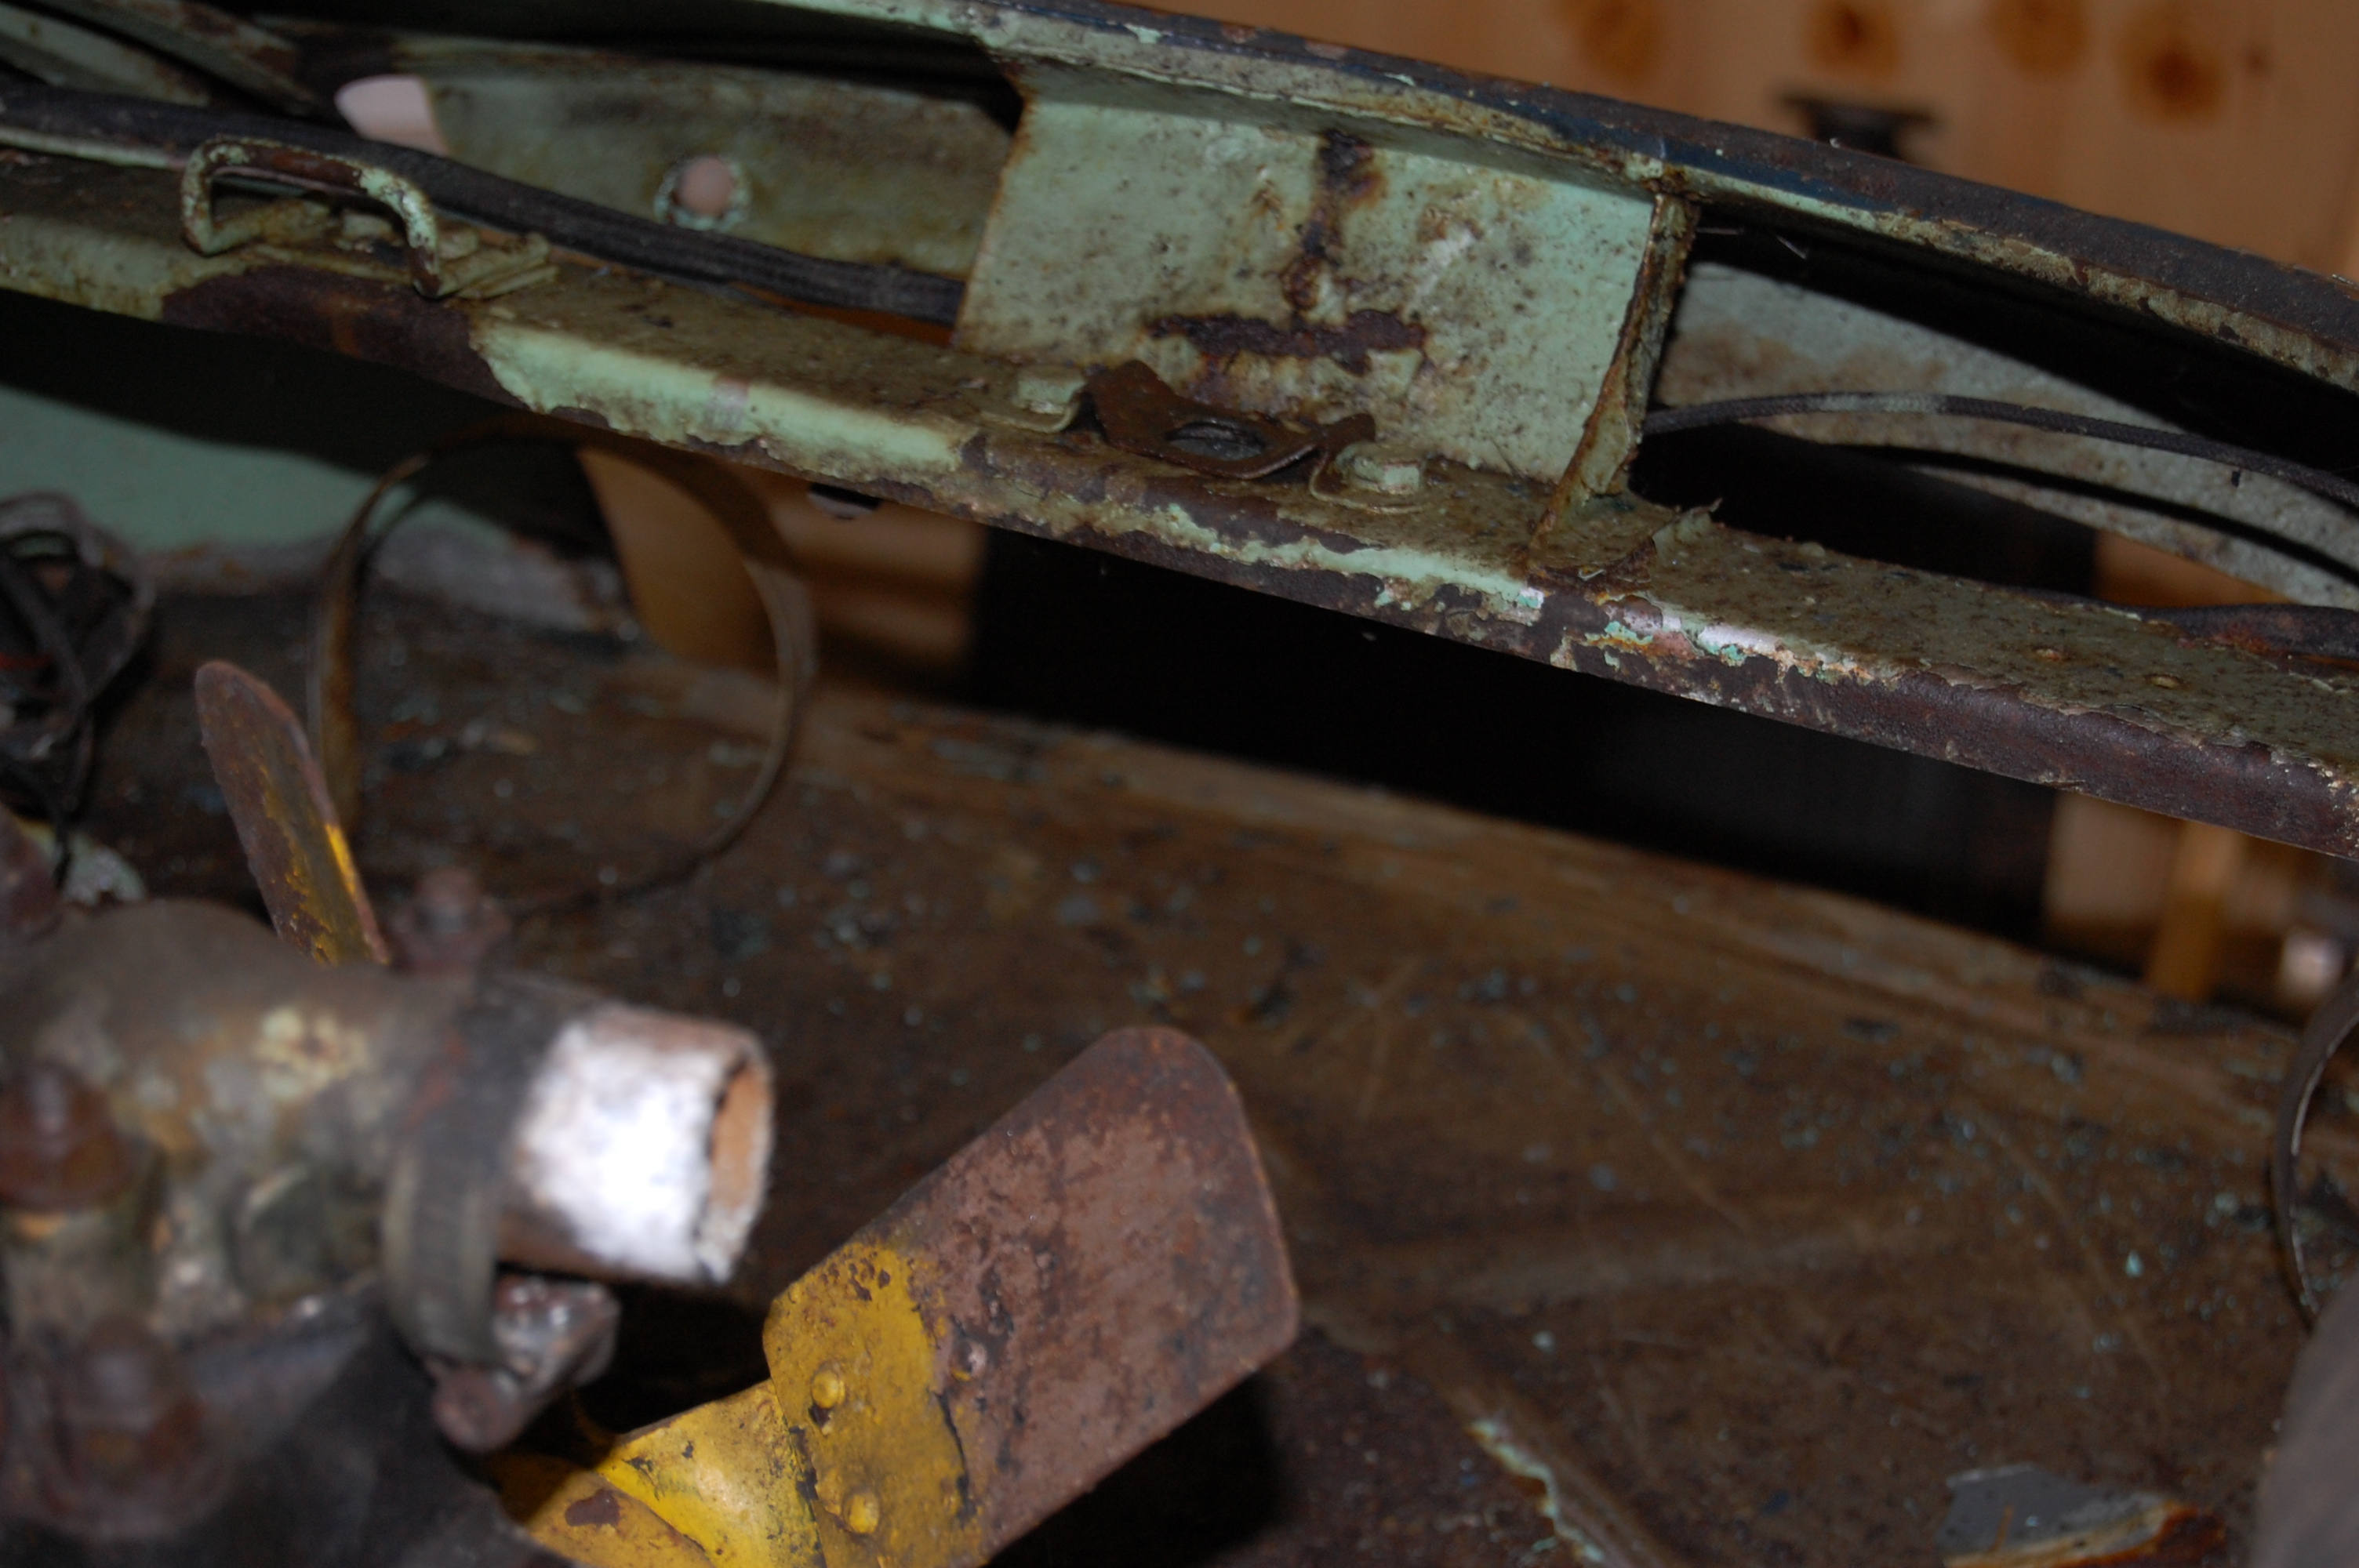
 Sills injected with foam, sometime before 1974.
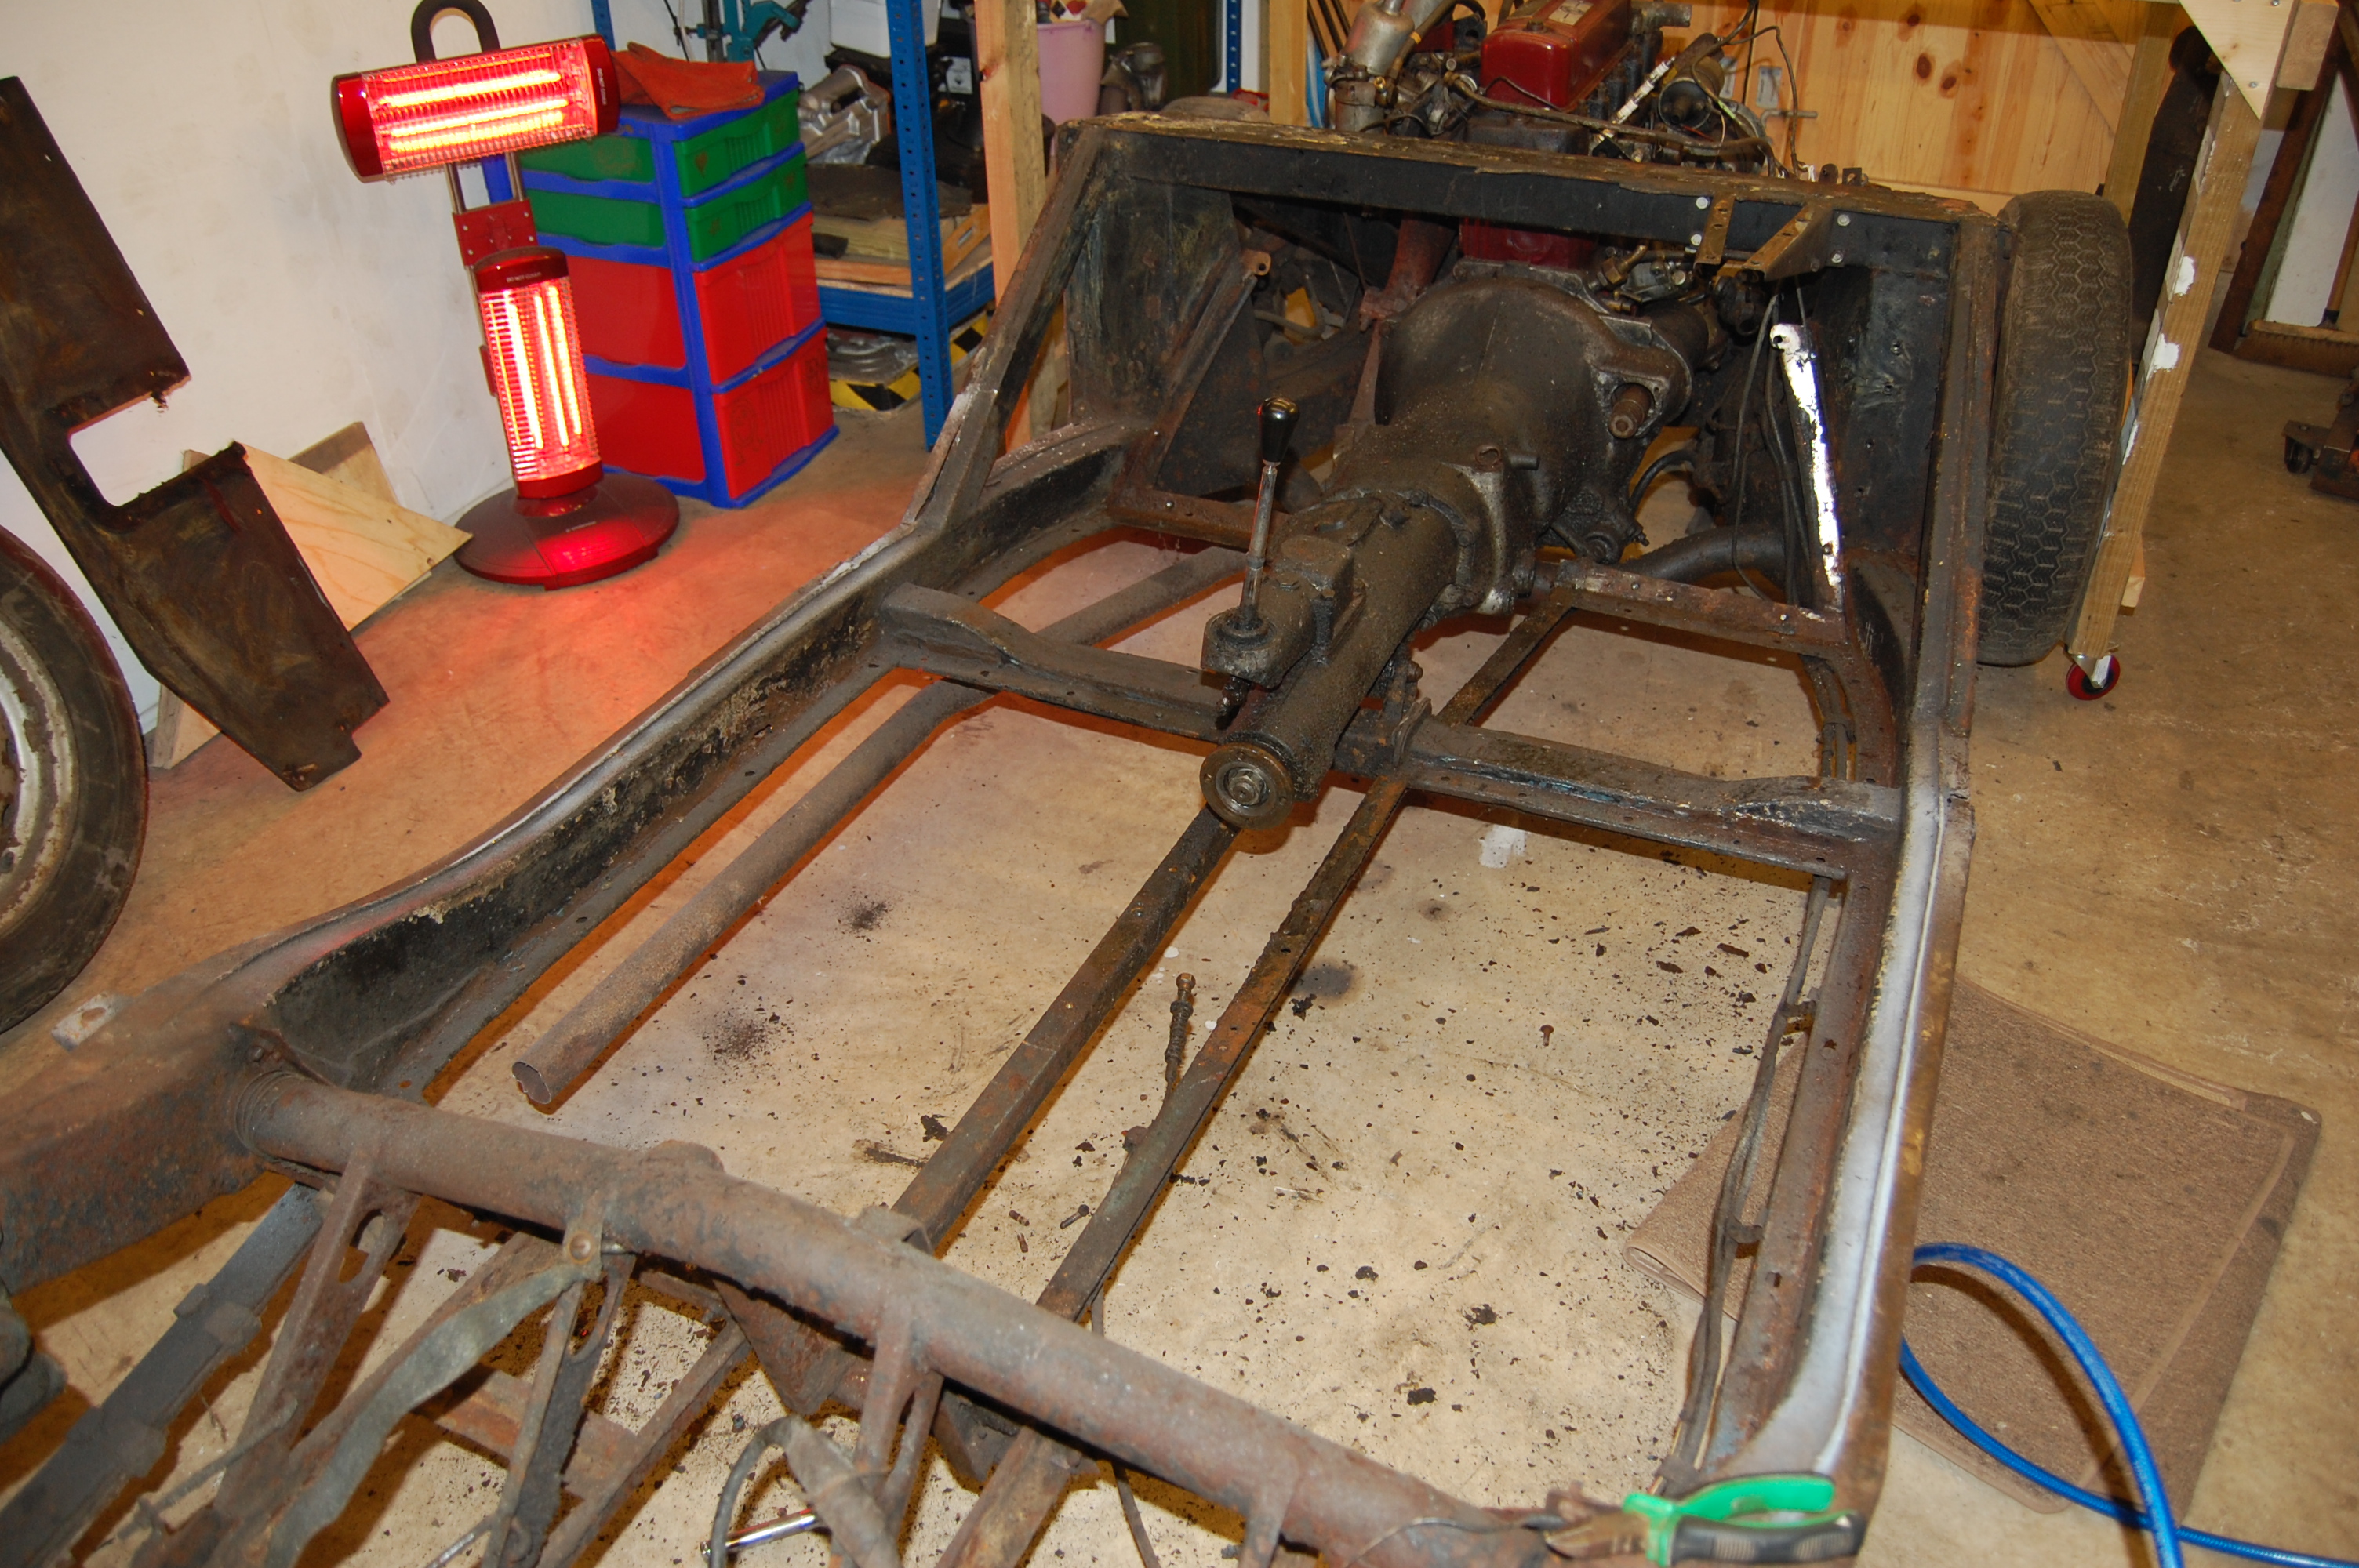
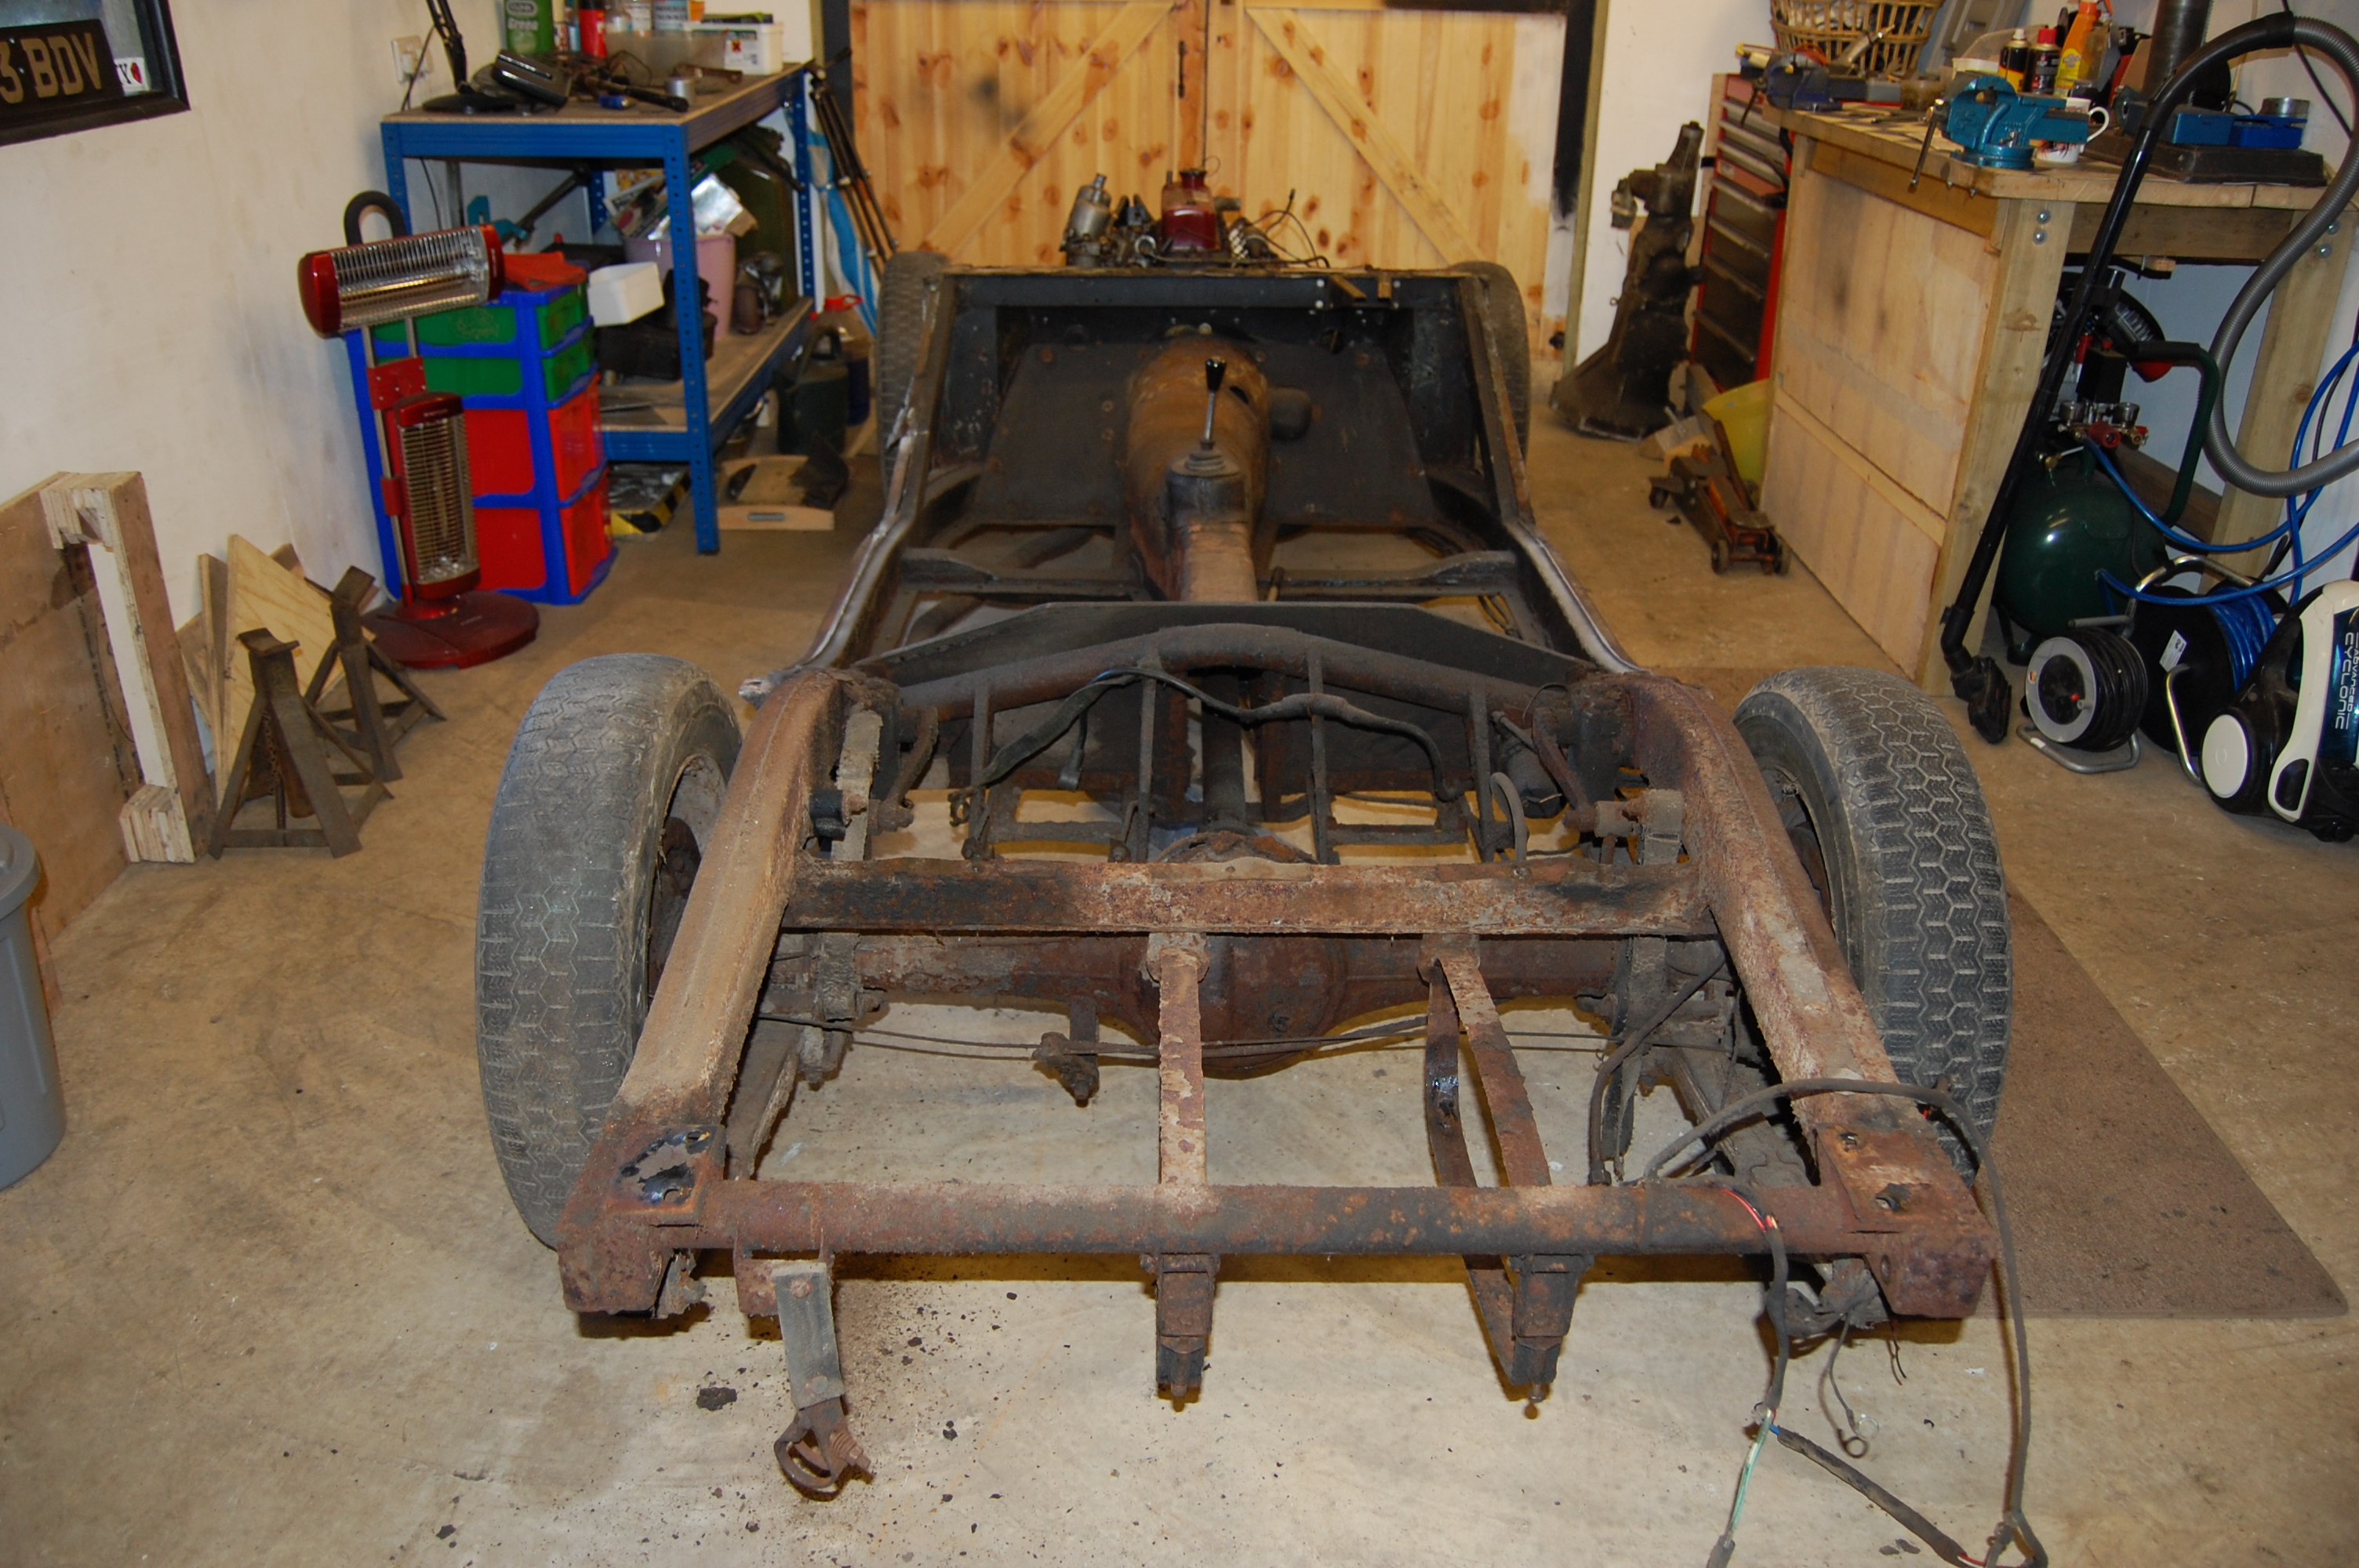 Fortunately, bad as it looked, the chassis was in good shape with mainly surface rust and a few holes to be dealt with.
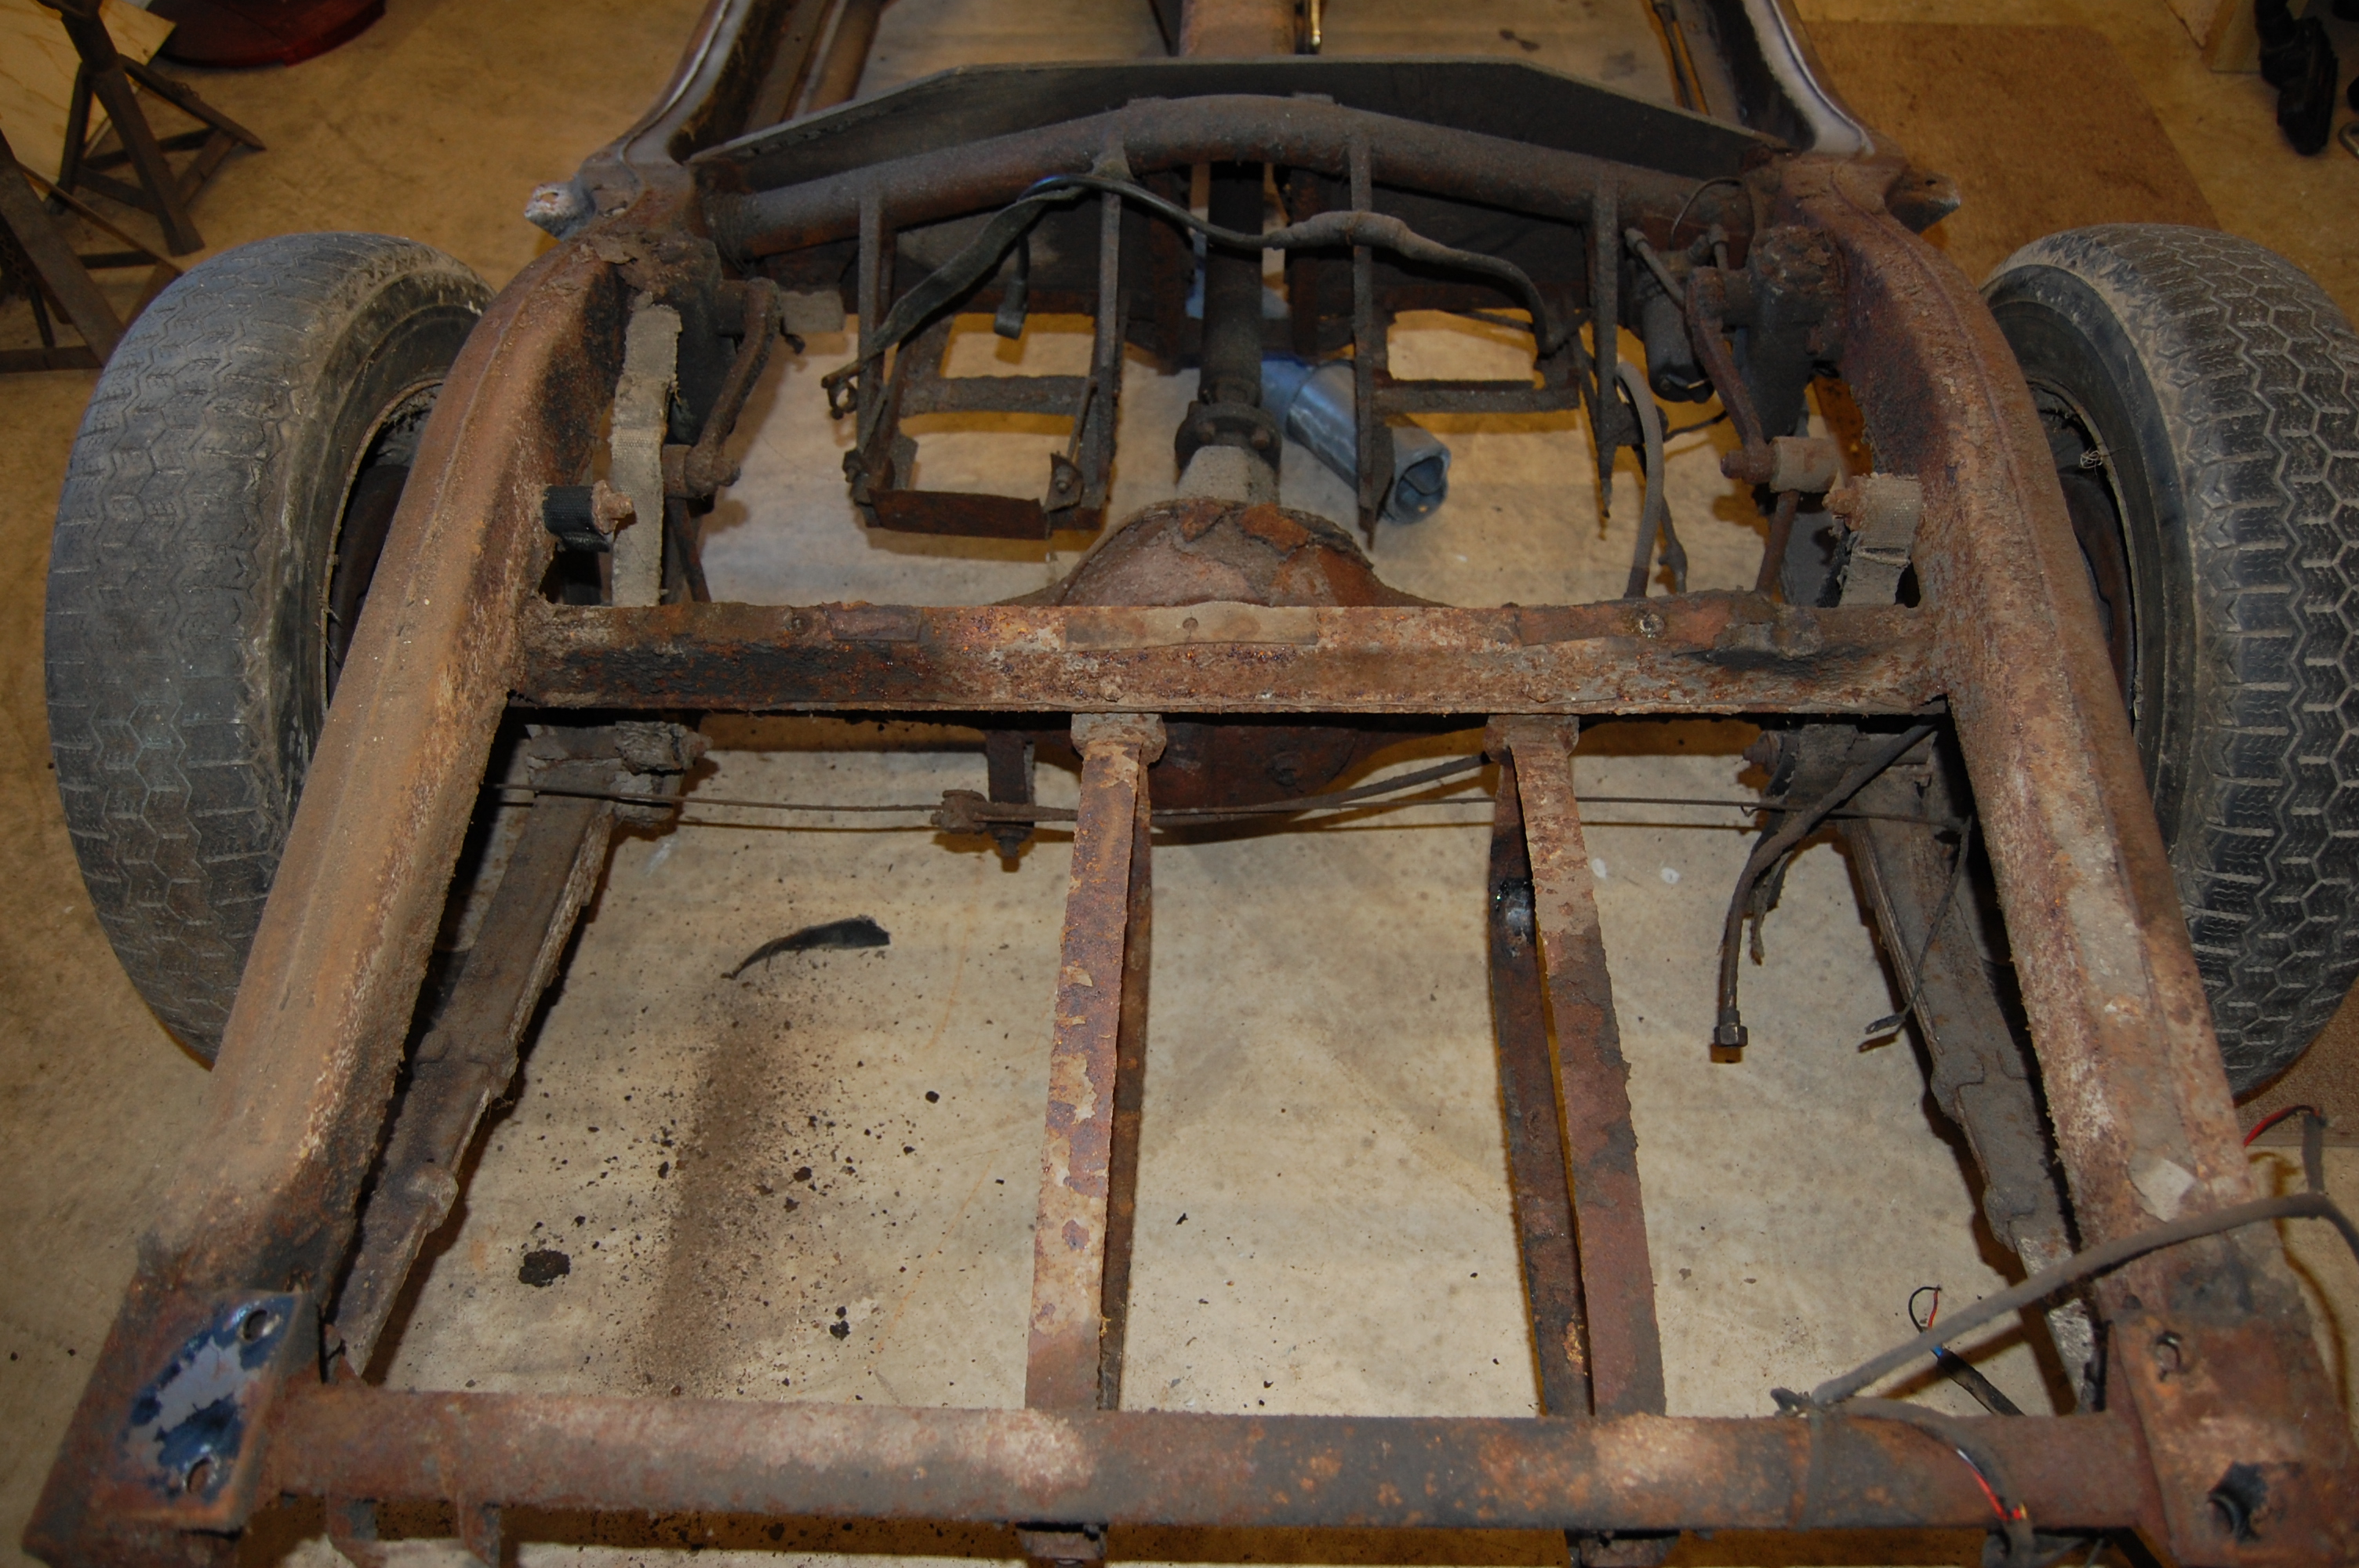 Right-hand side battery carrier required replacement – a previous owner had made a crude conversion to run on a single twelve volt battery, which I lived with. This would be improved upon.
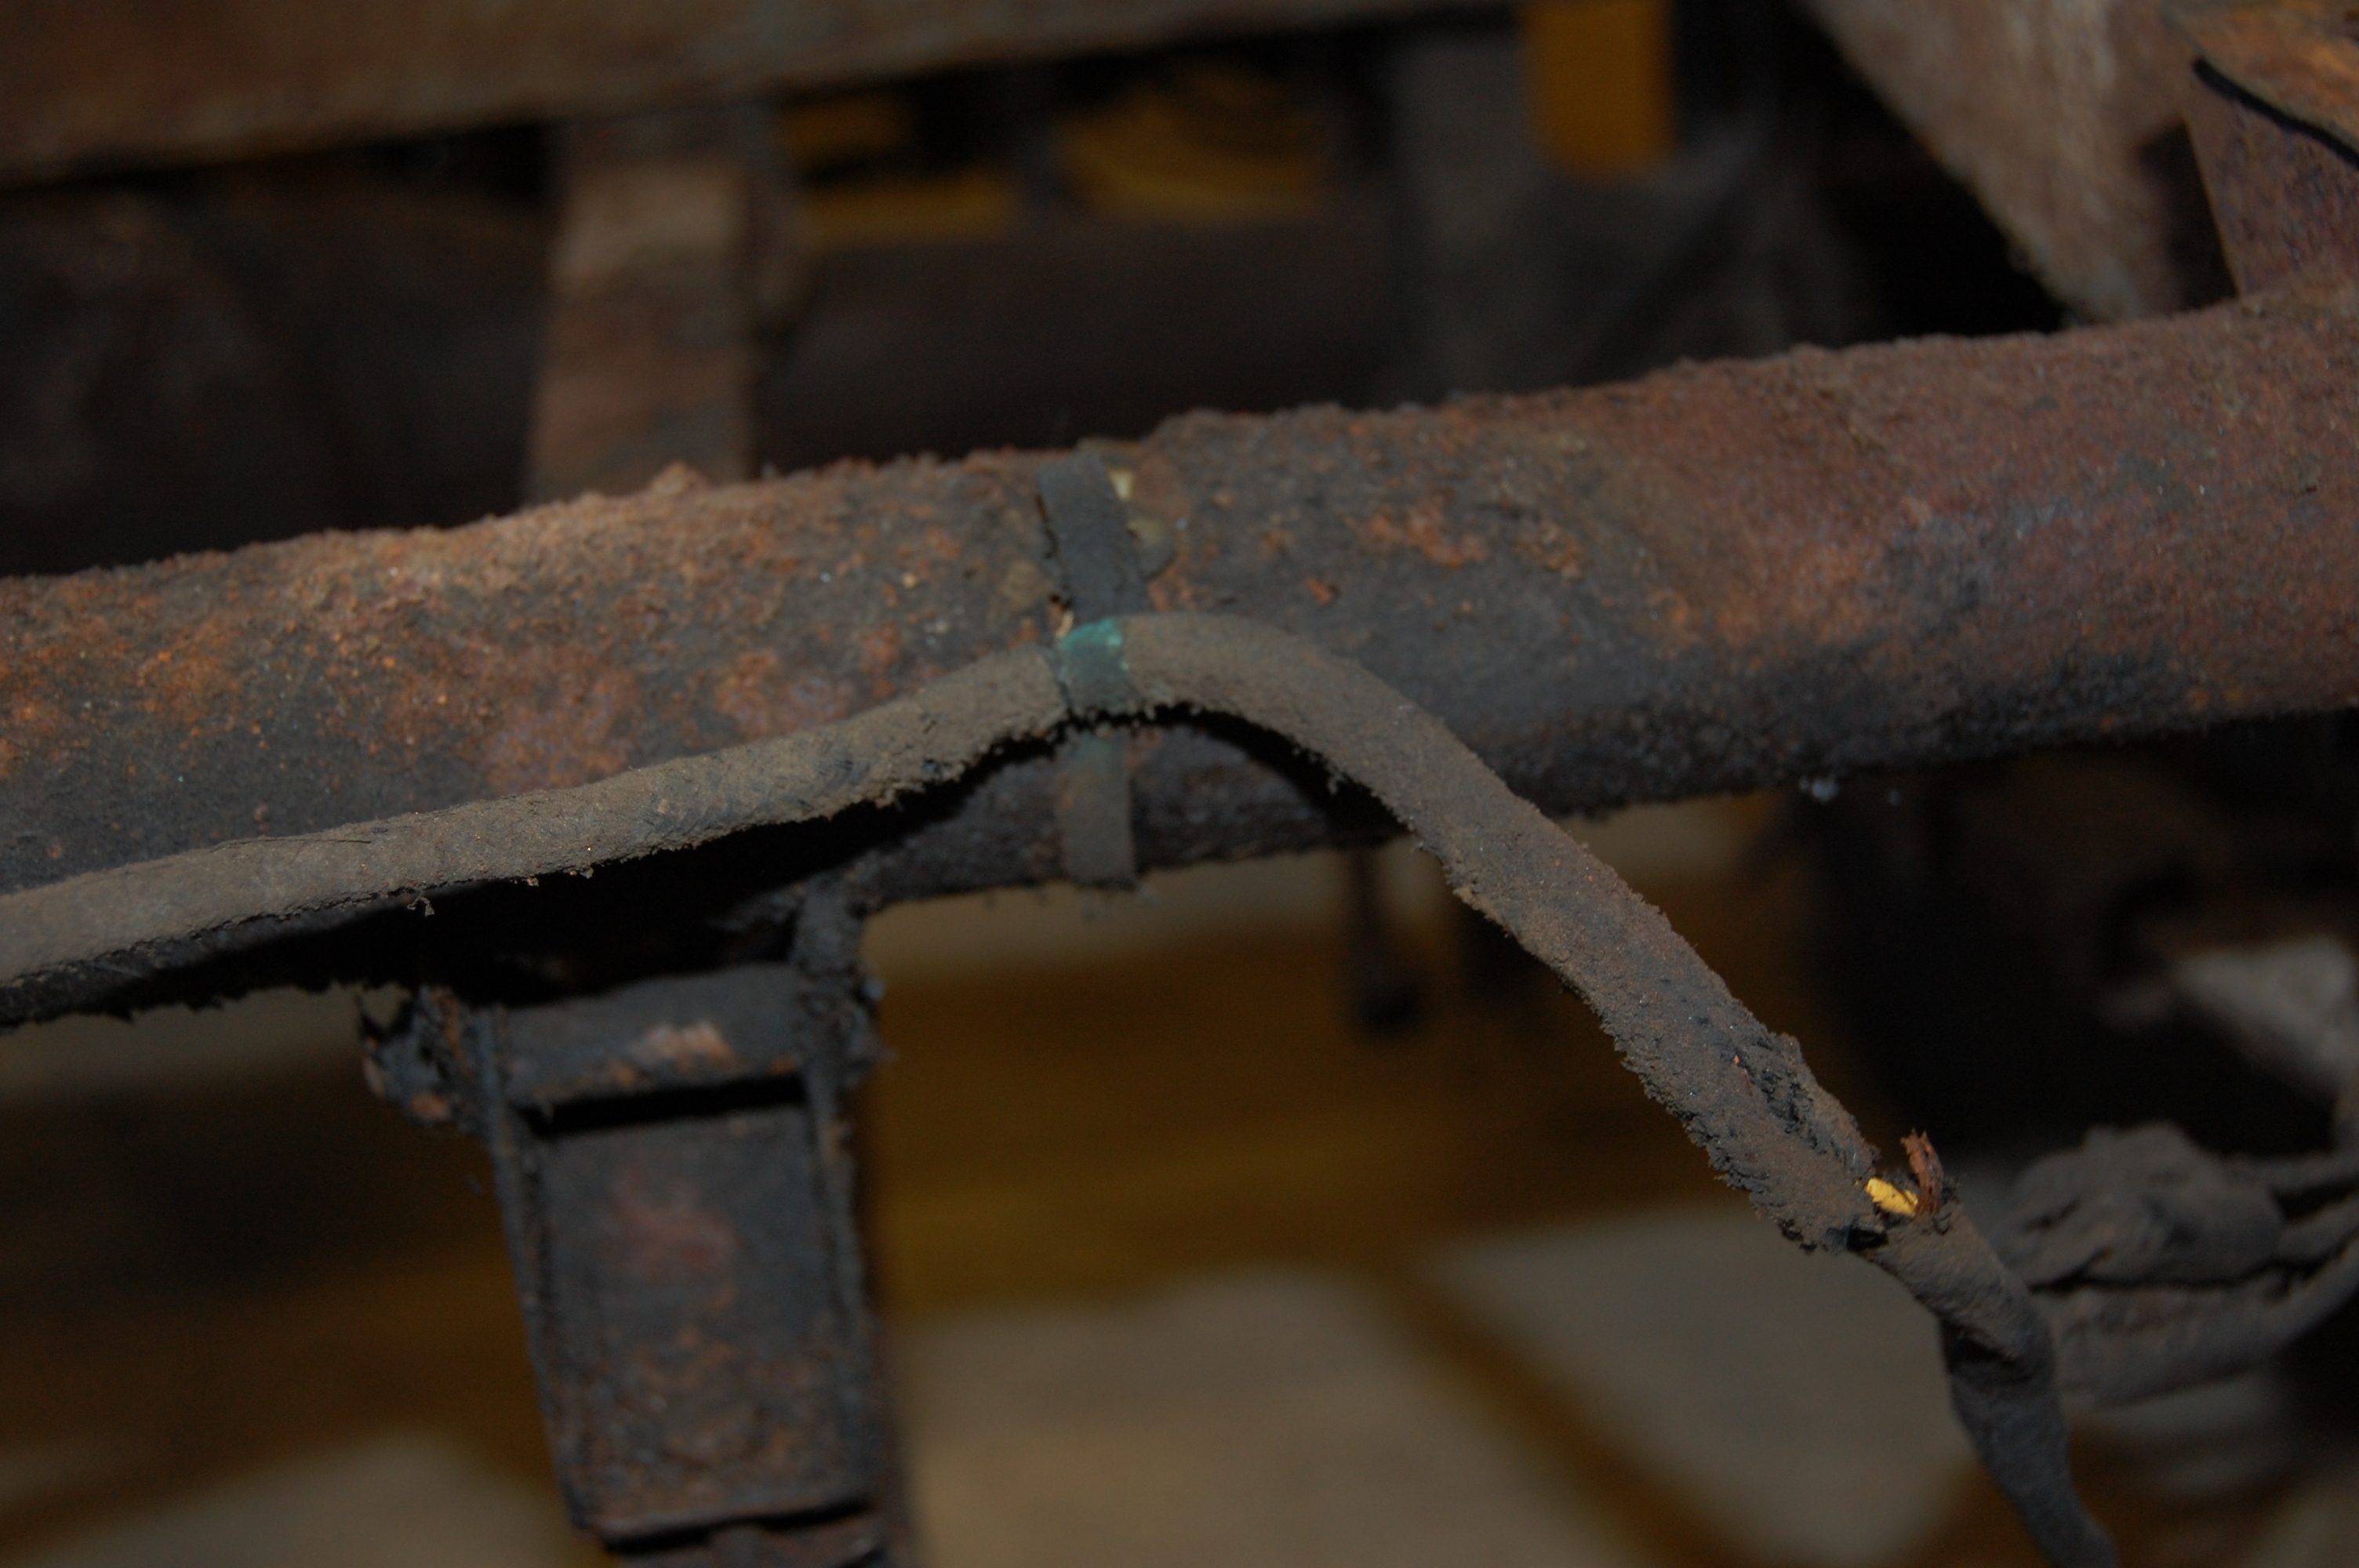 A few shots during chassis strip down, to help with building up again.
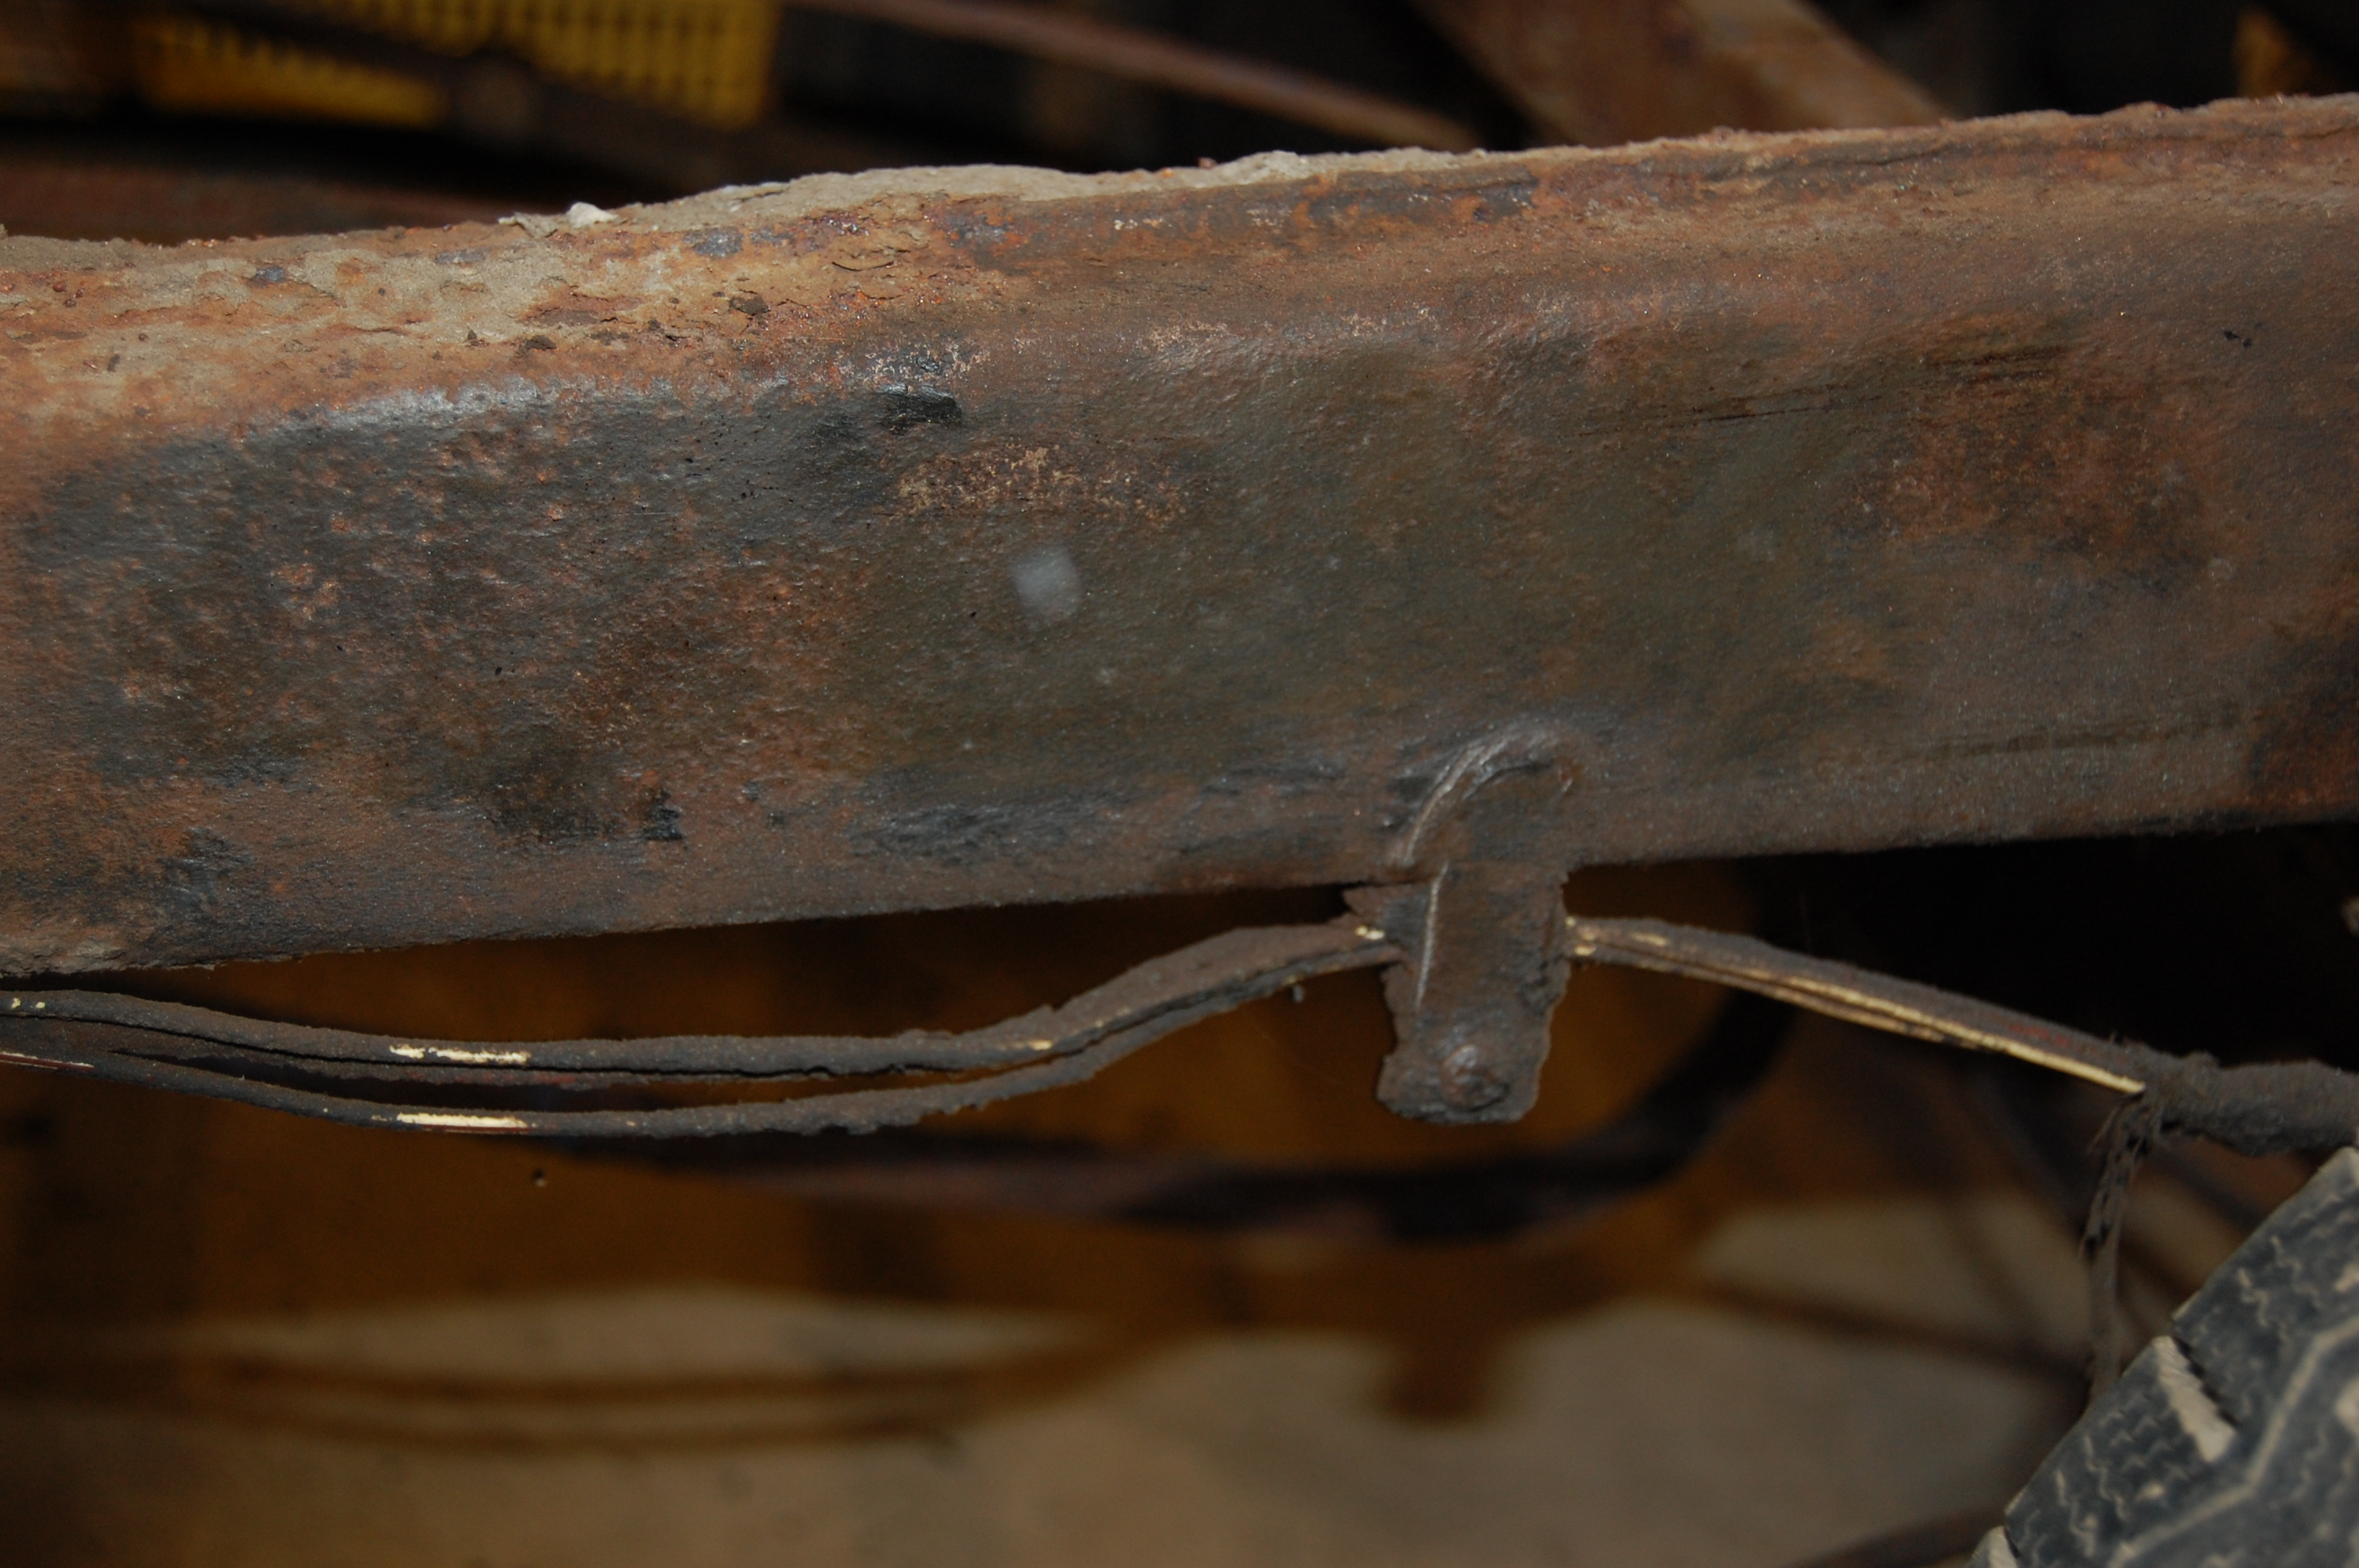 Amazingly, all the cable retainers unscrewed after cleaning up.
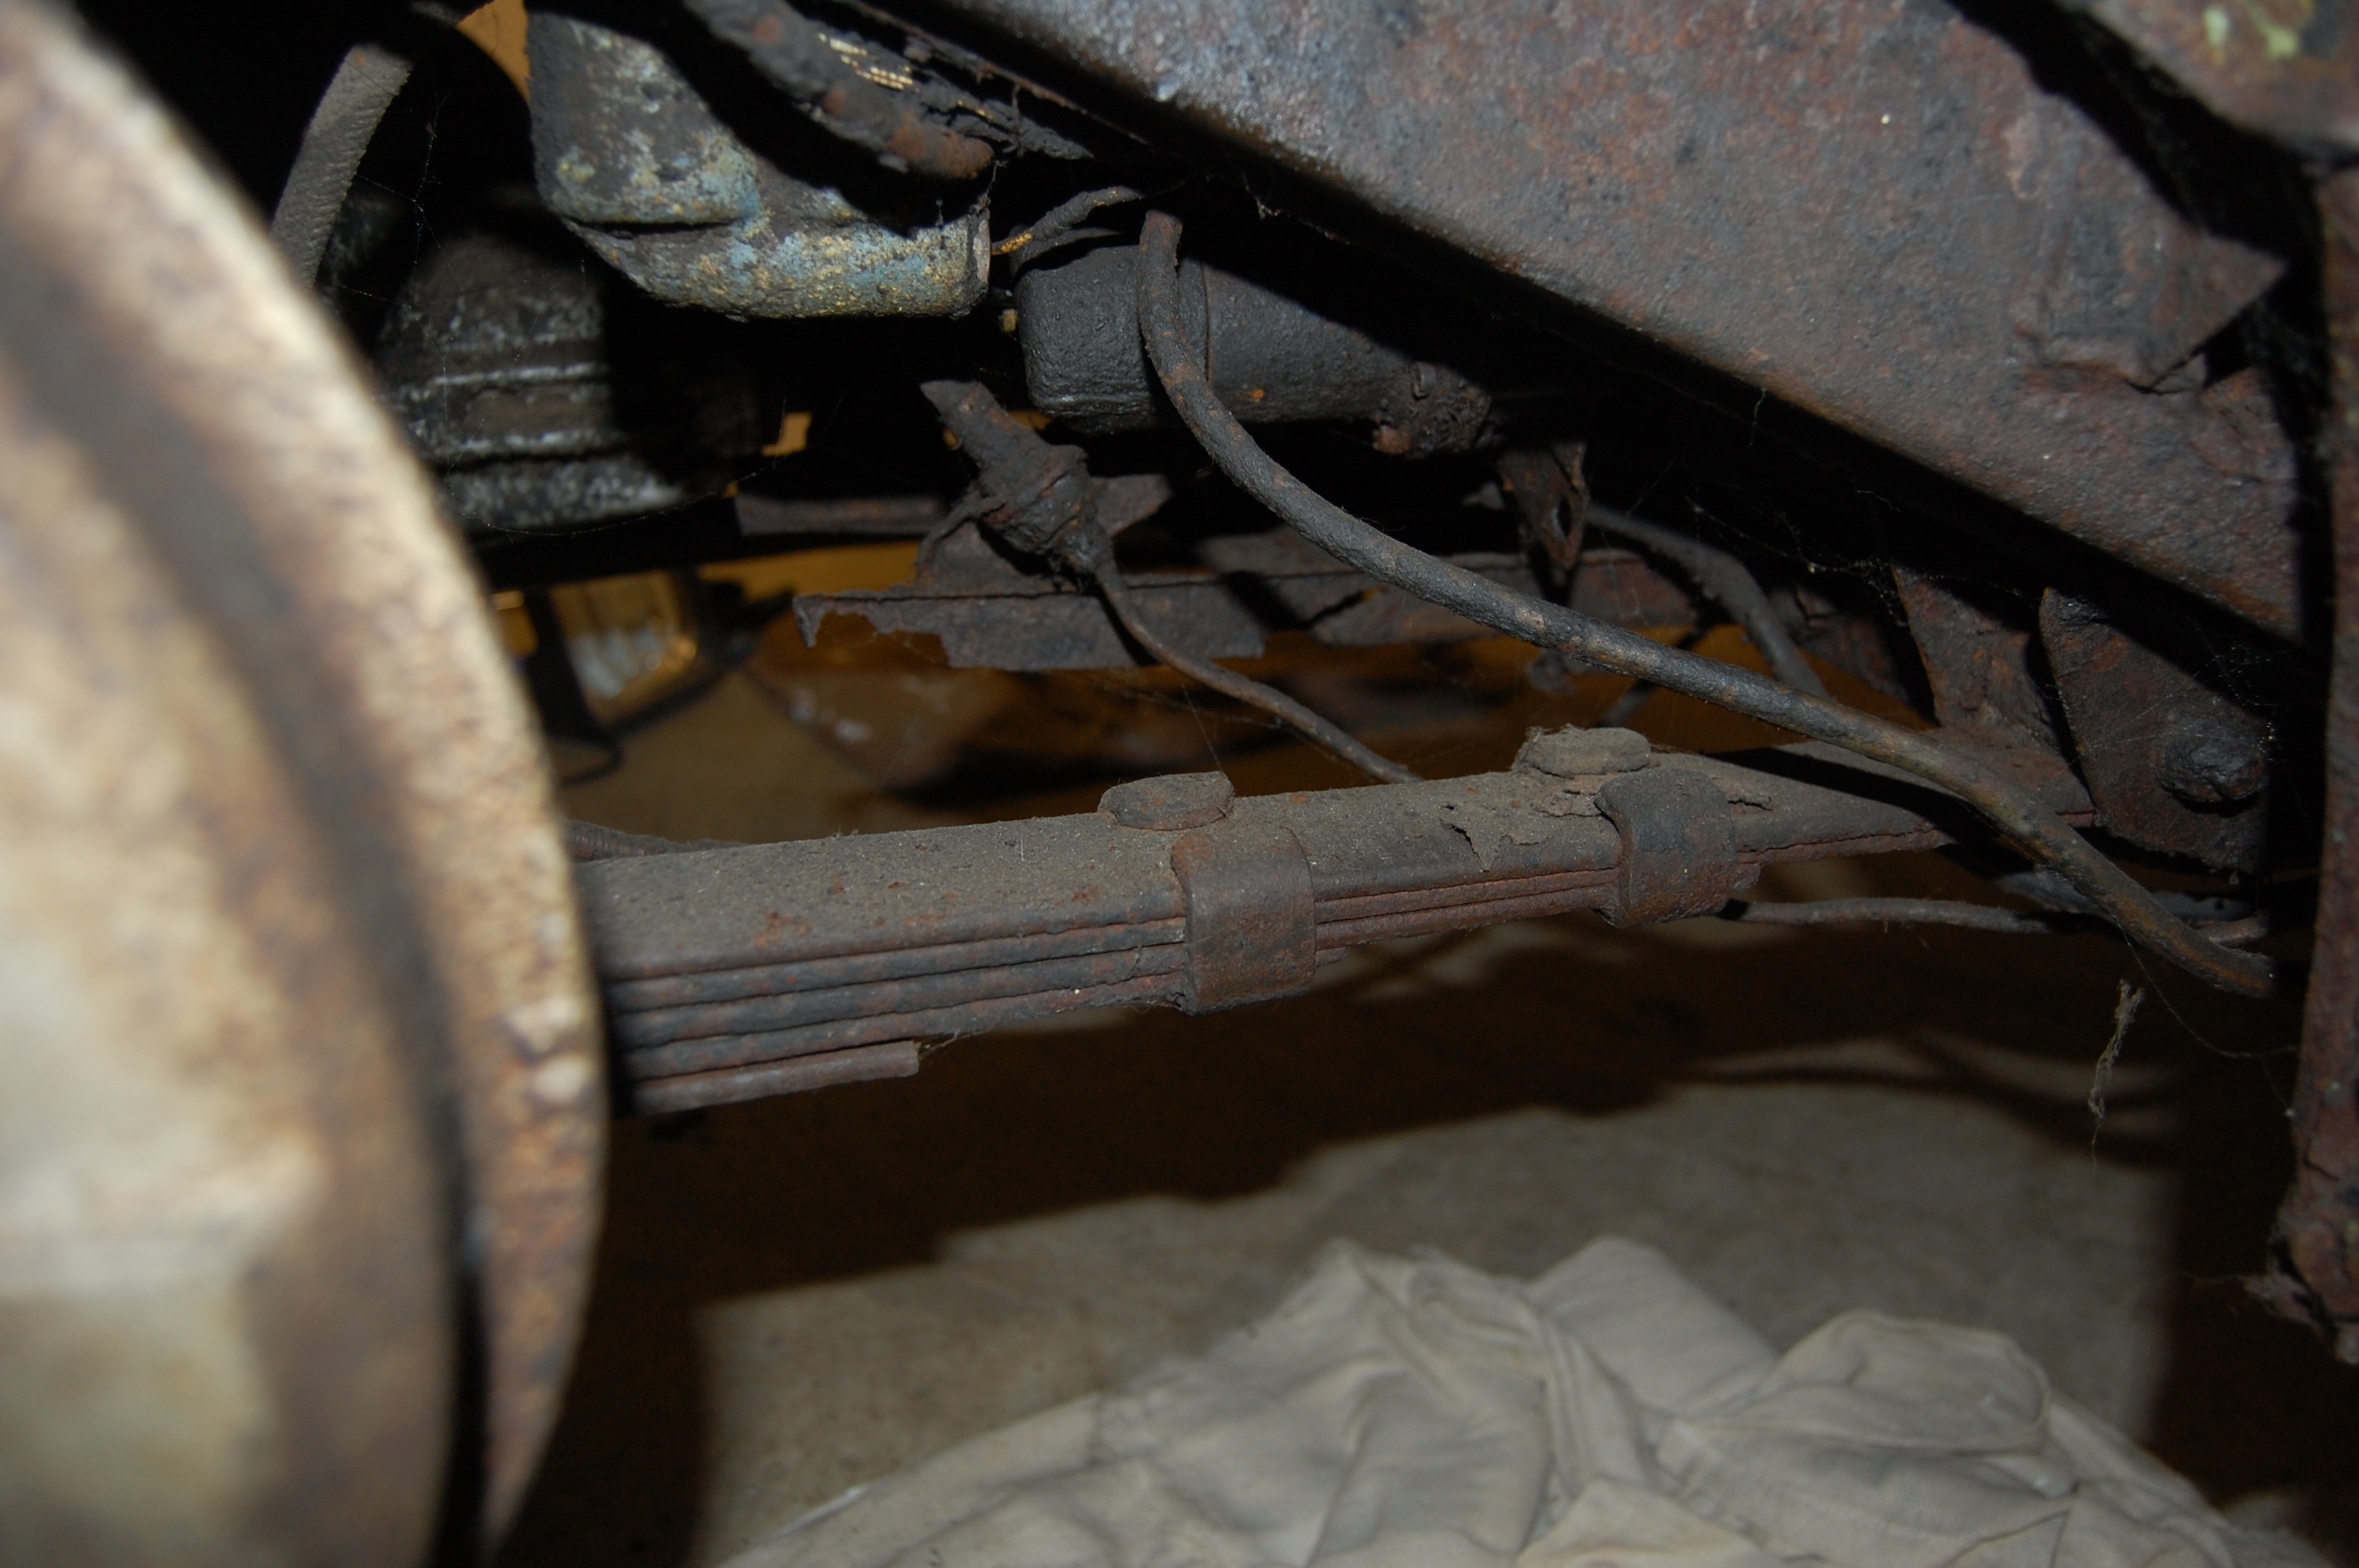
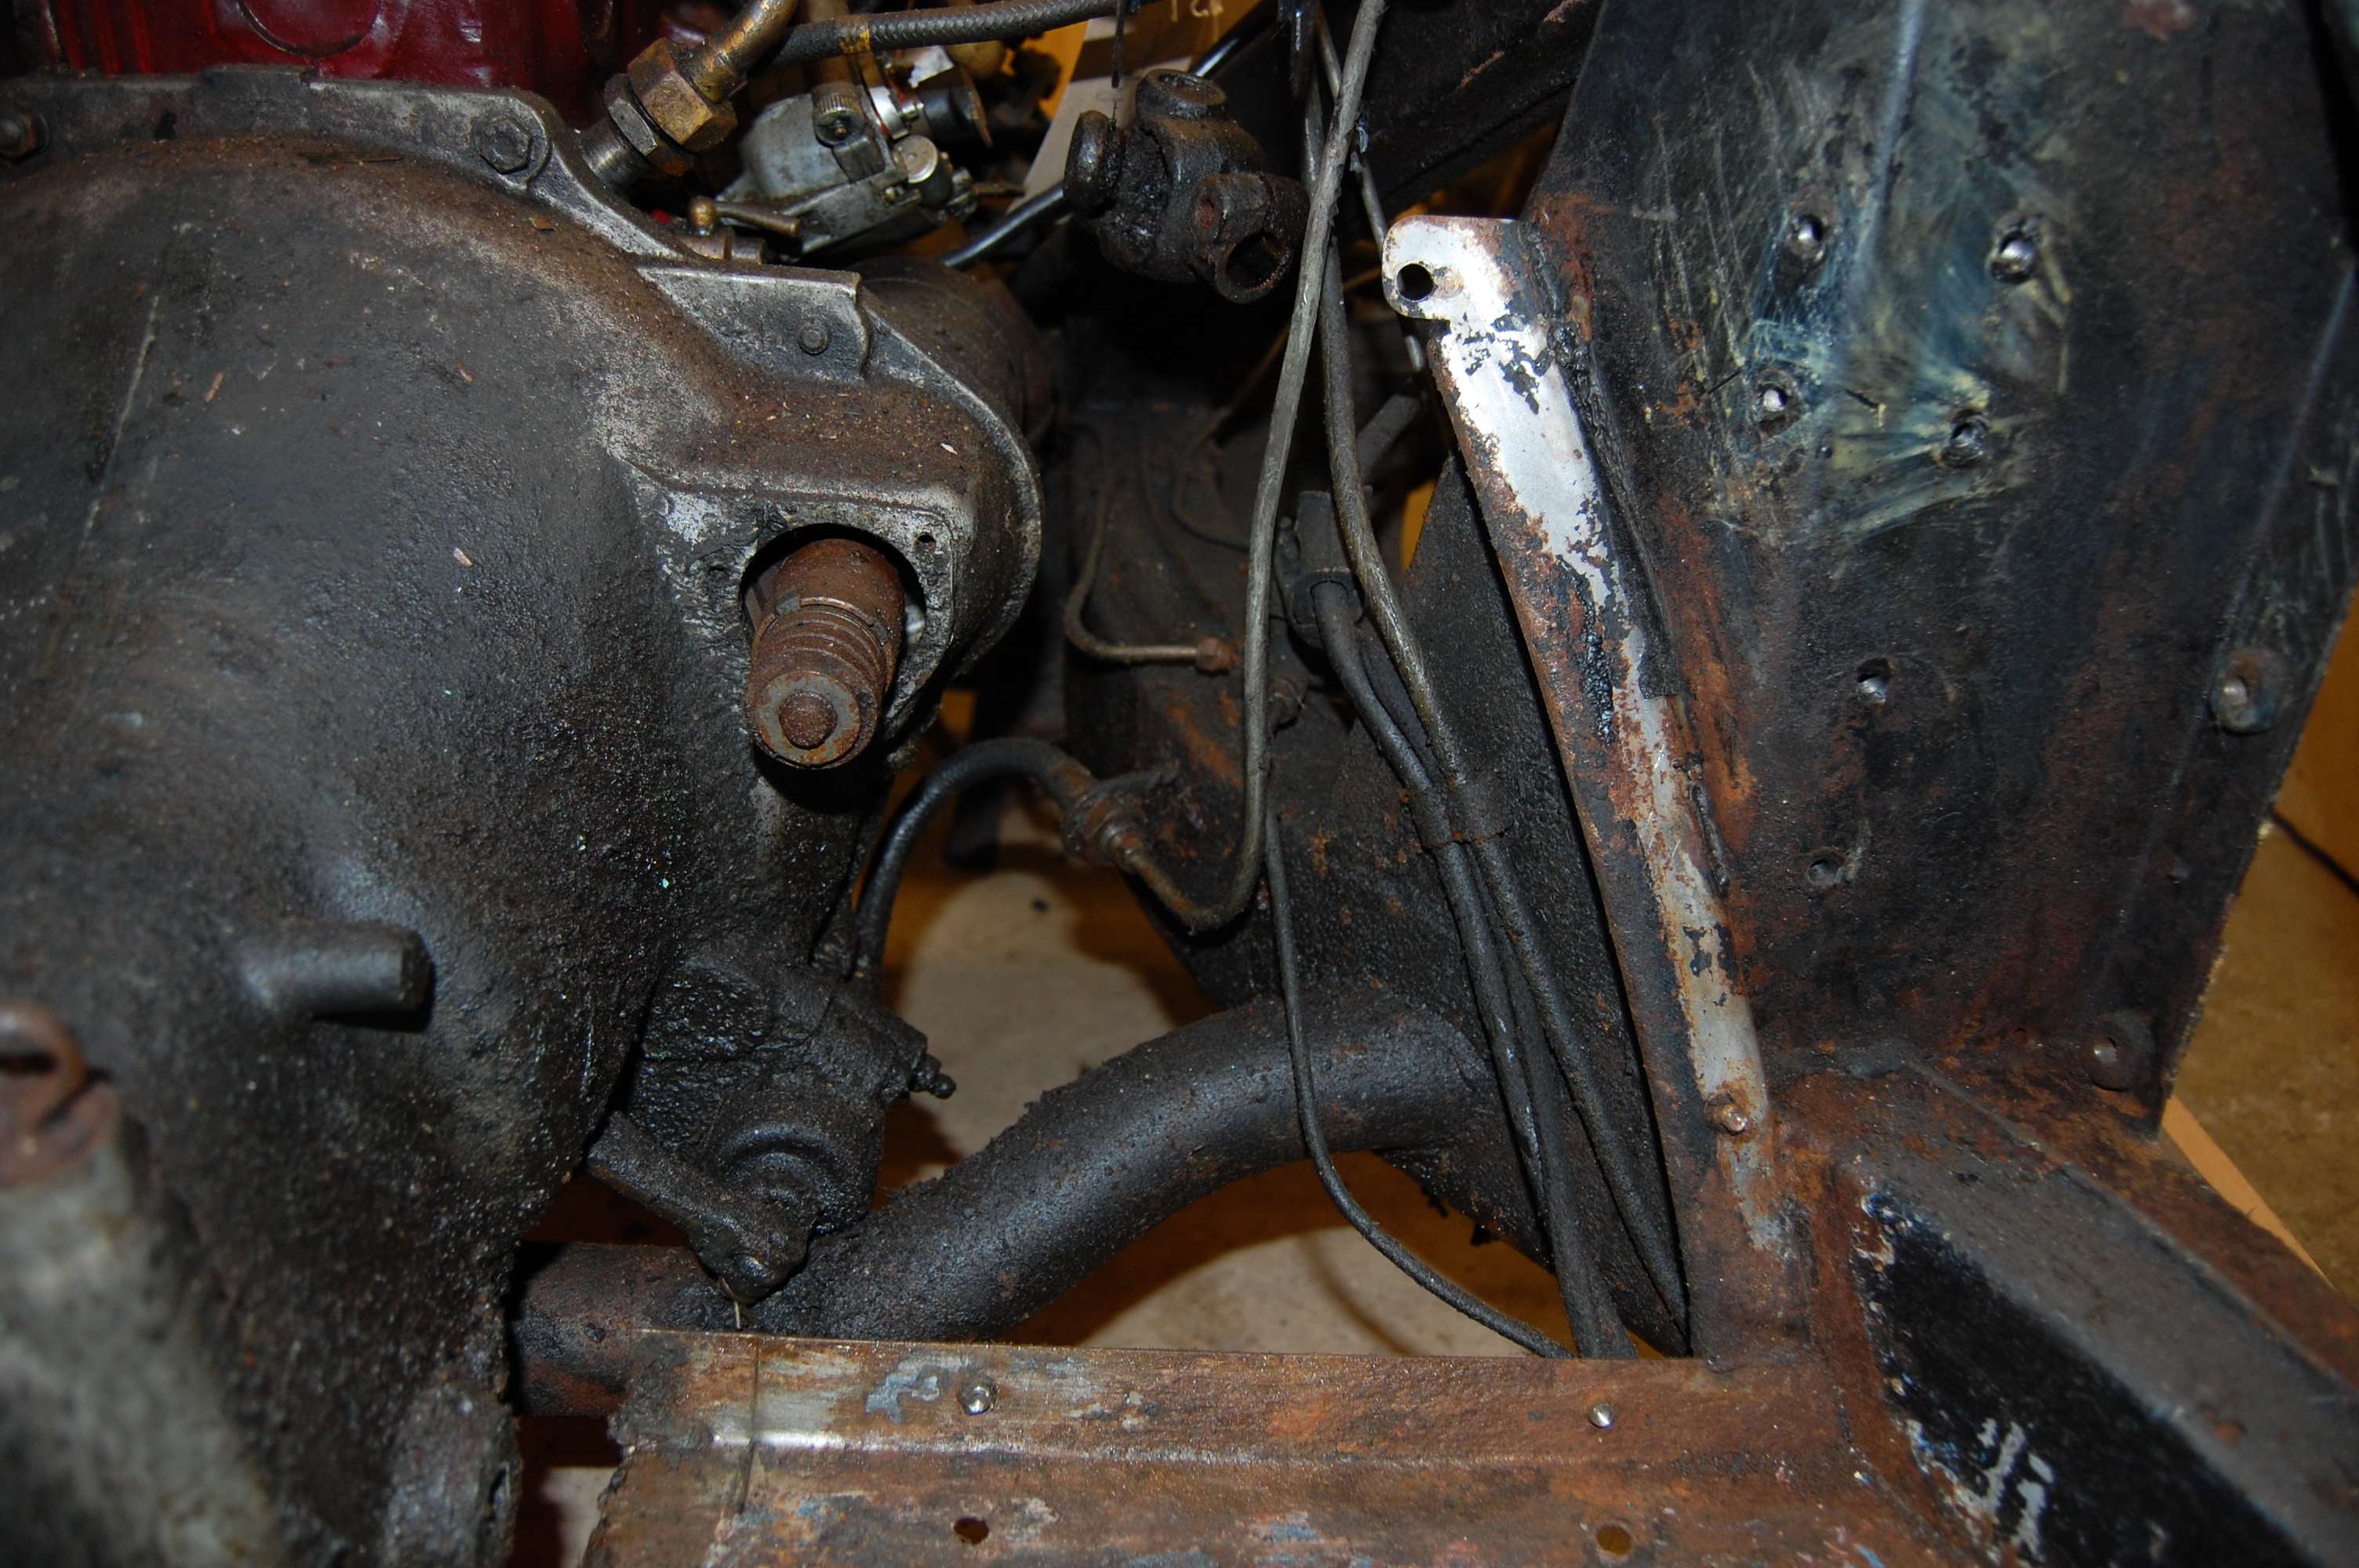 Clutch, brake and fuel pipe routing.
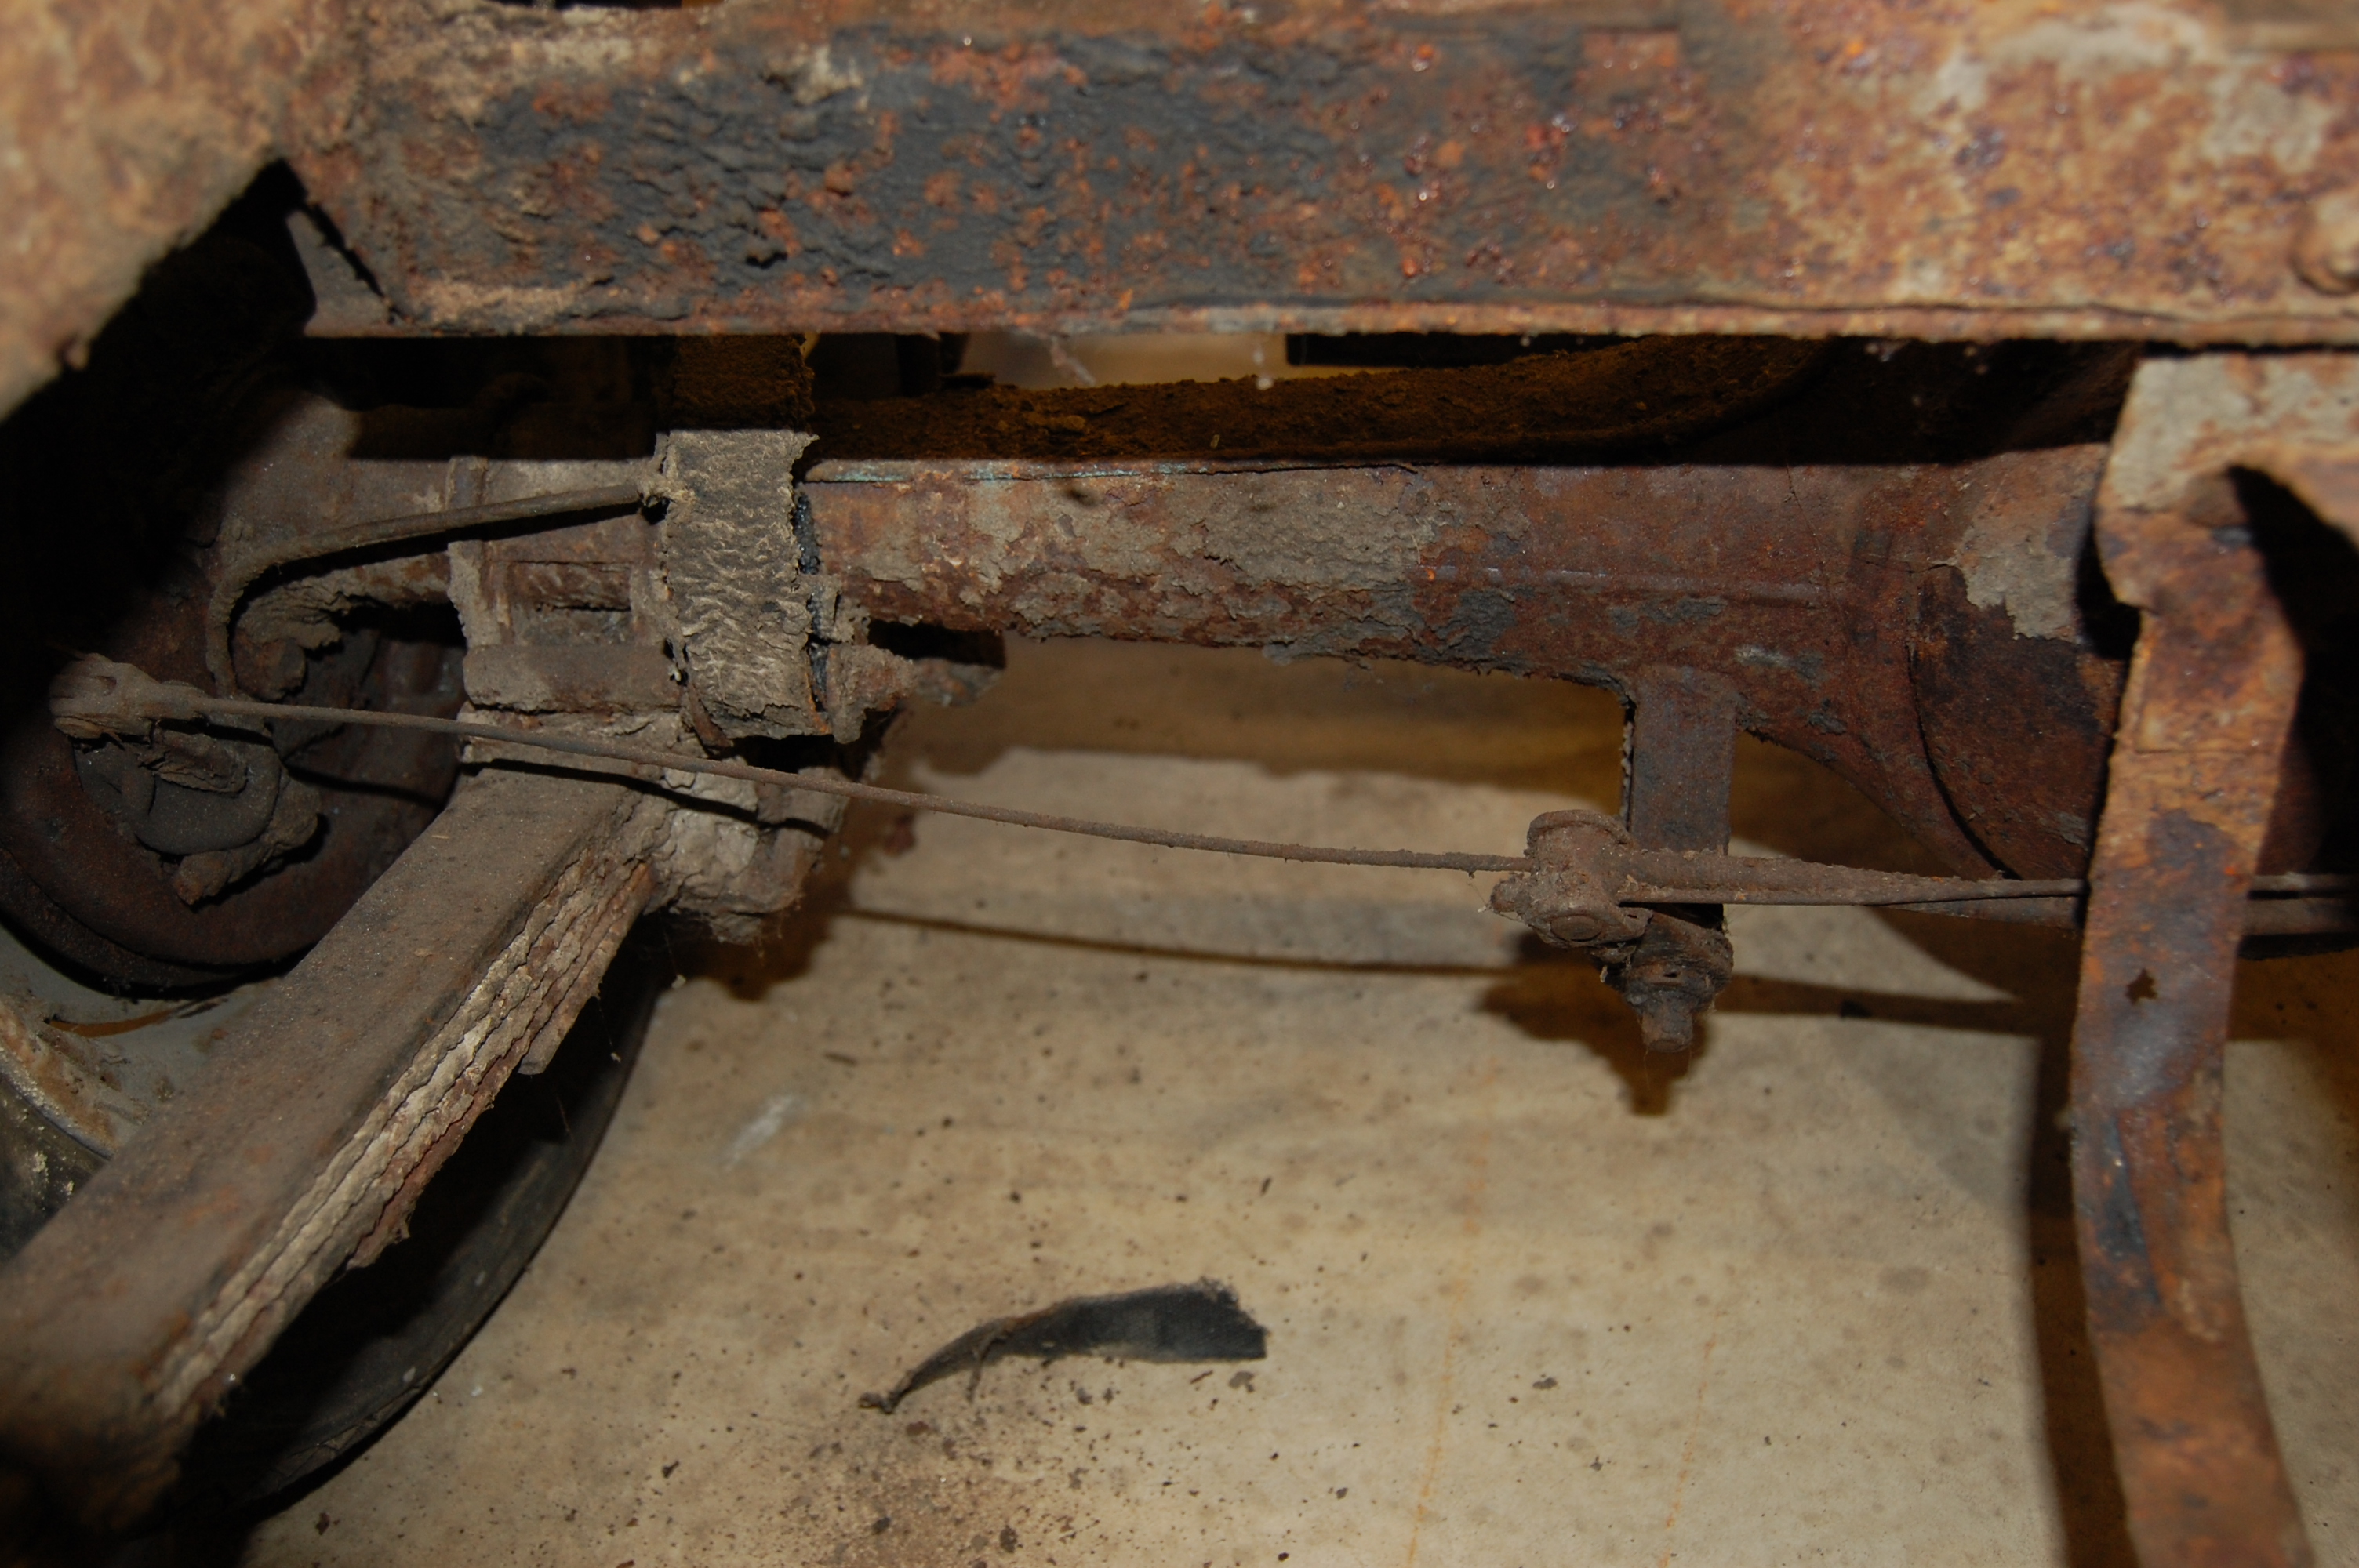
 Fuel pipe from tank to pump runs to a ‘p’ clip on the outside of the chassis, attached to the rear damper mounting.
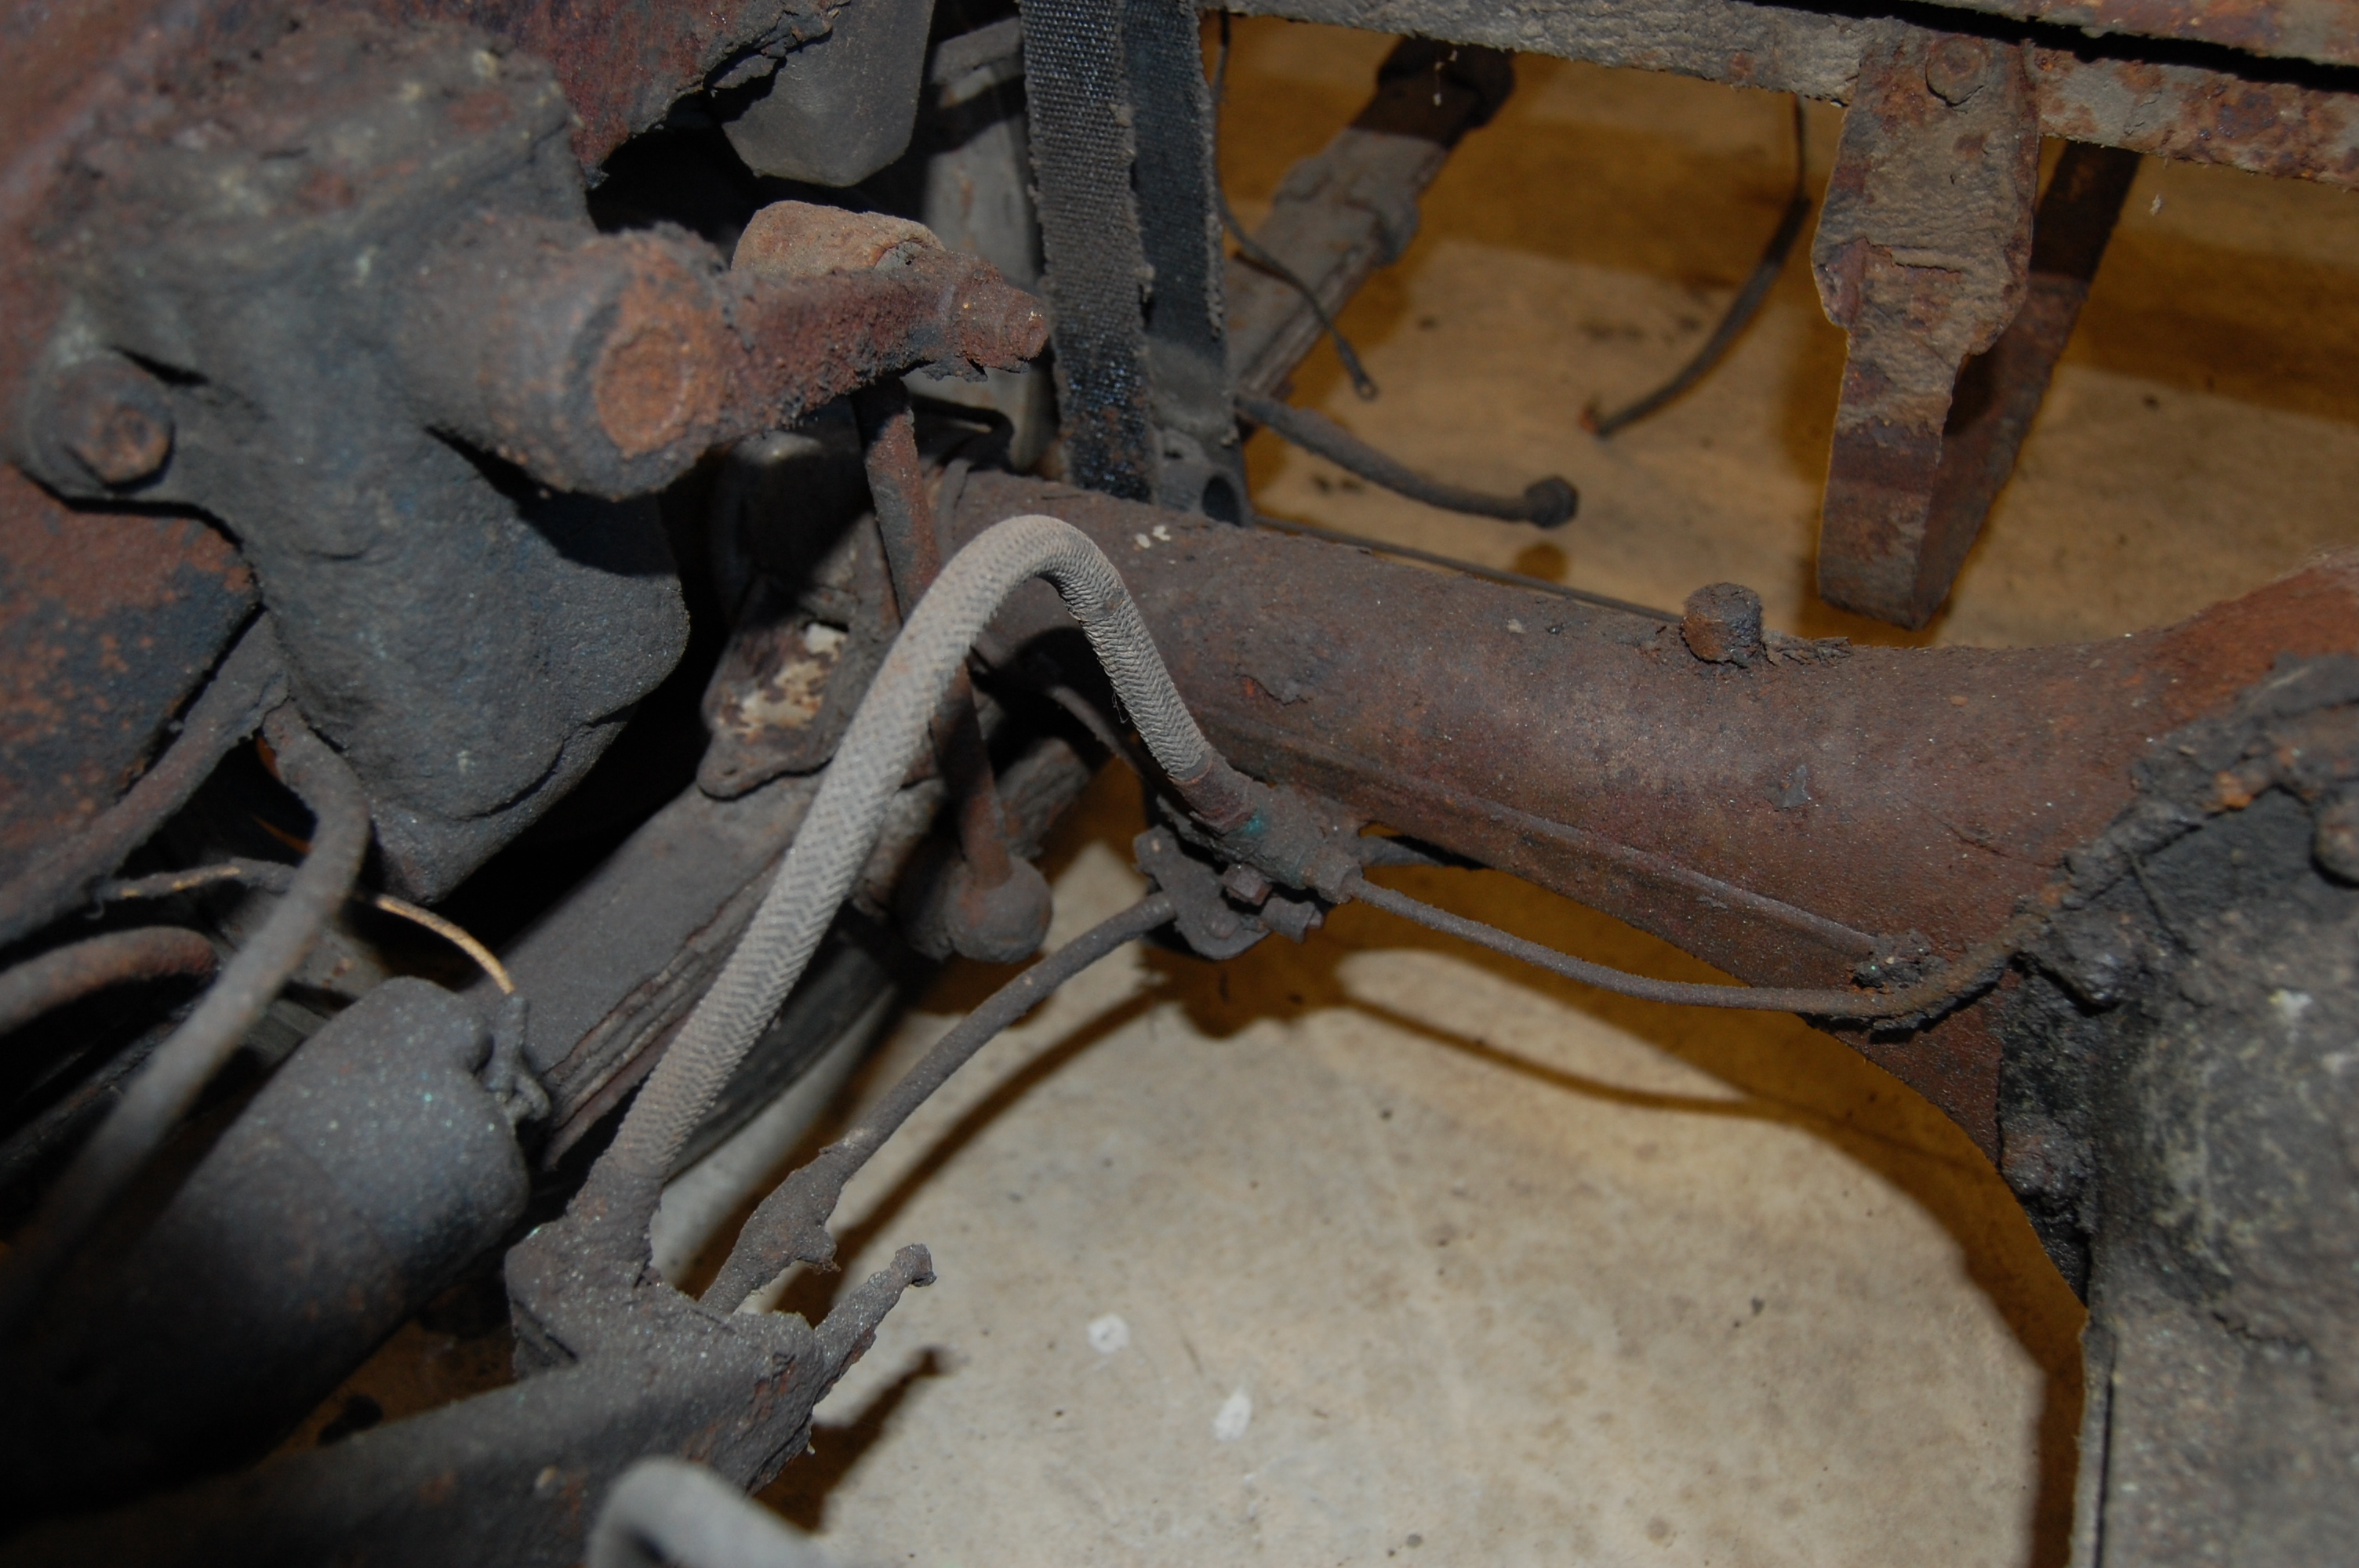
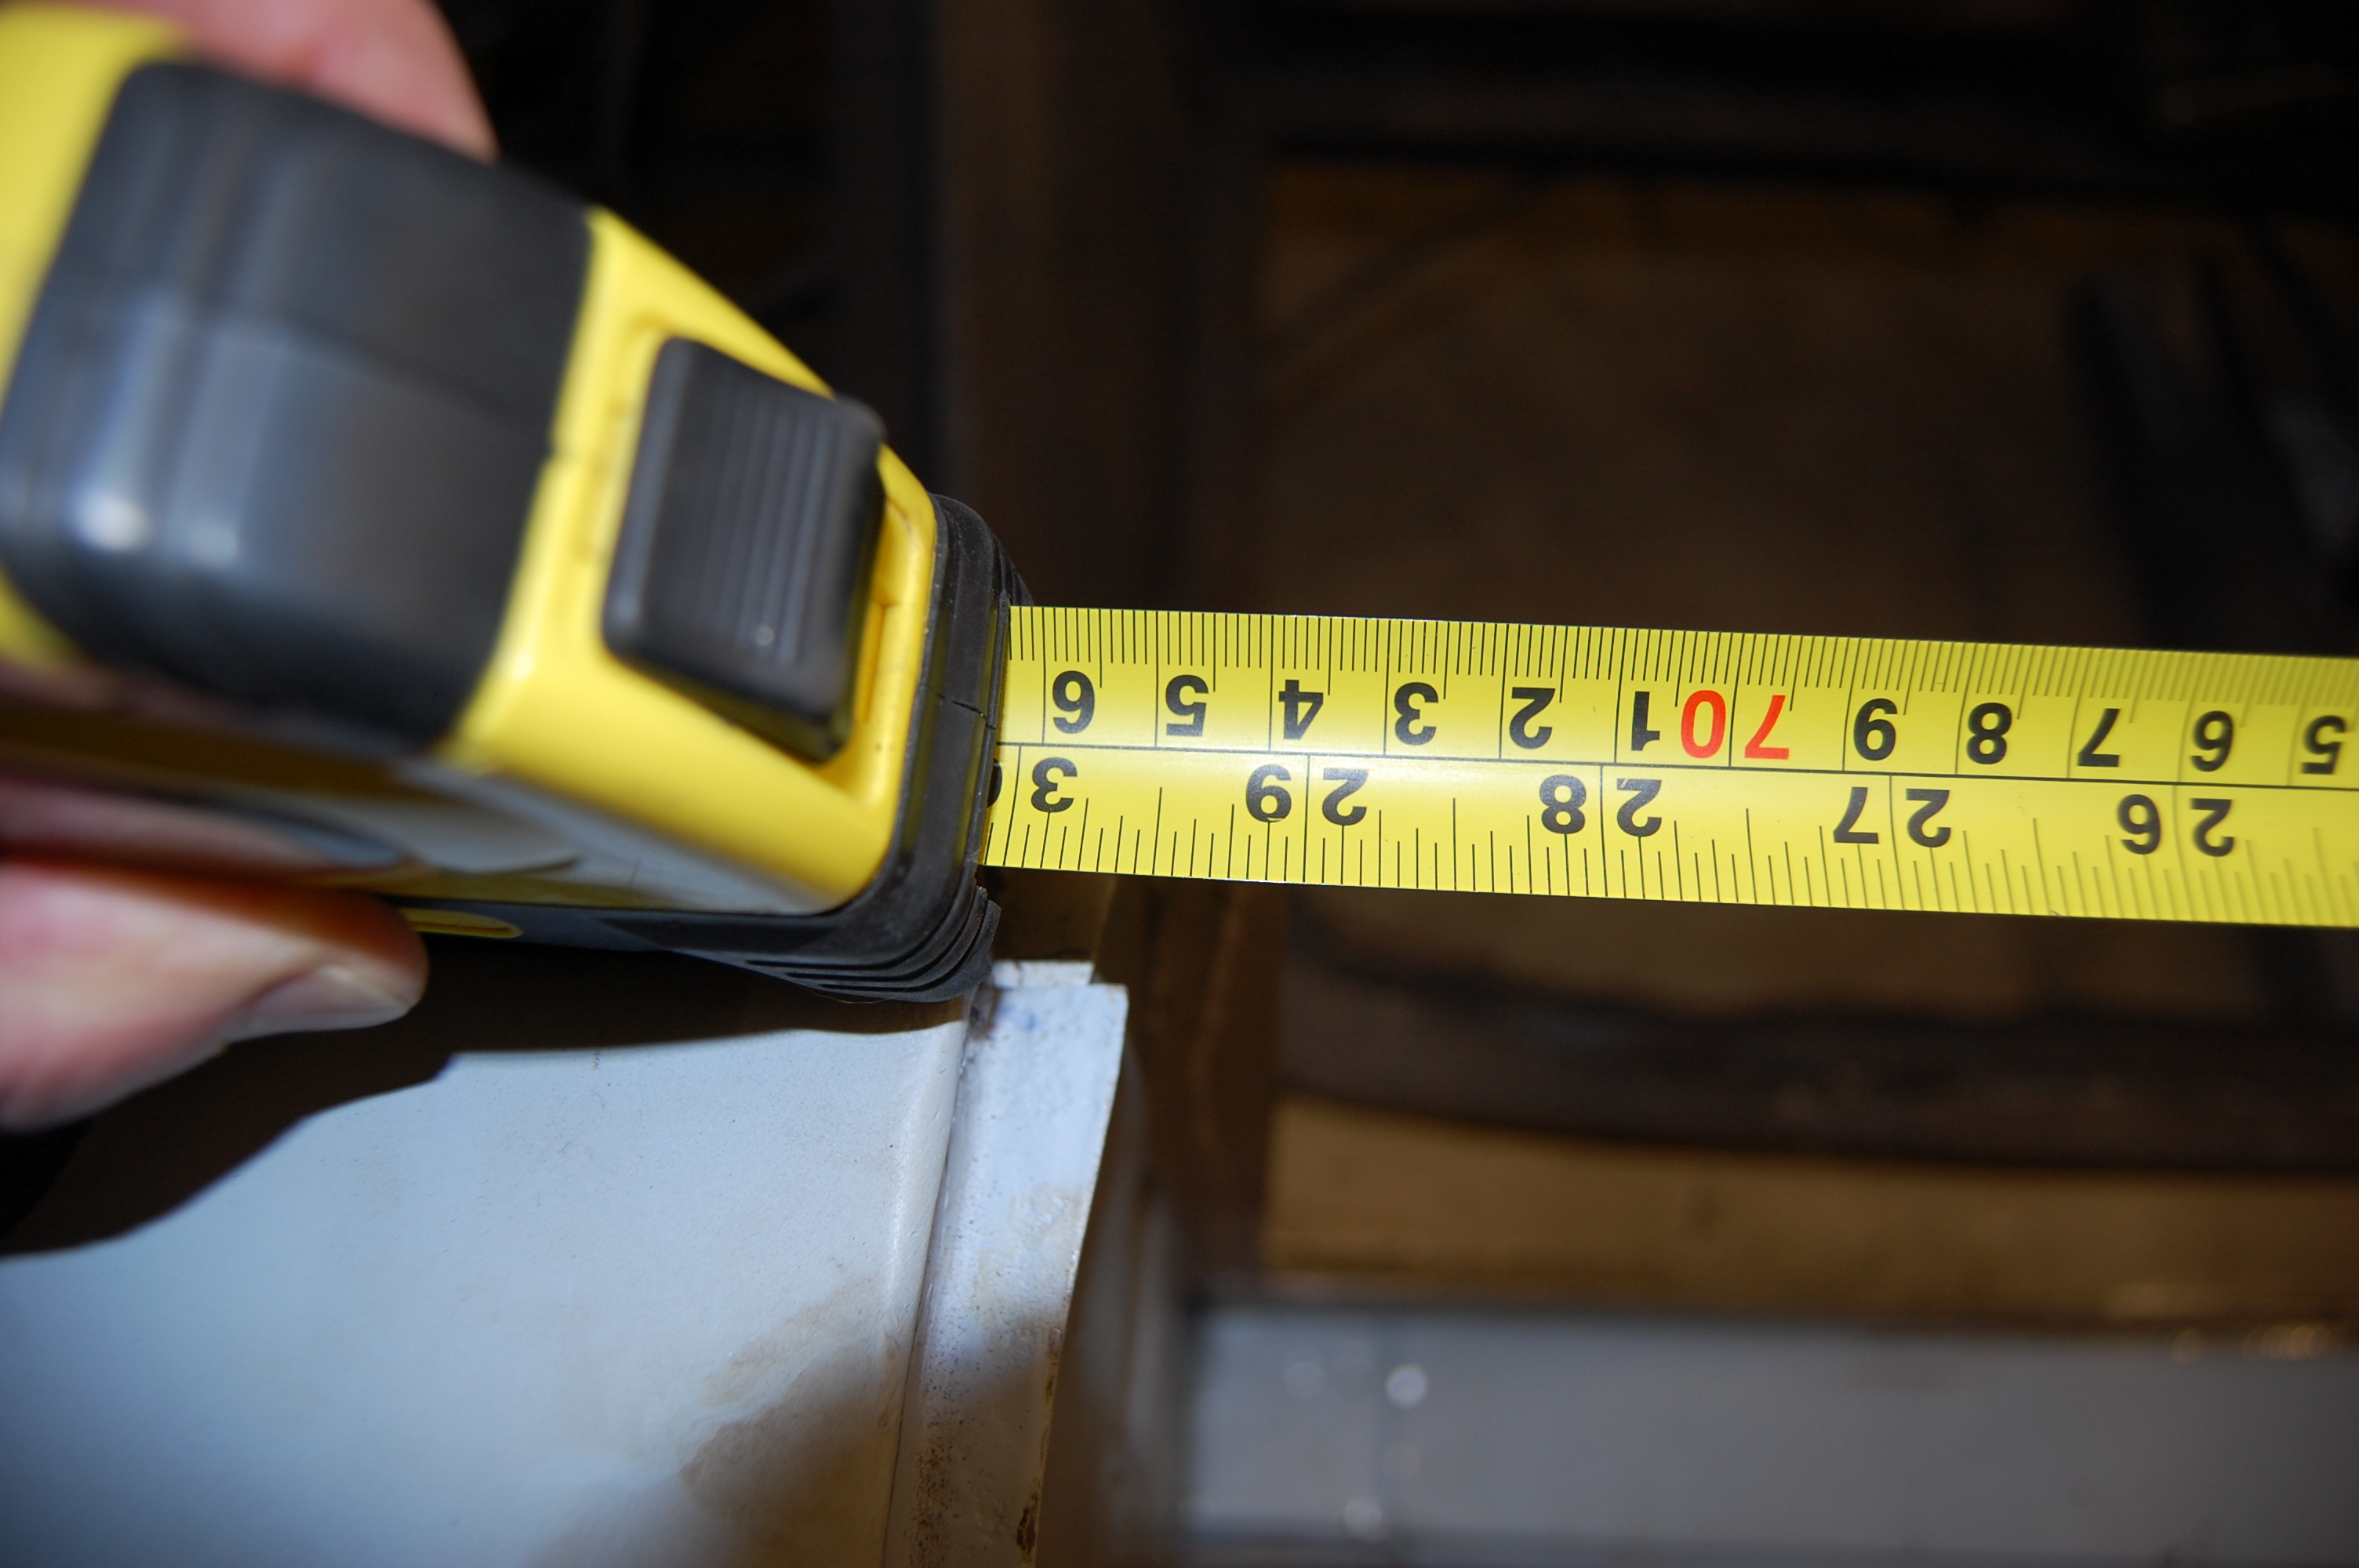
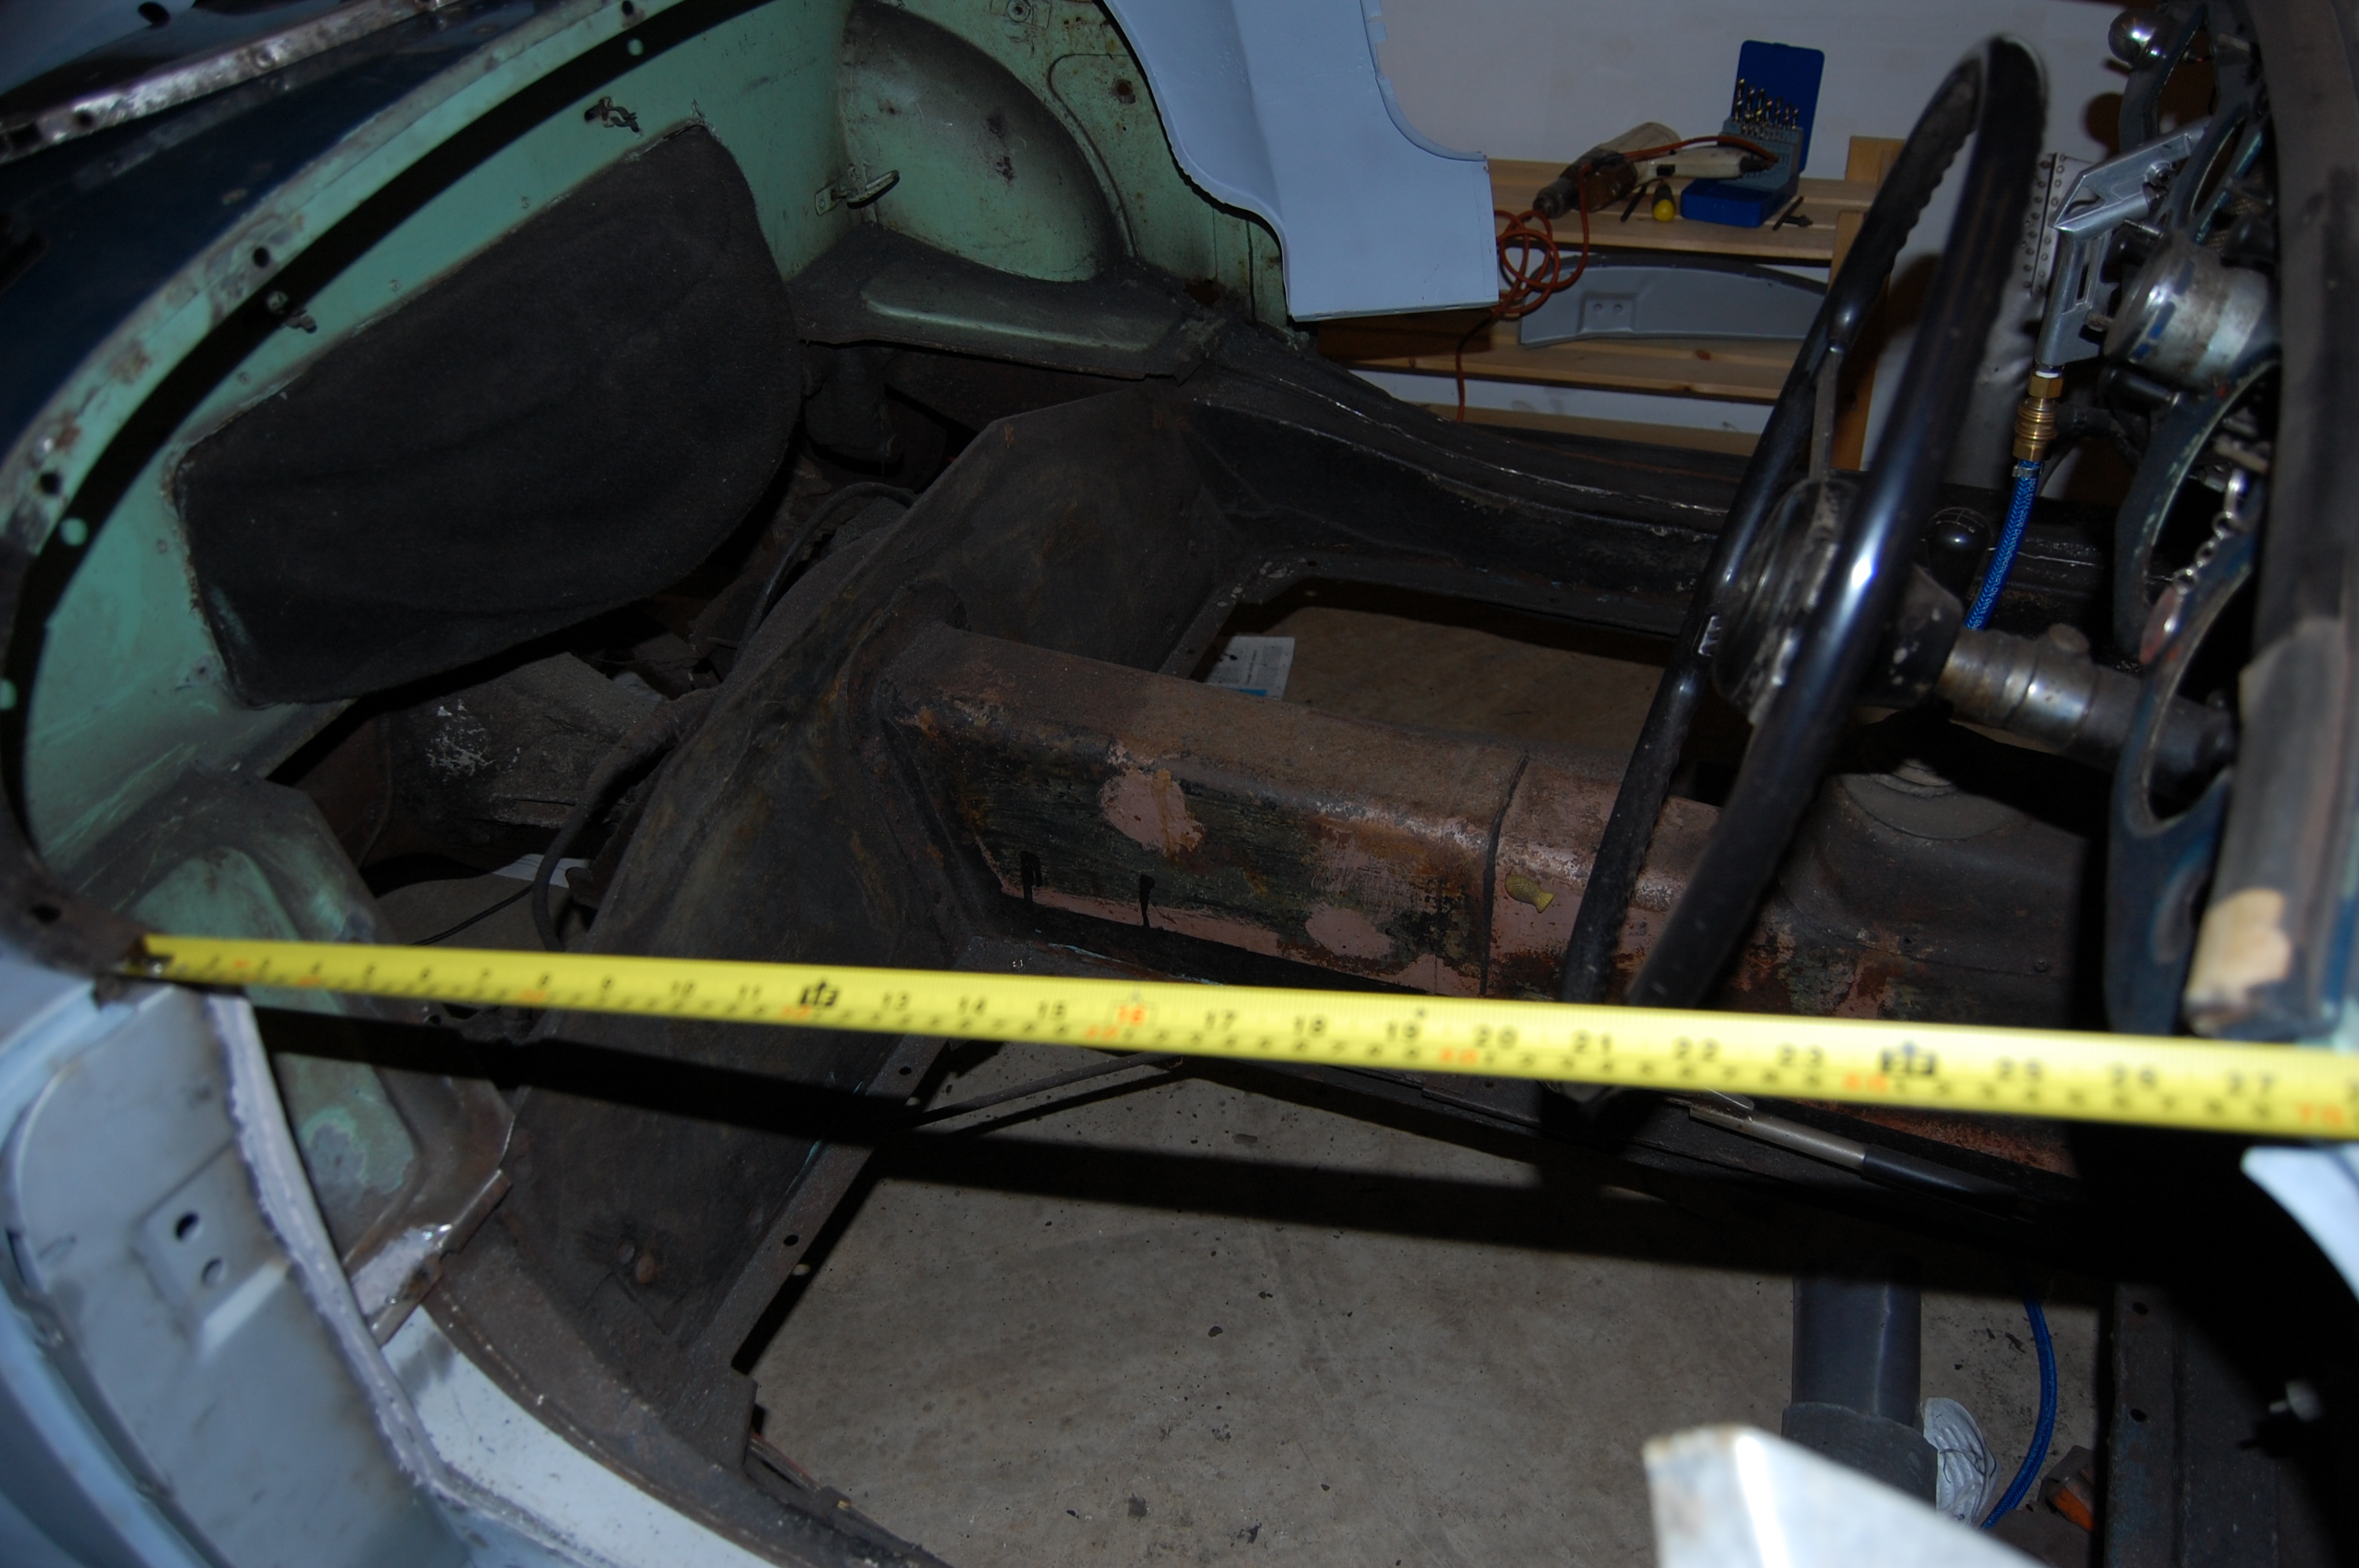
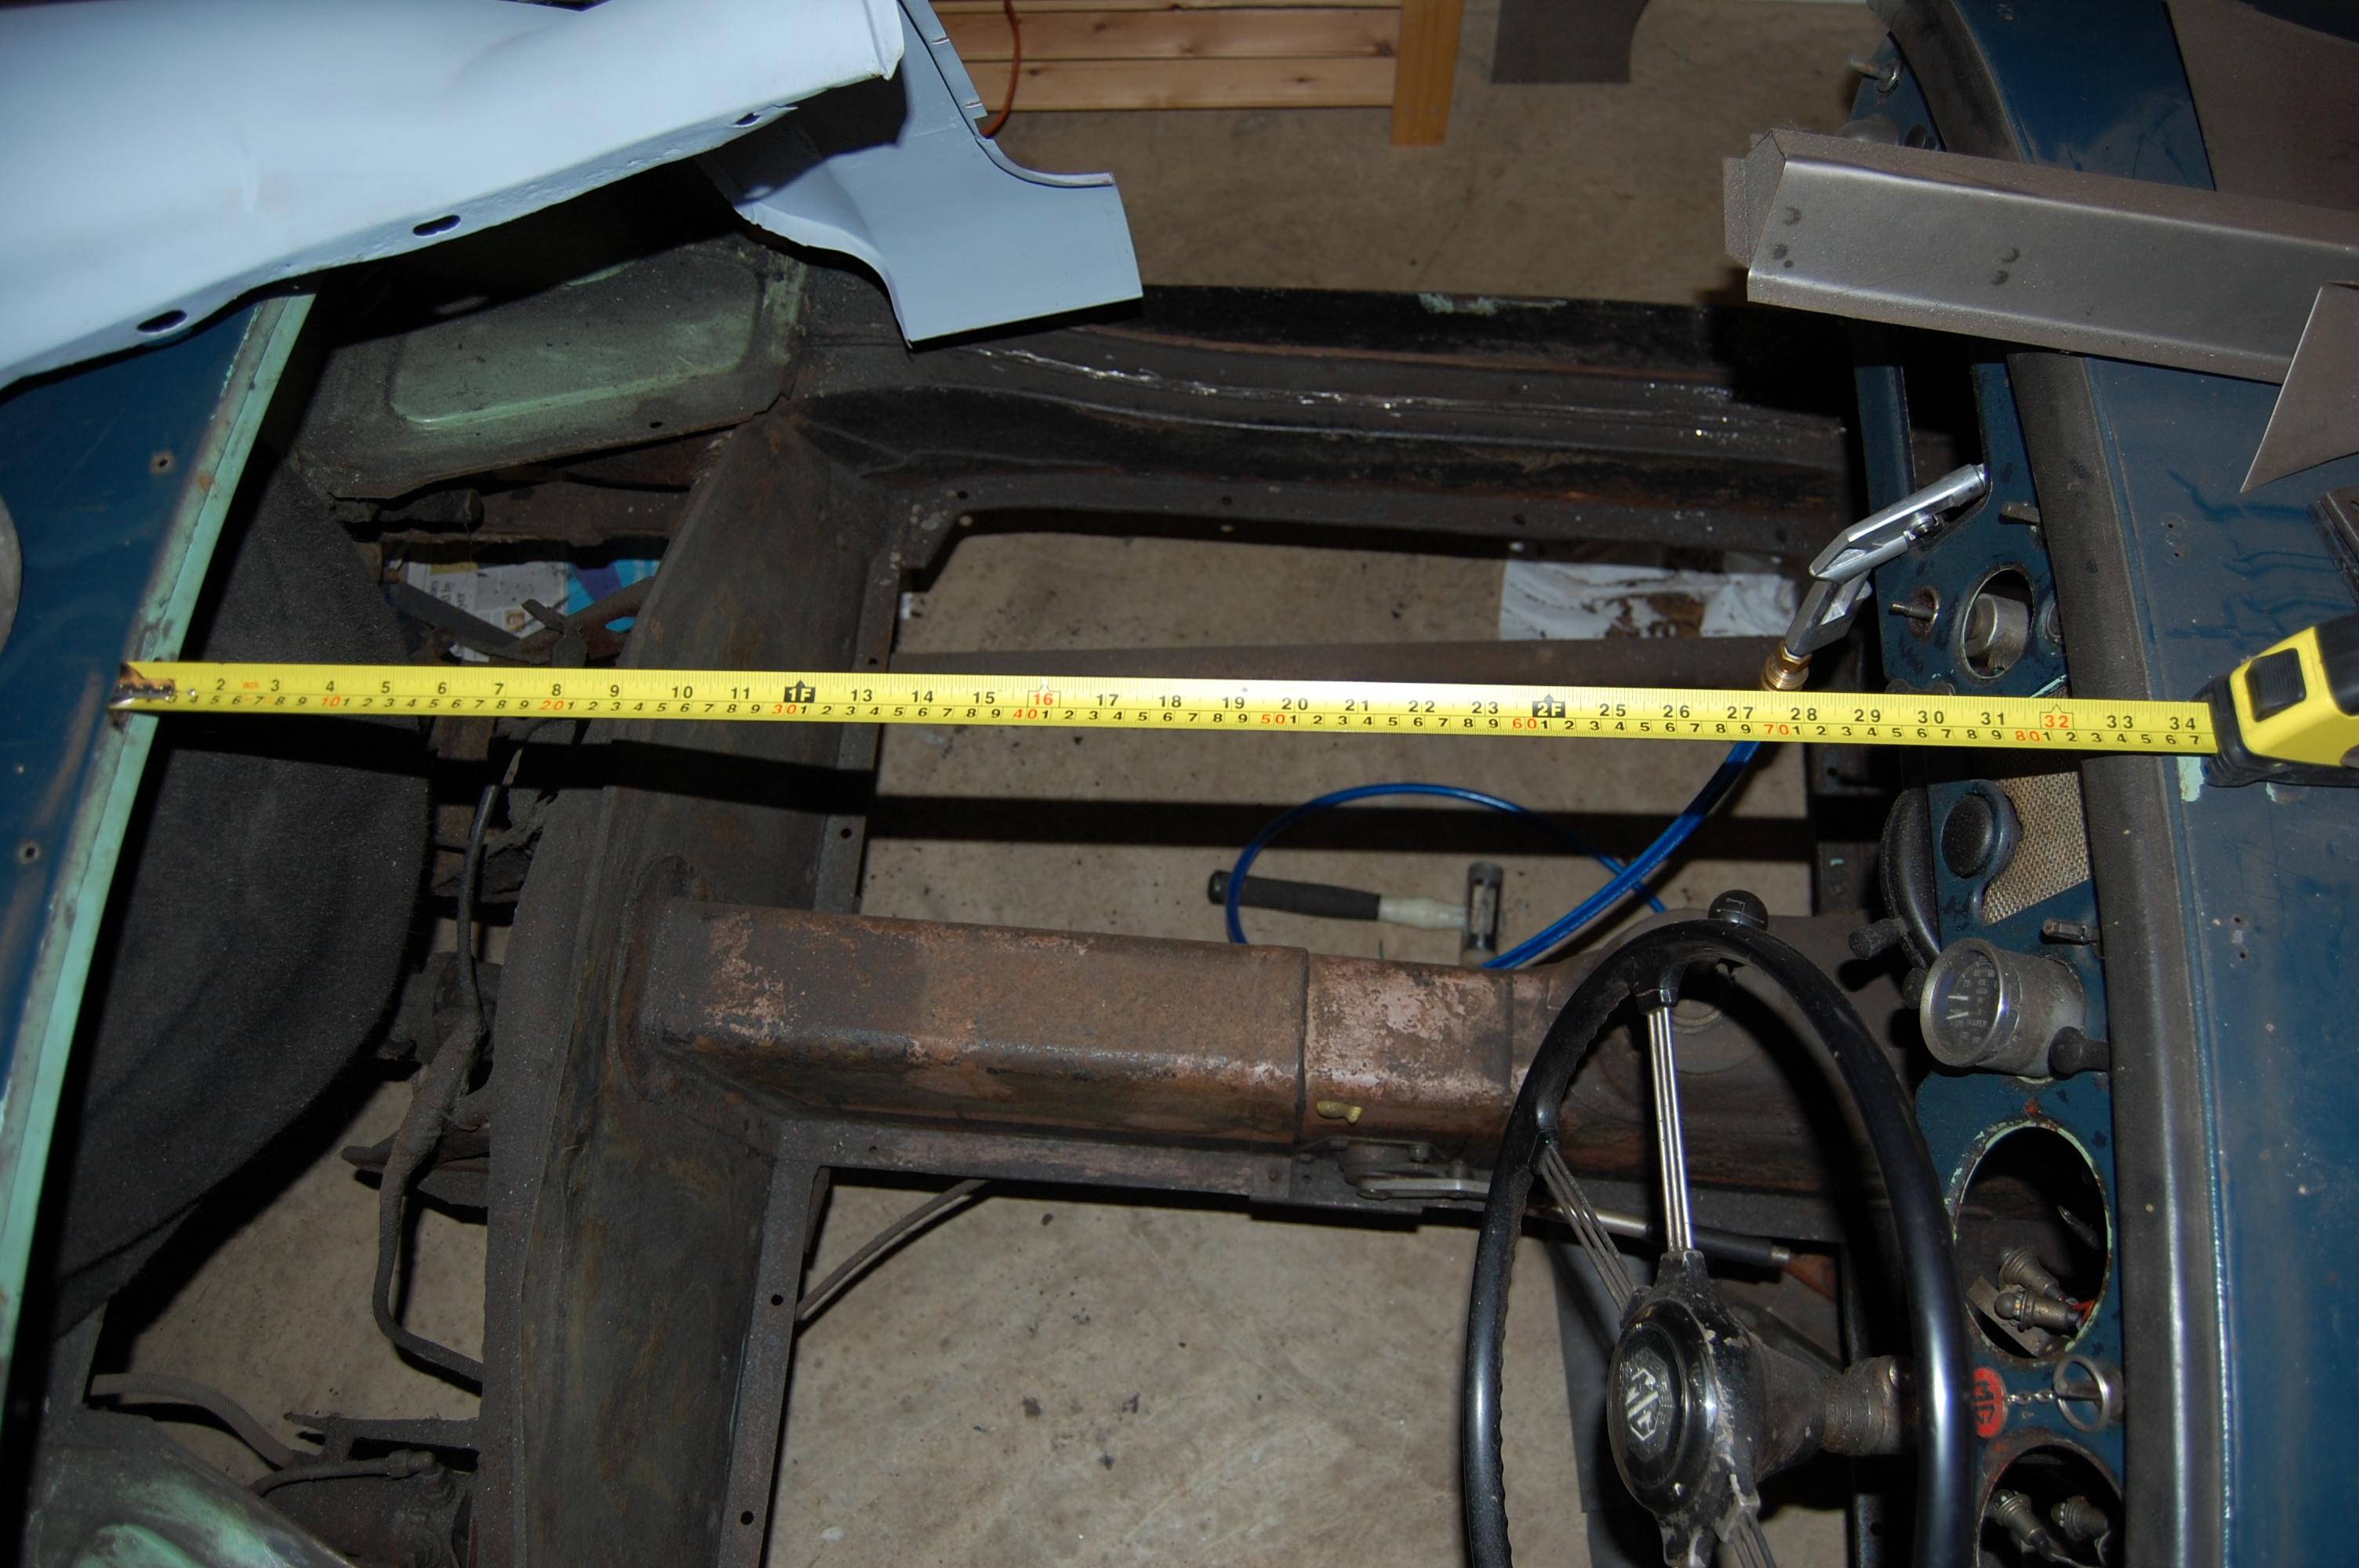
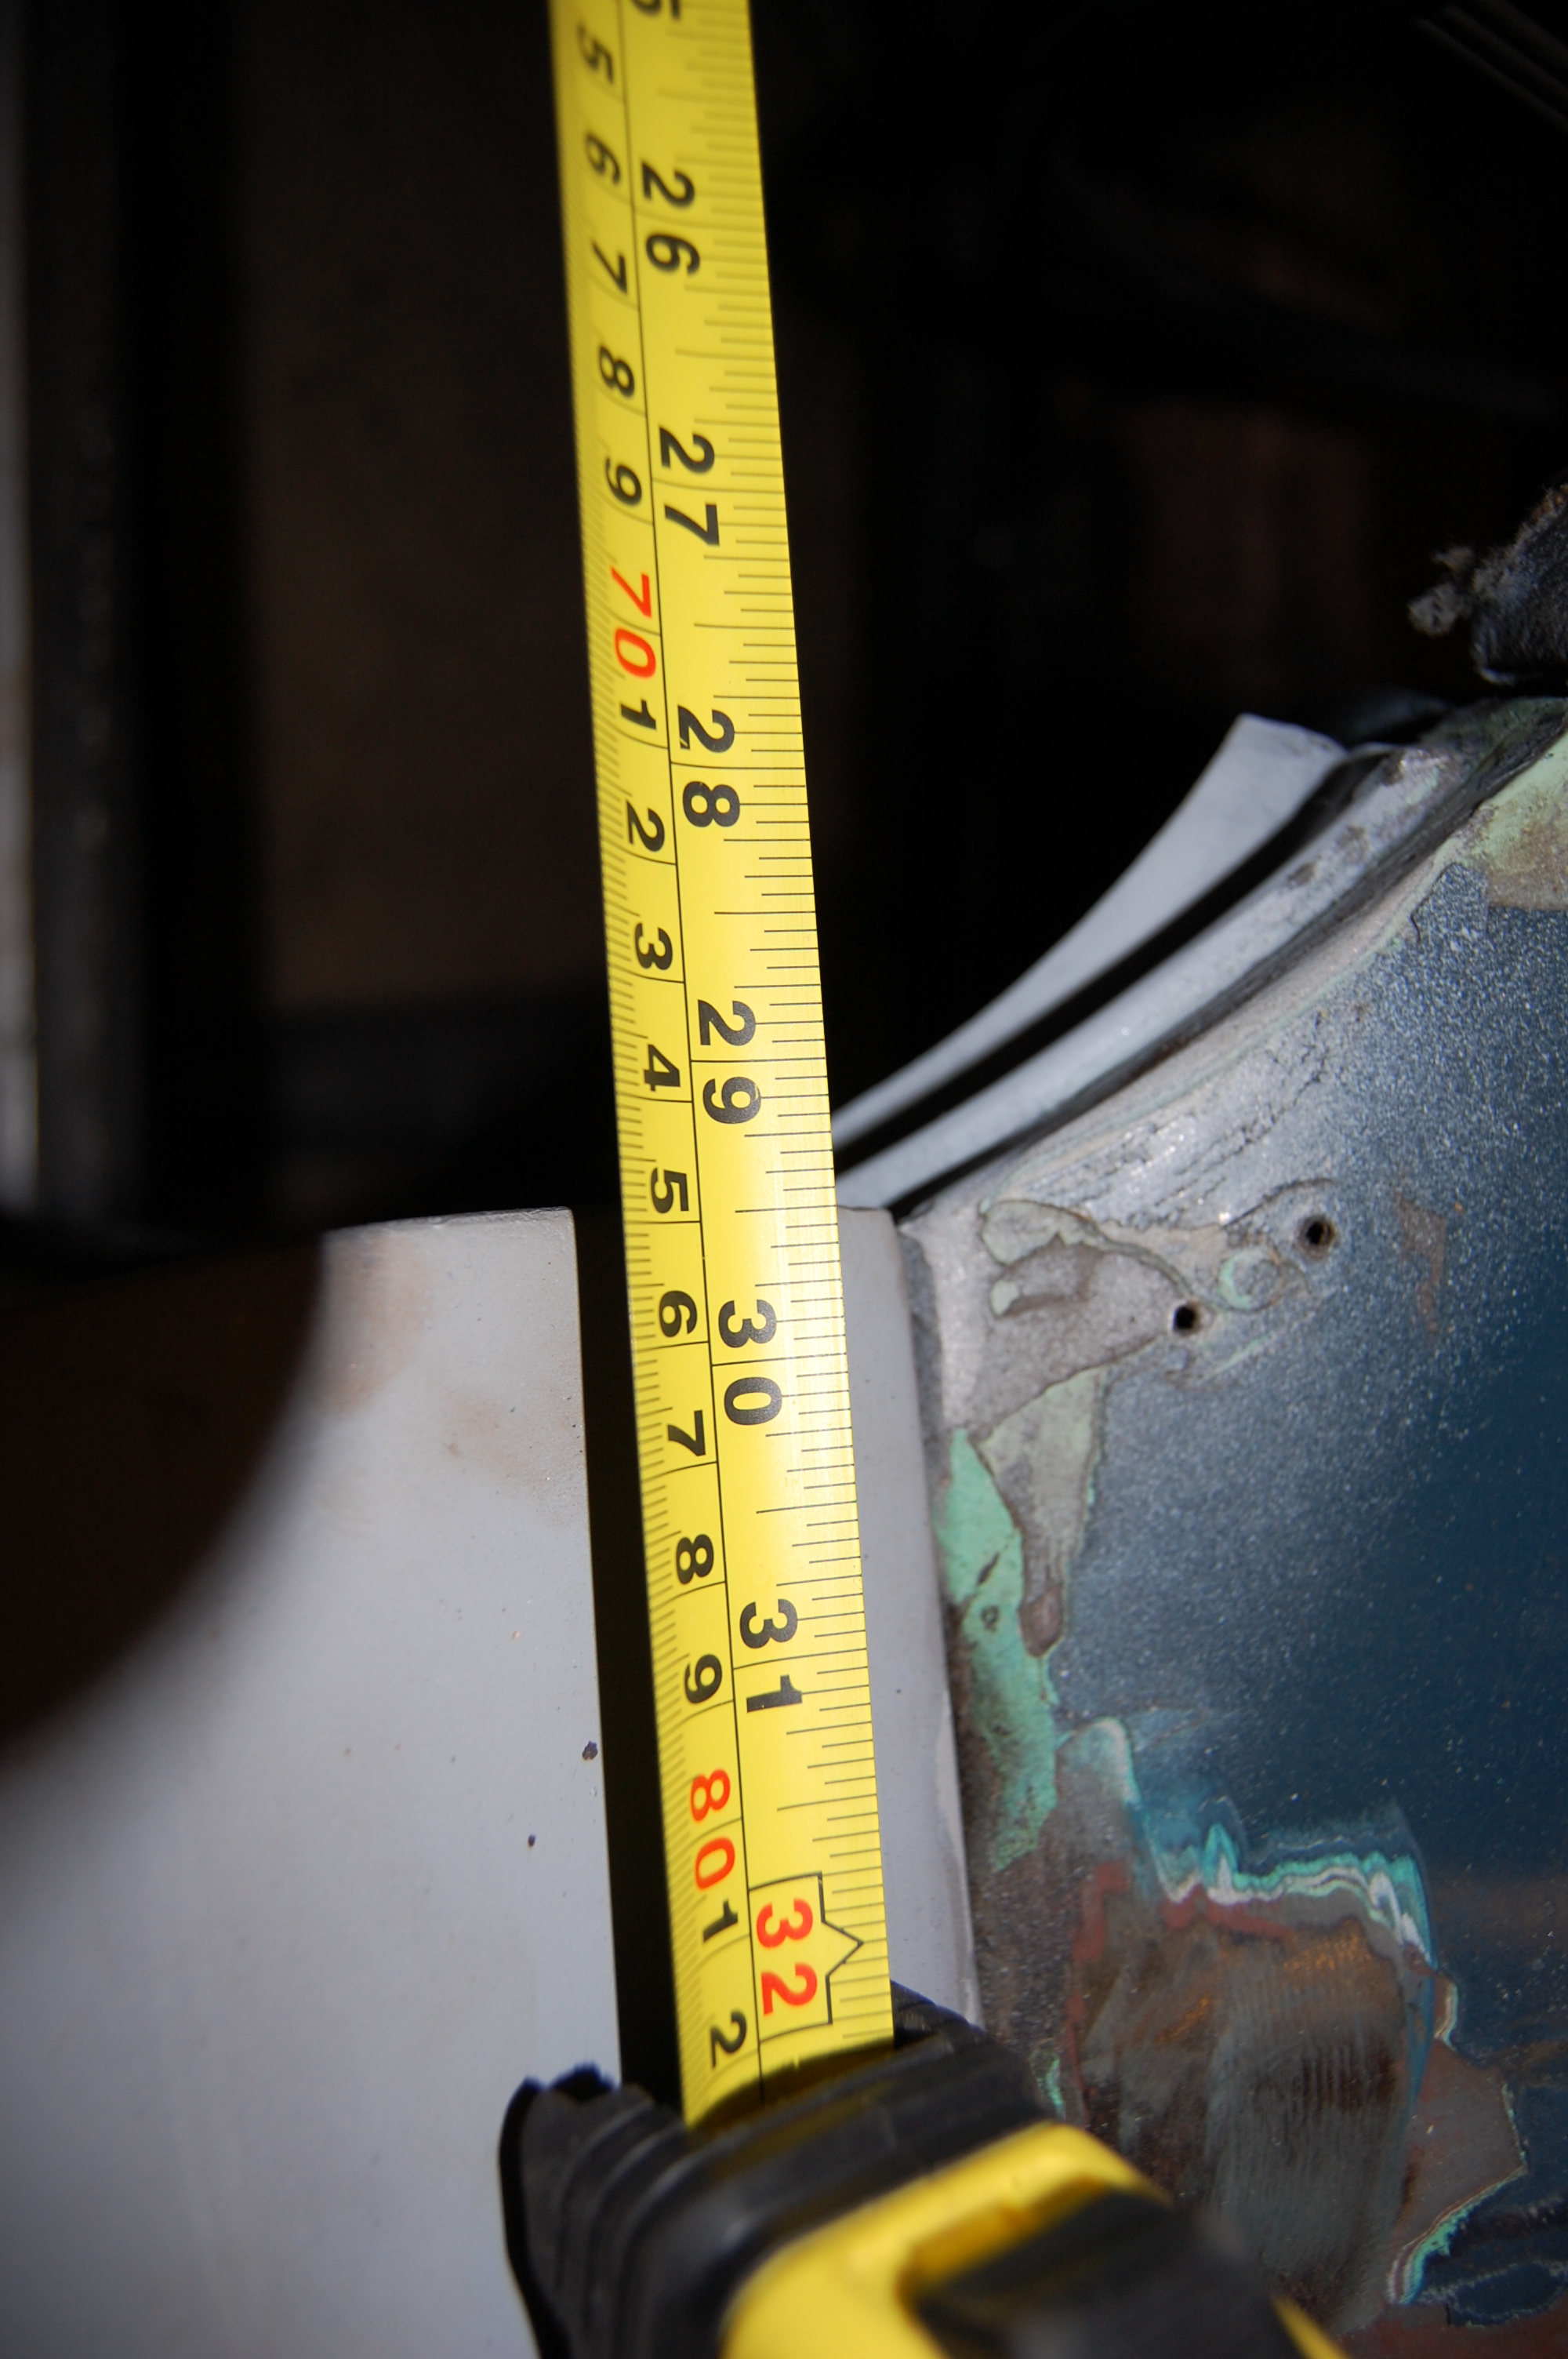
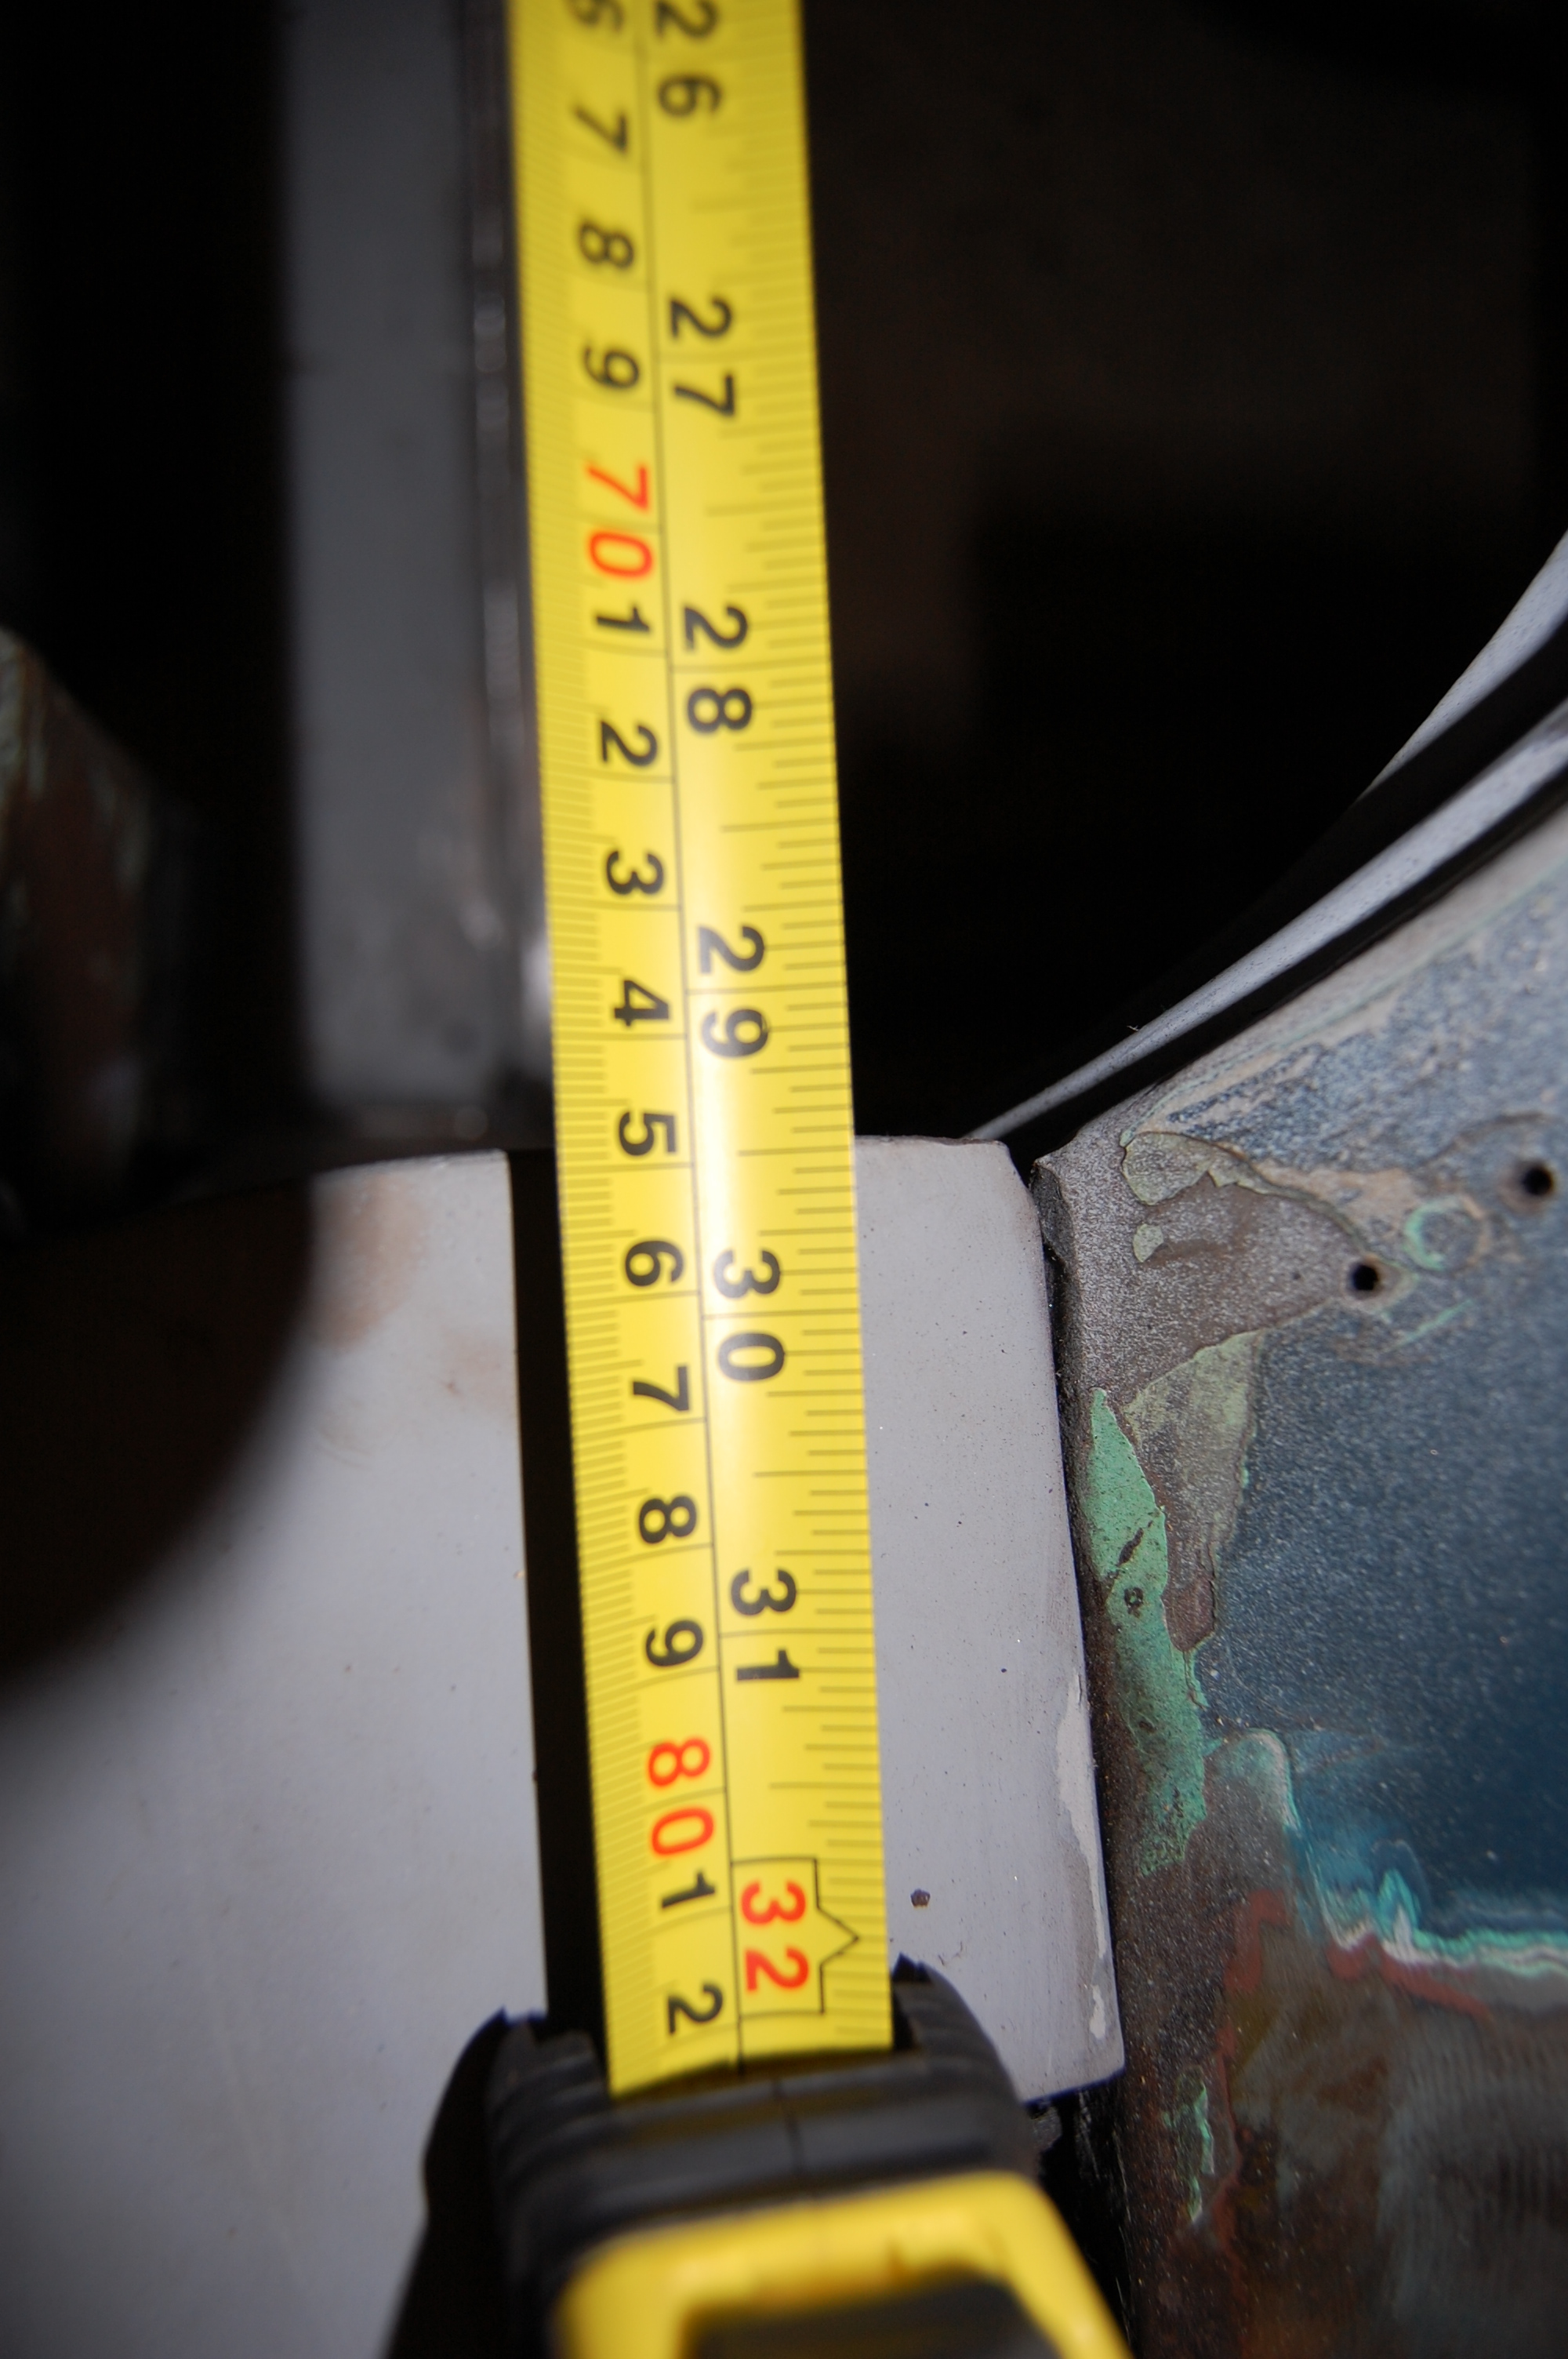
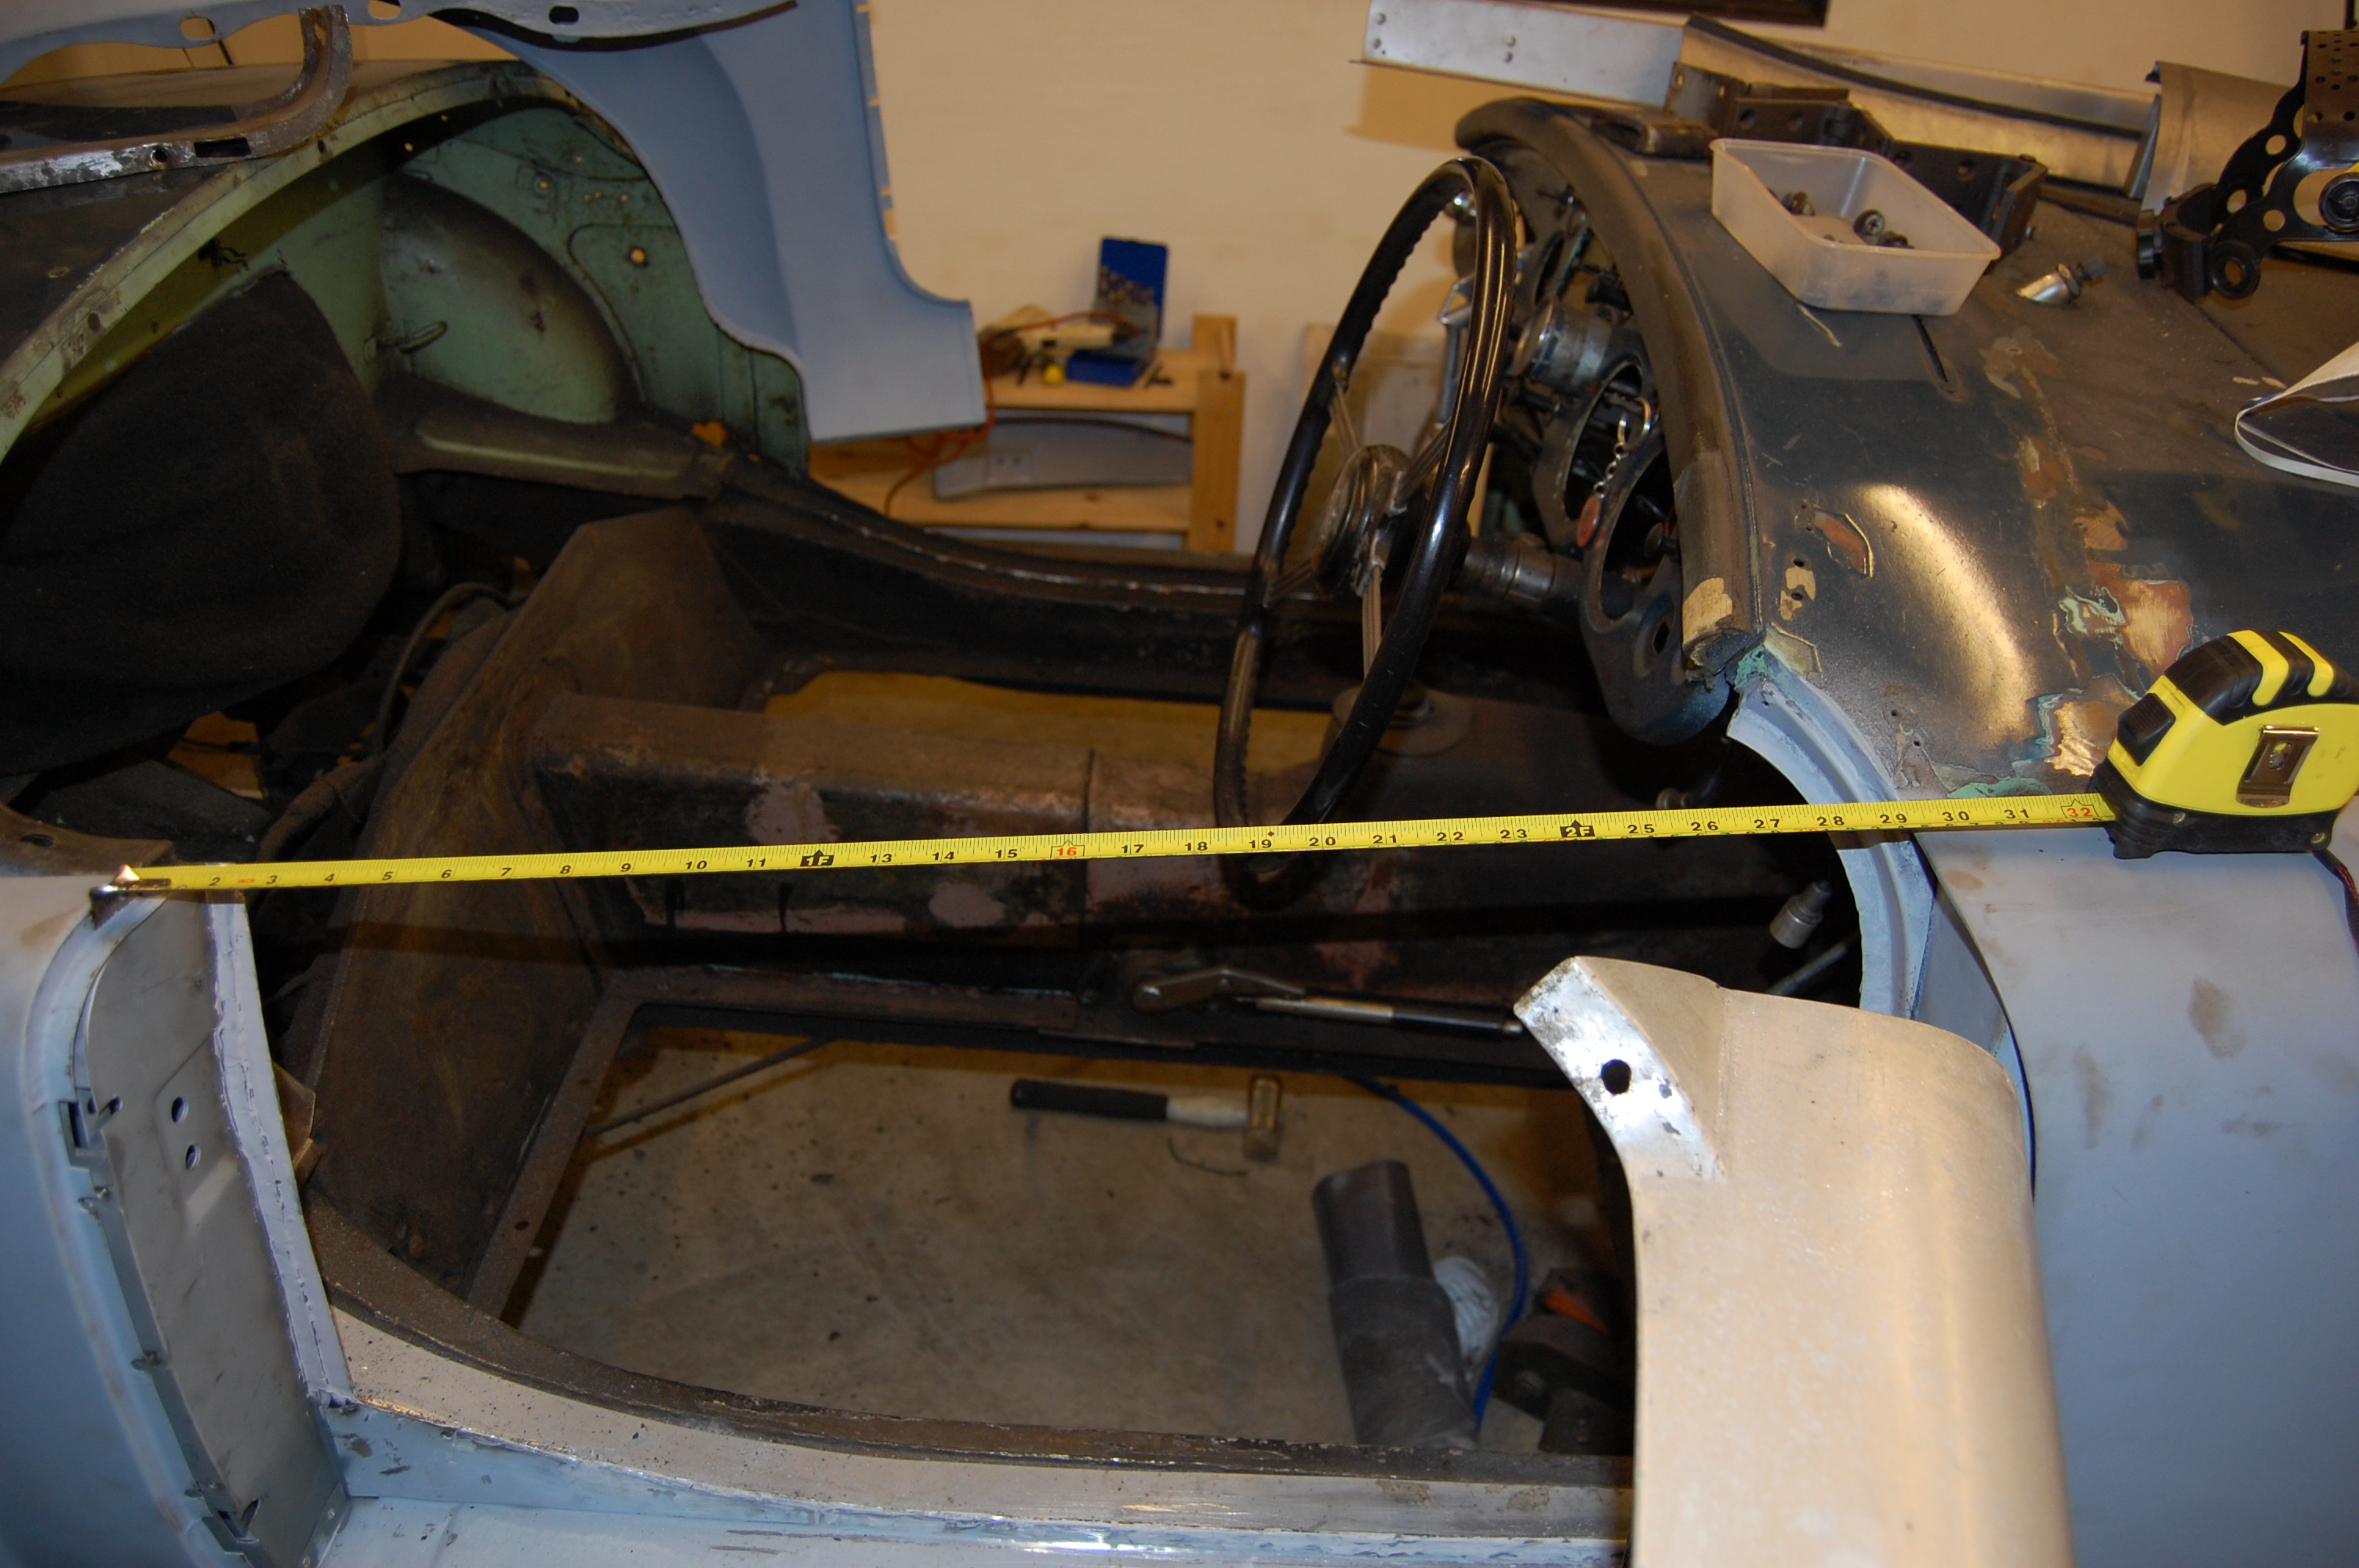
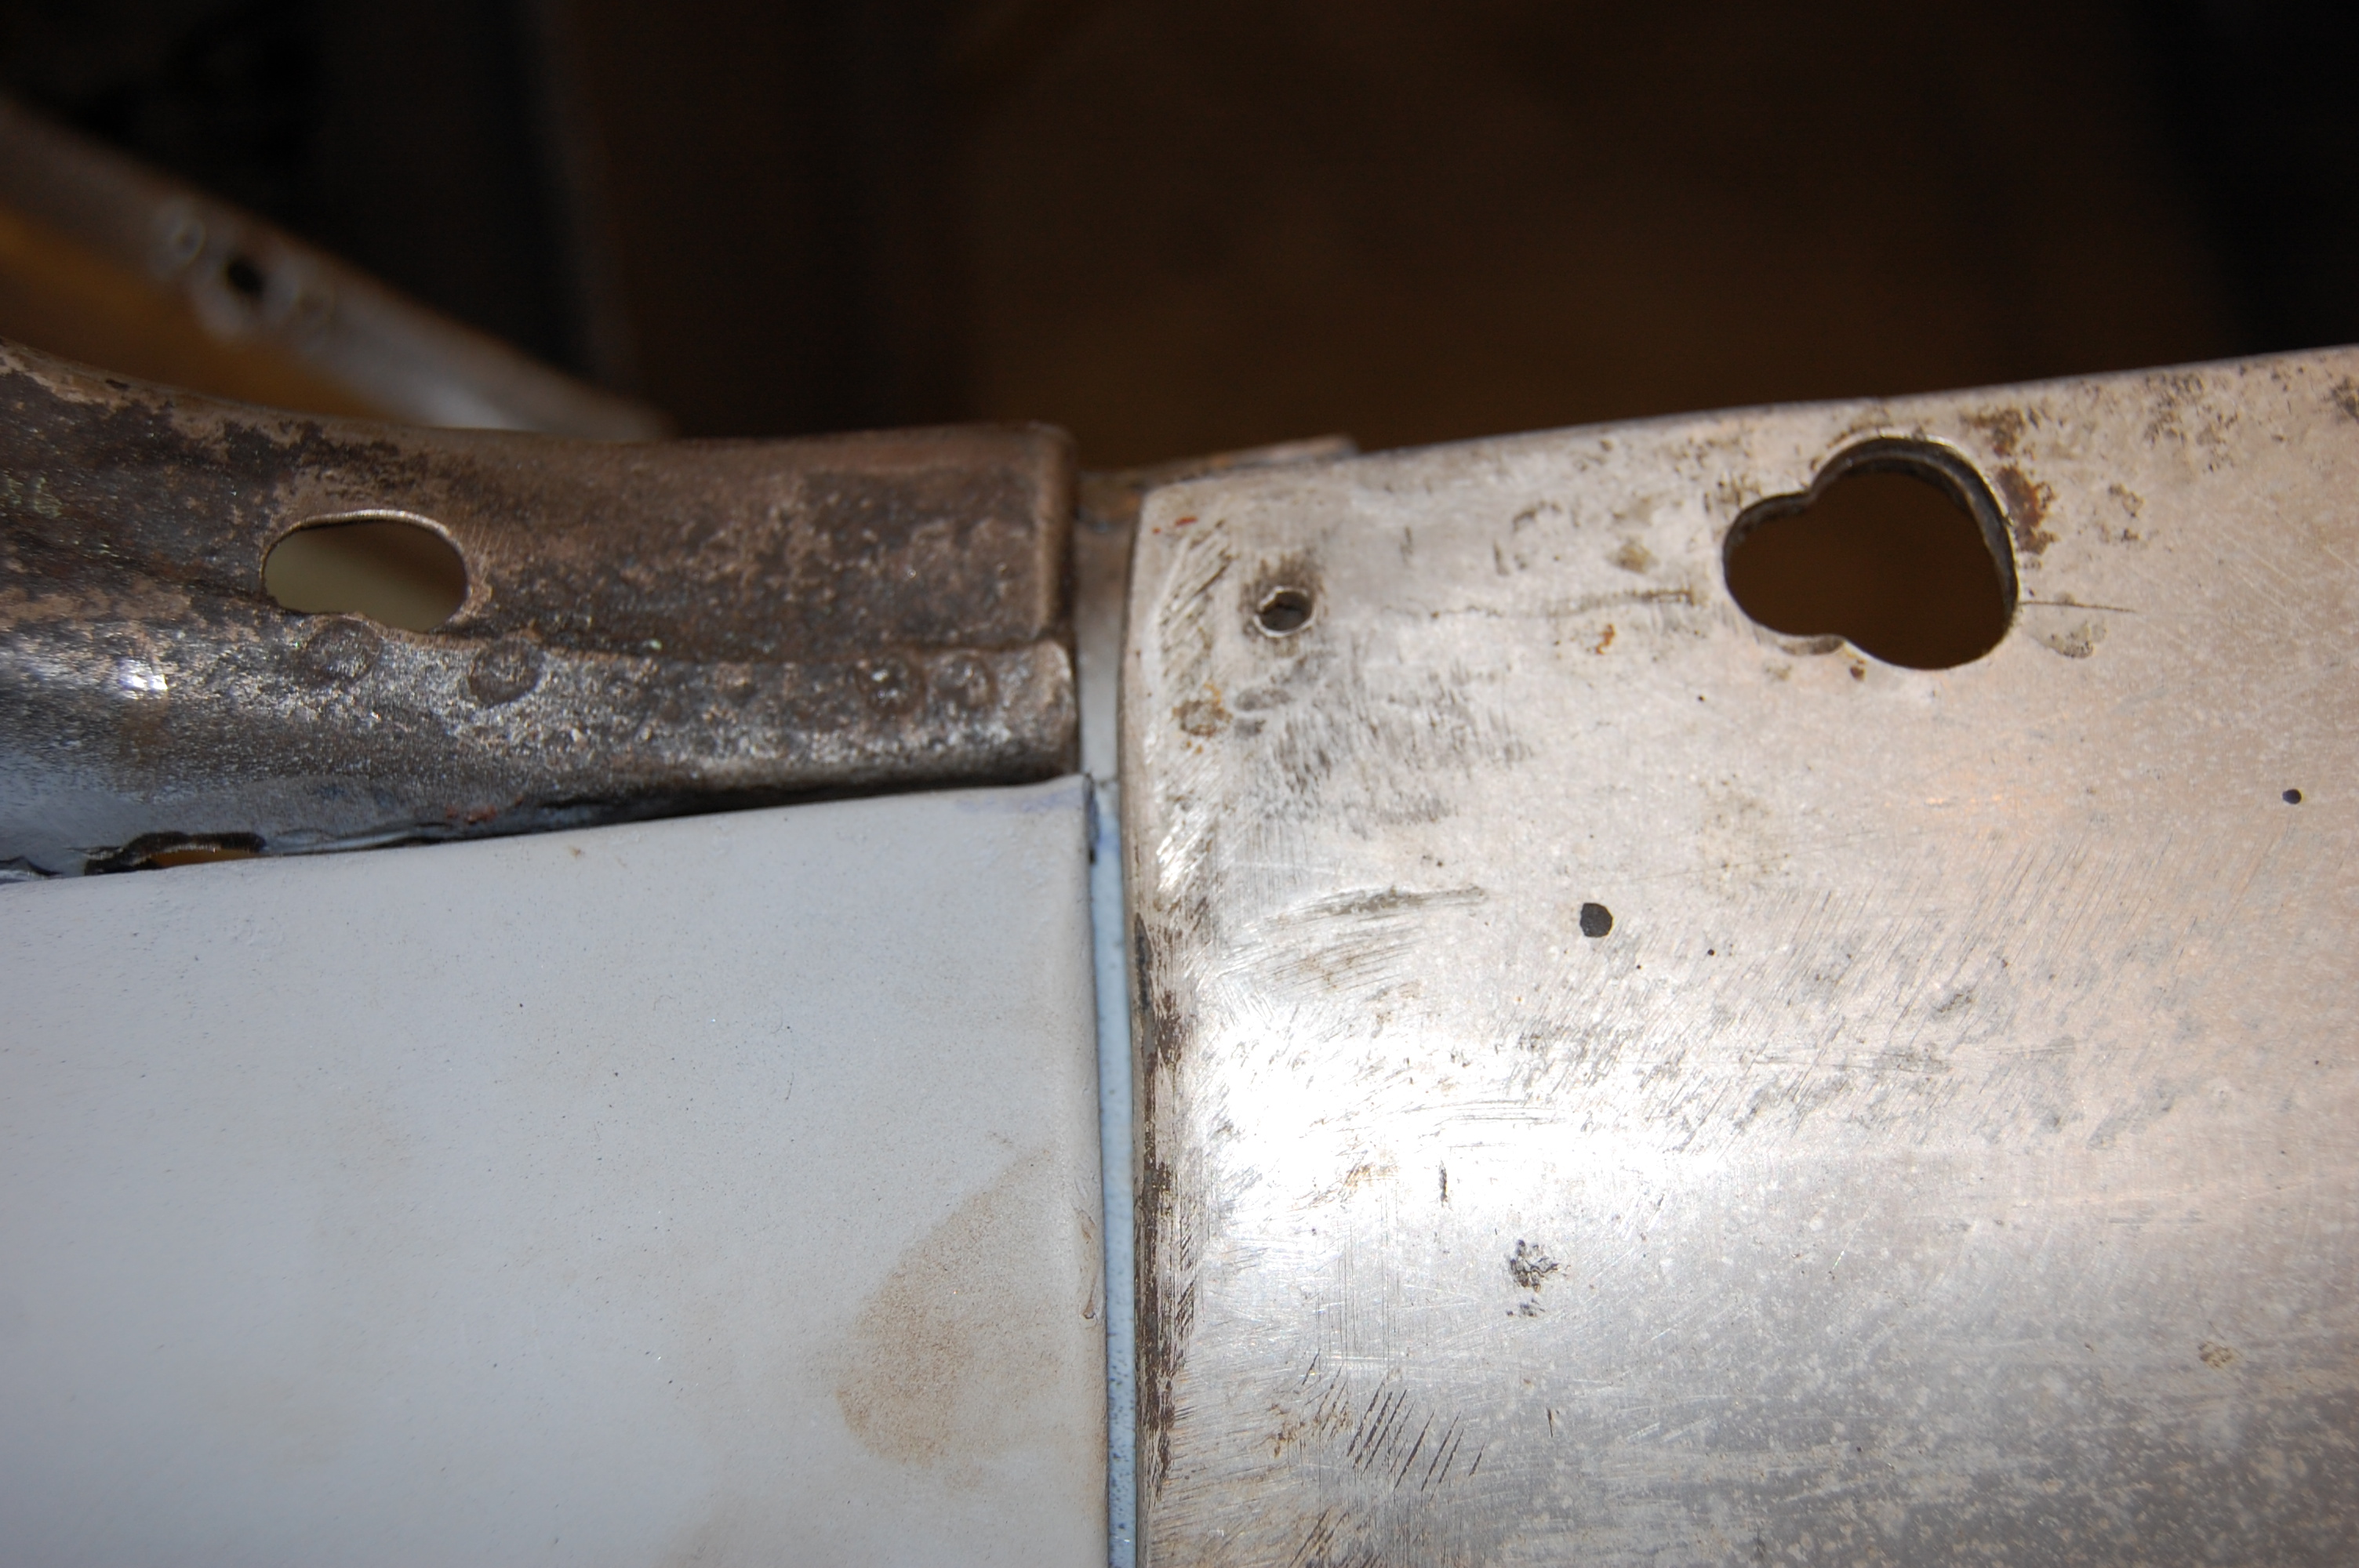
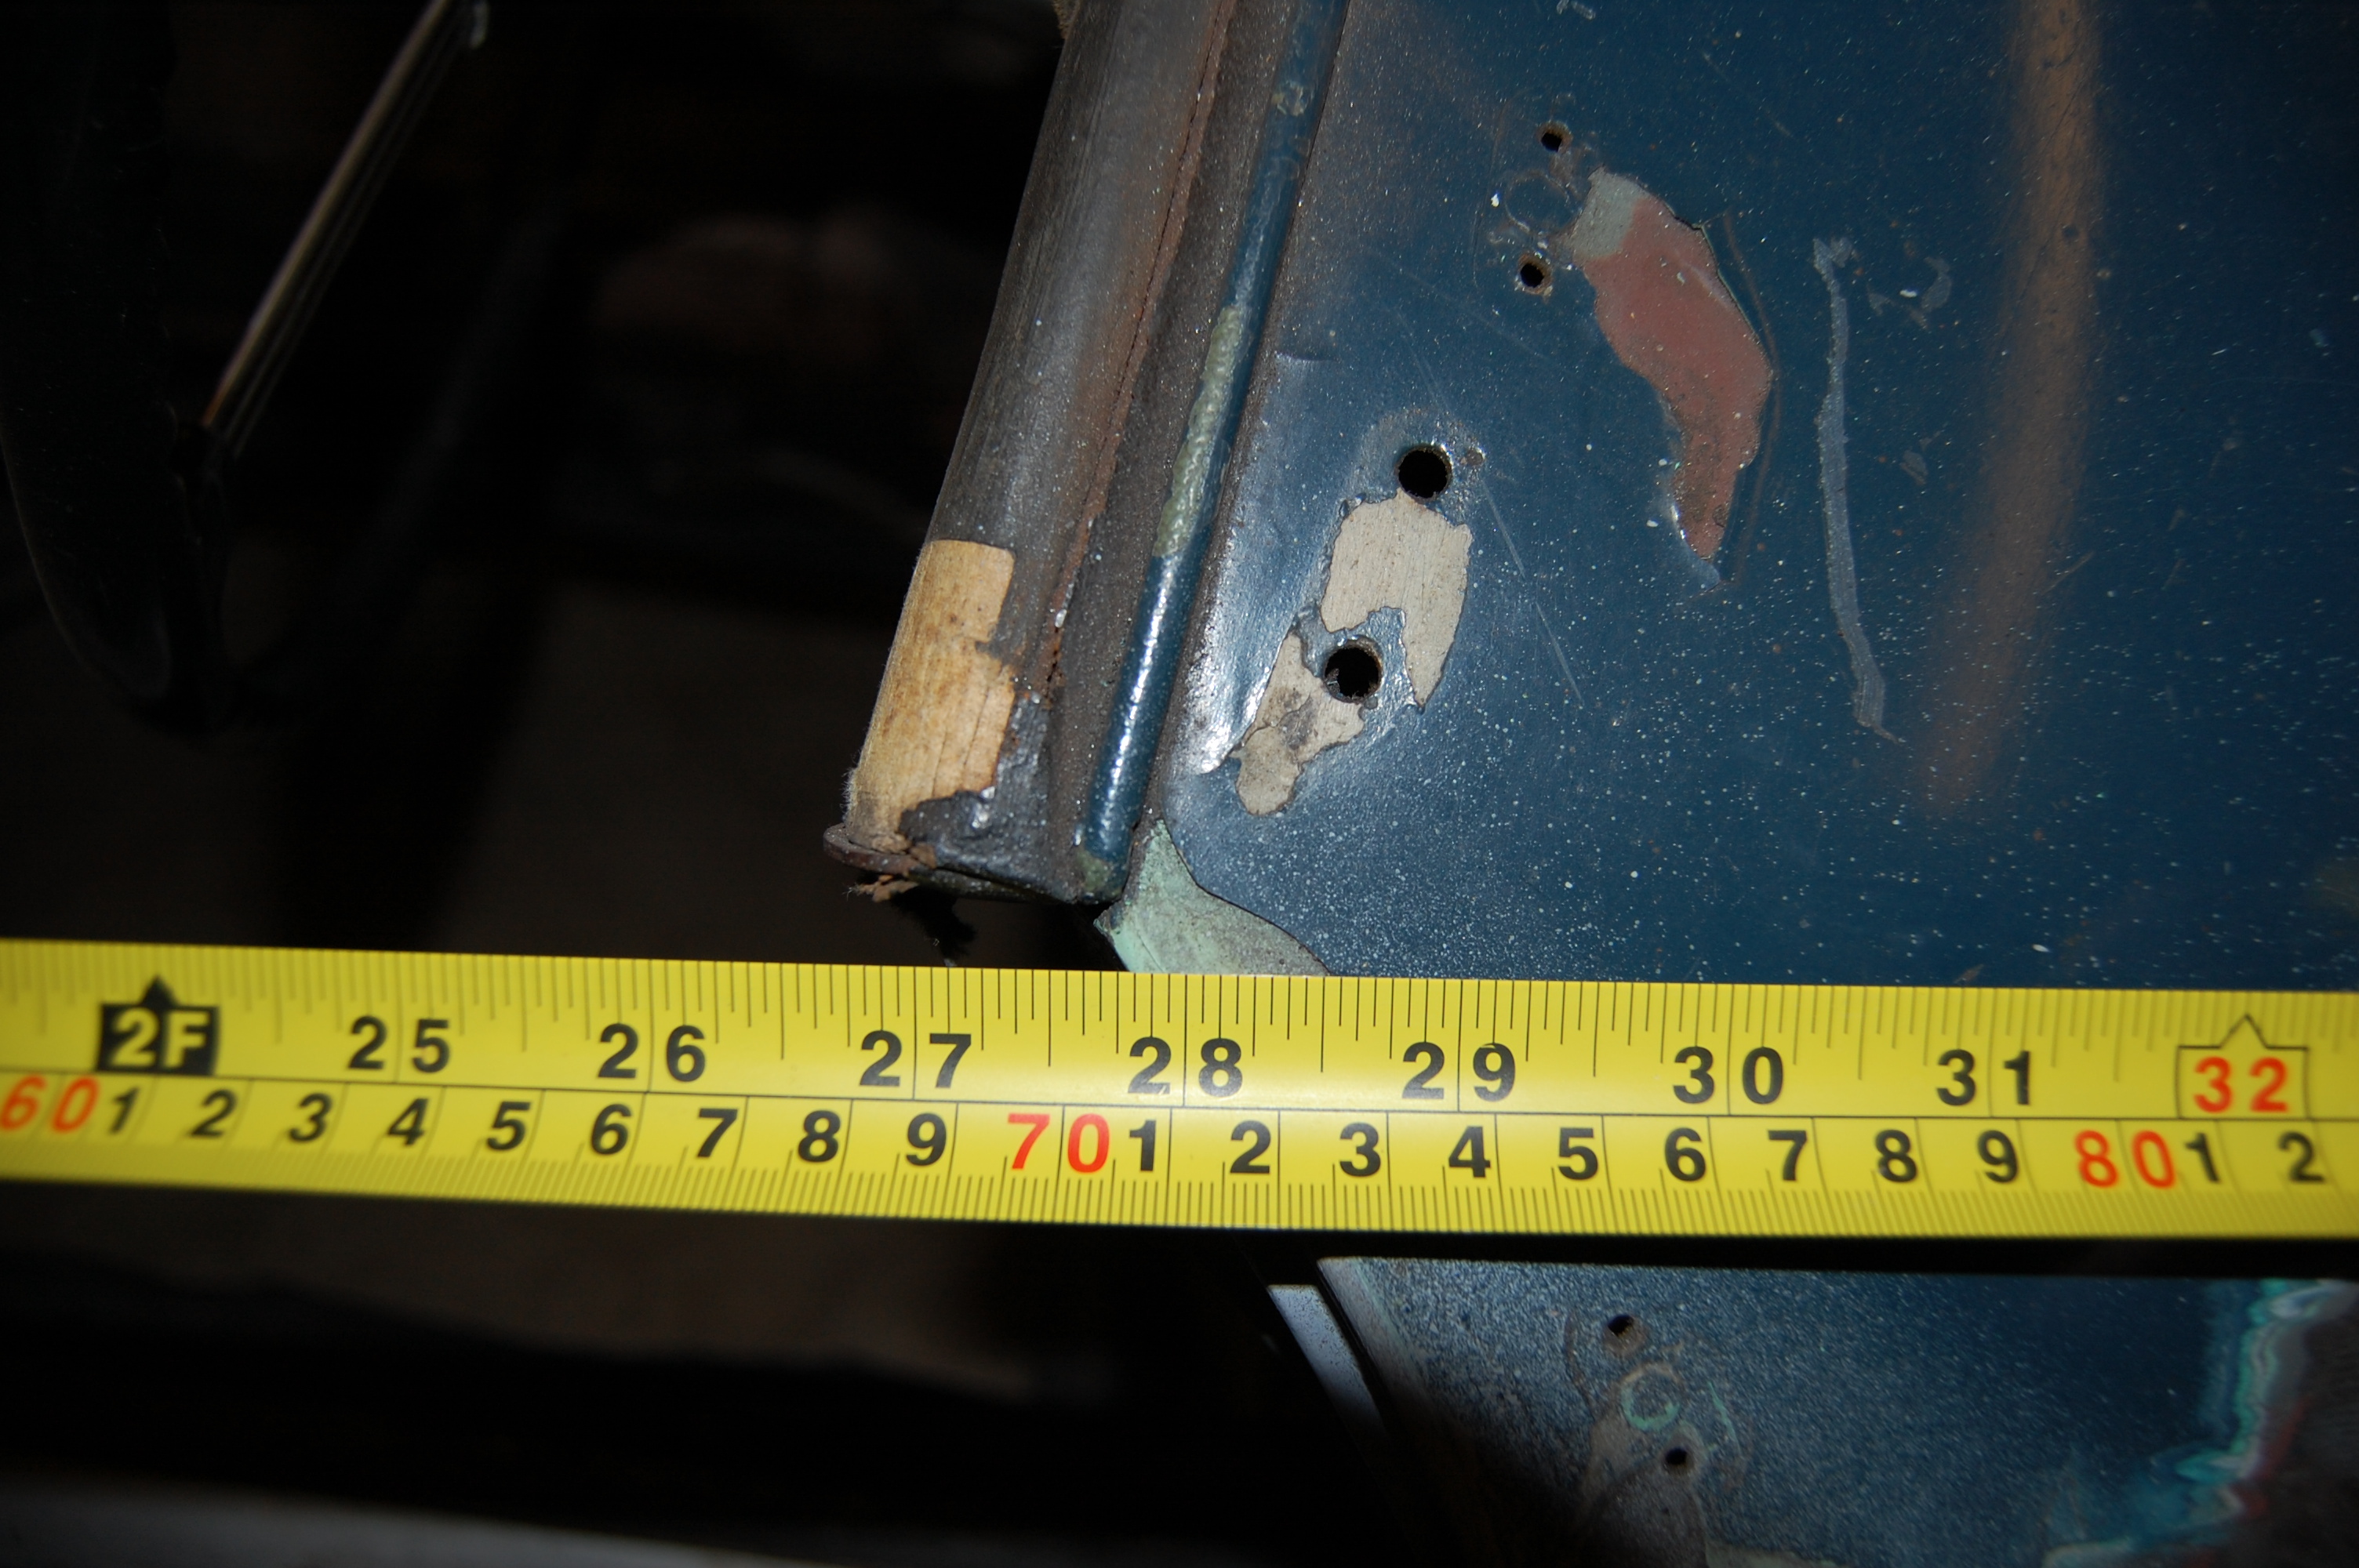 The following shots were taken to help fellow restorer Andy Harris with his task of reuniting the seperated front and rear bodyshell of his car. Hopefully the measurements may be of assistance to others.
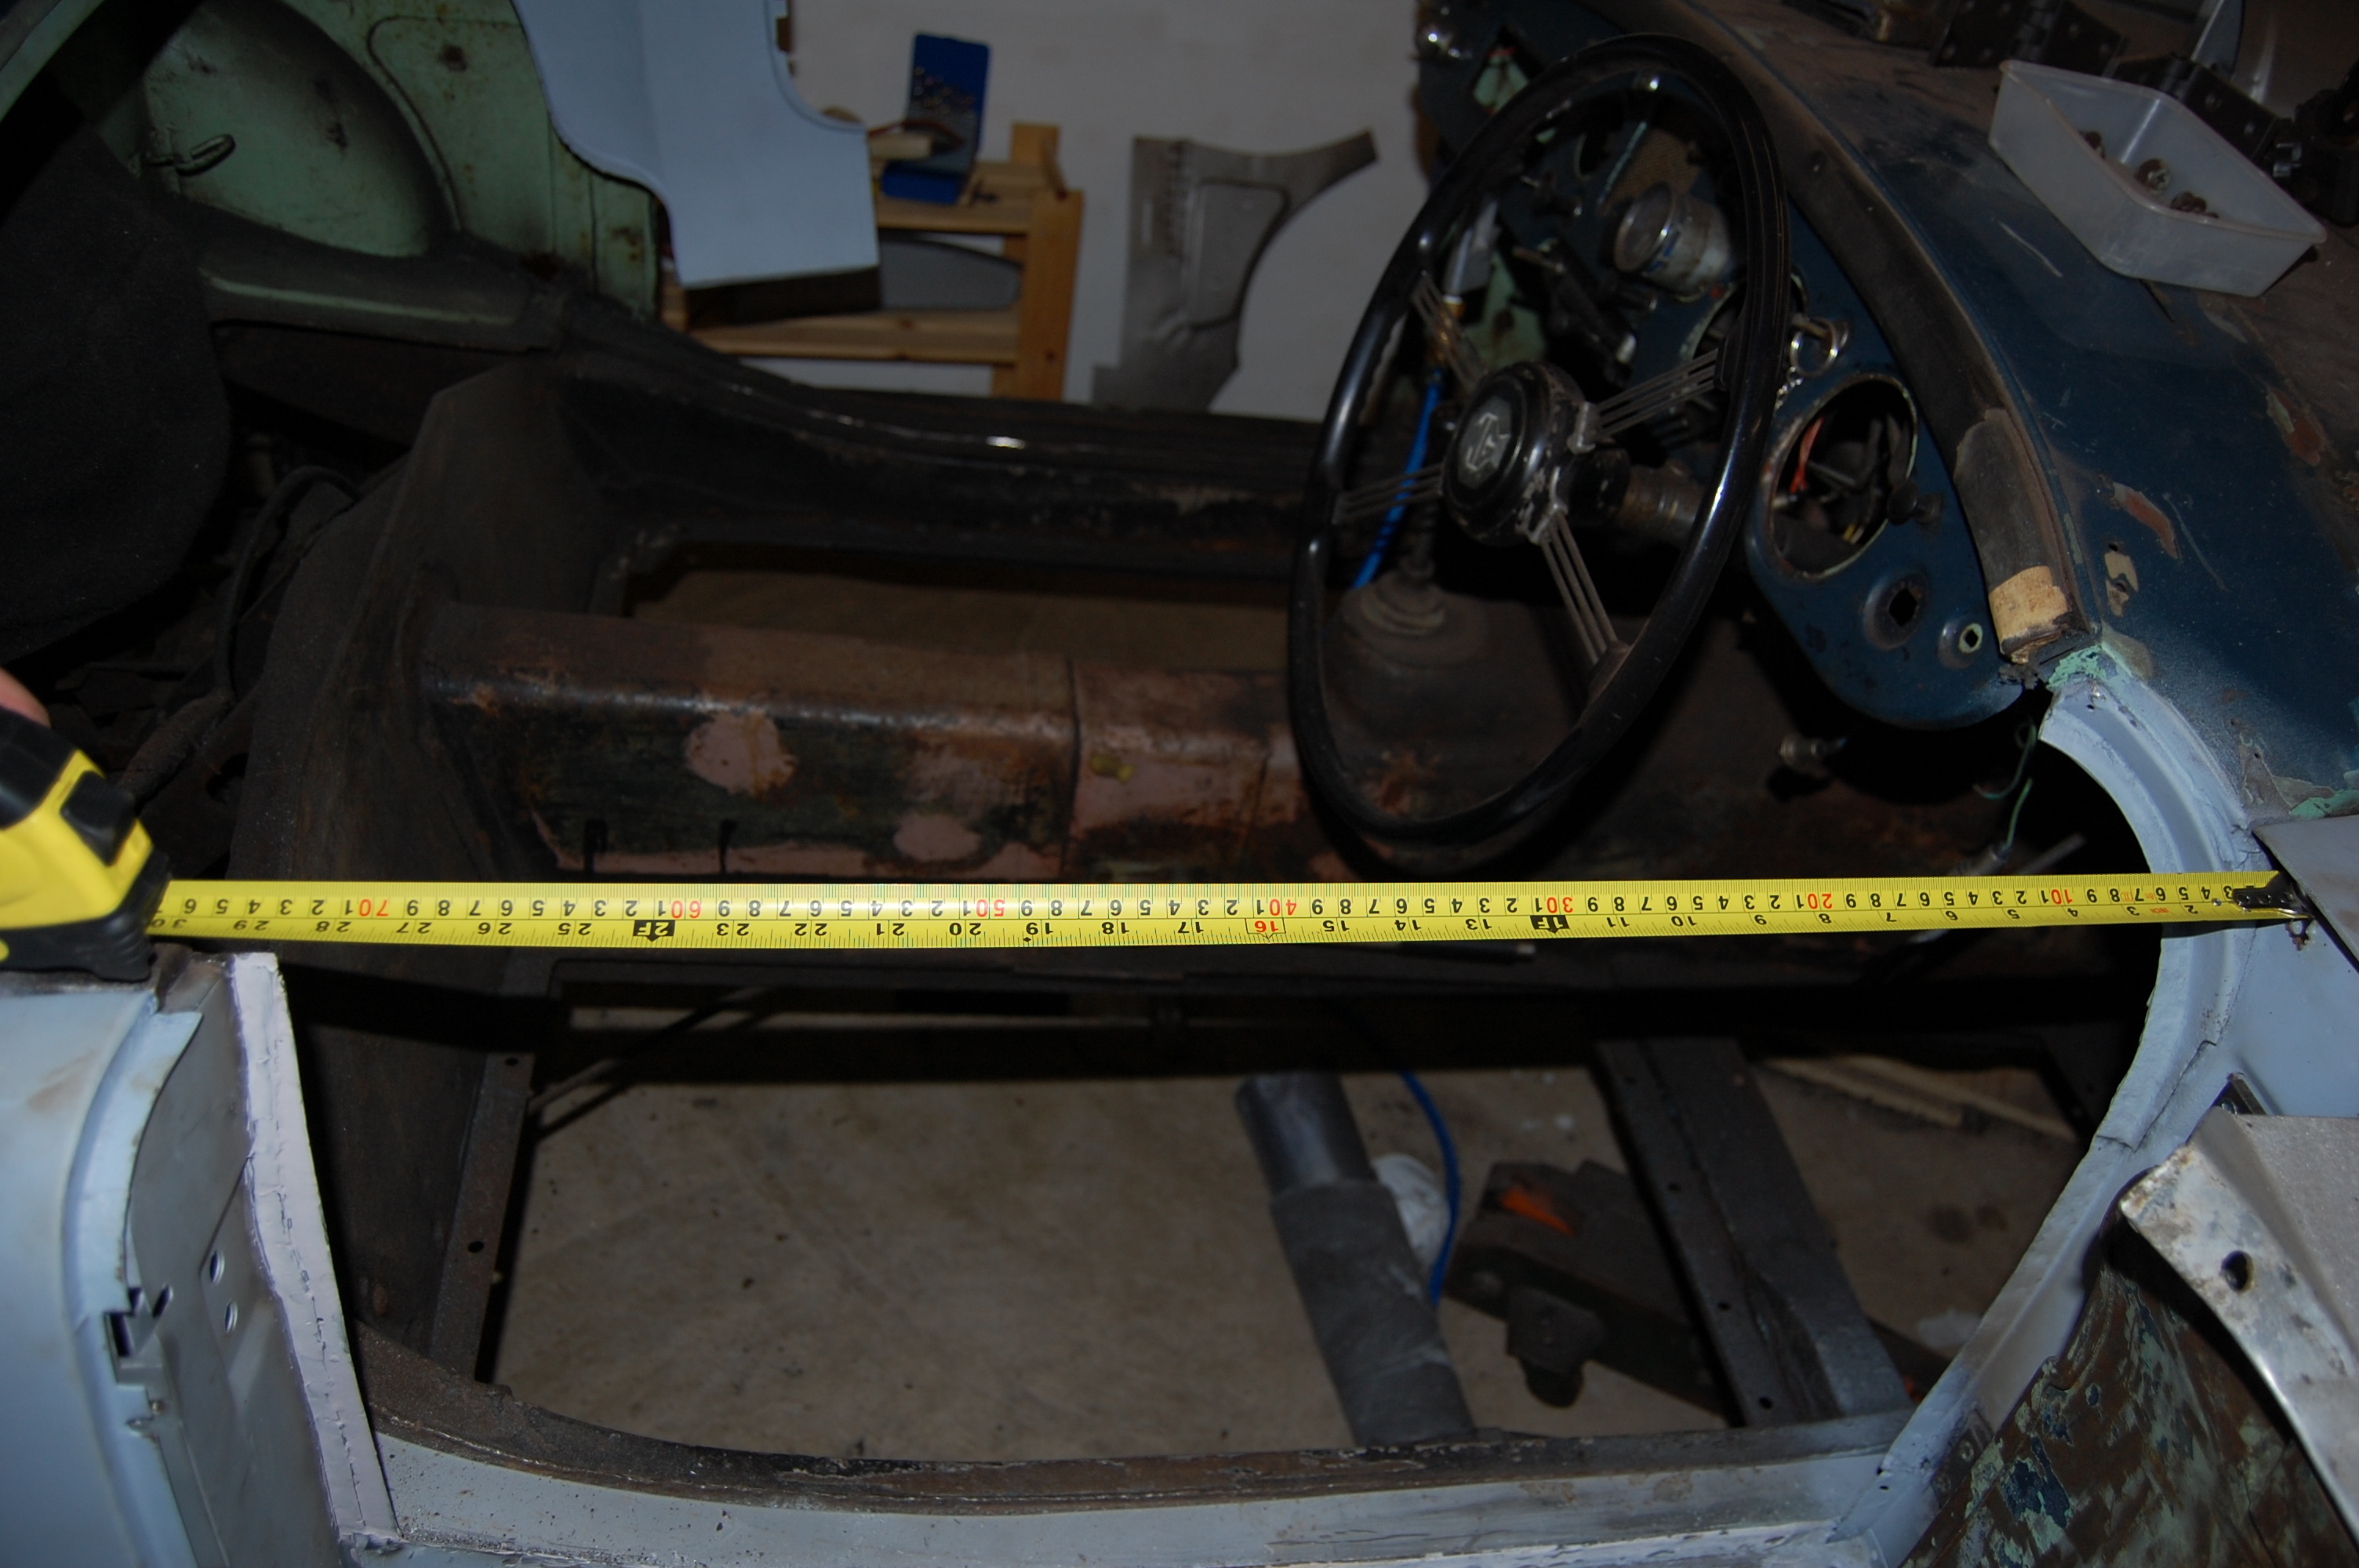


Did you have the chassis checked on a jig?
Geoff.
No, I didn’t, as I knew the car and it’s history back to the mid 60’s and owned it since 1974 and knew it hadn’t been damaged.
Also, visually it was fine other than the expected rust. Bill
Hi Bill, I am restoring a 59 MGA, and have lots of bodywork tasks ahead. I have to send a quick comment to you, thank you so much for having put this site together. The reference photos are fantastic to go through, and the comments you make about all of the different stages in the work have provided an invaluable reference for someone starting out on the whole bodywork experience like myself on an MGA. Thank you very much for such a,wonderfully detailed site. Along with the mgaguru, it really helps to make it all possible! Thanks again, Mark UK.
Hi Mark
Thank you so much for taking the time to comment on my site and for your kind words.
It’s gratifying to hear that it’s been of help to you, which was my hope for it, as I had struggled to find photographic help, other than Barney’s Guru site.
Good luck with it!
Where in the UK are you?
Best wishes
Bill.